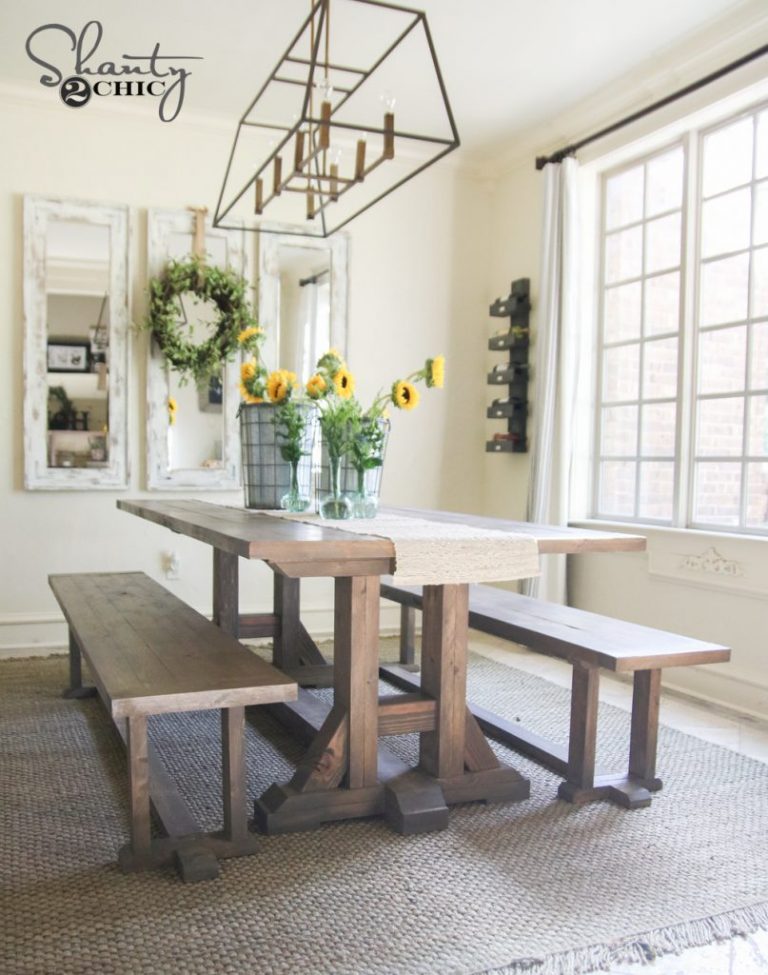
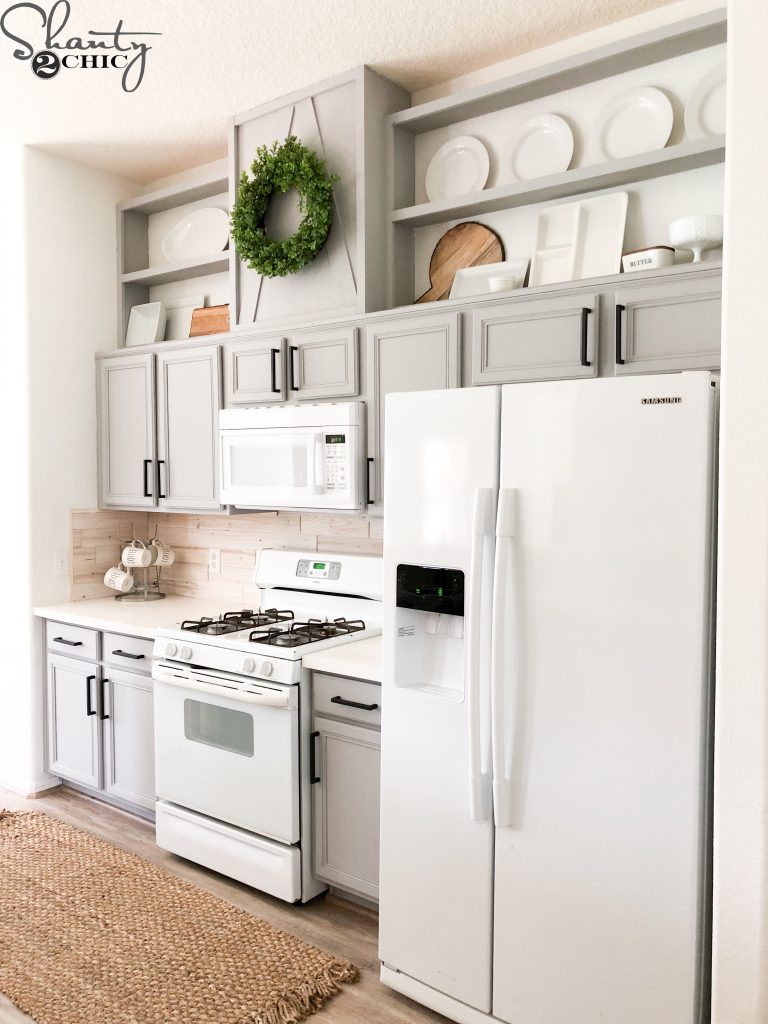
Hey friends! Thanks so much for your continued support of our pilot Open Concept on HGTV! You can see lots of before and after shots of the remodel by clicking HERE! I am here today to share the free plans and tutorial for the DIY Locker Cabinet! Here it is in their home!

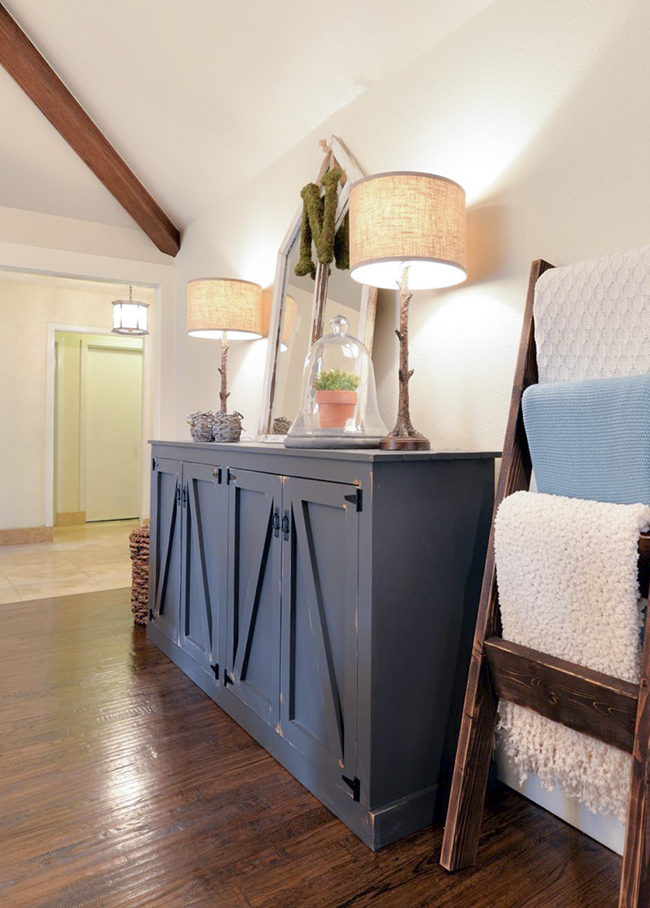
Isn’t it GORG? I love it. As always, I will walk you through the entire build here. You can also download and print the free plans by clicking HERE or the button below!

Let’s get started!
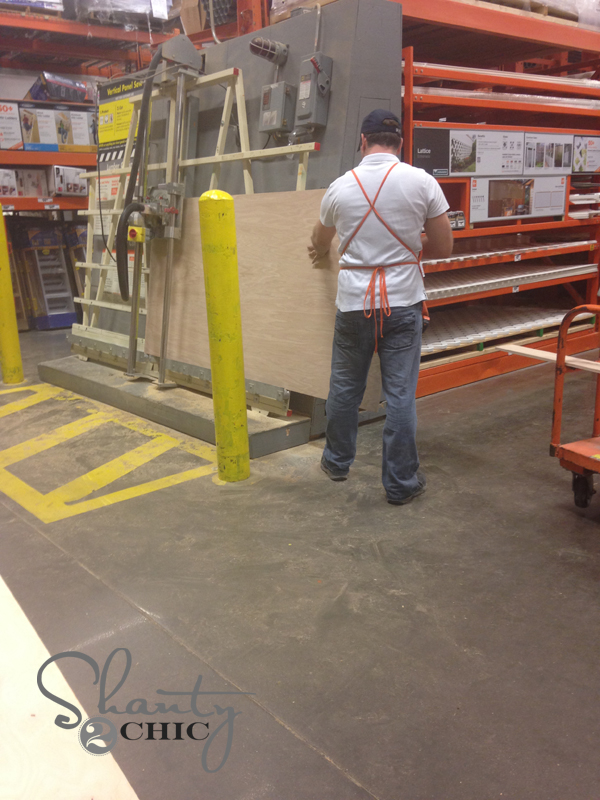
The majority of this piece uses hardwood plywood. What the heck is that? Good question! Hardwood plywood is plywood that comes in 4′ x 8′ sheets and s0me smaller sizes. Our very favorite brand to use is Purebond Plywood. You can find it at Home Depot. The outside layer of the plywood is a hardwood veneer like oak or birch. So, you get the look of a hardwood at the cost of plywood. Can’t beat that people! Plus, it’s super straight making it easy to work with which makes me happy!
The plywood sheets are big, and often impossible to fit into your car… Especially when you have 5 kids in the back ???? We like to have Home Depot make the rip cuts for us in order to get it in the car at home.
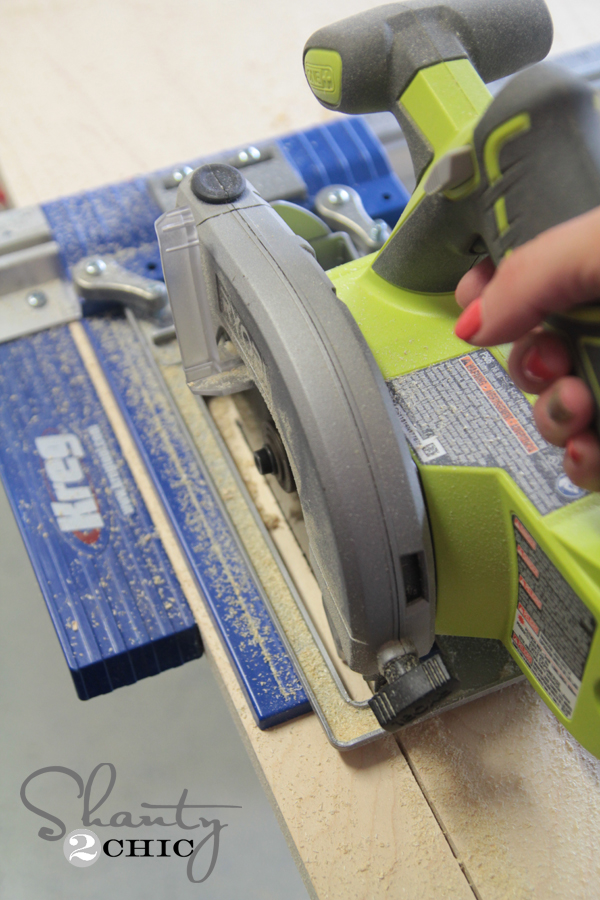
Once I had it home, I made most of my other cuts using Kreg’s RipCut. This is a really cool attachment that fits onto your circular saw. You can adjust it to make straight cuts at certain measurements. It’s very accurate and easy to use.
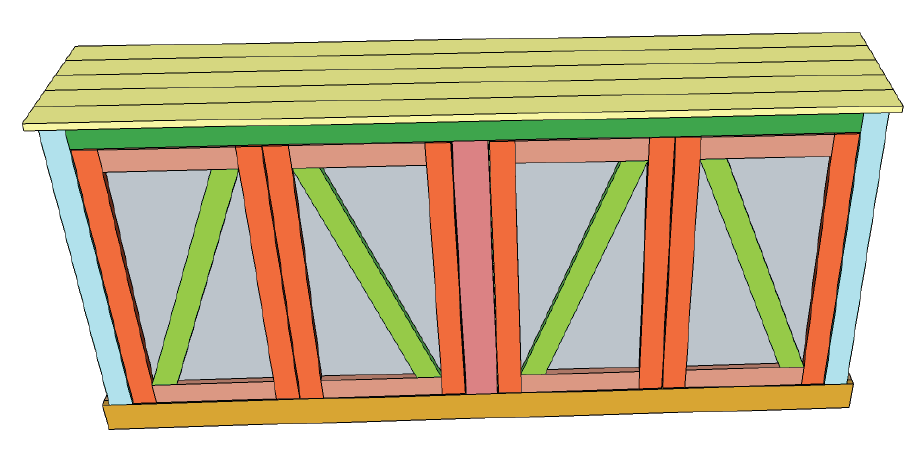
Really this build is very simple. It’s big… But, simple. You build the box of the sideboard first, and then add the trim and the doors. For the box, I used my Kreg Jig.
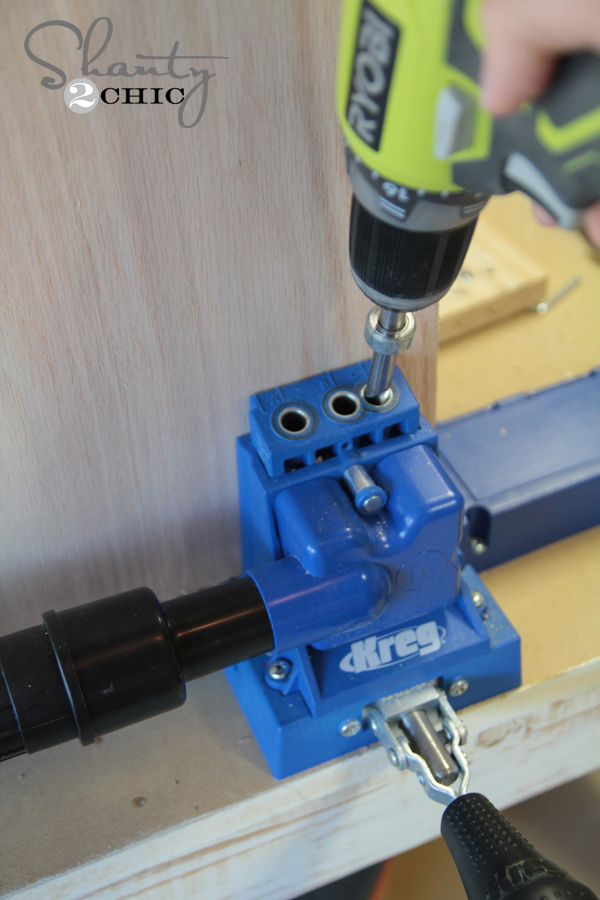
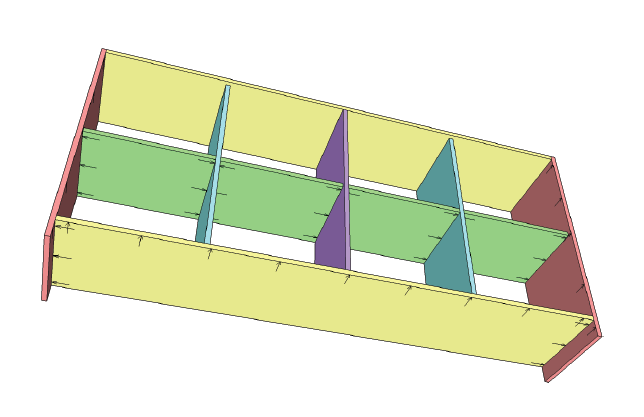
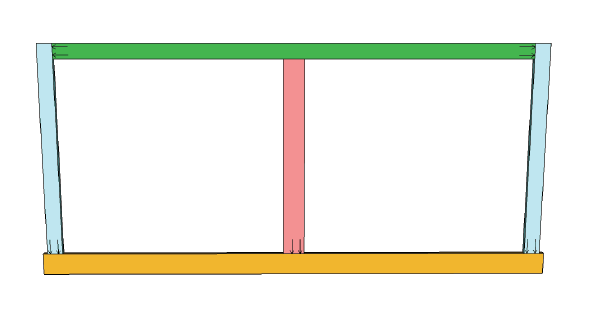
First, you will build the frame of the cabinet. These are your bottom, top and side pieces.
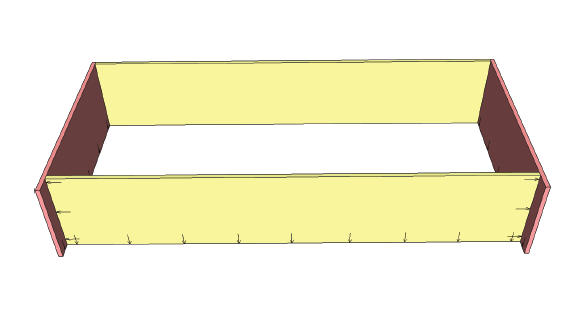
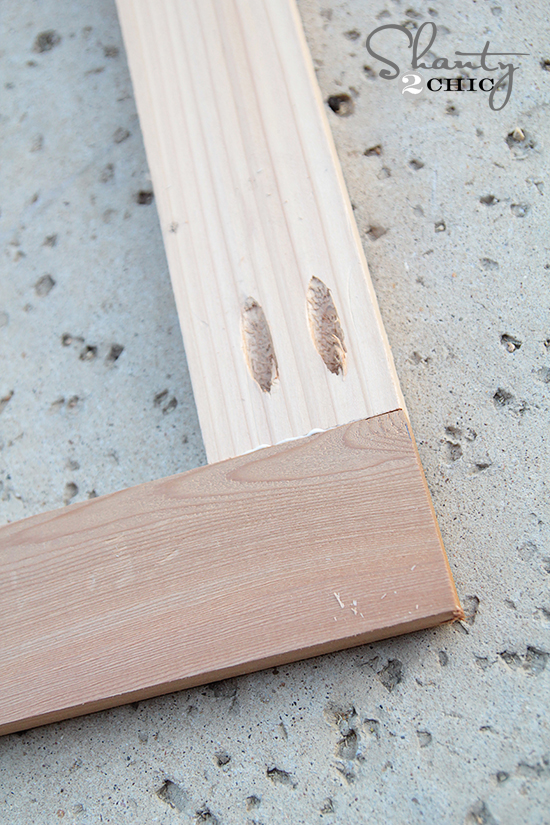
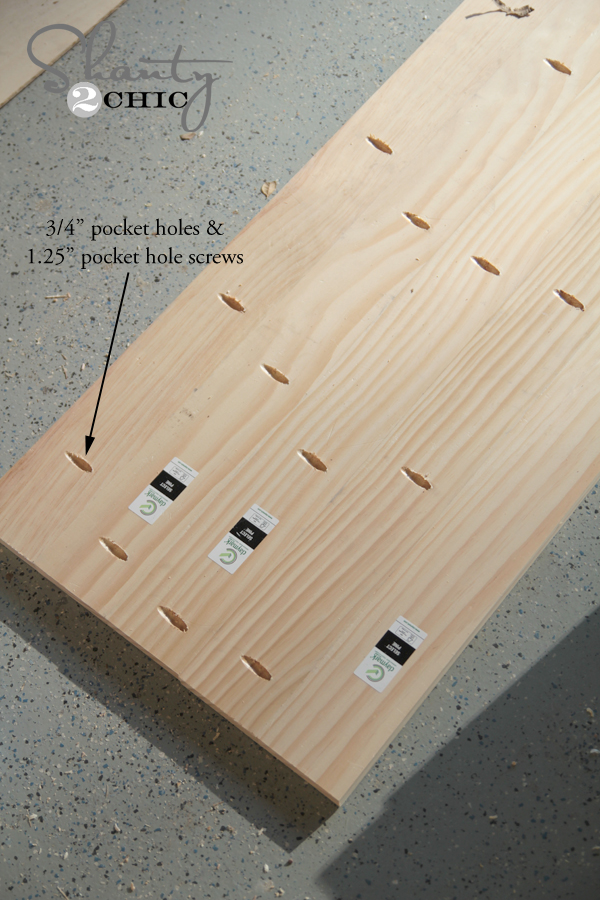
I used 3/4″ pocket holes and 1.25″ pocket hole screws for all of my joints. I also used a line of Titebond 3 wood glue on each joint.
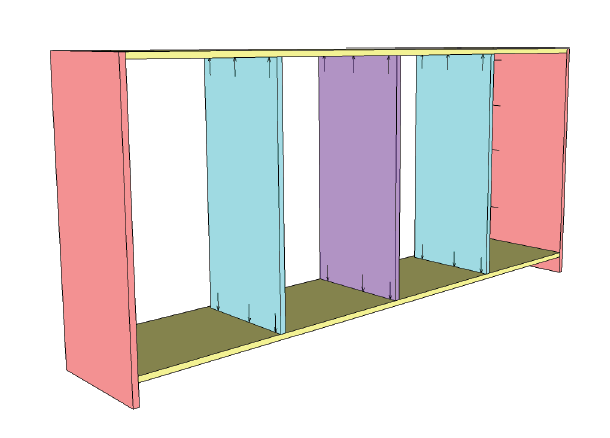
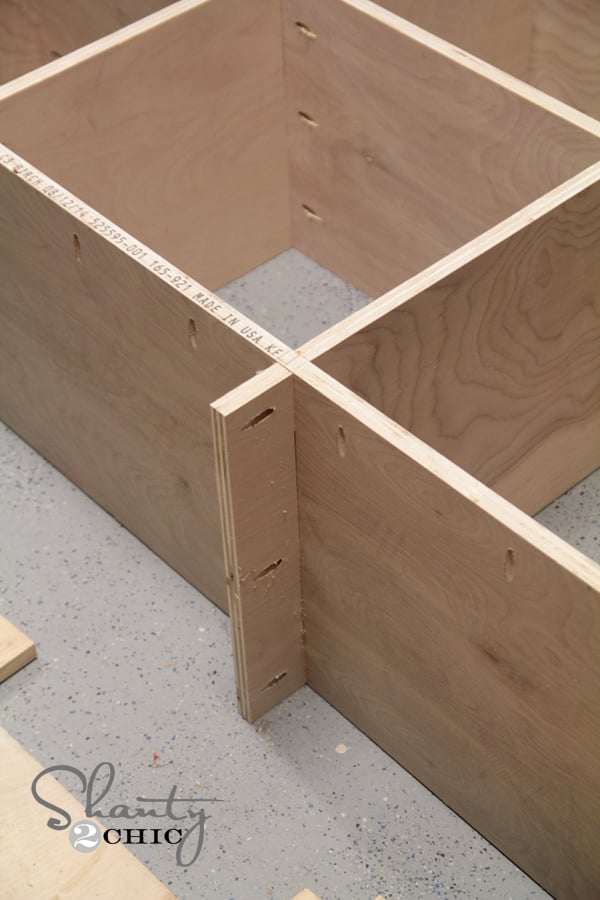
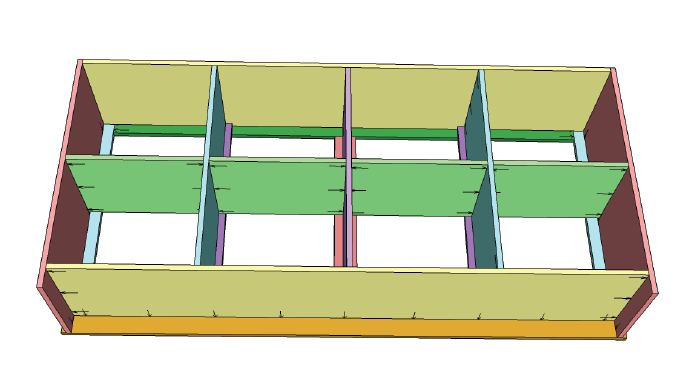
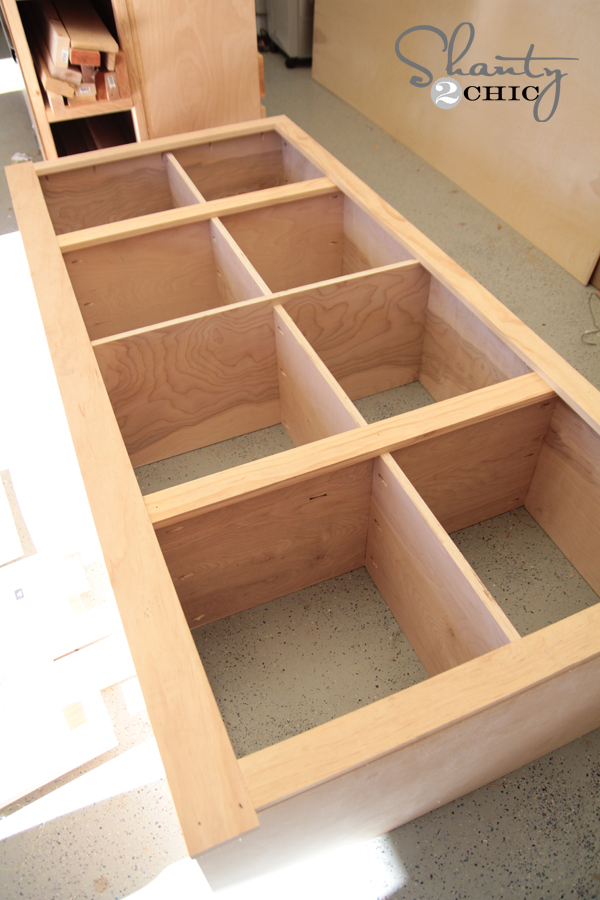
Next, you will add your vertical dividers. I like to mark the placement of mine with pencils and use a speed square to make sure the placement is right.
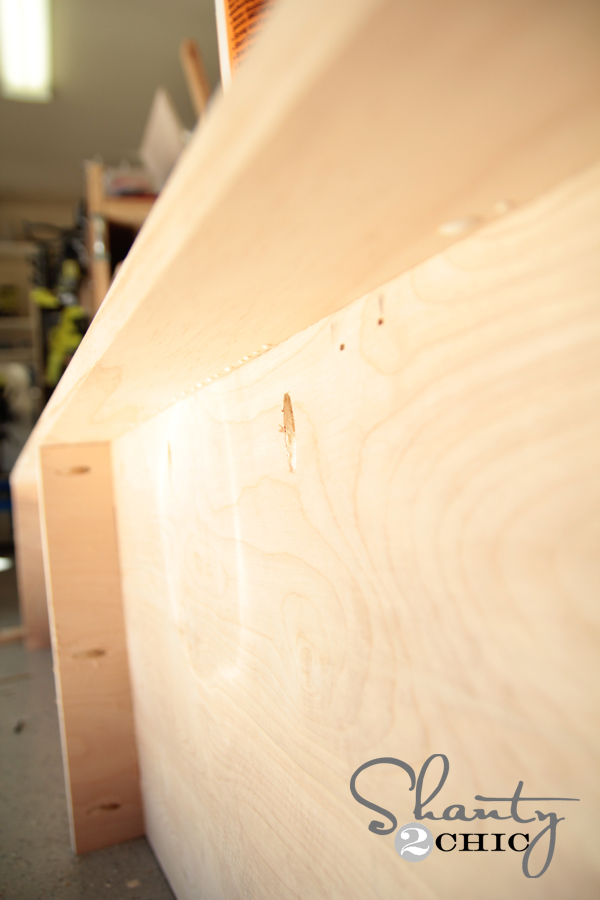
After adding the vertical dividers, I added my shelf pieces. You can add these at whichever height best fits your storage needs. You can see below my placement of the pocket holes.
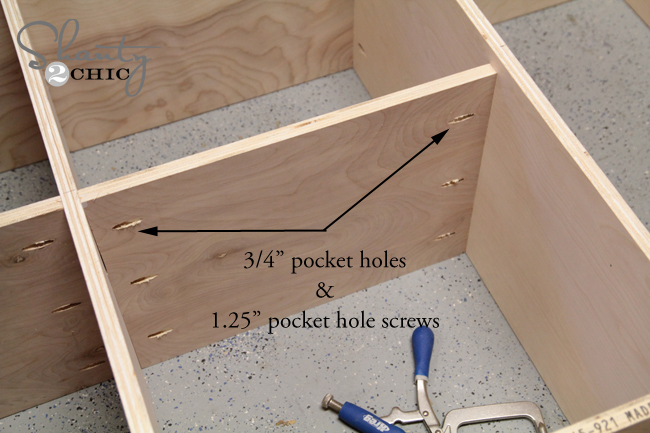
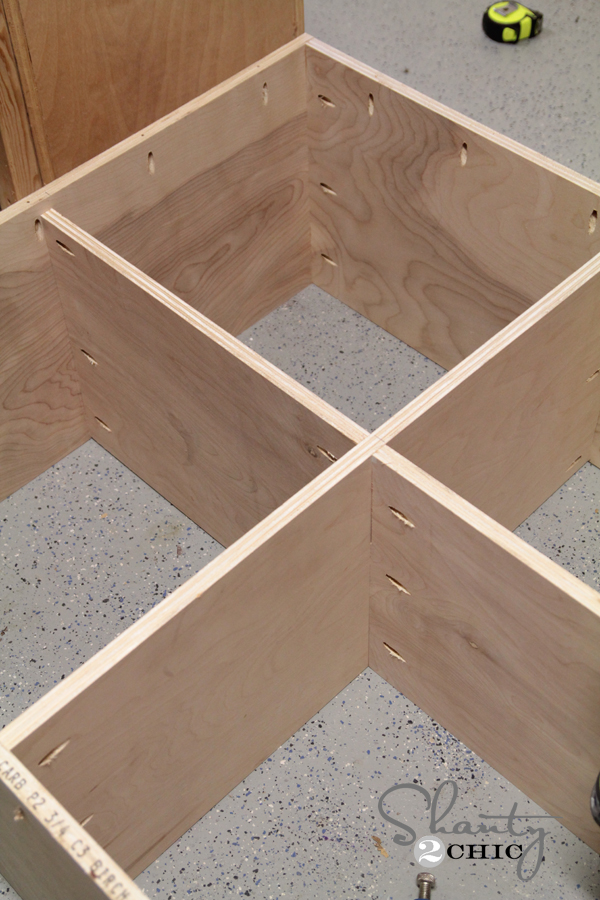
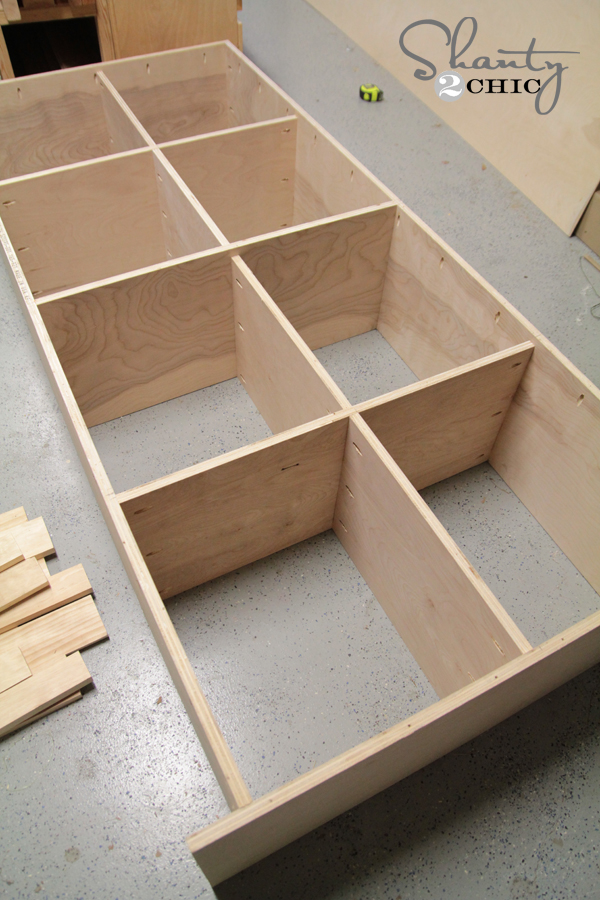
I also decided to add a small piece in the middle to serve as a brace for the weight to keep it from sagging. I plan to fill this baby up with dishes! I did this by cutting a small piece of the plywood and attaching it with wood glue and pocket hole screws.
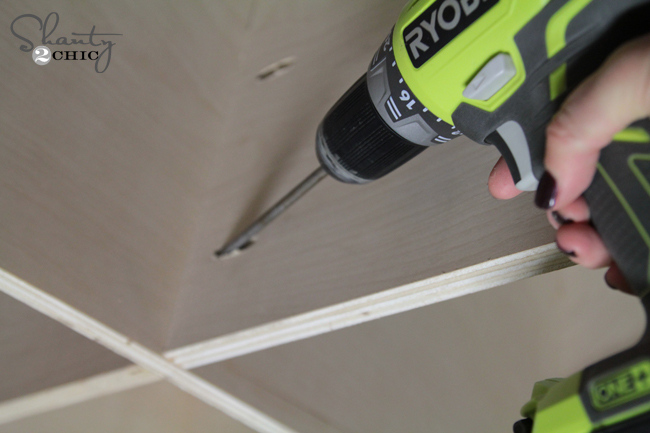
You will use a drill with the Kreg bit to attach all of these screws. The bit is included with the Kreg Jig. I used my Ryobi 18V One+ drill for mine. WE LOVE THIS DRILL. It’s the perfect size and has a ton of power. I actually have 2 to keep me from switching bits… #lazygirlprobs ????
Once you have the entire box assembled you will add your trim pieces. First, build out the face frame. I also used 3/4″ pocket holes and 1.25″ pocket hole screws on this part.
I then attached the face frame to the cabinet front.
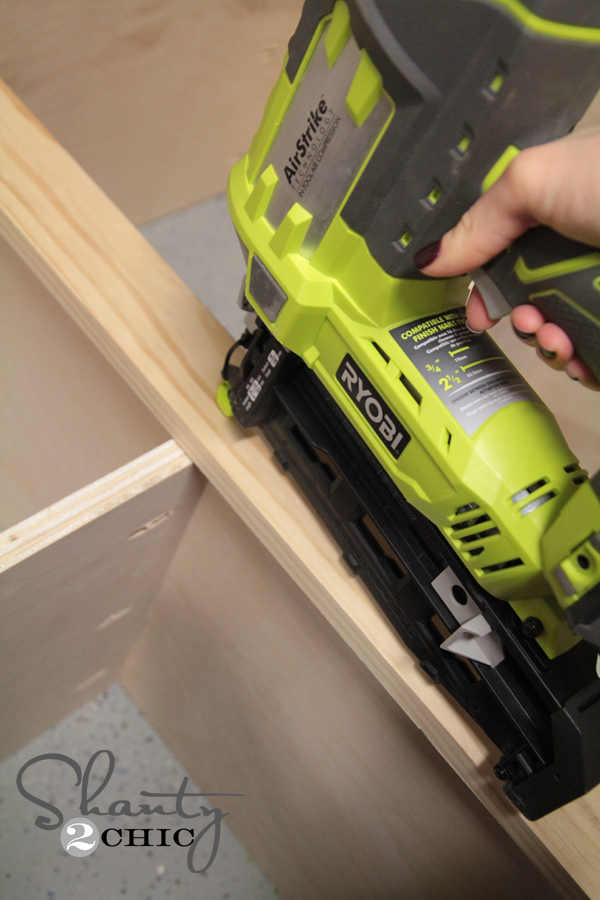
I used 1.25″ pocket hole screws through the bottom pocket holes, and I also used my Ryobi 16V Finish Nailer for this part. Yes… A battery finish nailer. It’s amazing. You need it too.
The base of my sideboard looked like this….
And it’s framed!
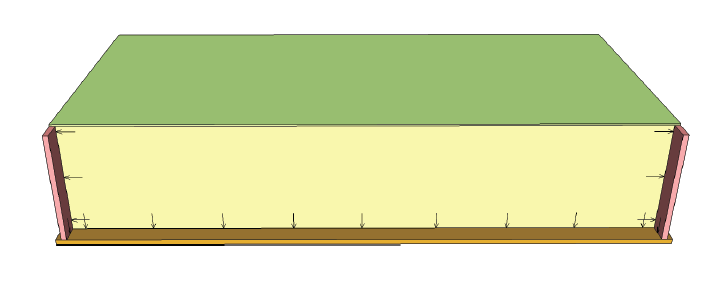
The back uses 1/4″ Purebond Plywood. I have Home Depot cut this down for me as well. This is best attached using an 18g stapler, but you can also use a finish nailer.
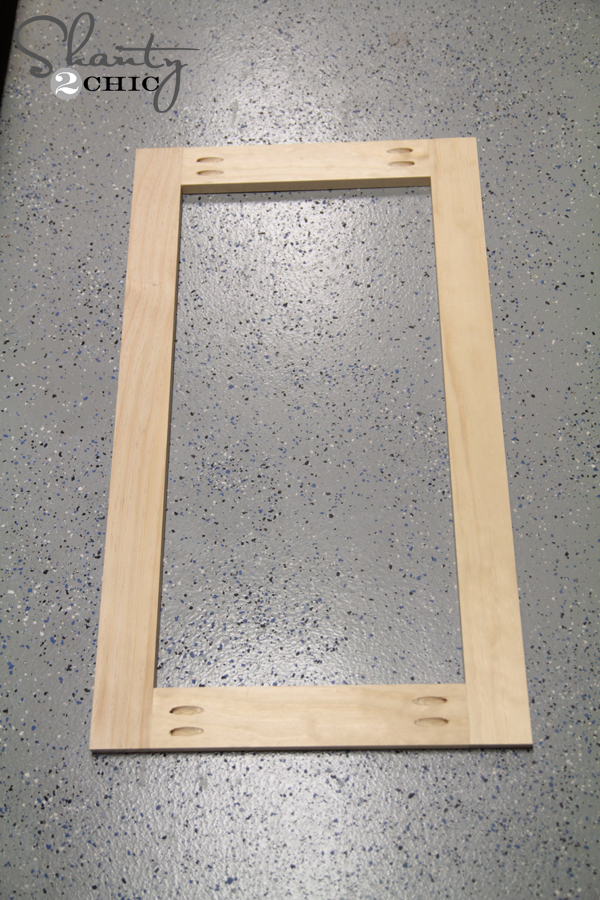
To create the doors, I used my Kreg Jig as well. I made the pocket holes on my shorter pieces and attached them to the longer ones using 1.25″ pocket hole screws.
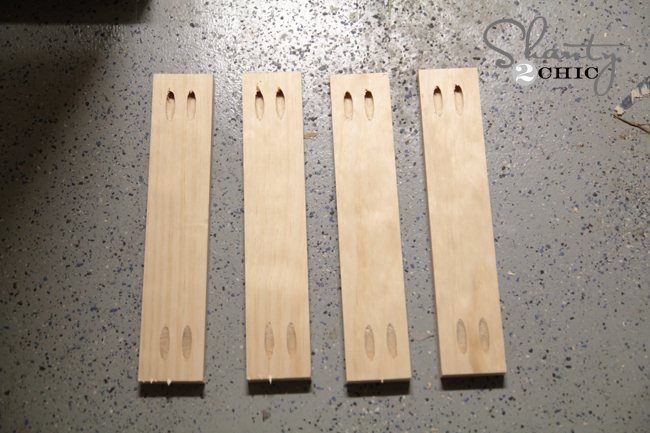
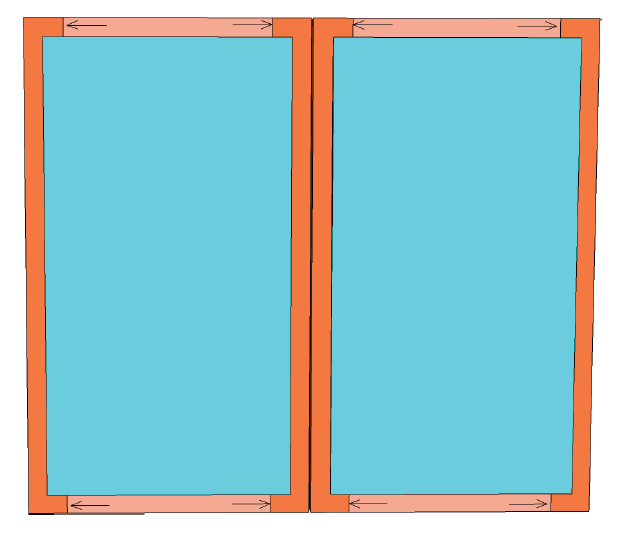
Although we give you guys the cuts for these doors, I always like to measure the opening before making the cuts to be sure on the size. I like to make the doors 1/8″ smaller all around, which would be 1/4″ smaller than the width and height of each opening. For the doors, you will have 4 longer pieces without pocket holes like this.

You will also have 4 smaller pieces each with pocket holes on both ends like this.
I attached these pieces using wood glue and 1.25″ pocket holes screws to create rectangles.

Each door looks like this!
Then, cover each door back with a piece of 1/4″ Purebond Plywood and attach using wood glue and 3/4″ brad nails.
I cut the horizontal trim pieces to size and attached them using wood glue and brad nails from the back of the door into the trim pieces.
Next, I built and attached the planked top. I created the plank top by using 3/4″ pocket holes down 4 of my 5 boards. Then, I used 1.25″ pocket hole screws through those to attach it all.
Before attaching it to the top I added a bunch of wood glue to the top of my sideboard. I had a little fun with this part…

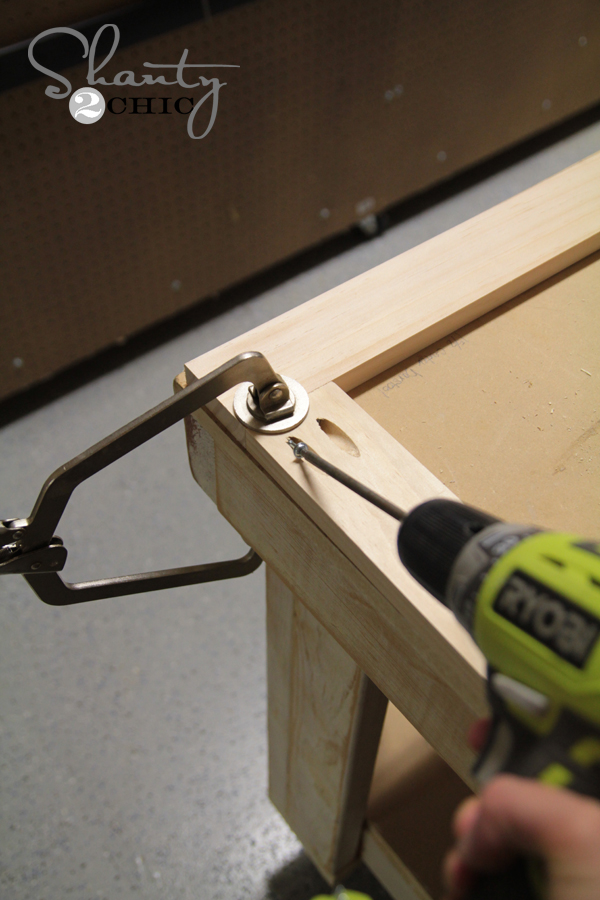
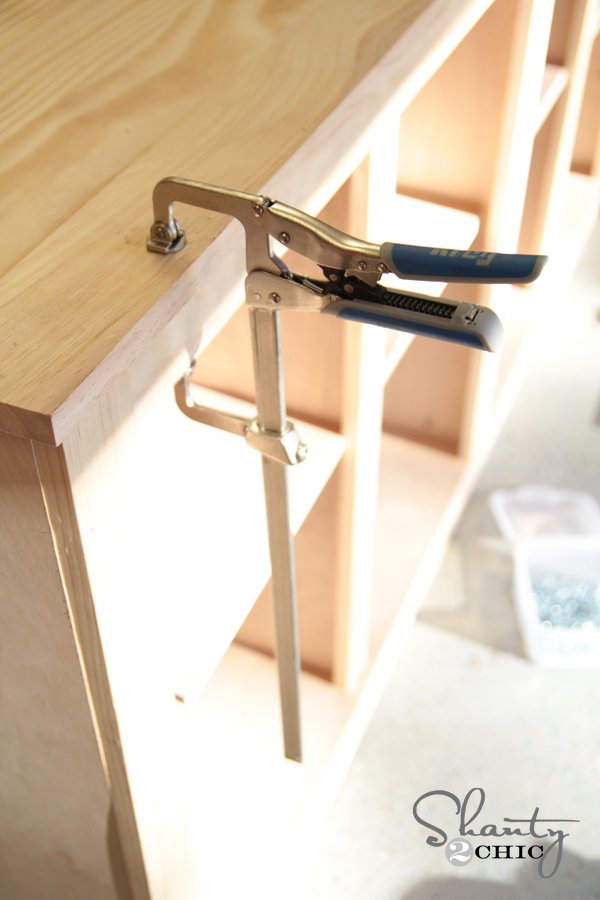
To attach the top, I used my new (and wonderful) Kreg bar clamps. I love easy bar clamps. These are so awesome… They are self adjusting and easy to use. I used mine to hold the top in place while I used the finish nailer to attach the top with 1.25″ finish nails.
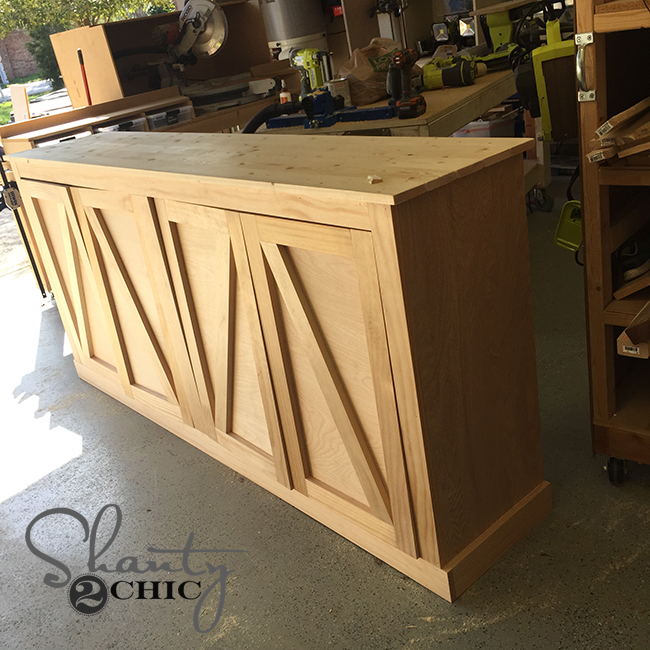
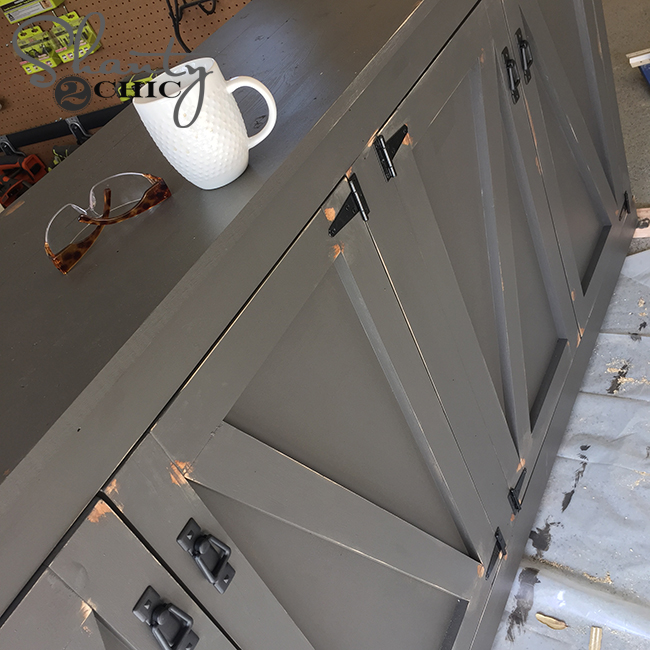
This is what she looks like all finished up and ready for paint!
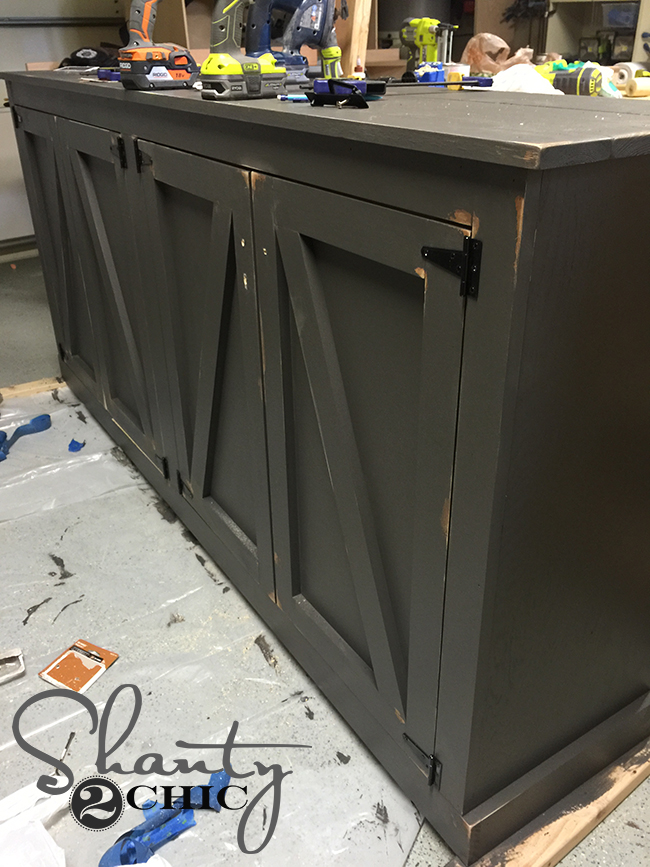
I used an AMAZING color on this piece. It’s called Urbane Bronze by Sherwin-Williams… Seriously, it’s the perfect dark grey.
I found my hardware at Home Depot.
These are the Liberty Hardware pulls I used!
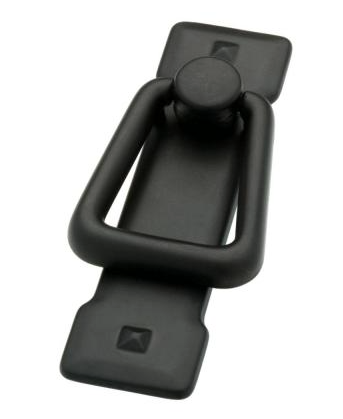
I used my drill to attach everything.
I also added a hook to the inside of each cabinet so the kids could hang their backpacks and stuff. And, here it is all finished and on display!
What do you think? I may go take it back I love it so much 😉


Hi! This is beautiful! Do you happen to have photos of what it looks like with the doors open? Thanks!
How do you cut the molding for the doors? how do you get the right angle?
We LOVE your website! We are first time self taught wood workers and your plans have really helped us be successful with the projects we’ve completed! We built this locker buffet and one of the large shelves to go above it and couldn’t be more happy with the way it turned out. Thank you and we look forward to fun new posts and projects!
What’s the angle for the door diagonal pieces?
They list the pulls and paint color in the post towards the end.
I love this piece! I’d love to see the inside of the cabinet with the doors open any chance you could post pictures??
I’m having trouble with the diagonal pieces on the door fronts. Do you know the angel you used on the cuts? Or do you have another way to describe how you got them to fit?
Thanks.
I am almost at the point where I have all the tools I need to make this but I am so afraid I am going to screw this up. It will be my most difficult build yet! YIKES
Shanty2Chic. Where did you find your hinges? Do you happen to have a link or dimension for them. Want something like that but having a hard time finding ones that aren’t super long. Help would be so appreciated. Thanks!!!
Did you ever find some? I am looking for them too and they are either too long or ugly.. lol