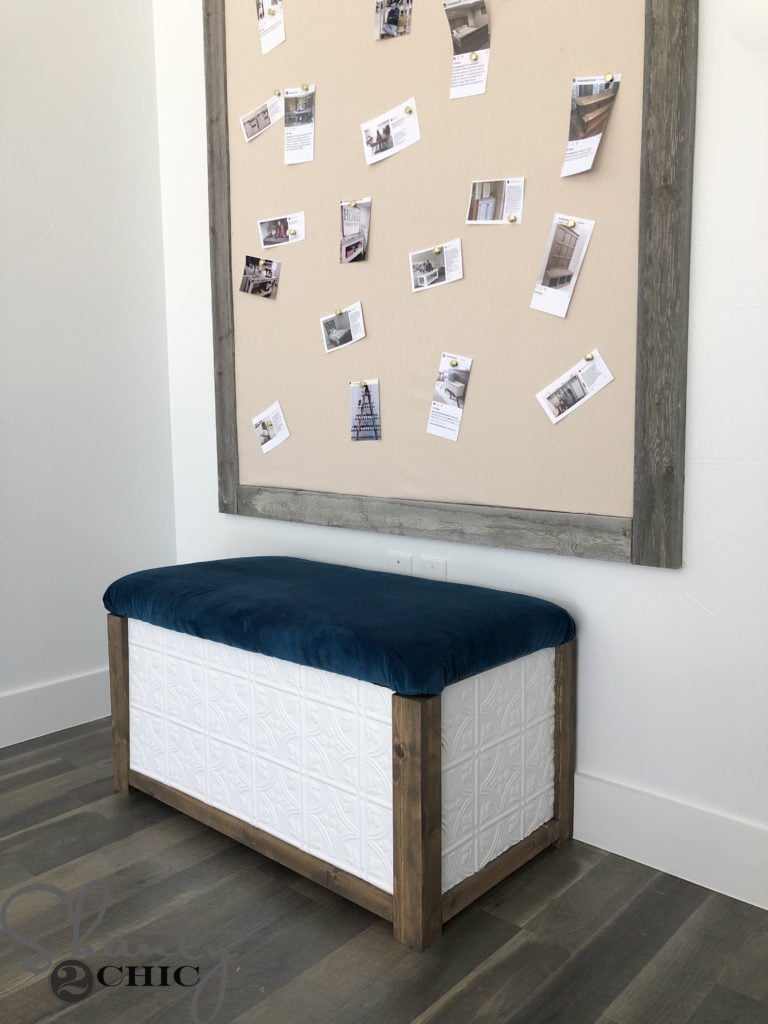
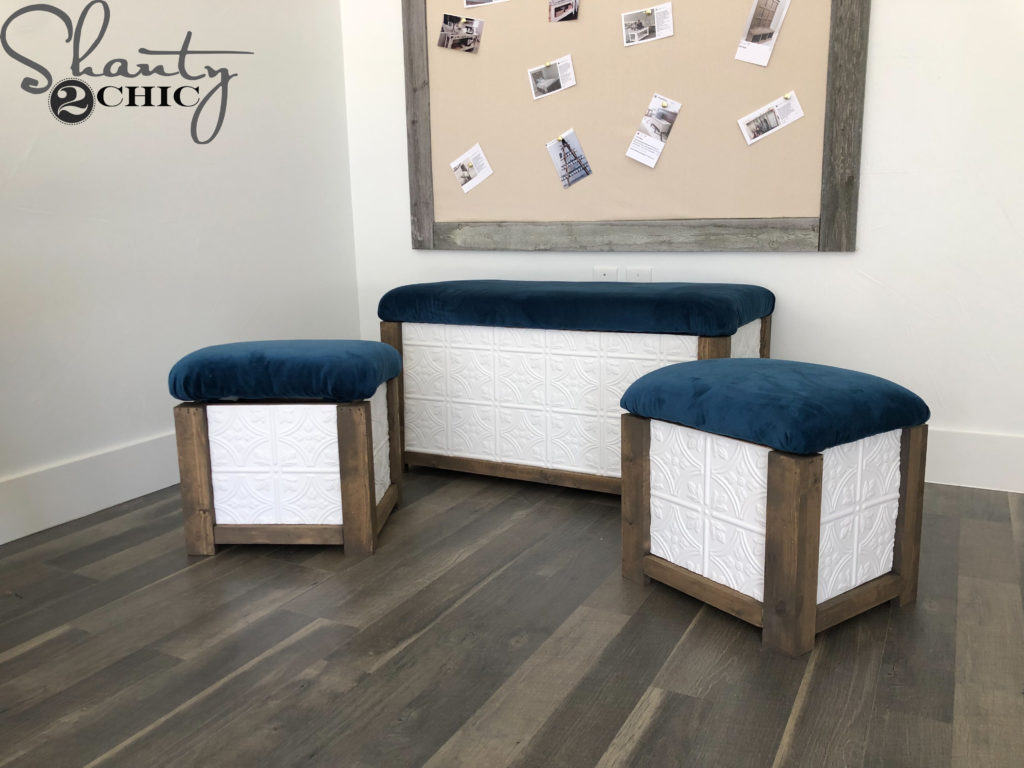
If there’s one thing that we are always looking for MORE of, it’s storage! Today’s plan combines our love of storage and our favorite faux tiles! Come build this DIY Trunk with Nesting Ottomans with us! Just click HERE or the box below to watch!
Make sure to download the FREE Printable Plans HERE and follow along in the how-to below! Note: This set of plans is for two ottomans and one trunk. The trunk and ottomans are built the exact same way. So, let’s start with an ottoman!
DIY Trunk with Nesting Ottomans
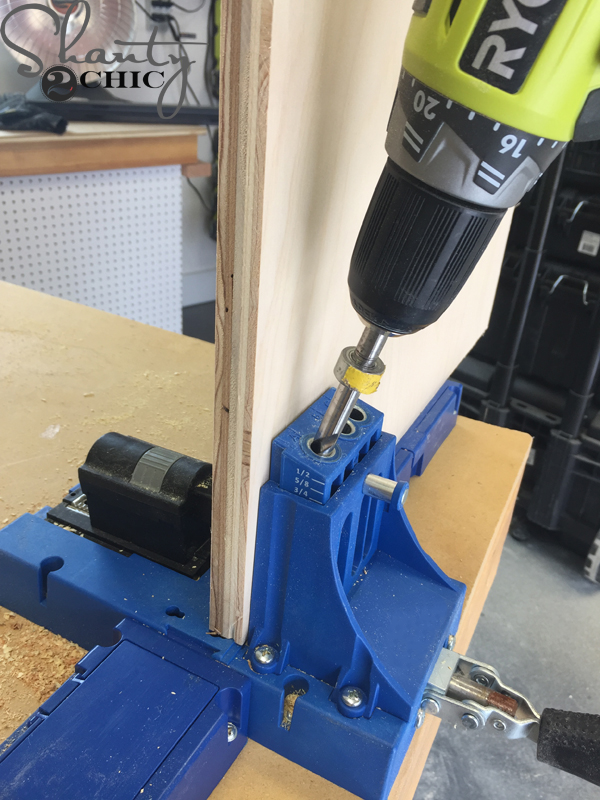
After cutting the plywood pieces to size, we used our Kreg Jig to drill 3/4″ pocket holes on all sides of the bottom piece and the ends of the front and back pieces. You can find our favorite Kreg Jig model HERE!
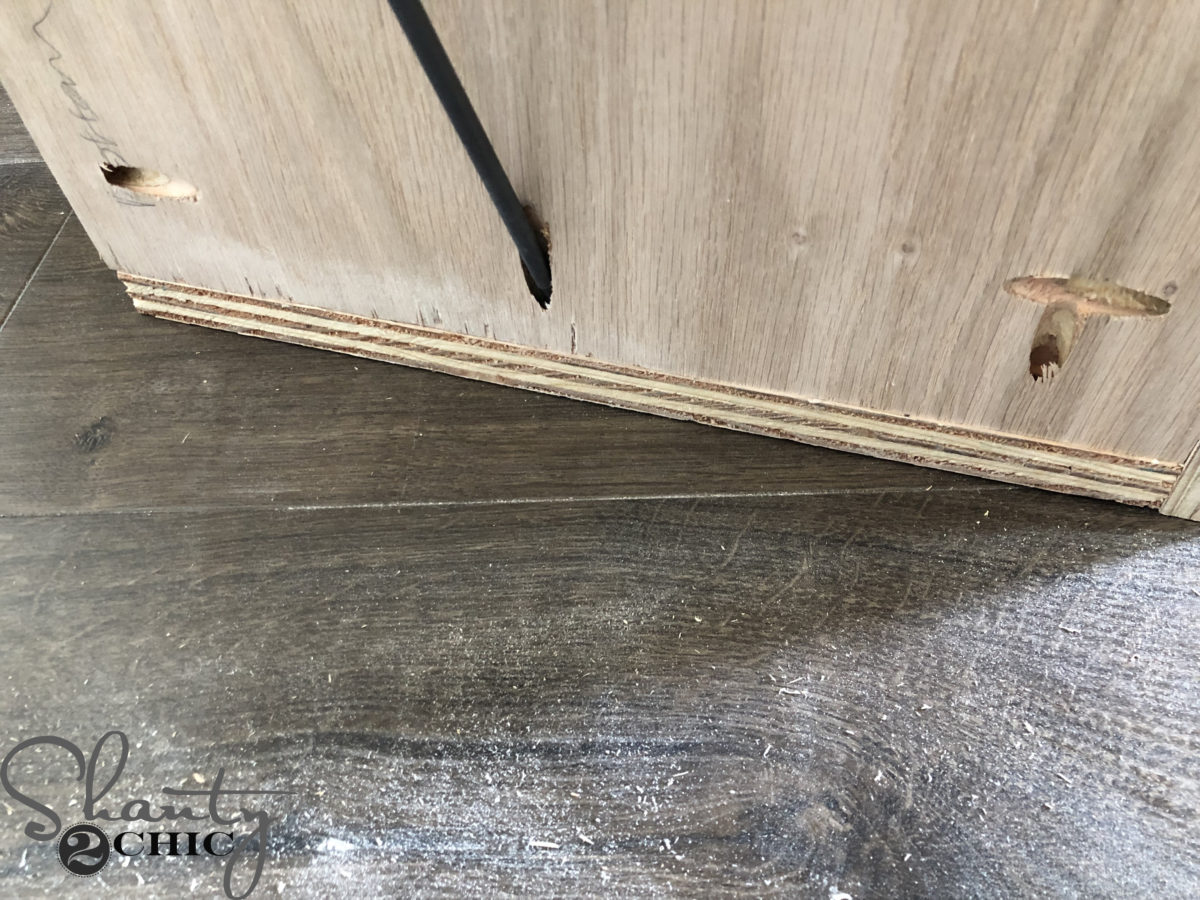
Then, we attached the front and back pieces to the bottom piece with 1 1/4″ pocket hole screws and wood glue. The pocket holes should face out. They will be covered by the faux tin tile!
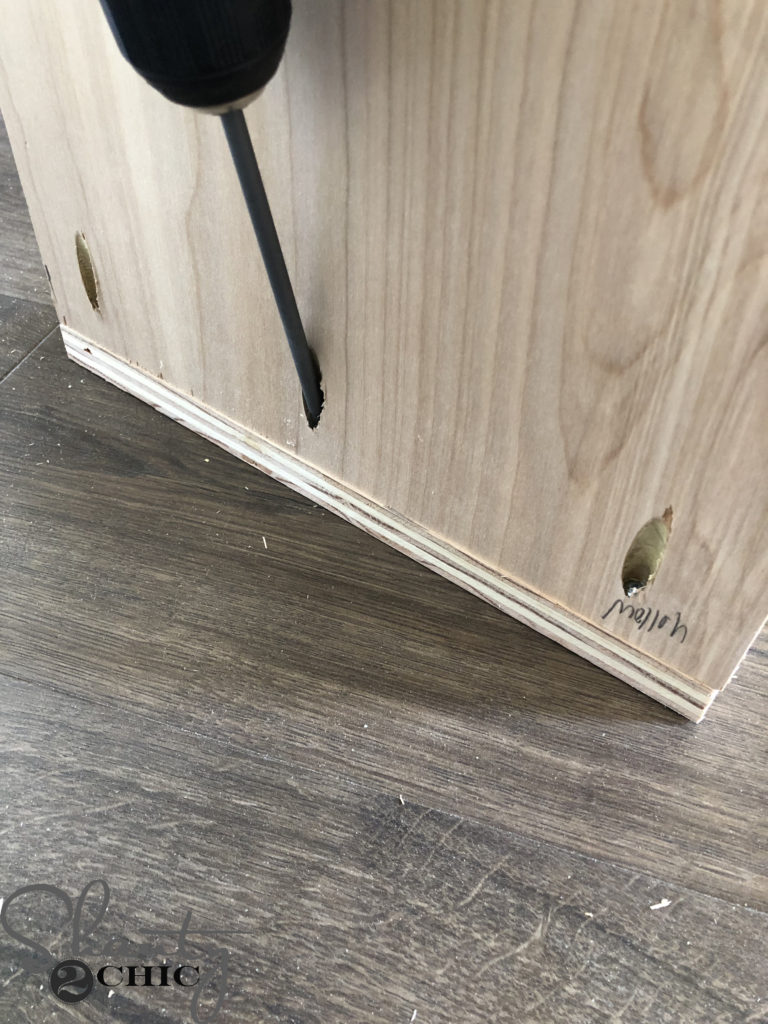
We flipped the piece over and attached the side pieces to the trunk with 1 1/4″ pocket hole screws and wood glue.
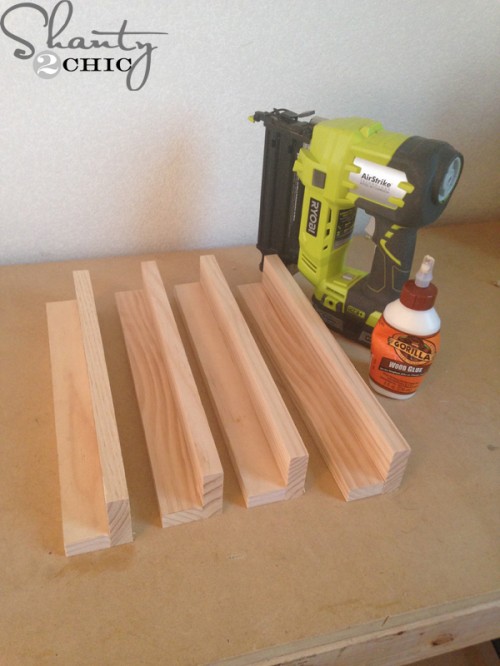
We cut the leg pieces to size and attached a 1×2 to a 1×3 with 1 1/4″ brad nails and wood glue. Do this for all four legs.
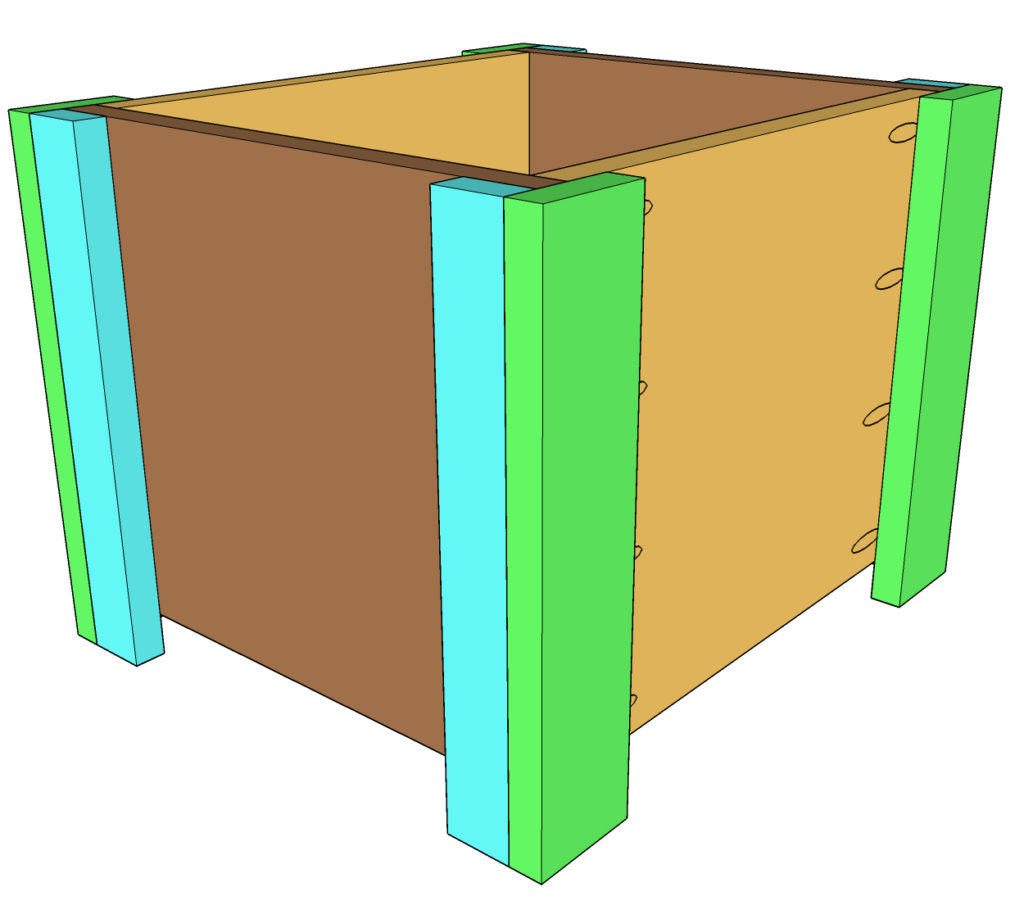
We attached a leg to each corner with 1 1/4″ brad nails and wood glue. The 1×3’s should be on the front and back of the ottoman. The top of the legs should be flush with the top of the ottoman and they should extend 1″ past the bottom.
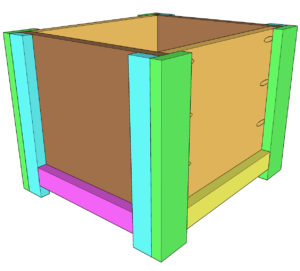
We cut the bottom trim pieces to size and attached them to the bottom with 1 1/4″ brad nails and wood glue.
Before finishing the lids and adding the faux tile, we applied one coat of stain to all of the pieces. You can find the stain we used HERE.
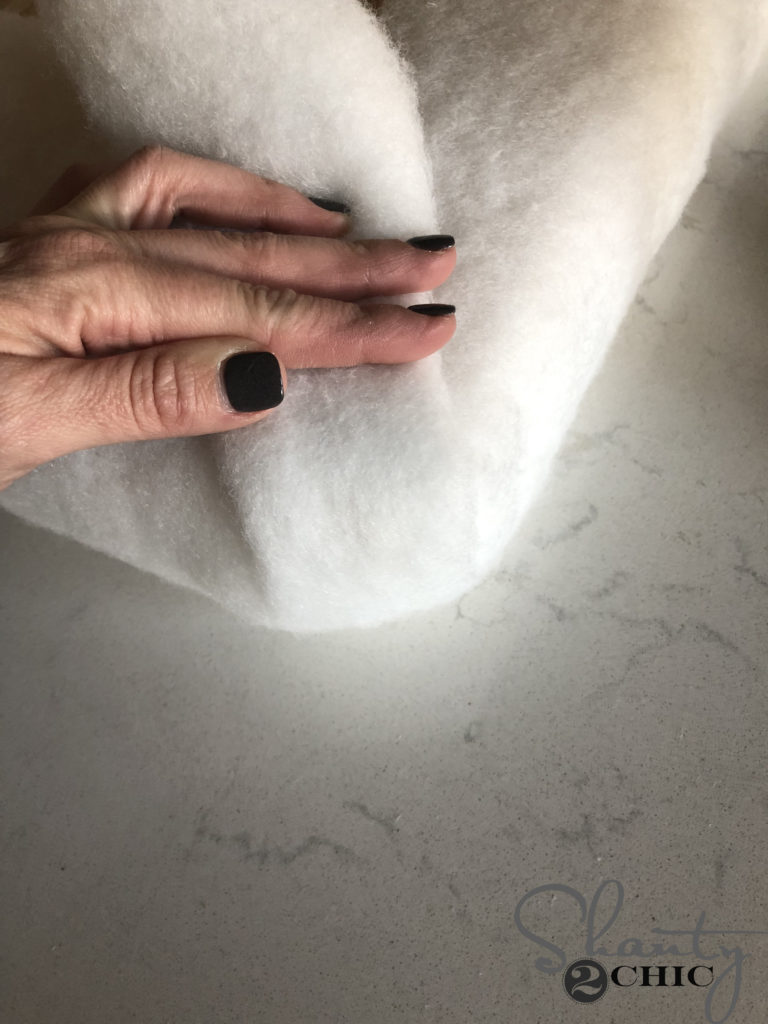
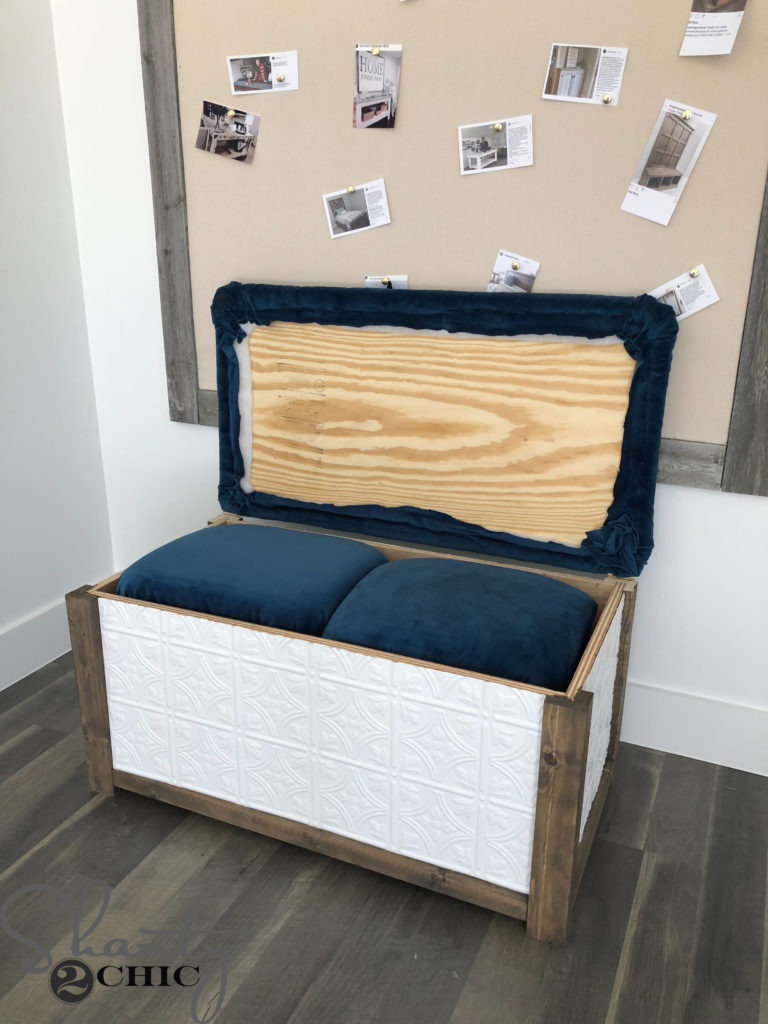
Once the two ottomans and trunk were built, we attached the 2″ batting and fabric to the trunk and ottomans. We found our batting and fabric at Hobby Lobby. Make sure to check out more details in our how-to video!
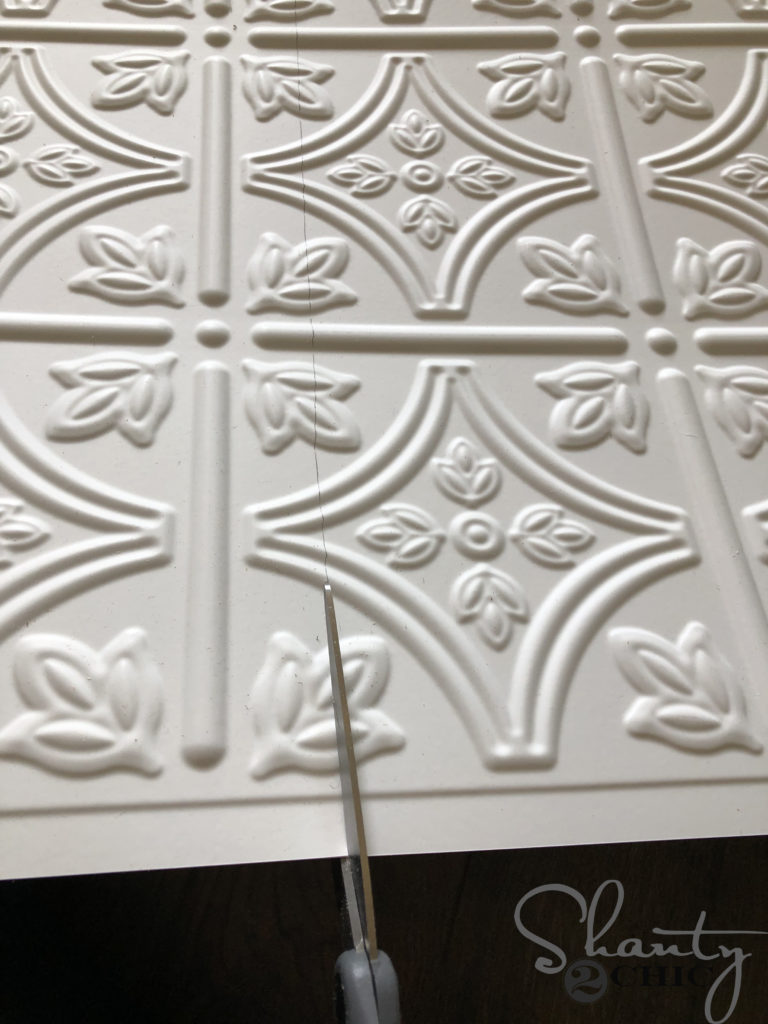
We cut the faux tin tile to size and attached each piece to the sides, front and backs of the trunk and ottomans, with hot glue. The trunk will need 2 faux tin panels on the front and back. You can match up the design and overlap for a seamless pattern! You can find the faux tin tile HERE!
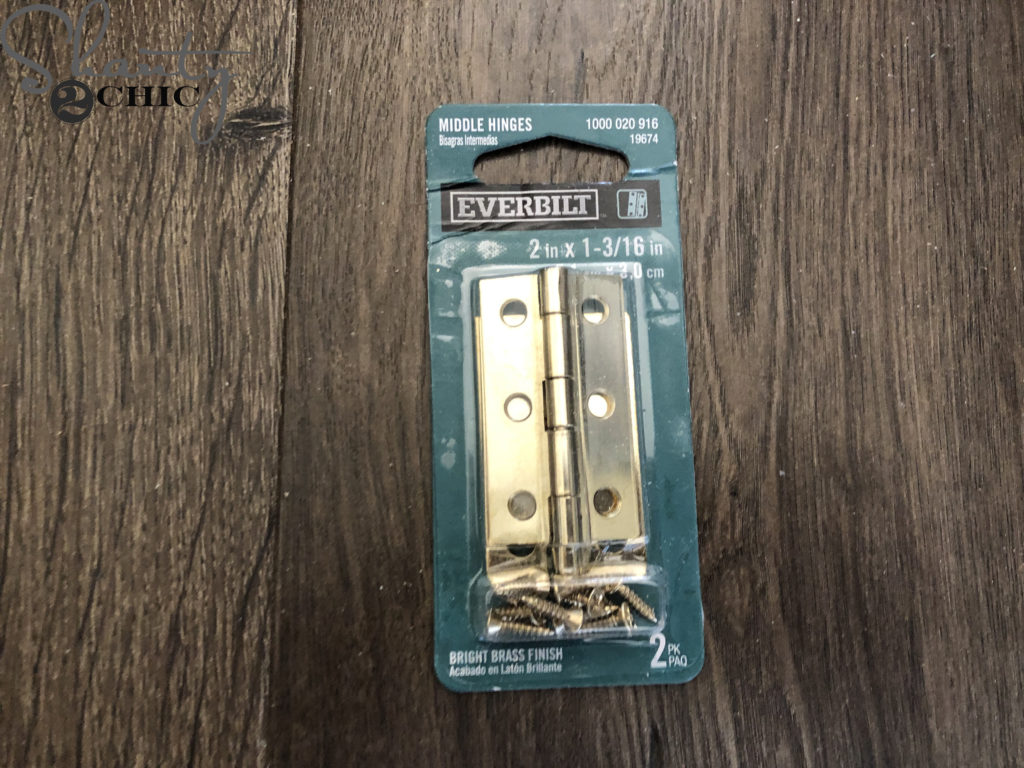
For the hinges, we used this pack of two, 2″ hinges. You can find them HERE!
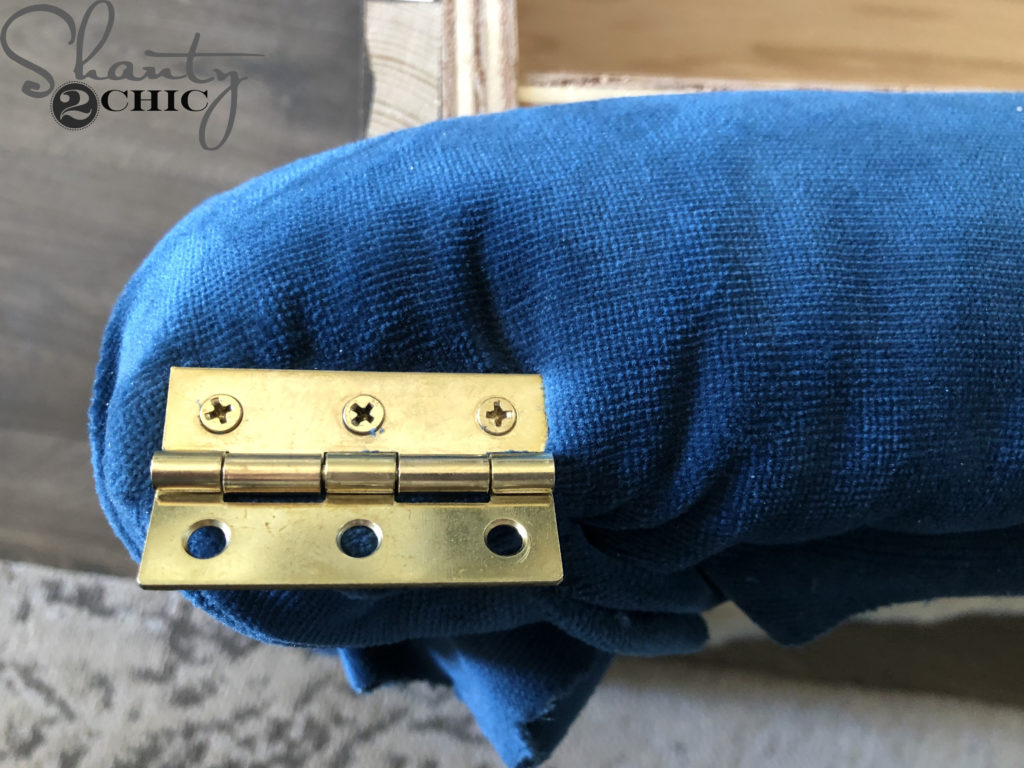
We attached the hinges to the lids first (no need to pre drill here) and then into the legs.
That was it! A super cute and super easy project with all the storage!

Make sure to share your builds with us on social media and use #shanty2chic so we can share them too!
Happy Building!


This is a very clever and multifunctional furniture project. The combination of a trunk with nesting ottomans makes great use of space while adding both storage and extra seating. I appreciate how the design balances practicality with a clean, stylish look. It’s always inspiring to see multifunctional furniture ideas alongside broader interior and material trends here: https://plywoodbazar.com/ A smart and versatile DIY build.
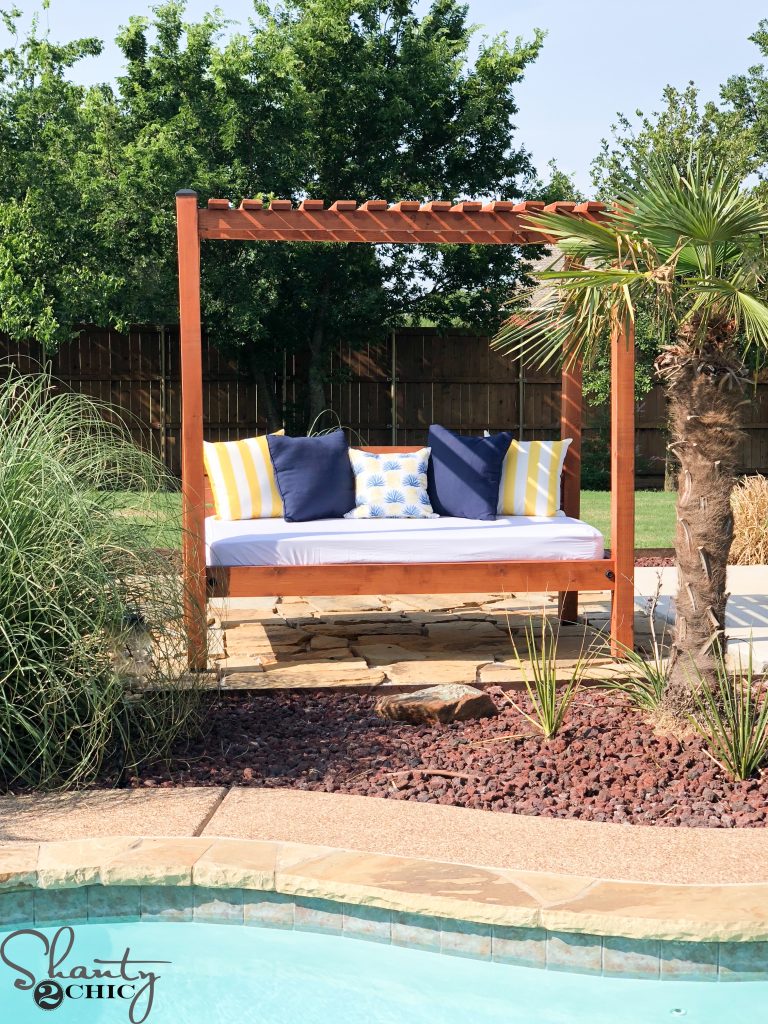
I like the rustic modern king bed set do you have the cut plans for a queen bed?
It looks great! For the under part of the lid, you could also add fabric and staple around to hide all the gathers and batting. It would just look more finished, I think. Other than that, great job!
What plastic glue holder did you put the Gorilla in? This was when you were building the trunk and ottomans.