Wowwwwww! How fun was that?!?!? Thank you to everyone who just tuned in to our two new episodes of Open Concept on HGTV! We decided that the first plan (of many more to come) to share with you guys should be the DIY Modern Farmhouse Table that we built for the Berry House! We have had so many requests for the plans, since we did built it live on Facebook, so of course, we can’t make y’all wait any longer for it! If you missed the live build you can see it HERE on our Facebook page.
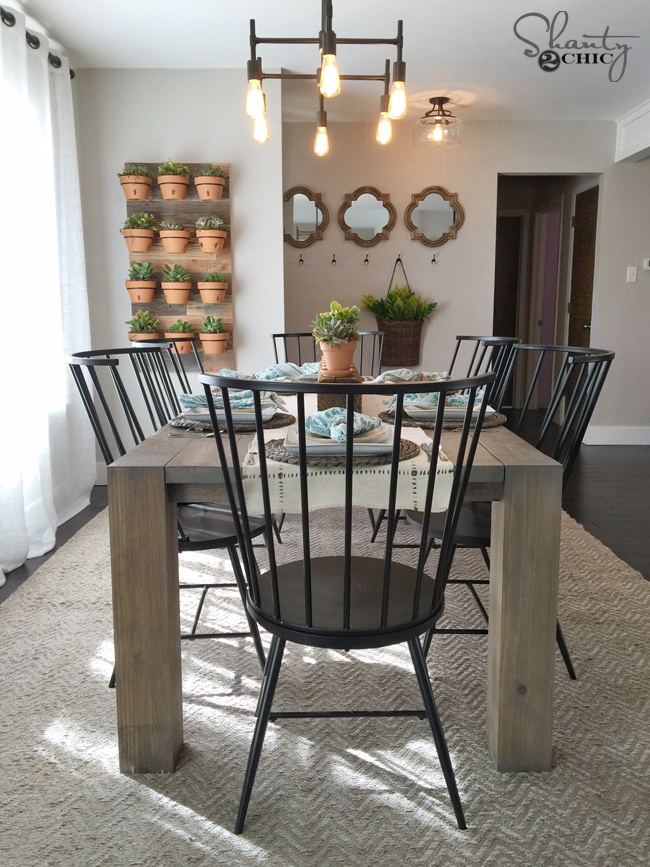
How do you like it?!?! It’s become a quick favorite of our tables!
Now for the build! This is an easy build with minimal steps – yay! If you are a newbie to building, this is a good table to tackle!
Here are the 5 tools you need to build it:
Table saw
Miter saw
Drill
Kreg Jig
Sander
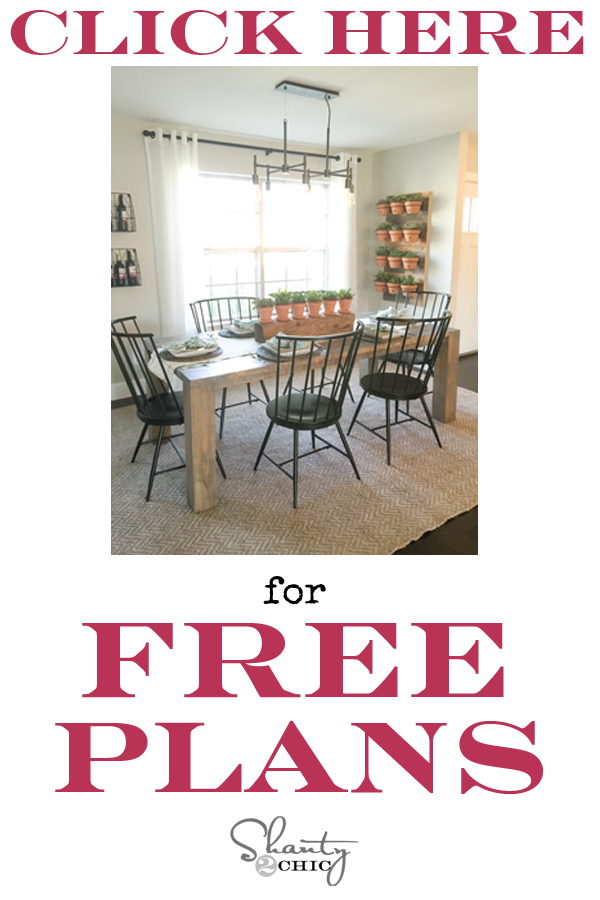
You can click the image above or HERE to print the free plans!
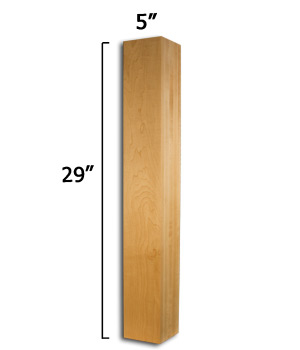
I started with 4 of these furniture legs from Osborne. I used knotty pine and you can find them here! If you want to save money and have the tools, you can piece together scrap 2×4 boards to form a 5’x5′ leg.

To begin, I ripped the rounded edges off of every board. This is necessary for the planks on the table top because you want them to be 5″ – the exact width of the table legs. It’s also great to do this because it will create a smooth table top and you won’t have “crumb catchers” between each board. We also did this to the 2×3 apron pieces and supports because it gives a more high-end look (and it’s modern so the clean lines add to that style).
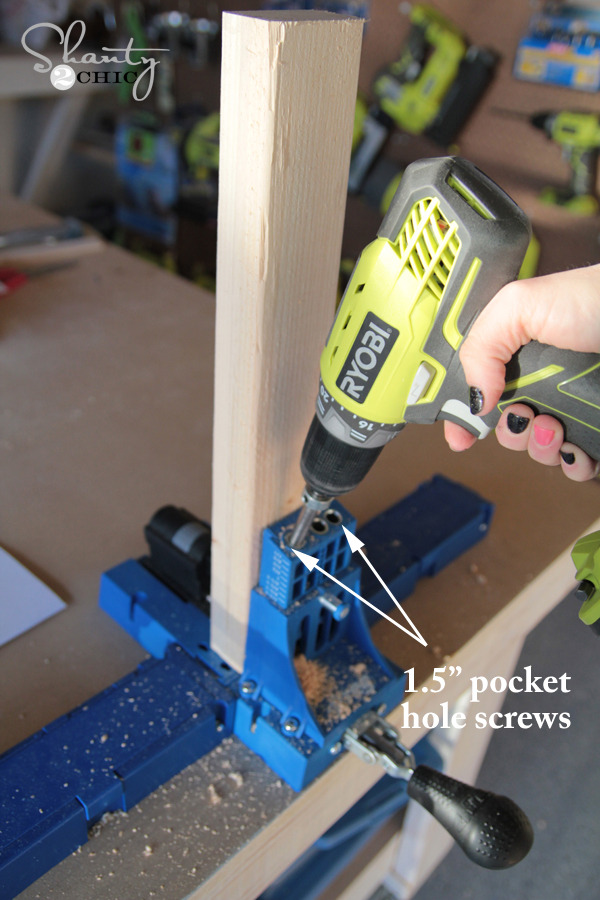
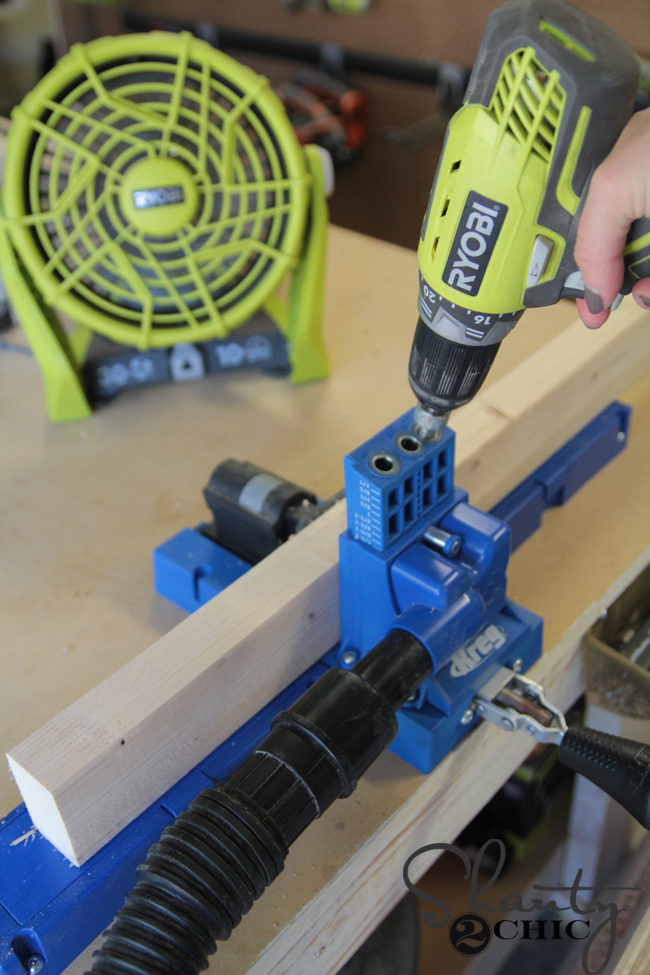
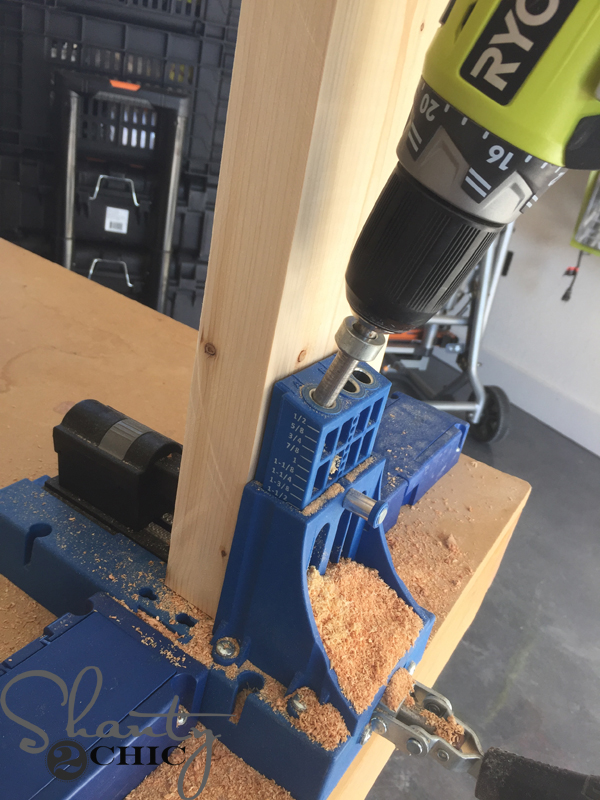
Make the cuts for the apron pieces first. Then drill two, 1 1/2″ pocket hole screws into the ends of each piece. You can find the Kreg Jig K5 on Amazon HERE. You can see our tutorial video, How to Use a Kreg Jig HERE!
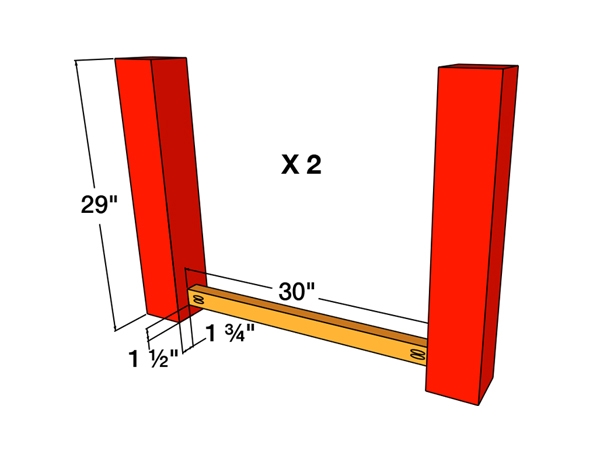
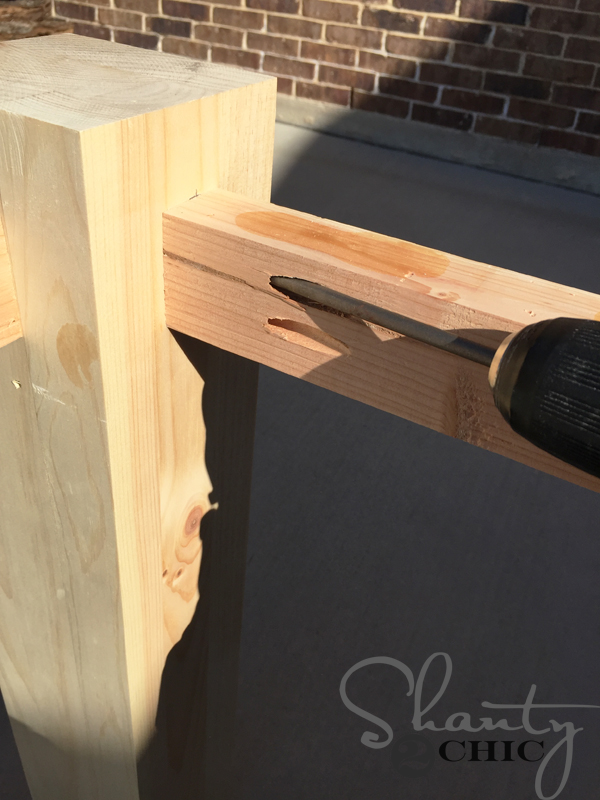
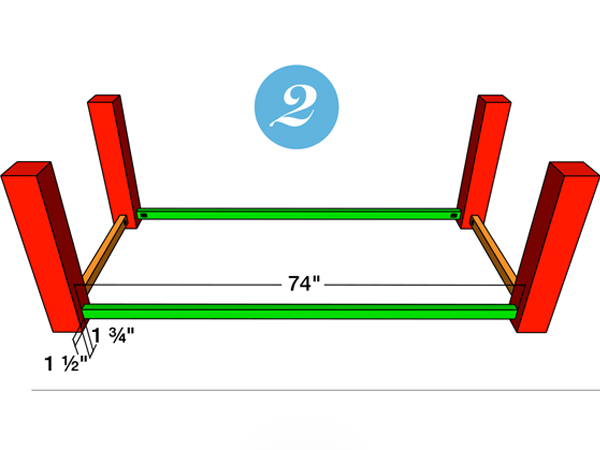
Now, attach the apron pieces to the legs. You will put each piece 1 1/2″ down from the top of the table leg. This will give room for the planks on the top and allow the top of the legs to show. The apron piece is also centered on the leg.
Your table should look like this now!
Next, cut the cross supports and drill six, 1 1/2″ pocket holes into each board. You want these to fall around the center of each plank so, mark in 4 1/4″ from one end for the first pocket hole. Then, make one every 5 inches after that. You will see the holes on the top of the board but that’s ok! You won’t see them under the table 🙂 You will also put two 1 1/2″ pocket holes on each end of the supports.
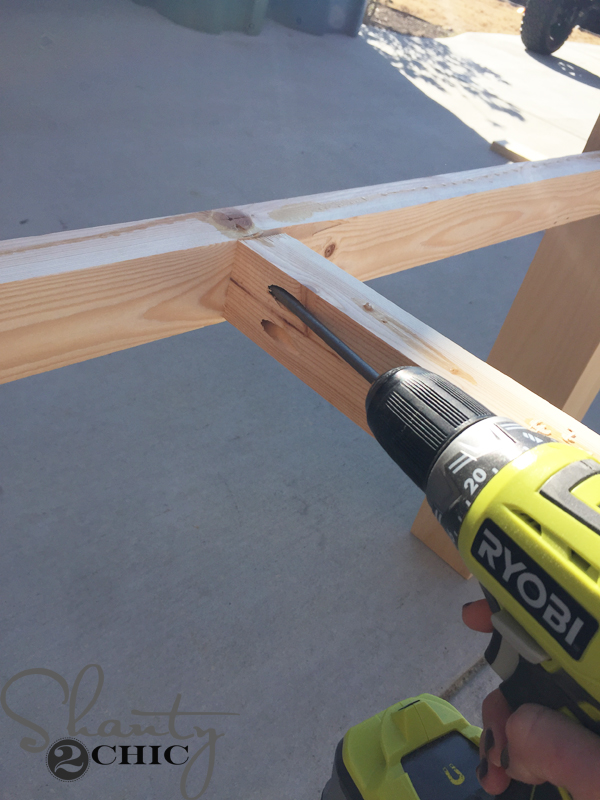
Attach the supports to the outside apron pieces with wood glue and 2 1/2″ pocket screws.
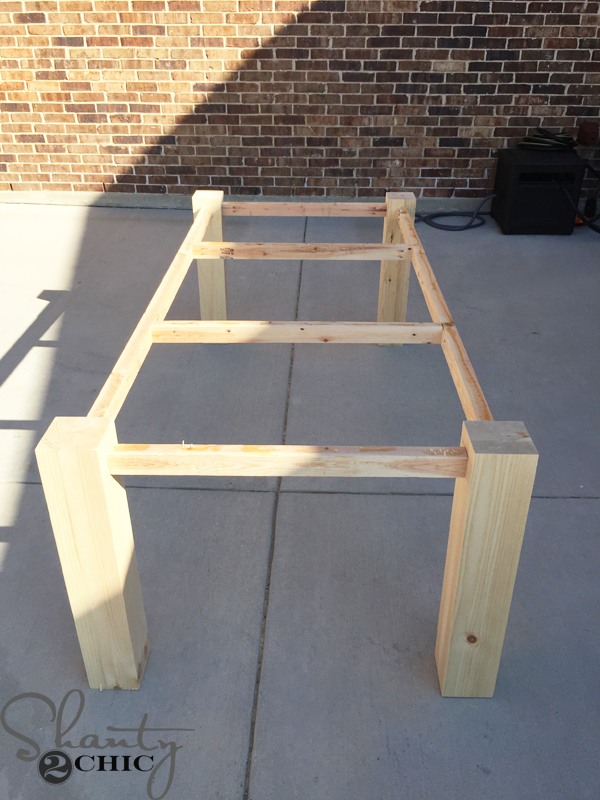
You can eyeball the placement of the supports. Keep adding them until all 5 are attached.
Now for the top! Cut your outside planks first. Then, drill two 1 1/2 pocket holes on each end of the boards. Make sure the pocket holes are close to the edges of the board because the apron will rest between them.
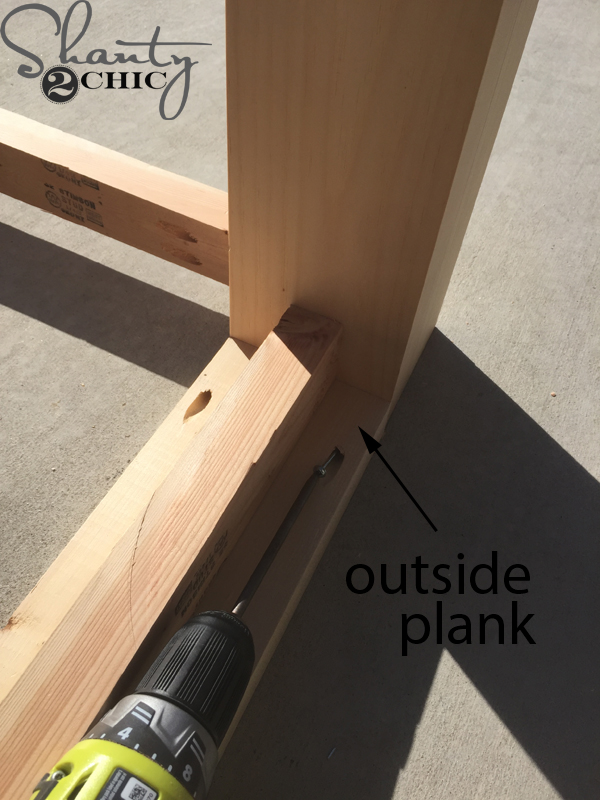
Attach the outside planks with 2 1/2″ pocket holes. The edges of the plank should be flush with the edges of the table leg.
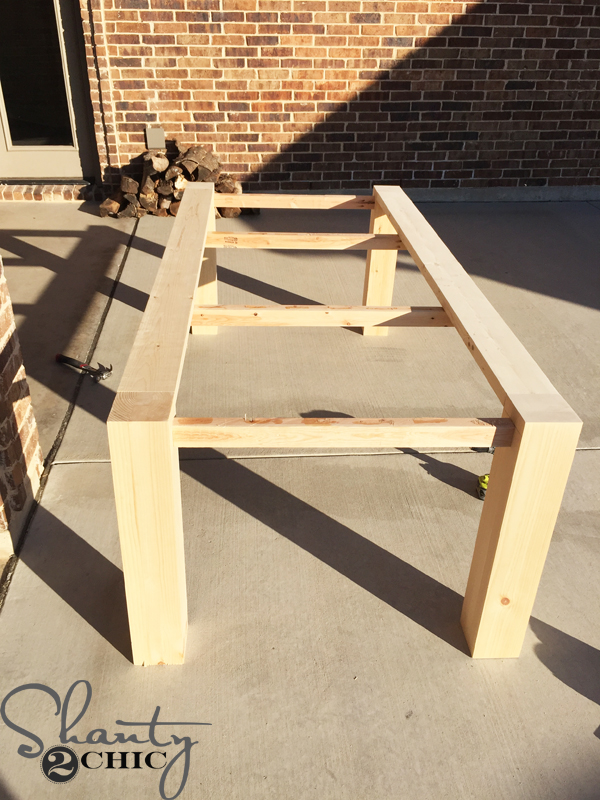
Your table should look like this now!
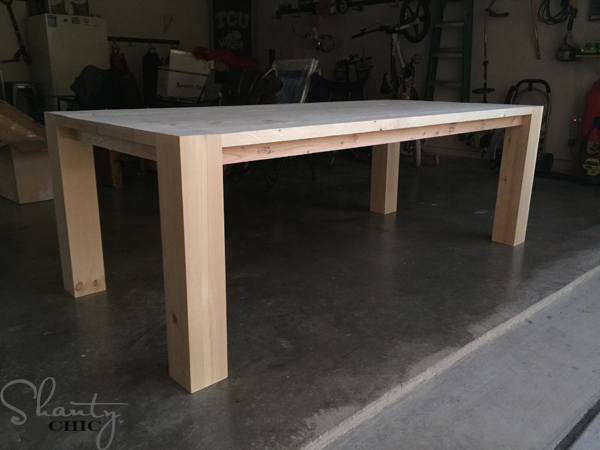
Add the remaining plank pieces and attach them with 2 1/2″ pocket screws and wood glue.
Now for the stain!
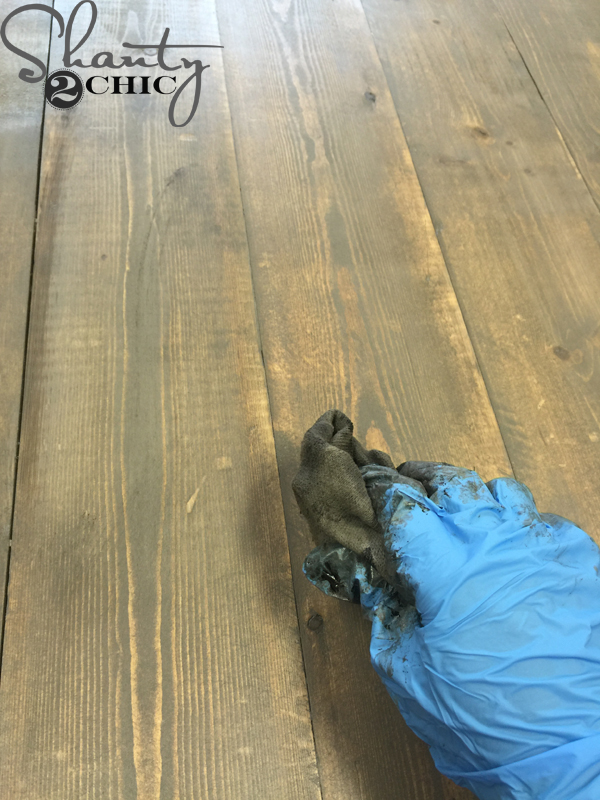
I mixed Varathane Ash and Varathane weathered gray stain – 50:50 ratio. To apply the stain, just wipe it on with a clean cloth, let it dry for about 5 minutes then wipe the stain with another clean cloth.
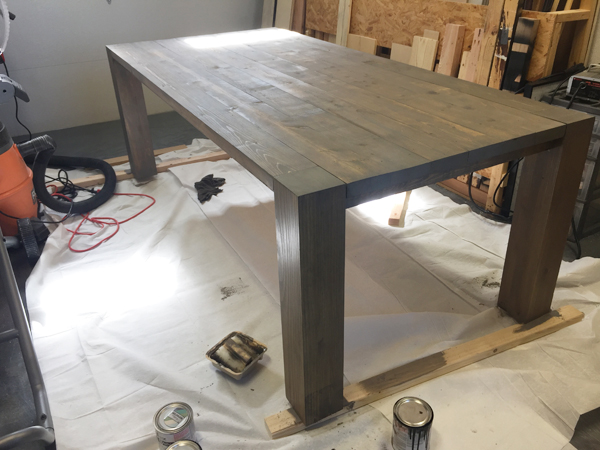
Ready for the finish 🙂

To protect the surface, I applied one coat of Varathane Triple Thick Polyurethane in satin finish. Use a paint brush to apply.
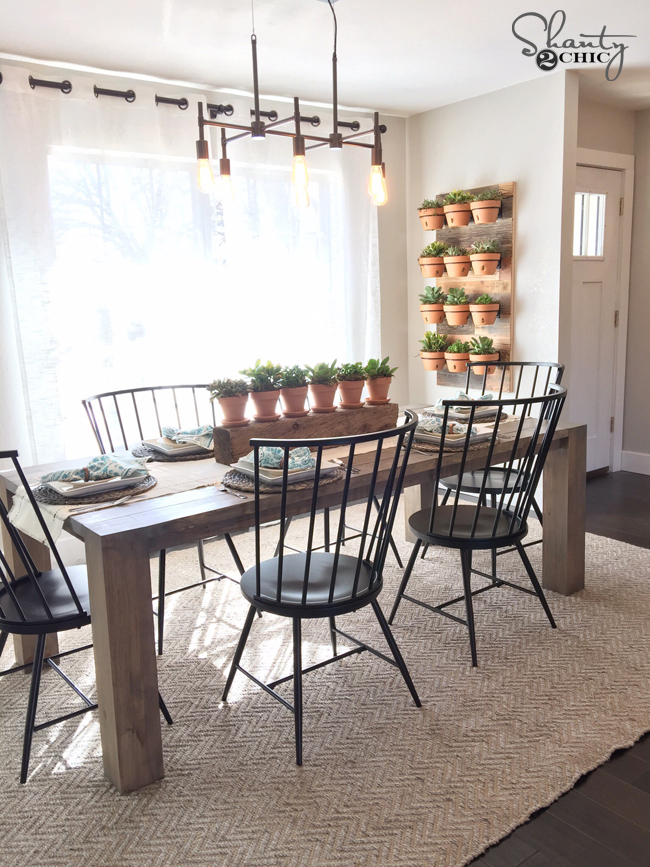
That was IT! How easy is that?! If you want to find the other things you see in the this space you can click the links below!
Dining Chairs from Wayfair HERE
Chandelier from West Elm HERE
The mirrors on the wall can be found HERE
Hanging Basket on Wall from World Market HERE
Napkins from Anthropologie HERE
Napkin Rings from World Market HERE
White Dinner Plates from Target HERE
Round Salad Plate from Target HERE
Table Runner from World Market HERE
Woven Chargers from Hobby Lobby
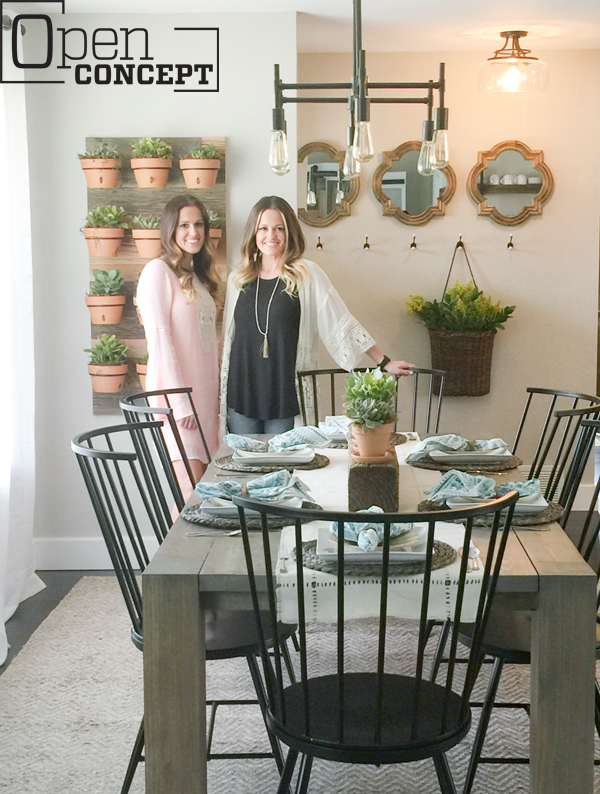
Thank you so much, again, for tuning in to our show! If you missed it, we will keep you posted as soon as we find out when it will re-air!
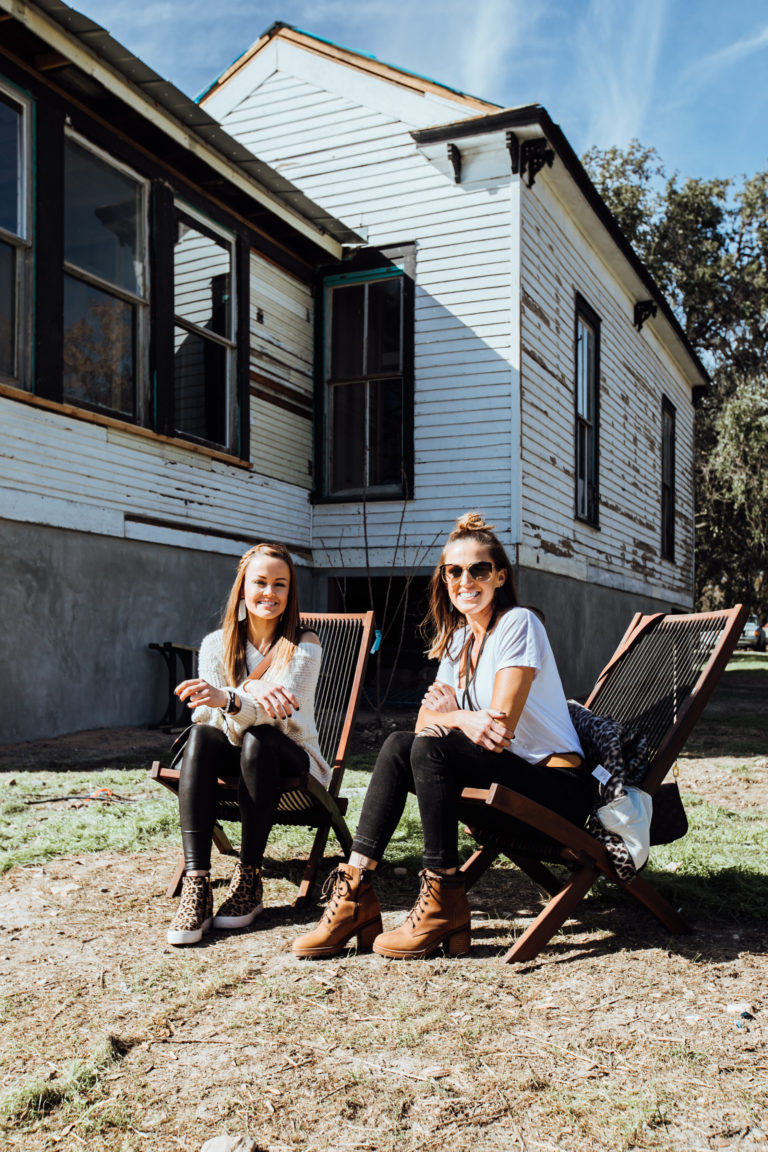
Thank you guys!
Ashley and Whitney
Did you know we have a full collection of over 25 DIY dining table plans? Go check them our and find the design that fits your style best!


How did you disassemble this to get it inside?
Hi! Wondering if you think this structure would be solid enough to stretch the table to a 12 foot length? We have a big family to seat 🙂
Hi! I just heard about y’all and I’m literally obsessed. I’m having a hard time finding the video for this build. Can you help? I’ve searched everywhere!
Hello. Thank you for all the inspiration. I have a stack of your plans saved as projects. Would it be a problem to make this table longer to accommodate more seating? I wasn’t sure if it would compromise the rigidity. Thank you!
I’m trying to find the chandelier but the link is not working. What is the name of the chandelier? Thank you!
Beautiful! Where is the rug from?
What type of wood did you use?