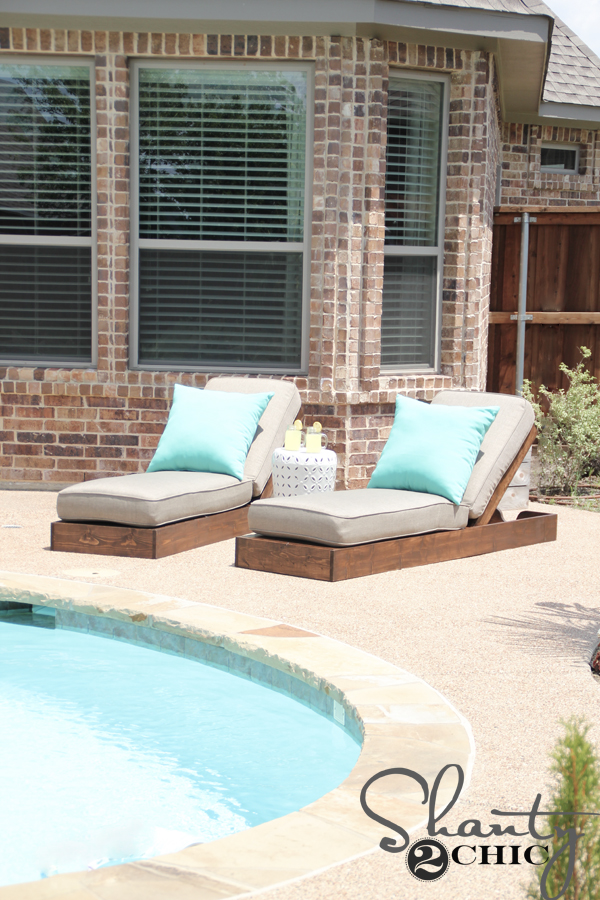
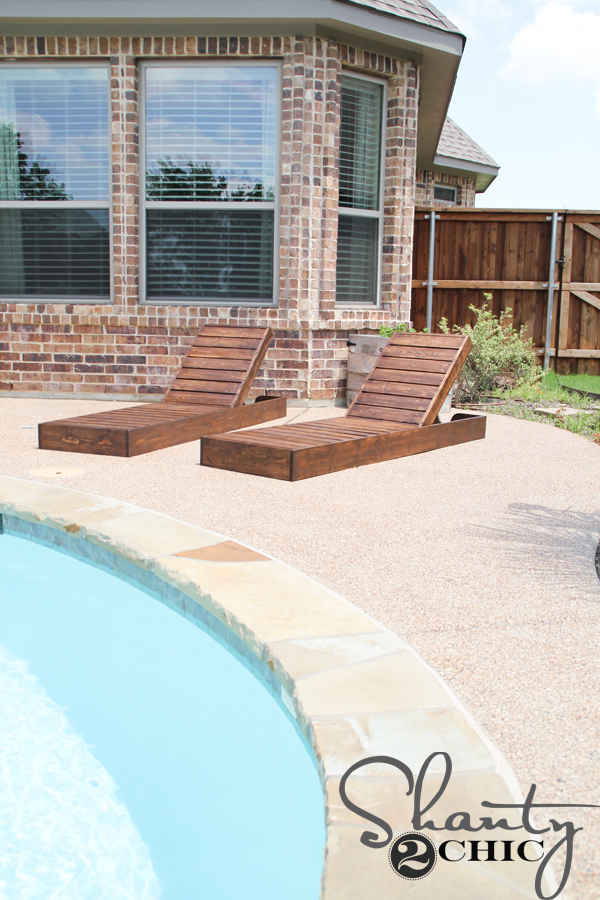
The rain has finally let up, down here in Texas, and I couldn’t wait to get busy building this new set of lounge chairs, that I’ve been dreaming of, since we built our house!
I had too many pieces of furniture to build for the inside of our home, last summer, so I had to save these for this year! I am happy to say that they were well worth the wait! They are super comfy and I love their custom high-end look. I also love that they only cost me about $80 each in lumber! Similar chairs that I have looked at are hundreds to thousands of dollars!
These chairs were designed to fit these cushions that I found from Home Decorators Collection (I picked the Heather Beige color). I was looking for affordable deep cushions and I loved the color options and the price of these! Deep cushions are pricey and I felt the quality and the cost of these cushions couldn’t be beat!
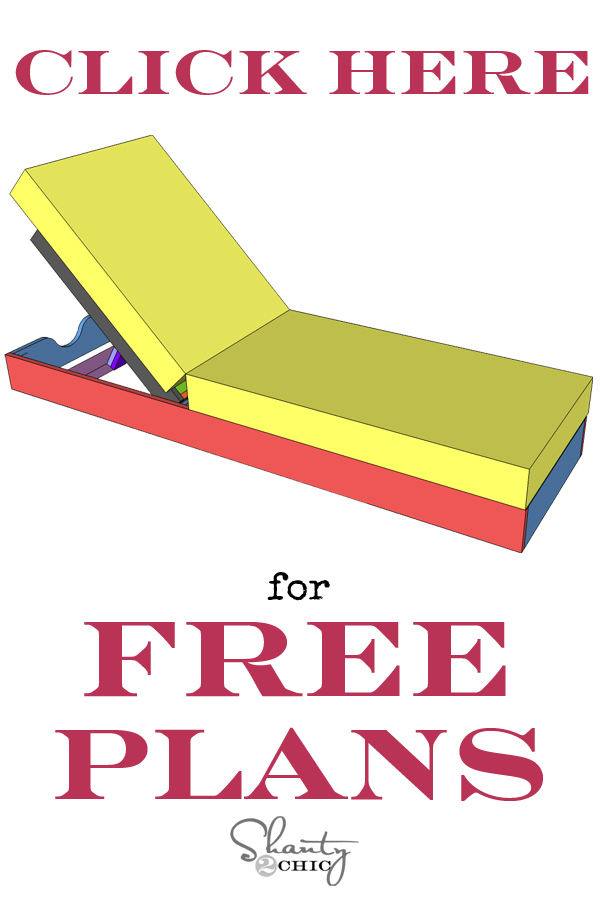
We’ve got the free plans for you as well as the step-by-step tutorial to help you build your own! Just click the image below or HERE to print your plans!
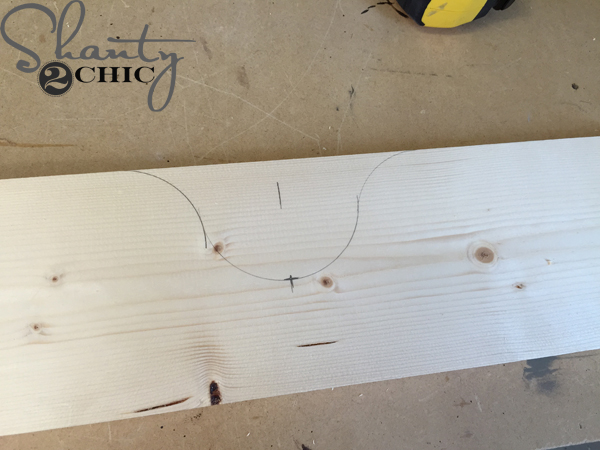
I made the cuts for the frame first then I marked for my jigsaw cut, according to the plans. (This doesn’t have to be exactly to scale – I just found something round lying around my shop and traced it).
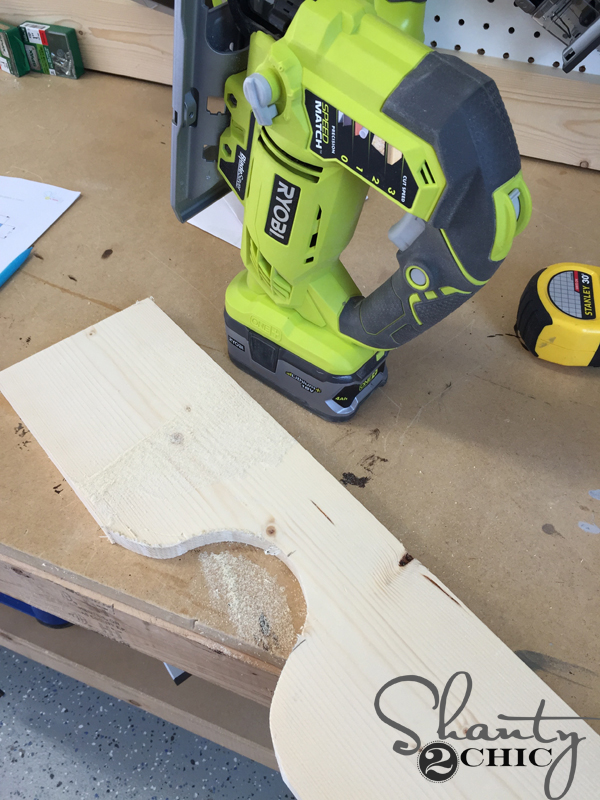
Then, I clamped the board to my workbench and cut along the line with my jigsaw.
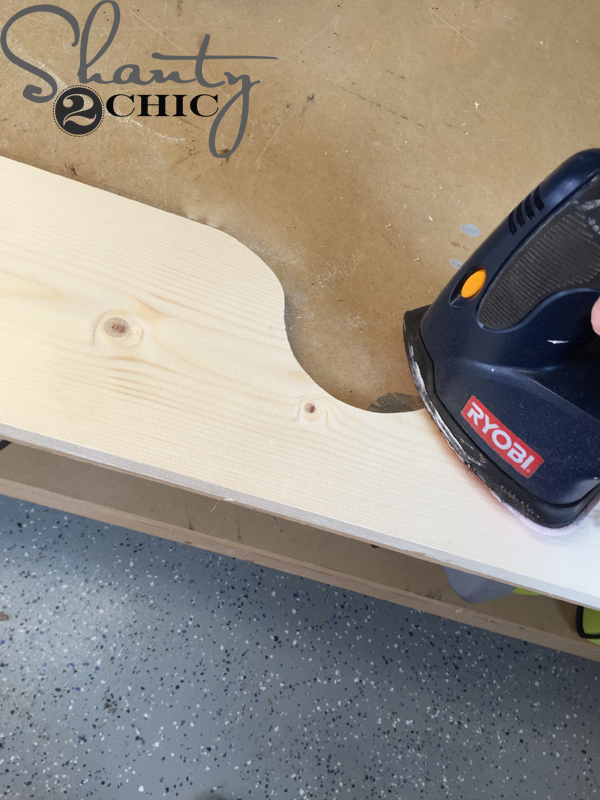
The cut won’t be perfect but it’s super easy to sand it smooth. I used my Corner Cat Sander.
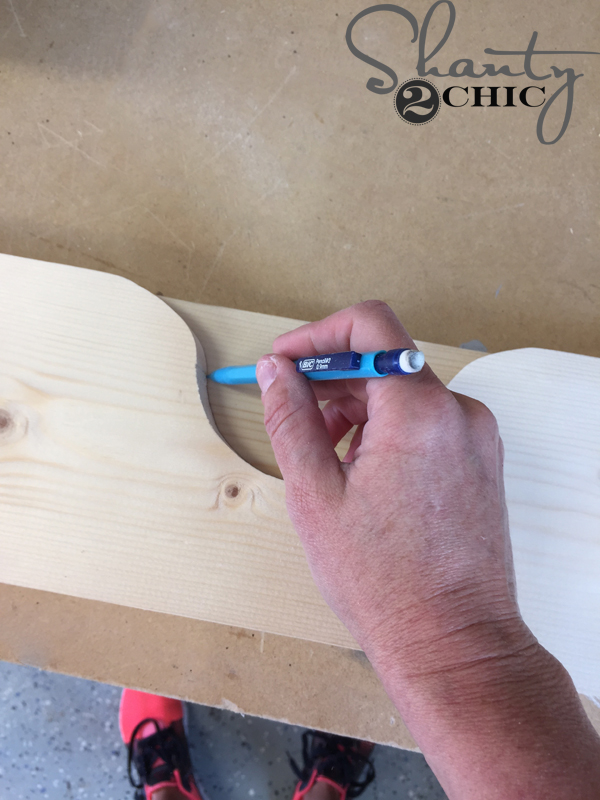
If you are making multiple chairs, you can use the original cut to trace for another chair.
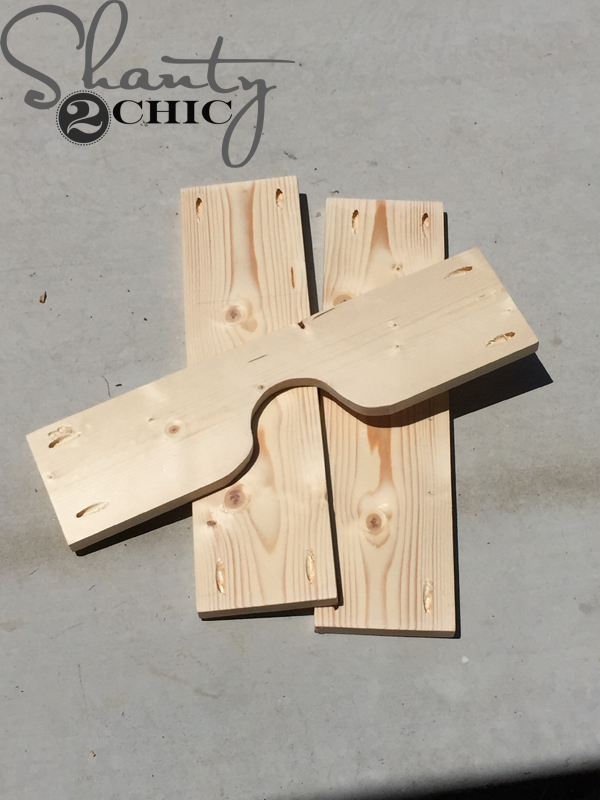
Next, I drilled 3/4″ pocket holes, with my Kreg Jig, into the short 1×6 boards, according to the plans.
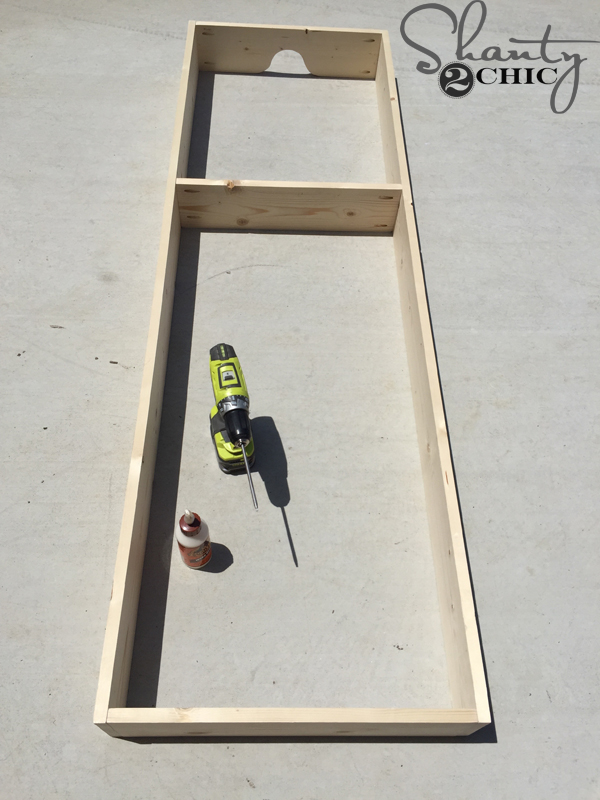
Now, build the frame with wood glue and 1 1/4″ Kreg pocket hole screws
and attach the middle piece, according to the plans.
Cut the slats and drill 3/4″ pocket holes at both ends
and attach them with 1 1/4″ pocket hole screws and wood glue.
Here she is with the bottom support piece attached. Now for the back rest.
I used a 2″ Carbon Hole Saw bit to drill a hole into the center of the backrest board.
You could also use a jigsaw or a router for this part but this bit makes it so easy!
Here are the boards with the holes cut (one per chair). You can use your sander to smooth the edges here too.
Build the backrest frame with 1 1/4″ pocket hole screws and wood glue
then cut the slats for the backrest and attach them the same way as you did on the main frame.
I built the backrest guide with wood glue and my 18V nailer (1 1/4″ brad nails).
Here is the backrest finished.
I used wood glue and my nailer to attach the backrest guide to the back of the backrest. I also attached it with pocket hole screws at the bottom but I didn’t plan for the top pocket hole screws. Make sure to space them farther apart than the circle you cut.
Cut the blocks for the backrest and attach them with wood glue and 1 1/4″ wood screws. Make sure to predrill here so you don’t split the wood.
I built the arm assembly with wood glue and my nailer
but I didn’t attach it to the 2×4. I did attach the 2×4 to the chair frame though. I did this because I didn’t want to have to tape the hinges off before I stained them.
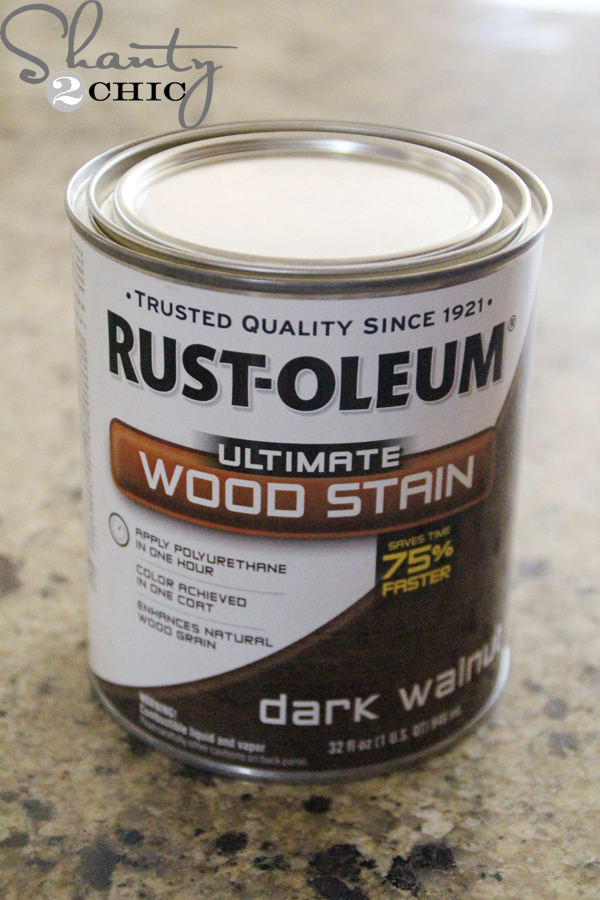
To finish them I used one coat of Rust-Oleum Dark Walnut stain all over (make sure to get underneath too – boo 🙁 ) I also applied 2 coats of Rust-Oleum Spar Varnish in satin to protect the finish and wood.
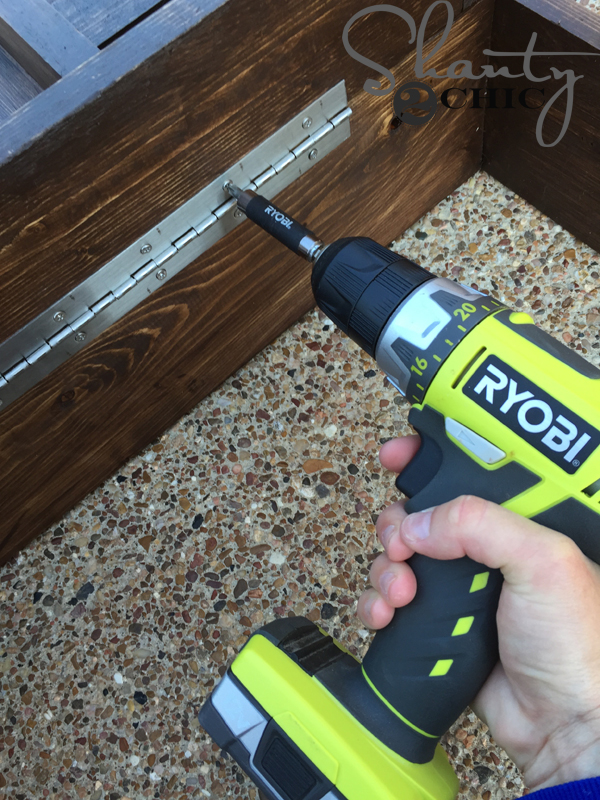
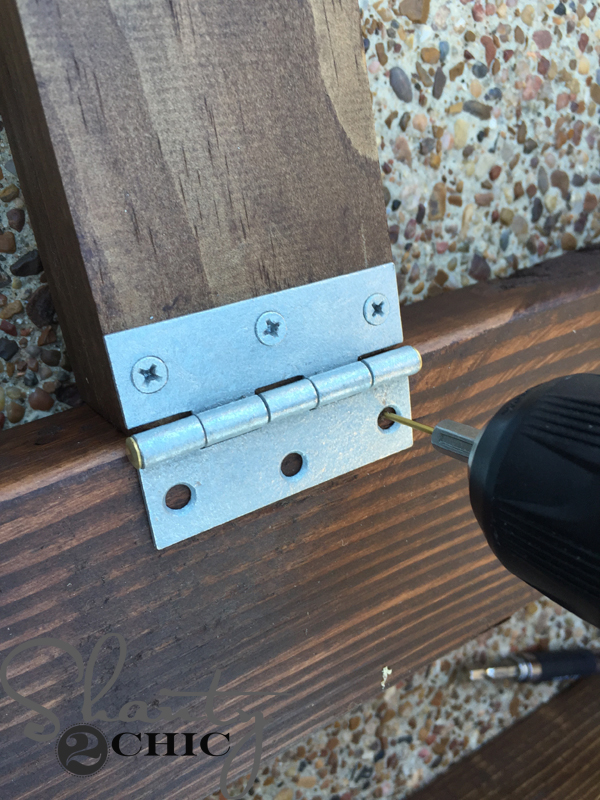
Once the varnish is dry, you can attach your hinges!
That’s it!
Finally, add your cushions, kick back, relax and enjoy your hard work!
I love the back rest adjustments! They are easy to use and very sturdy!
They also lay flat for extreme relaxing 😉
I just LOVE them! They are the perfect addition to our back patio space and there’s nothing more satisfying than working your booty off on a project and getting to finally relax and enjoy it!
Like other items you see in this space?
The cushions can be found HERE
The pillows and garden stool are from World Market
Here are a few other pieces that I have built for our back patio!
Outdoor Dining Table and Benches can be found HERE
Outdoor Bar can be found HERE
Bar Heigh Adirondack Chair can be found HERE
Good luck and thanks so much for stopping by!
~Ashley
Become a VIP Insider
Stay up-to-date on all the new project, free plans and new products available for you!
I love these chairs!! The links for the cushions are no longer working, it doesn’t show which ones you chose. If they still sell them, can you please update the link for homedecorators.com? Thanks!
Wonderful, once again! Could you seriously give a tutorial on your time management skills!! New house, new show, three kids, DIY. I need whatever it is you have!!
I love these chairs! Especially the varnish finish for outdoor use!! I may have to add these to my “to make” list–they would be awesome on the beach at our cabin! 🙂
Love these so much! You seriously have a way of reading my mind sometimes. Was planning on making your previous set of outdoor lounge chairs but these are much more of the “chunky” look that you are known for nailing 😉 Will definitely share pics when I’m done! Have been following your two for over 3 years now- I’ve loved watching the transformation! The new blueprints are fab! Thanks for everything!
These are incredible! I see chairs like this on the beach and have wanted to make some for our backyard. Thanks for these awesome plans! XO Wendi @ H2OBungalow

 I had too many pieces of furniture to build for the inside of our home, last summer, so I had to save these for this year! I am happy to say that they were well worth the wait! They are super comfy and I love their custom high-end look. I also love that they only cost me about $80 each in lumber! Similar chairs that I have looked at are hundreds to thousands of dollars!
These chairs were designed to fit these cushions that I found from Home Decorators Collection (I picked the Heather Beige color). I was looking for affordable deep cushions and I loved the color options and the price of these! Deep cushions are pricey and I felt the quality and the cost of these cushions couldn’t be beat!
We’ve got the free plans for you as well as the step-by-step tutorial to help you build your own! Just click the image below or HERE to print your plans!
I had too many pieces of furniture to build for the inside of our home, last summer, so I had to save these for this year! I am happy to say that they were well worth the wait! They are super comfy and I love their custom high-end look. I also love that they only cost me about $80 each in lumber! Similar chairs that I have looked at are hundreds to thousands of dollars!
These chairs were designed to fit these cushions that I found from Home Decorators Collection (I picked the Heather Beige color). I was looking for affordable deep cushions and I loved the color options and the price of these! Deep cushions are pricey and I felt the quality and the cost of these cushions couldn’t be beat!
We’ve got the free plans for you as well as the step-by-step tutorial to help you build your own! Just click the image below or HERE to print your plans!

 I made the cuts for the frame first then I marked for my jigsaw cut, according to the plans. (This doesn’t have to be exactly to scale – I just found something round lying around my shop and traced it).
 Then, I clamped the board to my workbench and cut along the line with my jigsaw.
 I used wood glue and my nailer to attach the backrest guide to the back of the backrest. I also attached it with pocket hole screws at the bottom but I didn’t plan for the top pocket hole screws. Make sure to space them farther apart than the circle you cut.
 Finally, add your cushions, kick back, relax and enjoy your hard work!
 Outdoor Dining Table and Benches can be found HERE
 Bar Heigh Adirondack Chair can be found HERE
Good luck and thanks so much for stopping by!
~Ashley
Bar Heigh Adirondack Chair can be found HERE
Good luck and thanks so much for stopping by!
~Ashley

 I made the cuts for the frame first then I marked for my jigsaw cut, according to the plans. (This doesn’t have to be exactly to scale – I just found something round lying around my shop and traced it).
 Then, I clamped the board to my workbench and cut along the line with my jigsaw.
 The cut won’t be perfect but it’s super easy to sand it smooth. I used my Corner Cat Sander.
 If you are making multiple chairs, you can use the original cut to trace for another chair.
 Next, I drilled 3/4″ pocket holes, with my Kreg Jig, into the short 1×6 boards, according to the plans.
 Now, build the frame with wood glue and 1 1/4″ Kreg pocket hole screws
 and attach the middle piece, according to the plans.
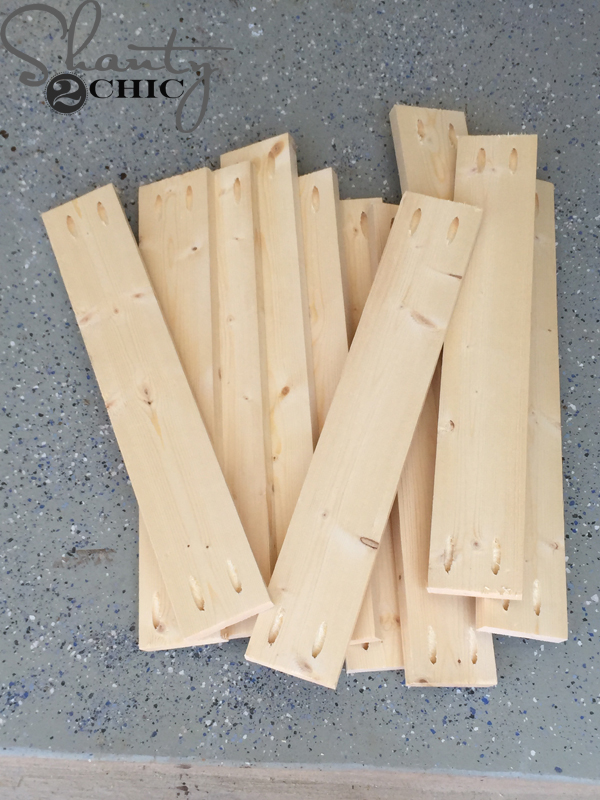 Cut the slats and drill 3/4″ pocket holes at both ends
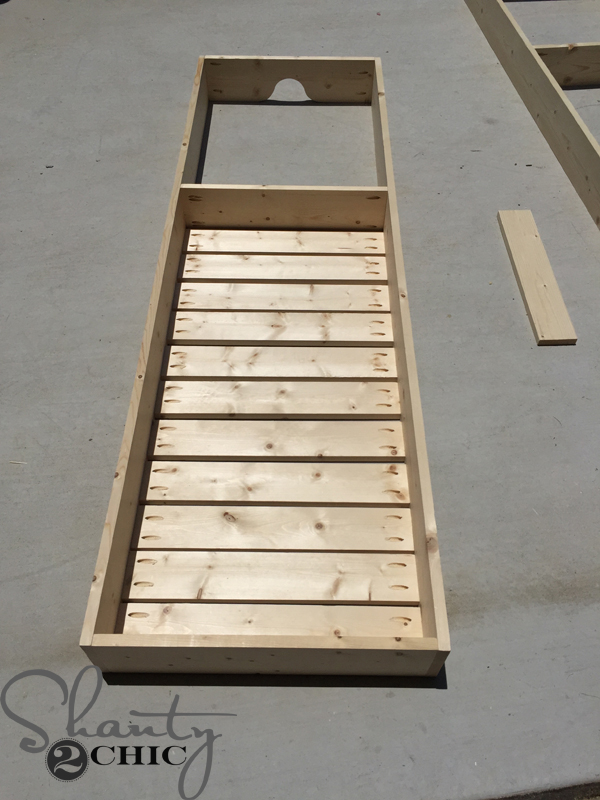 and attach them with 1 1/4″ pocket hole screws and wood glue.
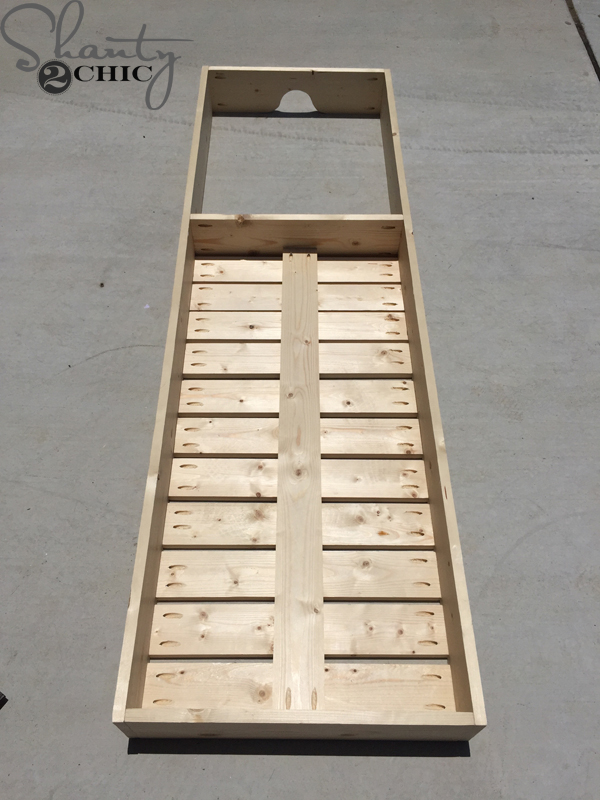 Here she is with the bottom support piece attached. Now for the back rest.
 I used a 2″ Carbon Hole Saw bit to drill a hole into the center of the backrest board.
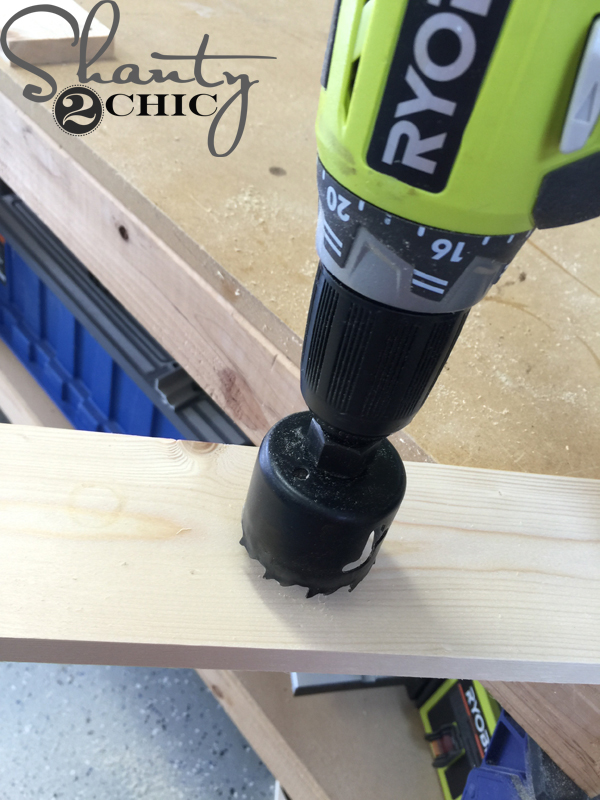 You could also use a jigsaw or a router for this part but this bit makes it so easy!
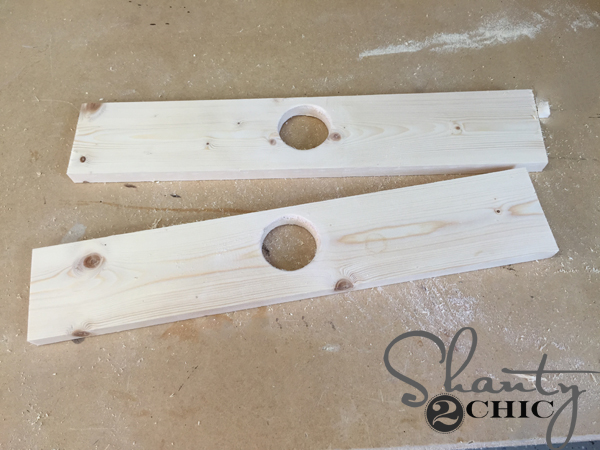 Here are the boards with the holes cut (one per chair). You can use your sander to smooth the edges here too.
 Build the backrest frame with 1 1/4″ pocket hole screws and wood glue
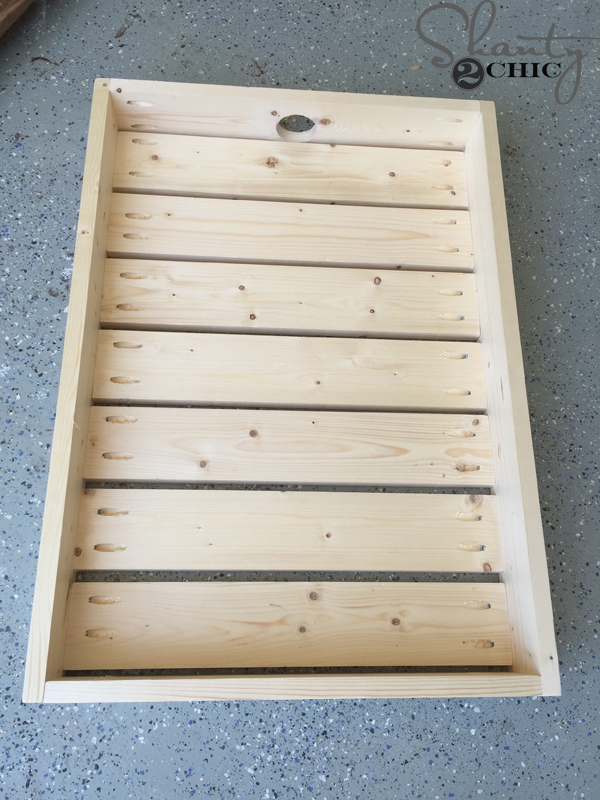 then cut the slats for the backrest and attach them the same way as you did on the main frame.
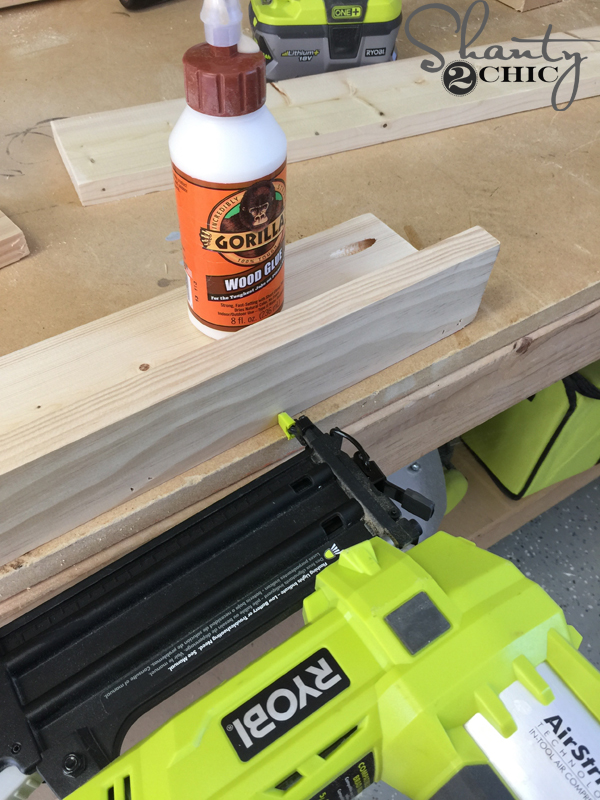 I built the backrest guide with wood glue and my 18V nailer (1 1/4″ brad nails).
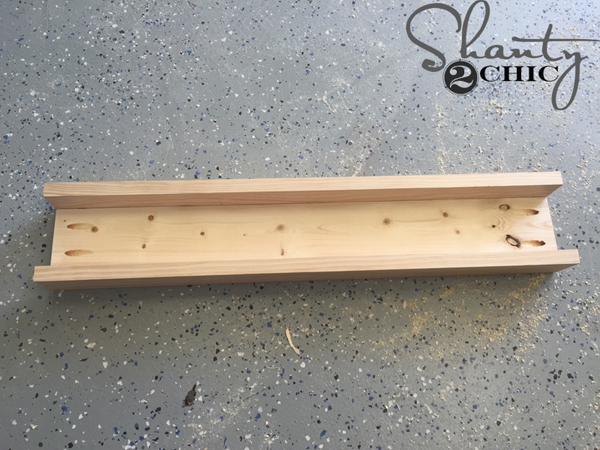 Here is the backrest finished.
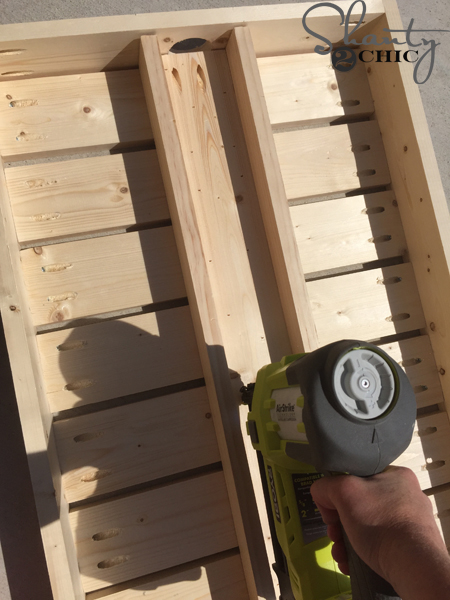 I used wood glue and my nailer to attach the backrest guide to the back of the backrest. I also attached it with pocket hole screws at the bottom but I didn’t plan for the top pocket hole screws. Make sure to space them farther apart than the circle you cut.
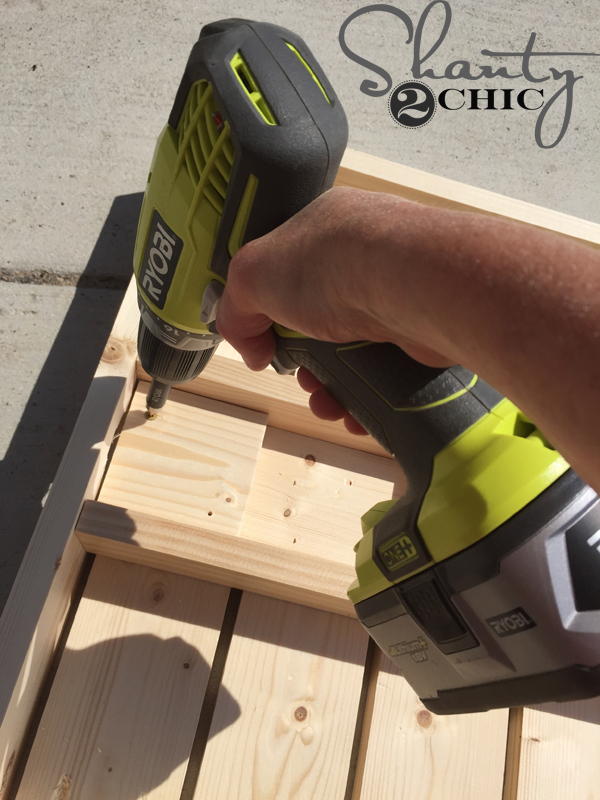 Cut the blocks for the backrest and attach them with wood glue and 1 1/4″ wood screws. Make sure to predrill here so you don’t split the wood.
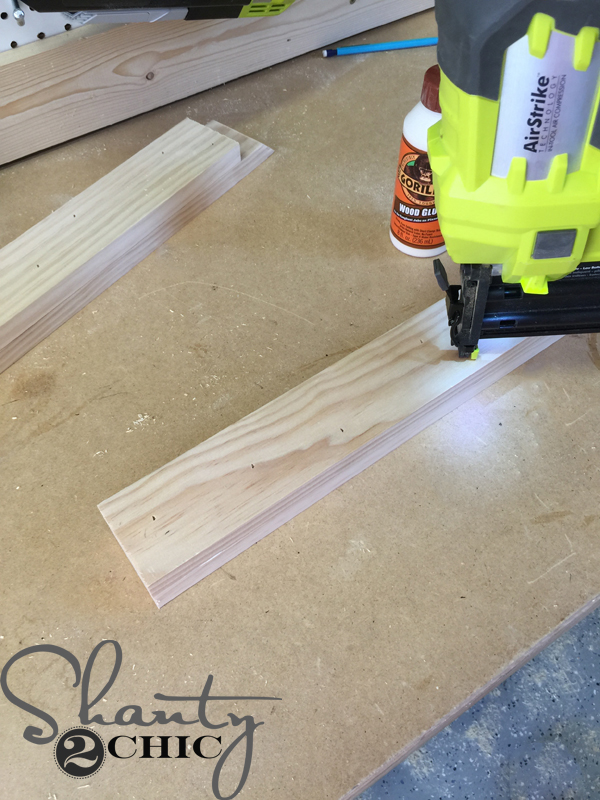 I built the arm assembly with wood glue and my nailer
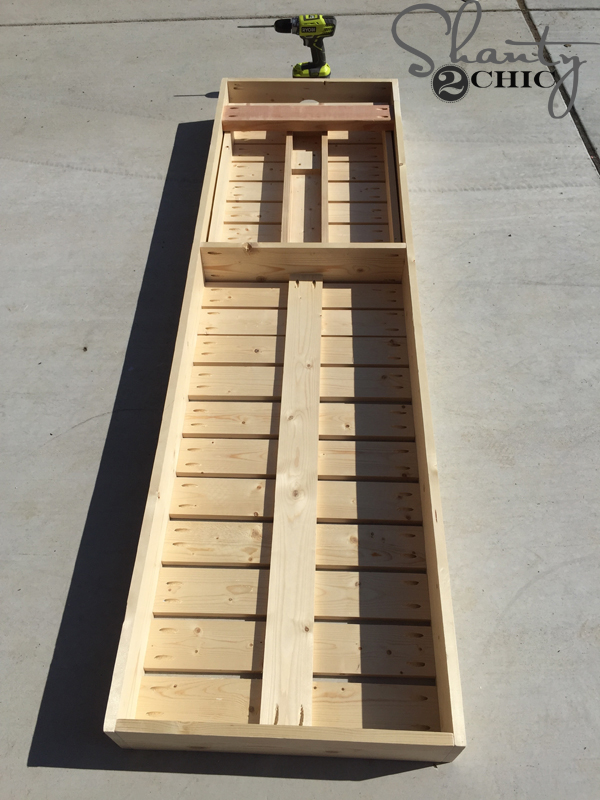 but I didn’t attach it to the 2×4. I did attach the 2×4 to the chair frame though. I did this because I didn’t want to have to tape the hinges off before I stained them.
 To finish them I used one coat of Rust-Oleum Dark Walnut stain all over (make sure to get underneath too – boo 🙁 ) I also applied 2 coats of Rust-Oleum Spar Varnish in satin to protect the finish and wood.
 Once the varnish is dry, you can attach your hinges!
 That’s it!
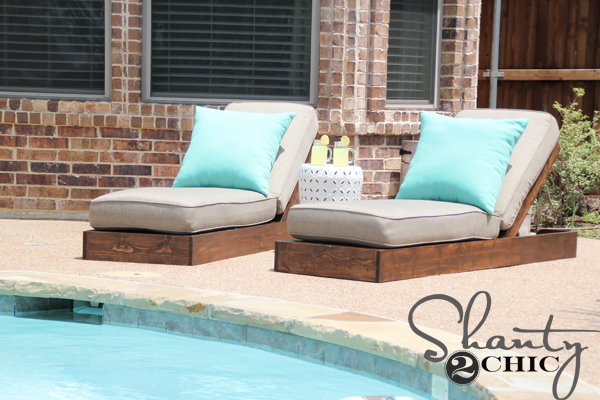 Finally, add your cushions, kick back, relax and enjoy your hard work!
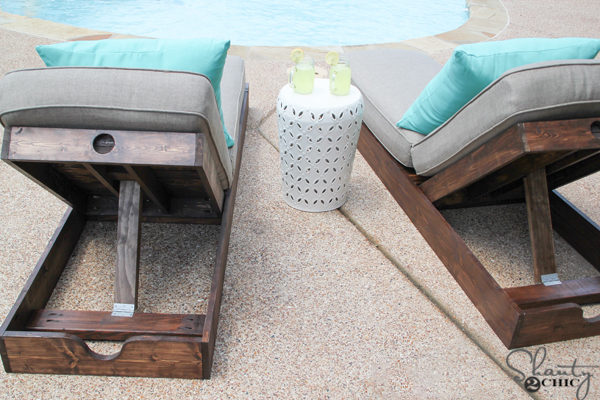 I love the back rest adjustments! They are easy to use and very sturdy!
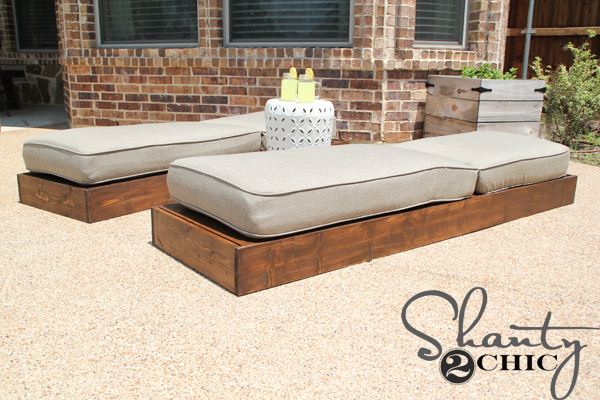 They also lay flat for extreme relaxing 😉
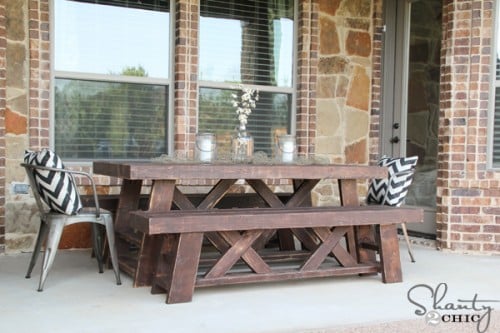 Outdoor Dining Table and Benches can be found HERE
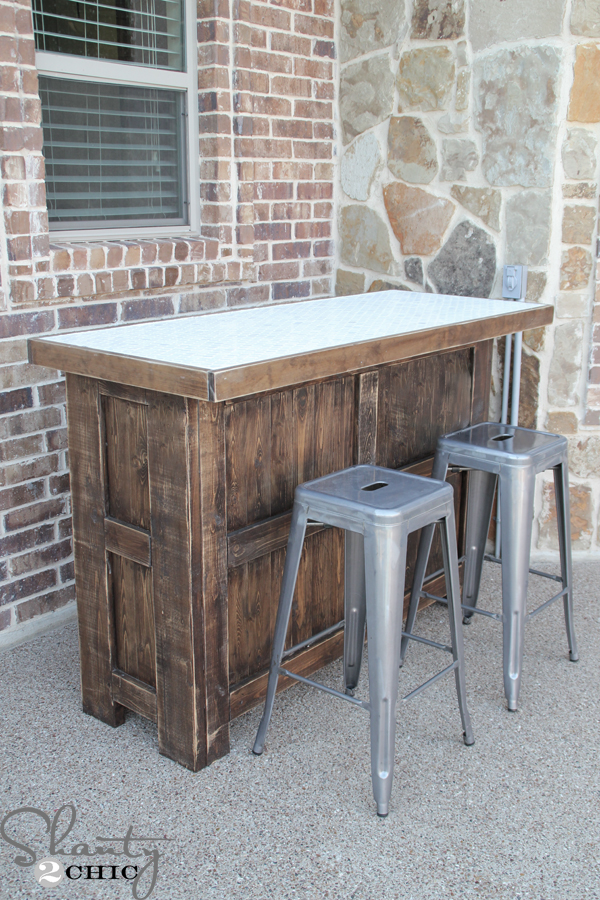 Outdoor Bar can be found HERE
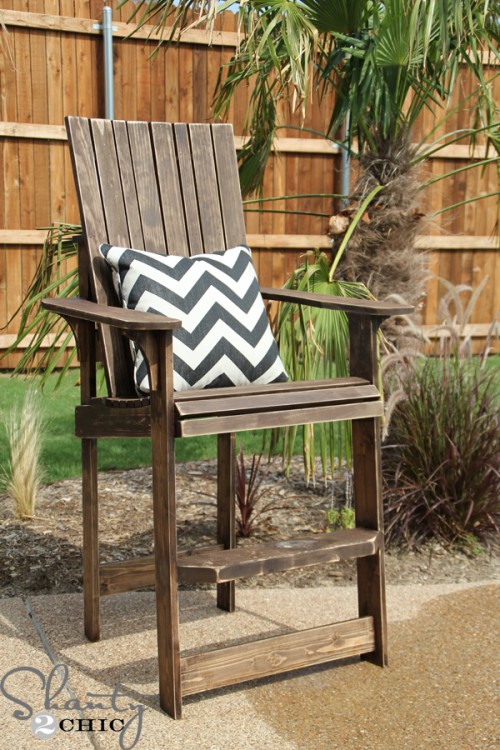 Bar Heigh Adirondack Chair can be found HERE
Good luck and thanks so much for stopping by!
~Ashley
Bar Heigh Adirondack Chair can be found HERE
Good luck and thanks so much for stopping by!
~Ashley

I live in Waxahachie and would love to know how these have stood up in the Texas heat? Just curious as to why you didn’t use treated lumber for these?
Thanks
Melanie
What size cushions did you use? Am I missing it on the plans?
I love these chairs!! The links for the cushions are no longer working, it doesn’t show which ones you chose. If they still sell them, can you please update the link for homedecorators.com? Thanks!
Thanks Emily! The link is still working for me and I mention the color that I chose in the post 🙂
I get a Search Results list with 0 items found. I have attached a screenshot. Thank you!
It’s working now, Thanks!
It’s working now, Thank you!
Love the chairs SO much! I am having trouble opening the link for the cushions. Could you email me? Hemphill3@yahoo.com
Wonderful, once again! Could you seriously give a tutorial on your time management skills!! New house, new show, three kids, DIY. I need whatever it is you have!!
I love these chairs! Especially the varnish finish for outdoor use!! I may have to add these to my “to make” list–they would be awesome on the beach at our cabin! 🙂
Love these so much! You seriously have a way of reading my mind sometimes. Was planning on making your previous set of outdoor lounge chairs but these are much more of the “chunky” look that you are known for nailing 😉 Will definitely share pics when I’m done! Have been following your two for over 3 years now- I’ve loved watching the transformation! The new blueprints are fab! Thanks for everything!
These are incredible! I see chairs like this on the beach and have wanted to make some for our backyard. Thanks for these awesome plans! XO Wendi @ H2OBungalow