Free plans to build this DIY Platform Bed on Wheels! This is a great build for beginners. Just follow the simple instructions by shanty-2-chic.com! I’ve mentioned, a few times, that I am starting from scratch with furniture for our new home. When we sold our previous home, we sold the furniture too because I knew I would want to build new pieces. My thought was ‘why move it, store it, and move it again if it will be replaced shortly after we move-in to our home! So, I have been so busy trying to fill our house up and to start, I’m getting everyone’s bed off the floor 🙂
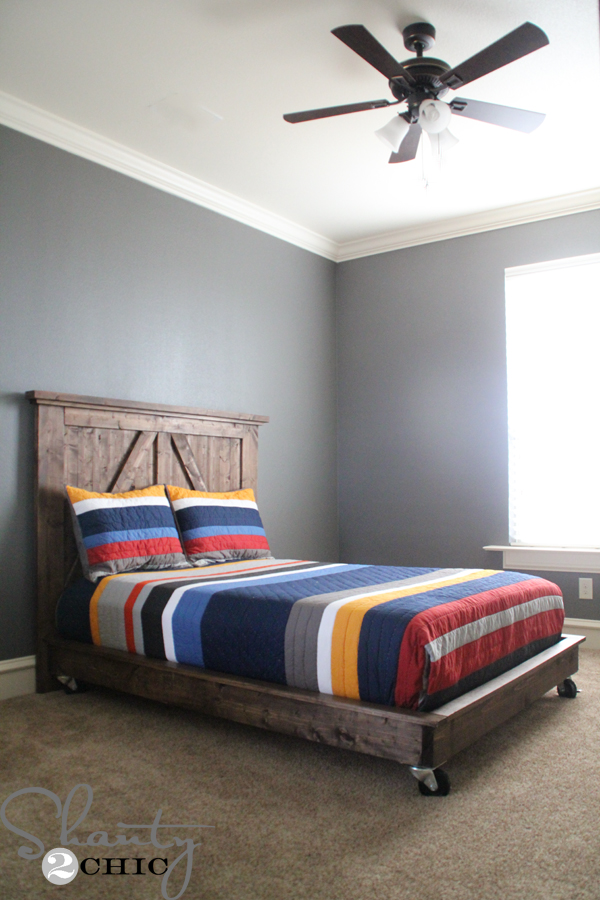
The lucky kiddo to get their bed built first is our oldest son! I modified Ana White’s Full Platform Bed by adding casters! They are locking casters and really don’t serve much of a purpose besides being super cute 🙂 **You can find the bedding HERE at Pottery Barn!**
This bed is definitely a project for beginners, it’s easy to build and you can build and finish it in an afternoon! Here are the steps I took and you can see the plans HERE! To see the plans for the headboard click HERE!
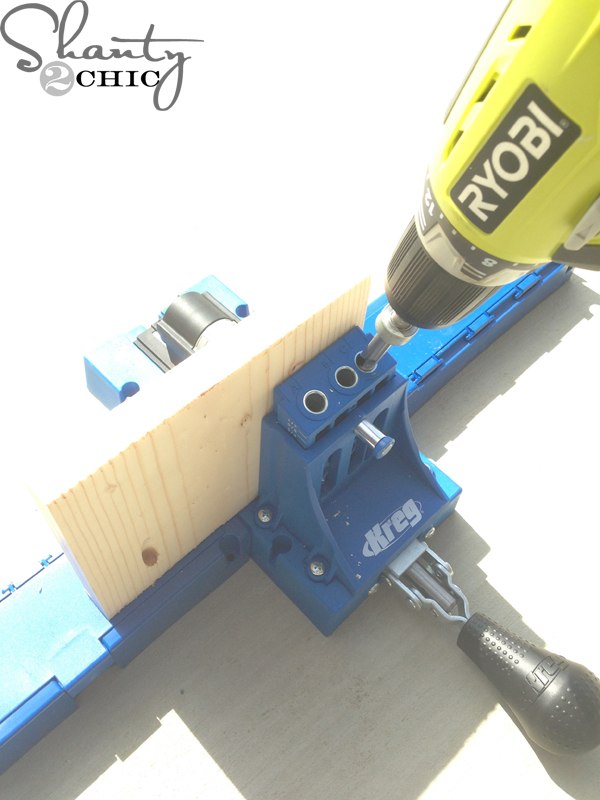
I used my Kreg Jig K5 to attach the boards to make the frame.
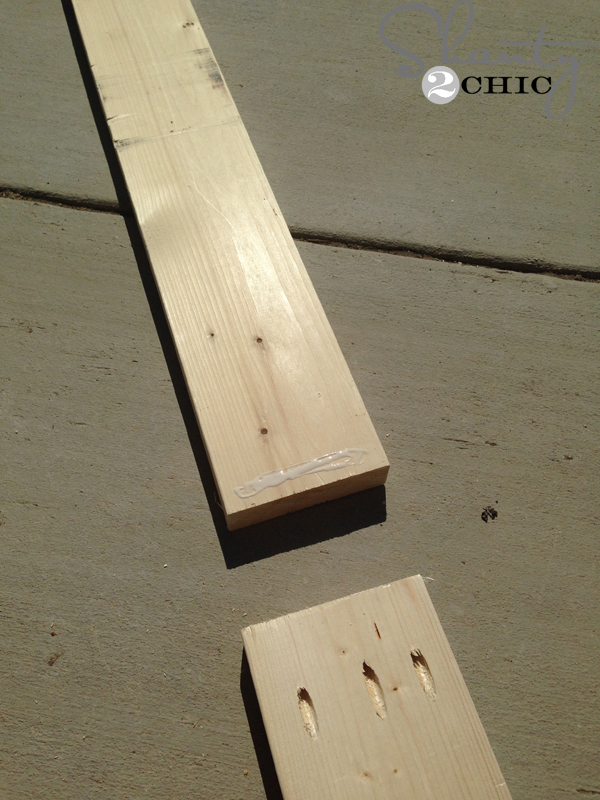
Pocket holes
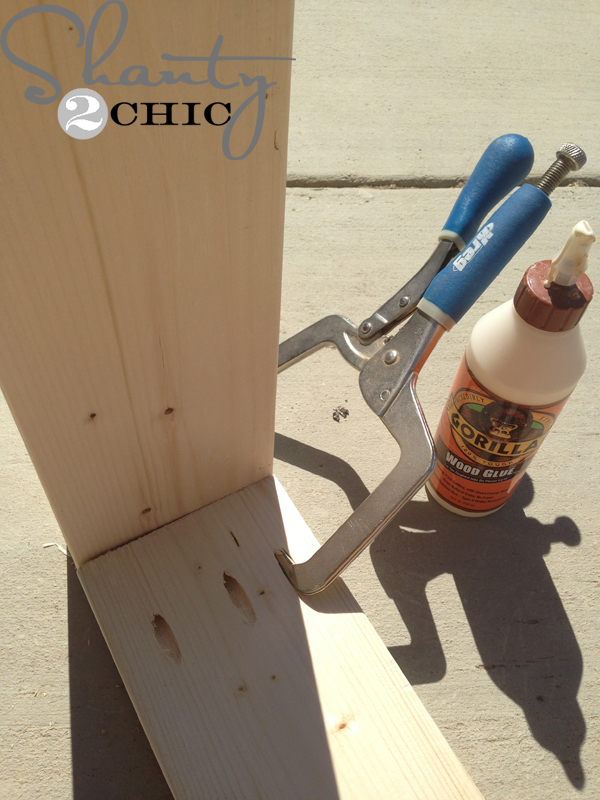
I used my Kreg Right Angle Clamp to hold the boards together while I attached them with 2 1/2″ pocket hole screws.
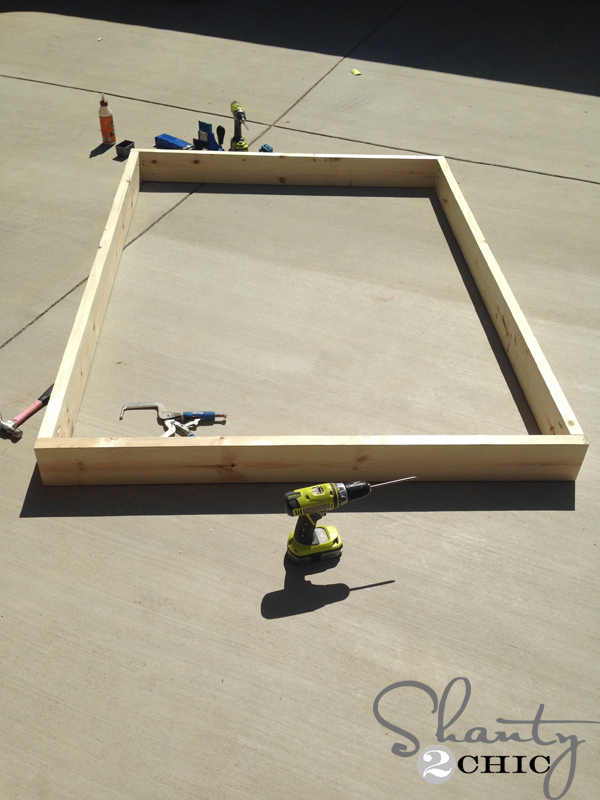
Easy enough 🙂
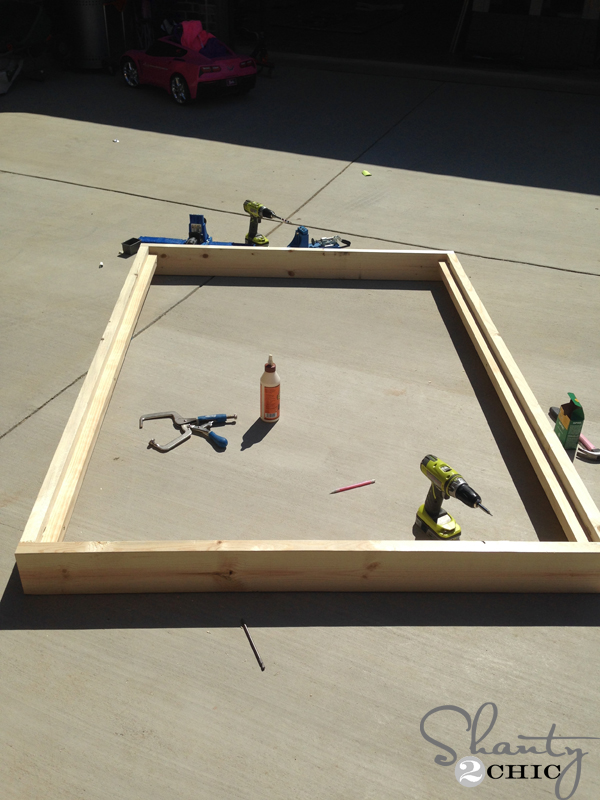
After the frame is done, you just add the 2×2 cleats. I used 2 1/2″ wood screws and wood glue to secure them
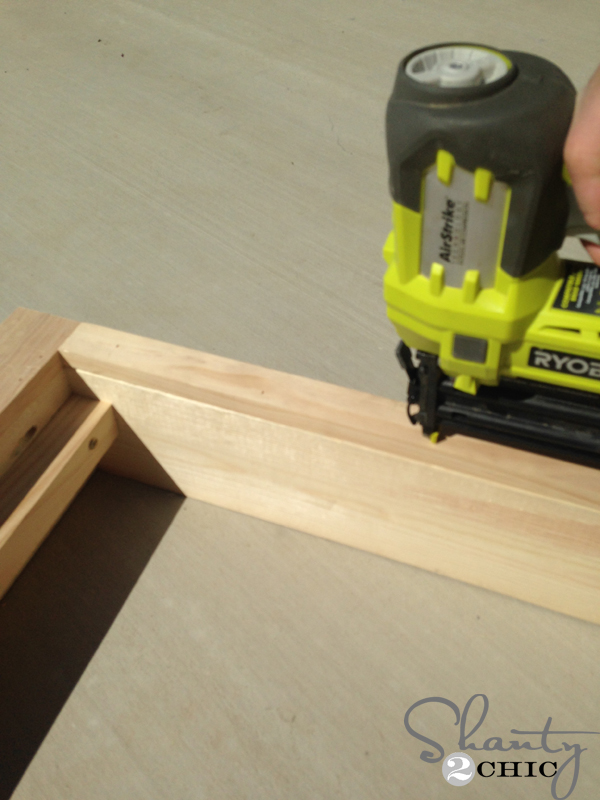
To add the trim, I used wood glue and my Ryboi Airstrike Nailer with 1 1/4″ brad nails.
That’s it!
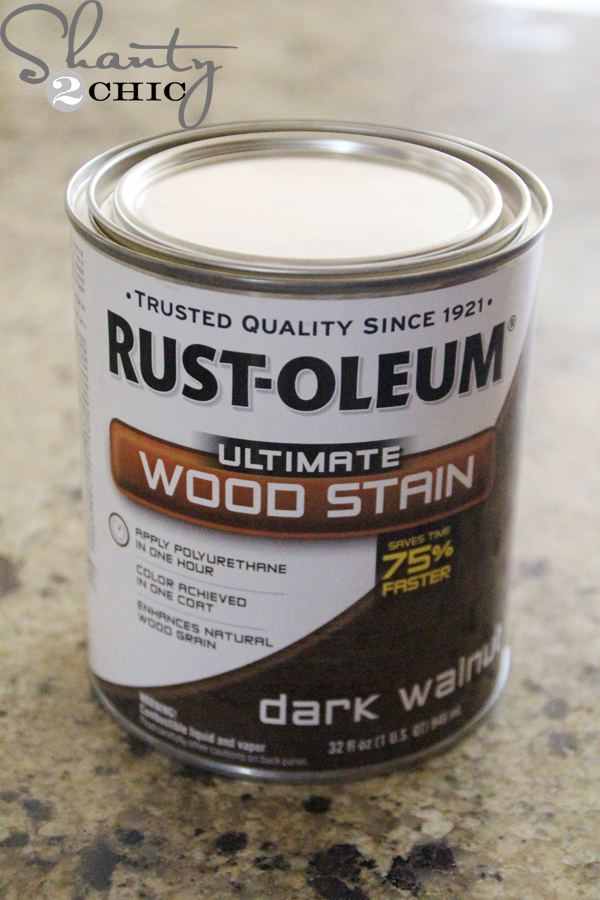
I applied one-coat of Rust-Oleum Dark Walnut stain to the entire bed. Just paint it on with a foam roller and wipe it with a clean cloth after about 5-minutes. Don’t wipe the stain away, just blend it.
Now for the wheels!
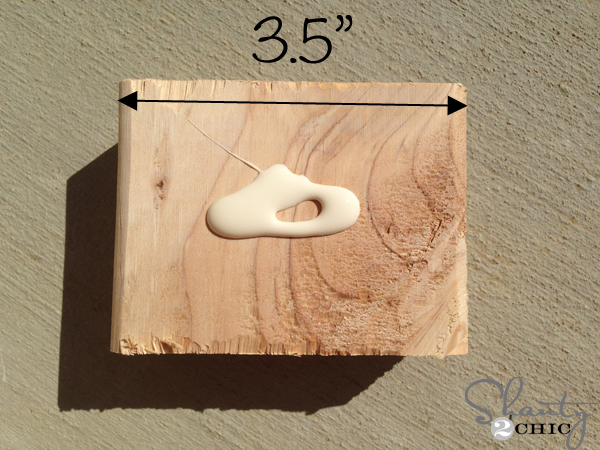
I used scrap 2×4 for the blocks to secure the wheels. I cut 8 pieces at 3.5″ and put a good amount of wood glue on the center of each 2×4 piece.
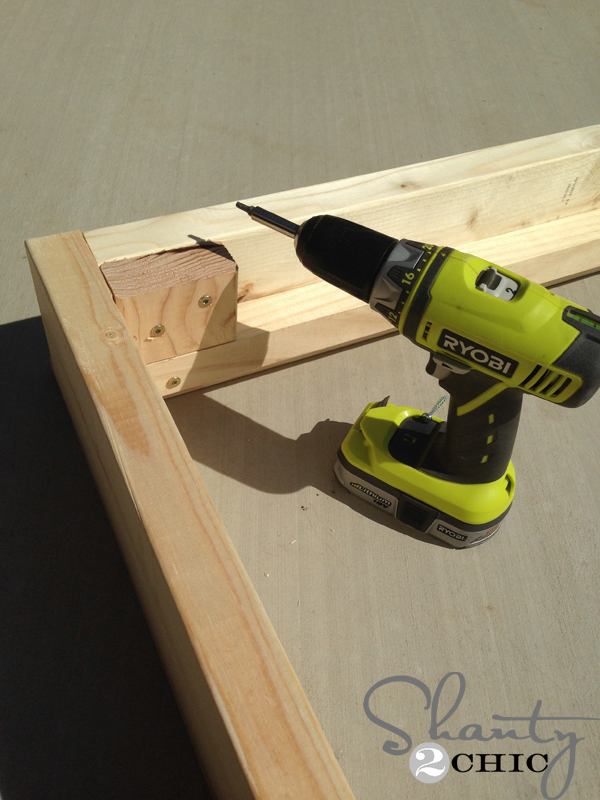
Then, I used 2 1/2″ wood screws and attached a block at each corner of the bed frame (on the inside).
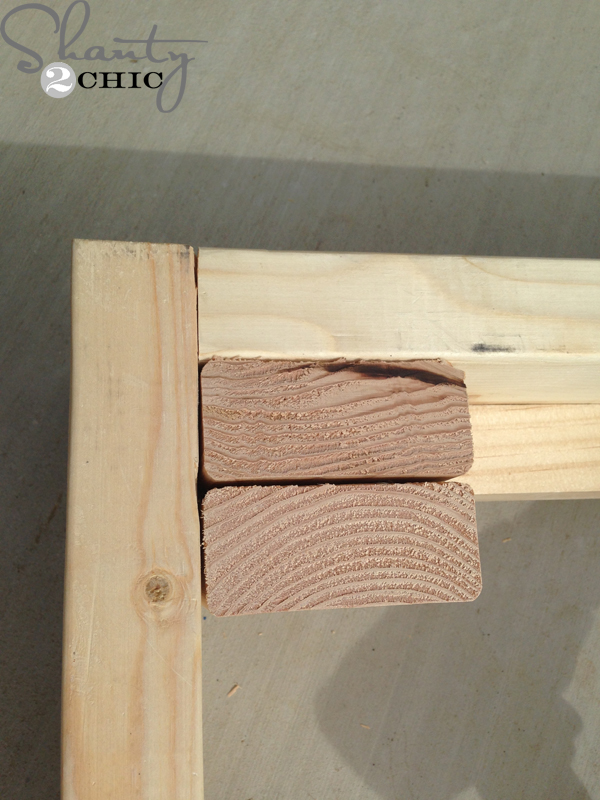
and added a second one the same way.
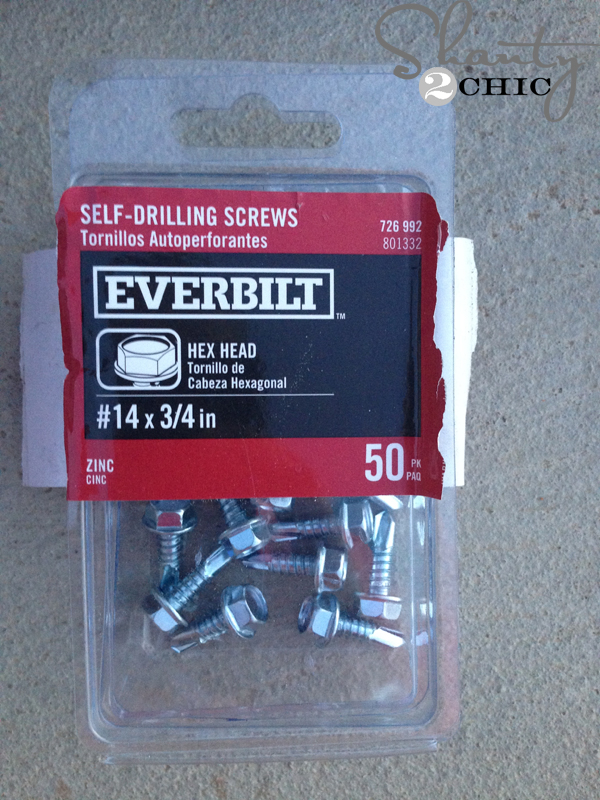
I used these Hex Screws

and used this hex bit to attach the casters to the 2×4 blocks
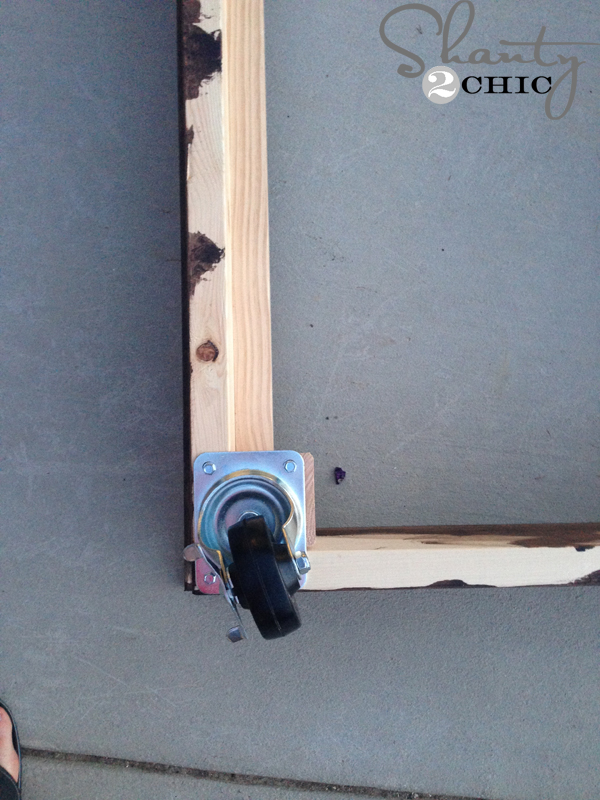
done! These are locking casters so I can lock them so the bed will not move.

I love the industrial look that the wheels give this bed 🙂 I did add the 1×3 slats under the mattress per the plans.
Do you like the headboard??? That’s a DIY too and of course I will be back very soon to share that tutorial with you guys 🙂 For now, I’m on to the next kiddo’s bed! **Bedding is the MVP Stripe Quilt from Pottery Barn Teen and the paint color of the walls in this room can be found HERE!
Have you been keeping up with the pieces I’ve built for our home so far? Click the links to check them out and you can click HERE to see our home building process!

Thanks so much for stopping by!!!
~Ashley 🙂

Even clicking on the link I cannot find the directions for the headboard
What do you think about Thomas Kinkade paintings in general?
Technically nice but I personally think they have a bit of a “Disney backdrop” feel to them…great for doctor office waiting rooms
and the lobbies of restaurants with words like “wagon” or “inn” in their names.
I find them quite beautiful, I’d certainly put one on my wall.
Good Stuff!
i want to replace center support posts on a store-bought King size bed with casters. any ideas how to attach? i am using the Monroe bed from Modloft.
What would the dimensions be for this bed for a queen size? My son is just about to turn 18 and we just got him a new mattress and he just has a metal frame right now. I could not find what size of bed this pattern is for.
I would so appreciate it!!!!
Laura Gaudin
I can’t find the link for the plans, I’m I missing something