Learn how to paint a bathroom cabinet easily and inexpensively! Bathroom renovations can be expensive but you can get a complete updated look with a can of paint and new hardware!
I have been in the process of updating the bathrooms in my home. I tackled my boys bathroom first, you can find that bathroom renovation here. Now, it’s time for my daughters bathroom. New countertops and tile were not in my budget this year, so, I opted to paint her vanity and build her a custom mirror. You can find the plans for the Sliding Vanity Mirror here! Whitney and I recently discovered Valspar’s new Cabinet and Furniture Paint and it’s been a HUGE game changer! Come check out how her new vanity looks!
So much better! Right? Here’s how I gave her bathroom an inexpensive and easy makeover!
So, let’s get to painting this bathroom vanity cabinet!
Table of Contents
How to Paint Cabinets
Tools:
- Drill or Screwdriver
- Kreg Project Blocks
- Kreg Hardware Jig
Supplies:
- Painter’s Tape
- Degreasing Wipes
- Paint Brush
- Paint Roller
- Paint Tray
- Wood Filler
- Valspar Cabinet and Furniture Paint
- Cabinet Pulls
Prepping the Cabinets for Paint
Step 1: Removing the Old Cabinet Hardware
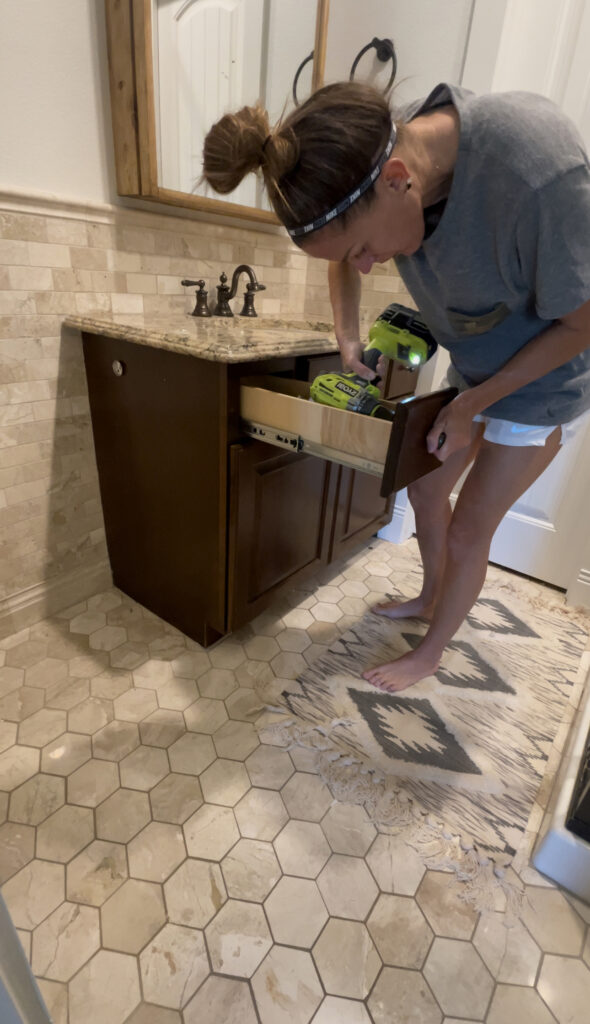
The first step to prep this bathroom vanity was removing the old hardware. This is a very simple step that only requires a drill.
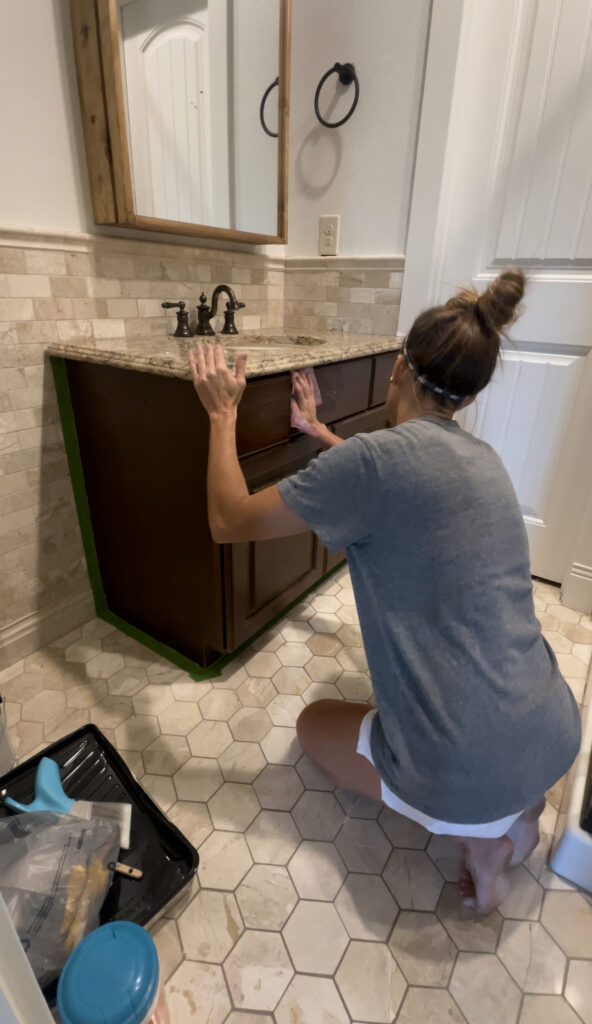
Step 2: Taping off
I used Frog Tape Multi-Painters Tape to tape off the vanity from the tile and walls. I decided not to use a drop cloth because this is paint has a similar clean-up to latex paint so removing the paint from the tile was very simple (and I was careful). If I was paining a larger area or over carpet I would have used a drop cloth.
Step 3: Degreasing the Cabinets
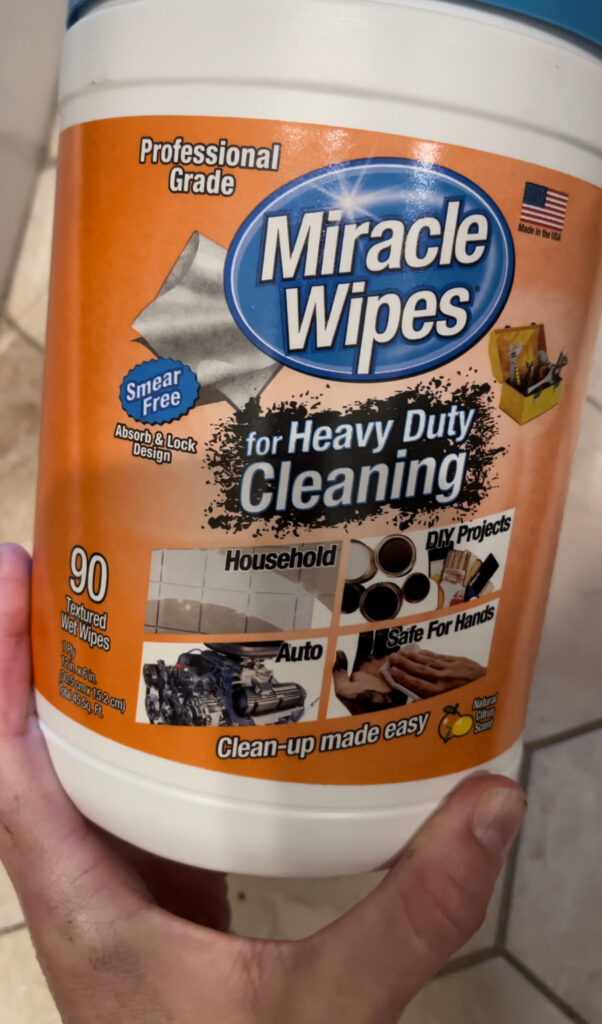
The best part about this paint is that there’s no need for sanding or priming! I just used a few degreasing wipes to wipe the cabinets before I painted them. I found these degreasing wipes and they are so amazing!
They’re not only great for cleaning the grease, dust and muck off cabinets, they will clean paint smear off of the inside of the cabinet (even after it’s dried), tile floors and they’re perfect for cleaning other spots around the house. I just used them on my cooktop and they worked so well!
Once the cabinets were cleaned, I used a putty knife to fill the old cabinet knob holes.
Painting the Bathroom Cabinet
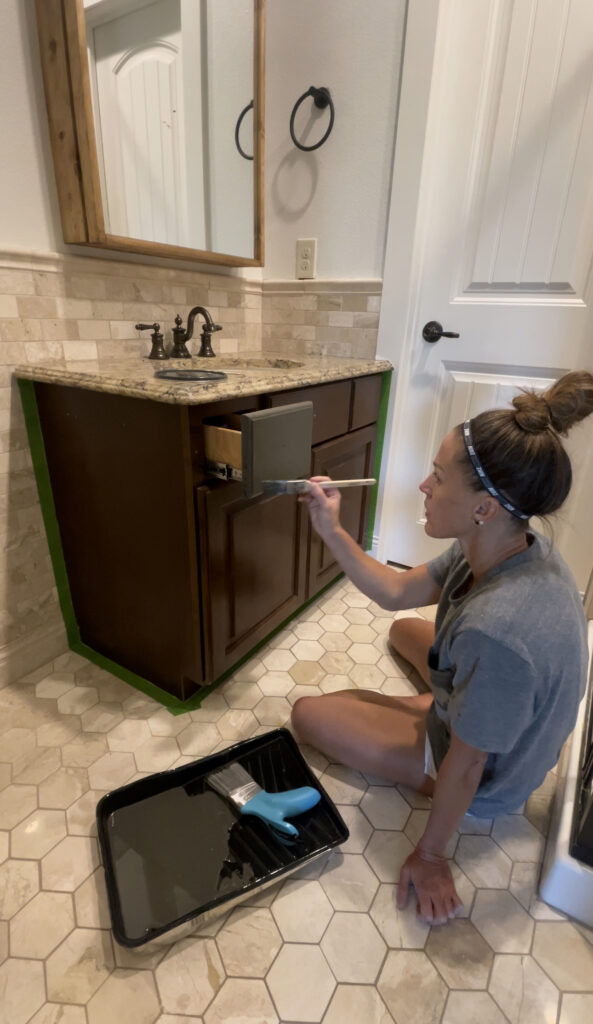
Step 1: Painting the Vanity and Cabinet Doors
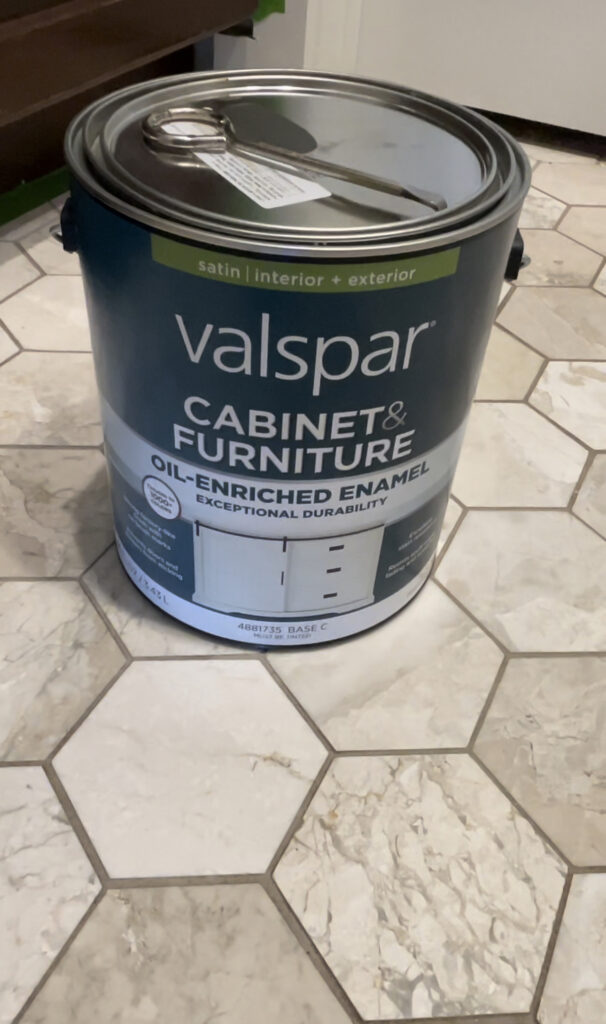
Like I said, this Valspar Cabinet and Furniture Paint is a huge game changer! There’s no priming or sanding required, It can paint directly over an oil-based paint and it’s self-leveling so you won’t get brushstrokes in your finish! It’s perfect for high-traffic areas and has a very durable finish. I had mine tinted Urbane Bronze and chose a satin sheen but semi-gloss is also a great option for a cabinet.
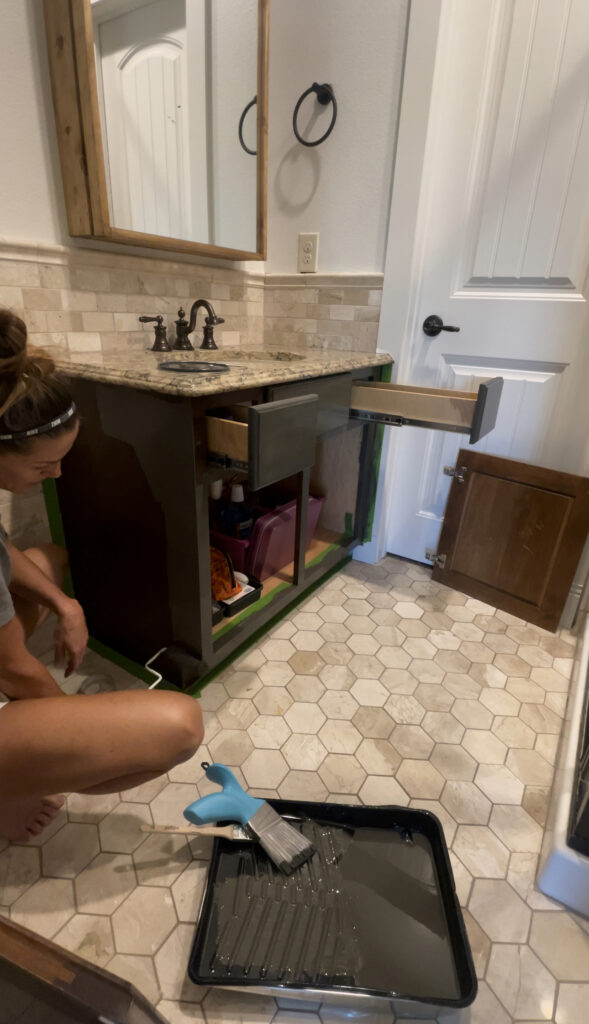
I removed the cabinet doors and hinges but decided to just pull the drawers out a bit so that I could paint the drawer fronts and cabinet frame, easily.
I used a natural-bristle brush to get the nooks and crannies of the vanity and a roller for the flat parts.
Step 2: Painting the Cabinet Doors
After the first coat of paint on the cabinets and drawers, I moved on to the cabinet doors. These Kreg Project Blocks are my new go-to for finishing! They have an adjustable tip and help to get your piece off of the floor or workbench!
I used a paint brush and roller to paint the cabinet doors, as well.
I applied a second coat of paint to everything and let it dry overnight.
Installing the New Cabinet Hardware
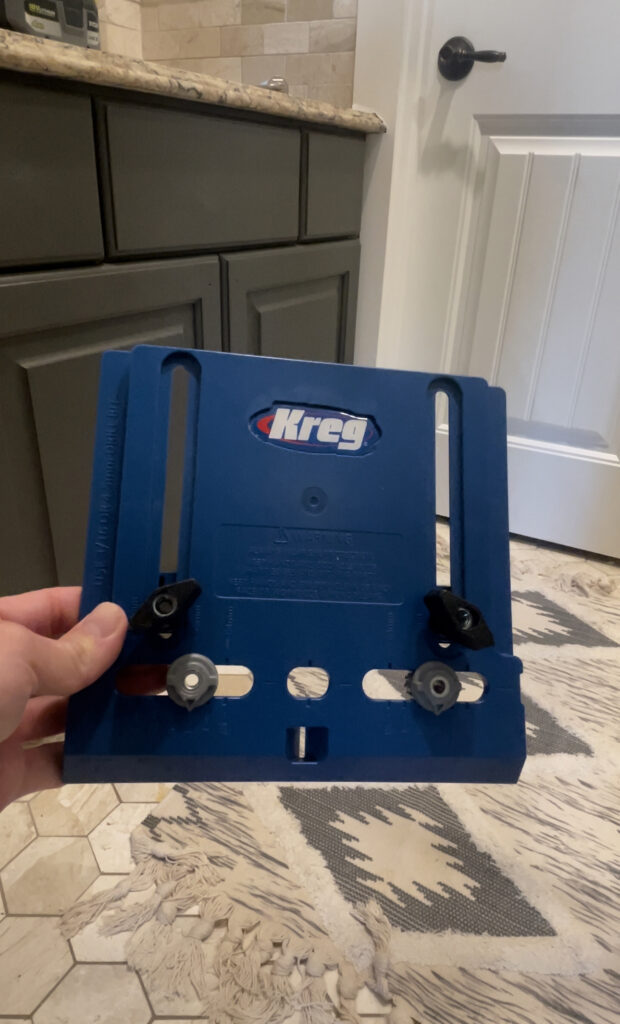
To install the cabinet hardware I used my favorite tool, the Kreg Hardware Jig! This is the easiest way to install cabinet pulls and knobs. It does all the thinking for you and it’s full-proof.
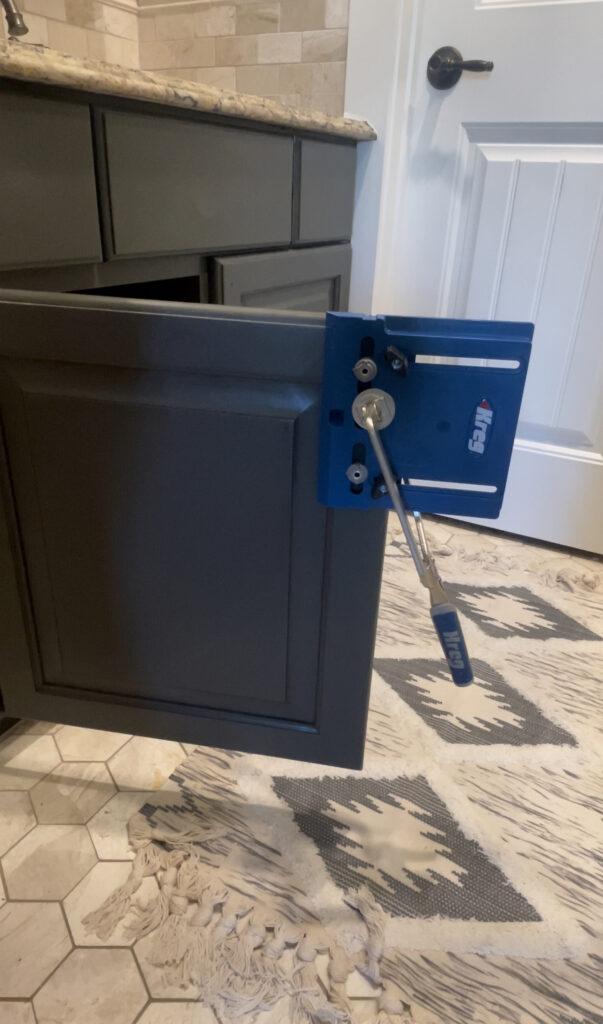
Just set the width based on the width of the holes on your cabinet pulls and clamp it to the cabinet door or drawers.
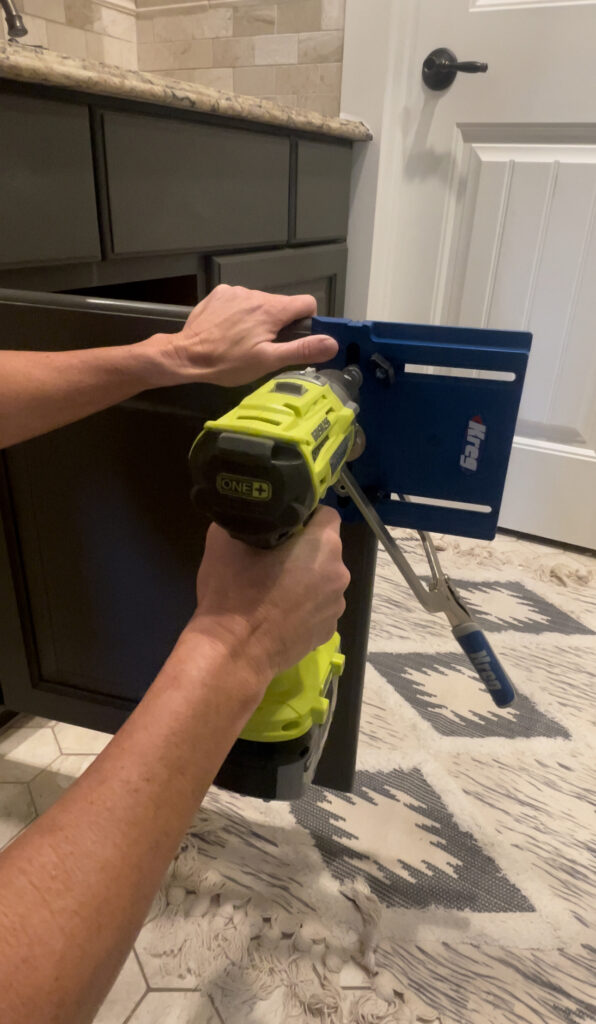
Then, use a drill bit (the same diameter of the screws for the hardware) and drill through the holes on the jig.
Removed the jig and install the hardware! So simple!
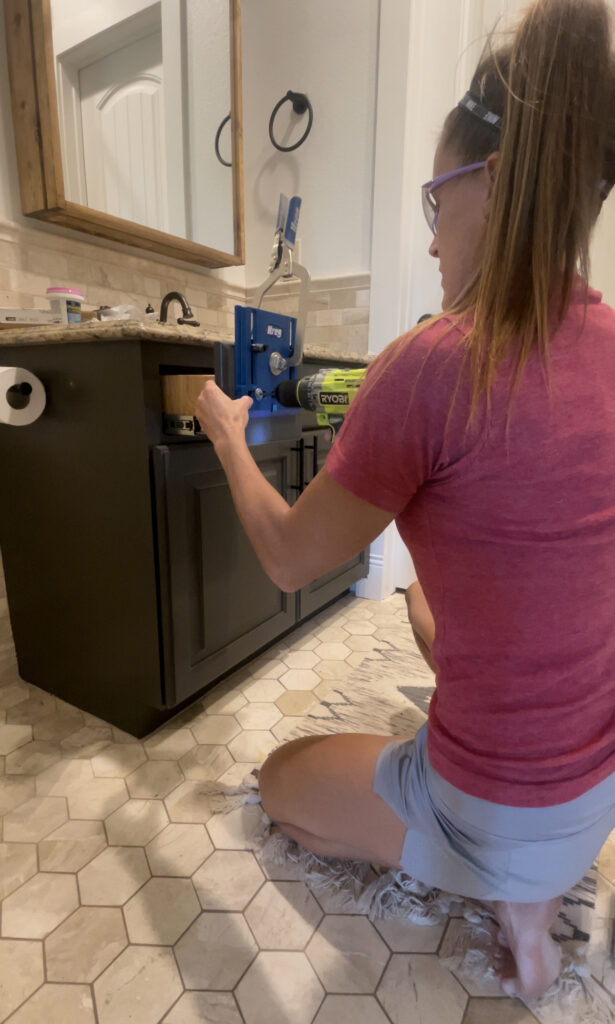
I followed this same step for all of the drawer fronts, cabinet doors and the center faux drawer.
The Reveal
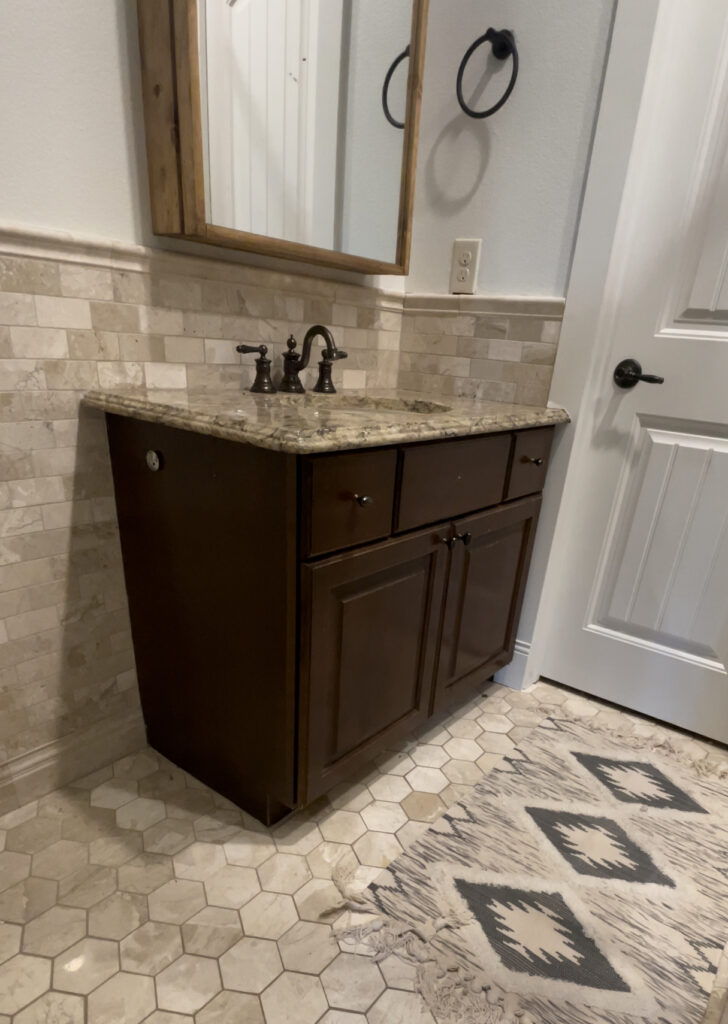
Before:
After:
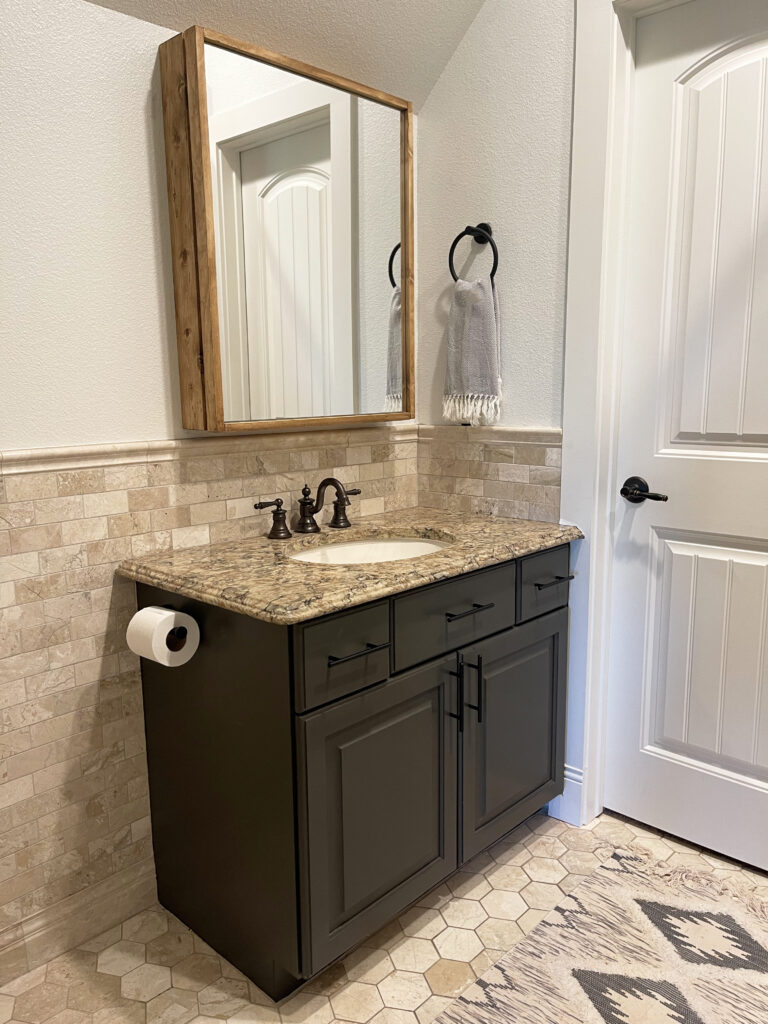
I love this inexpensive bathroom glow up so much! If I had the budget, I would splurge for new countertops and tile but you get so much bang for your buck with a good paint rehab! This paint makes me want to paint everything in my house now 😉
Thanks so much for stopping by and don’t forget to share your DIY projects with us on social media and use #shanty2chic so we can share them too!
Happy Building!

Great tips! I loved how you broke down the process step-by-step. I’m excited to give my bathroom cabinet a fresh look using your techniques. Thanks for sharing!
Great tutorial! I love the step-by-step instructions and the photos really help visualize the process. I can’t wait to try this on my own bathroom cabinet. Thanks for the inspiration!
Great tips! I love the step-by-step approach you provided. Can’t wait to try this on my old bathroom cabinet—it’s in desperate need of a makeover! Thanks for the inspiration!
I loved your detailed step-by-step guide on painting a bathroom cabinet! The tips on prep work and choosing the right paint really helped me feel confident about tackling my own project. Can’t wait to see how mine turns out! Thanks for sharing!
I love the tips you shared for painting bathroom cabinets! The step-by-step instructions were super helpful, especially the part about prepping the surfaces. Can’t wait to give it a try in my own bathroom. Thanks for the inspiration!
Great tips! I love the idea of using chalk paint for a bathroom cabinet makeover. Can’t wait to try this out and give my space a fresh look!
I absolutely love the tips you shared in this post! Painting a bathroom cabinet seemed like such an intimidating task, but your step-by-step guide makes it feel achievable. I can’t wait to try this out in my own bathroom. Thanks for the inspiration!
This post is so helpful! I’ve been looking to refresh my bathroom cabinet, and your step-by-step guide makes it seem so doable. I especially love the tips on prep work—can’t wait to try it out! Thank you!
Great tips! I love how you broke down the process step by step. Can’t wait to try this on my own bathroom cabinet. Thanks for the inspiration!
I loved your detailed guide on painting bathroom cabinets! The step-by-step instructions made it so easy to follow. I can’t wait to try this out in my own bathroom. Thanks for sharing such practical tips!
I loved your step-by-step guide on painting bathroom cabinets! The tips on prepping the surfaces really made a difference, and I appreciate the product recommendations. Can’t wait to tackle my project using your advice!
Great tips! I love the idea of using a bright color to freshen up the space. Can’t wait to try this on my old cabinet. Thanks for sharing!
I’m unfortunately stuck in the brown phase. Haven’t redecorated since. The colors are always changing. What paint color did you use. It seemed to match the brown tile
Great transformation! I wonder if I could use that type of paint on my baseboards? If it’s a harder finish, that might work. I’ve used enamel paint but I want something better, stronger.
Love the transformation! I did have to laugh when you said the Kreg tool is “full-proof” because you don’t know me, I would mess it up! Then I re-read that sentence…the saying is actually “fool-proof” meaning even a fool could do it (again, I’d mess it up). Maybe it was just a typo? Either way it made me laugh.