Guys. To say that I am excited about this build would be an enormous understatement. When I opened the Pottery Barn catalog a few weeks ago my jaw dropped. I saw the prettiest table and HAD. TO. HAVE. IT. So, in typical fashion, I started planning. Here is how she turned out! Check out my Pottery Barn Inspired Dining Table!
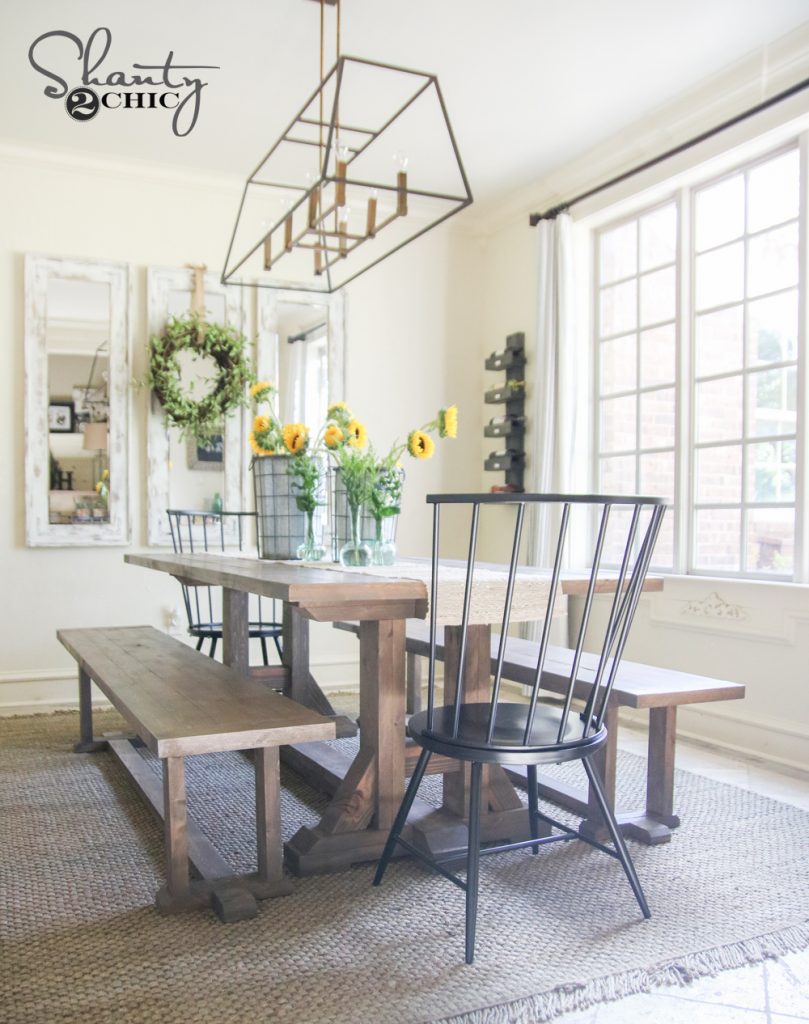
DIY Pottery Barn Inspired Dining Table
A few of my favorite things about this table…
A. Cost – The lumber total was $101 at Home Depot. See for yourself in the copy of the receipt I shared on Instagram!
B. Size – I like em chunky. This one fits that bill. Nearly the entire thing is constructed from 2×6. It’s beautiful.
C. Simplicity – I won’t call this a beginner build, BUT we have simplified the plans to allow you to use a regular Kreg Jig and not the HD. My brother-in-law received the plans from me about a week ago (perks of being family 😉 ) and this is his VERY first build. It took him a few days, but he completely nailed it. So, I feel like its totally attainable at any level with the right tools.
So, let’s go! As always, I will walk you through the entire build below and you can download and print the FREE plans by clicking HERE!
Find the matching bench plans here!
This table uses 2×6 framing lumber. On several parts you will “laminate” the boards together to form the larger looking pieces. To get a really high end look on this piece, I chose to rip all the rounded edges from the boards. I did this using my table saw. This takes a little extra time, but it’s SO worth the outcome. You will run each rounded edge through, leaving you with 5″ width boards.
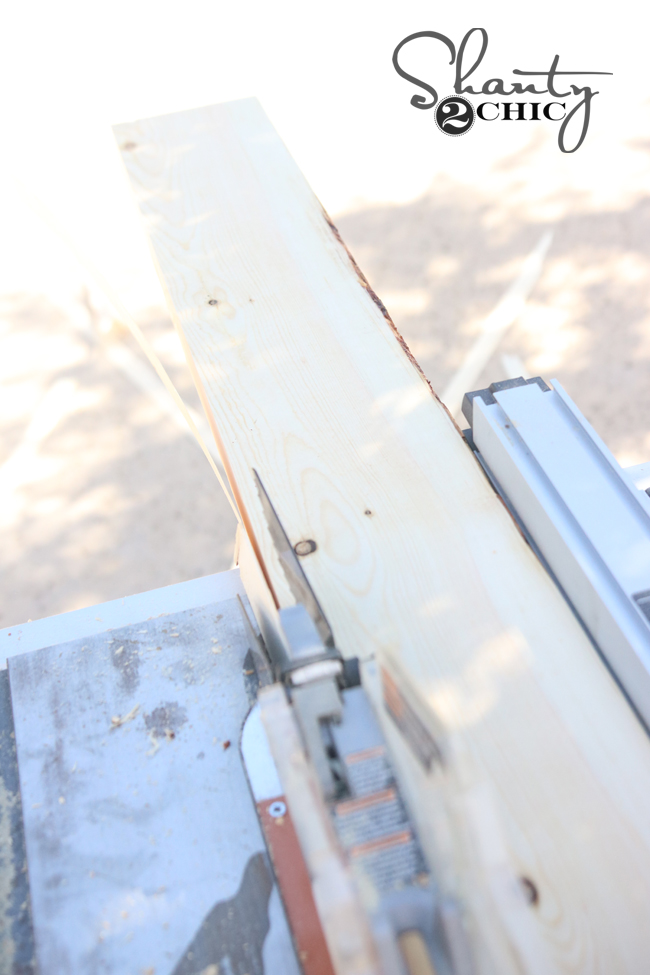

Once you have that finished, it’s time to prep the boards for the legs.
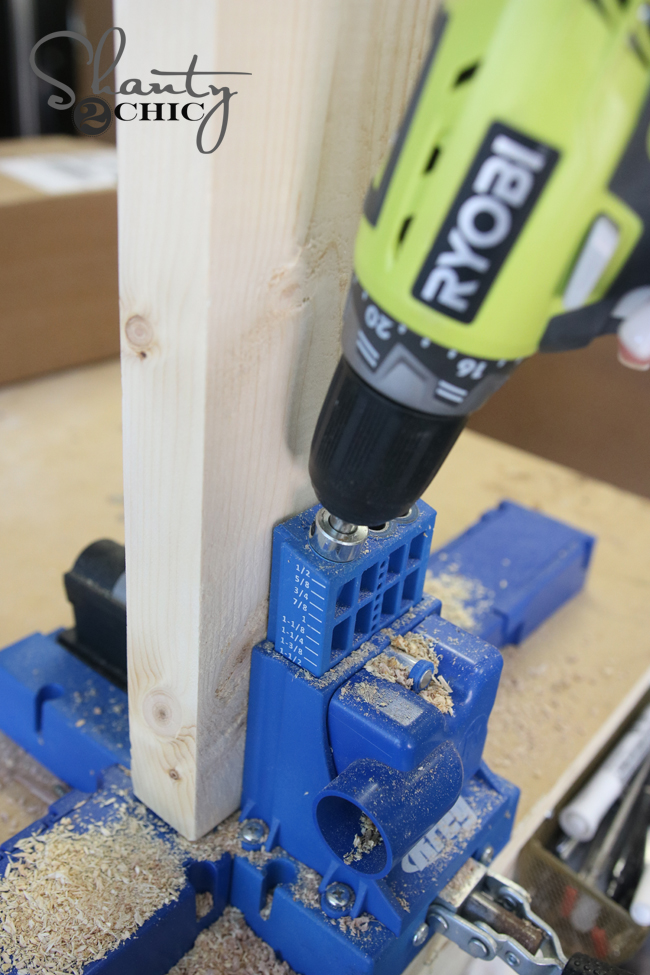
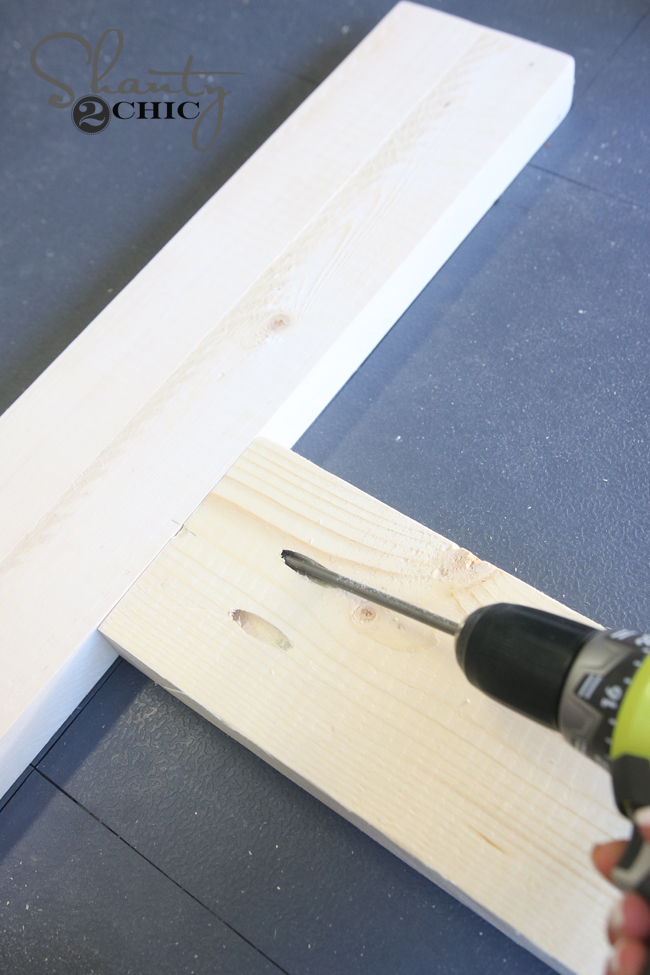
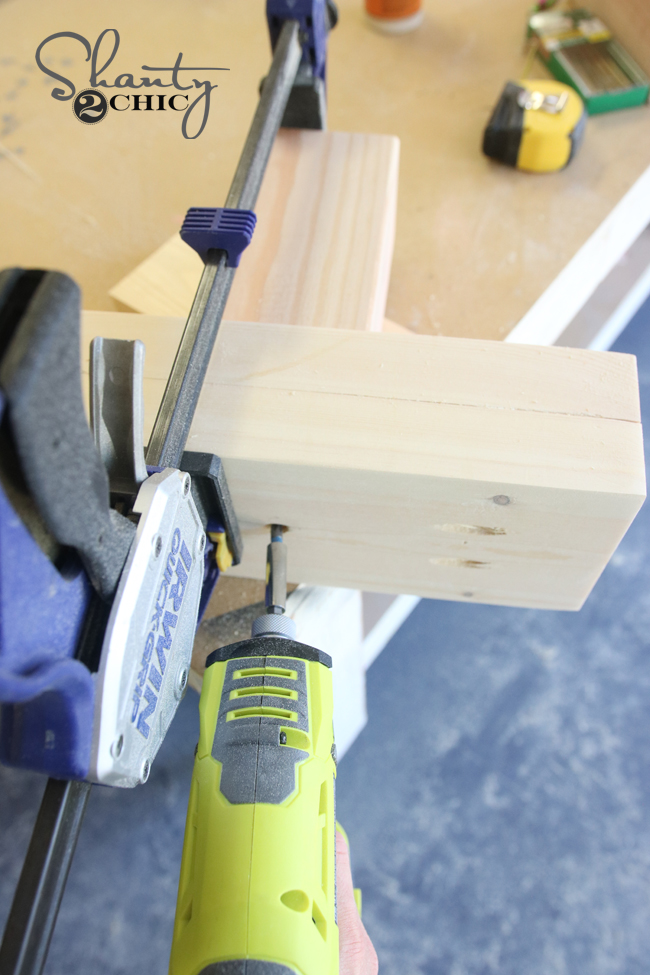
I cut the leg pieces next before laminating them together. I did this so that I would be able to add pocket holes to the legs without having to use the HD jig. Each leg is two 2×6 with 1.5″ pocket holes on one side and end of each board. I used my K5 Kreg Jig to make these pocket holes. This is FOR SURE the Kreg Jig model we would recommend starting with. You will thank us 🙂 You can find it on Amazon HERE!
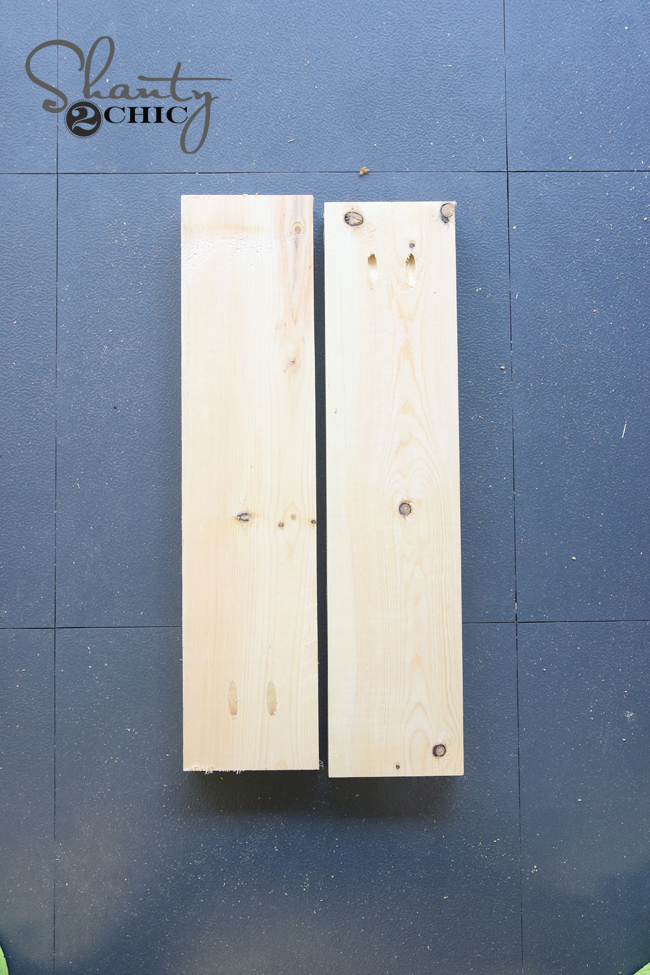
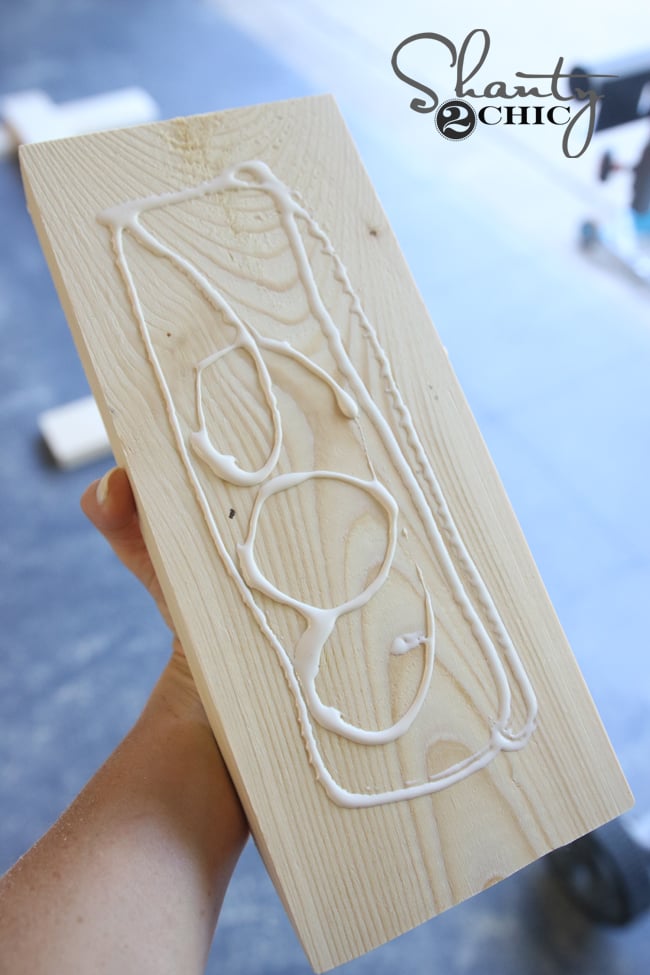
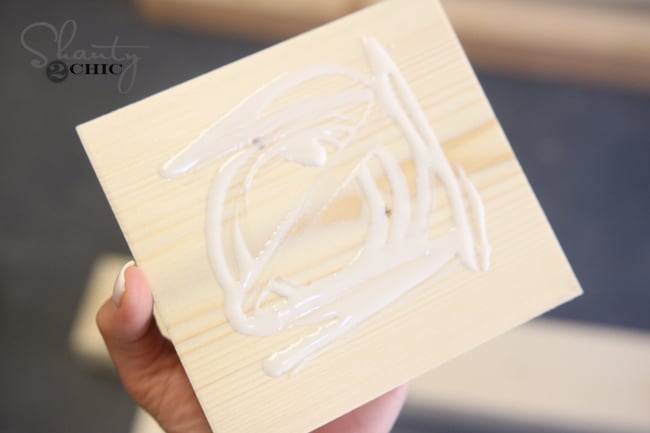
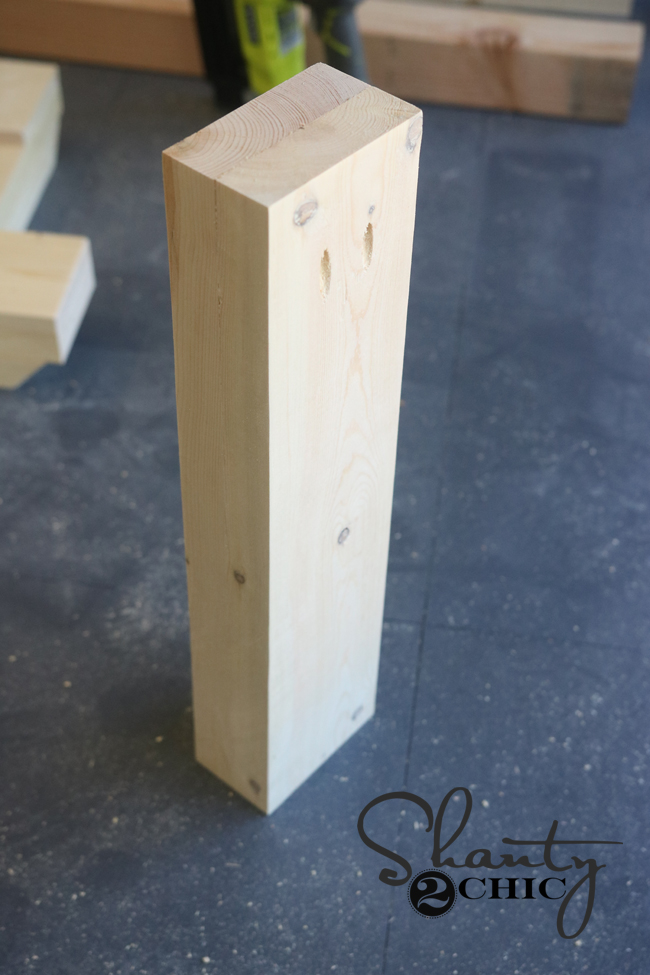
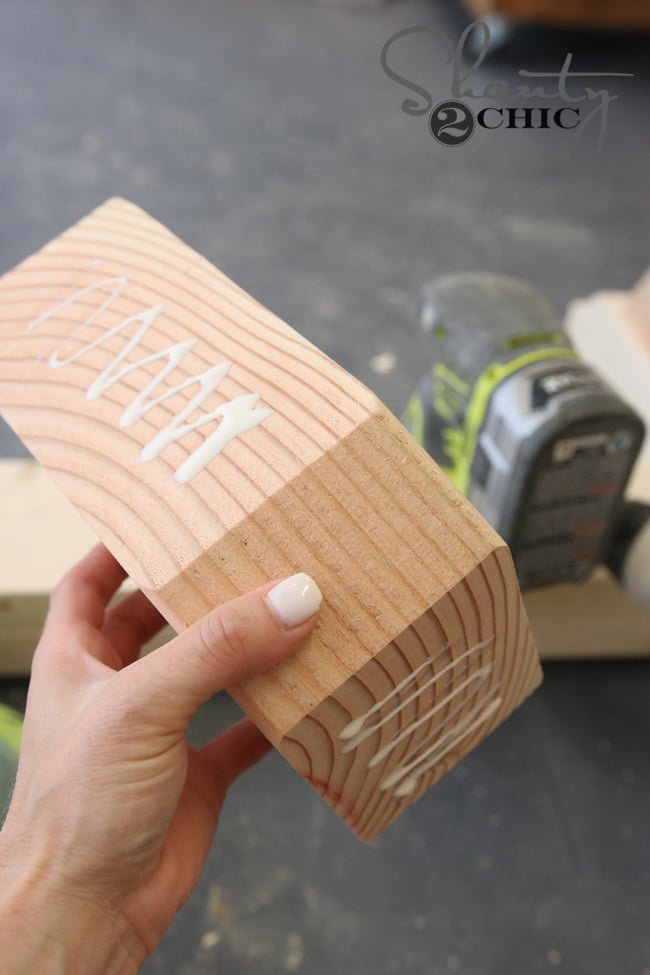
Next, add a ton of wood glue to your legs…
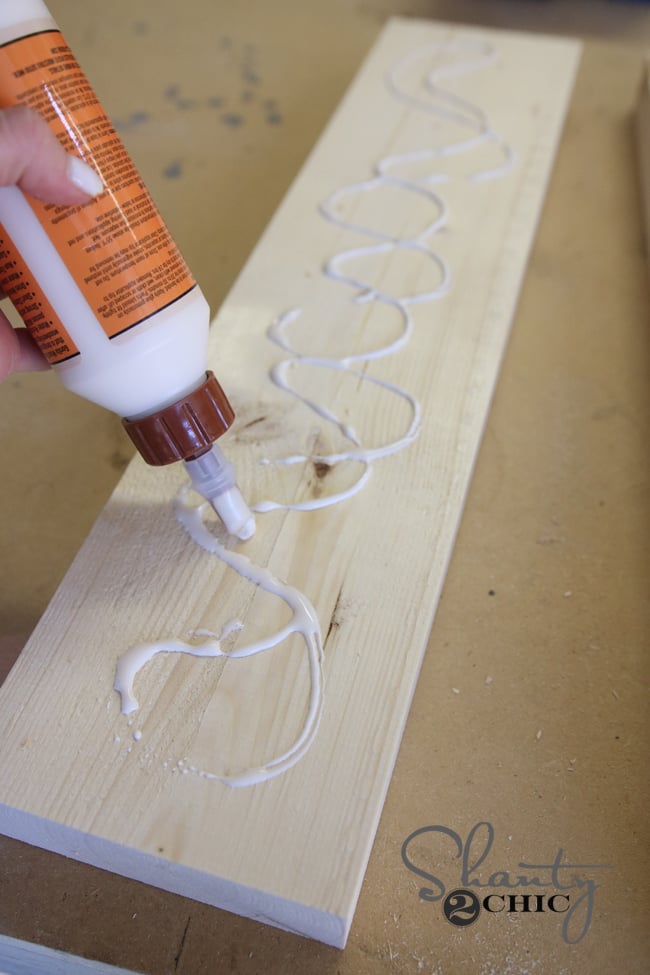
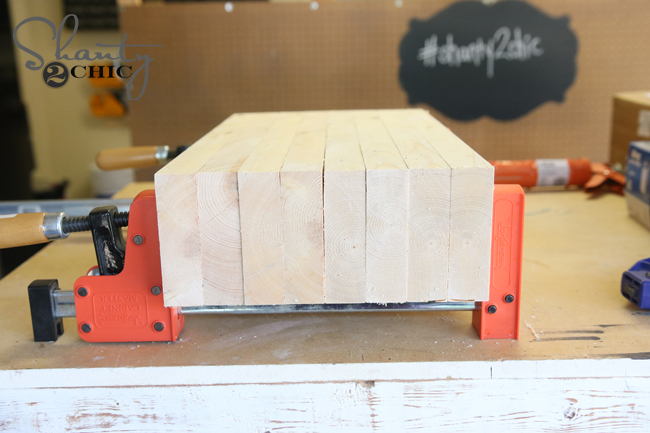
And, clamp them together. The tighter you can get them on this part, the smaller your seams will be. BE SURE to attach them the right direction with pocket holes facing out and at opposite ends!

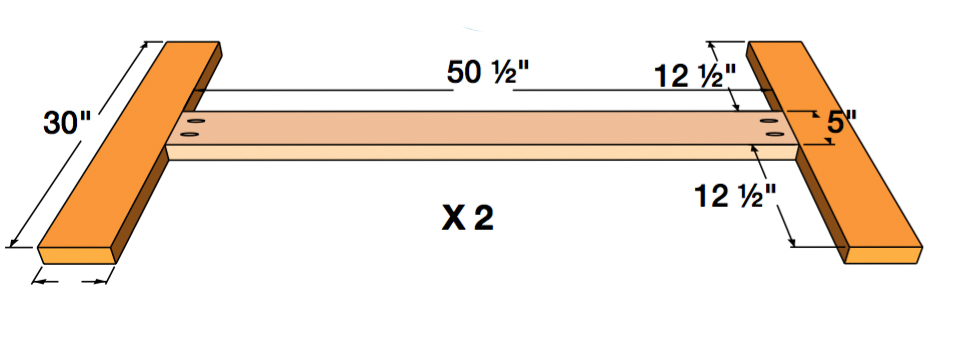
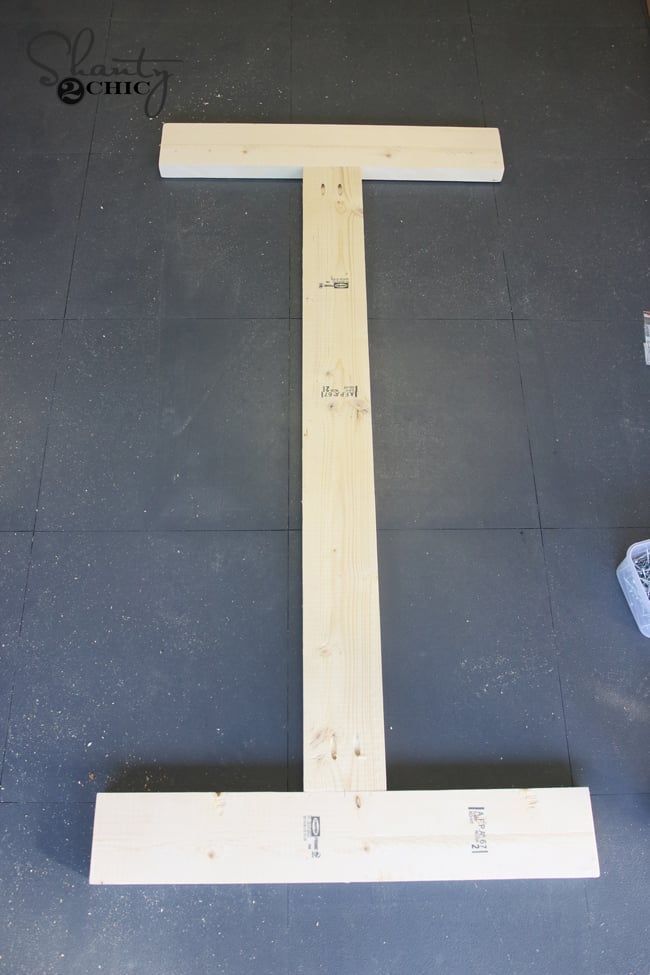
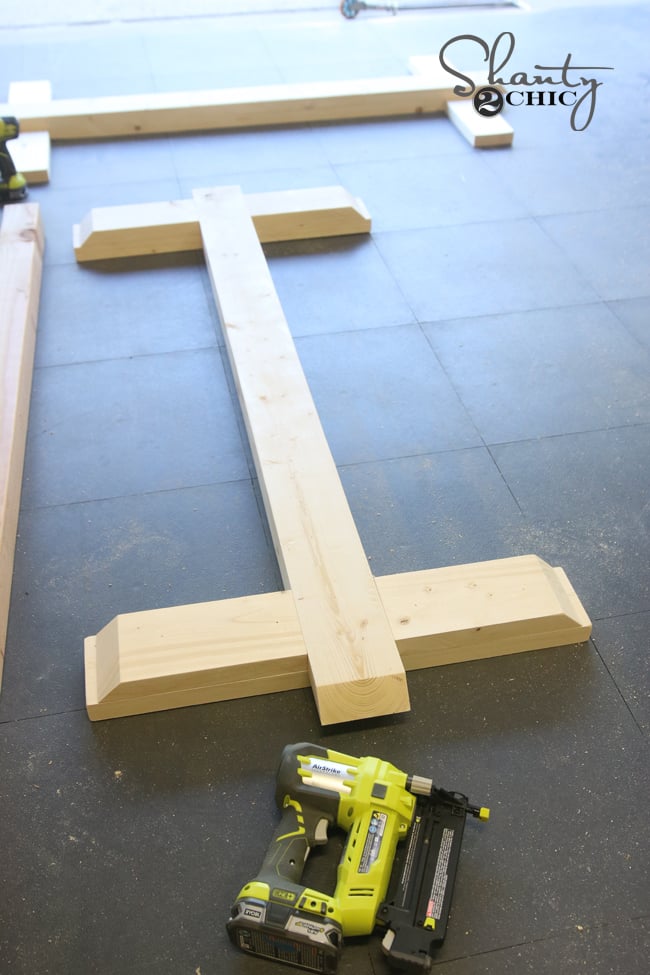
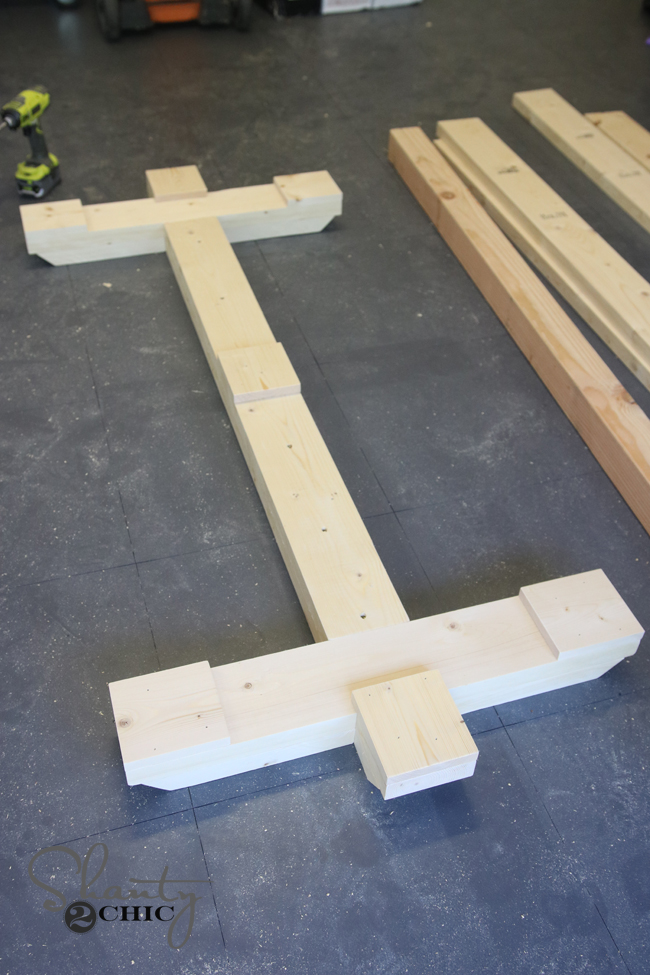
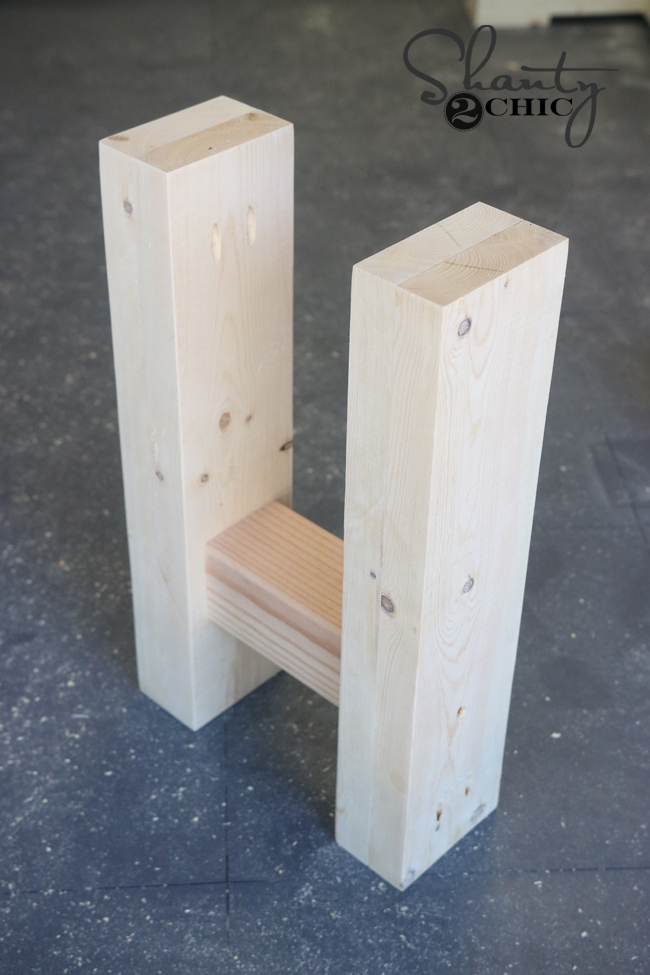
While those were drying, I got started on the base of the table. You will actually make two identical base pieces. One will be the actual base that sits on the floor and the other will be the part that supports the table top.
You are basically forming the letter “I” on this part.
I attached both ends using wood glue and 2.5″ pocket hole screws through the pocket holes.
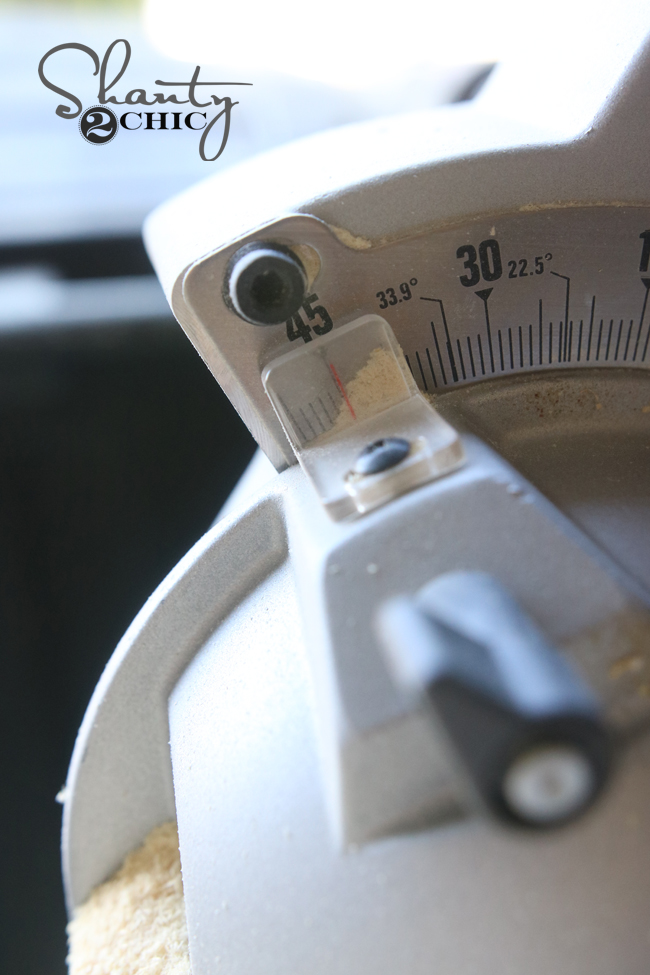
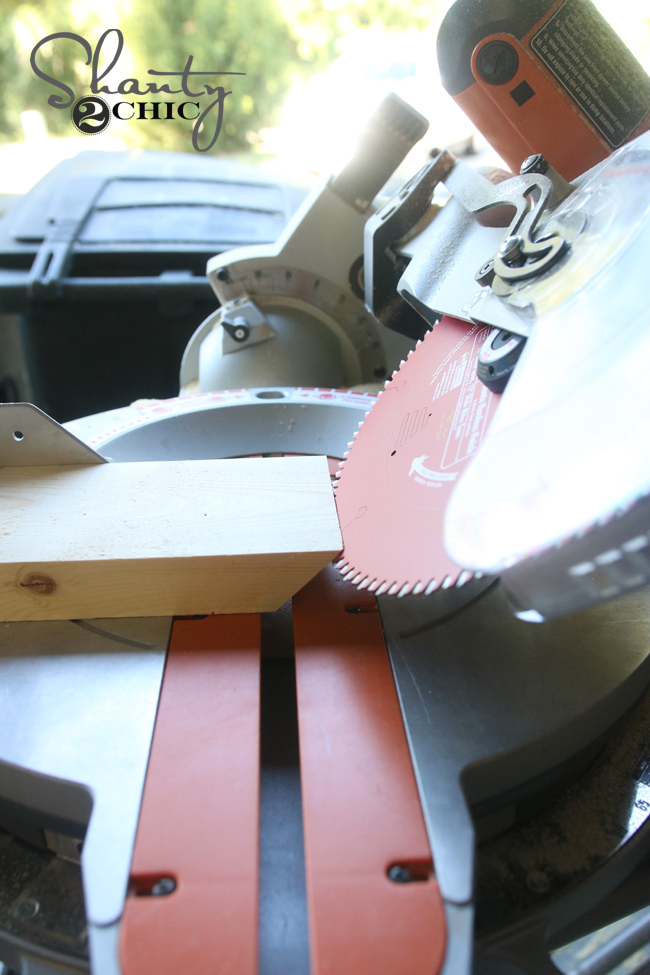
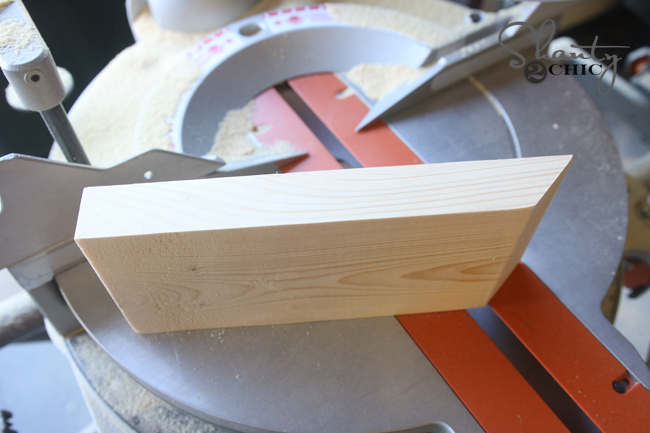
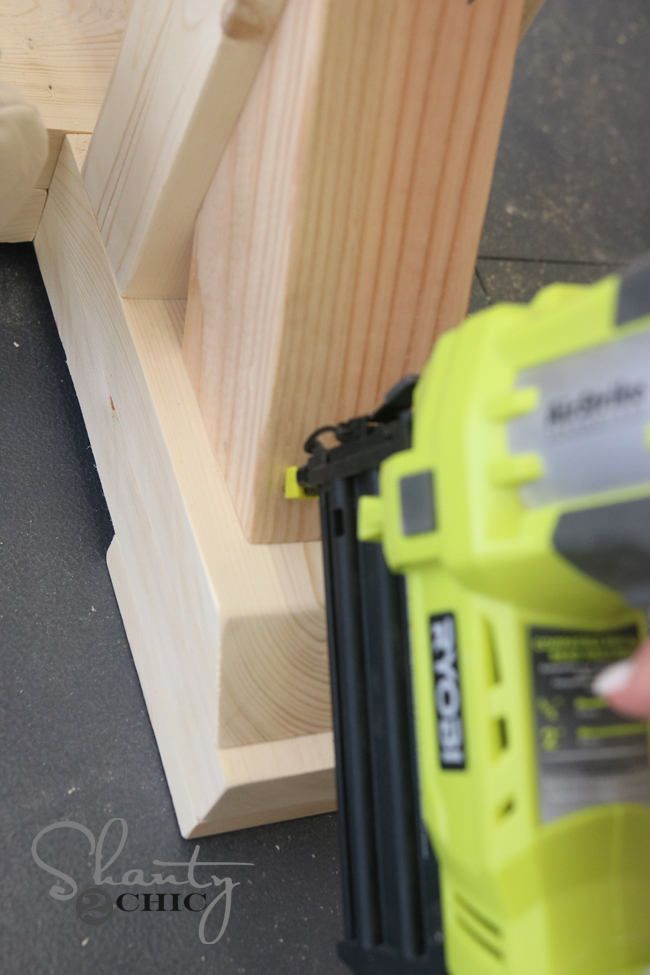
Next, I cut the additional pieces. Each of these will have 45˚ bevel cuts. I used my miter saw for this part.
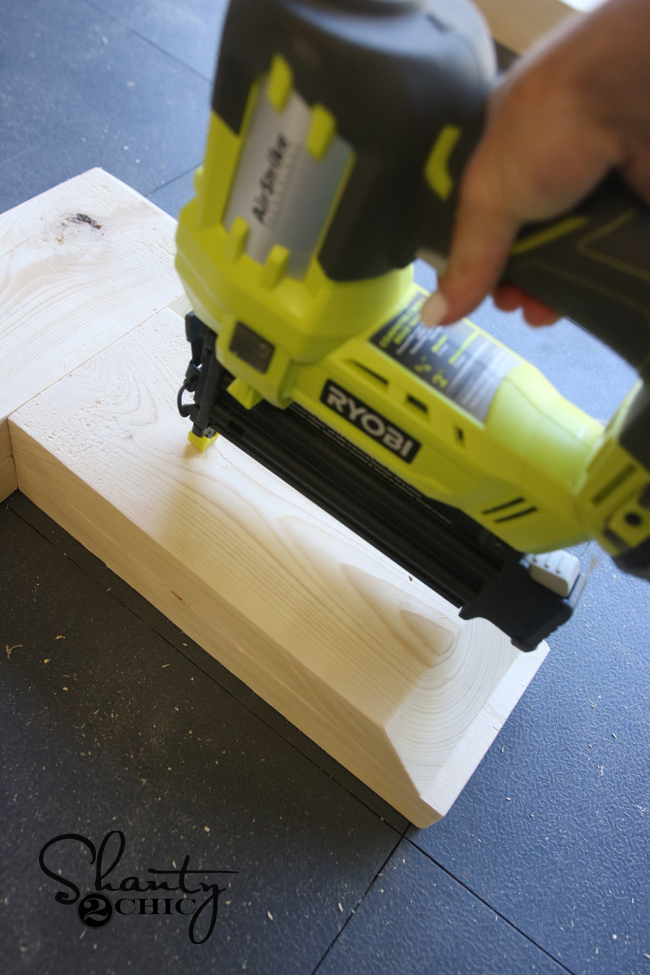
I attached these pieces using lots of wood glue and 2″ finish nails with my Ryobi AirStrike finish nailer.
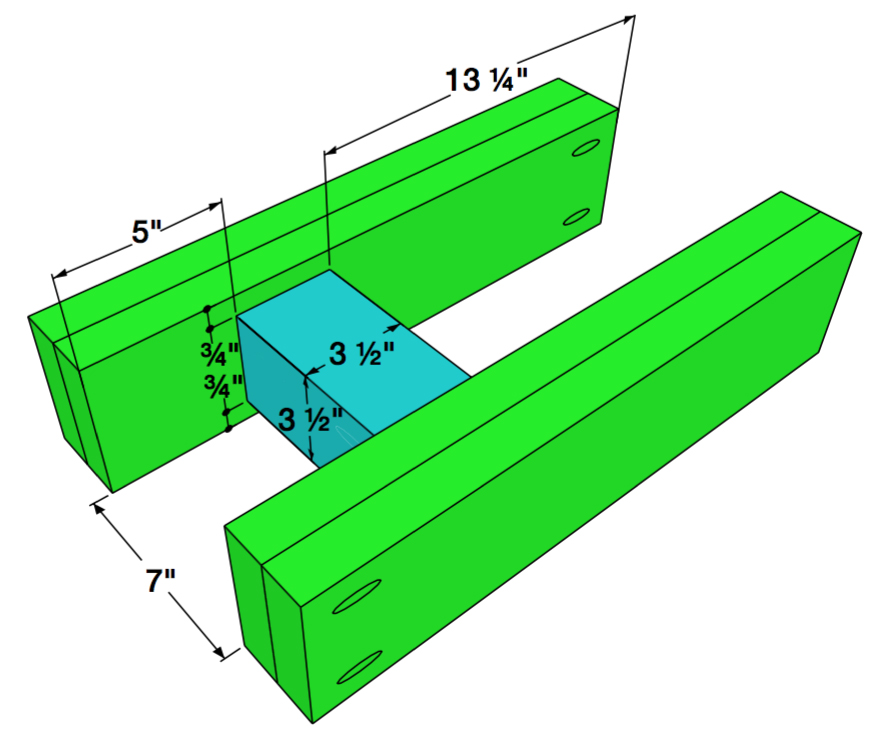
Next, you will cut and add them small squares for each end. I flipped each base assembly upside down on this part.
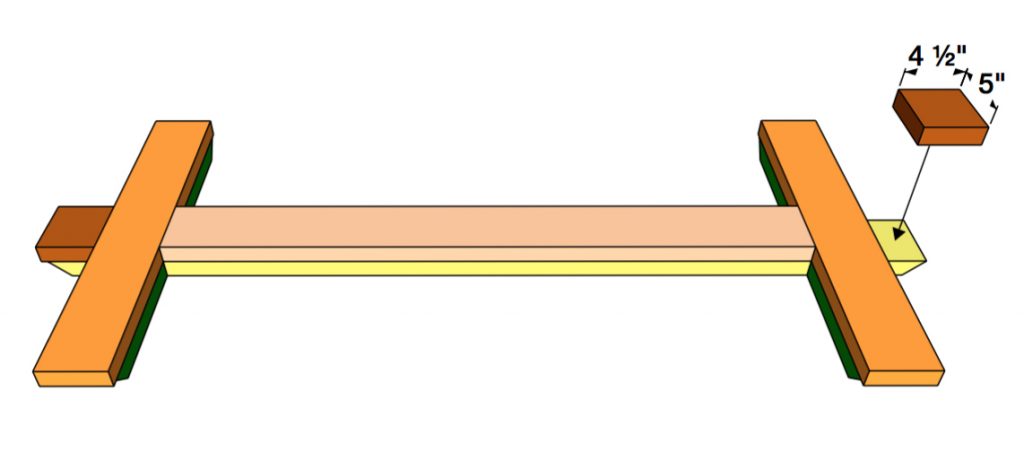
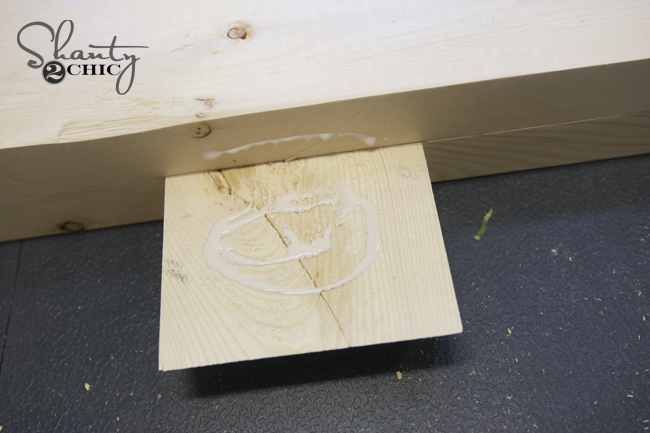
Then, I added wood glue to each end.
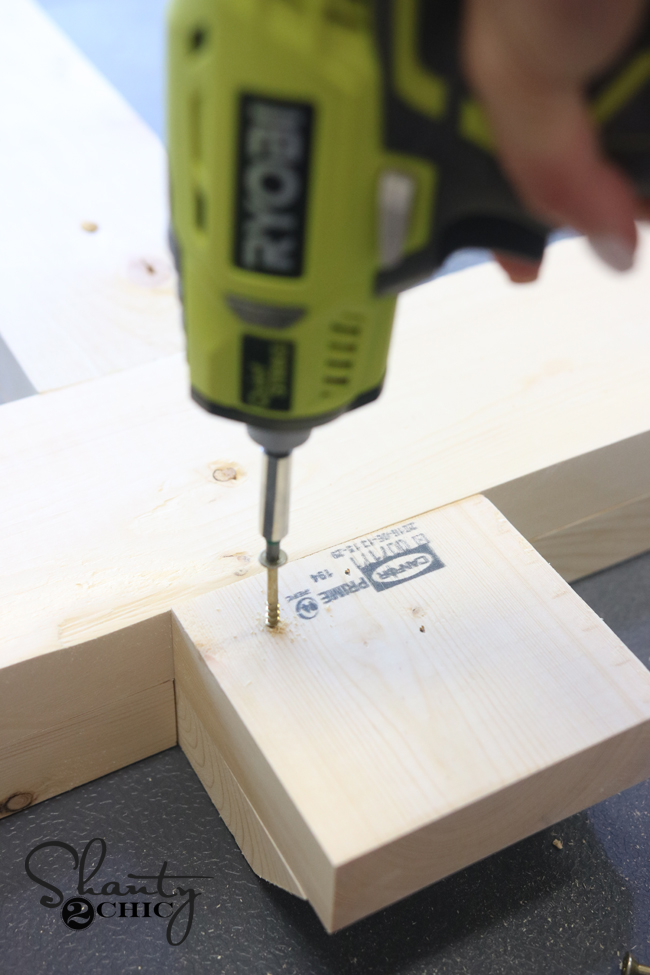
I attached these squares using 2″ Spax screws. You can use a drill on this part, but I used my new Ryobi driver that I LOVE. It’s called the Quietstrike and I am shocked at how much quieter it is than my other driver.
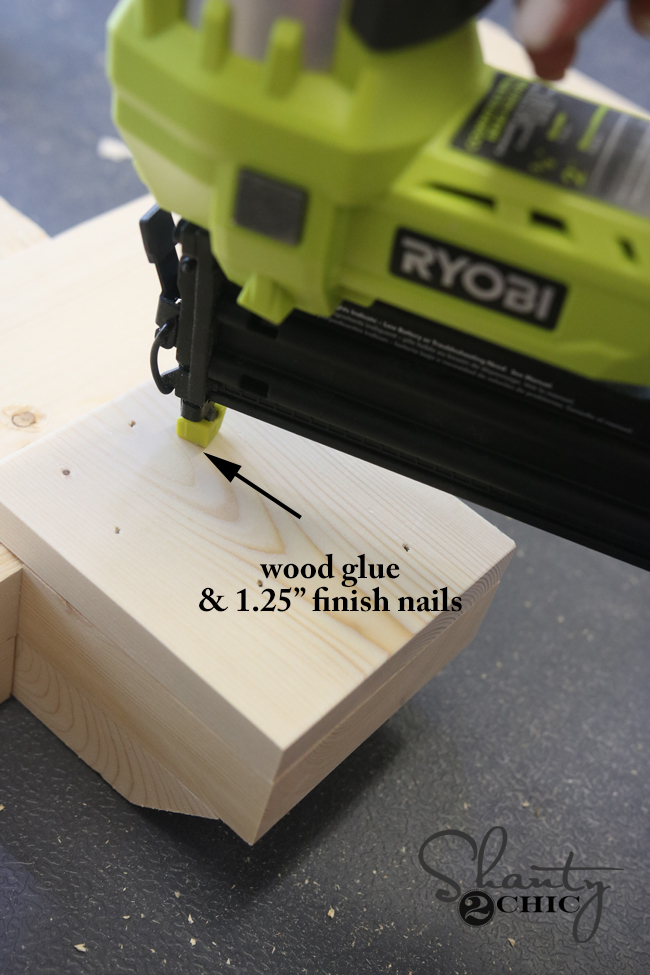
It’s foot pad time! These are small squares cut from a 1×6 that will attach to the bottom of one of the base assemblies.

I also used wood glue and 1.25″ finish nails on this part as well.
Now back to the legs! I unclamped all the legs and started building each leg assembly.
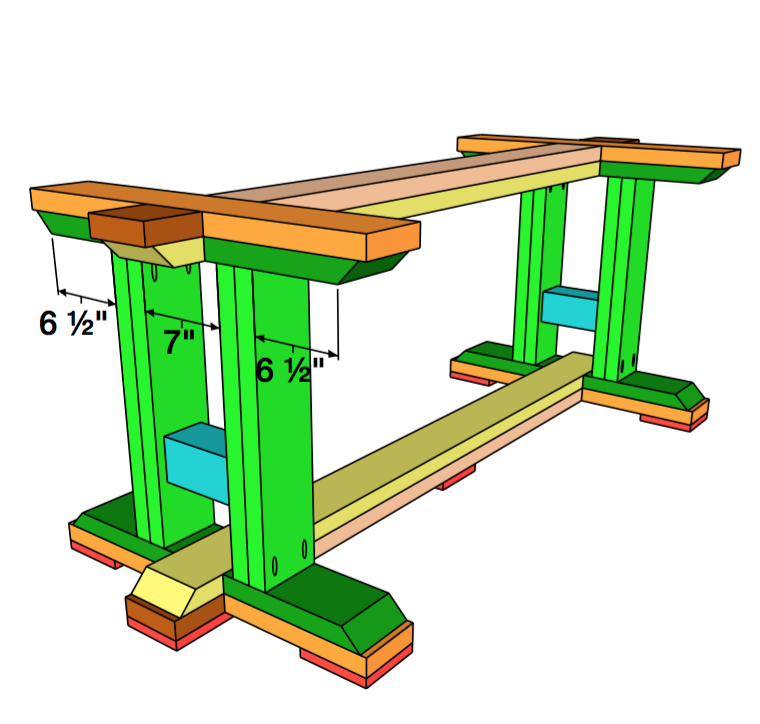
This will consist of two legs and a small 4×4 runner that goes between each leg. This is what they will look like.
*Small Note* Some saws will not be able to cut through a 4×4. If that is the case with your saw, you can use a 2×4 for this part and laminate it the same way you did the 2×6 in the above steps!
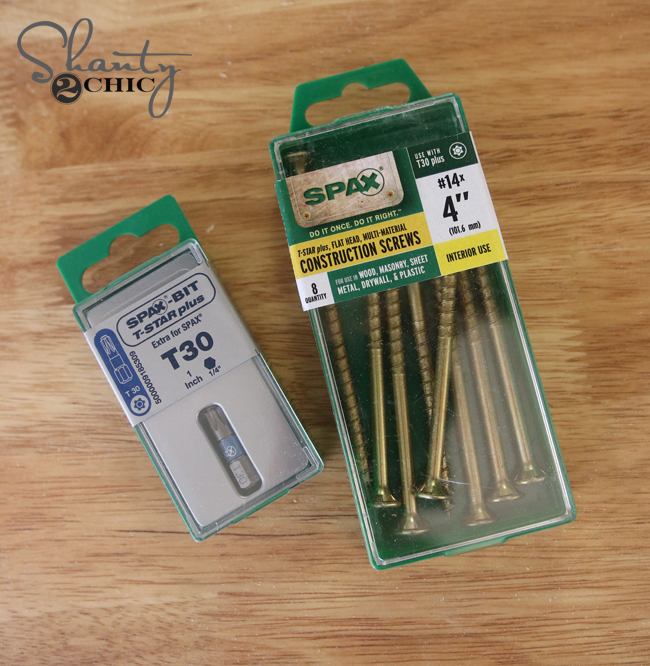
I glued and clamped one leg to the 4×4 to begin with. You will need 4″ Spax screws for this part! These are by far one one of our favorite brand of fasteners. We use them in multiple sizes for different projects. The T-star head is one of our favorite features. You can find out more info on Spax brand HERE.
I used my driver to attach the legs to the runner. I put two screws into each side. These screws will be covered in one of the next steps.
I attached the other leg the same way.
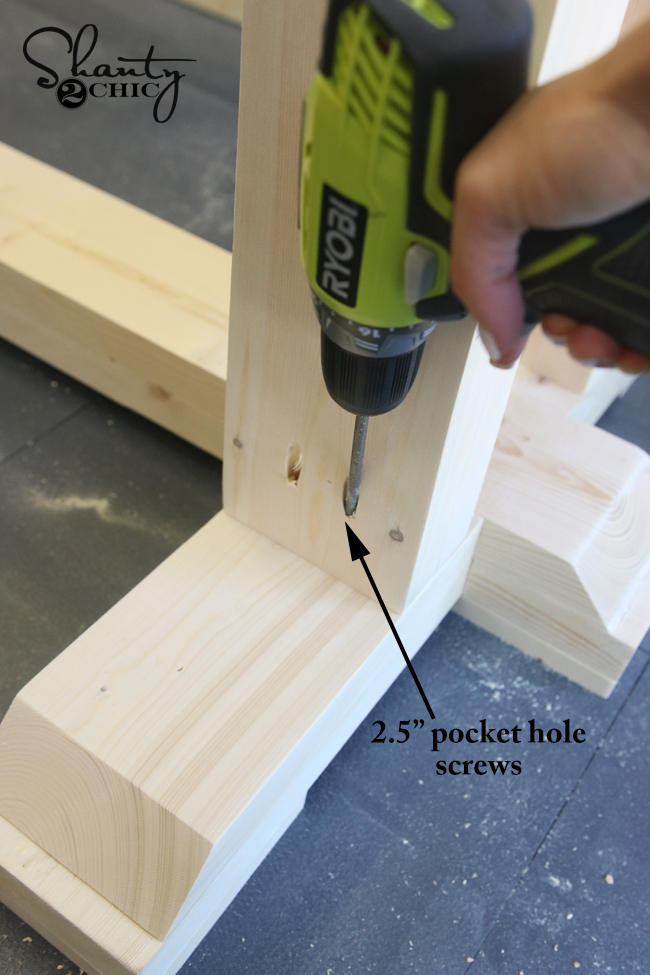
Next, I attached each leg assembly to the base. You will attach these to the base with the foot pads using 2.5″ pocket hole screws and wood glue.
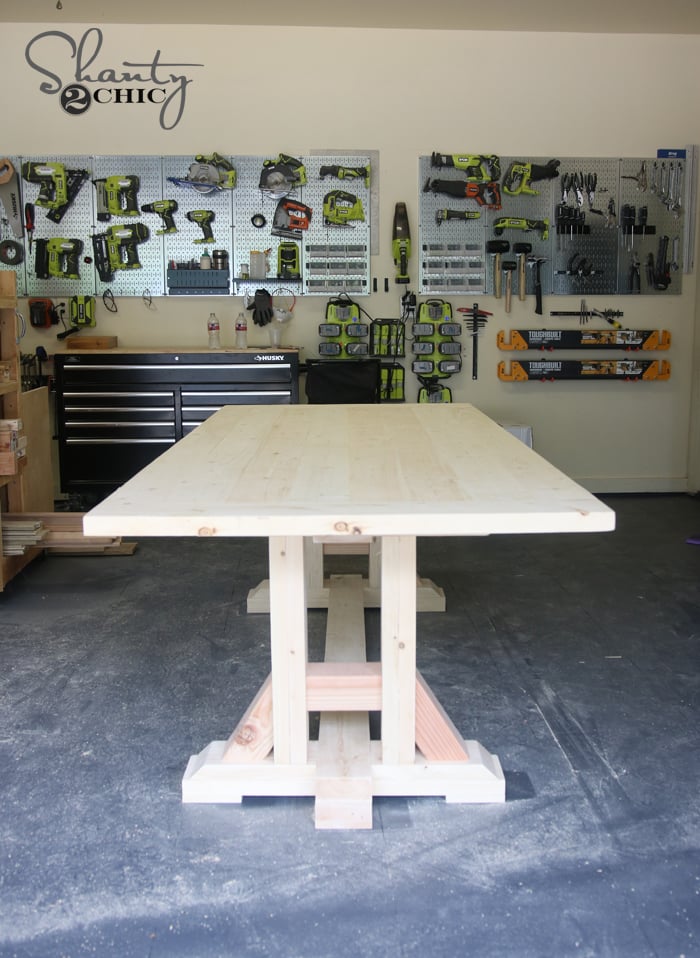
You will attach your top base assembly on top of the legs next and the entire pieces should look like this….
Now for the slightly tricky part…
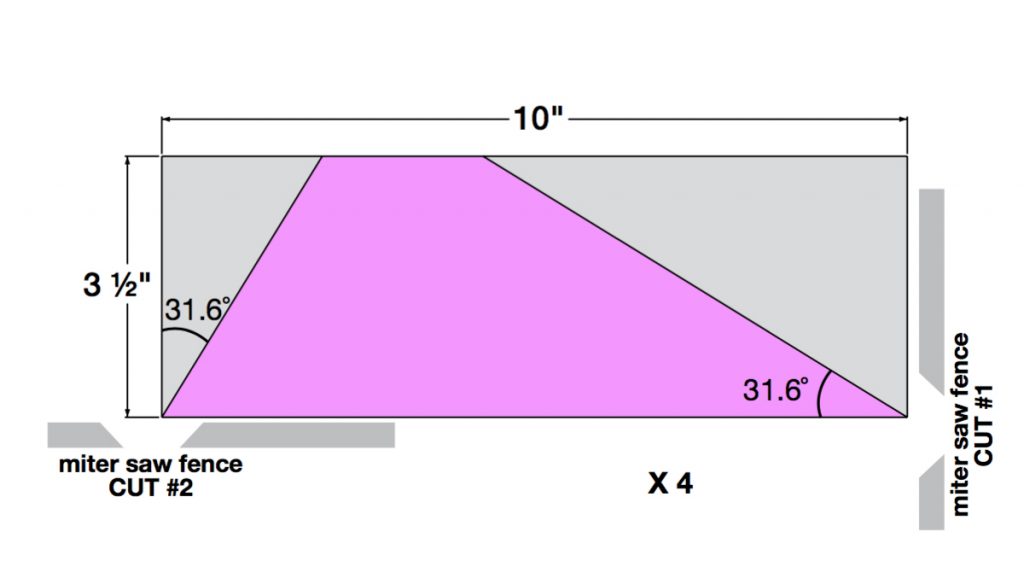
Again, you will need to get creative here if your saw won’t make a pass on a 4×4. I would suggest using a 2×4 on this part to achieve a similar look if you get stuck. Be very careful making these cuts on the 4×4 and try to clamp your wood as best you can when you cut it. I cut my 4×4 at the angles noted in the plans.
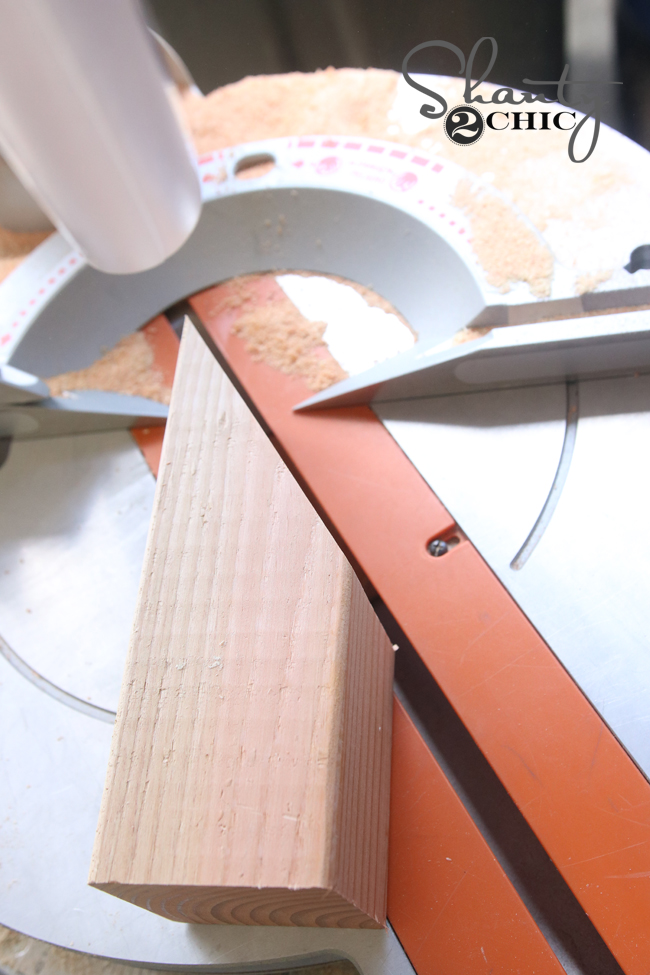
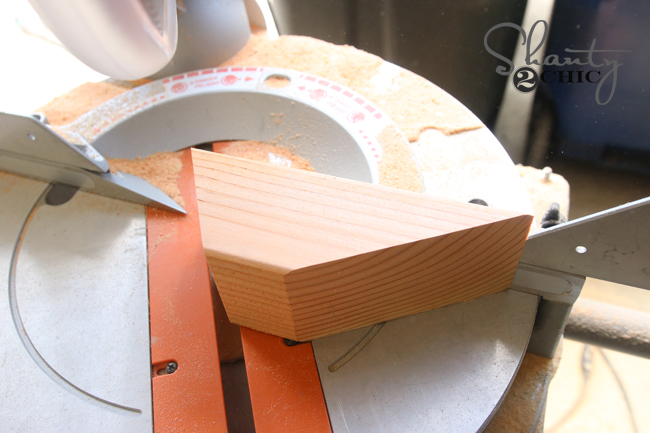
I used wood glue and 2″ finish nails to attach these pieces to the base of the table.
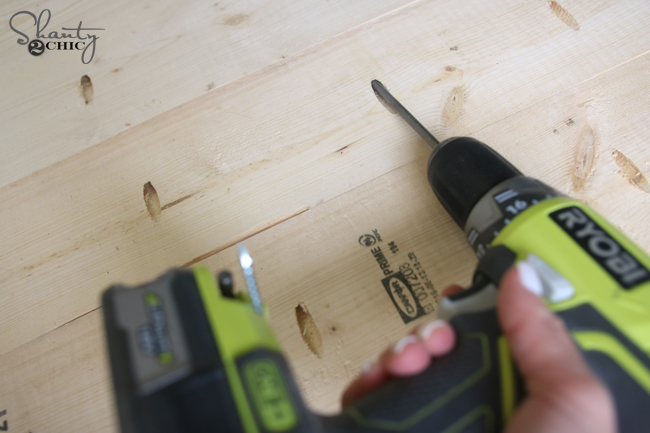
The table top is next! I added all my 1.5″ pocket holes to my planks and attached them to each other using 2.5″ pocket hole screws.
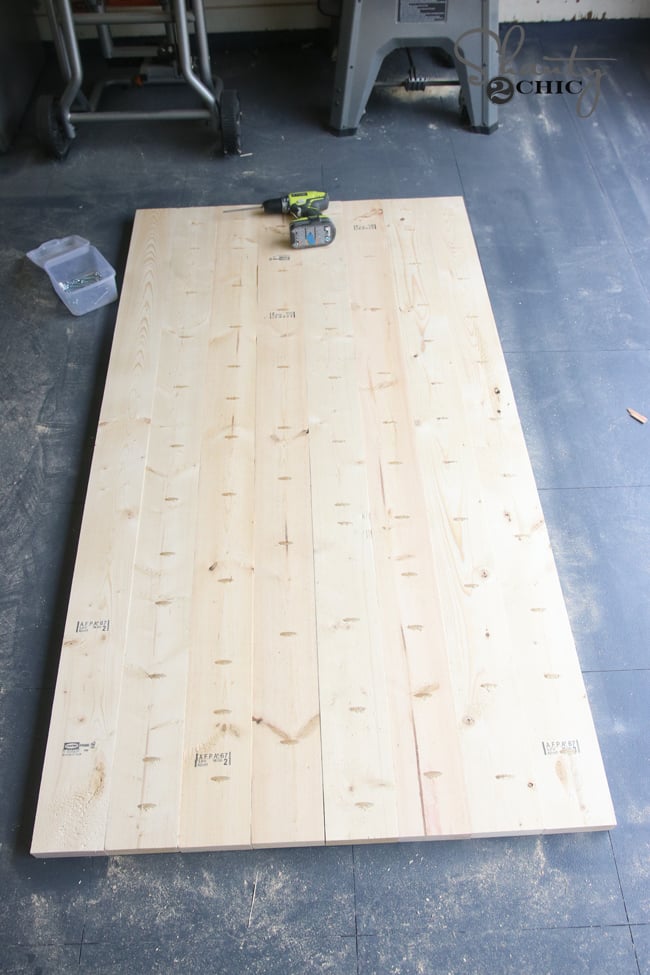
I attached the breadboards the same way and I was done! I set the top on the base for photos but waited to get the albatross in the house before attaching them.
I shared my pride on Instagram 🙂
Before staining the table I sanded everything down really good. This makes the wood take the stain even better.

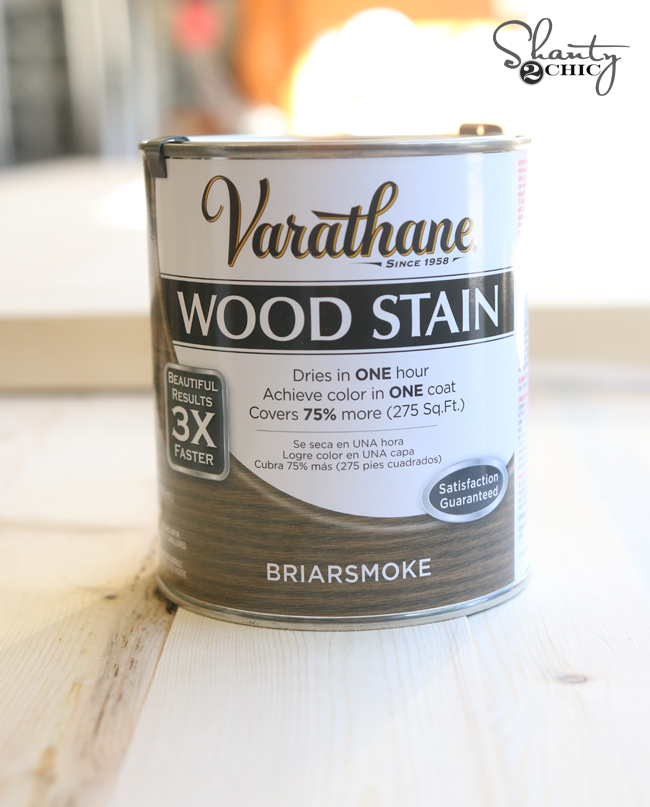
I chose to use Varathane Briarsmoke stain for my table. It’s amazeballs. You will love it. Best color ever.
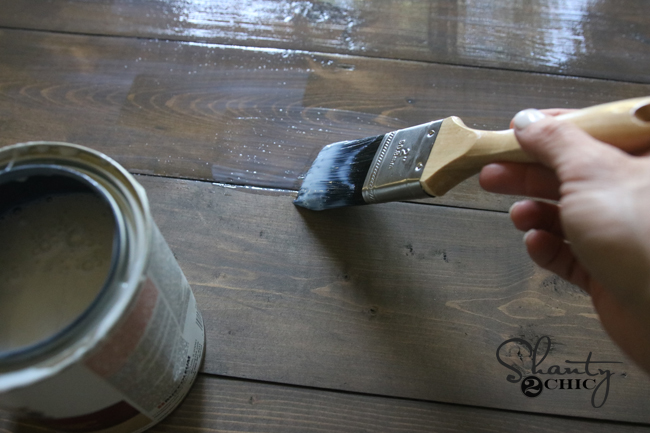
After staining it, I talked my hubby into helping me move her inside so I could get it attached. I used 4″ Spax screws on this part. You can find them at Home Depot or on Amazon HERE. I went through the table base runner and into the table top using 8 screws.

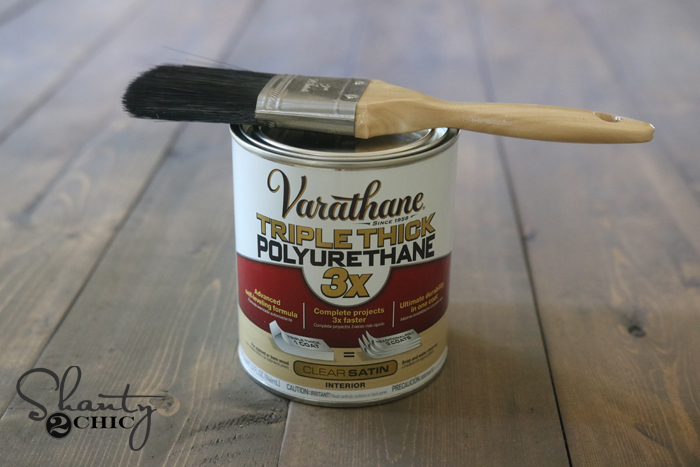
After assembling the table I gave the top a coat of Varathane Triple Thick in Satin to protect the it. This stuff has an awesome finish to it. You brush it on and let it dry. It goes on white and dries clear.
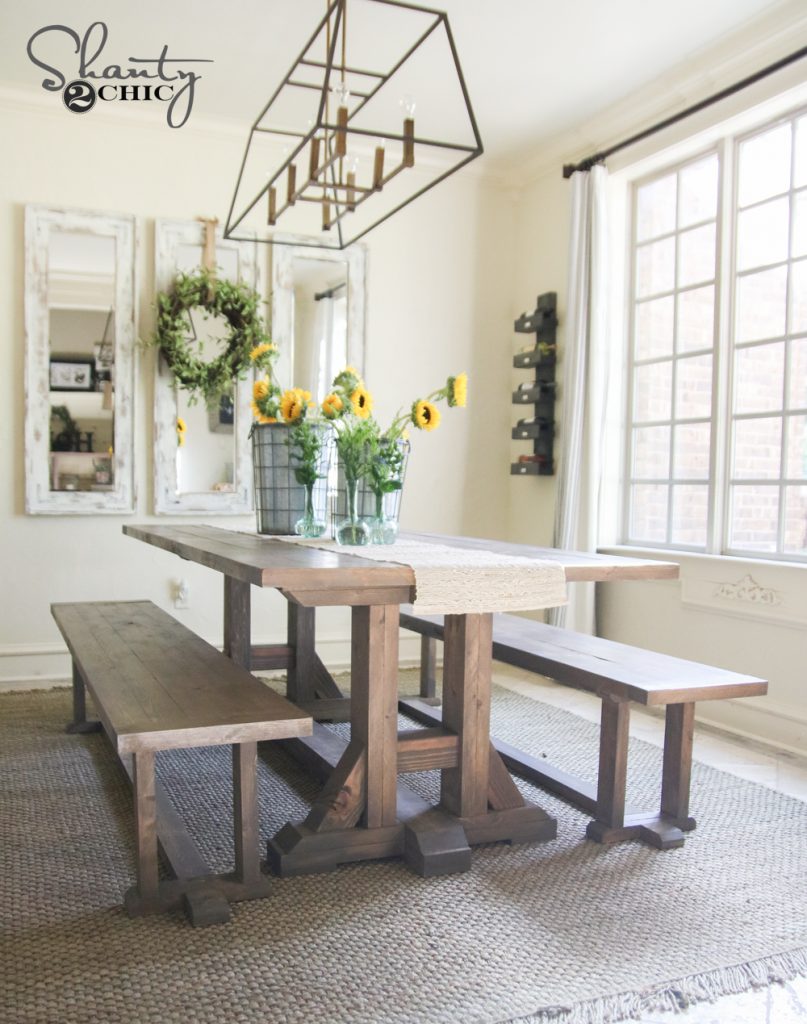
Whewwwww that was a lot of pictures. For those of you that are still with me, here she is again all finished!
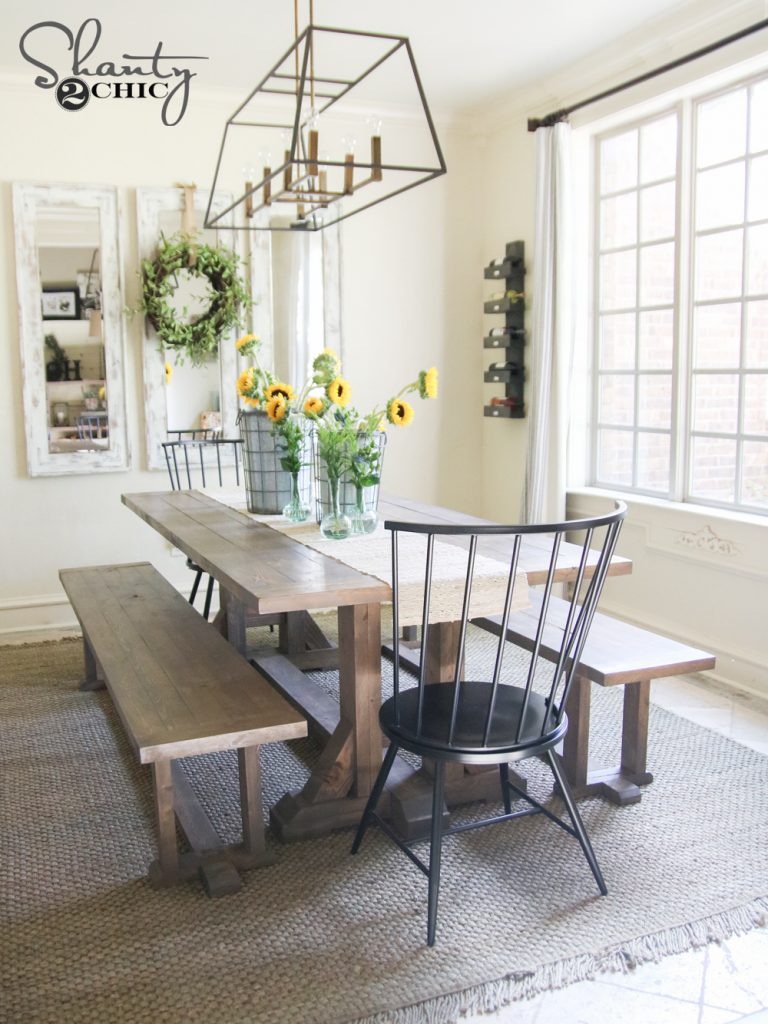
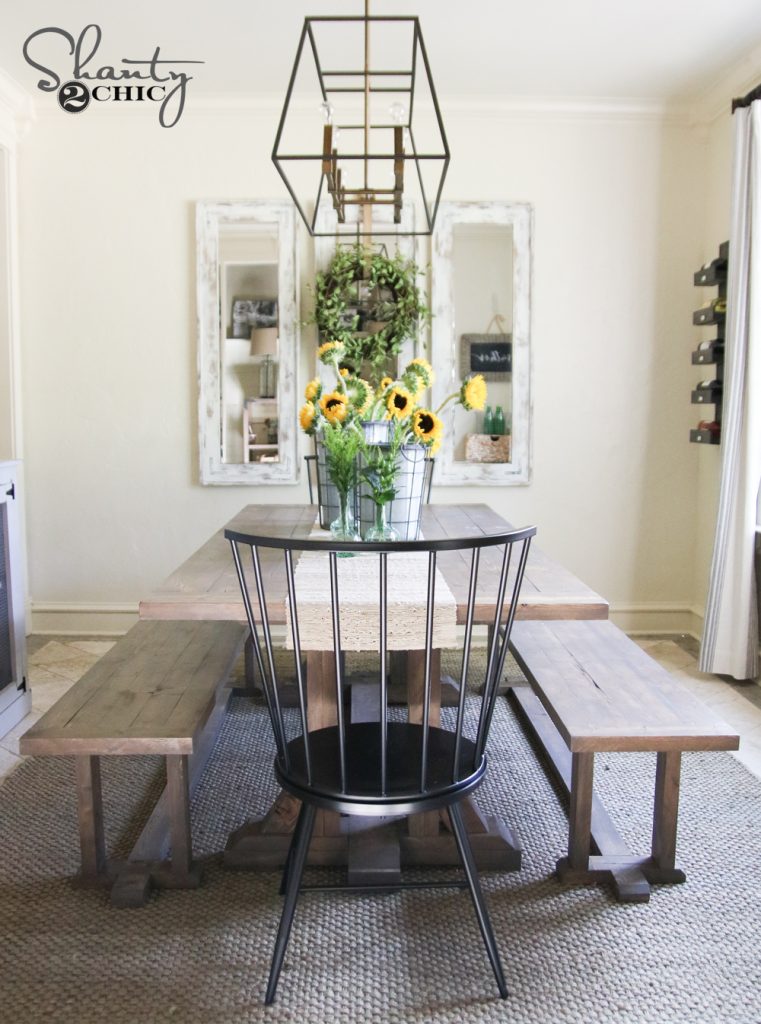
I’ve had lots of questions about the centerpiece bottles and vases.
The vases can be found HERE on Wayfair.
The vintage bottle set can be found HERE on Wayfair.
And, let’s talk about the chairs… I’m in love. They are super cheap too! You can find them HERE on Wayfair!
The rug can be found HERE on Wayfair.
The chandelier can be found HERE on Wayfair.
The wall color is Antique White by Sherwin-Williams.
The window panels can be found HERE on Pottery Barn.
The bench plans are coming soon!
Thank you! I would SO appreciate you sharing this project with all your friends. Let me know if you have any questions at all!
Whitney
Check out our complete list of over 25 free DIY dining table designs!


This is beautiful! How about the three mirrors on the side wall? Did you build them and if so, could you share the steps?
Do you have a printable version? 🙂
Can anyone tell me how many of each screw/nail you have to buy? Or about how much you spent on this project outside of the actual lumber? Just trying to budget this!
I’m trying to find a safe way to rip the edges off of 2×6’s… any tips here? A 2×6 from any box store has NO flat edges. So running them against your table-saw fence seems like a recipe for catching kick-back in the teeth?
you don’t have a kickback guard? I did the tablesaw method worked like a charm. but I have a kick back guard.
I have never ripped a piece that I did not first run across a jointer and/or planer. And no, my table-saw has no riving knife.
I would definitely recommend getting as straight and as uniform studs as you can find. Even though I have both a riving knife and a kickback guard attached to it (thing with teeth that lets board only move easily forward through saw) I never even felt a hint of kickback. I did have a couple pieces of the waste from the rip fly off to the side but nothing that could hurt. All that said, I am fairly new to table saws and would never suggest you run something you didn’t feel safe.
Do you have a jointer/planer? I could see one of those doing the job just fine. Even if you just use it to create one flat side before ripping.
Hardware! Help! I can’t find the Simpson washers anywhere online or in Home Depot!
Not sure if my attempt at replying didn’t post or what. What part of the build are you using Simpson washers for?
The link to the chairs goes to a general chairs page on Wayfair. Can you let us know the name/model?
I’ve really enjoyed working on my table! I’m getting ready to put the breadboards on the top. In the pictorial above, you don’t mention gluing either the top or the breadboards, only using pocket screws. I’ve glued the top slats AND used pocket screws. In the written download instructions it says to use glue and pocket screws. I’ve begun to get small cracks in the table top. Any suggestions on how to stop that/fix it? Anyone else experience this? Thanks!
I LOVE this table, so I’m making it (trying!). My brand new mitre saw may JUST cut the 4×4 on an angle, so I’m using the 2×4 for the ‘triangle’ support pieces on the leg base. Since the 2×4 may not cover the pocket screw holes, Should I turn the legs so the pocket screw holes are on the inside of the legs? The pocket screw holes on the table top would then be on the outside of the legs and should also be invisible unless someone is looking under the table.
I am almost done……but I didn’t build just build a table…..I built memories….first meals, first time visitors, first homework assignments completed, so on and so on. Love you ladies and thank you Shanty for the never ending smiles????????.
Would everything still hold together okay if I used 2″ nails? It seems like most standard nail guns don’t work with 2 1/2″ long nails. The price point for brad nailers that accommodate 2 1/2″ nails goes up a ton! Or I guess my other question would be, can I actually use 2 1/2″ nails in a brad nailer that says it only works with up to 2″ nails? I am set on making this table, but it might not happen as soon as I’d like to if I have to drop so much $$ on a heavy duty brad nailer. Thanks in advance!
I had the same exact question, did you ever get an answer/try it out? Currently, im planning on trying out the 2″ Brads in lieu of the 2 1/2″. It appears the plan set differs from what the pictures above did as well, above it claims they used 2″
I never got an answer, but I went for it and the 2″ nails worked great. 🙂
She did not use Brad nails. She used finish nails. A Brad nail gun and finish nail gun are totally different. They are two different gauges if you run finish nails in a Brad nailer it would jam up instantly.
Throughout the tutorial she keeps referring to finishing nails. But her tool that is showed is a brad nailer and she lists brads in her materials listing. And the holes that are left after she nails are very tiny. Which should we be using? Brads or finishing nails?
Looks great and I plan on starting this real soon!
My 2 cents though. When glueing, I always spread the glue out over the entire surface of the wood and clamp in as many spots as possible. This ensures even glue application and very limited chance that the boards may separate.
Mike, I started to take your advice after a got a small gap in one of my pieces. I’m using an old hotel room card to spread the glue around and make sure the entire surface is covered. Wish I listened sooner!
Can you eliminate the 4×4 angled piece and it still be okay structurally?
I eliminated it and haven’t had any issues
I’m really nervous about using my mitre saw to cut the 31.6 degree 4×4’s for leg support. I spoke to a couple of guys in my local woodworking shop and they said to maintain the structural integrity of the piece, I needed to keep them on. I’m at a bit of an impasse…
Madison, Try it on a couple of scrap 2×4’s first to get the hang of it. Also, if your saw won’t cut 4×4’s glue together 2 2×4’s, they will be a half inch thinner than the 4×4.
Thanks Mike! I just used a 2×4 for my first practice run. I put a fence on my mitre saw and that makes me a little more comfortable. Plus, I used a longer piece of 2×4. After I made the first 31.6 degree cut, I then cut the 2×4 down to 10 inches. I felt better doing it that way. It worked, too!
I would imagine it’s ability to handle someone sitting on the table and rocking back and forth may be reduced. I don’t know why anybody would do that though.
Legit comment is legit
I just built this table 2 months ago. I love it. It is gorgeous and hard work. But the top is now splitting. I guess due to seasonal shrinkage/expansion. Anybody know of a better way to attach tabletop rather than the 4 inch screws to allow for expansion? Did anybody else have thus problem?
I used Z clips instead, allowing to expansion through the seasons.
Also remember, if you stain and poly the top, you need to do the same thing to ALL sides of the wood- top, ends, bottom. This will help all pieces of wood to shrink and expand at the same rate. I made that mistake building a bedside table by only finishing the top and sides because nobody was going to see the bottom anyway. My husband’s table warped terribly and I had to remake it.
I am attempting to build the bench tomorrow using 2x4s. I think the structure of the base of the bench is very similar to the table in that you build two of the “bases” and connect them using the legs. I’ll let you guys know how it goes! (I wanted mine in time for Thanksgiving, too. 😉 Love love love how the table turned out!
I’m doing the same. I posted my abridged plans a little below. I’d be interested to know how closely your plan matches.
Is there a topcoat that you recommend that’s matte finish? I don’t want any shine at all if I can help it
Yes! Triple thick matte finish! We use the satin finish and the sheen is very low.
Love these plans but i’m wanting to build a matching table and benches. Are the bench plans coming soon? Would love to build before thanksgiving
I really don’t get why it’s taking so long to get these plans:/?
You are complaining about free plans?