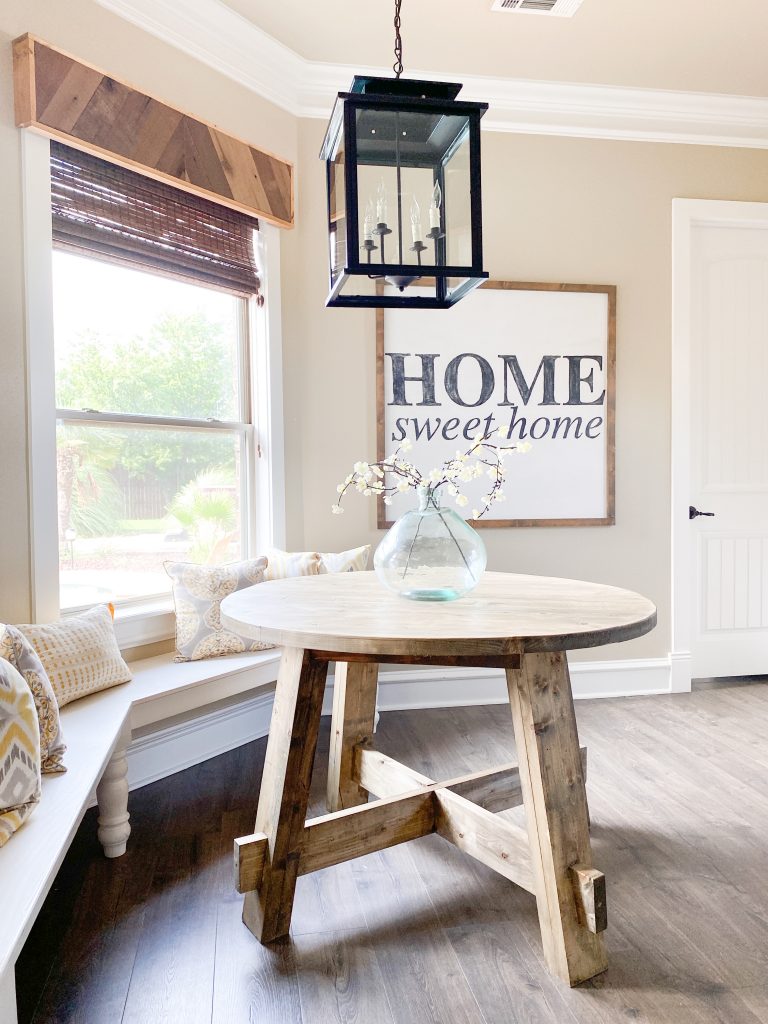
My entryway has been in serious need of some love! I love having a console table to serve as a drop zone when people walk in the door. So, I designed this super cute DIY Modern Waterfall Console Table and I love it! Check out the video below and grab the free plans at the bottom of this post!
Table of Contents
DIY Video Tutorial
Materials
With lumber costs so crazy high, I chose to use some different materials to keep the cost of this table down. I used laminated pine project boards and 2×4 boards to create this piece. Laminated boards are typically found by dimensional lumber at the hardware store and come in various widths and lengths.
Kreg Jig
One question we get asked consistently is, “What tools do I need to start building furniture”, We have always recommended three basic tools for beginners to get started, a miter saw, a drill and a Kreg Jig. What is a Kreg Jig? A Kreg Jig is a tool that drills pocket-hole joints. It makes joining two boards faster and gives you stronger and cleaner joints than countersinking a wood screw. Whitney and I discovered them shortly after we starting building furniture and it was a HUGE game changer for our furniture building! We were so impressed with how user-friendly they are and the strong joints it gave our builds! For this table, we used two different Kreg Jig models to show you a little bit about both! We used the Kreg 720Pro and the Kreg Foreman!
720PRO MODEL

The Kreg Jig 720Pro is hands-down our favorite pocket hole jig! The Automaxx dual Clamp self-adjusts to your material thickness making it so fast and efficient for furniture building! It has built-in material support wings on the docking station for large panels like plywood, tons of storage features and includes a clamp to hold it in place to your workbench. Some additional accessories are a dust port with a vacuum adaptor, 160 pocket hole screws, It also folds up compact so it’s perfect for small shops.
WHAT’S INCLUDED WITH THE 720PRO?
- Easy-Set Drill Bit
- 3″ #2 Driver Bit
- 6″ #2 Driver Bit
- Easy-Set Drill Bit Collar
- Material Thickness Gauge
- Dust Collection Vacuum Adapter
- Kreg Docking Station with Material Support Wings
- Kreg Pocket-Hole JigClamp
- 1 Downloadable Plan
- 160 Kreg Pocket-Hole Screws
Check out our video about the 720 pro!
Step 1
Create the frames first. These are made from 2×4 boards that I ripped to 3″ wide each on the table saw. You will create 2 identical frames, one for the front and one for the back. Each piece will be cut at a 45º angle on each end. Add 1.5″ pocket holes using your Kreg Jig to the ends of each of the shorter frame pieces. You will do these also at a 45º angle. Attach the pieces to create 2 rectangle frames using wood glue and 2.5″ pocket hole screws.


Step 2
Next, attach the bottom board to the front frame. The bottom shelf board is made from one of the 12″ wide project panels. Add 3/4″ pocket holes down both short and long ends of this board. Attach the board to the frame using wood glue and 1.25″ pocket hole screws. The top of the bottom shelf will line up flush with the top of the bottom frame piece.

Step 3
Attach the sides of the cabinet next. These are also laminated pine boards. The base of each of these boards will be a straight cut and the top of each board will be cut at a 45° angle. Add 3/4” pocket holes at the top of each of these boards just below the angle cut as well as down both long sides. Attach the sides to the base with 1 1/4” pocket hole screws through the base shelf board and into the side boards and also connect to the frame through the pocket holes on the board and into the frame. The side will be flush with the outside edge of the frame.


Step 4
Now attach the top of the table to the frame. Add 3/4″ pocket holes along both long sides of this project panel. Attach the top to the front frame using 1 1/4” pocket hole screws and wood glue. The top of this board will be flush with the top of the frame. Also, attach the side pieces up into the top board also using 1 1/4” pocket hole screws and wood glue. Your angles should be flush forming a square edge on the top corners and everything should line up flush with your frame.


Step 5
Now, attach the back frame to the cabinet. The easiest way to do this is to lay the back frame flat and put the cabinet on top of it. Attach everything to the back frame just like you attached it to the front frame using wood, glue and pocket hole screws.


Step 6
Using scraps from the 2×4 boards, cut two supports for each side. These will be 12″ long each to match the width of the laminated board. Attach them to the inside of the cabinet side pieces, using wood glue and 1.5″ brad nails.


Step 7
The final step in construction of the table is attaching the inside trim pieces to give it a thick, chunky look. These pieces are also cut from the laminated pine boards. Cut them to size and attach them to the inside support pieces using wood glue and brad nails.


Hardware
At this point, I was ready to add my feet. I found the cutest metal feet on Amazon that I love so much! You can find them here! I just attach them to the base of the console table. I did this before staining because I knew the stain would not harm the feet.

Staining the Table
I decided to create my own stain color by mixing three different stains. This is a really fun way to give you an even more custom look and it’s super simple! You can check out my reel on how I created this color here!
I used three different Varathane stain colors to create this. I started with an empty tub from the hardware store. These are super inexpensive. You can also use any empty container you have at home! I mixed two parts of Natural stain, one part of Golden Oak, and a splash of Weathered Gray. This gave me the perfect finish that I was looking for. You just put all of that into the bucket and stir it up just a bit and you’re ready to go!
Make sure to sand all the surfaces with medium and fine sandpaper to get an even, beautiful finish. I like to use my Ryobi Corner Cat for this! An orbital sander also works great!
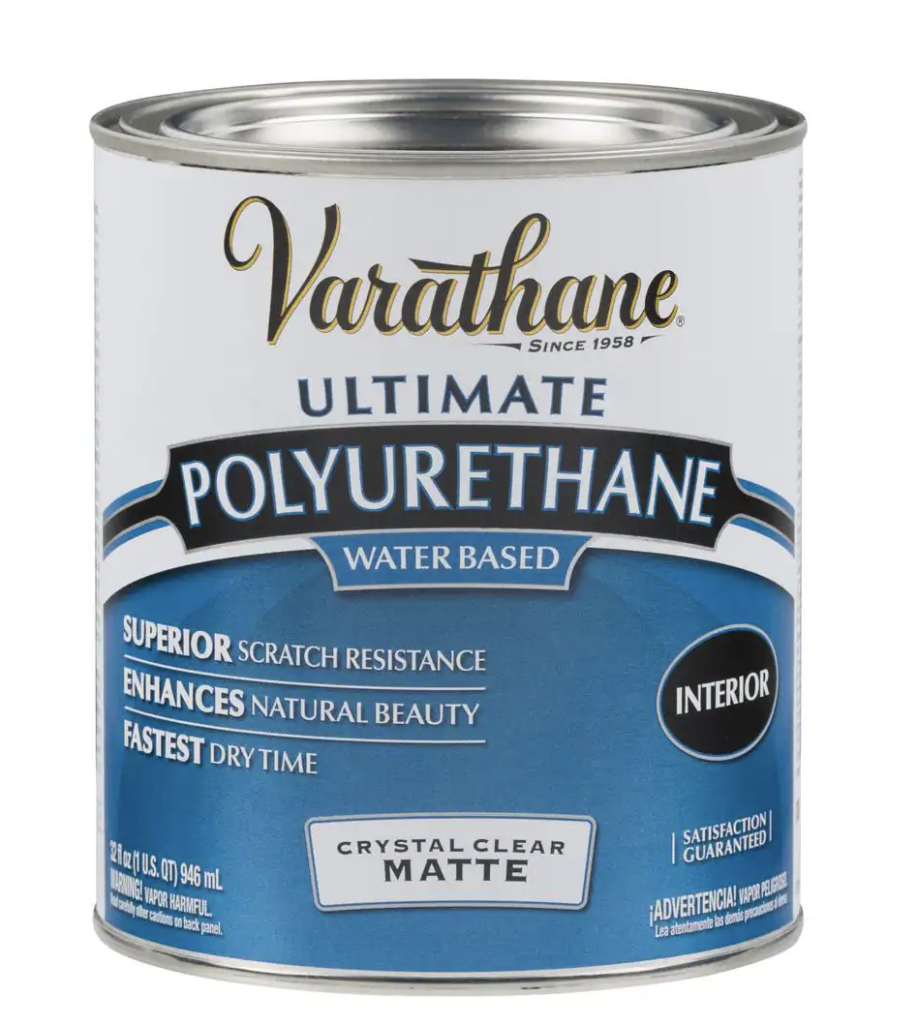
I often get asked what protective coat I like to use on top. My favorite polyurethane is THIS ONE!
Free Plans!
I love how this DIY Modern Waterfall Table turned out!


Make sure to download and print the free plans HERE!!


I absolutely love the sleek design of the Modern Waterfall Console Table! The step-by-step instructions are so easy to follow, and I can’t wait to try this project for my entryway. Thanks for sharing such a fantastic DIY idea!
This waterfall console table looks really sleek—the continuous edge detail adds a premium touch to a simple design. Projects like this rely heavily on precision and material consistency to achieve that seamless look. Using well-engineered boards like quality plywood can help maintain structural stability while ensuring a smooth, uniform finish over time. We’ve come across useful material insights on platforms like https://plywoodbazar.com/
for similar furniture and interior applications. Very well-crafted and practical build!
Hello, I am a senior and want to make this table do I have to cut the 2×4’s down to 3 inches or could they stay the full size also I can’t have the table much deeper than 11.5 inches so I am assuming I would have to adjust the width of the inside panels what did your finished measurements end up being?
Thank you so much
I absolutely love this DIY waterfall console table! The design is sleek and modern, and I can’t wait to try it out in my own home. The step-by-step instructions are super helpful, and I appreciate all the tips you included. Thanks for the inspiration!
I absolutely love this DIY Modern Waterfall Console Table! The design is so sleek and stylish, and I can’t believe how easy you made it look. Can’t wait to try this project myself! Thanks for the detailed instructions!
I absolutely love this DIY Modern Waterfall Console Table! The design is sleek and stylish, and I can’t wait to try making one for my entryway. The step-by-step instructions you provided are super clear and easy to follow. Thank you for sharing such a beautiful project!
I absolutely love this DIY Modern Waterfall Console Table! The design is so sleek and stylish. I can’t wait to try this project at home. The step-by-step instructions are super helpful, and I appreciate the tips you included. Thank you for sharing such an inspiring idea!
I absolutely love this DIY Modern Waterfall Console Table! The design is so sleek and chic, and I appreciate the step-by-step instructions. I can’t wait to try this project out in my own space—thanks for the inspiration!
I absolutely love this DIY Modern Waterfall Console Table! The clean lines and sleek design are so stylish. Can’t wait to try this project myself! Thanks for the clear instructions and great tips!
hi, i love this and am planning on building. Do you think this would look good when we have people over and use as a buffet? Or would you recommend one of your other console tables behind a sofa? Also, is there a reason you ripped the 2×4 down to 3″? Does this have to be done?
Love your work…Thank you!
More modern patterns are today’s trend.
Where did you get those maps in your picture frames? I love this idea!
I was going to ask the same thing!
It is a very special idea.