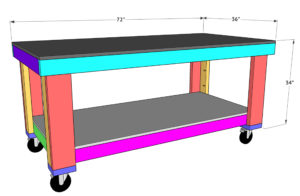
We get so many emails and messages asking what tools and projects someone needs to start a workshop. One of the first pieces we always suggest building is a good workbench, and this DIY rolling workbench is a great place to begin.
It gives you a huge work surface, plenty of open storage underneath, and casters so you can move it around the shop when needed. You can build the entire bench with the three basic tools we recommend for a beginner workshop: a drill, a miter saw, and a Kreg Jig.
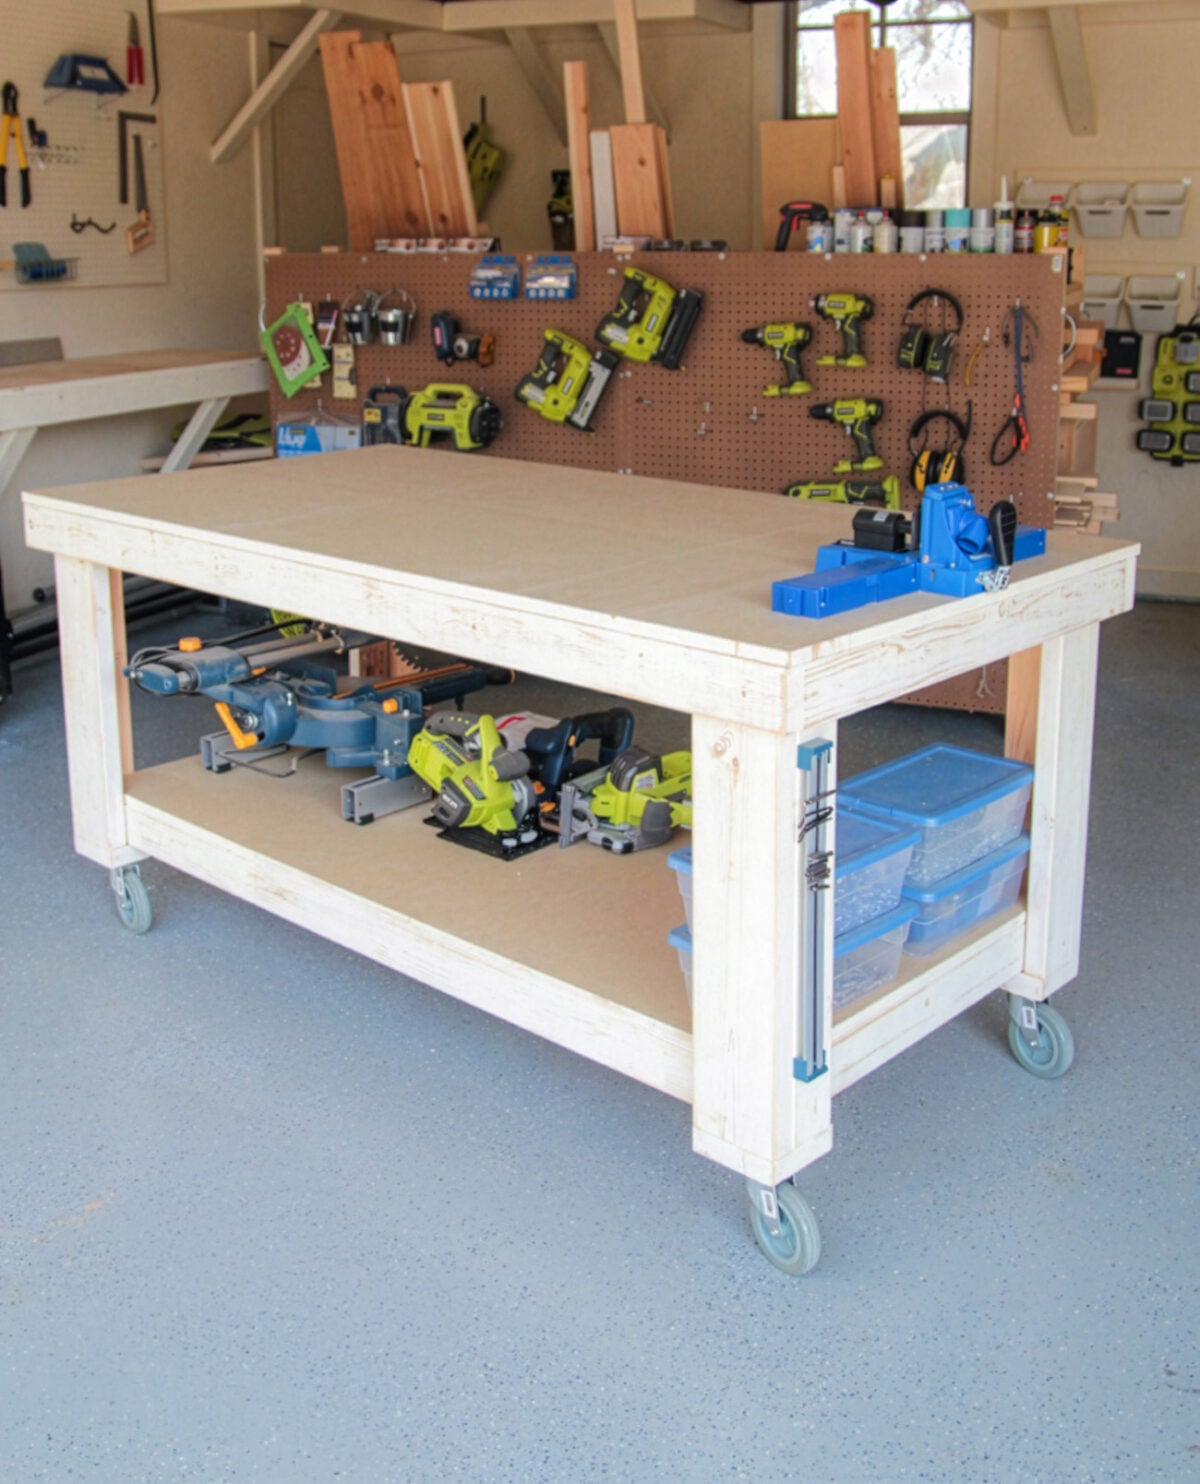
Table of Contents
Why We Love This DIY Rolling Workbench
We designed this workbench to be practical, affordable, and simple enough for a newer builder to tackle.
- It only requires three basic woodworking tools.
- The large top gives you plenty of room for building and assembling projects.
- The open bottom shelf adds easy-to-reach storage.
- Casters make the bench mobile.
- You can leave the wood unfinished or add paint, stain, or a protective finish.
- The free printable plans are included below.
If this workbench looks familiar, you may have seen versions of it in our own shops. Whitney has this full-size workbench, and Ashley built a narrower version for her shop. You can see the narrow workbench version HERE.
We built this one for our friends’ garage after they renovated a 1970s ranch house. We were also building several furniture pieces for their renovation and needed a good work surface in the garage, so this build was a win-win!

Watch Us Build the Workbench
Come watch just how easy this beast is to build! Just click the Play button in the box below to watch!
You can find the free printable plans and How-To Card at the bottom of this post.
Key Supplies
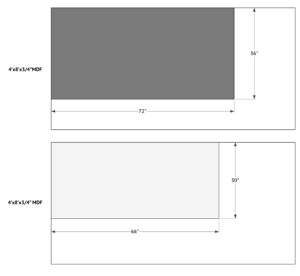
The full lumber list and cut measurements are included in the free plans below. These are the main hardware and assembly supplies we used for the build.
- 1 1/4-inch brad nails: We used these to attach the plywood shelf and workbench top. You can use 1 1/4-inch wood screws instead if you don’t have a nailer.
- 4 casters: The casters make it much easier to move this large workbench around the shop. You can find them HERE!.
- Wood glue: We use wood glue at the joints along with the screws for a stronger assembly. You can find our favorite Glue Bot HERE!.
- 2 1/2″ pocket hole screws: We used these to assemble the frames and leg pieces.
- 2 1/2″ wood screws: These attach the legs, foot pads, and casters.
Tools
- Drill
- Miter Saw
- Kreg Jig – You can find our favorite model HERE!
How to Build a DIY Workbench
The complete printable plans and How-To Card are below, but we’ll walk you through the assembly first.
Make all of the cuts according to the plans before you begin assembling the workbench.
Build the Workbench Frames
Drill the Pocket Holes
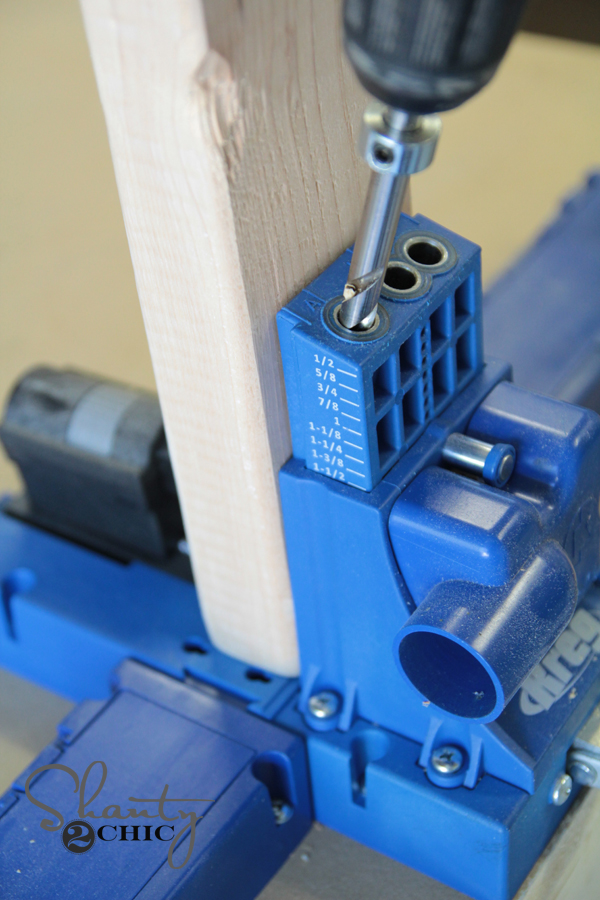
After making all of the cuts, we used our Kreg Jig to drill 1 1/2-inch pocket holes into the short frame pieces. You can find our favorite Kreg Jig model HERE.
Make sure the pocket holes are positioned where they will face the inside of the workbench once the frames are assembled.
Assemble the Top and Bottom Frames
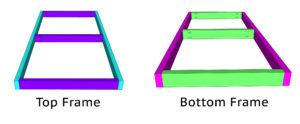
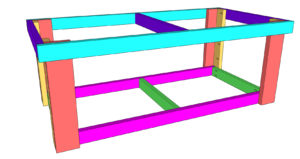
The first step in the assembly is building the top and bottom frames. The top frame is larger than the bottom frame, but both are assembled using the same method.
Attach the short frame pieces to the long frame pieces with 2 1/2-inch pocket-hole screws and wood glue.
Check each frame for square before fully tightening the screws. This will make attaching the legs and plywood pieces much easier later.
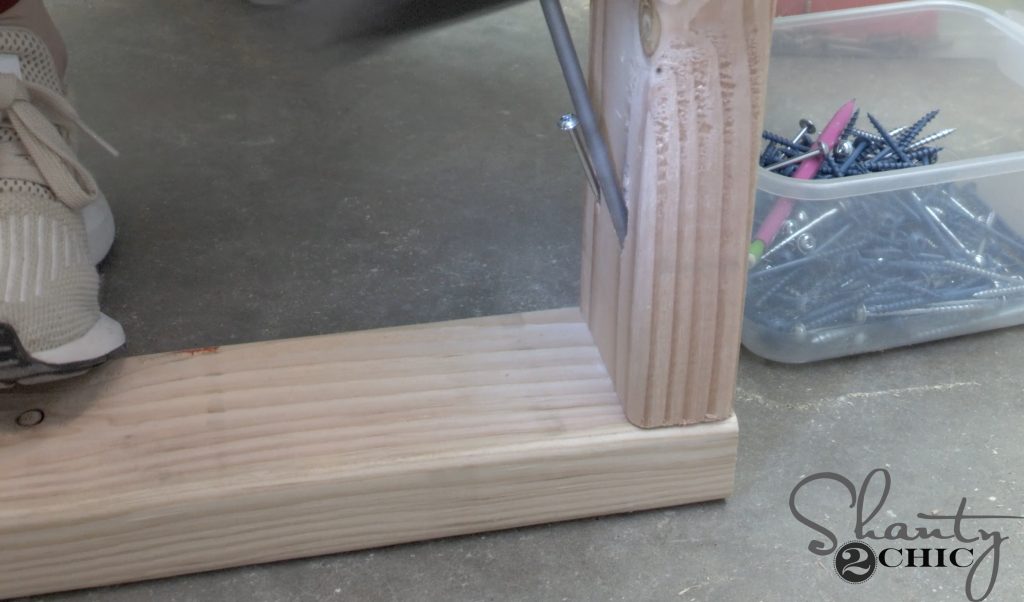
Here is one of the assembled frames.
Build and Attach the Legs
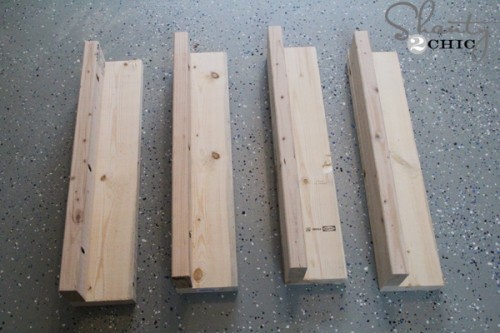
Assemble the Legs
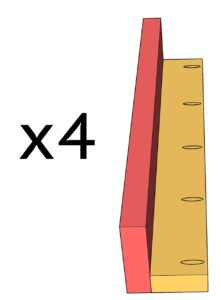
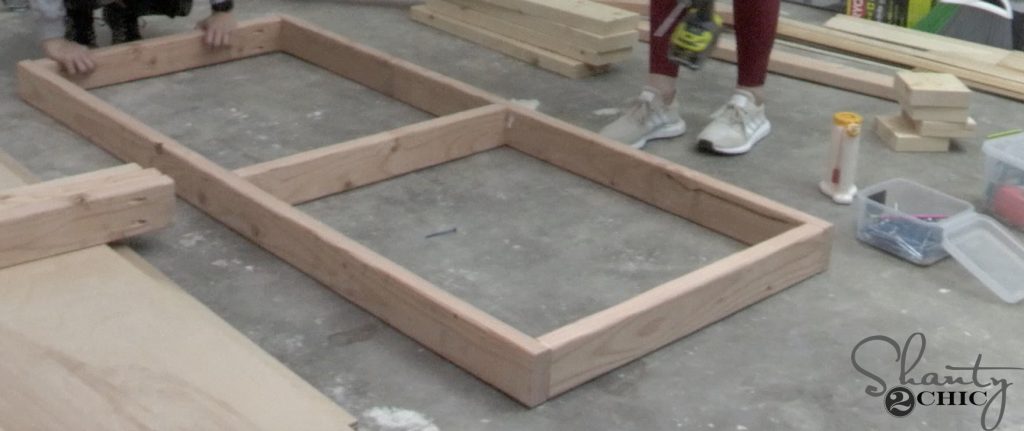
Drill 1 1/2-inch pocket holes into one side of each short leg piece.
Attach the short leg pieces to the long leg pieces with 2 1/2-inch pocket-hole screws and wood glue.
Attach the Legs to the Frames
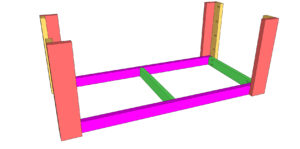
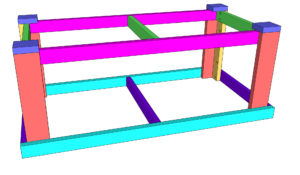
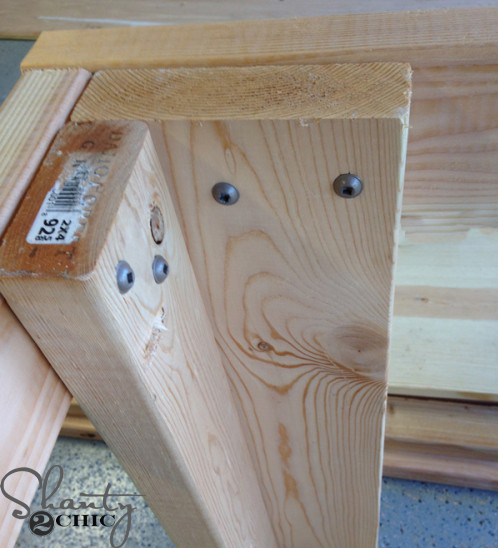
Position the legs between the top and bottom frames.
Attach the legs to the frames with 2 1/2-inch wood screws and wood glue.
Take a minute to check that the legs are straight and that the frames are still square before driving all of the screws.
Add the Foot Pads
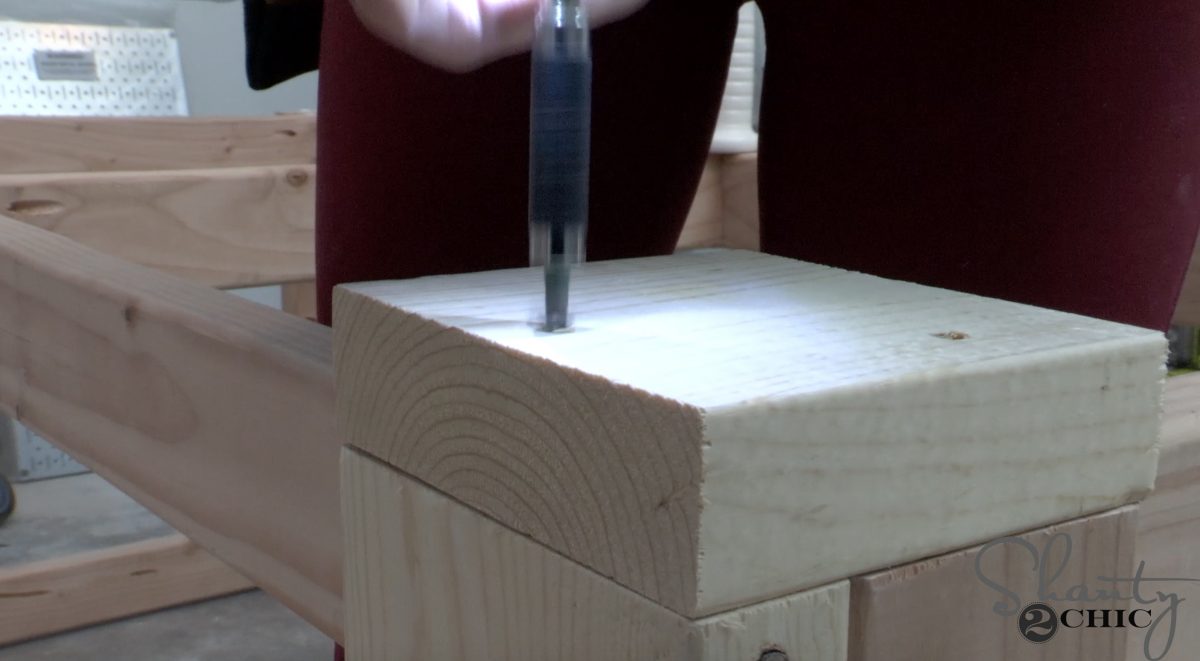
Flip the workbench upside down.
Cut the foot pads to size according to the plans. Attach them to the bottom of the workbench with 2 1/2-inch wood screws and wood glue.
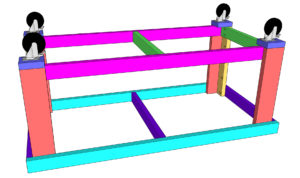
The foot pads give the casters a solid surface for attachment and help distribute the weight at each corner.
Attach the Casters
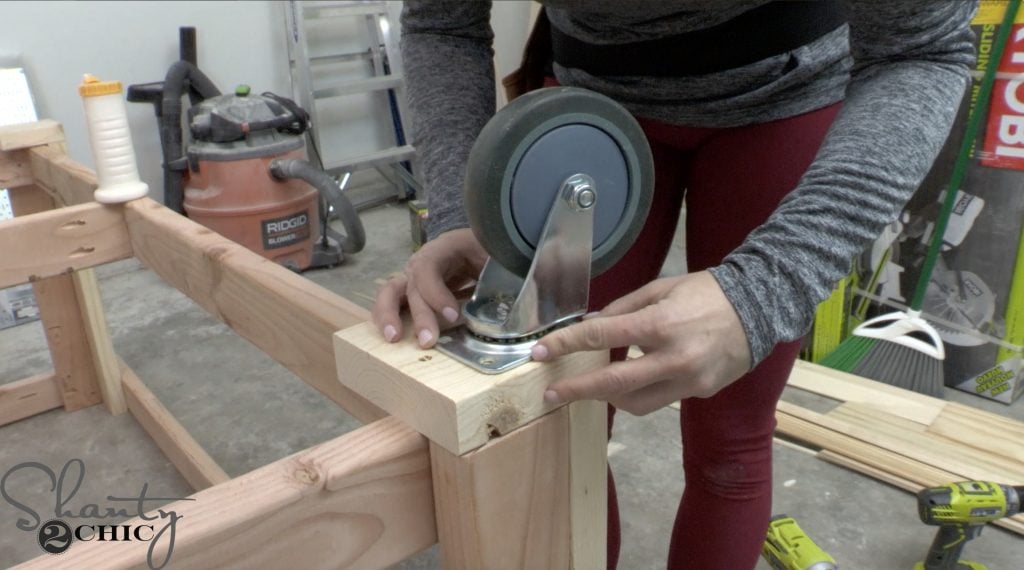
Once the foot pads are attached, position one caster on each pad.
Attach the casters with 2 1/2-inch wood screws and washers.
Make sure each caster is sitting flat and securely attached before turning the workbench back over. This bench is large, so an extra set of hands is helpful when flipping it.
Install the Bottom Shelf
Flip the workbench upright and lay the bottom plywood shelf in place.
We used our Ryobi 18-volt AirStrike Nailer with 1 1/4-inch brad nails and wood glue to attach the shelf to the bottom frame.
If you don’t have a nailer, you can attach the shelf with 1 1/4-inch wood screws instead.
Before fastening the shelf, check that it is sitting flat against the frame and that the edges line up evenly.
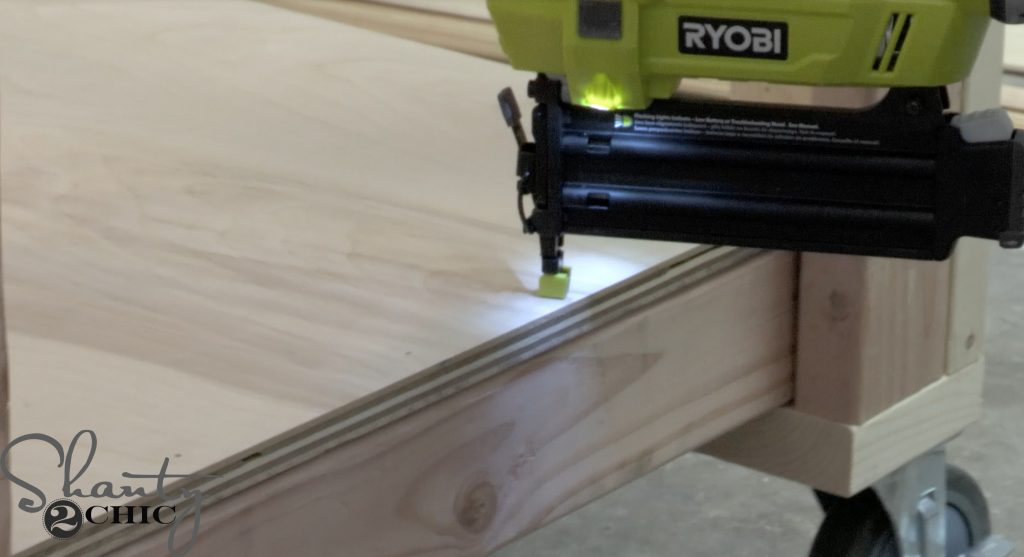
Attach the Workbench Top
Position the top plywood piece over the upper frame.
Attach the top using the same method as the shelf. We used wood glue and 1 1/4-inch brad nails, but 1 1/4-inch wood screws can also be used if you don’t have a nailer.
Make sure the top is positioned correctly before attaching it around the frame.
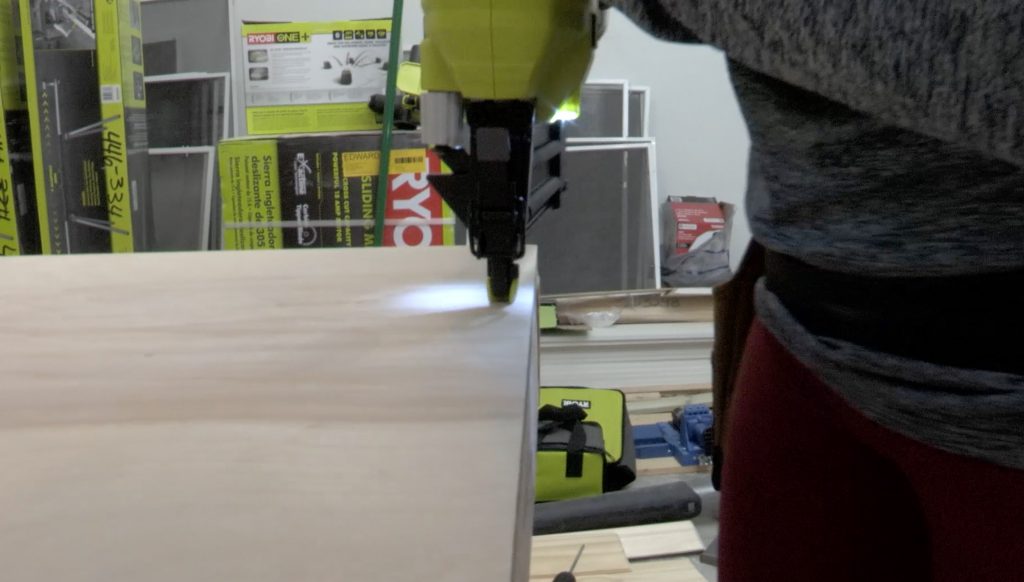
And that was it!
At this point, you can leave the workbench unfinished or add the finish of your choice. Either way, it is ready for building.
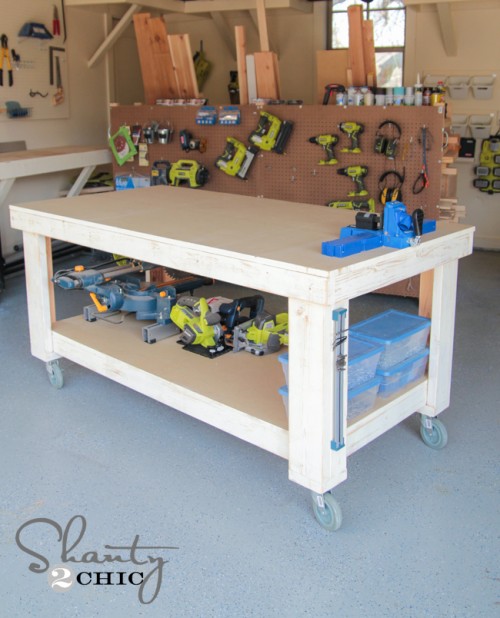
What do you think?
Expert Tips
A few simple checks during assembly will help the finished bench sit straight and roll smoothly.
- Check both frames for square before attaching the legs.
- Keep the pocket holes facing the inside whenever possible so they are less visible.
- Use wood glue along with the screws at the frame and leg joints.
- Make sure the caster pads sit flat against the bottom of the legs.
- Check that all four casters touch the floor evenly before loading the shelf.
- Ask someone to help when flipping the assembled workbench. It gets heavy once the frames and legs are connected.
Ways to Customize the Workbench
This is a simple design, so it can easily be finished to work with your shop.
- Paint the frame and leave the plywood top natural.
- Stain the entire workbench and add a clear protective coat.
- Add storage bins or toolboxes to the open bottom shelf.
- Use locking casters if you want the bench to stay firmly in place while you work.
- Build the narrower version if you are working with a smaller shop or garage.
- Any changes to the overall length, width, or height will require adjustments to the cut list and possibly the frame supports.
Frequently Asked Questions
Yes. We used a Ryobi 18-volt AirStrike Nailer with 1 1/4-inch brad nails to attach the shelf and top, but you can use 1 1/4-inch wood screws instead.
The original build only requires a drill, miter saw, and Kreg Jig. Check the free plans for the plywood dimensions and ask your hardware store whether they can cut the larger plywood pieces for you if needed.
Yes. You can leave it unfinished, paint it, stain it, or add a protective clear coat. Let each coat dry completely according to the finish manufacturer’s directions before using the bench.
No, but they make this large workbench much easier to move around the shop. If you leave them off, the finished bench height and the way the legs contact the floor will change, so account for that before building.
Yes. Ashley built a narrower version for her shop, which you can see HERE. Changing the dimensions will require an adjusted cut list and frame measurements.
More Workshop Projects
Once you have your workbench built, you can keep setting up your shop with a few of our other workbench designs. Our DIY portable folding workbench is another great option when you need a large mobile workspace, and our miter saw workbench gives your saw a dedicated home with plenty of room to support longer boards. For a smaller garage or shop, you can also check out Ashley’s narrow workbench version HERE.
We love how much usable workspace and storage this build adds to a garage or shop. It is a straightforward project, but it creates a solid home base for so many future furniture builds.
Thanks so much for stopping by! Share a photo when you finish yours and tag us on Instagram at @Shanty2Chic or use #shanty2chic so we can see it. You can also leave any questions below and rate the project in the How-To Card.
Happy Building!
🛠️ Printable Tutorial
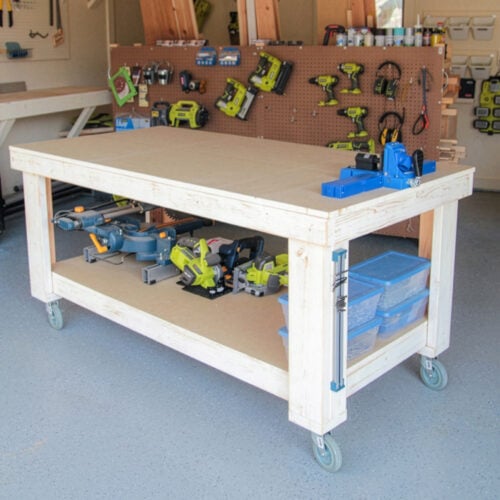
DIY Rolling Workbench
Supplies
- 2 2x6x8 Pine or Framing Lumber
- 7 2x4x8 Pine or Framing Lumber
- 2 4’x8’x34″ MDF
- 4 5″ Locking Swivel Casters Link in Post
- 2″ Brad Nails
- 2 1/2″ Wood Screws
- 2 1/2″ Pocket Hole Screws
Instructions
- Cut List 1

- Cut List 2

- After making all of the cuts, drill 1 1/2″ pocket holes into the short pieces of the frames. Build the top and bottom frame by attaching the short pieces to the long pieces with 2 1/2″ pocket hole screws and wood glue.

- Drill 1 1/2″ pocket holes into the 2×4 leg pieces and attach them to the 2×6 pieces with 2 1/2″ pocket hole screws and wood glue. Do this for all 4 legs.

- Attach the legs to the outside corners of the bottom shelf with 2 1/2″ wood screws and wood glue, from the inside of the frame, into the legs. The bottom of the legs should be flush with the bottom of the frame.

- Flip the bench over and slide the top frame over the legs. Attach them with 2 1/2″ wood screws and wood glue, through the legs and into the frame. The top of the legs should be flush with the top of the frame.

- Attach the feet to the bottom of the frame with 2 1/2″ wood screws and wood glue.

- Attach the casters to the center of each foot.

- Attach the bottom and top shelves with wood glue and 2″ brad nails.All finished! At this point you can add a finish or leave it bare. Make it your own and be sure to share your builds with us on social media and use #shanty2chic so we can share them too! Happy Building!