We have had a lot of request for the free plans to this round table that we built, for the Nicholson’s breakfast nook, for our pilot Open Concept on HGTV! So excited to share them with you guys, today 🙂 We are still waiting to hear if the network will order a full series and we don’t have another air date, for the pilot, yet. We promise, as soon as we know anything y’all will be the first to know 😉 We appreciate your sweet words and support more than you know!

We built this table, for the Nicholson’s breakfast nook, for only $70 in lumber!
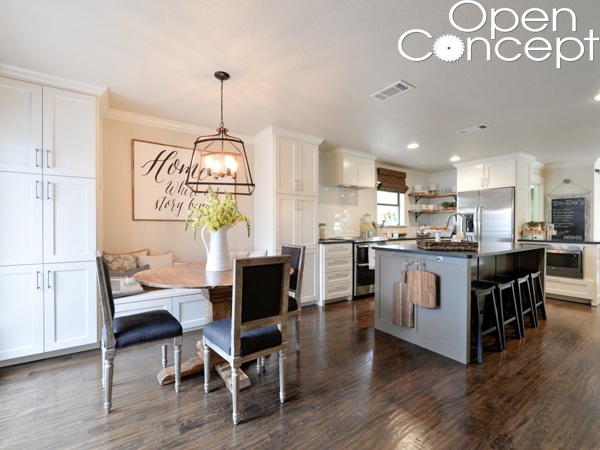
Do you remember the “before” of this area?? This was their main dining area and it was completely disfunctional and closed off from the kitchen and the rest of the home.
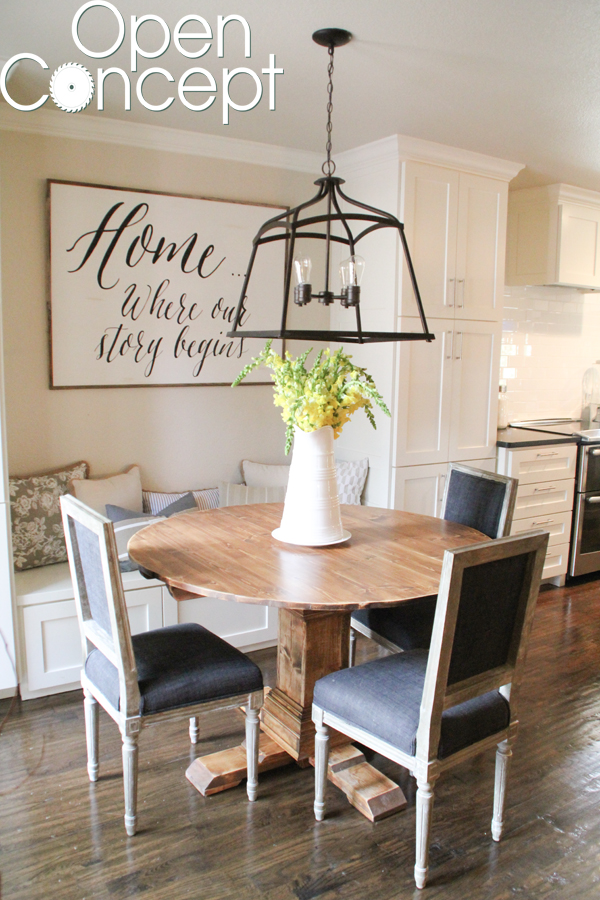
We tore down the wall between the kitchen and the dining area, turned this into a breakfast nook and made it part of the kitchen! For more before and after pictures of the entire house, you can click HERE!
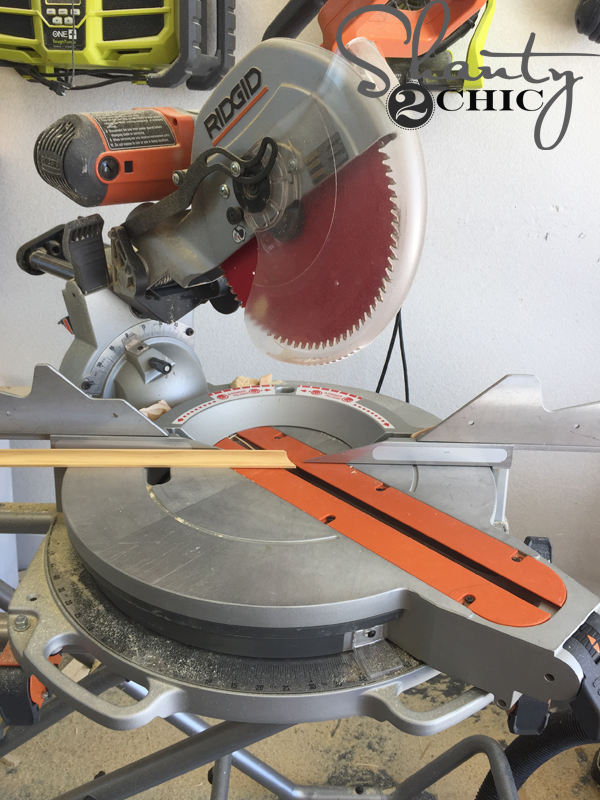
Don’t let the angle cuts and the trim scare you! This table is EASY to build and all you need is a miter saw, a Kreg Jig, drill and a jig saw!
As always, we have the free printable plans and the step-by-step how-to for you to follow along! You can click HERE to print the plans, or the image below!

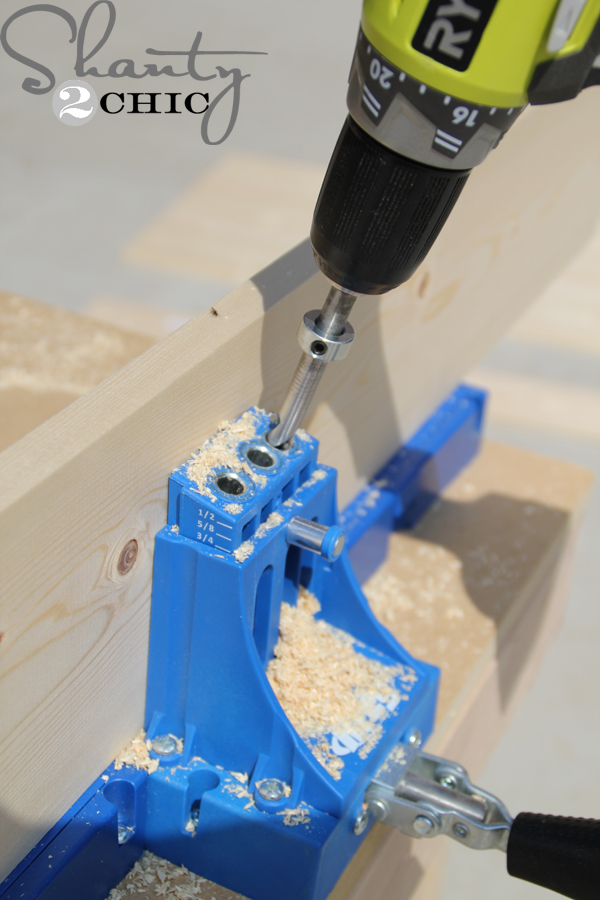
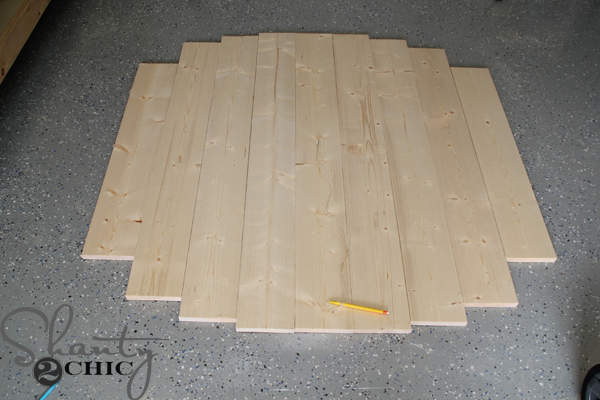
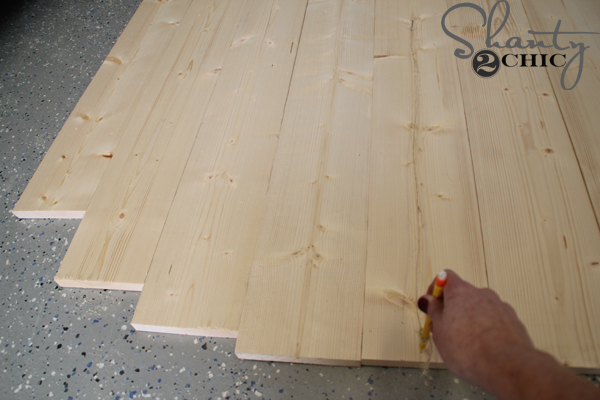
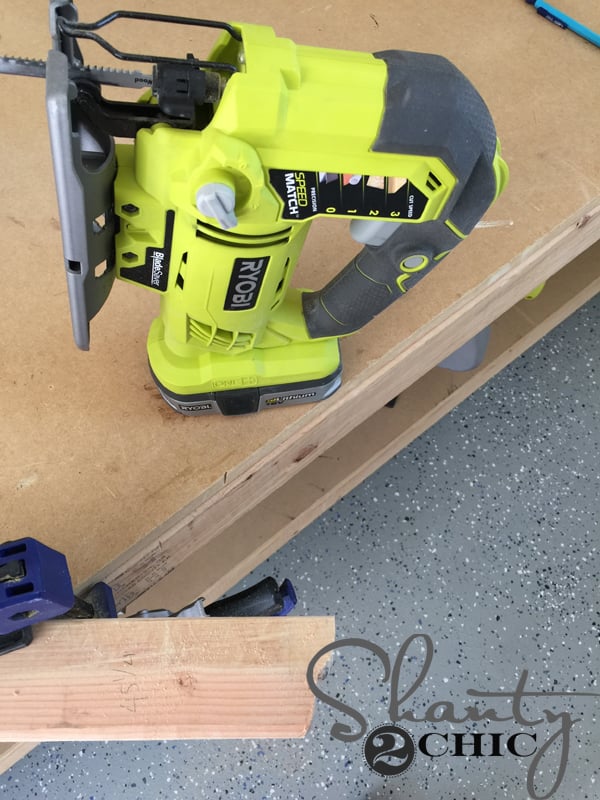
I started by cutting the planks for the round top. Then, I drilled 3/4″ pocket holes in the planks with my Kreg Jig K5. You can order a K5 HERE and you can check out our How to use a Kreg Jig video HERE.
Then, I attached the planks with 1 1/4″ pocket hole screws.
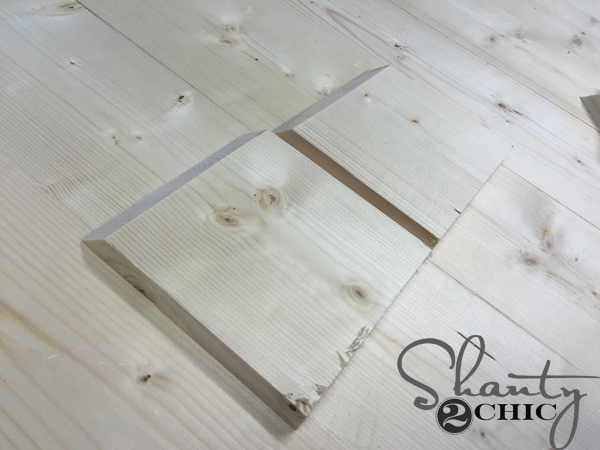
To draw the circle, I stuck a small nail in the very center of the planks, tied a piece of twine (cut at the correct length) and tied a pencil to the end of that. Then, I drew my circle.
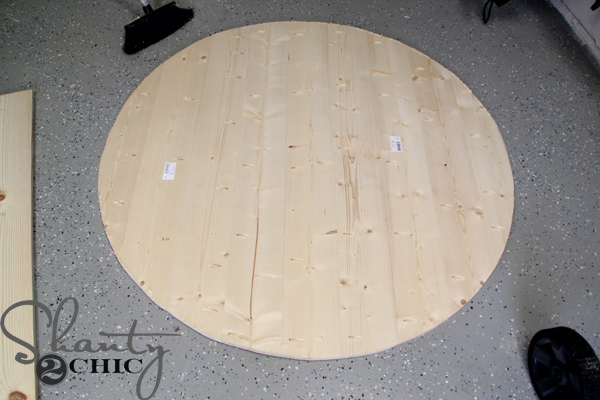
I used a jigsaw to cut along the circle that I drew
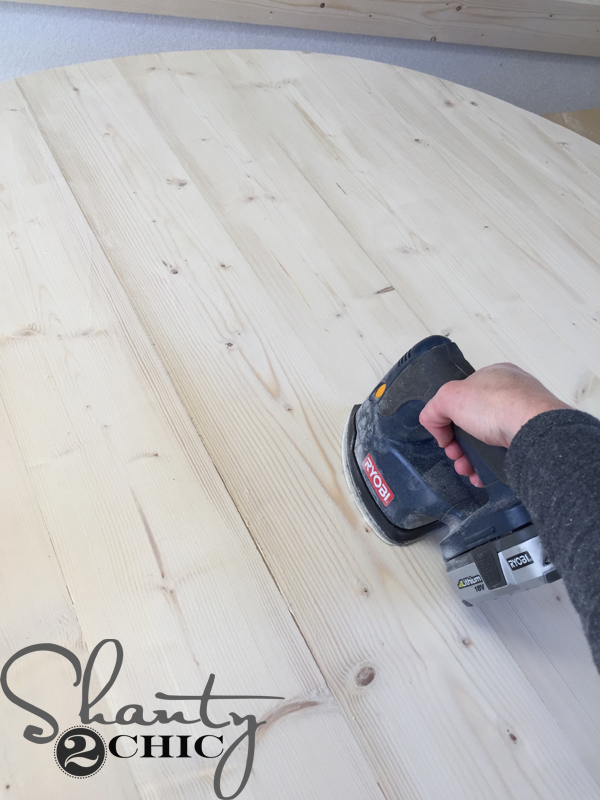
and sanded the top and the edges down smooth with my Ryobi Corner Cat sander.
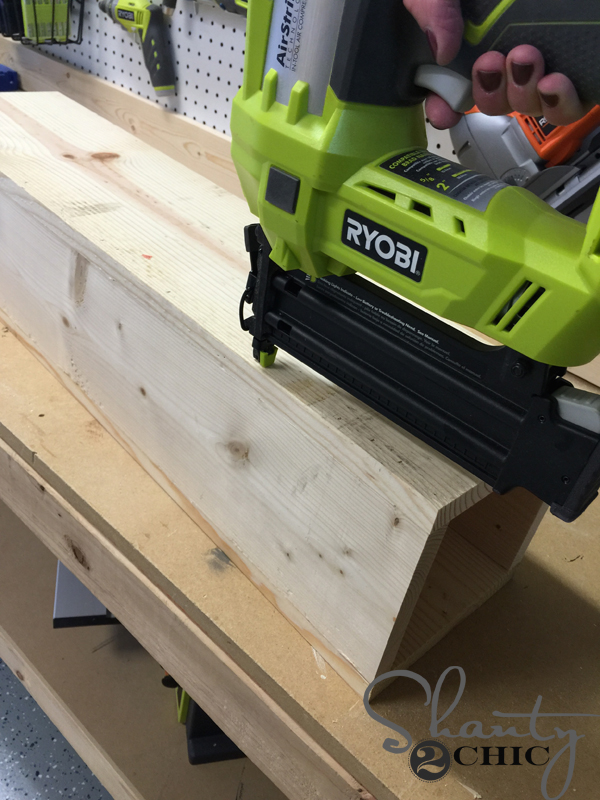
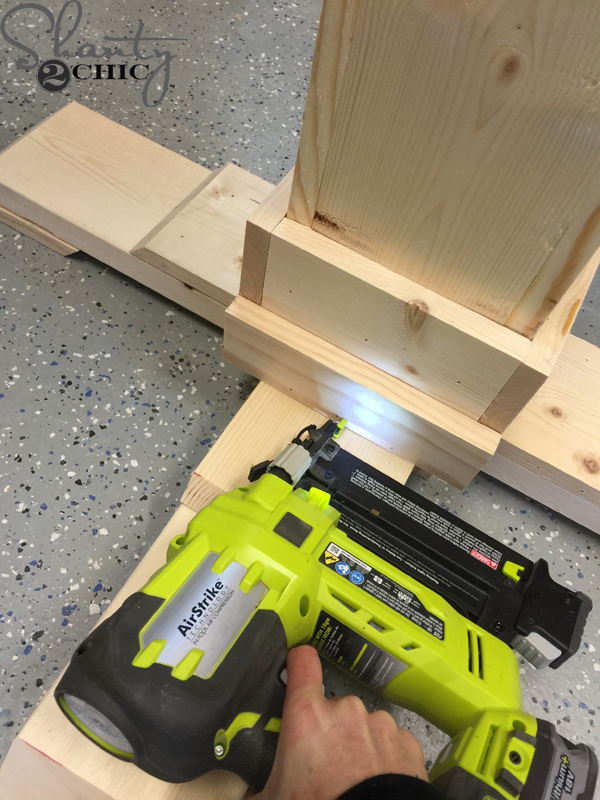
I built the base of the table with wood glue and my Airstrike Nailer (you can you can use finish nails or wood screws if you don’t have a nailer).
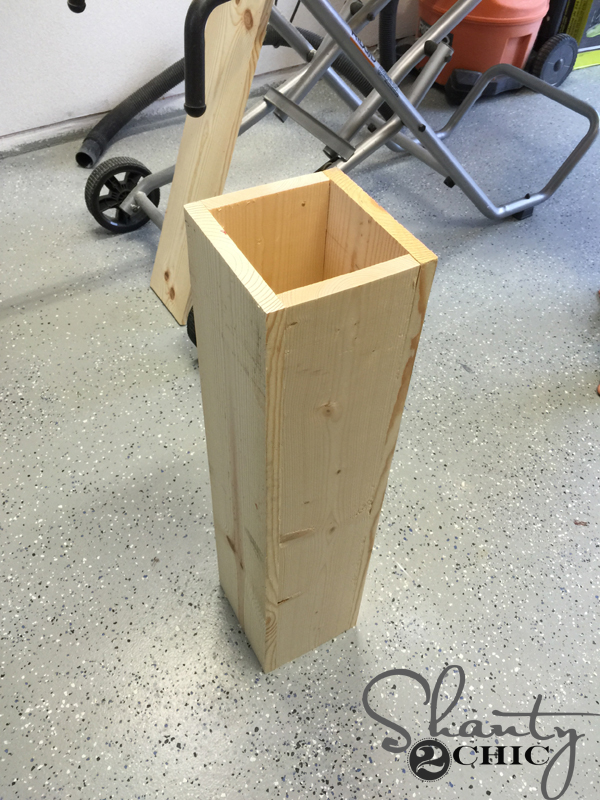
Easy enough! Now for the feet 🙂
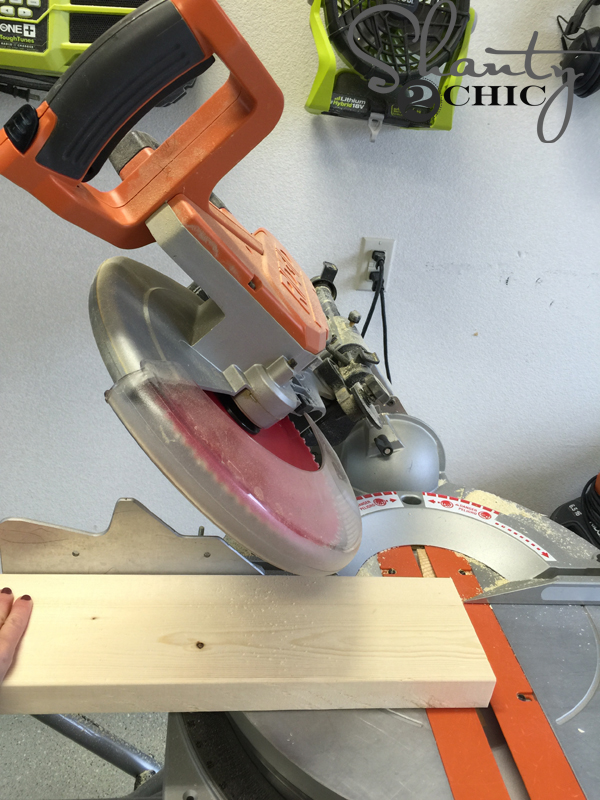
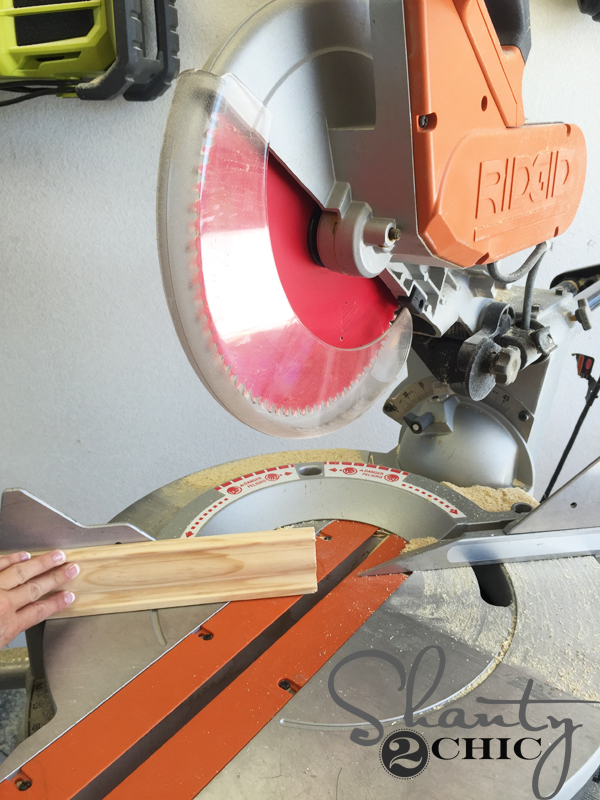
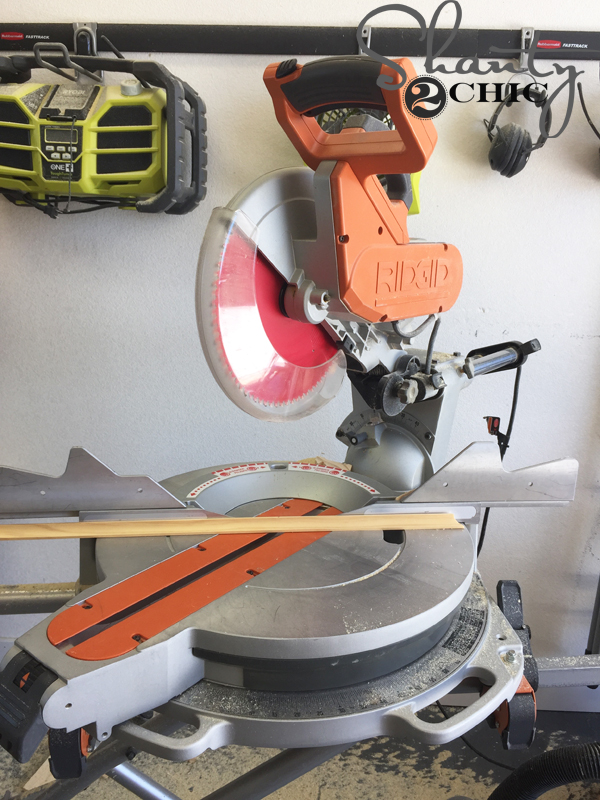
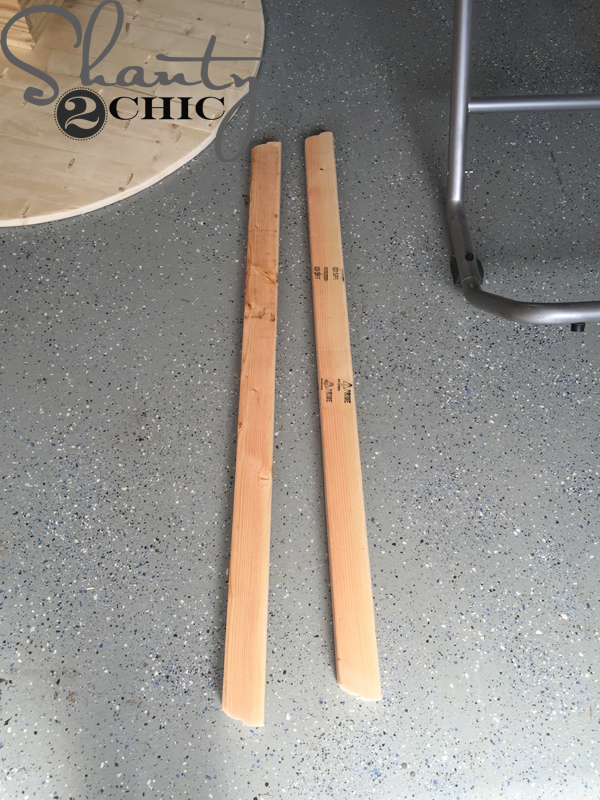
I like to cut the angle first. I set the bevel to 45 degrees (the bevel is the top part of the saw that swings back and forth).
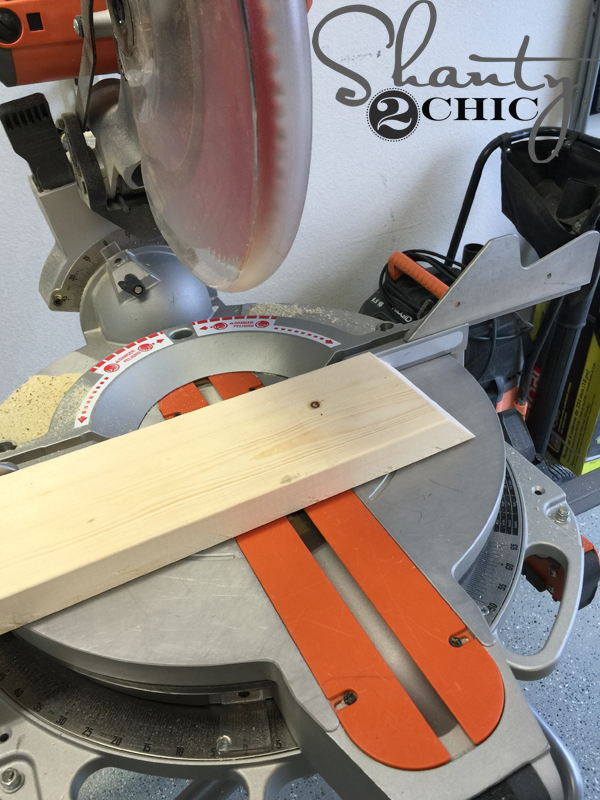
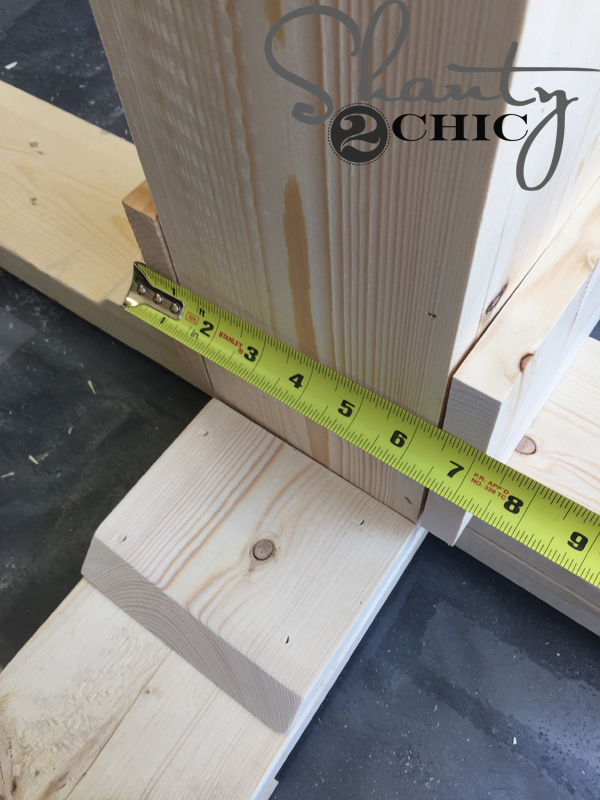
Then I measure from the longest point on the angle to make my straight cut.
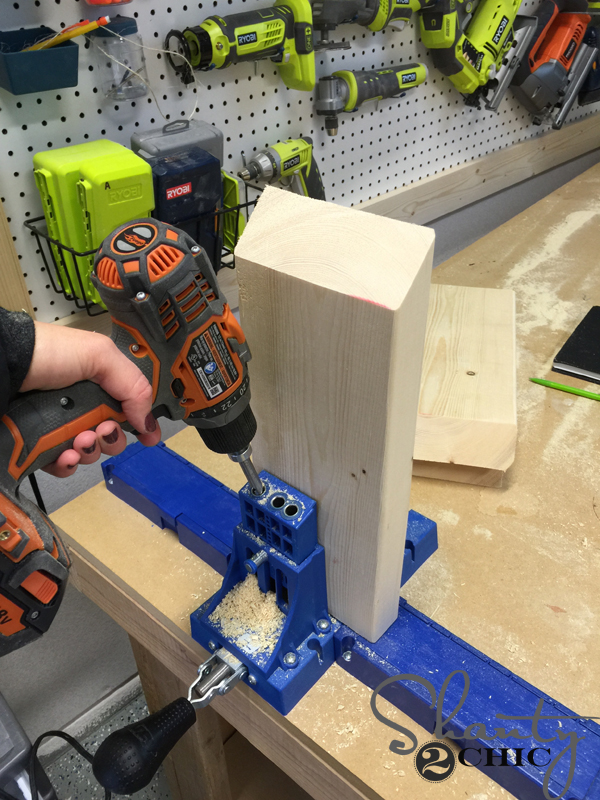
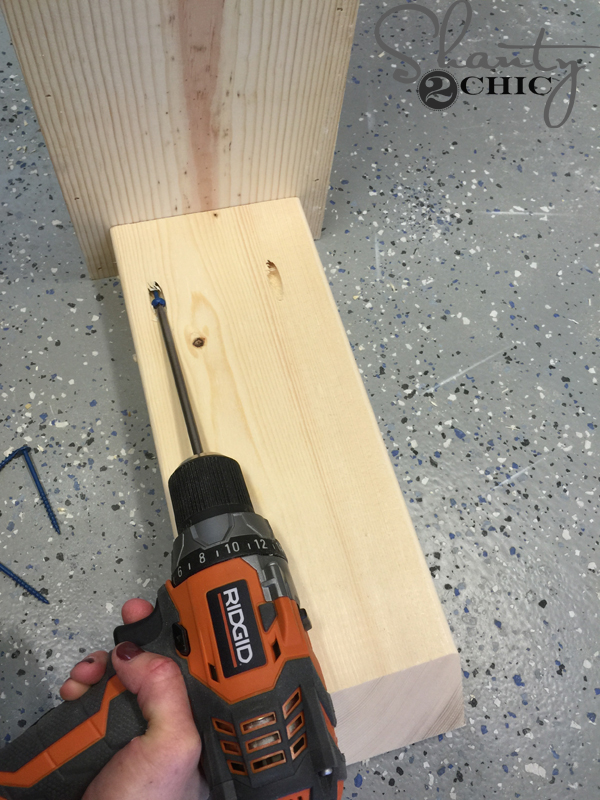
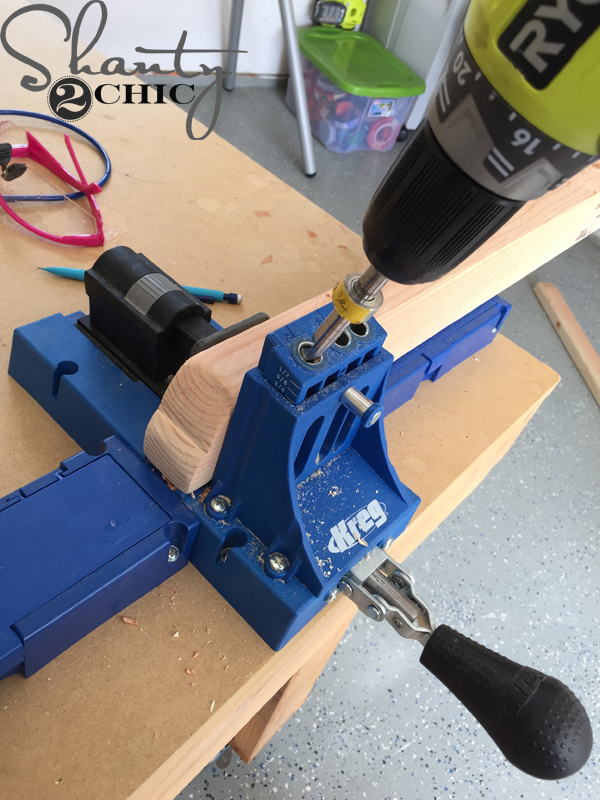
I drilled 1 1/2″ pocket holes at the straight ends of each foot. Make sure the pocket holes are on the part of the foot that will face up.

Here are the feet with the pocket holes.
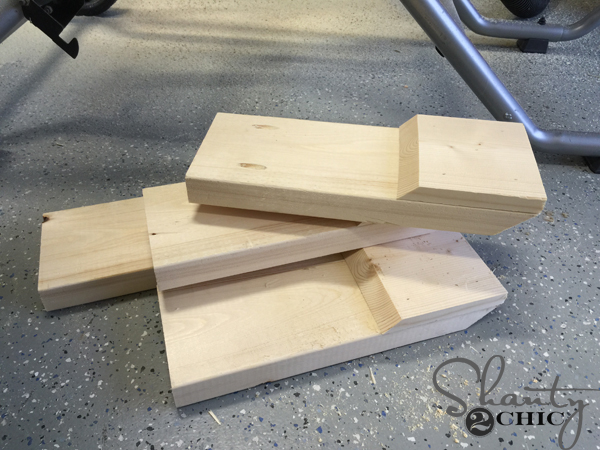
Next, I cut the foot pads. You can use your sander to smooth those edges 🙂
Then, I used my nailer and wood glue to put a foot pad on the end of each foot. Notice the direction the angles are facing. (also, ignore the pocket hole placement on that top foot – I made a mistake 😉 )
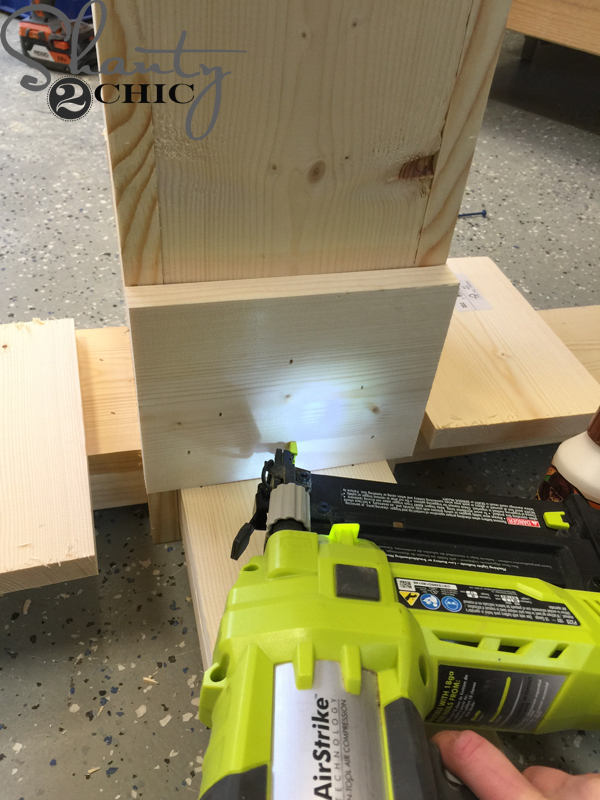
I attached each foot to the center of each side of the base.
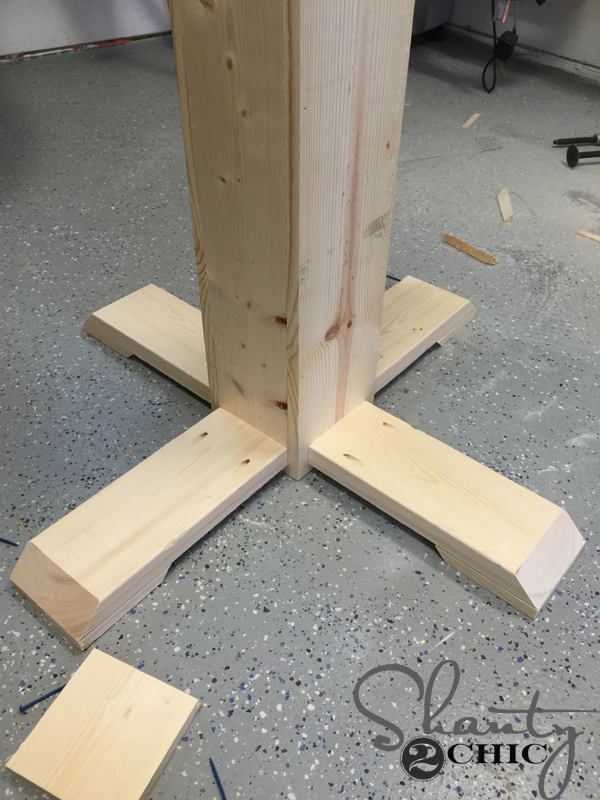
Here is the table base with all of the feet attached.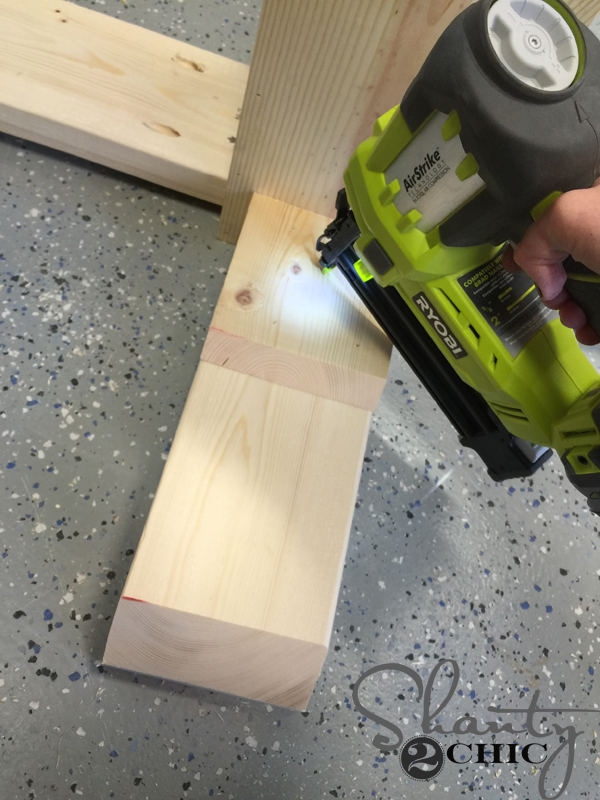
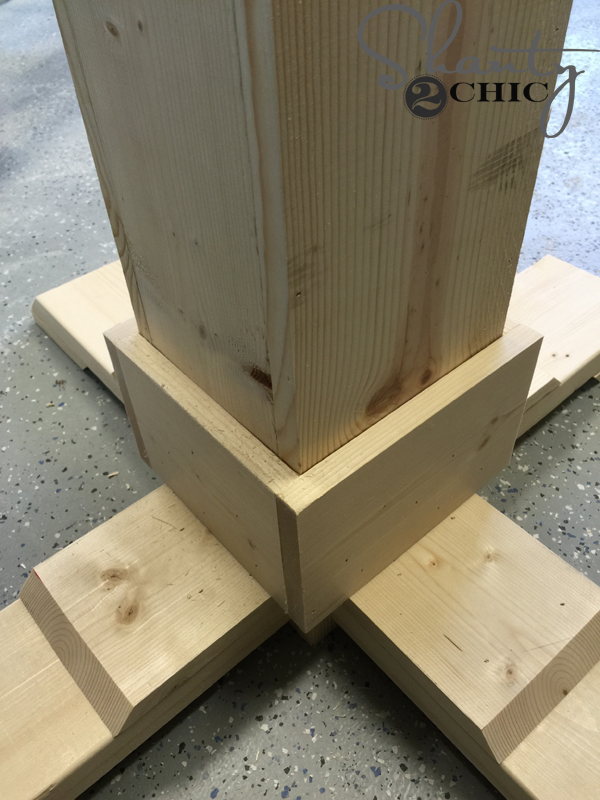
I attached the top pieces of the feet to each foot (notice the direction the angle is facing) with wood glue and my nailer. You can use finish nails or wood screws here too if you don’t have a nailer.
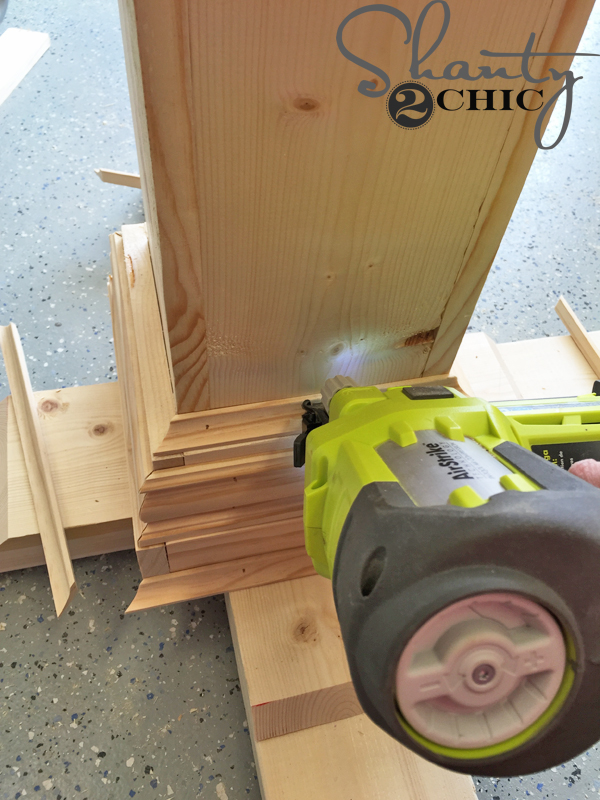
Now for my favorite part – the trim! It really is like a puzzle….an easy one 😉
Attach the first layer of trim with a nailer and wood glue. Keep the nail holes towards the bottom half of the trim piece so that they will be covered by more trim.
Make sure to measure and cut as you go!
Add the remaining pieces of the first layer.
Next, the second layer of trim – the 1×3’s. Make sure to measure and cut as you build.
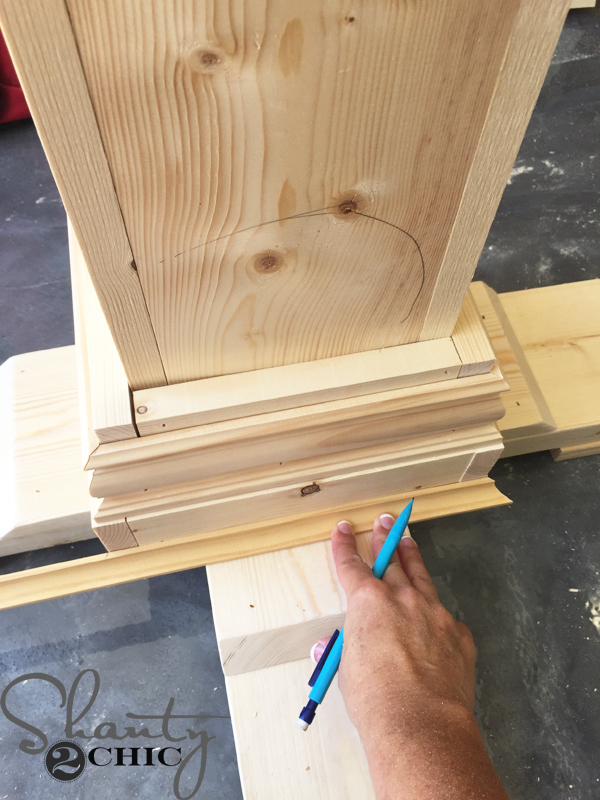
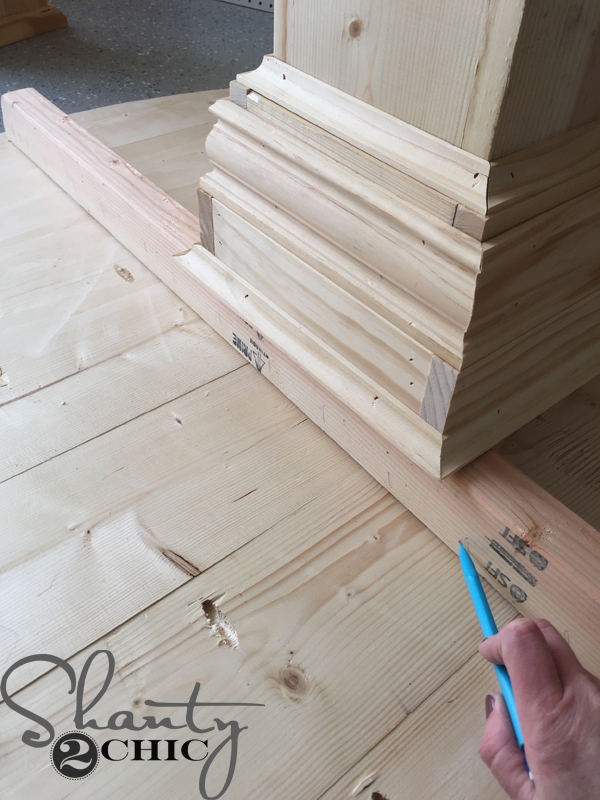
Now for the casing – the third layer. I start by making my first mitered cut. This will be the bottom arm that swings – set that to 45 degrees and place the casing against the fence (as it would sit against the base of the table). Make your cut. This is for the right side.
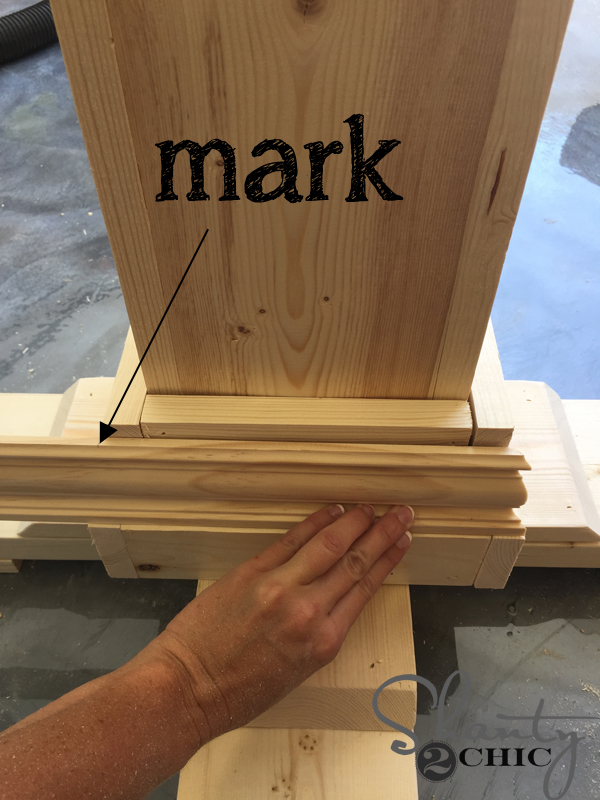
Hold the casing up to the base, so that the angle is sitting where is should (the short side touching the corner of the 1×6 trim) and mark for the next cut.

Swing the arm to the other side, at 45 degrees, and make your cut.
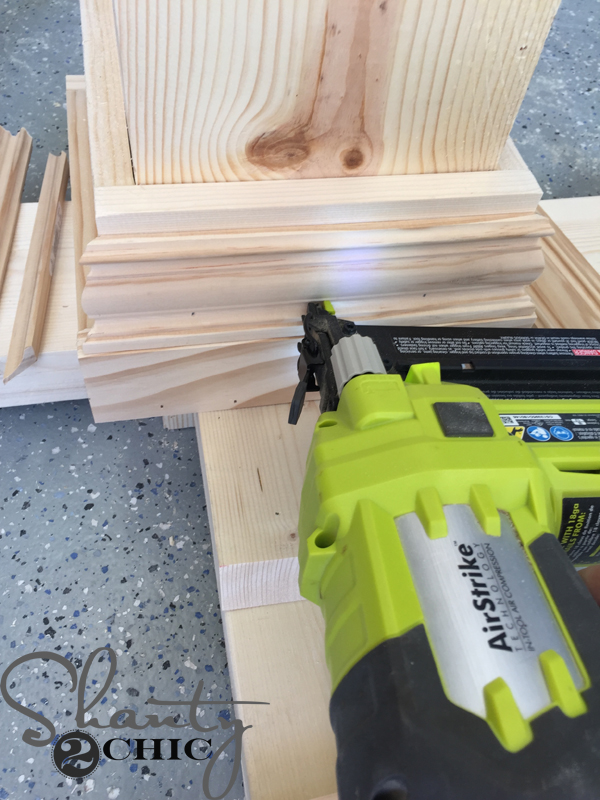
Now, attach it to the base. It will sit on top of the 1×3 and cover the majority of the 1×6. Use wood glue and nails.
Now for the cove molding. I cut this the same way. Make the first 45 degree miter cut. Notice how the cove molding is resting against the fence of the saw.
Place it against the base of the table and mark for the second miter cut.
Swing the miter arm to the other 45 degree mark and make your cut.
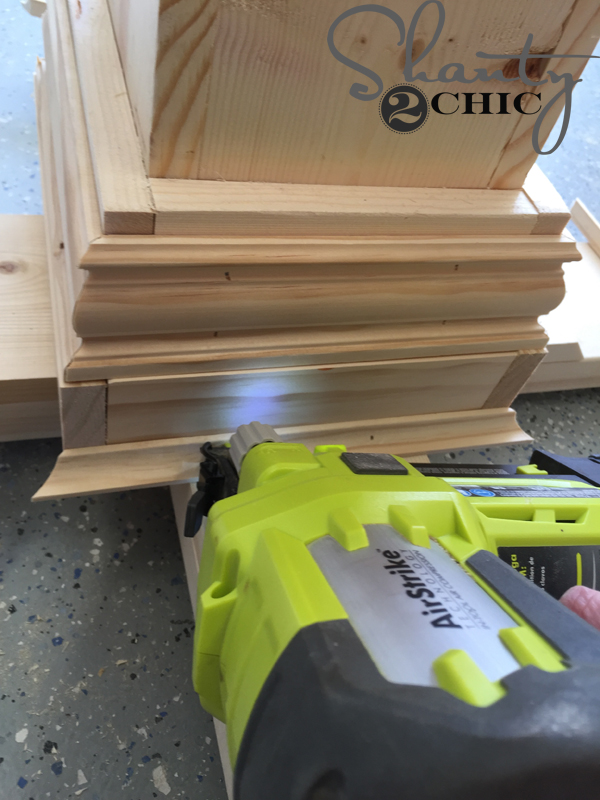
Next, attach the bottom layer of cove molding with wood glue and nails.
Do the same for the top piece of cove molding. This will rest on top of the 1×6 to make it pretty 😉
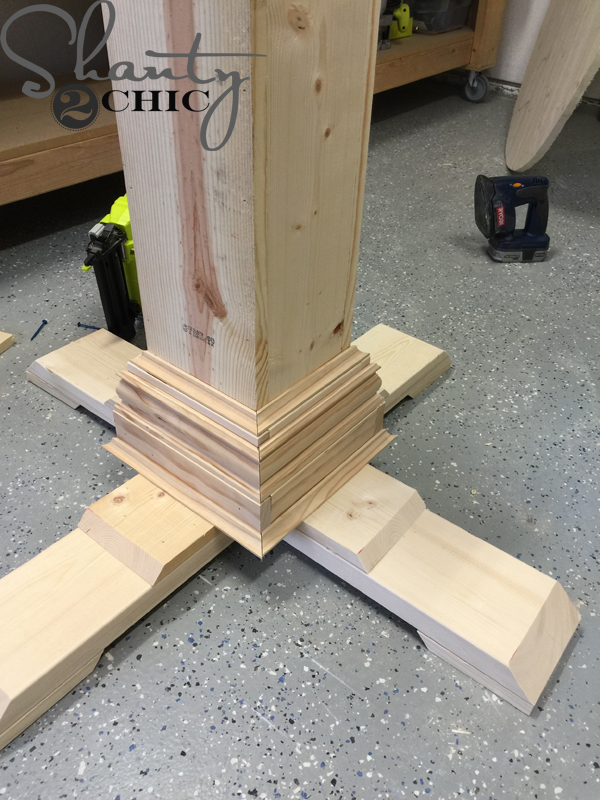
Here she is all trimmed out 🙂 If you have some gaps because your cuts weren’t perfect – no worries. Wood fill that baby up!
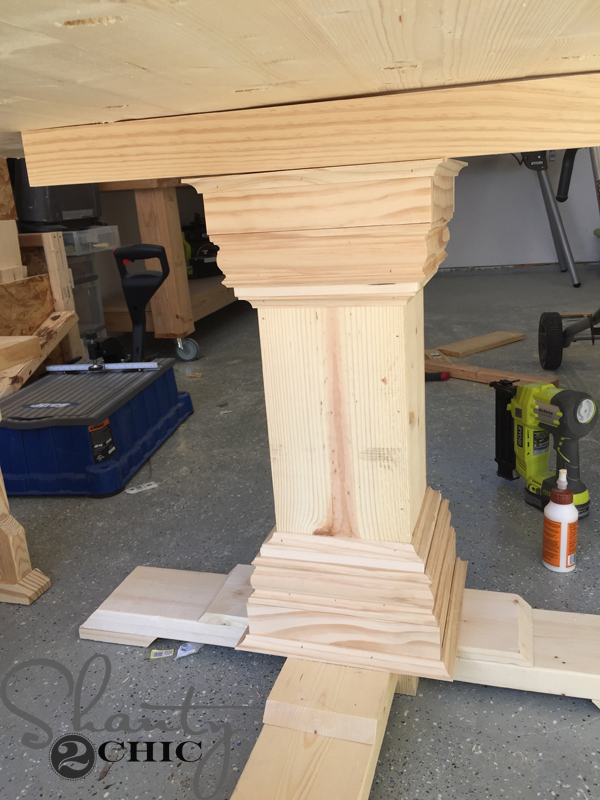
Flip the table upside down and repeat the trim steps. Make sure to mark for the 2×3 support so that the trim rests just under the supports.
The table base will look like this when the trim is done. See the 2.5″ gap for the supports!
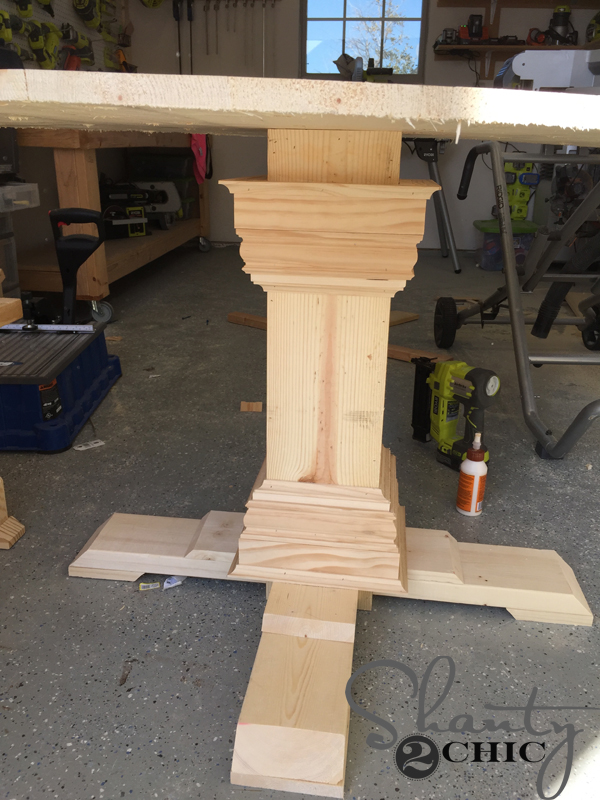
Now for the table top supports!
Use a jig saw to cut the decorative ends on each 2×3 support.
Here they are all fancied up 🙂
Now, drill pocket holes (refer to plans for placement) in each table support.
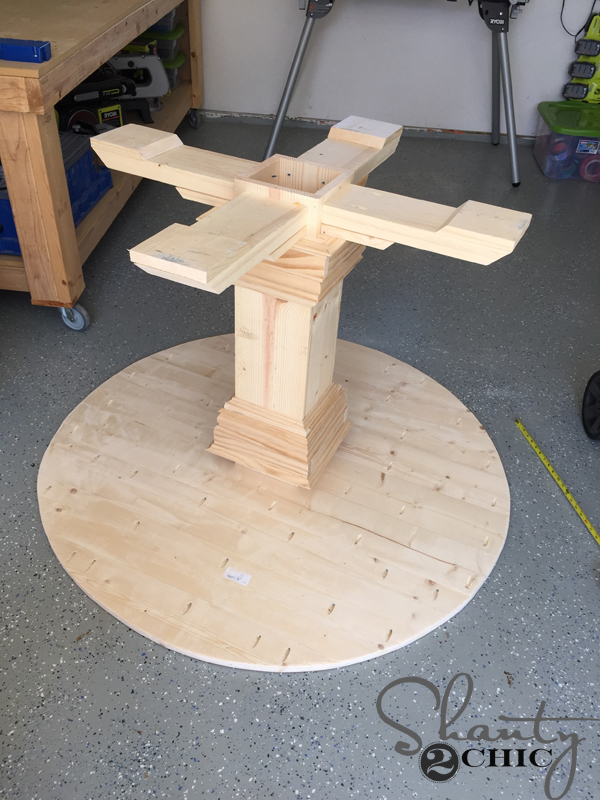
With the table upside down resting on the table top, center the base.
place the 2×3 support between the trim and the table top and mark where it sits.
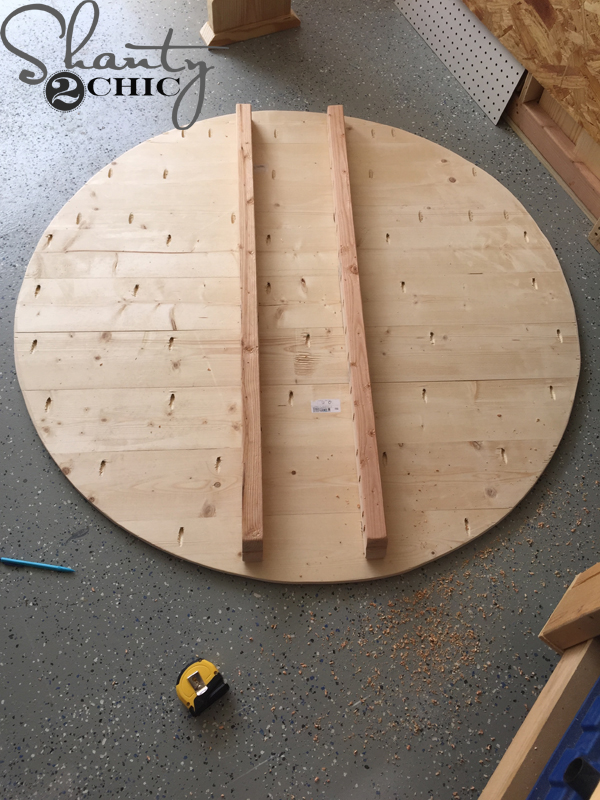
Now, attach the support where you marked them on the table tip. The pocket holes for the supports will face inside towards each other.
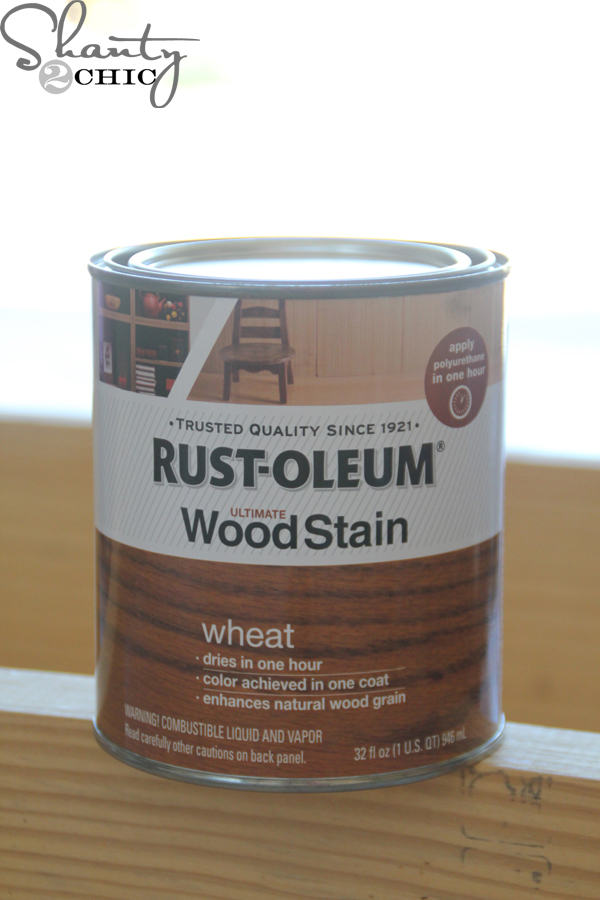
I stained the table before I attached the top to the base – it was easier for me to stain it that way and it will be easier to bring the base and table top in the house separately. I used one coat of Wheat stain by Rust-Oleum. It is Varathane brand at Home Depot.
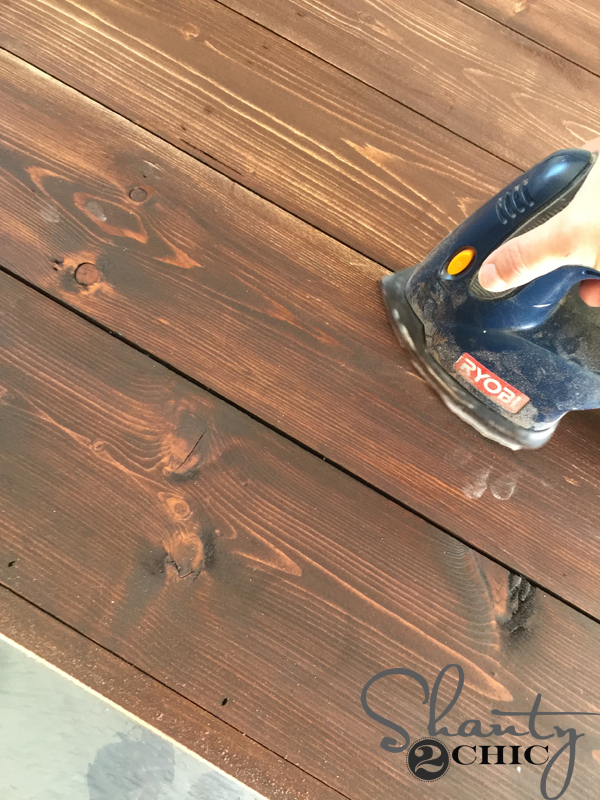
Once the stain was dry to the touch (takes about an hour), I used my Corner Cat sander to distress the entire piece. I used an 80-grit sanding pad.
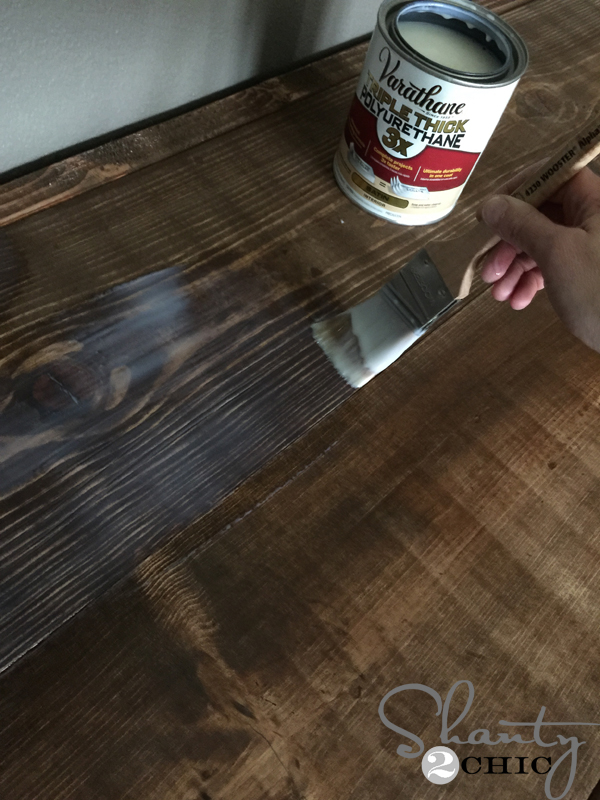
For the finish, I applied one coat of Triple Thick Polyurethane by Varathane in a satin finish. This stuff goes on thick and is equal to three coats of poly! It is my FAVE finish!!
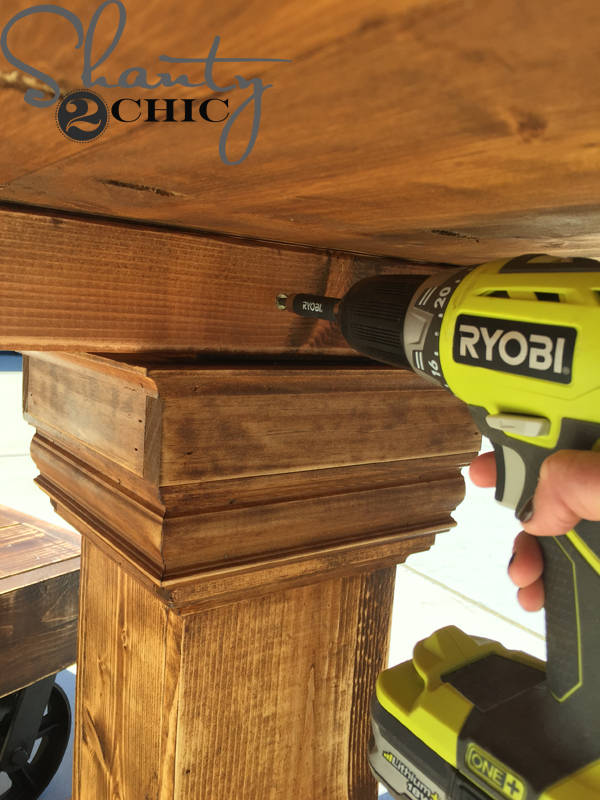
Once the finish dried, I used 3″ Spax screws to attach the table top to the base. The screws will go into the supports and then into the top of the base.
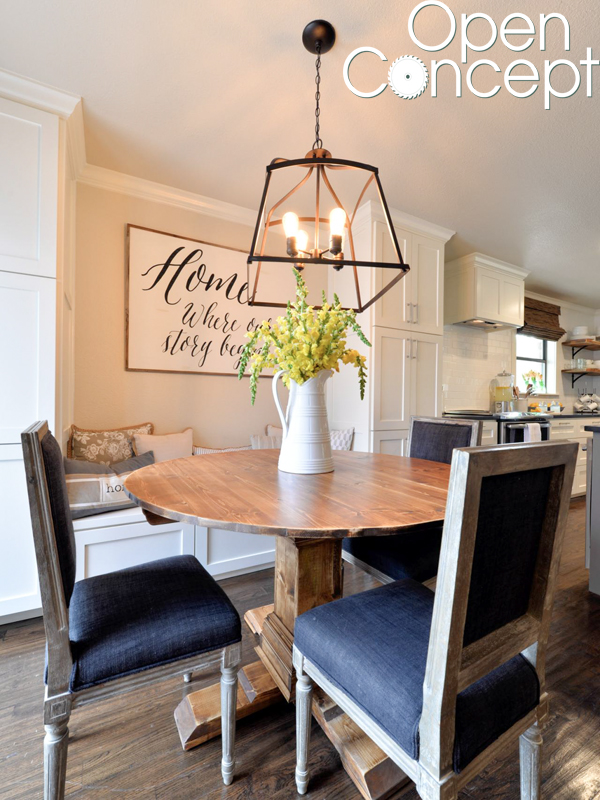
And there she is! A table that fits this new space perfectly and for only $70!
Love what you see in this space? Here’s the info:
Paint on walls: Edgecomb Gray by Benjamin Moore
Paint on cabinets: White Dove by Benjamin Moore
Paint on trim: White Dove by Benjamin Moore
Paint on island: Anonymous by Sherwin Williams
Countertop: Indian Premium Black (honed) Arizona Tile
Backsplash: H-Line Cotton (glossy) 3: x 6″ x 9.5mm Arizona Tile
Wood floor stain: Dark Walnut
Chandelier: Amazone – HERE
Pillows: At Home
Sign: Susie Harris – HERE
Cutting boards: World Market
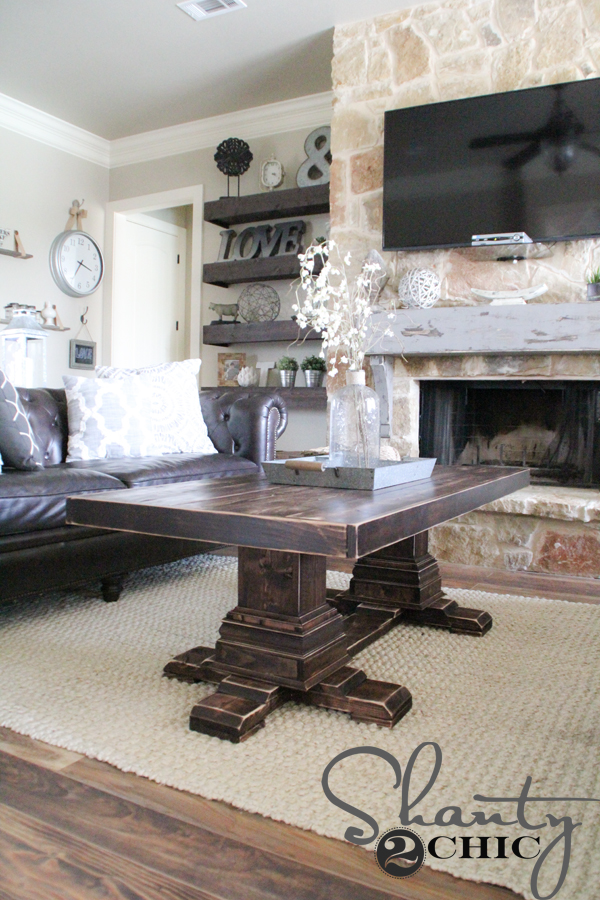
I built a coffee table to match, for my own home 🙂 You can find the free plans for that HERE!
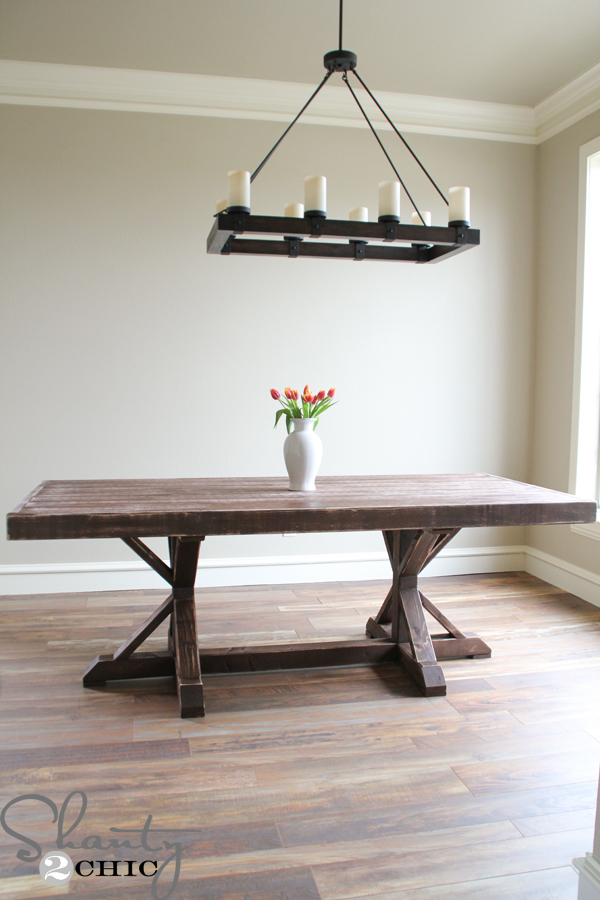
Browse from our collection of free DIY dining table plans!


Where can bbn I get the planes for round table
Round kitchen table planes where can I get then
How is you’re water based poly holdinf up? I love varathane floor finish but don’t know if I can use on table top since it has aluminum oxide in it. Slso wasn’t sure water based would Ben durable enough for our 3 kids. I really don’t want yellowing of the oil based stains. Saw your post using this one triple thick by didn’t known how it stood the test of time, water on the table ?
Would a glass tabletop work on this?
Would this size pedestal be substantial in size to use for a 70” table. I read a comment above, when some leans on the table the base does not support it, the base will lean towards whatever side the table is leaned on. Have you found this to be true? If so, how has this been resolved? And how can I use this same base on the 70” tabletop? THANK YOU SO MUCH
I built this about 3 months ago as a kitchen table and aesthetically it looks great. I tried to follow the directions as best as I could, but I have had problems with it. Specifically the base does not support the top of someone is leaning on the table. I found the kreg joints are not enough to hold the pressure so they buckle and the table will tilt towards whatever side is being leaned on. Maybe I didn’t build it correctly, but I wanted to warn anyone wanting to build this to make sure to reinforce the legs to the (column) base when building it. I tried to go back and reinforce it after the fact and found it much harder.
Już po zdjęciu nogi są złe powinny być łączone na krzyżak osobno
Love the wall art. May I ask where it is from?
I am looking at the printed instructions and you list 5, 1x6x8 are needed but under the cut list you show 6 of them. Which number is correct?
I have connected all the boards for the table top with pocket holes. I feel like it is a bit flimsy. I know it will have the supports added underneath but did you use or would you recommend using wood glue as well to make the table top more sturdy?