Hey guys! I am LOVING my latest knock off piece! I fell in love with the inspiration piece in a popular home decor catalog and had to have something like it!! I enlisted the help of our sweet and talented friend, Ana White, on this project and boy did she deliver!
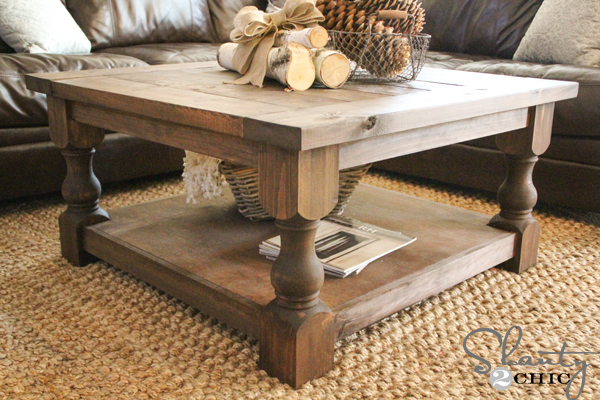 Ahhhh I am so in LOVE and I LOVE the legs, they just make the table! Don’t let them intimidate you though, I didn’t make them 😉 An awesome company, Osborne Wood Products designed them for me based on Ana’s plans! This table is unbelievably easy to build and I was able to do so for under $200!! I’ll show you how I did it!
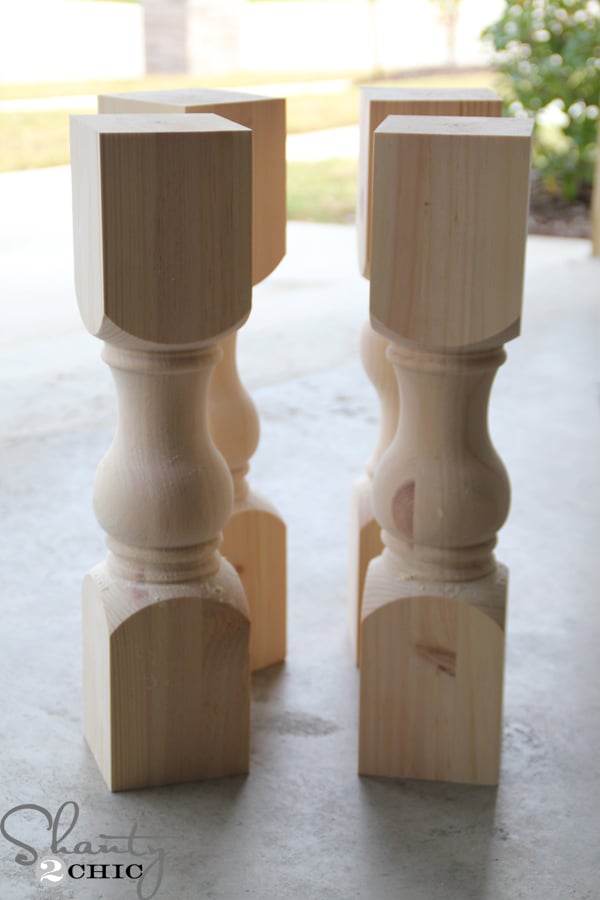 I started with four of these GORGEOUS legs from Osborne, you may have seen a sneak peak picture of them on our Instagram 🙂 They are custom legs BUT they are offering them to our readers for the price of a stock leg making them half-off, Heck yah!!! Click the box below to purchase the legs!
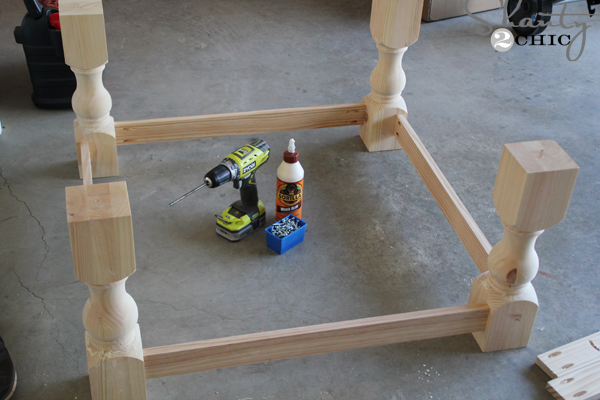
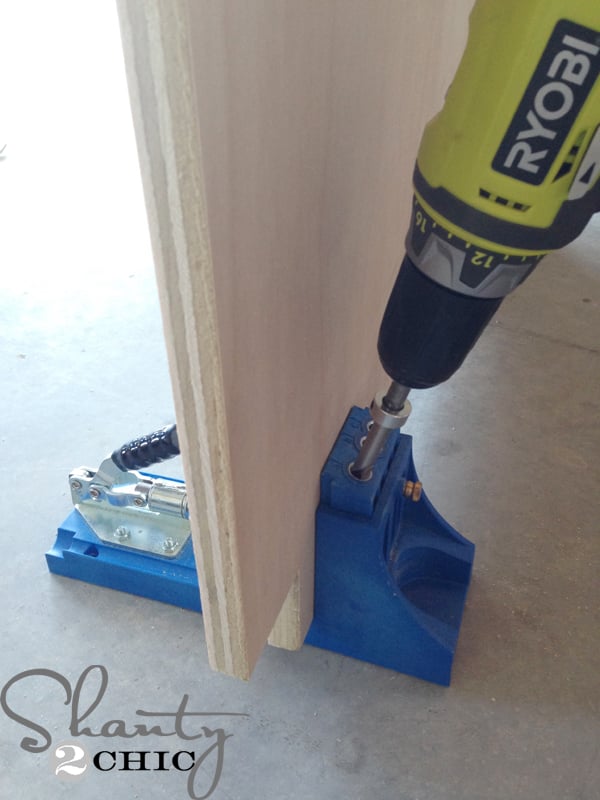
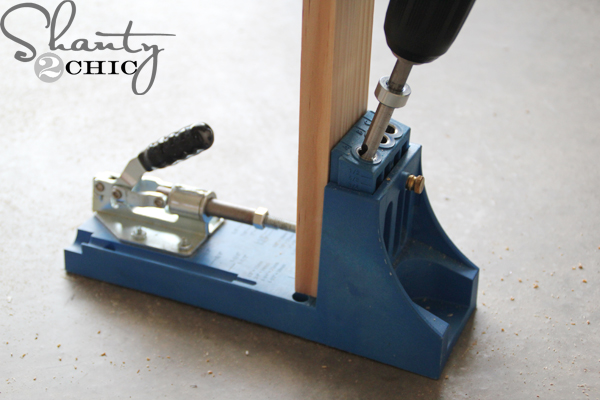 First step is to attach the sides of the table to the legs. This is super easy, I just drilled pocket holes in the boards with my Kreg Jig.
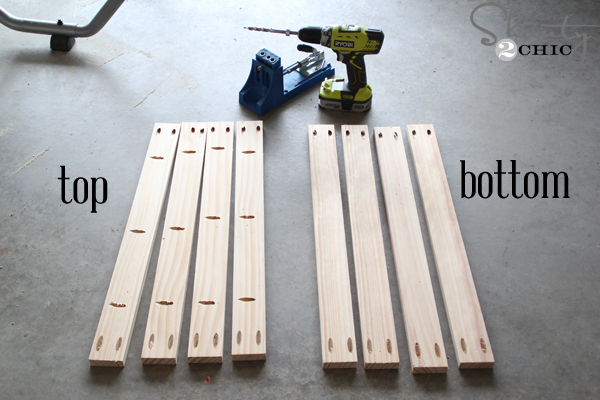 Here’s a picture of the sides of the table and where I drilled my pocket holes!
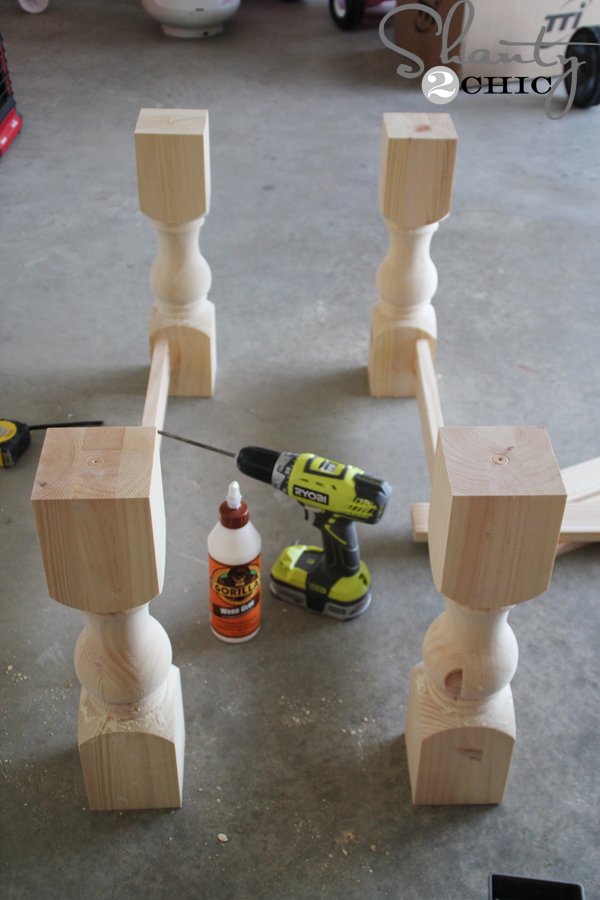 I used Gorilla Glue wood glue and my Ryboi 18V Lithium Drill to attach the boards to the legs.
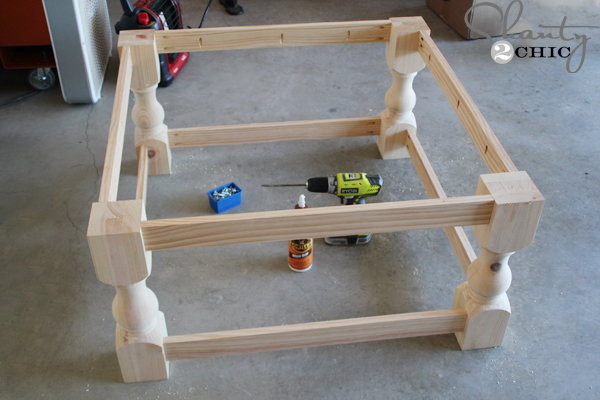 Well, that was EASY! On to the bottom shelf!
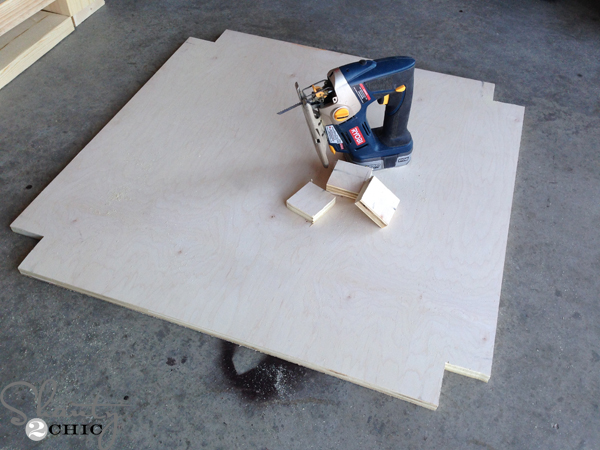 I used my Ryobi Jigsaw to cut notches out of my Purebond Plywood so that it will fit between the table legs. We always use Purebond Plywood where we can because it is gorgeous, formaldehyde-free and it’s made with wood from sustainable forests. You can learn more about why we have taken the Purebond Pledge HERE!
 After I cut the notches out, I used my Kreg Jig to drill pocket holes on all four sides.
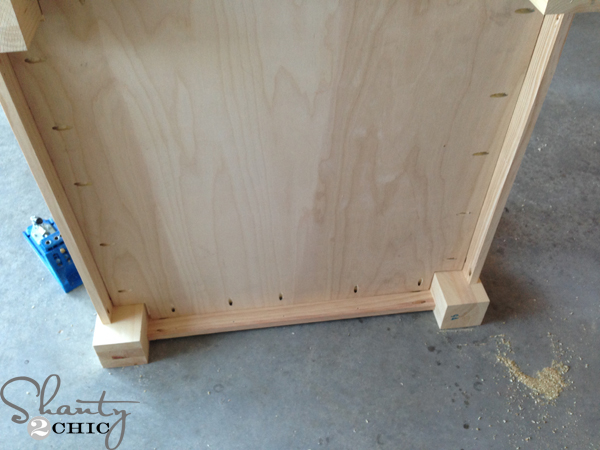 To attach it to the bottom apron, I just laid the table on it’s side and worked my way around, making sure to keep the plywood flush with the top of the boards, as I went.
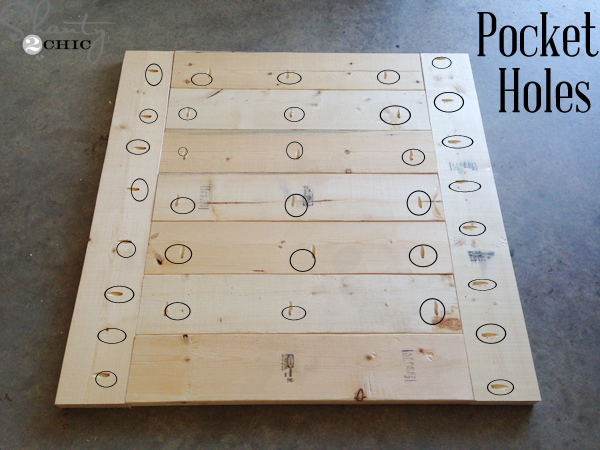 Once the bottom was attached, it was time to build the planked top. You can see that I circled where I drilled all of my pocket holes.
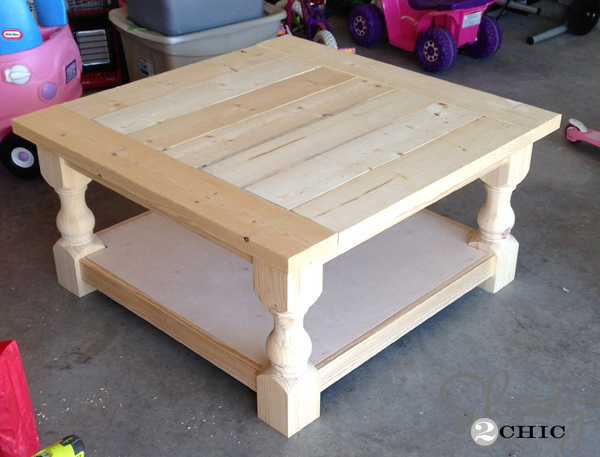 Finally, it was time to attach the top. The pocket holes that I drilled in the side pieces made this part so easy and I don’t have any nail holes to cover!
Whoop! Time to stain 🙂
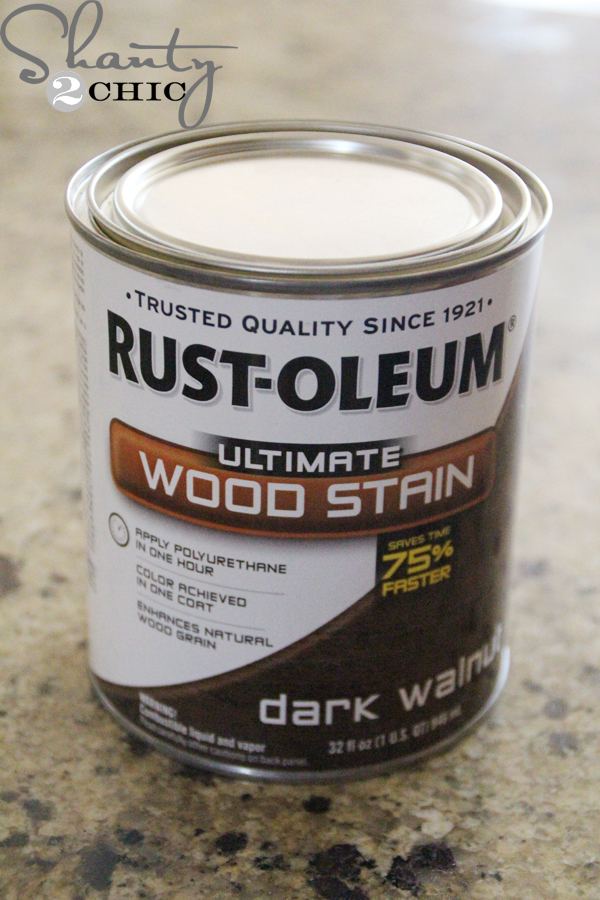 I applied one coat of Rust-Oleum Dark Walnut stain with a foam brush. I let it sit for 5 minutes and then wiped the stain with a clean cloth. Don’t wipe the stain away, the purpose of wiping is to blend the stain so that it is even all over the piece.
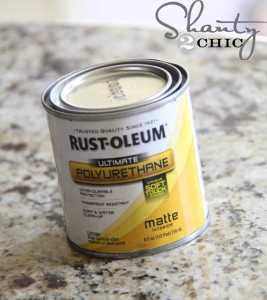 And, because this is a coffee table and it will see lots of ware and tear, I applied two coats of Rust-Oleum Polyurethane in Matte finish.
That was it!
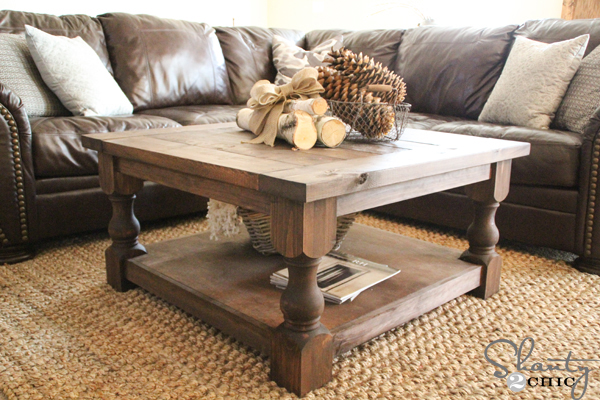 Thanks to Ana’s plans and Osborne’s gorgeous legs, I have a beautiful, DIY, square coffee table for under $200!!!! It’s so much fun to decorate with the large base at the bottom! I’m going to be busy year-round with this beauty 😉


I hope you love this coffee table as much as I do! Go check out all of the wood working products that Osborne has to offer! I was so inspired to build different pieces of furniture just looking through their selections!!
We always appreciate your shares and pins!
Thanks for stopping by!
Ashley

I can’t wait to do this! I’ve only ever painted furniture I’ve never stained but I want to make this piece just as you did. I’ve been watching some videos on how to stain and they all say to apply the stain, wait 5 minutes and then wipe away the excess stain. However, you instructed us not to wipe away the excess stain but just to blend in. Can you clarify, thanks!
Yes Michelle! You never want to wipe the stain away. This is incorrect. The purpose of wiping it with a cloth is to blend it so that the stain is even all over. You will wipe some stain up in the process but do not wipe if clean. It should still be wet;)
Actually, it depends on the type of stain. Gel stains do tell you to wipe away the excess after a certain number of minutes.
Thanks Val, we are referring to the Rust-oleum stain.
would love to see you do a tutorial video on staining sometime! love all the videos you do, they’re so helpful!
you can watch videos all you want but it a HANDS on training that teaches you the most. gather up some lengths of scraps buy a small can of stain, some rubber gloves & old tee shirts or sock for your applicator and wiping rags.
What are the leg dimensions, if you don’t mind me asking?
So true of gel stains, as these begin to dry and you wipe you may remove to bare wood and never get that area to match the rest
When I stain I always apply the stain with a rag and apply in a circular pattern (such as waxing a car, aka wax on wax off karate kid ) also I keep Mineral spirits on hand as I can blend/wipe semi dried areas to my liking.
I am IN LOVE with your blog and I just love this coffee table! Wandering if you have any plans to do matching end tables in the near future? I’d love to do the coffee table for my own home & do matching end tables. 🙂
Hi Ashley. You are just superb and full of talent. I knew square coffee table DIY is easier than round table. But it also needs very much focus on right calculation of size & measurement. Love the way you complete it. Furnish the table top with table pads.
I love ALL the pieces that you’ve built off Ana’s site!
I too have built a few pieces. Fortunately, I am lucky enough to have a fiancée that’s in the building materials business so he can get me any species of wood materials AT COST! Every once in a while I have gone to HD and Lowes to buy my 2x’s if I just want pine because I am very impatient and don’t want to wait for their weekly deliveries. 🙂 BUT when I do, I have a HUGE problem with warping, shrinking and twisting of the pine 2x’s that I buy! Since all the wood from my fiancée is kiln dried, there’s never a problem. I never buy the “green” boards, so I know that’s not the problem. Actually 6 weeks ago I built a mantle out of pine 2×8’s. About 2 weeks after it was built (stored in my house) I was finally able to stain and poly the piece. 2 weeks later I went to load it up to install it at my friend’s house and 2 of the once perfect corners had bowed and twisted about 1/8 of an inch! I was SO upset! I ended up scrapping the whole thing and rebuilding out of knotty alder! Ends up that I LOVE the knotty alder more, but it’s just the point…
Anyway…the point of all that was to ask whether or not you’ve had “problems” building with pine similar to the ones that I’ve encountered?
Love your site and can’t wait to build this table!
Big box stores get seconds on lumber to keep their prices down (it is Kiln dried also) They move lumber faster and the way it is stored within the store usually under over head heaters…. Also remember IT”S FRAMING LUMBER (2x’s) not furniture grade = FRAMING LUMBER to build house.
Absolutely gorgeous! You are so talented!
Thank you Leslie 🙂
Gorgeous!!
Thanks so much!
I used the site you gave to get the knotty pine legs and they are in my cart at $116.00. How does the discount get applied?
The discount is already applied. These are custom legs made for our table plans. Custom legs this size are $60 each.
I absolutely LOVE this table! If we EVER get a house, I am so going to make this! Also, I love your sofas with the table. Such a pretty and comfy looking room! Can you share your source for your sofas? I am thinking about leather and I really like yours. It’s either leather or slipcover and I think leather would be more practical. Thanks for this!
Thank you Karen! The sectional is from Ashley Furniture.
I purchased it in 2009 and it has really held up well! I love how transitional it is too:)
Again, you wow my socks off! I LOVE this!
Lol! Thank you so much Michelle:)
Before you finished the table, did you sand it down much?
I just sanded the rough/uneven areas but not a lot at all:)
Very Nice. Do you stain and poly the underside of all of your furniture, or do you leave it unfinished?
Hi Aaron! We actually don’t finish anything you can’t see. Saves precious time and stain 😉
I always stain and at least one coat of clear coat on the underside of the furniture I build it seals the wood from taking on moisture and warping & twisting
What species of wood did you use for the legs? This came out fantastic!!
Thank you Alyssa! I used knotty pine:)
Which wood did you purchase from Osborne? Is the price listed what we would pay with the discount?
Beautiful table and a must have in my home!
Hi Amanda! I purchased knotty pine. The price listed is with the discount. Custom knotty pine for this size leg will run $60 but they are $30 each!
That table is beautiful and I love your sectional! Would you mind sharing where you bought the couch? thanks!
Thank you Amanda! I bought it at Ashley Furniture in 2009 🙂
Beautiful! Too bad I live in Canada so with shipping alone those legs would be over $200! Boo! It’s still a lovely table though I might have to look for something cheaper closer to home! Definitely on the top of my ‘Pin’ list 🙂
Bummer!!! I’m sure you can find something local:))