Last week I shared pictures of my Stenciled Photo Frame and now I’m back with the tutorial!

These were SO easy to make and only cost $5 each!
 I was lucky and had left over Purebond Plywood scraps from a recent project (I will share soon;) but if you don’t have scraps, you can purchase a 2×4 3/4″ panel of MDF for about $12. I ripped my boards down to 13 3/4 x 15 3/4. If you do not have access to a saw, you can have your local hardware store make these cuts for you:)
 I used a favorite ~ Rust-Oleum Heirloom White spray paint ~ to spray two coats on the front and sides of each board.
 I then used my new Turkish Tulip stencil from Cutting Edge Stencils to paint the print on. I LOVE this stencil. You can also purchase stencils at your local craft store or make one with a Silhouette Cameo and contact paper.
 With a stencil brush, I dry-brushed an acrylic paint (Slate Grey by Americana) all over. To dry-brush, dab your brush in the paint and then blot until your brush is close to dry and dab all over the stencil.

Again, LOVE this pattern:)
 For the frames, I found these super CHEAP frames at Wal-Mart for $0.95 each…can I get a WHOOP!!
Here’s where serious DIY skills are needed….Ok not at all;)

Flip over the back of each frame and rip off the stand at the hinge and then pull out the middle of the cardboard hanging bracket so you can hang each frame by a nail. If you are not concerned with being able to change the photos, you can use spray adhesive to apply each photo and then epoxy the frames to the board. I like to change my photos out and this was the easiest solution I found:)

Next, two coats of the Rust-Oleum Heirloom White spray paint on each frame and then follow-up with a finishing nails in the middle of each board. I hammered my nail in 5″ from the top and 8″ from the left side. These measurements worked perfect for my frames!

To hang them on the wall, I nailed large saw tooth hangers to the backs and anchored screws into the wall!


 This was so quick and easy and I LOVE, LOVE, LOVE that I can change the pictures out whenever I want! It took me about an hour to make all three and at $5 each it’s a win – win;)
If you haven’t entered to win a stencil from Cutting Edge Stencils, today is the last day!!! Head on over HERE!
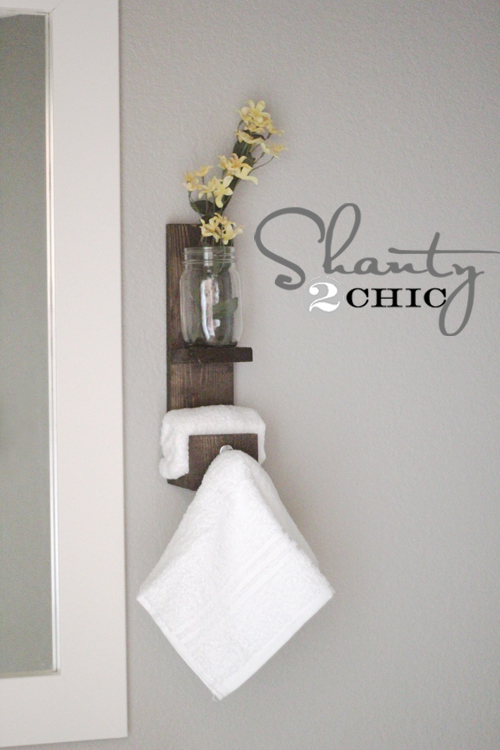
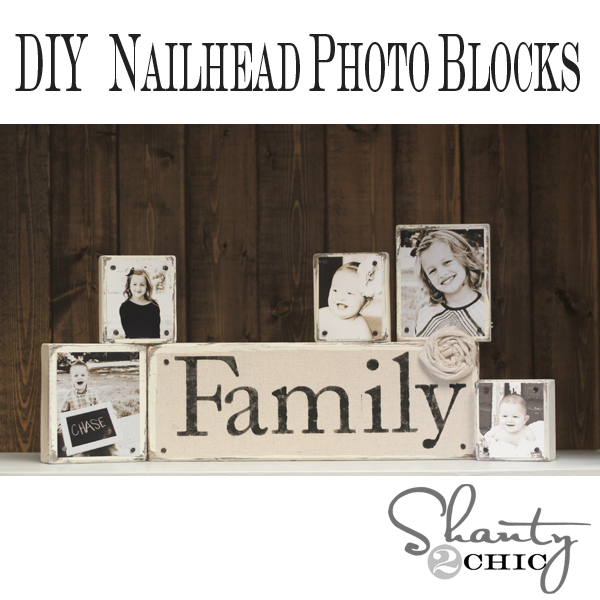
Here are some other photo projects I have done around the house:)


![]()
Thanks so much for stopping by!
~Ashley

It’s an remarkable paragraph designed for all the web visitors; they will get advantage from it I am
sure.
Hi there to every one, the contents existing at
this web site are truly amazing for people knowledge, well,
keep up the good work fellows.
?love the one I built, but it’s a different design than this one… it’s a bit nicer. I built my own using the plans at www. WoodworkPlans.info – highly recommended you check those out too. They are detailed and super easy to read and understand unlike several others I found online. The amount of plans there is mind-boggling… there’s like 16,000 plans or something like that for tons of different projects. Definitely enough to keep me busy with projects for many more years to come haha
Head on over to www. WoodworkPlans.info if you want to learn more – click the pink link above for some more plans! Best of luck on your building adventures!
✌✌✌✌✌✌✌✌✌✌✌
☁☁☁☁☁☁☁☁☁
☁☁??☁??☁☁
☁???????☁
☁???????☁
☁???????☁
☁☁?????☁☁
☁☁☁???☁☁☁
☁☁☁☁?☁☁☁☁
☁☁☁☁☁☁☁☁☁
?????
Wow, this is great, but how did you attach the frame? I think I missed that part of your tutorial. Thanks!
It is climbing the ladder of inflation, which enable it to not be termed as an affordable replacement for purchasers.
You can search for that listing cost free and without obligation. With the implementation of the new guidance values, the of Bangalore
real estate property are anticipated to shoot up.
I have went over this several times and I am not getting how the small frame attaches to the large board. What am I missing??
Just found this project and would love to try it. Any answer on how where the small frame comes from? How to get it?
Love how perfectly distressed the paint looks! Great tutorial!
This is a beautiful and creative project. Love the look of the paint, I’ll have to try the dry brush technique. We’ve been looking for something unique and personalized for our living room wall. This just might be the thing. Love it! Thanks!
~Erin
Neaten Your Nest
These are fantastic, I love them!! And all the other photo projects you did 🙂
— Fotini {http://glamorousbride.blogspot.com}
Might seriously be one of my most favorite things on this site! I LOVE that stencil!
Oh My Cute! Love this idea!