Hey guys! I’m back to share the window bench that I built for my new kitchen table! We have partnered with Sherwin-Williams for this project and we are giving away a $200 Sherwin Williams Gift Card to celebrate (you can find the giveaway at the bottom of this post) 🙂 If you missed the kitchen table plans, you can find them HERE!
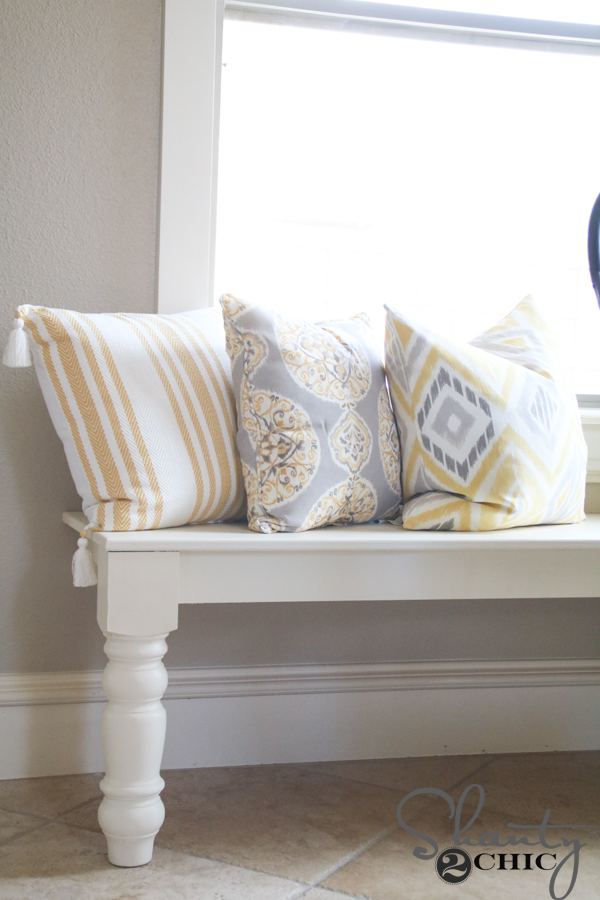
I LOVE my new kitchen table space. I wanted to put the focus on the bay window and open my kitchen area a bit so I decided to build a window bench that was attached to the wall. I attached it to the wall so that it would save a little bit of space and so that it wasn’t constantly moving around for me to have to put back in place 😉
This is a fairly simple build, there are some miter cuts but they are pretty basic and there aren’t many. It’s also easy to customize to size and if you don’t have a bay window you can just do a straight bench!
You can click the free printable plans HERE and you can follow along with the step-by-step below!
To begin, measure and plan the space you want to build your window seat in. My bay window is a 45 degree angle, most are. I planned how far out I wanted the seat to come out on each side and then I got to work in my shop.
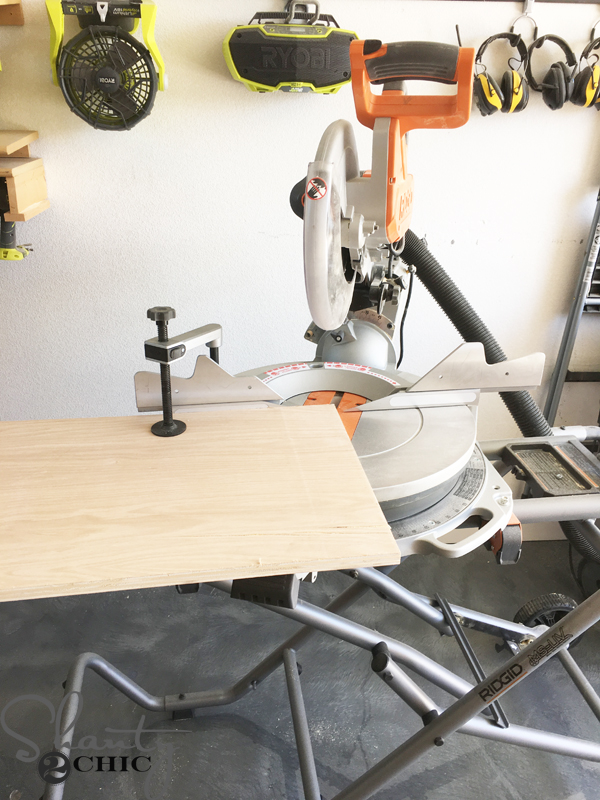
Start by cutting the plywood for the bench top.
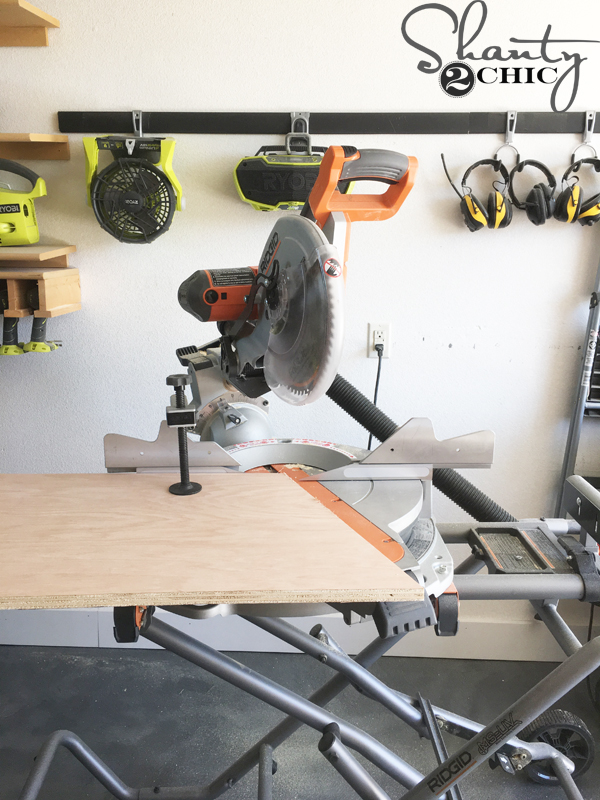
I cut one end at 22.5″ angles because my corner is a 45 and you will need to half that angle to get the angle cut for each piece.
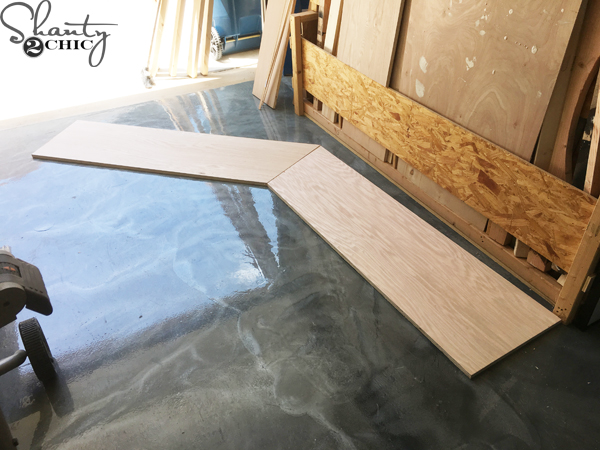
Next, lay the bench top pieces together to measure and cut your apron pieces to fit.
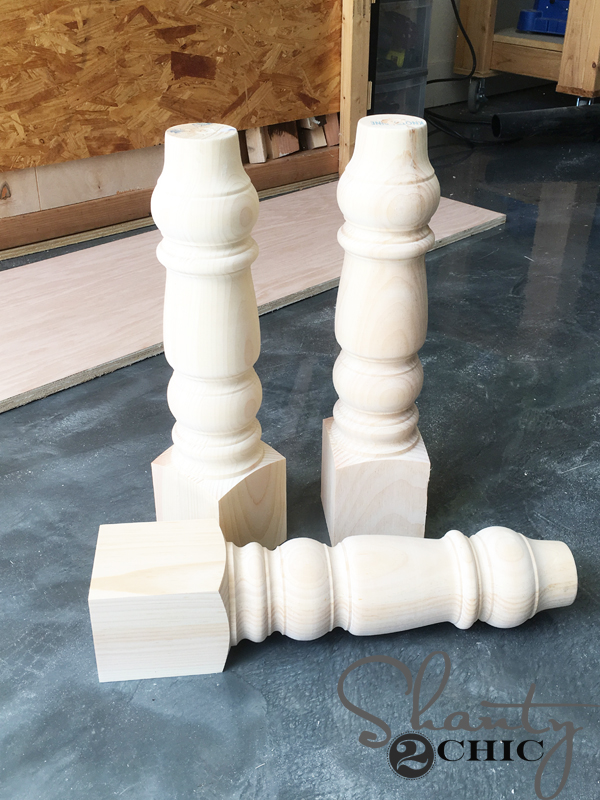
I found the perfect legs for this bench from Osborne Wood Products. You can click here to purchase them. I ordered 3 for this bench.
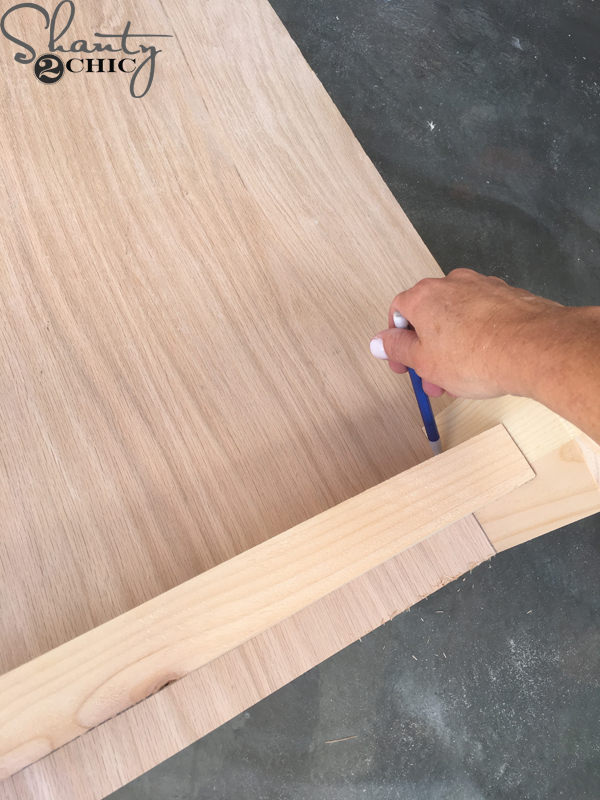
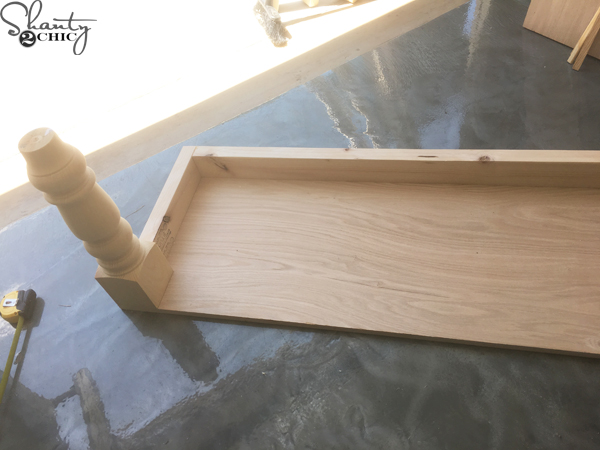
I set the bench legs on the corners of the bottom of the bench top so that I could mark where to put the side apron pieces. I wanted them exactly center on the bench legs.
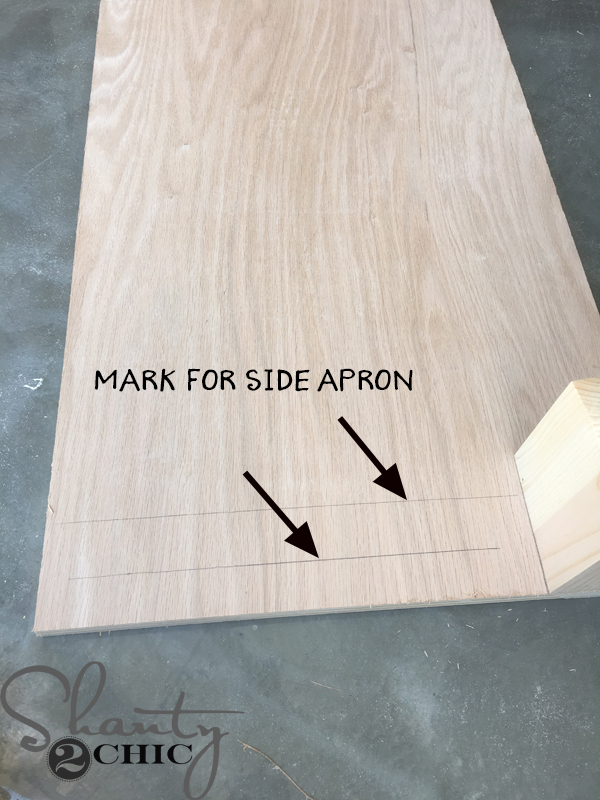
Now I know where I want my side aprons so that I can measure and cut the back and front aprons.
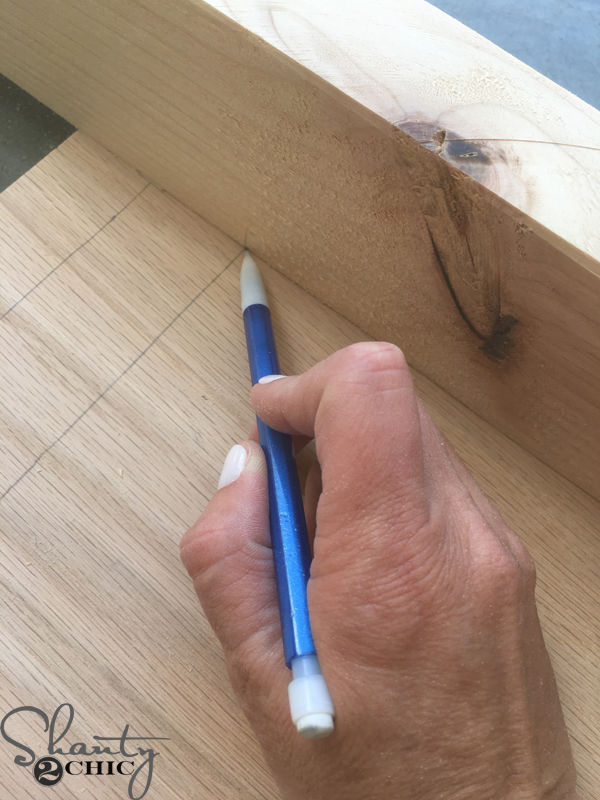
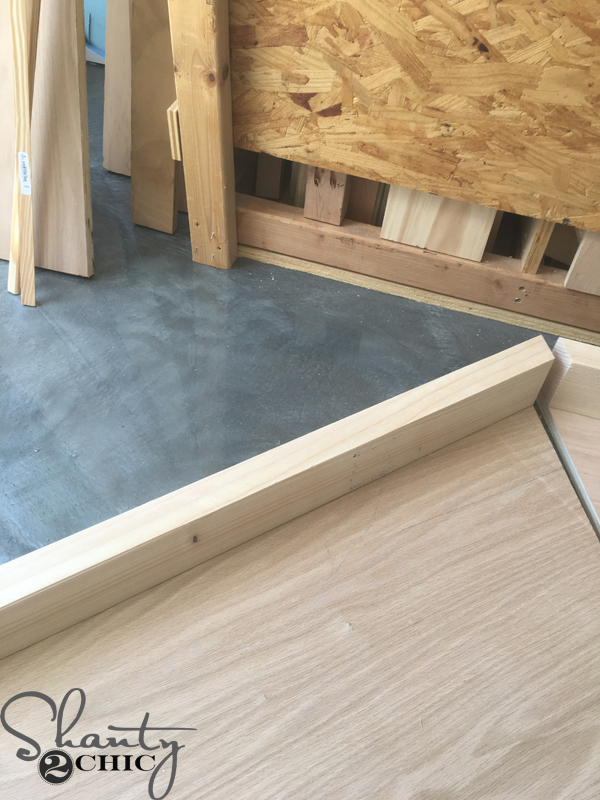
Now, you can mark for the back apron pieces.
My bench seat was too big to fit through the door, so I cut all of my boards to fit and then assembled it inside. Here is the back and side aprons of one side of the bench.
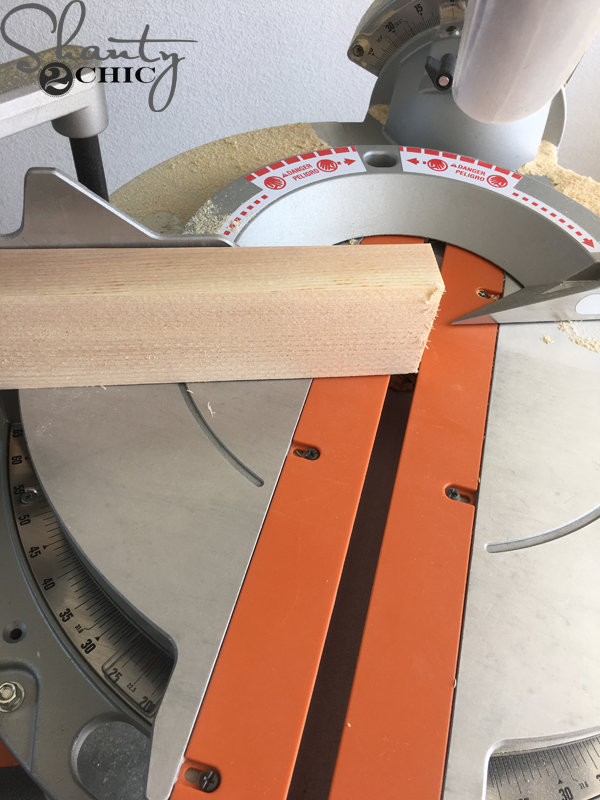
I measured and cut the angles on the back apron pieces to fit.
Keep cutting to fit.
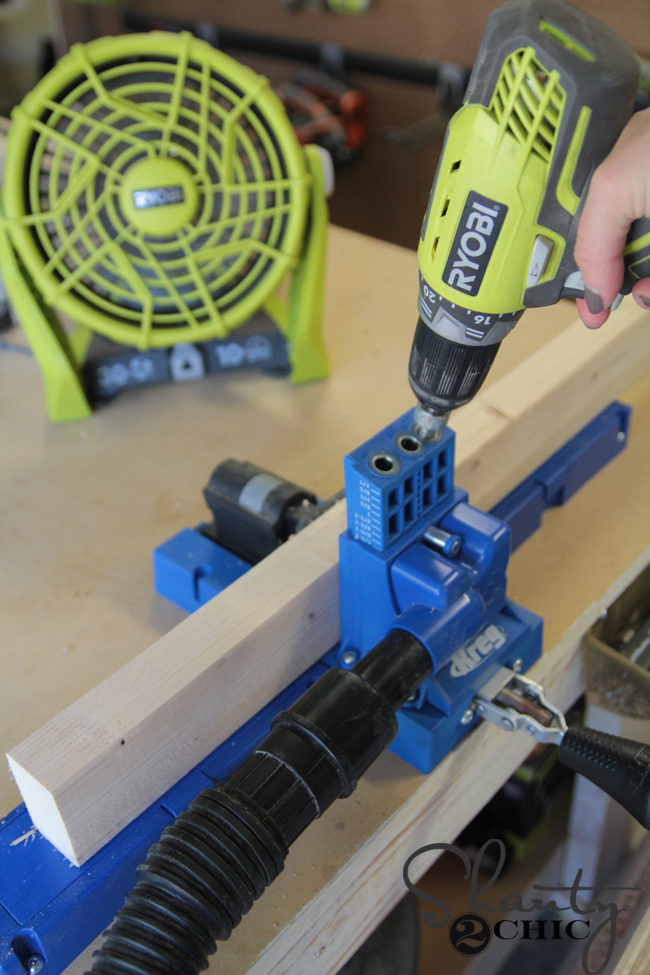
Once all of my pieces were cut, I used my K5 to drill pocket holes into the boards. Refer to the plans for the pocket hole placement. You can find the Kreg Jig model that we love HERE on Amazon!

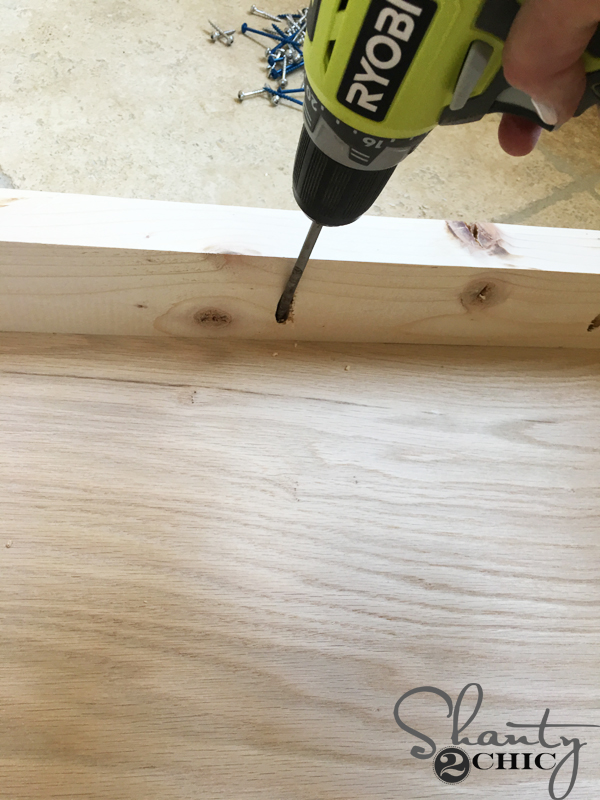
I brought the pieces inside and attached the bench top pieces together with 1 1/4″ pocket hole screws.
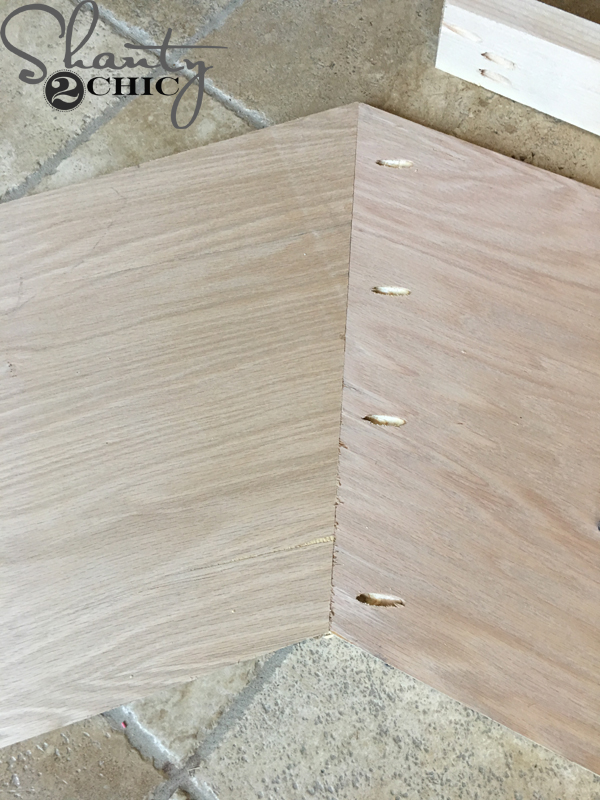
Here is the bottom of the bench top.
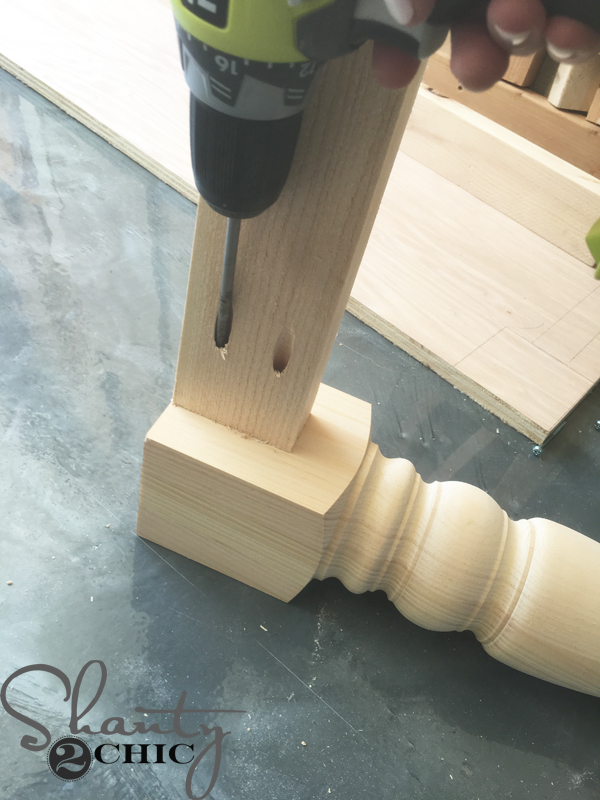
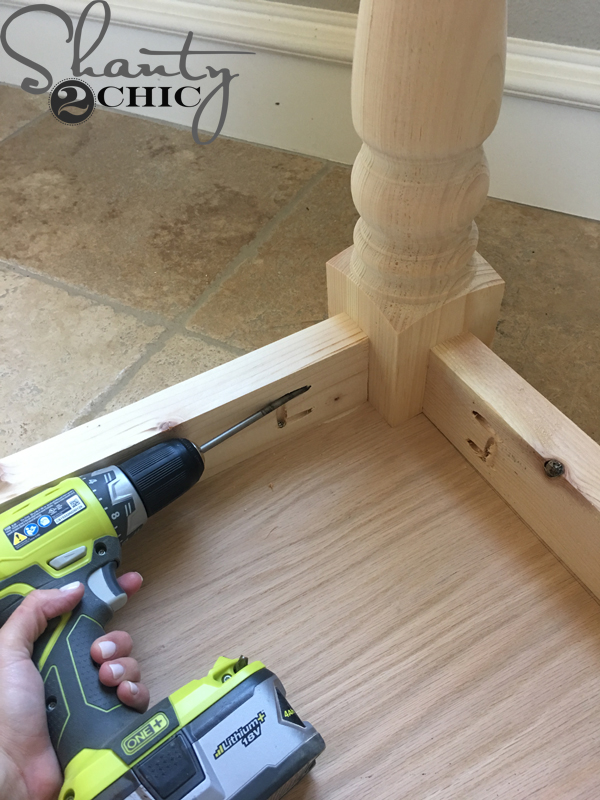
To assemble the frame, I first attached the side aprons to the bench legs, with pocket hole screws and wood glue.
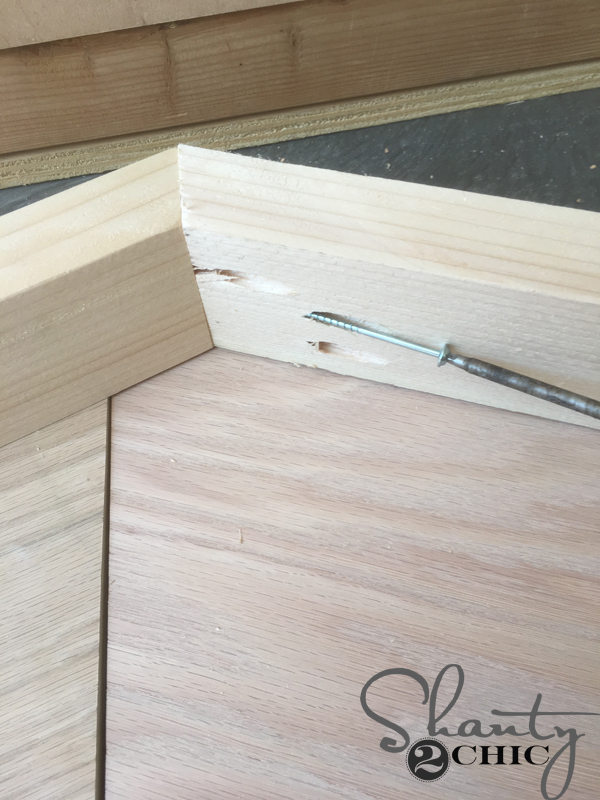
Then, I attached the back apron pieces together at the angles with pocket hole screws and wood glue.
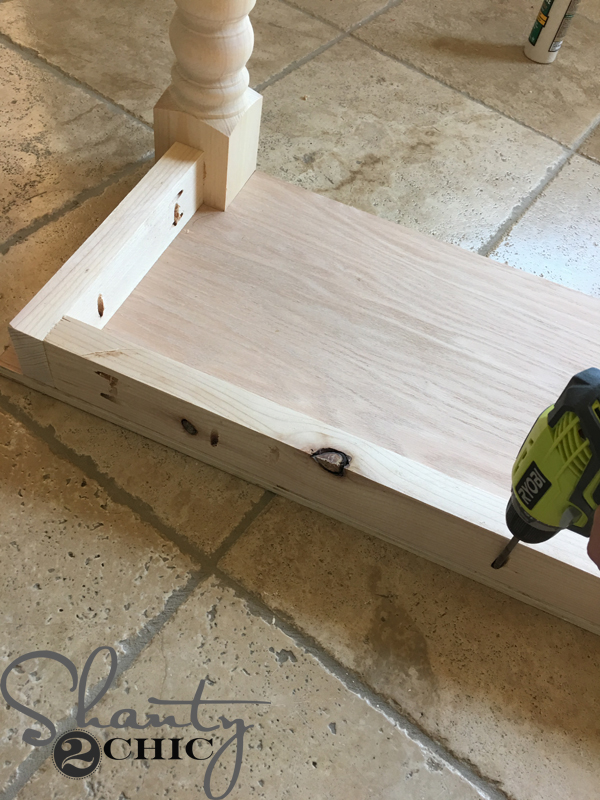
Now, attach the apron pieces and bench legs to the bench top with 1 /4″ pocket hole screws. You can add finish nails to the top of the bench, into the bench legs to secure those later. The glue will hold them securely in place and the nails will hold them together while the glue dries.
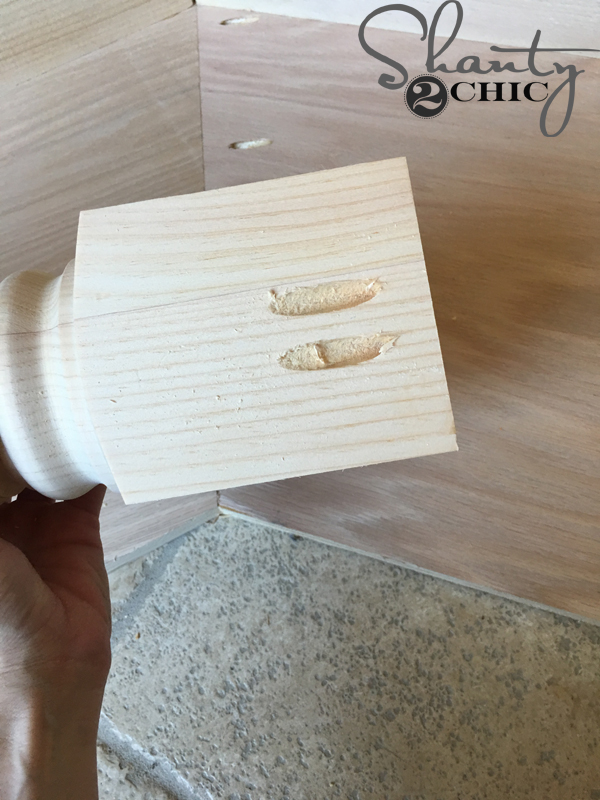
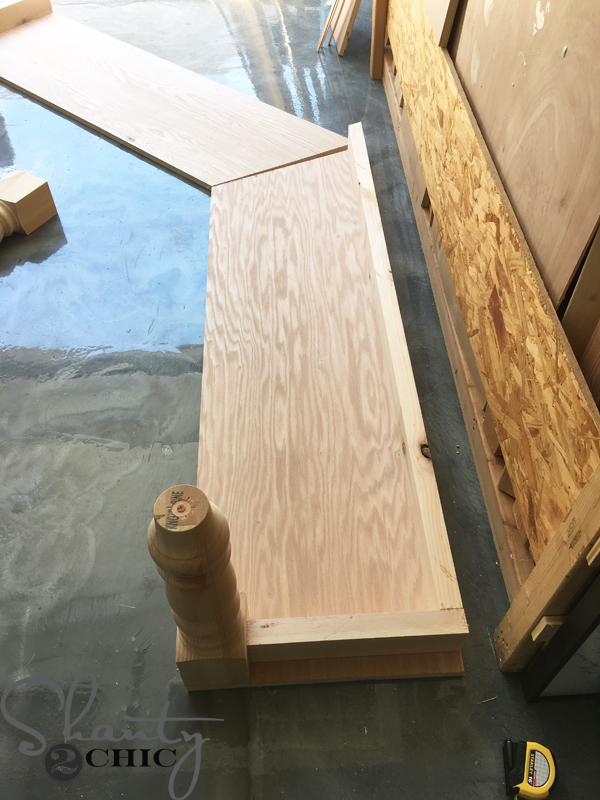
To attach the middle bench leg, I applied wood glue and drilled 3/4″ pocket holes into the inside face (so they won’t be seen)
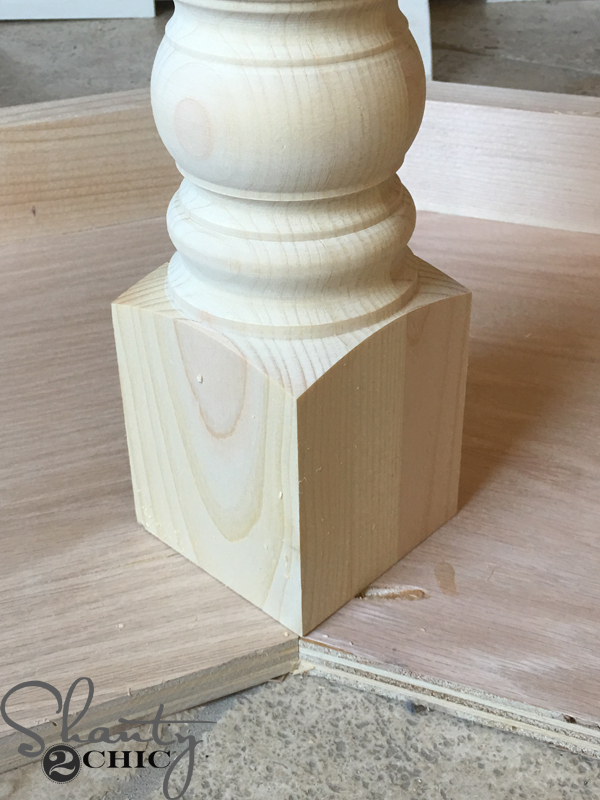
then, I centered it up on the center angle of the bench tops.
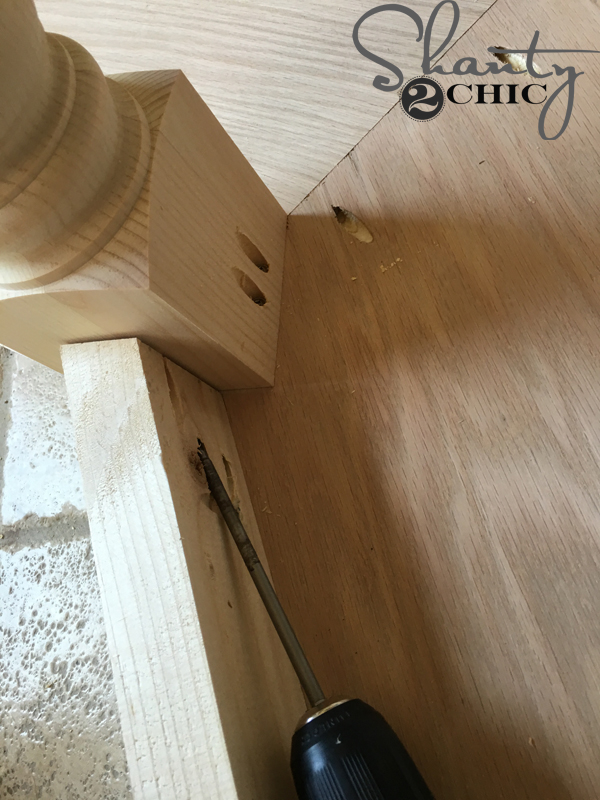
I cut the 22.5 degree angles for the front apron pieces then measured and made the straight cuts on the ends. I used pocket holes on one side here just to keep the leg in place to cut and fit the front aprons. When I turned the bench over, I still secured it with finish nails for the glue to dry.
Now, just attach the straight ends of the from aprons to the bench legs with pocket hole screws and wood glue.
Attach the front aprons to the bottom of the bench, as well.
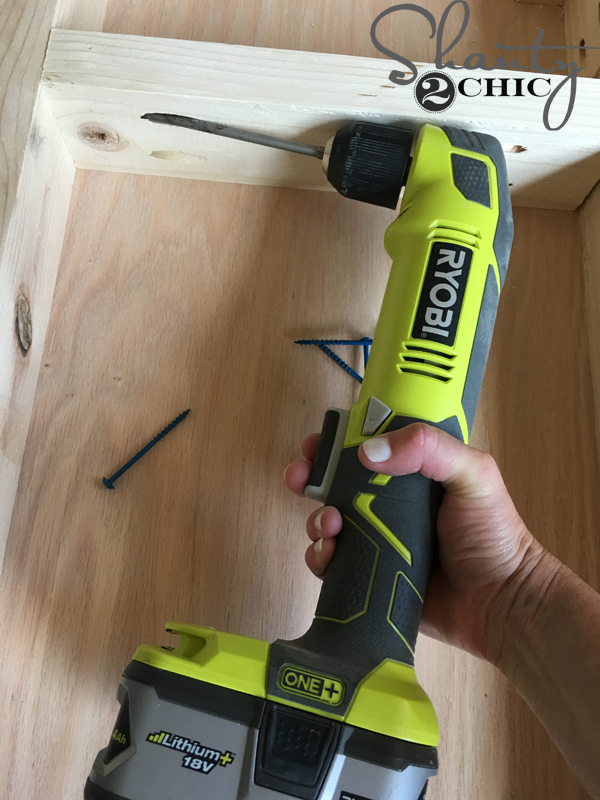
I measured and cut the support pieces to fit. This is a tight squeeze so I used my Ryobi right angle drill to fit in between the apron pieces. If you don’t have a right angle drill, you can attach them with wood glue and wood screws from the front and back of the apron. You will need to fill the screw holes before you finish.
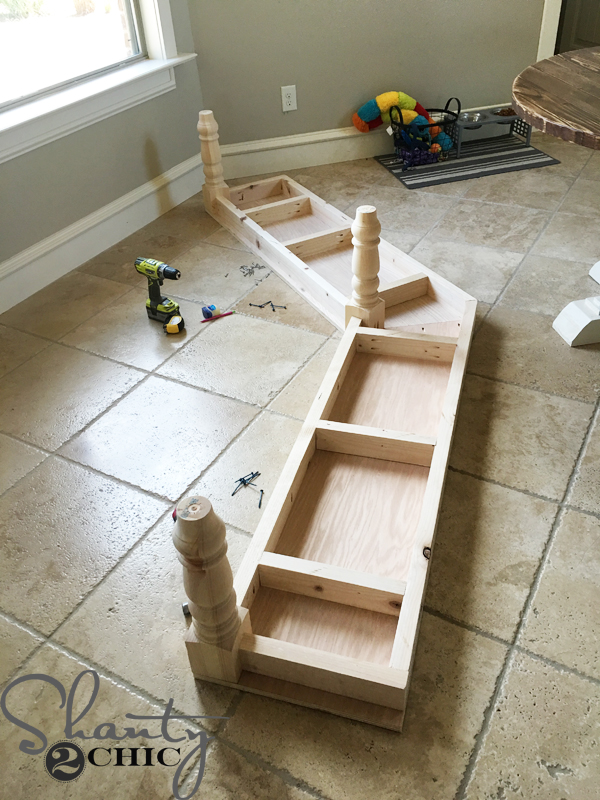
Now, the bench should be assembled and look like this! I decided to go ahead and paint the bench legs, while the piece was upside down because I knew it would be a pain once it was attached to the wall.
I decided to paint the bench to match my kitchen table base, Antique White by Sherwin-Williams. Picking the paint for these pieces was so easy. I used the store locator feature on their website and found the store closest to me.
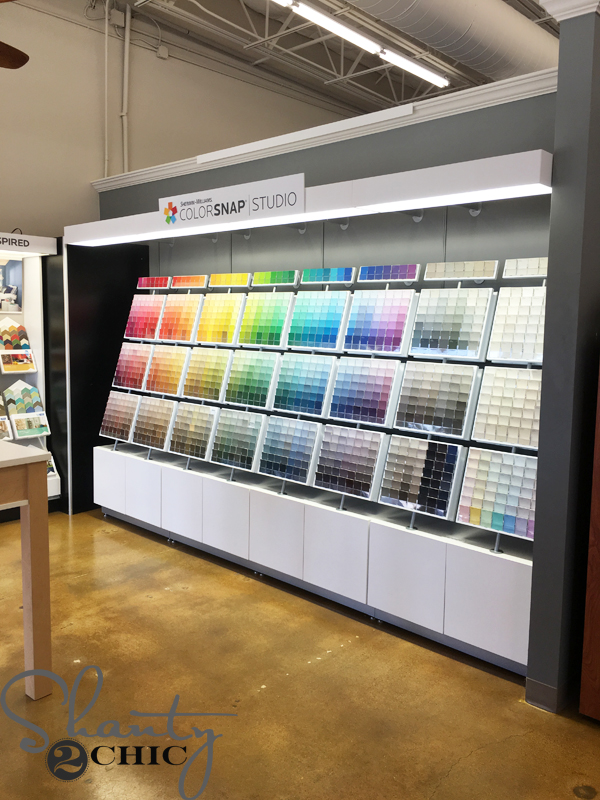
I walked in and saw the paint chips, immediately.
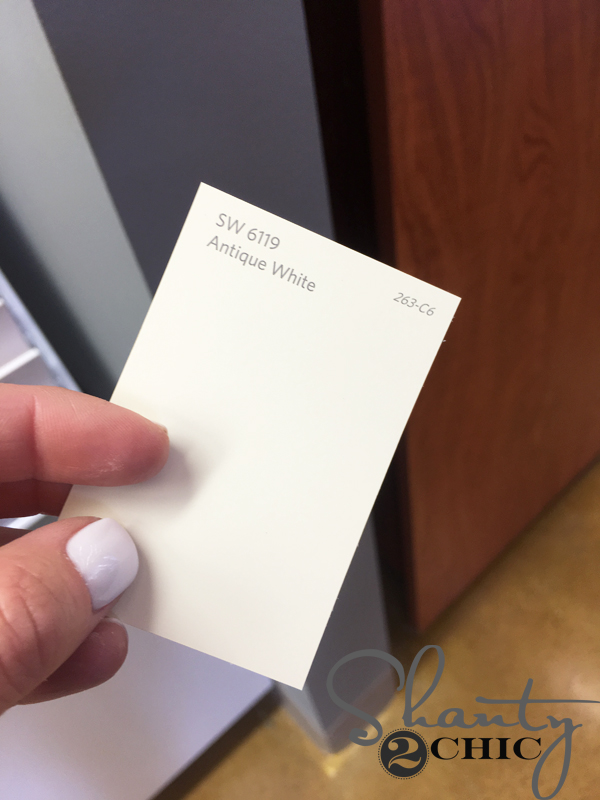
I found the perfect creamy white with Antique White and ordered a gallon of Emerald in satin sheen. The store employees were very friendly and answered all of my questions.
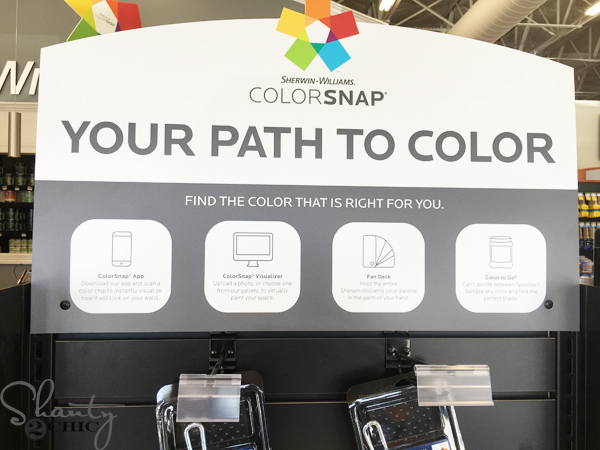
While I was there, I noticed they have coolest Color Snap App! You can download it HERE!

It allows you to match a pin, or a photo to a Sherwin-Williams color!

The tool bar let’s you explore colors, save colors and locate a store near you! It’s so easy!
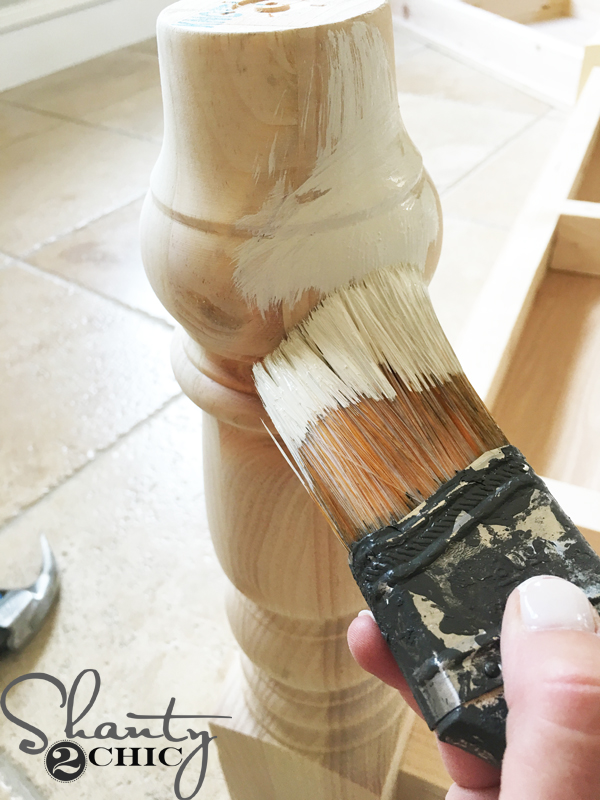
I brought the paint home and painted the entire piece. I painted the legs before I attached the bench to the wall.
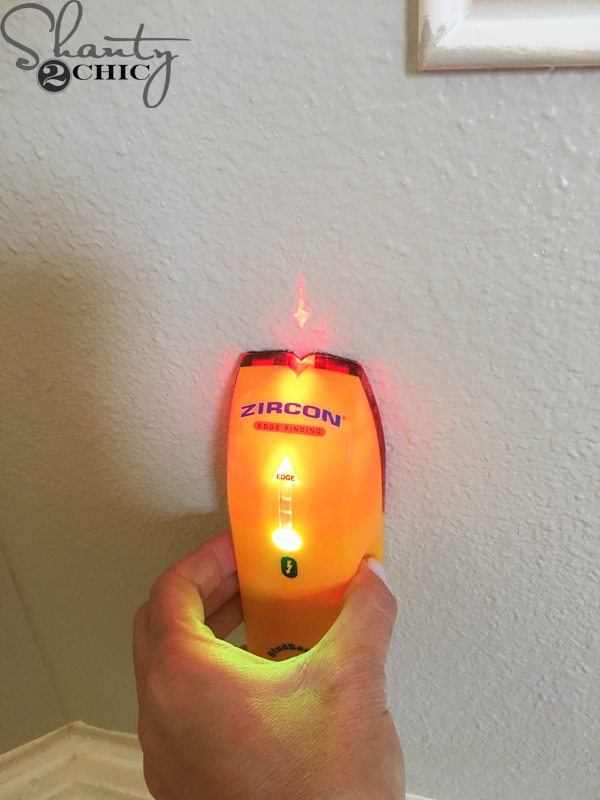
While the legs dried, I located the studs on the wall, where the back apron of the bench will attach. You can find the stud finder that we use HERE on Amazon!
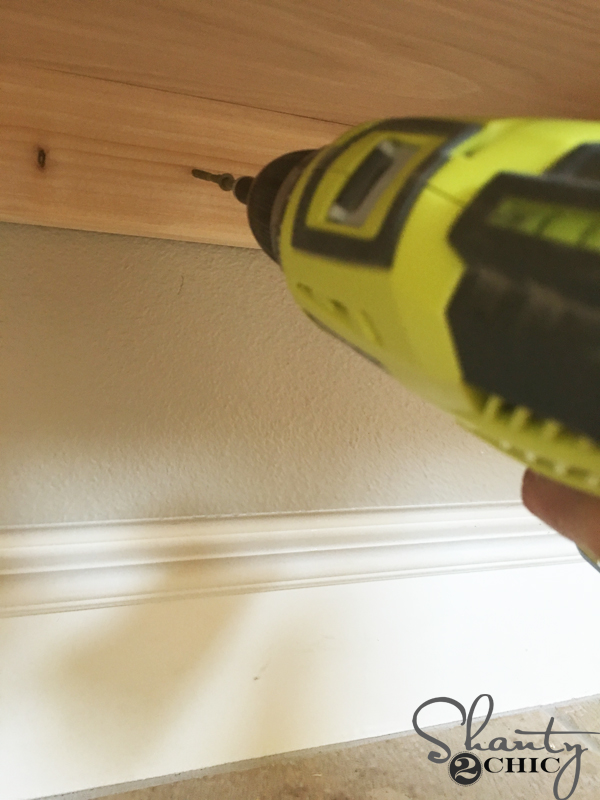
I then used 3 1/2″ wood screws to attach the bench to the wall through the studs. The screws will go from underneath the bench, into the inside of the apron and through the wall into the studs.

I measured and cut the screen molding to fit the bench. I like to cut the side pieces then the front pieces. I cut the angle piece first on the sides then it’s easier to make the straight cuts on the other end to fit.
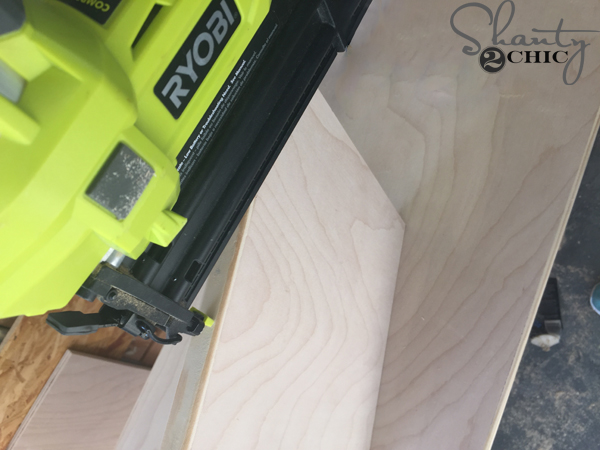
I attached the screen molding with my 18 gauge brad nailer and wood glue.
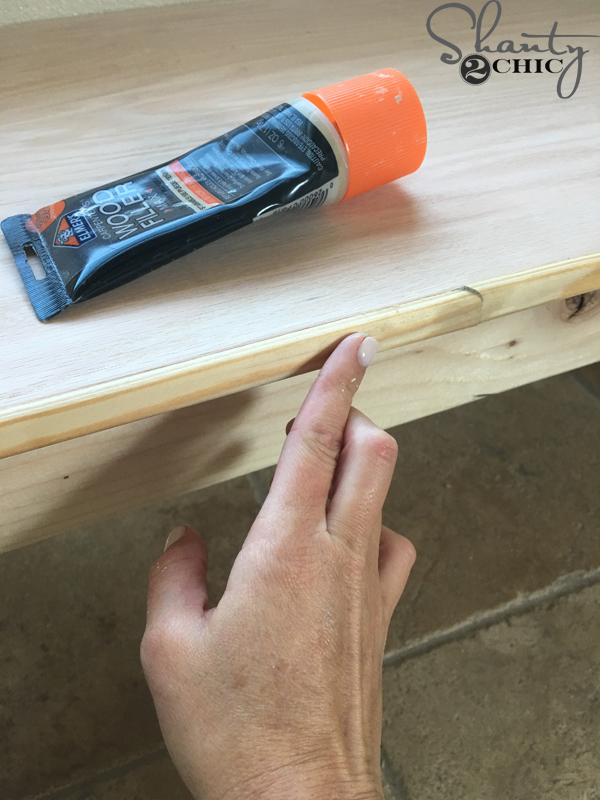
After attaching the molding, I filled all of my holes with Elmer’s Wood Filler. You can find the wood filler HERE on Amazon.
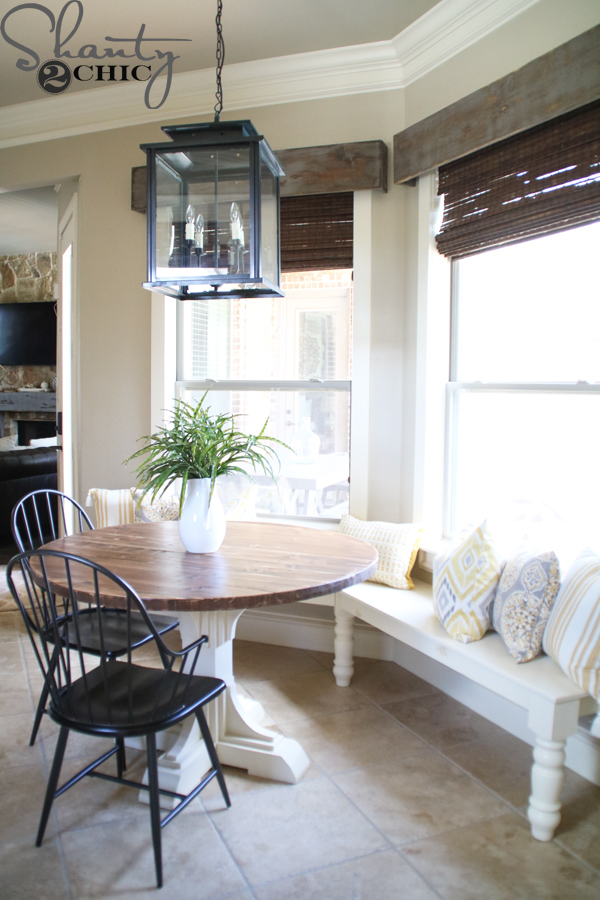
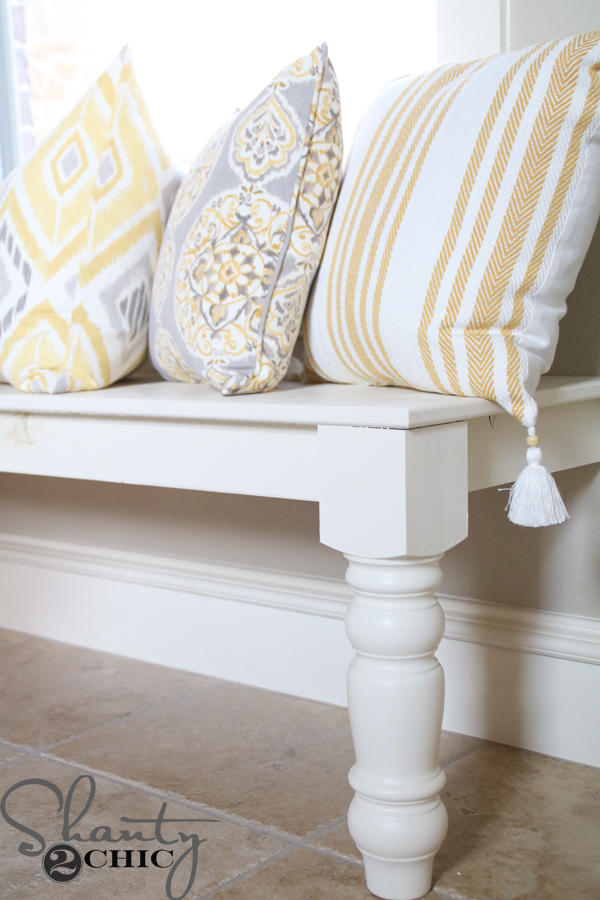
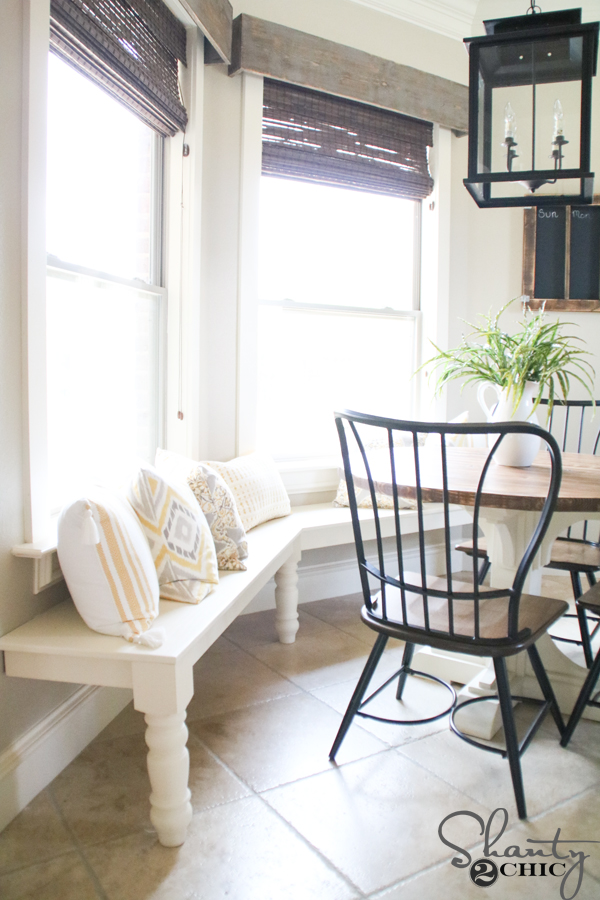
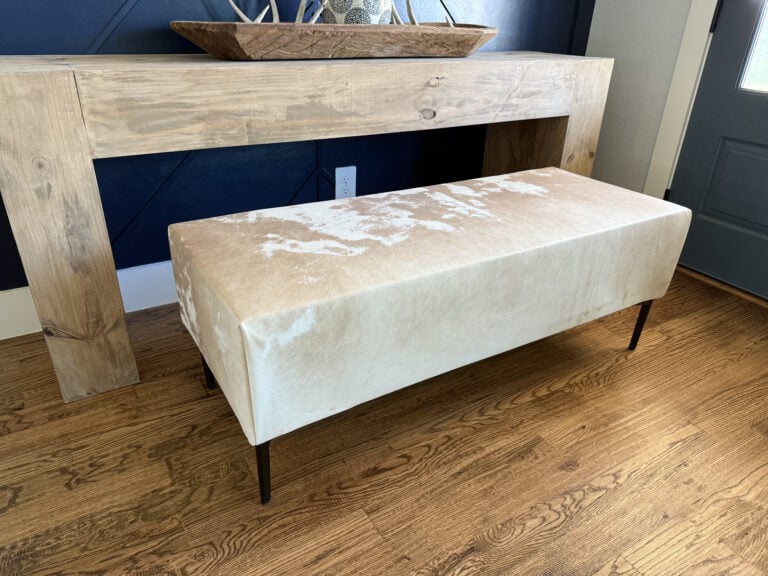
I finished painting the bench, added some pillows and called it a day 🙂
Now for the $200 Sherwin-Williams Gift Card Giveaway! Just use the Sherwin-Williams store locator page HERE to locate your closest store and tell us where the store is in the comments below!
Also, Don’t miss the Sherwin-Williams in-store Love For Color sale. It runs August 12-15 and includes 35 percent off all paints and stains!!!
Here is more info on everything in this space!
Tassel Pillow – HERE
Other pillows – HomeGoods
Chairs – HERE
Chalkboard Calendar – HERE
Stools – HomeGoods
Tile – HERE
Chandelier – HERE
Window Box Cornices – HERE
White Pitcher – HERE
Paint Colors – HERE
Window Shades – HERE

Closest to me is the Clovis store (#1615) in Clovis, CA. ☺
Irvine, CA #8951
South Jordan, #8529. You guys are the best! Love it! Also, we are building our own tiny home and would definitely be needing LOTS of paint! Thank you!
Brandon, Florida #2143
My SW store is
Leesburg #5089
940c Edwards Ferry Rd Ne
Leesburg, VA, 20176-3324
My closest store is here:
20619 Bothell Everett Hwy
Bothell, WA, 98012-7138
Love SW!
Mt Pleasant, MI #1317. I have a baby nursery I’d love to use this for.
My closest store is 2.56 miles away.
Dayton #2747
4155 Rhea County Hwy Unit 100
Dayton, TN, 37321-6071
(423) 775-8837
Open today until 7:00 PM
Madison wi! #3067
Dothan, Al store #2371 The color snap app looks awesome! As does everything in your kitchen!
Sachse store #7555! I would so love to win! My walls need gray paint asap!
Springfield, IL 62703 #3139. Thanks for the motivation, confidence and encouragement that I can do this. So glad I found you girls.
My closest store is Ballwin #8477.
Closest store is Lakeland-South #2065 🙂
Just 4.6 miles :-). LOVE SW paint!