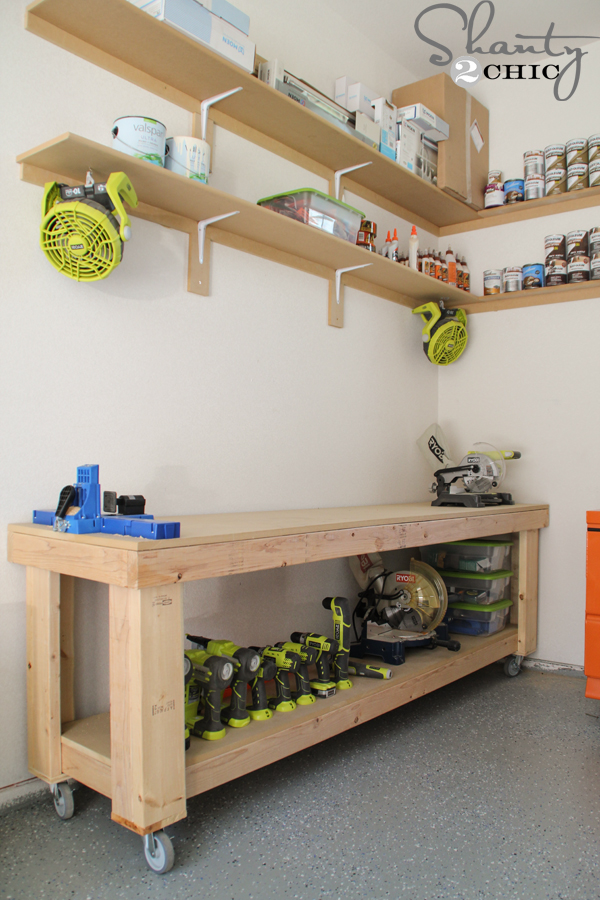
Hey guys! I am so excited about the workbench I built for the shop in my new house! My shop is still a work-in-progress but this was a huge improvement and much needed addition!
 I modified the workbench that Whitney built because I wanted more free space in my shop! You can see her workbench HERE! This is the perfect bench for small work spaces and I only spent about $100 including the casters.
This is a really quick and easy workbench and of course, we’ve got the Free Printable plans too! You can click HERE or the image below to print them!
DIY Workbench
And as always, I’m sharing my step-by-step instructions to help!
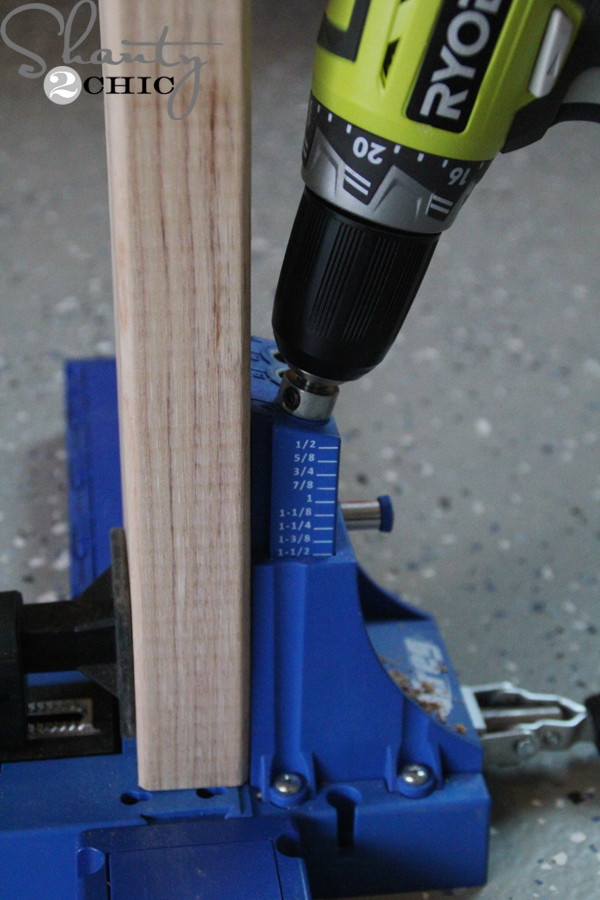 I had my MDF boards ripped down at Home Depot and I started by making my cuts and drilling pocket holes, with my Kreg Jig, in the legs.
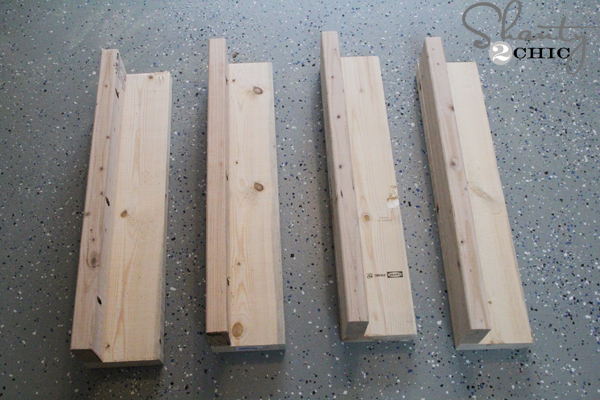 Here is a pic of the assembled legs.
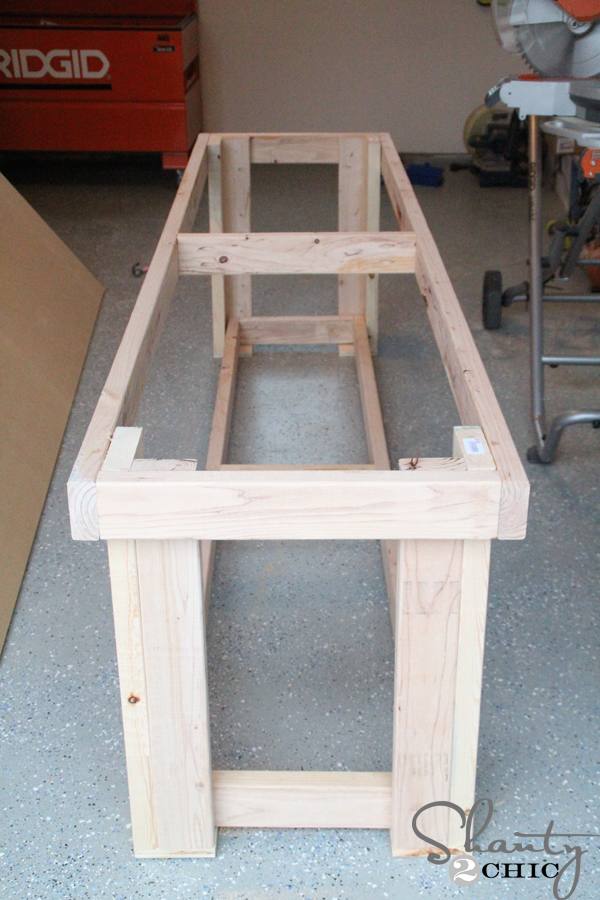
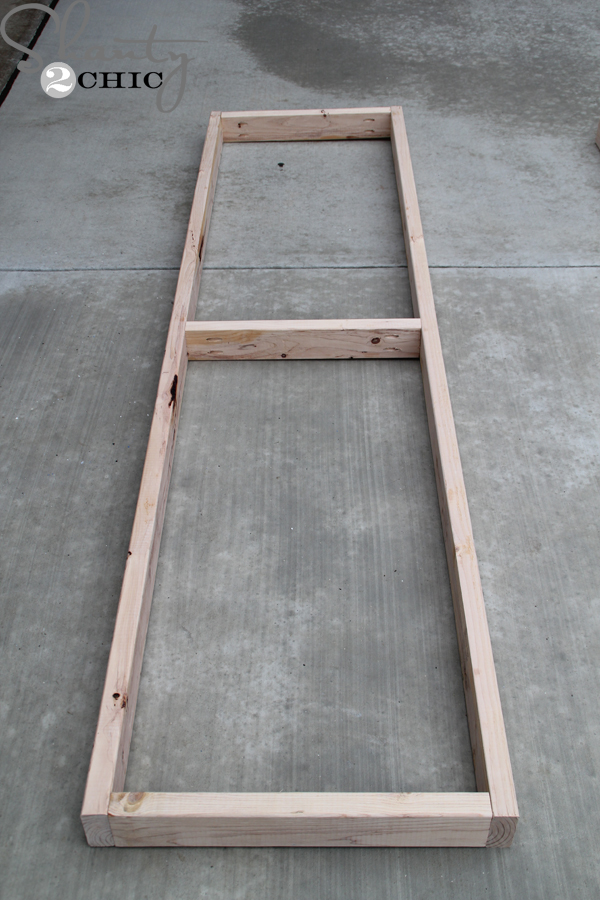 Next the frames! They will both look like this but they are different sizes.
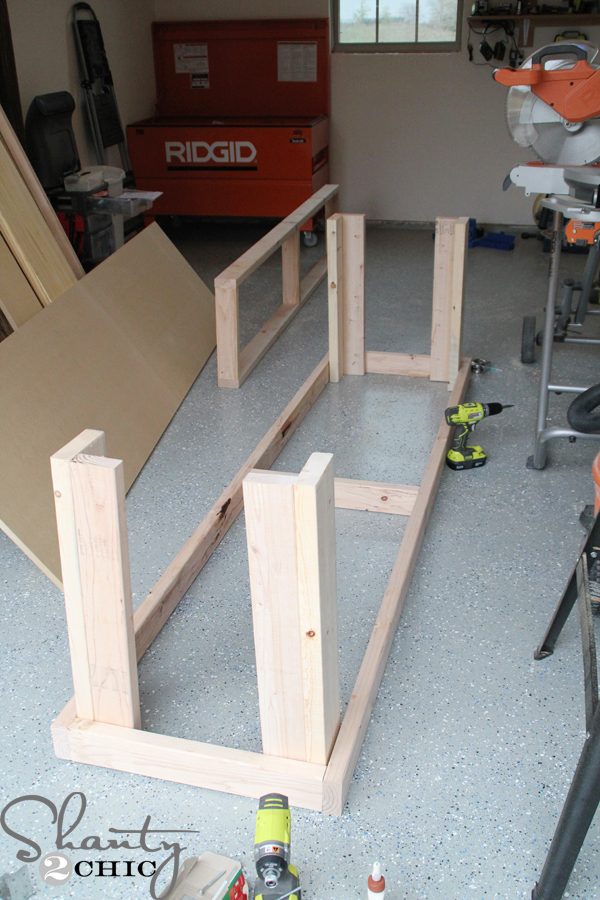 Next, I attached the legs to the frame
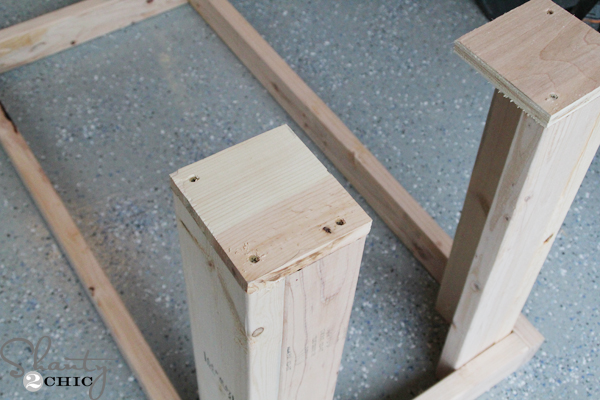 Then I added the foot pads.
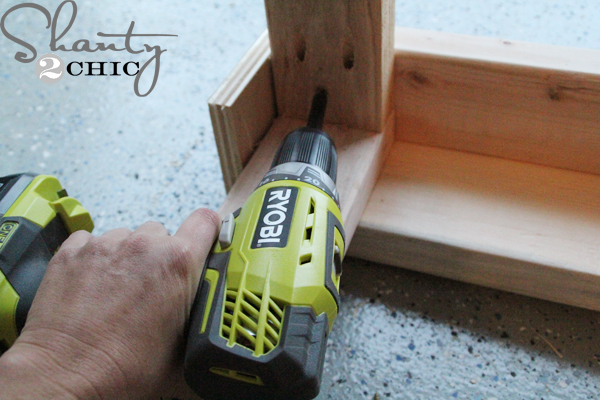 To attach the bottom frame, I used 2 1/2″ wood screws from the inside of the frame into the legs.
 Almost done! Add your casters here before it gets too heavy! (make sure to purchase locking casters)
 I used my brad nailer and wood glue to attach the bottom shelf
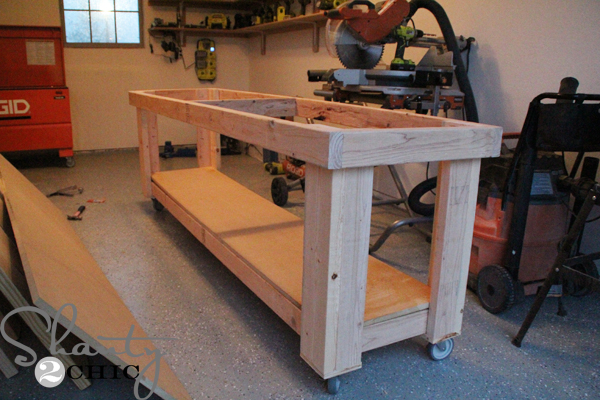 Then I attached the top the same way!
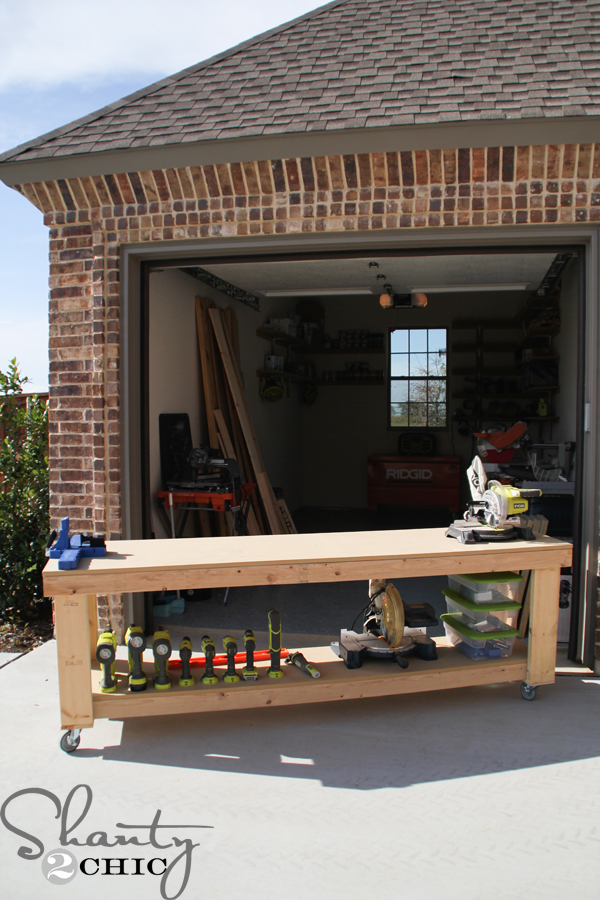 How easy was that?! I love rolling it out of my shop on pretty days (and to watch the kiddos play while I work) As you can see, I have outfitted it with all of our favorite Ryobi power tools and mounted my K5 Kreg Jig to the top 🙂
 My shop is the size of a standard one-car garage and you can see that it still gives me plenty of space to work in my shop!
I love it!! Now I need to get back to building more furniture for the house 🙂
Thanks so much for stopping by!
~Ashley

Happy. Ew Year! I just completed my workbench build today (2×8). I will revisit the miter stand a bit later, as my Bosch already has supports on board. It was very easy to follow. I did add some extra reinforcement pieces for the tabletop and shelf, as well as extra screws, and it looks GREAT! Very solid and easy to follow plans and I will be back for more. Thank you again, Natasha
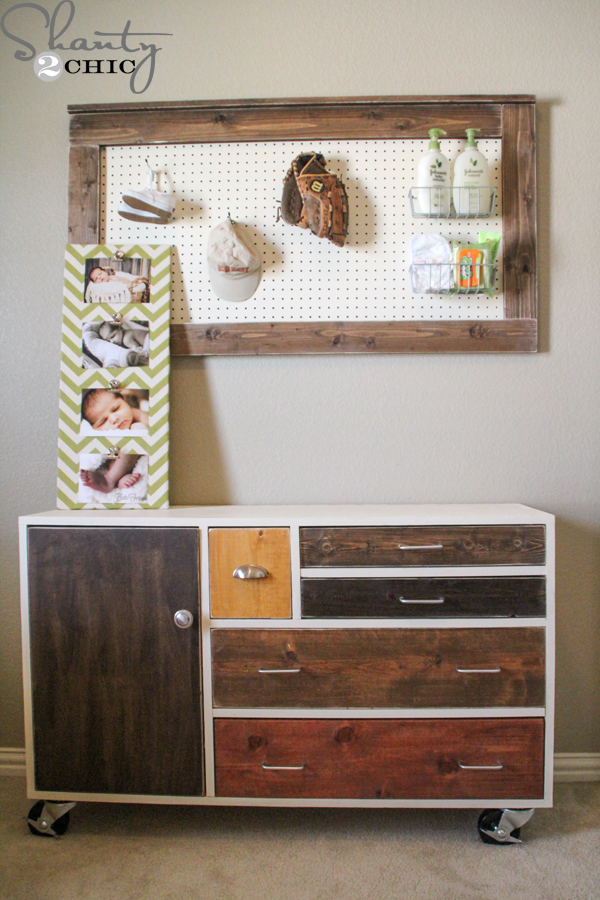
I am so glad I came across your content! I saw “free plans” and I was thinking “yeah right, we’ll see”. Come to find out you actually provided free plans! You also have a number of other builds and plans. So thank you! I like woodworking but find it hard to get motivated and come up with ideas. I’m getting both from you. I just saved the farmhouse dresser and will be starting on that. Looking forward to future projects now that I’ve come across your content!
Do find an issue with the wheels on the bottom? Does the table move while you are working?
She used locking casters so they won’t move when the wheels are locked
Thank you for posting the plans.
I need to build some for my shop. So you have plans for one that is 48″ long by 36″ wide????? The height needs to by about 36′ tall.
Thank you even if you can not help me.
I just completed this workbench and it was my very first project! I am going to make a smaller version of your miter saw bench and make it work with the workbench for longer boards. I had so much fun! I was going to post a picture but didn’t see where to attach the photo. Thanks girls! Love all your projects and videos! I cannot wait to get started on more fun projects! This is my new hobby! I need a break from my life as a principal!
Love my new workbench! Thanks for the great plans.
I do have one question. Why did you use plywood for the 3×6’ workbench and MDF for the 2×8’? I’m new at this so I was just wondering.