Happy Monday guys!
This will be a great project for any of you like me that still have your Fall wreath hanging… I know. Bad.
I fixed that problem though! I made this new wreath in under 30 minutes and under $10! Woohoo!
Here is how it turned out…
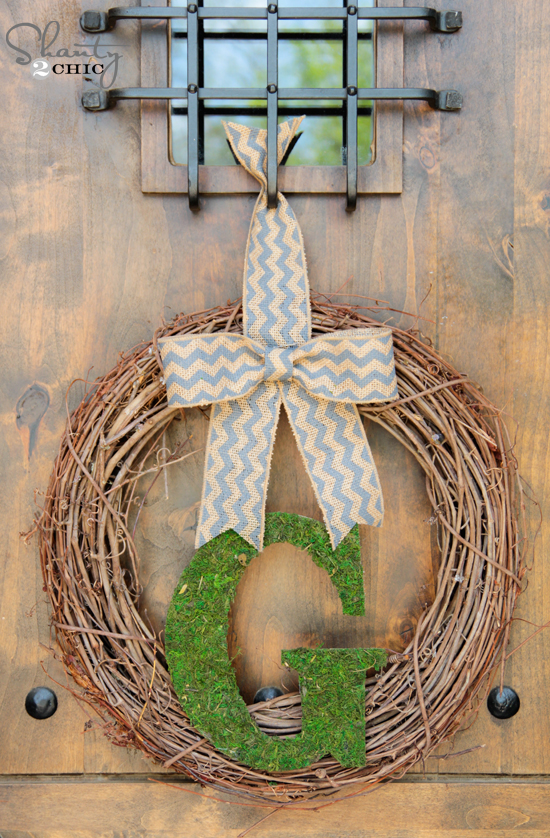
Simple but oh so CUTE!
So… Let’s get started!
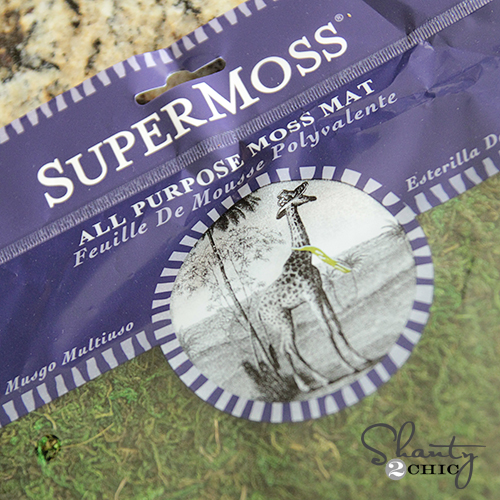
I found all of my supplies at Hobby Lobby at half off. The only one not on sale was the sheet moss, so I used a 40% coupon on that one. I got everything for under $10.
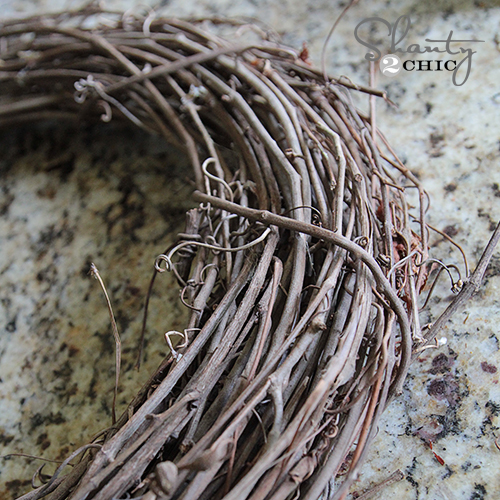
I started with a grapevine wreath…
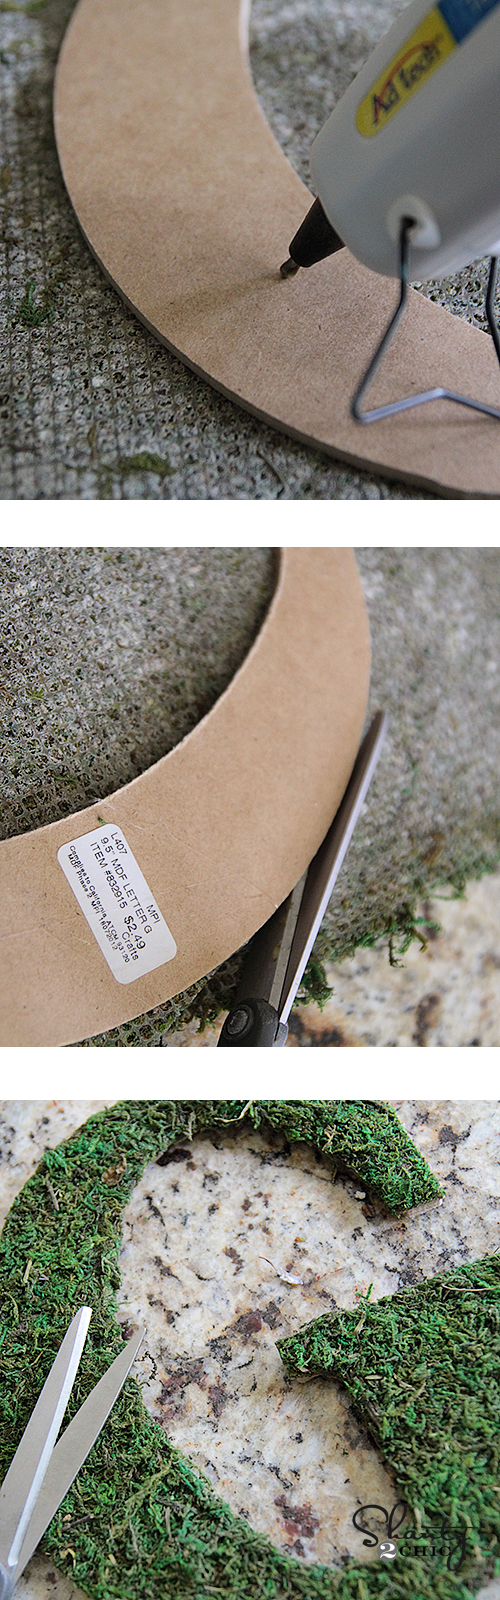
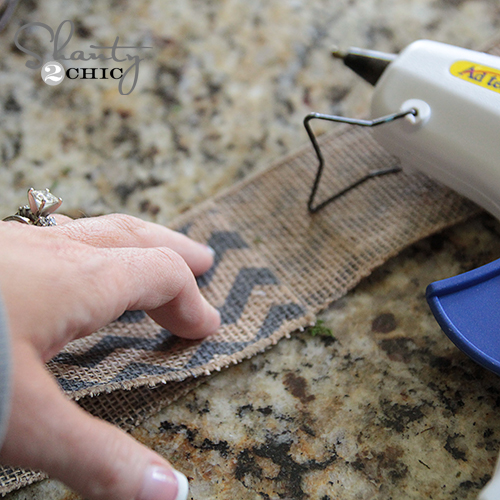
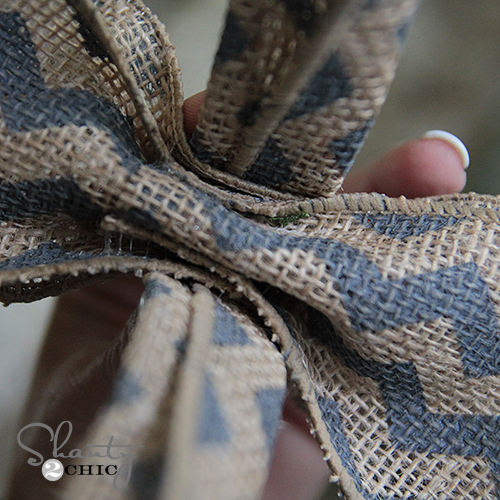
For my initial, I used sheet moss (found in the floral section) and an MDF letter.
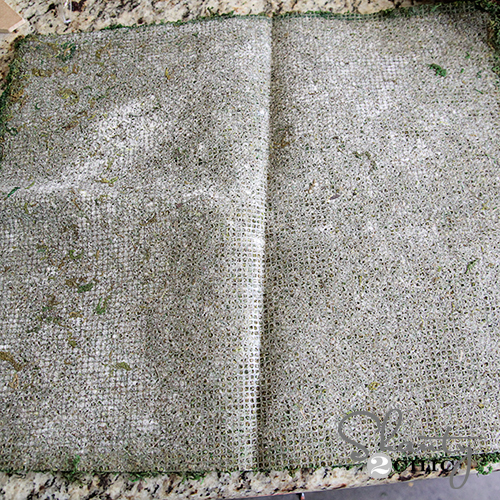
Just open up your moss like this…
And glue your letter down to the moss using hot glue! Then use a pair of scissors to cut around your letter… Easy peasy!
I used high temp hot glue to attach it to the bottom front of my wreath.
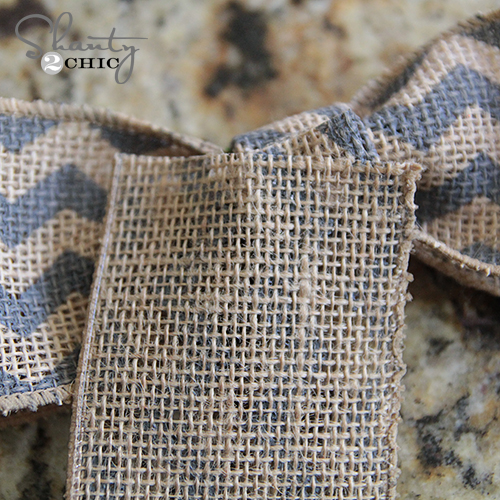
Now for the bow! Actually, it’s a faux bow!
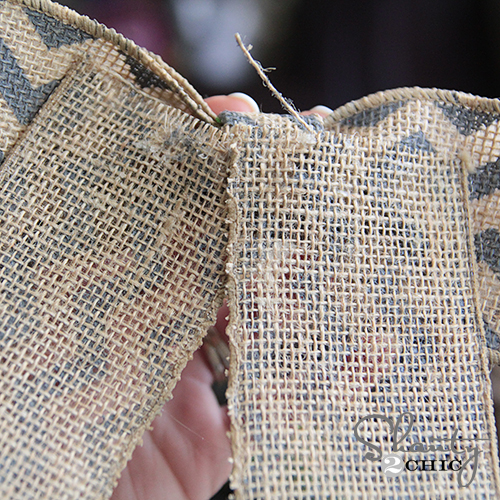
I used this super cute chevron burlap ribbon for mine!
![]()
Here is how I make my faux bow!
Start by cutting a long piece and gluing your sides to the center…
Next, squeeze the center of it together like this. I rolled another piece of ribbon in 2 folds to make my ‘center knot’. Then I hot glued it around my pinched center… Sounds so much harder than it is!
The back will then look like this…

Now for the tails!
I cut 2 small strips of ribbon and cut the edges at angles before attaching. Then, just use your hot glue to attach 1 piece at a time!

That’s it!

I ran another long piece of ribbon around my wreath, and then glued the faux bow to that before I hung it up!
I will skip telling you how to hang it from your door. Everyone has such different front doors and you will know the best way to hang yours!
Want to see it all finished??


So… What do you think?? Not bad for under $10, huh?
Thanks so much for stopping by!
I would love for you to share and PIN my new wreath below!
Let me know if you have any questions at all!
~Whitney


Oh my gosh – I LOVE THIS. The idea of using sheet moss for the letter? SO CLEVER!! Can’t wait to try this and put my lil spin on it!