What’s up guys?! Happy Friday!
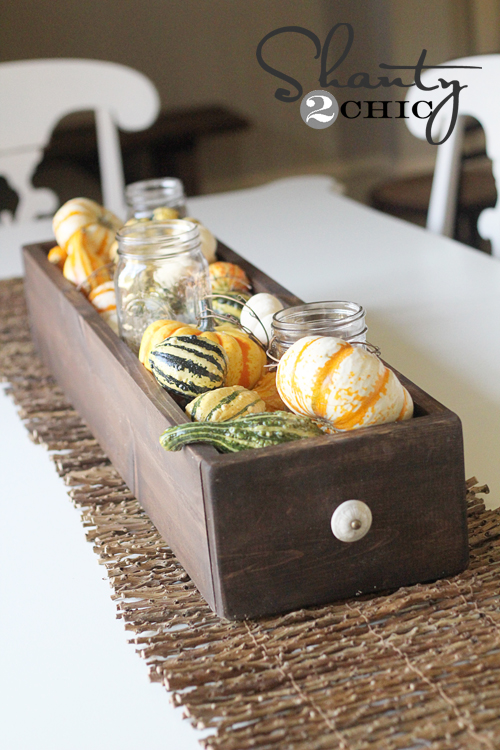
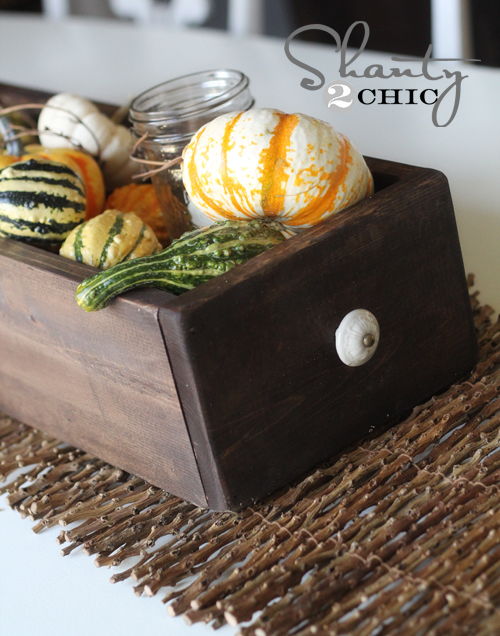
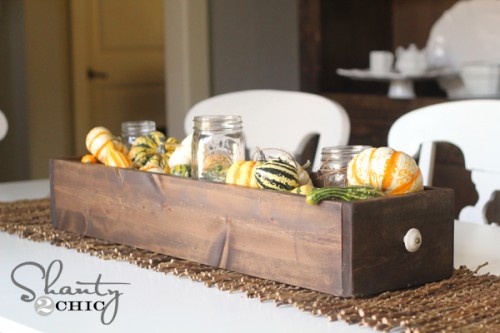
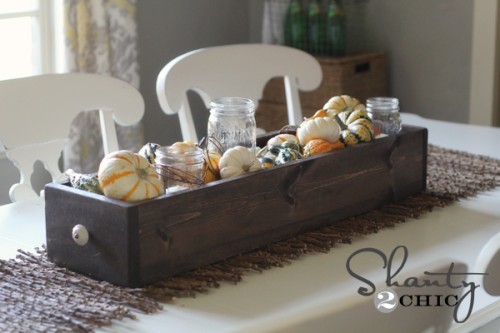
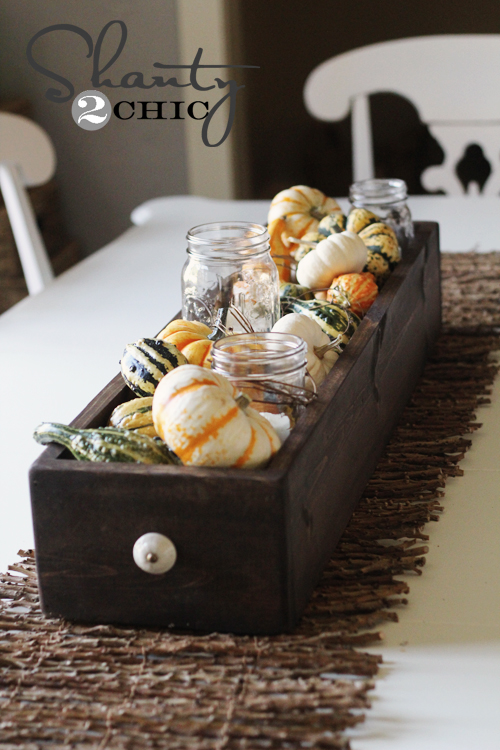
With the official first day of Fall coming, I thought it was time to break out the Fall decor! It is my very favorite season to decorate for! I made a fall centerpiece for my dining table. This took me less than 1 nap time to complete… I had the whole thing done in under an hour!
Here is how it turned out…
Many of you that frequent Shanty2Chic know how much I love a good box. I like to build them for lots of things! Here is another one to add to the list;-)…
You will need 2 boards for this project…
1 – 2x8x8
1 – 1x6x8
Total cost for wood is right around $12… If you build like me, you probably have some scraps laying around that would make this project free!
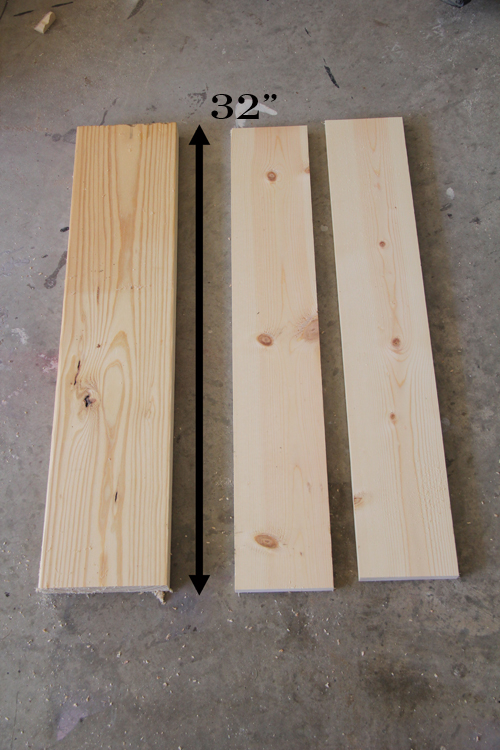
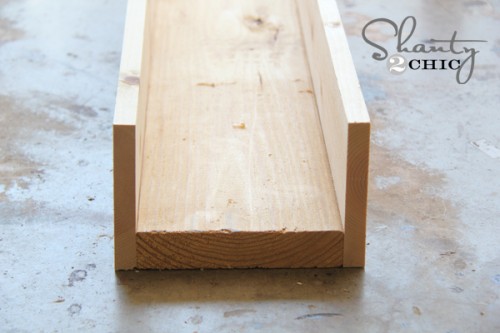
I started by making 3 cuts. I cut the 1×6 into 2- 32″ pieces for my sides, and the 2×8 into a 32″ piece as well for my base. You can use a simple $10 wood hand saw from Home Depot for this! It would only take just a minute or 2 and a little elbow grease to make the cuts.
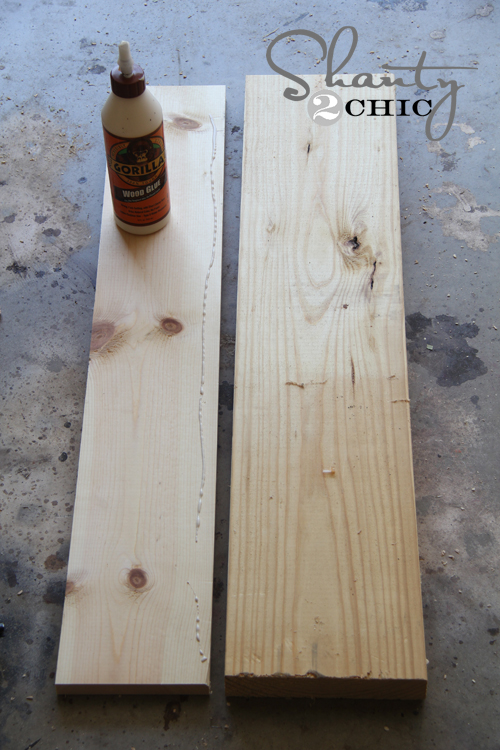
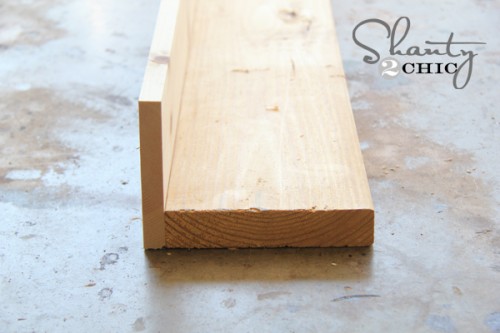
I used Gorilla Wood glue and finish nails for the rest. Here is how I attached the sides to the base…
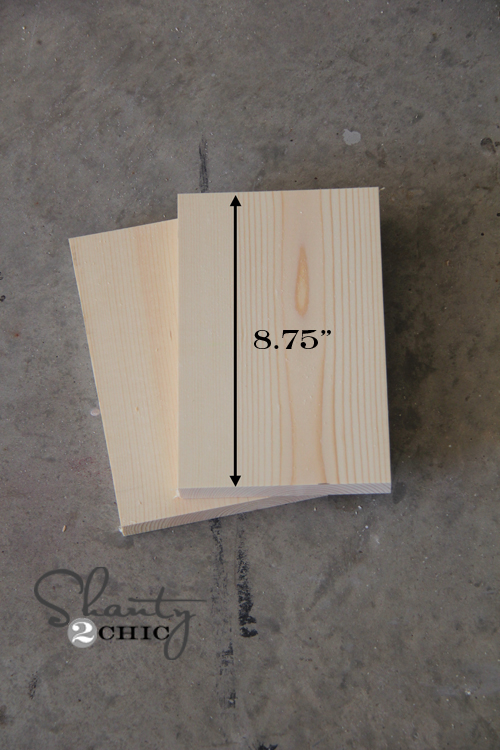
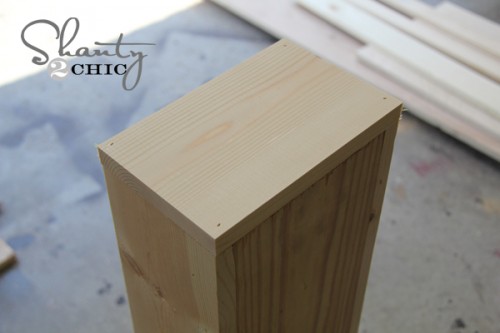
Now to close off your ends. I used the rest of the 1×6 to cut 2 pieces that were each 8.75″ long.
Add a little Gorilla Wood glue…
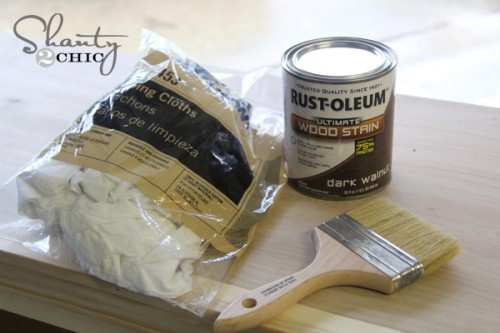
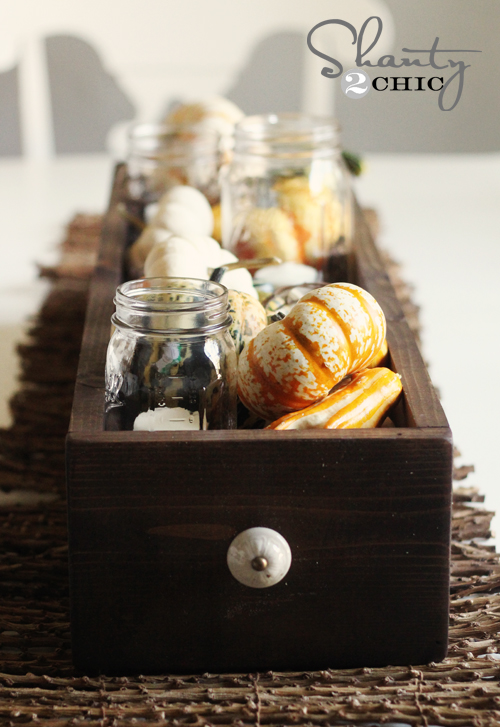
That’s it! How easy is that?? I stained the whole piece with Rust-Oleum Ultimate Wood Stain in Dark Walnut to match my new sideboard I built…
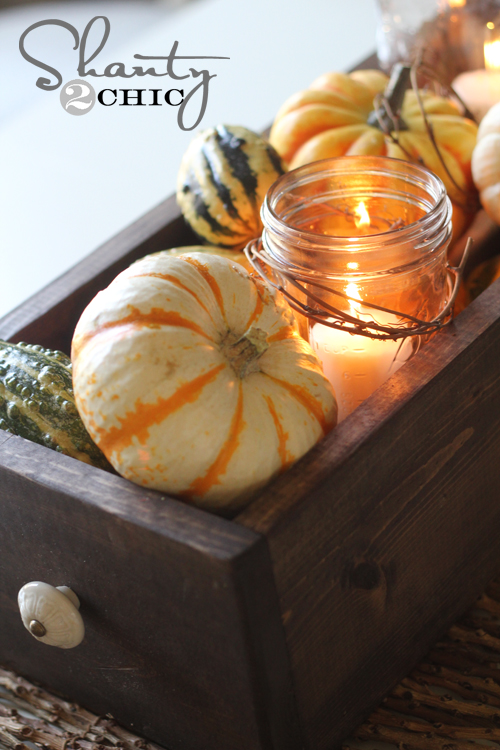
I also added a couple of cute $2 knobs I found at Hobby Lobby to the ends just because!
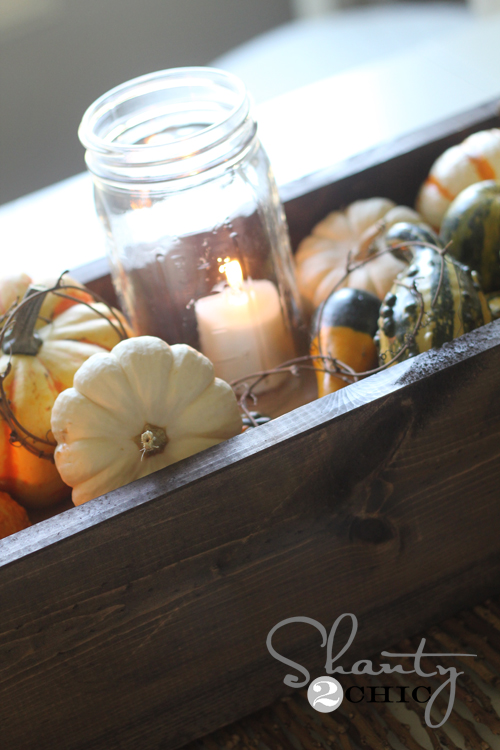
I put some candles into mason jars and bought some gourds to fill mine up!
I love the result…
Hope you like it!
If you do, I would love some pins and shares below! Have an awesome weekend!!!
~Whitney





Can you tell me the finished dimensions of yours? I followed your directions, but mine seems so much bigger than your.
I see lots of versions of these, but your directions are the easiest to follow. Thank you! I am making these for a painting workshop I am teaching tomorrow night and sharing on my FB page!
Thank you for the fantastic idea. I absolutely had to try it.
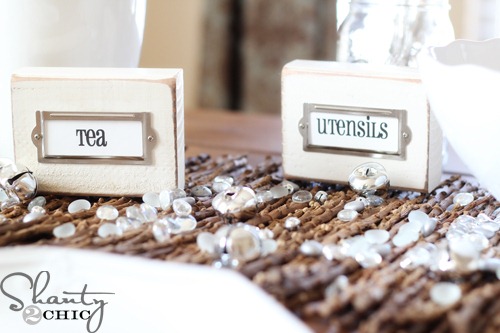
Love it. I had some salvaged hardware from library cart drawers, so that’s exactly what I turned mine into. (Don’t judge my choice in books, please.) I can’t wait to make a few more.
This turned out beautifully! Thank you for sharing the tutorial.
Did you apply a gloss coat to this box? And do you normally for your stained projects? Thanks for the inspiration!
Love this! Just wanted to let you know that I featured you on this week’s “link love” post over at 517 Creations!
http://517creations.blogspot.com/2012/10/link-love-10072012.html
Just finished this today!! It’s still damp and drying as I write this 🙂 Thank you for sharing this wonderful idea. It was the perfect starter project for me. Can’t wait to fill it with “stuff” and put it on my dining room table.
Thank you for such neat ideas…can’t wait to go try this one!! Thankfully it seems so easy! Love Love your blog!
Thank you so much for the great idea! I made one myself right away. I just wanted to use leftover lumbers (to save money!) so I didn’t make it as big as yours, but it came out pretty cool!
OOh…love it!