Good Morning!
I hope you all had a great weekend! We had some beautiful weather here, so I tackled a few projects that have been on my list. Yesterday I threw together a hose holder for the back patio!
Wait until you see how cute it is! And guess what? The whole thing cost me $15. Makes it even cuter… I know.
Let me first start by saying why I tackled this project…
I got some new pots for my back patio last week. I shared them HERE on Instagram for those of you that follow us! Here is what they look like…
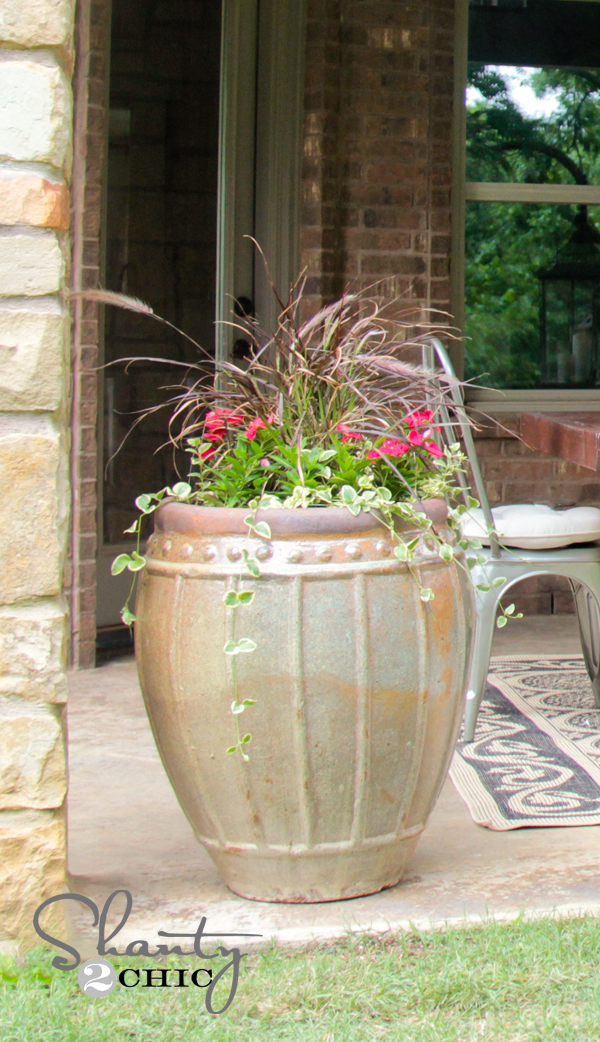
I love them. I knew these bad boys had about a 2% chance of survival if I didn’t have a quick and easy way to water them. It has to be quick and easy or I just flat don’t do it.
So… Along came cute water hose holder.
This took me about 20 minutes to throw together. It is super easy to do!
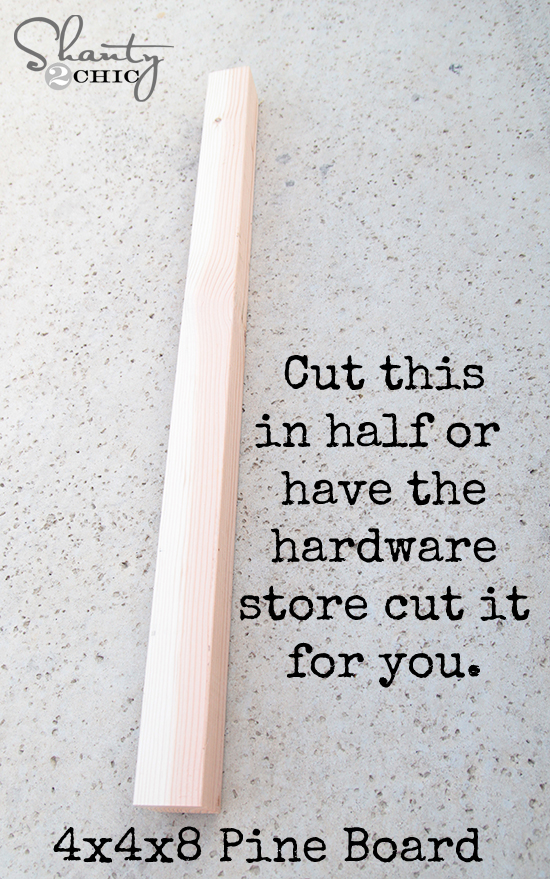
You will start with a 4x4x8′ pine board from the hardware store. I bought mine at Lowe’s for around $9. I would have Lowe’s cut it in half for you. Now you will have enough post to make 2 of these. You can tag up with a friend and build them together, or you can make 2 for yourself!
Hose Holder for the Garden DIY
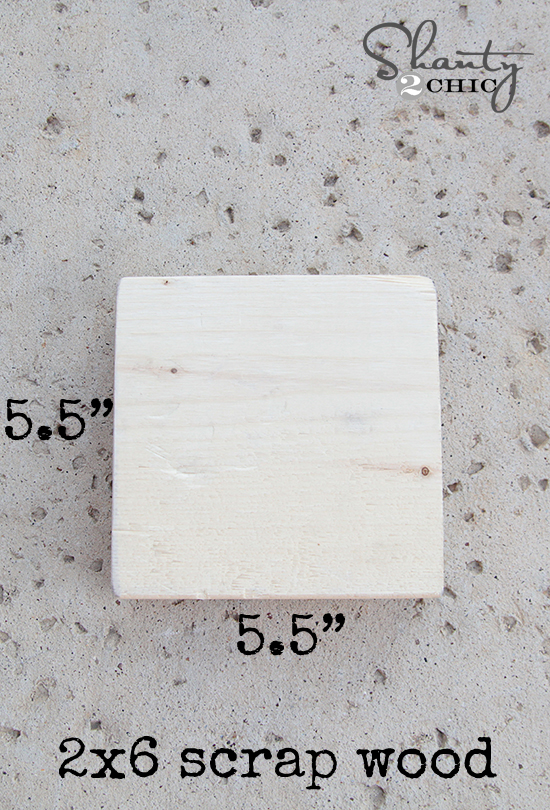
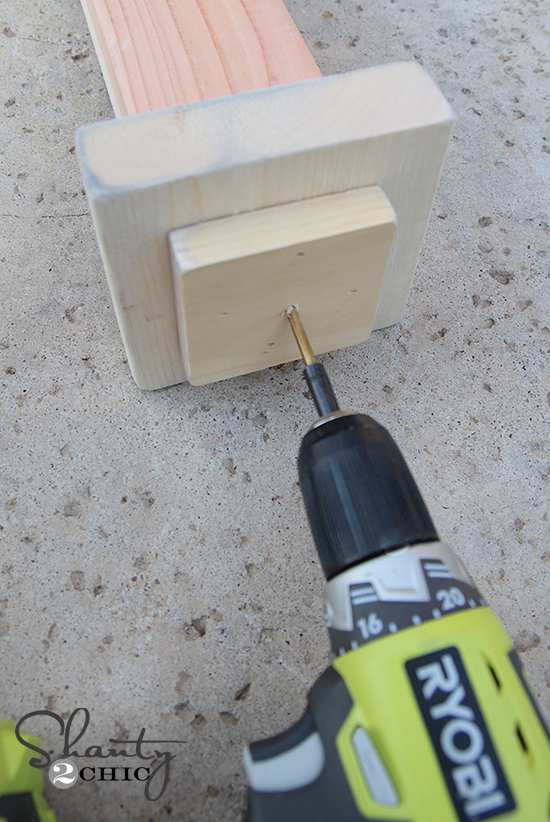
Now you will need 2 pieces of wood. You can skip this part and jump straight to the finial, but I like how the wood pieces beef the top up a bit! I was able to pull mine from my scrap pile. You might be able to do the same. You will only need 2 small pieces.
This piece will go first…
Then this piece on top of that…
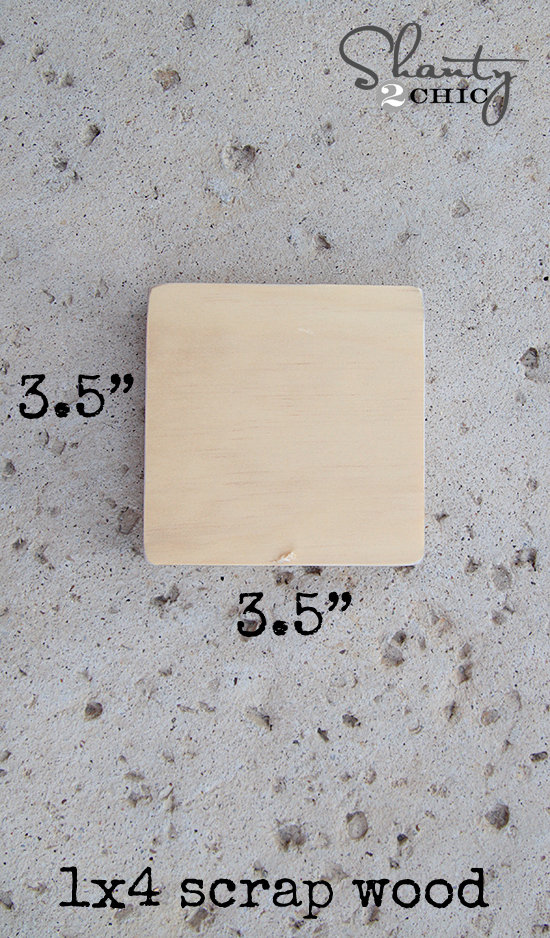
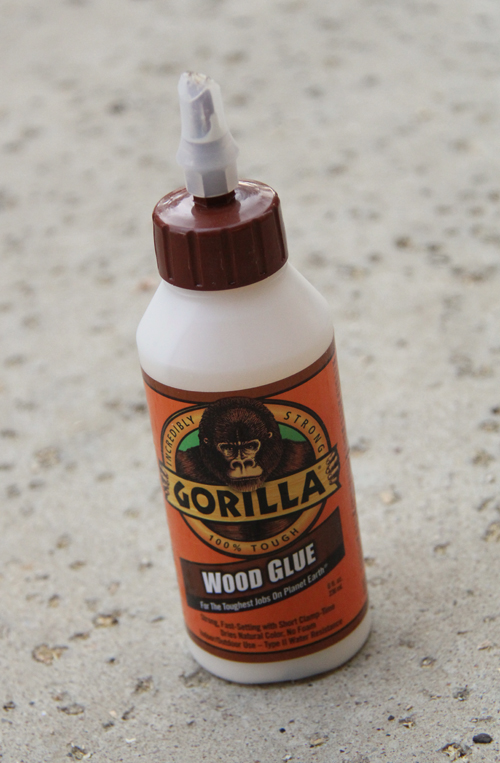
I just used Gorilla Wood glue between each piece….
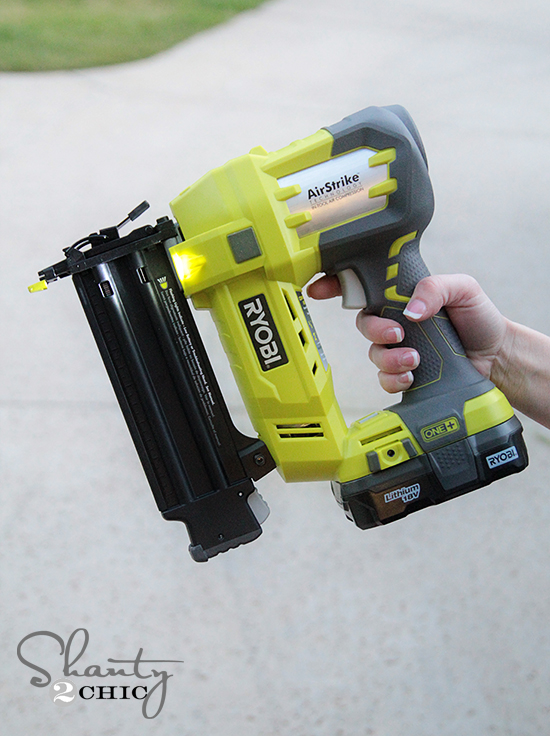
and my Ryobi AirStrike Battery Nailer to attach the pieces. LOVE this nailer!! It is super easy to use. My kids even like using it to “build” with me!
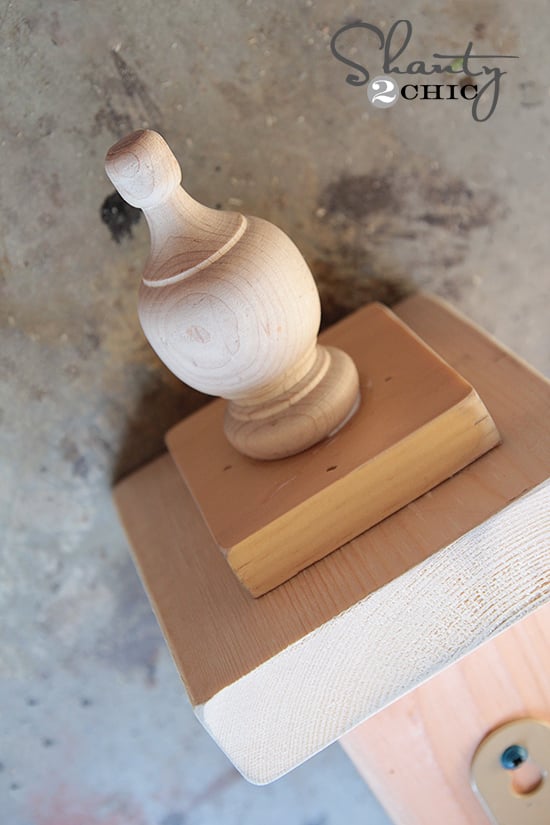
Now, just drill a hole for the wood finial.
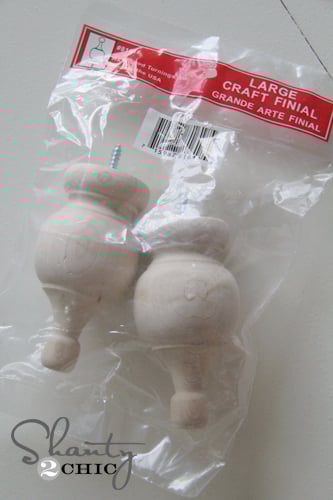
I use these finials from Lowe’s. I know some of you have mentioned that your Lowe’s doesn’t carry them. You can also find lots of different ones here on Amazon!
![]()
Here it is screwed into the top!
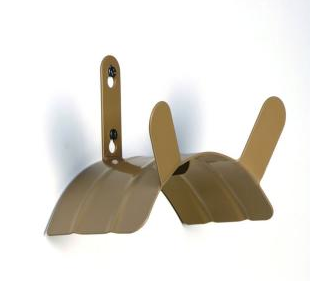
For the water hose holder I found this wall mount holder for $5 at Walmart. You can also find them at Home Depot for $9.
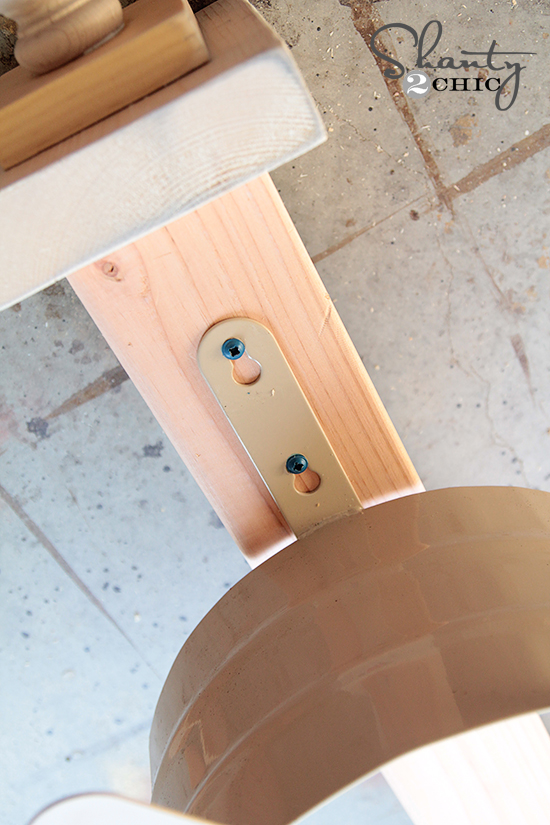
I used some exterior wood screws to attach it to my post like this…
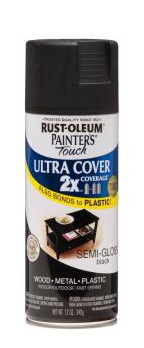
That’s it! My final step was painting it! I gave mine 2 good coats of Rust-Oleum Painter’s Touch in semi-gloss black.
Now… this is how I put mine in the ground. I am lucky enough to have a 7 year old who loves dirt and digging in it. So, I put him to work digging me an 18″ hole where I wanted to post to go.
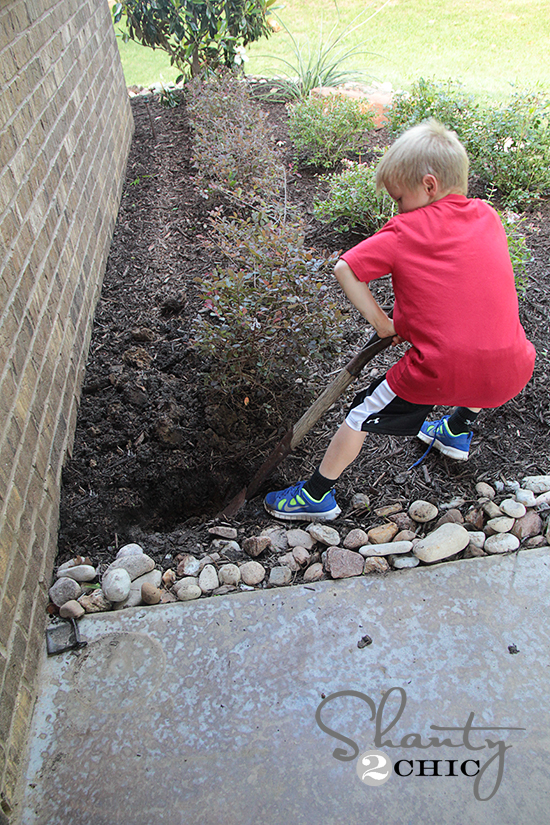
They do come in handy sometimes, huh? Hehe 🙂
Then, I just put my hose holder into the hole, added a few rocks to help stabilize it and filled the dirt back in. I put mulch over all of that to make it pretty again. Simple!
Here are a few more pics!


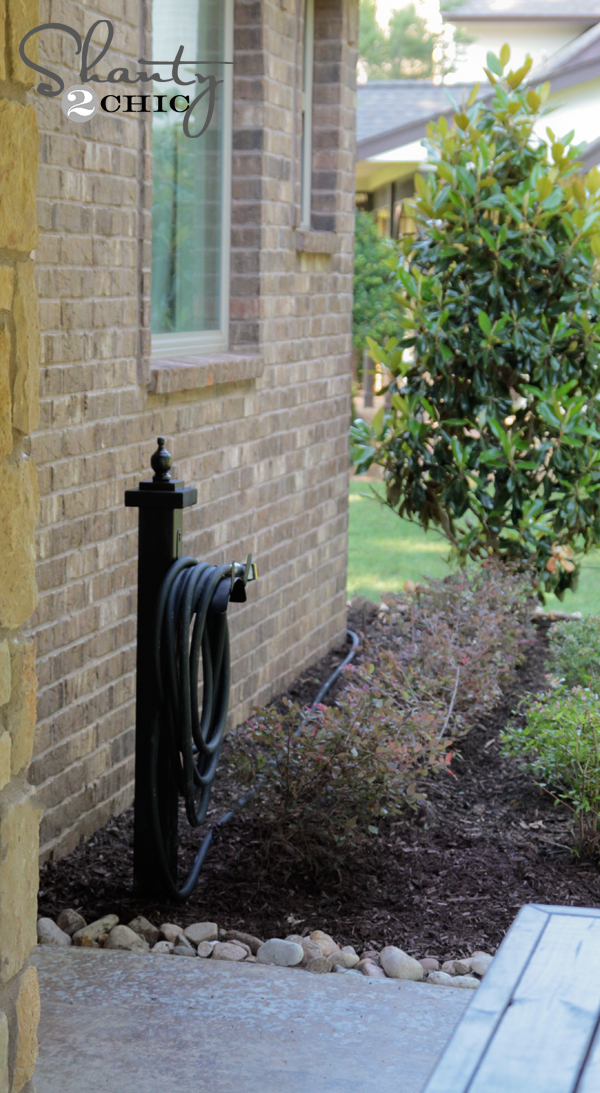

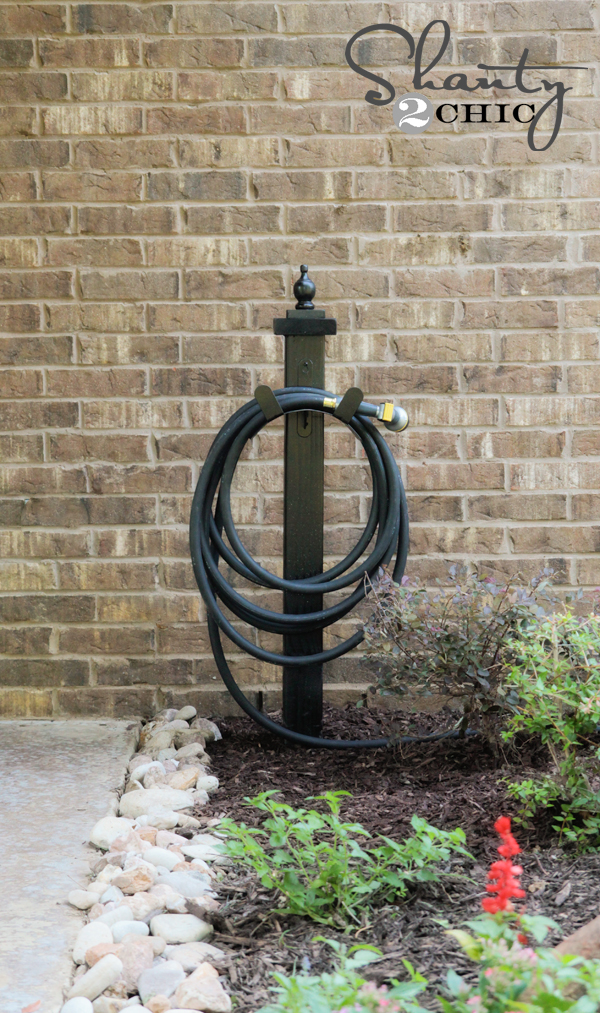
Hope you love it! I do and I am pretty sure my pots will too 😉
Thanks so much for stopping by! Make sure to check out my new outdoor dining table I made for $85 too!

I would love for you to share and PIN this project below! You guys are great!
Thanks so much!
~Whitney

Made mine today Thanks for the plans!!!
With the other half of the post left over from the water hose project, I made a holiday sign holder. Instead of hanging a water hose holder from it, attached a hook to it, and I intend to hang holiday signs, wreaths, whatever I might make for each particular month, from it. In the months that I don’t make a special sign, I have a “Welcome Friends” sign I can hang.
I went to Lowe’s this weekend to buy the post and needed help picking out a nice one, and I explained to the two guys helping me that I wanted it to be a nice piece, because I was making a water hose post and it would be out for everyone to see. One of them asked, “Did you see the project on the internet?”. I said “yes.” He asked, “Shanty Chic”? I laughed and said “yes” again. Even the men at Lowe’s know you now!
Just a quick mention to those of you making this adorable and functional holder – because it is pine, being buried in the ground will deteriorate the wood. To avoid this, use a pressure treated post or redwood.
yes also I put pressure treated 2 feet into the ground and 4 ft above to make it very sturdy great idea
Love it!!! I can do that, too. and Thanks for the battery operated nailer. didn’t know they exist. I want one!! 🙂 Thanks
I just posted about my hose holder on my blog. Thanks so much for the inspiration!! 🙂
I fell in love with Garden hose holder the moment I saw and knew I had to make one for myself. I absolutely love Shanty2Chic’s site. I am on it everyday. Thank you guys for such an inspirational place to get some beautiful and fun ideas. I have enclosed a picture of the garden hose holder we made. I improvised a bit as I really needed it to be totally free for me to make. I used all scraps and things I had around my craft area. Here is what I came up with…
I pinned this and just got a notice from Pinterest that you asked them
not to let it be pinned due to copyright infringement? I’m confused
since it says in your post to pin it?
You probably repinned a photo that looked like it went to our site but was directing to a different page. You can still pin it directly from our page. Unfortunately, people steal content and do this often. Sorry for the trouble!
I did pin it from your page.
Not sure then Chrissy! I never requested for a pin leading directly to our site to be removed. Sorry!
same thing just happened to me! — I re-pinned it again .. we’ll see if they remove it again. Fantastic idea – think I will be making this over the weekend!
same here! pinterest keeps deleting it and i got an email saying they have a copywright complaint from whitney gainer?? …
and i repinned it 2x from your site
Same thing just happened to me. I actually pinned it directly from your page also.
I’m really not sure what the issue is guys… I have contacted Pinterest though. Thanks for the heads up!
Yep, Pinned it again right after I posted the comment. (using my pin it button going directly to this post- I checked it) and this morning it was removed again. 🙁
I have emailed Pinterest. Not sure what’s going on. Sorry for the trouble! 🙂
Try right clicking it and save the picture.
Absolutely love this idea. So simple and functional.
This is exactly what I’ve been looking for! Sooo simple too 🙂 Only thing is, where I need to put it is all concrete so I can’t bury it… Any thoughts on a base for a freestanding one? Would it be sturdy enough or too top heavy with the hose on it?
Why not use something like a simpson strong tie (home depot has them) It would anchor the post to the concrete. You could always wrap the bottom of the post with some trim to hide the strong tie.
I’ve been contemplating making this same thing! Except I need four of them for our school garden and don’t really feel like digging four 18″ holes…I might have to find a shovel guy of my own. 🙂
Haha! Good call… That was really the only part I wasn’t looking forward to messing with 🙂 Good thing I put him to work! I am building 2 more today so he will be a busy boy!
nice!!! I can do this one yeeeeiiii kisses from Chile
Thanks so much!
Love it! One of those things you say “so simple – why didn’t I think of it”!!
Thank you Marian!!
Love it! You are one talented lady! Thanks for sharing.
Aww thanks Leslie! Made me smile!
Love this idea but I am new at making things. I see some comments about using pressure treated wood, which makes sense. Does that cause any problems being able to paint it though? When I google it, I seem to be seeing a lot of pages indicating pressure treated wood isnt ideal to paint – leaving me unsurewhat kind of wood to get. Thanks!
I will be making this for sure! Thanks for sharing!
Great Melissa! Send pics when you get it done! Thanks so much!!