How to build a miter saw stand with free plans and, pictures and instructions!
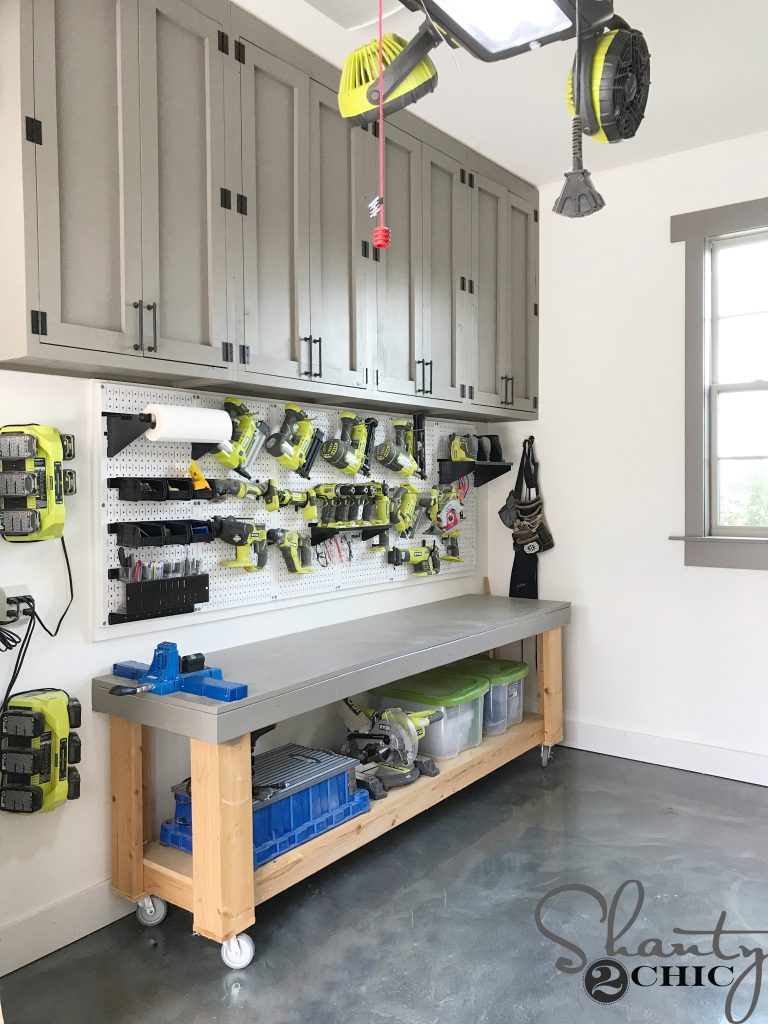
We often get asked what our favorite, most-used tool is. I always answer the same… It’s my miter saw! It is one of the staple tools in my workshop. I love it. I have had it on a stand for the last year or so, and decided it was time to build it a new home. Check out my DIY Miter Saw Stand!

This is a really simple build with the right tools! Let’s get started! I will walk you through the build of the bench and the stand below.
You can build this miter saw station on any work surface you have such as a table or a workbench. I built mine on a 2’ x 7’ mobile workbench. I used the design of THIS workbench as my base, but made the length 7′ instead of 8′. The free printable plans for both the workbench and miter saw stand are at the bottom of this post.
Table of Contents
Build the Miter Saw Stand Legs
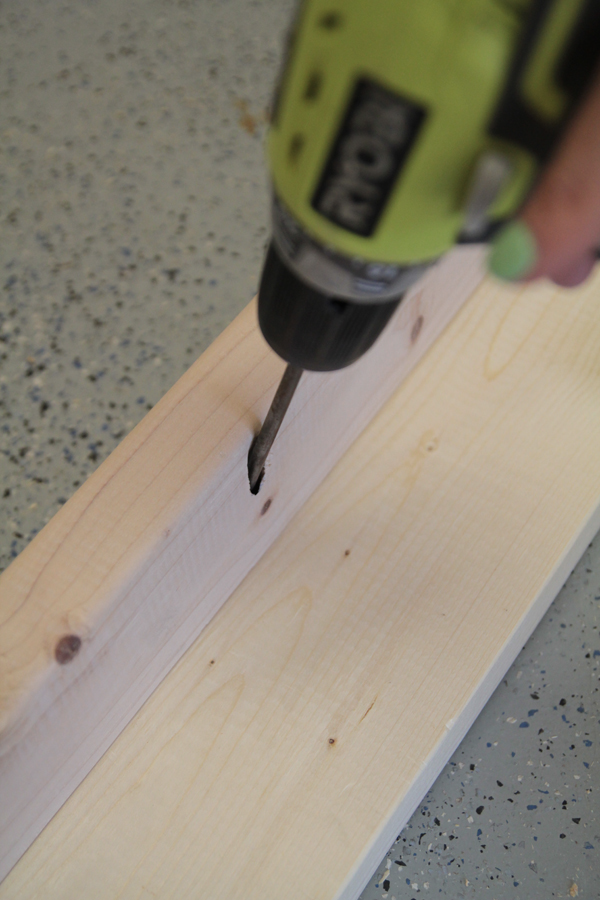
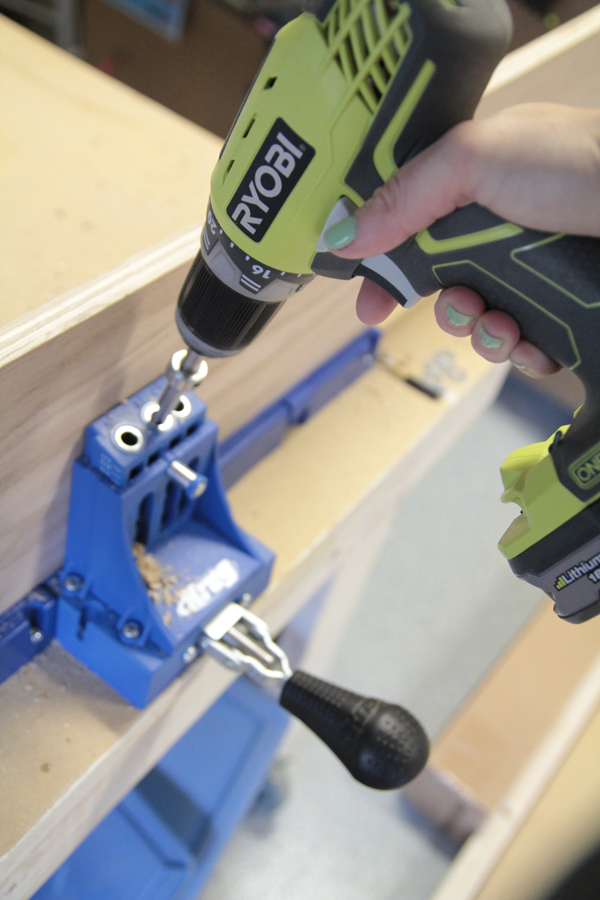
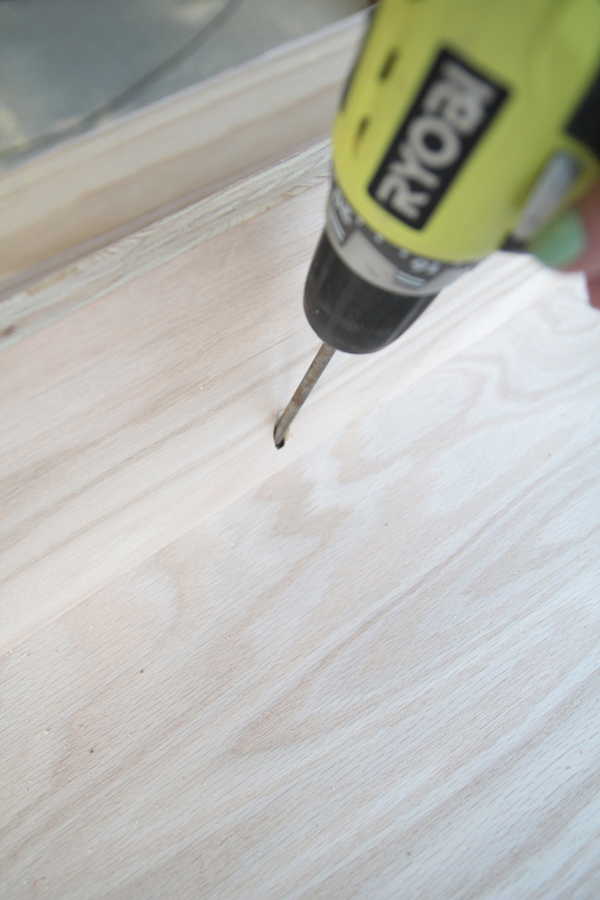
The first step is building four legs. These are made from joining a 2×4 and a 2×6 piece together. I cut each of these pieces at 27 ½” long. I used my Kreg Pocket Hole Jig to add three 1 ½” pocket holes to one side of each 2×4 piece. Then, I connected the 2×4 to a 2×6 using a line of wood glue and 2 ½” pocket hole screws.
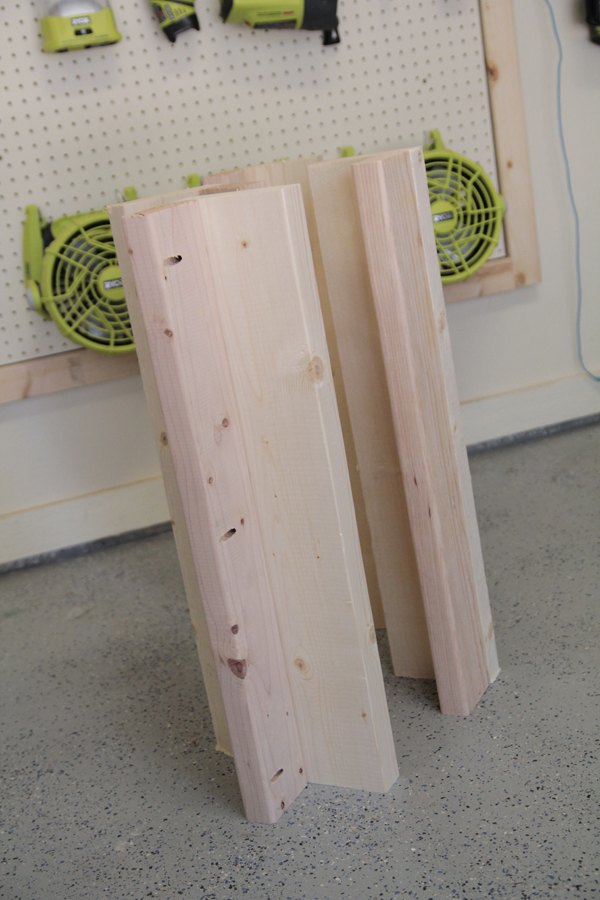
Here are my 4 legs ready to go!
Build the workbench frames
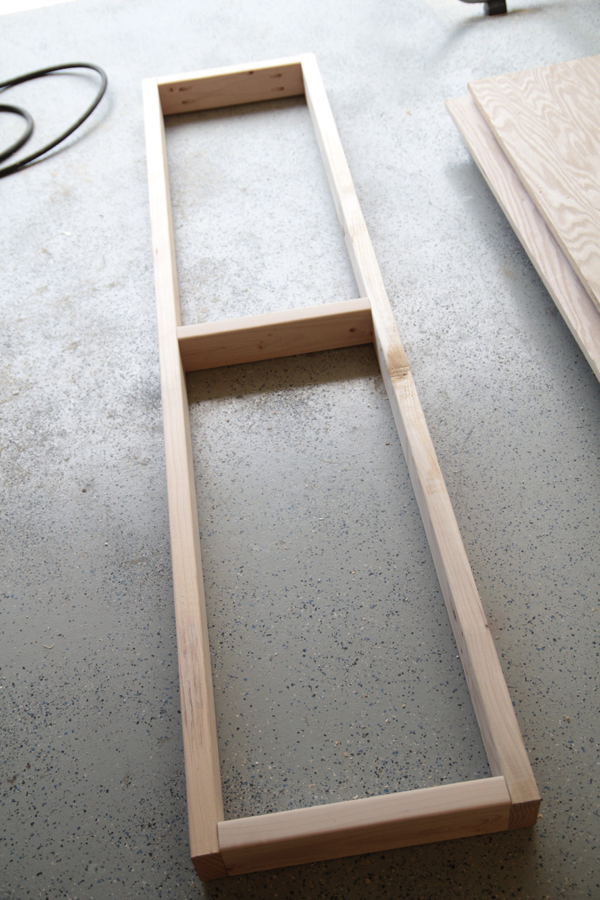
The next step is building the frames of the workbench. There will be a top frame and a bottom frame.
Cut List for Top Frame• 2 – 2×4 @ 84″ • 3 – 2×4 @ 20 ½”
Cut List for Bottom Frame• 2 – 2×4 @ 78″ • 3 – 2×4 @ 14 ½”
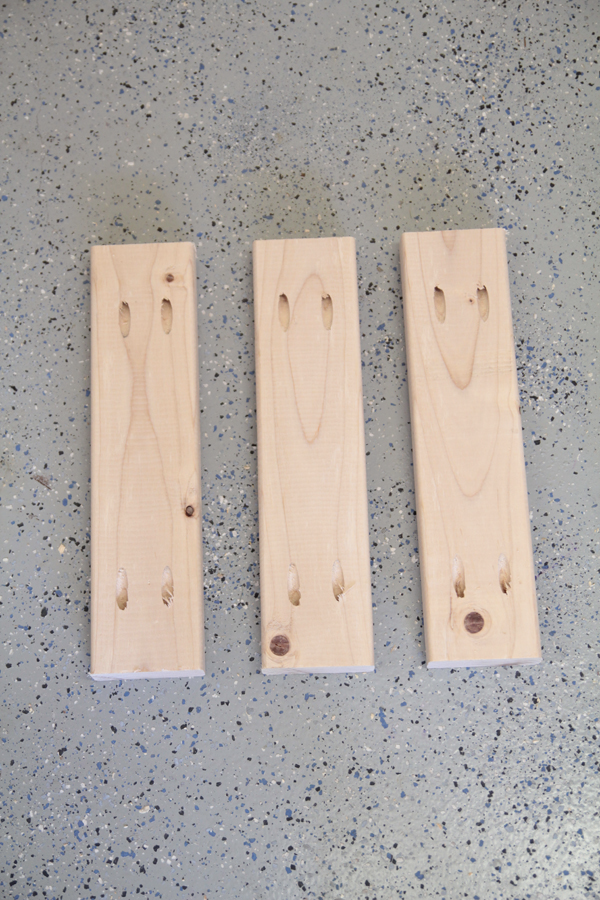
I added 1 ½” pocket holes to each of my 20 ½” pieces and each of my 14 ½” pieces. They should look a bit like this, below.
I attached the shorter pieces to the longer pieces using 2.5″ pocket hole screws and wood glue. This created 2 “frames.”
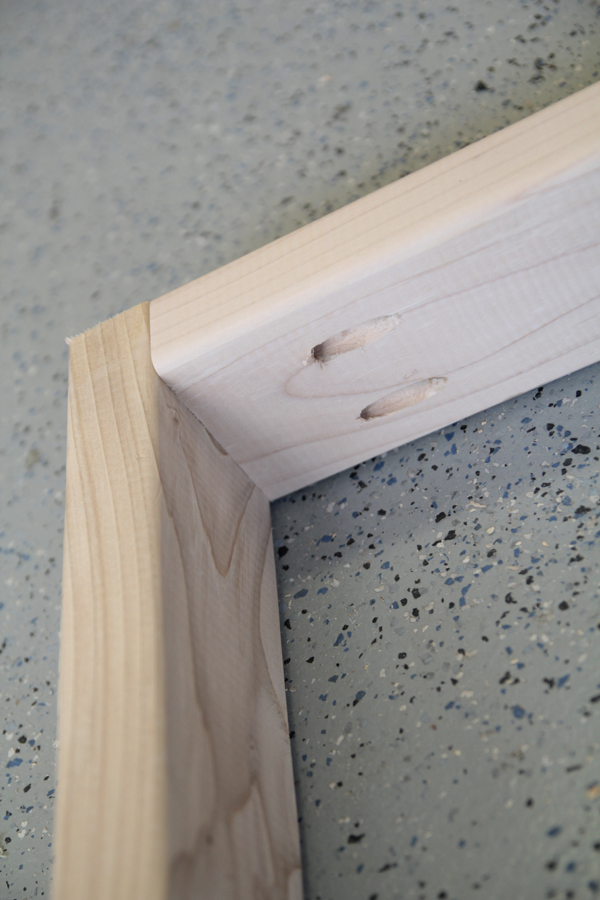
For each frame you will have one small piece on each end and one in the middle. Both frames will look like this…
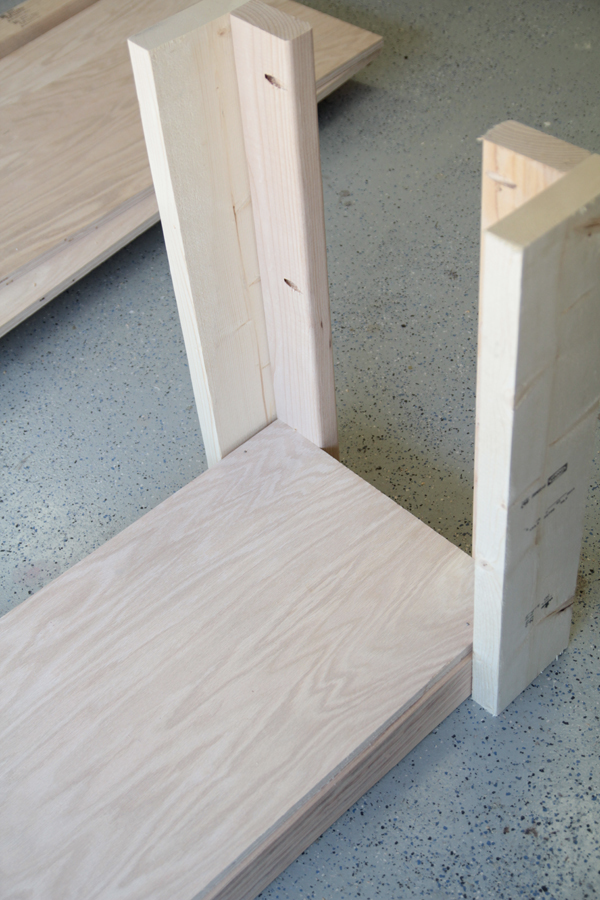
Attach legs to bottom frame
The next step is attaching the legs to the frames. I used the 2 ½” wood screws through the back of the bottom frame and into each leg to hold it all in place. The bottom of the frame will be flush with the bottom of the legs.

Attach bottom plywood shelf
After attaching the four legs to the bottom frame, you are ready for your plywood shelf. You can use the Kreg Rip-Cut with a circular saw to make this step really simple!
Cut List for Plywood Tops• Top Piece – 24″ x 84″ • Bottom Piece – 17 ½” x 78″
After attaching the four legs to the bottom frame, I dropped in the first piece of plywood. I used 1 ¼” brad nails through the top of the plywood and into the frame to hold it in place. You can also use MDF or other board for this part… Totally your preference!
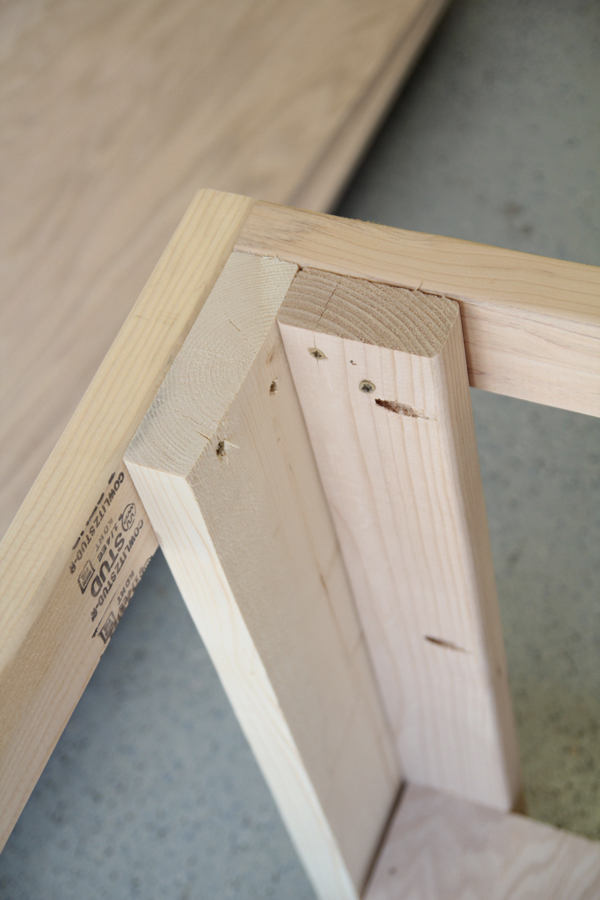
Attach the top frame
Now attach the top frame. I also used the 2.5″ wood screws on this part, but I went through the back of the legs and into the top frame. The top of the frame will be flush with the top of the legs.
Attach the top of the workbench
The next step for the workbench is adding the plywood panel to the top. I used brad nails through the top piece of plywood and into the top of the frame. Easy peasy! Again, you can use any material for your workbench surface here.
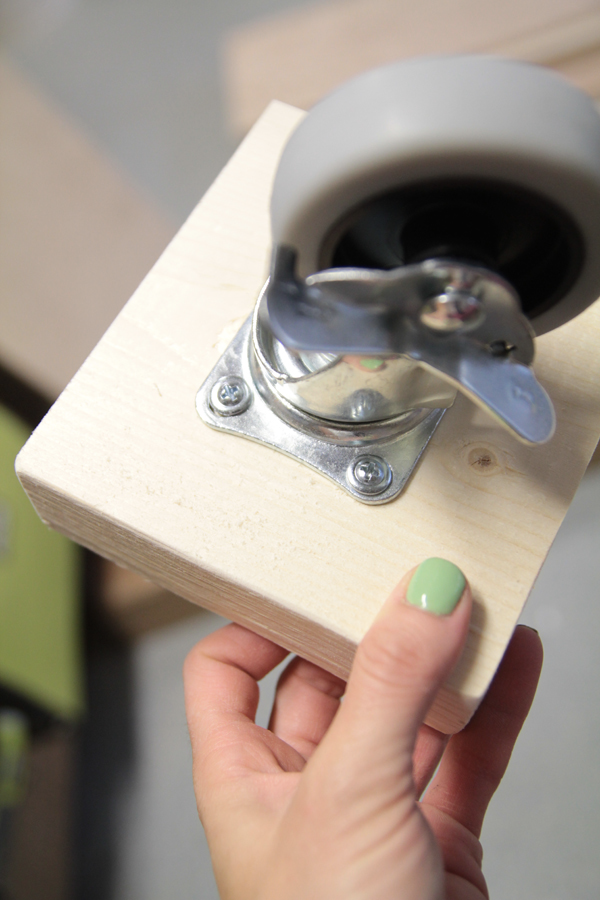
Attach the casters
Before moving on to the miter saw station on top, I attached each of my casters to a piece of 2×6 cut to 5″. Then, I just attached the wood blocks with wood screws through these pieces of wood and into the legs of the table. Bam. You now have a rolling workbench!
Build the miter saw station
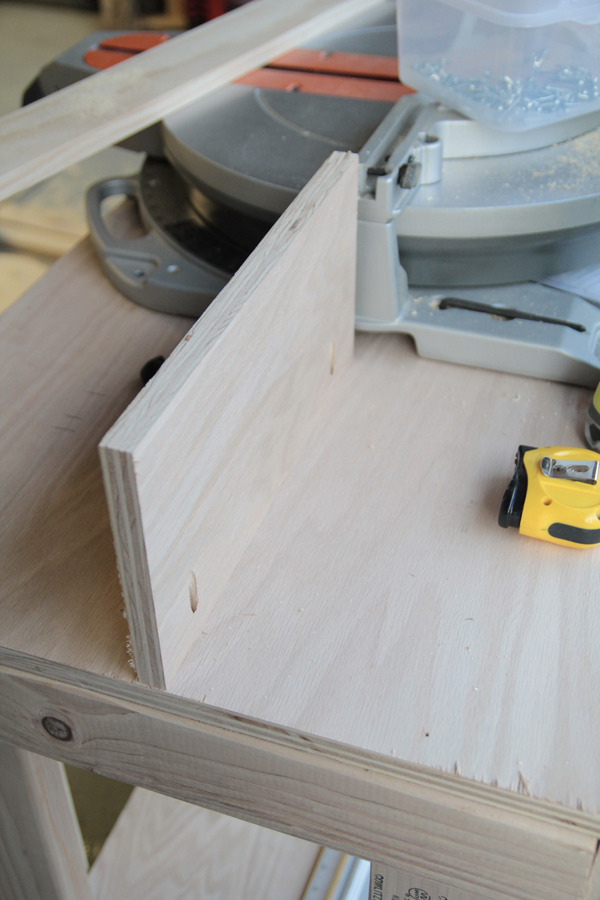
The miter saw station I built is made specifically to fit my Ridgid Sliding Miter Saw , but you can easily modify it to fit yours! I started by building the fence first. I used a piece of plywood ripped to 7.5″ wide, but you can also use a 1×8 cut into two pieces for this. Mine were 45″ and 14″. You may need to modify these lengths to fit your saw. I added ¾” pocket holes down one long side of these boards.
I lined both boards up with the fence of the saw and attached it to the table top using 1 ¼” pocket hole screws and wood glue.
You can see how it lines up even with the fence of the miter saw below.
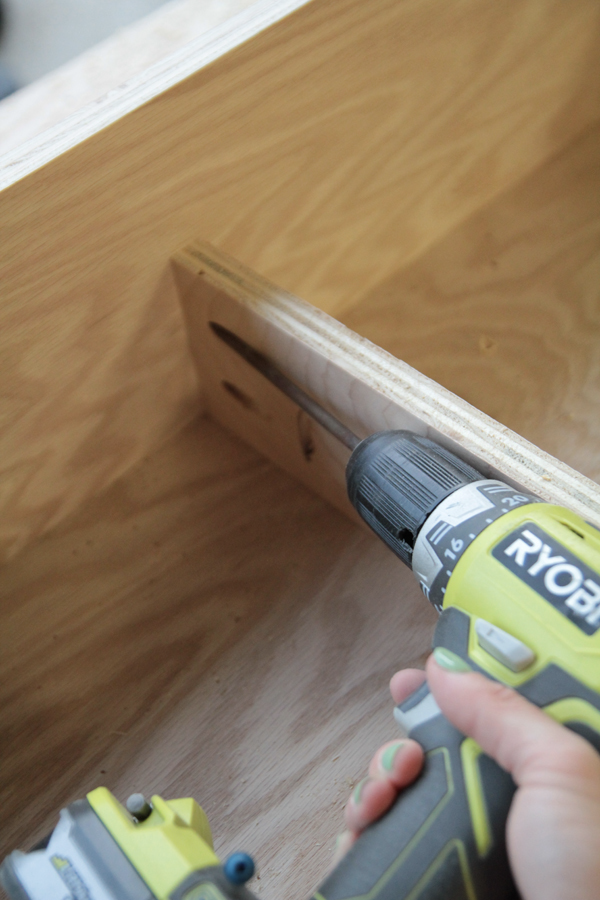
Build the shelf supports
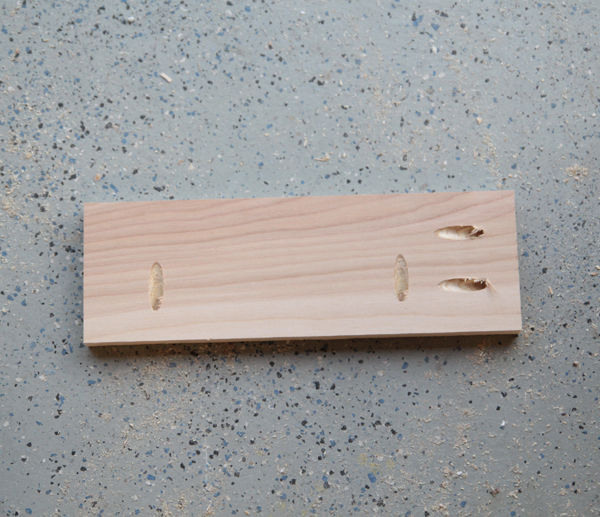
I measured the height from the top of the workbench to the cutting table of the saw. Mine was 4.625″. If you are making this for a different saw, this is the measurement that is really important! You want your cutting surface to be even with the supports you are building to make sure you get straight cuts. I knew I was going to use ¾” scrap wood for my wood supports, so I subtracted that thickness, leaving me with 3 ⅞”. You can use any wood material for your supports. I used my table saw to rip a board of the plywood to this thickness. Then, I cut that board into 12″ pieces. I added ¾” pocket holes to one side and bottom of each piece like this!
Attach the scrap boards to the table top using 1.25″ pocket hole screws.

Each scrap board will also be attached to the back fence using 1.25″ pocket hole screws and wood glue.

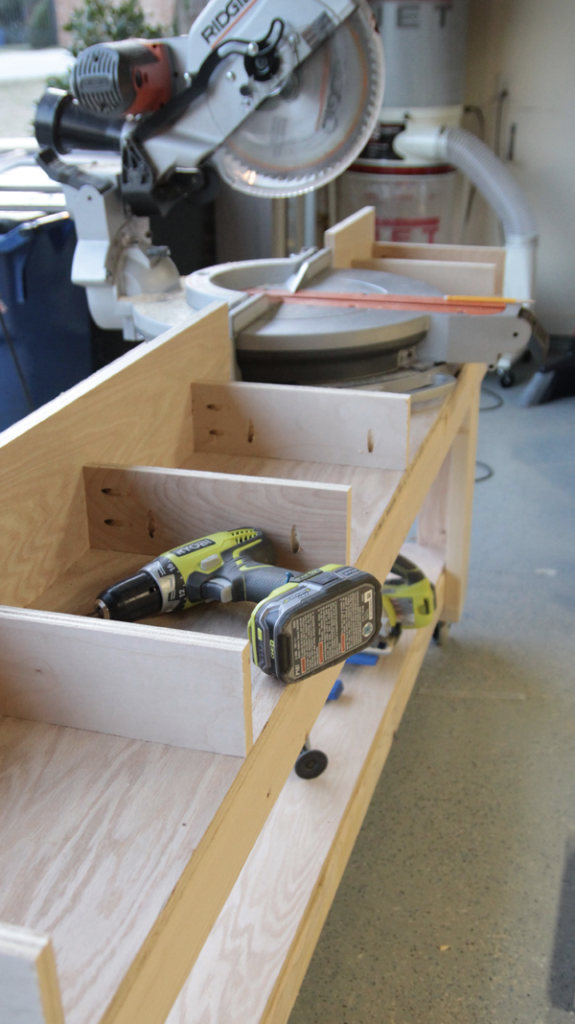
On the left side of the saw (the longer shelf), I spaced the scrap boards evenly apart, about every 12″. The two pieces to the right of the saw are 8″ apart. This will also leave you some openings that provide extra storage. I use plastic boxes to store different screws, nails and other small tools and hardware.
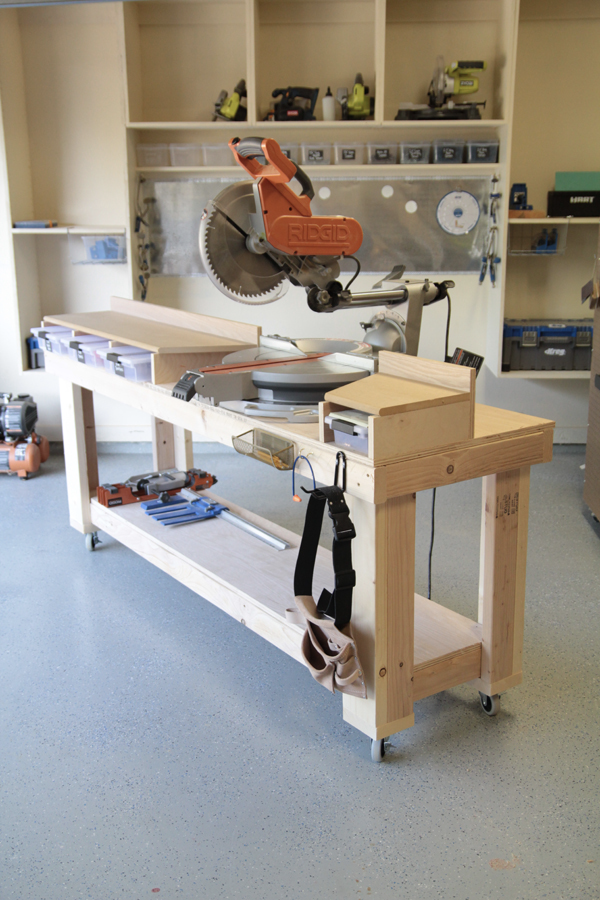
Attach the top of the miter saw stand
The very final step is adding the MDF board to the top. The left side MDF is cut at 40″ from the longest point and the right side is cut at 8″ from the longest point. I did choose to cut the boards at a 45˚ angle to allow space to rotate my saw. I used brad nails to hold these top two pieces in place. Whew! All done!
Miter Saw Stand Free Plans
You can grab the FREE plans for the workbench I used as my base HERE. Remember I made my bench 7′ long instead of 8′, but both work!
You can download and print the FREE PLANS for the mobile miter saw stand top HERE!
Mobile Miter Station
I chose to attach my miter station to the workbench, but the miter saw stand plans below allow you build just the station to use on different work surfaces and take to jobsites! It makes a great mobile miter saw station!
You can download and print the FREE plans HERE
And be sure to follow Shanty on Facebook, Pinterest and Instagram and share your builds with us!


This is an excellent DIY guide for anyone looking to build a functional and organized workshop. The detailed instructions, clear measurements, and practical design make this miter saw stand a valuable addition for both hobbyists and experienced woodworkers. A well-designed workstation can significantly improve efficiency and precision during woodworking projects.
The quality of the materials used plays a major role in the durability and stability of workshop furniture. For those planning similar builds, **https://www.plywoodbazar.com** is a useful resource to explore a wide range of plywood, boards, laminates, and other woodworking materials suitable for DIY and professional projects.
Thank you for sharing such a practical and well-executed tutorial. It’s sure to benefit many members of the woodworking community.
This miter saw stand is a very practical build—great focus on stability, workspace efficiency, and usability. Projects like this really depend on precise construction and the strength of the materials used, especially when supporting heavy tools. Using well-engineered boards like quality plywood can help maintain structural integrity and reduce movement over time. We’ve come across useful material insights on platforms like https://plywoodbazar.com/
for similar workshop and furniture applications. Very well-designed and functional setup!
Thank you, I hope you will continue to share more useful articles about Miter Saw Stand
I really like the design. Right now I’m building the chunky leg Island but with a twist. I’m adding undermount farmhouse sink. Also, a place for a dishwasher. I’m still in a quandary about that. Do I put the dishwasher onto the frame or directly onto the floor. By the way I stained the countertop ebony. Really beautiful. I’ll put pictures on Instagram when finished. Thanks for yall’s designs.