Hey friends!
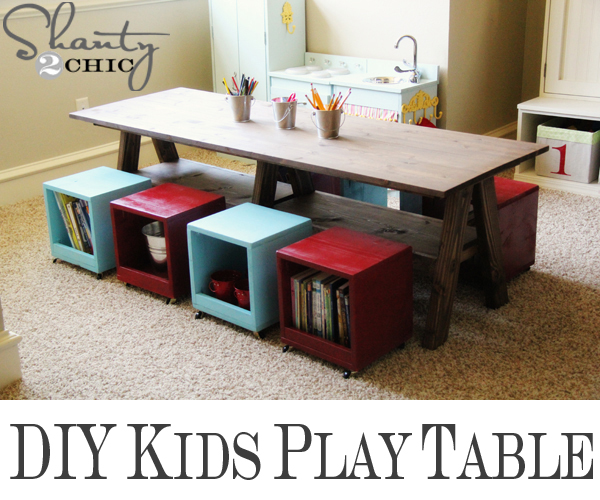
Thanks so much for all of your love on my new play table I built for the kids’ playroom!!
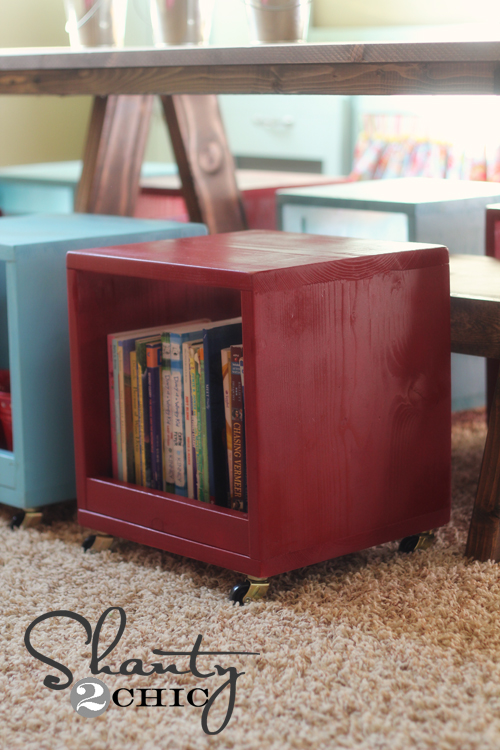
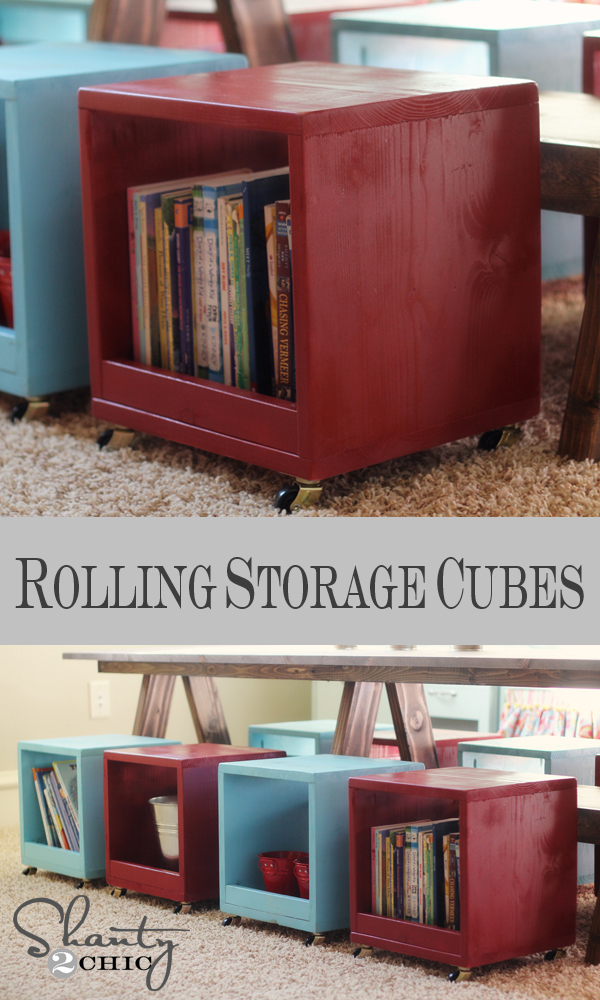
I am back today to show you how to build the cute little cubby stools! Storage and function in 1 piece = Win Win!!
These little babies are too easy!
To make 1 cube you will need…
1 x 12 x 4 whitewood board ($6 at Lowe’s and cheaper than buying the 8ft board for 2 cubbies)
22″ piece of 1 x 2 whitewood board (A $2 – 1 x 2 x 8 will be enough for 4 stools)
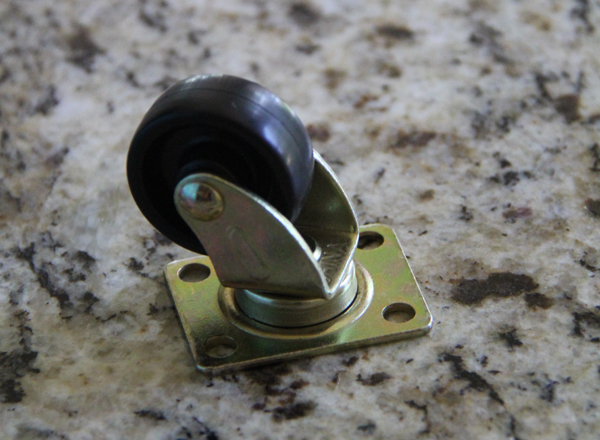
4 casters ($3 for a pack of 2 at Lowe’s)
So… Total cost of supplies is under $14 per cubby! Woohoo!
I cut my 1×12 into 4 pieces.
2 – 12″ pieces
2 – 10.5″ pieces
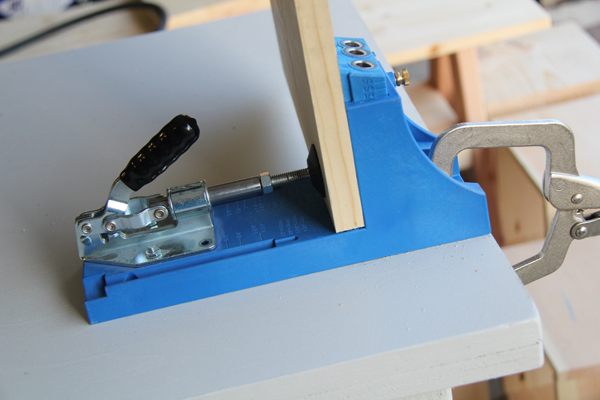
I used my oh so great Kreg Jig® to build these. You do not have to use a Kreg Jig® to build yours… You can countersink screws from the outside, or use finish nails and wood glue. The Kreg Jig® makes these stronger and hides your screw holes from the outside of the cube. Ash and I use the K4 model.
I used 3/4″ pocket holes and 1 1/4″ pocket hole screws.
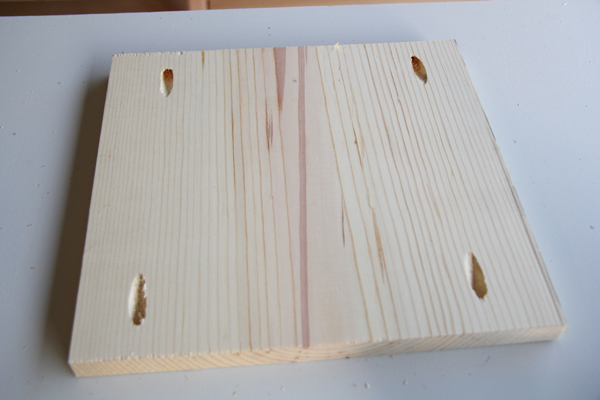
I put 4 pocket holes into both of my 10.5″ pieces like this…
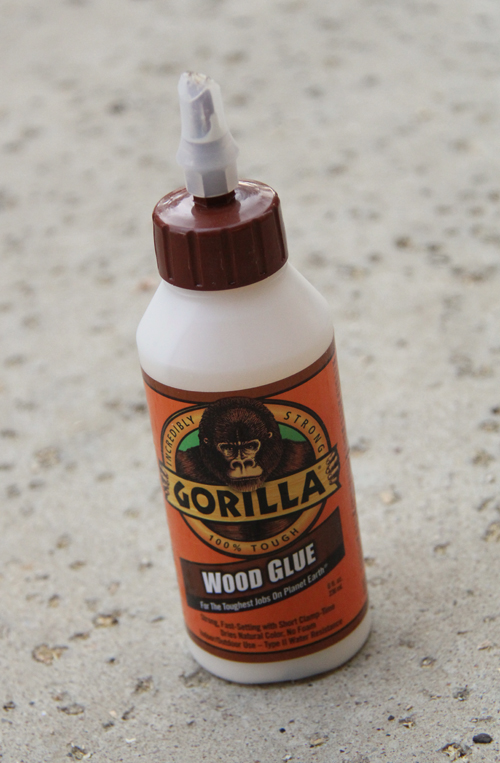
I used Gorilla Wood Glue to attach all of my pieces.
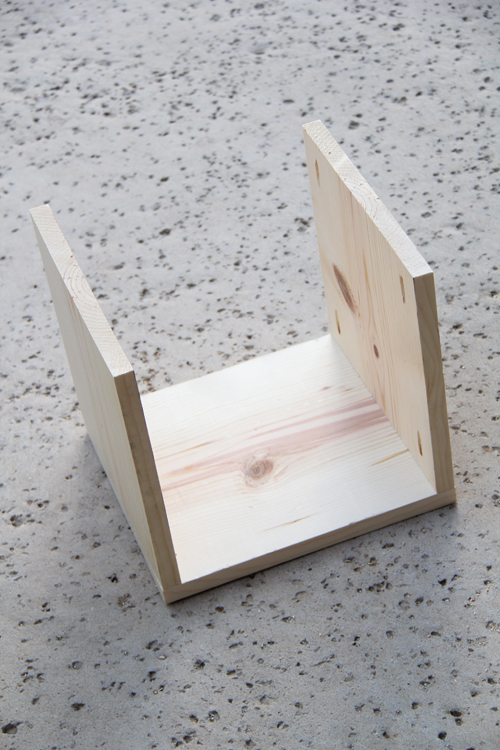
I attached a 12″ piece to a 10.5″ piece. You can also countersink screws from the sides, or use finish nails and Gorilla wood glue.
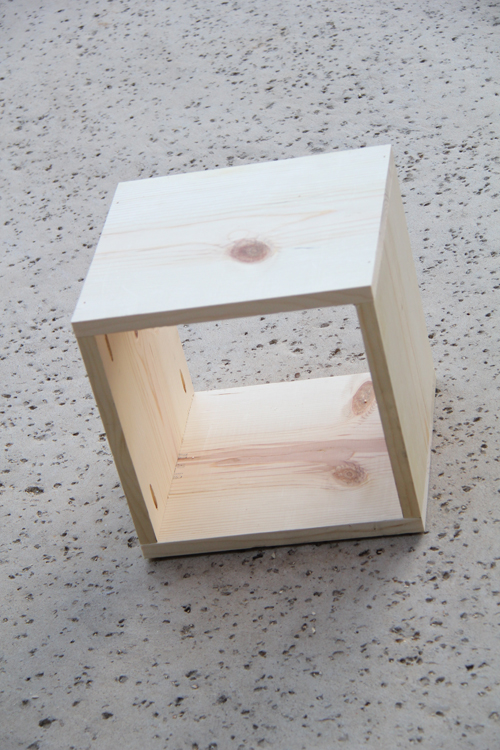
Next, I attached the other 10.5″ piece.
The other 12″ piece becomes the top of the stool.
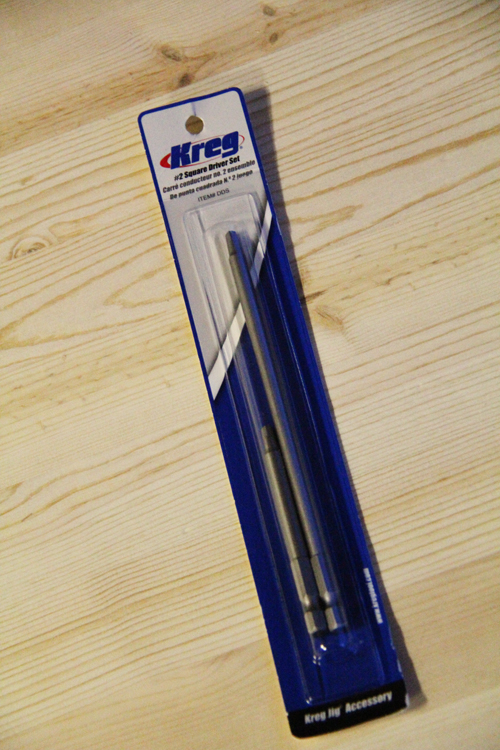
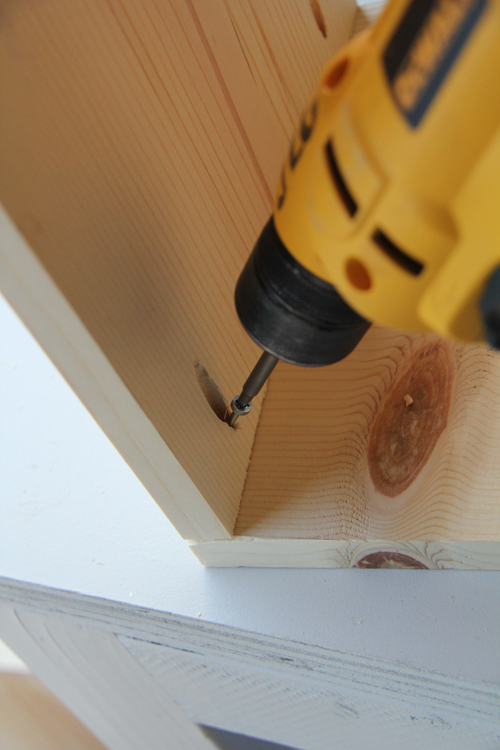
I did have a bit of a time trying to get the long Kreg Jig® driver into the holes with such small space. I was so excited to find this little guy at Lowe’s for around $3!
It is a 3″ Kreg Jig® driver… Woohoo! I can’t tell you how happy I was to find this! There have been several times in the past that I couldn’t squeeze the longer one into a small space, and this totally did the trick.
To keep the goodies I wanted to store from falling out, I added the 1×2’s next.
I cut them right at 10.5″ a piece and used 2 for each cubby. You may want to measure exact on this part before cutting because the width of boards does vary slightly.
I used finish nails and Gorilla Wood Glue to attach the 1×2’s on each side.
After I finished 8 of these babies, I gave them all some color!
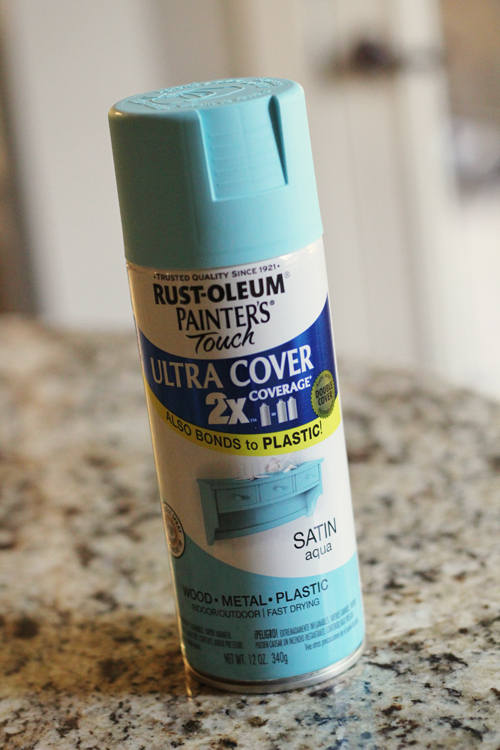
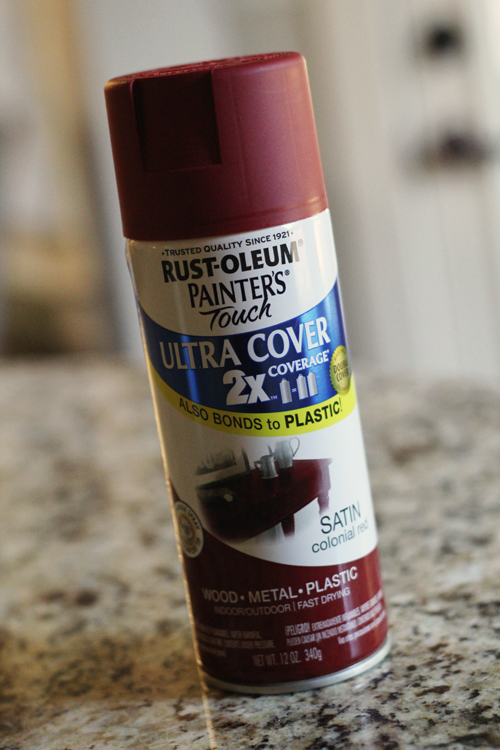
I used these two colors that you can find at Home Depot…
Rust-Oleum Painter’s Touch in Aqua
Rust-Oleum Painter’s Touch in Colonial Red
Good team I must say! 😉
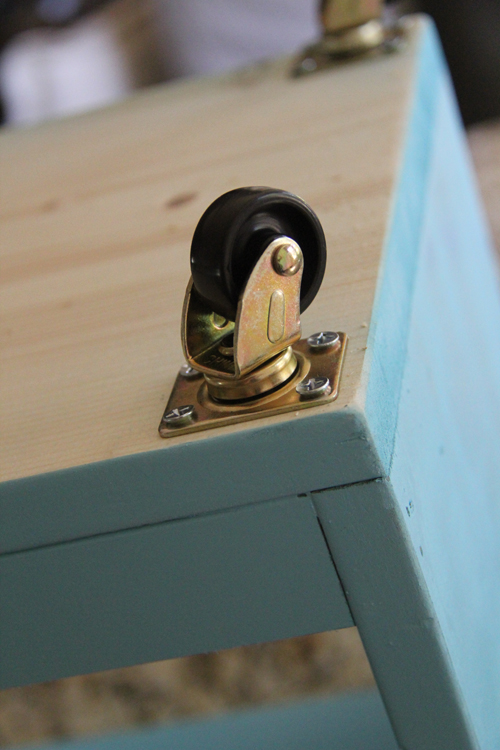
After giving each cube a couple coats and letting them dry, I attached my casters. I found the cheapest casters at Lowe’s. They come in a pack of 2 for $3.
I used 3/4″ wood screws to drill them into the bottom of my cubes!
How easy is that?
Remember to check out the plans for the play table!
Thanks so much for stopping by guys!!
I would love for you to pin and share these cubbies below! Have a great Tuesday!!
~Whitney






Do you think you could use plywood to make these? 🙂
I made two of these, and added a shelf to each one. I put pocket holes on the bottom of the shelf to attach to the sides of the cube. That little 3″ driver sure came in handy for attaching the shelves! BTW I used the same casters, but they’re $5 for a 2-pack now.