Hey Guys!!!
I hope you all had a great weekend! Both Ashley and I spent ours in Dallas at NCA Nationals. Ash is a competitive cheer coach and just happens to be the coach to two of my girls 🙂 We had a blast. It was long though and I am surprised Ashley is still walking. Our gym took home 5 National titles with over 750 teams there… Woohoo! Way to go Ash!
I started this project last week and finished it today so I thought I would share. I originally saw Miss Traci’s Ballard inspired cafe shelves long ago and fell in love. I just didn’t know where I could put one. However… My new curtains brought me a bit of inspiration 🙂
Here is how mine turned out…

Now I will kind of show you how I did it!
For this shelf I used a 4 ft 1×10″ piece of pine from Lowe’s. I used my miter saw to cut it a few inches short of the space I was filling. I think mine was 36″.

There are many brackets at Lowe’s and Home Depot. These were the ones I chose to go with. I loved the size of them. They are big and a bit longer than most of the others. They were about $6 a piece and I decided to use 3 on my shelf. Since I was just building one I thought it would give it a bit more presence on the wall… Know what I mean?

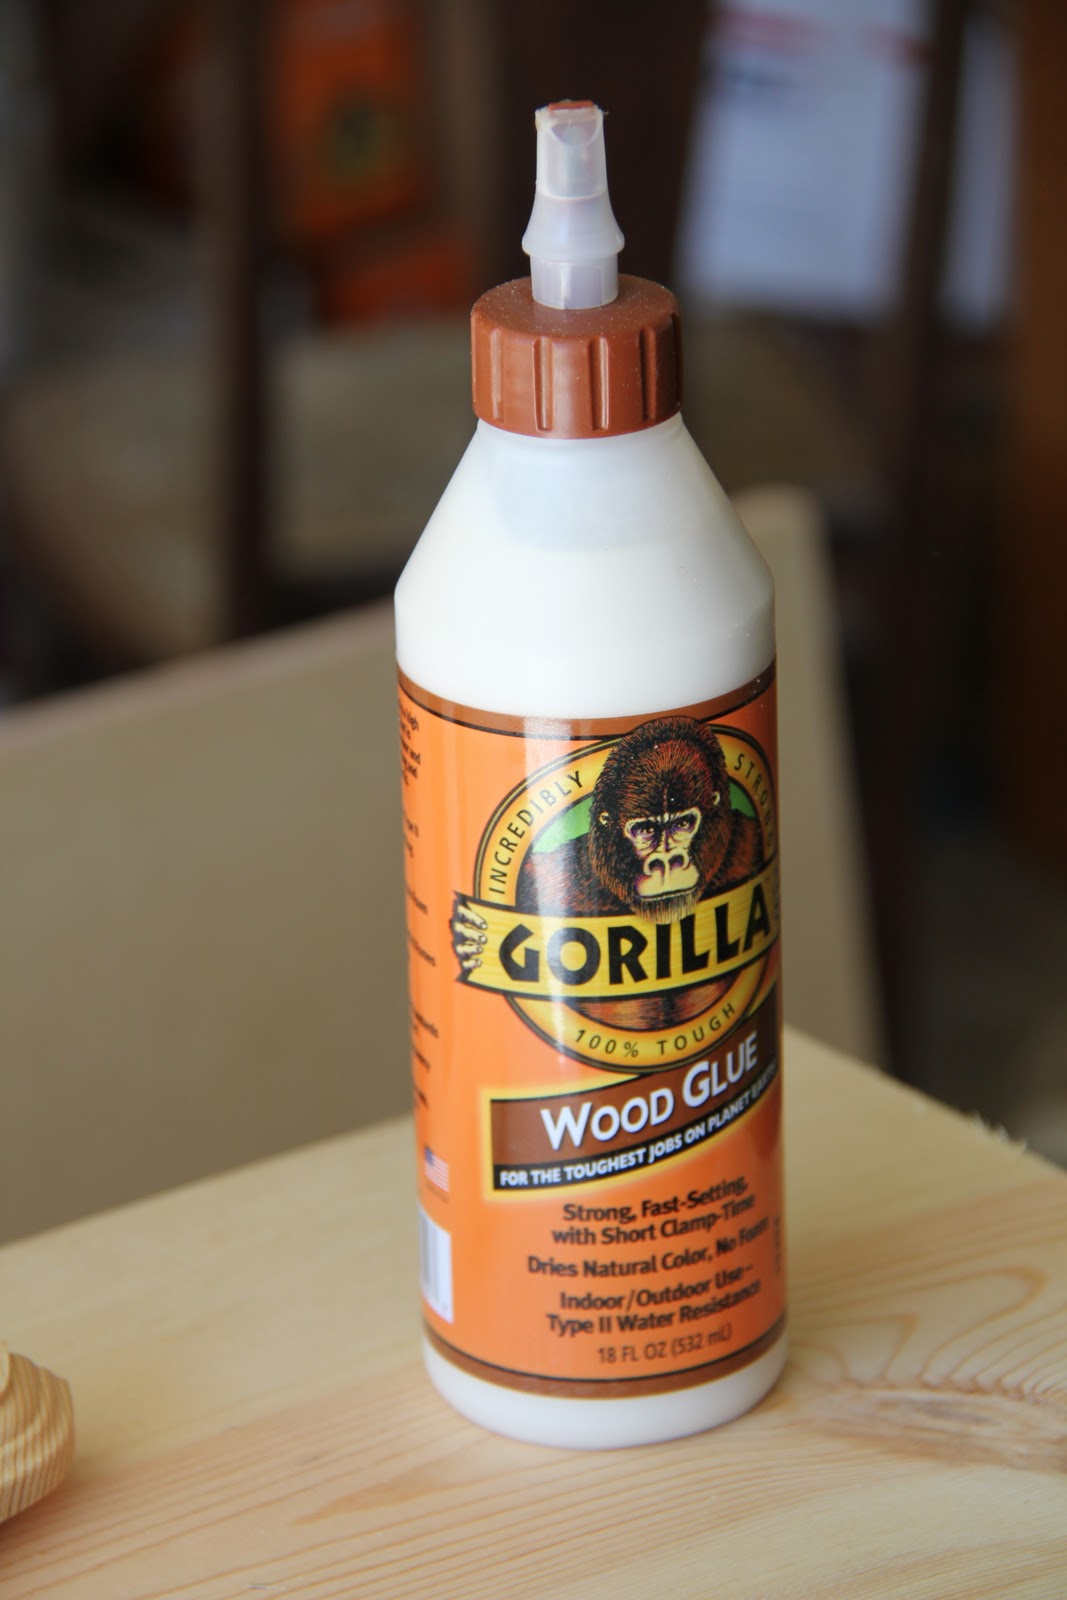
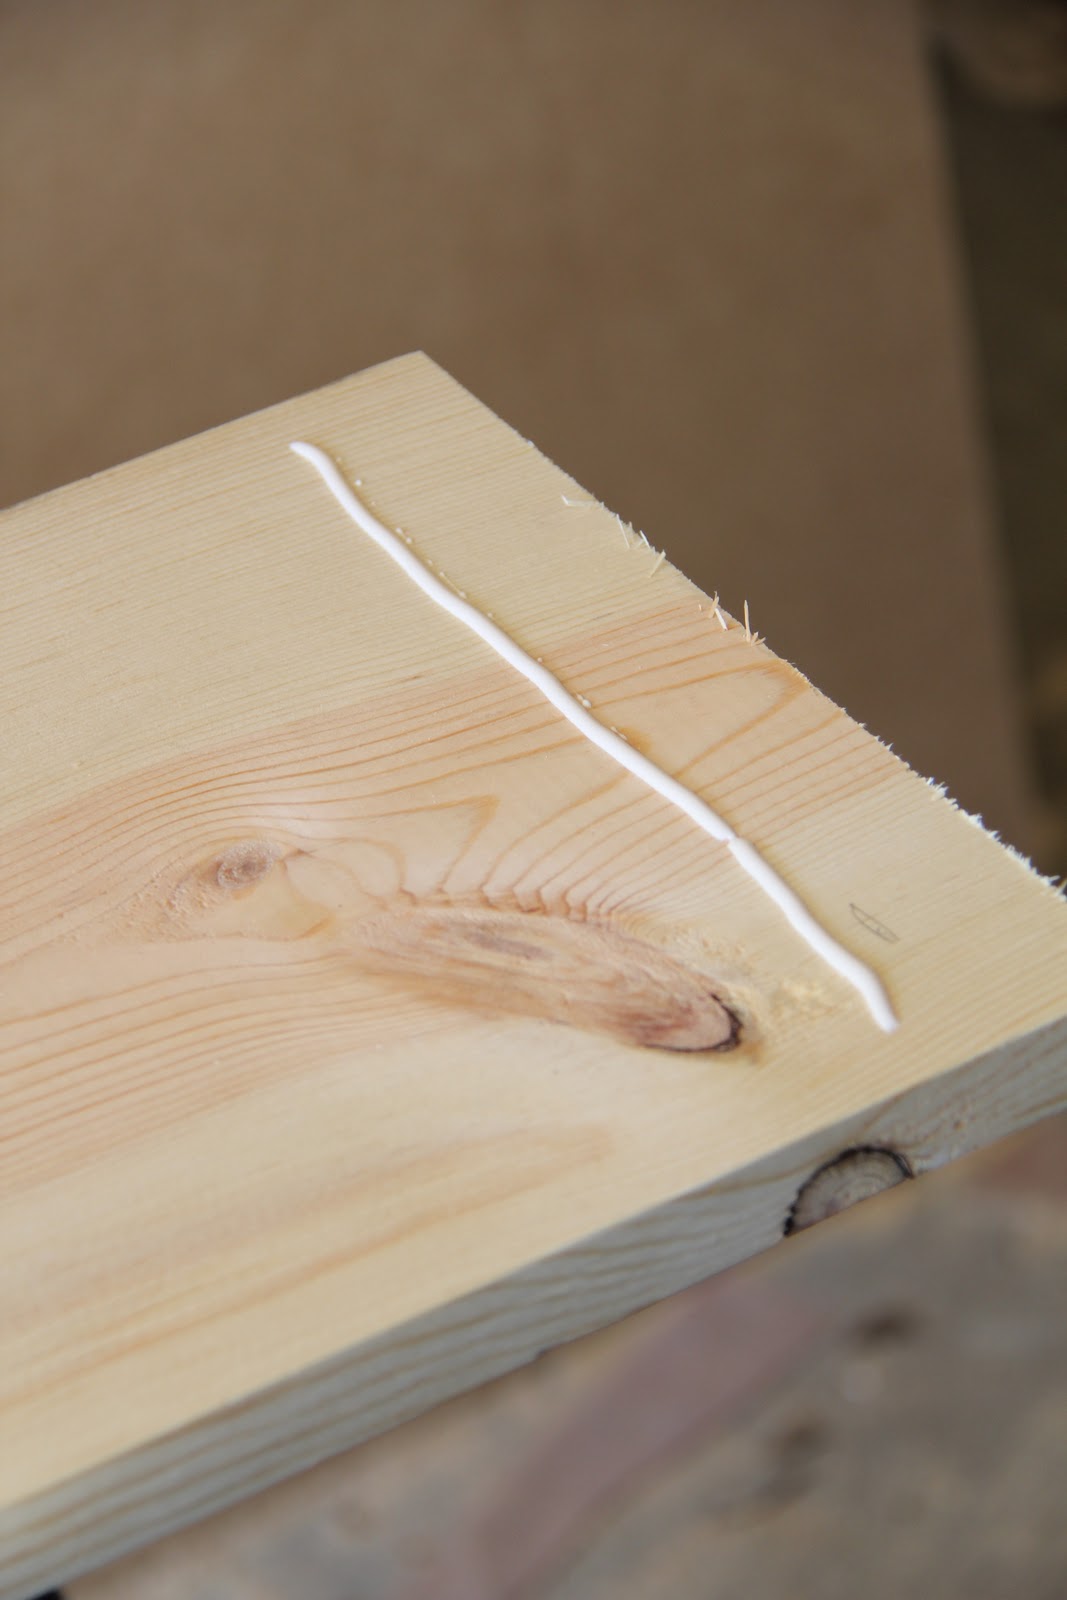
I used a little Gorilla Wood Glue on the 1×10…
And attached my brackets using my brad nailer. Can I just say that this might be my very favorite tool?? It would definitely be a toss up with the saw and hot glue gun but it’s for sure in the running. Mine was only $44 at Northern Tool and it makes me so happy 🙂

There it is attached… Like 46 seconds later…. Whoop!

At this point I had my shelf built and needed to add the trim. I used my miter saw for this part but I do realize that many of you don’t have one. Traci gives an awesome tutorial on using a cheap hand saw and even cheaper miter box to make your own HERE. Super easy I promise!! Check it out!

My final step after trim was painting it. I also shantied it up a bit using a 3M sanding block with 120 grit. Once my edges were sanded I used a little stain to make them stand out a bit more. You just use a foam brush to apply your stain to your sanded edges and use an old t-shirt or cloth to wipe of the extra.
I hung my shelf up and added a locker basket with a couple of towels. I was so excited to find those at a decent price!! I love the old antique ones but not for $30 a pop. I got mine on Amazon here…
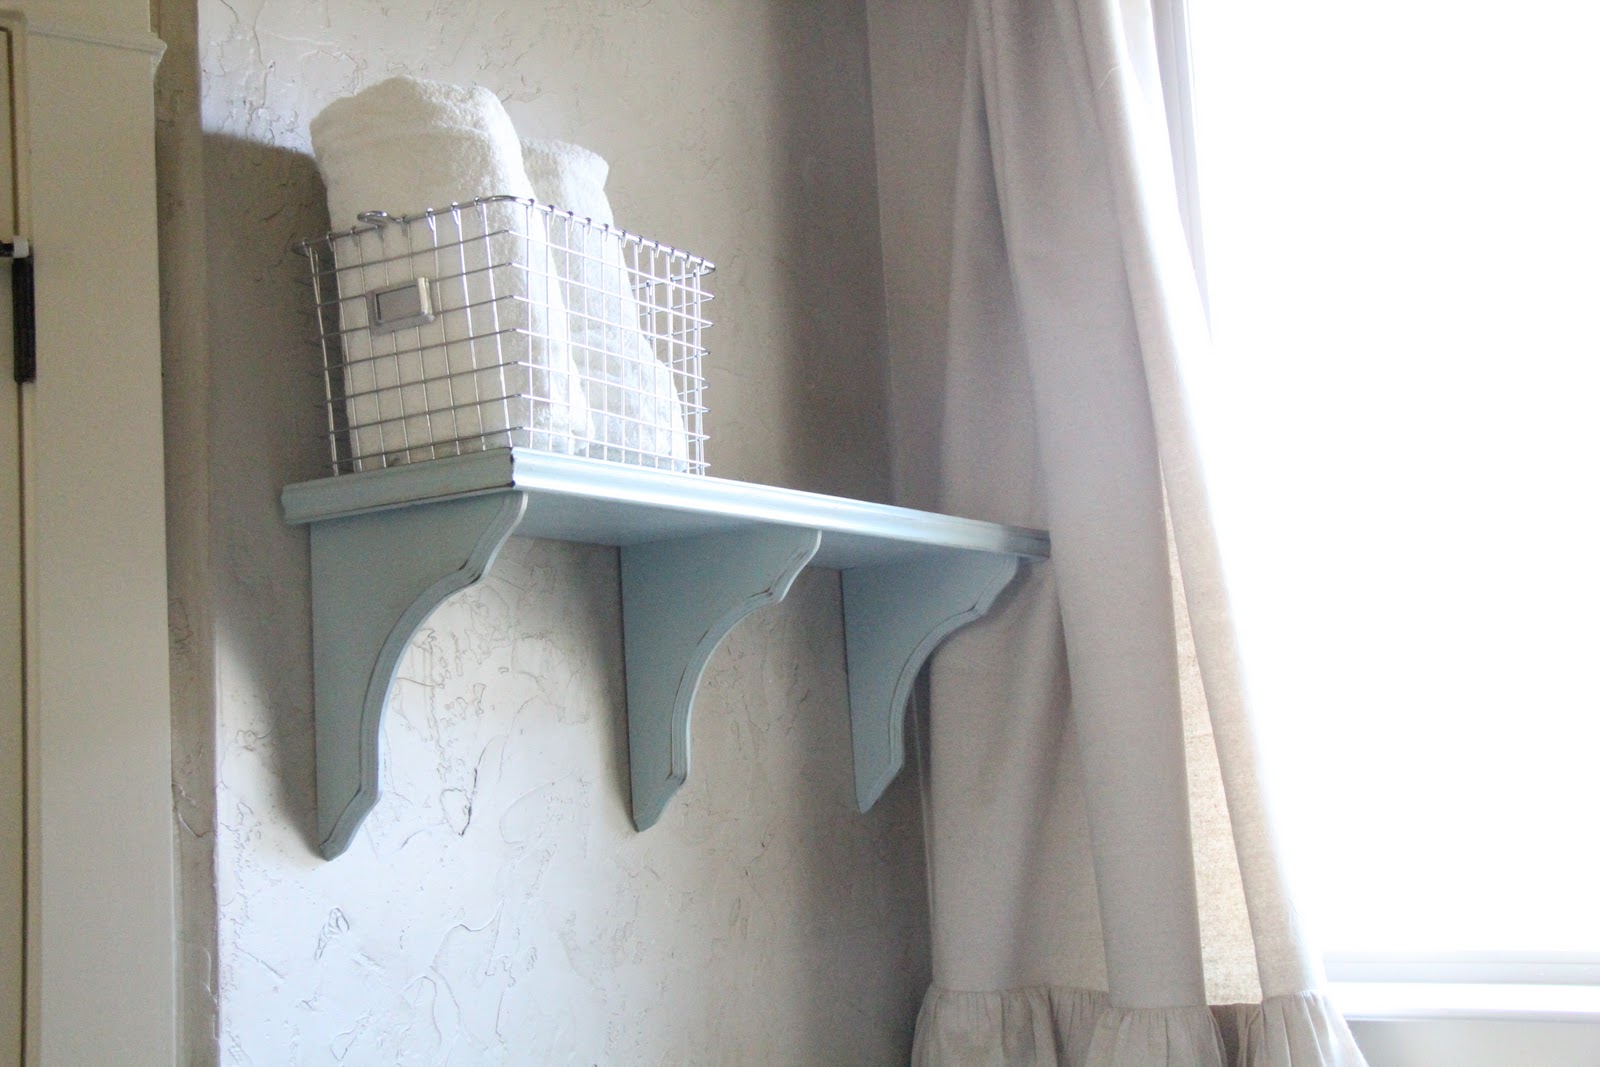
See the shantied edge??

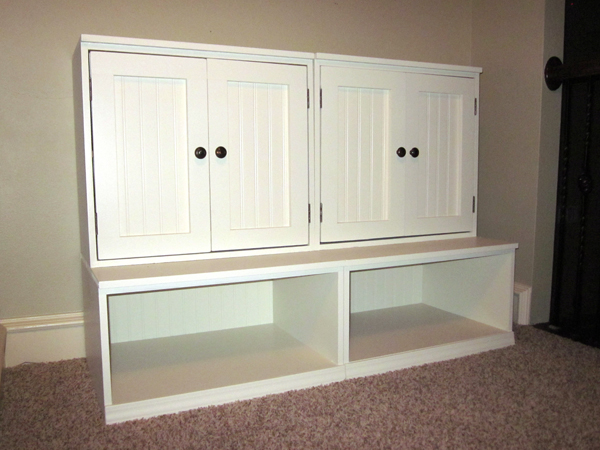
I then added another recent revamp to finish it off for now. I know I want something else up there but that is in the works 🙂 For now… Here it is.


Hope you like it! Make sure to check out Traci’s great tutorial as well!!
Happy Wednesday!
~Whitney


LOVE this little shelf! Can you tell me what paint color/brand you used on the shelf? I want to paint a little desk that color and make a matching shelf like you did! Thanks :o)
Oh, I love everything about this lil’ shelf. I recently learned how to use a table saw, so I can trim my wood to fit too. Now, the brad gun… There’s one sitting in my basement… I am such a chicken. But anyway, I think I am off to make a shelf today. I never thought of using Gorilla Glue either. Great post. Thank you.
These look great. I love the color! I made a couple for my laundry room in yellow. 🙂