With 5 kiddos and LOTS of wonderful teachers to thank at the end of the year, I am always trying to think of gifts that all of them would love, and that won’t break my bank! So… Here is what I came up with!
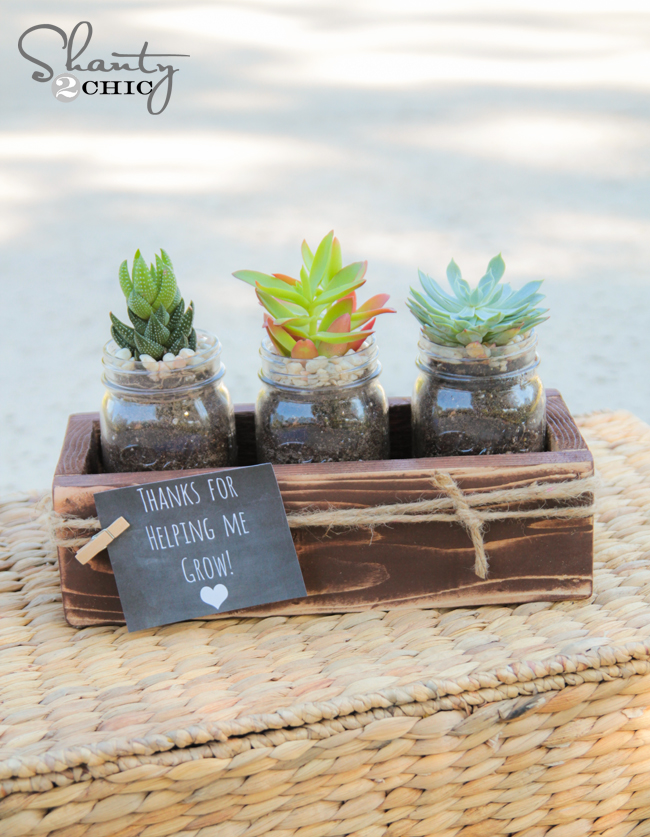

So fun! I love that this can be reused too… They can always lose the plants and fill it with pens and pencils or other goodies!
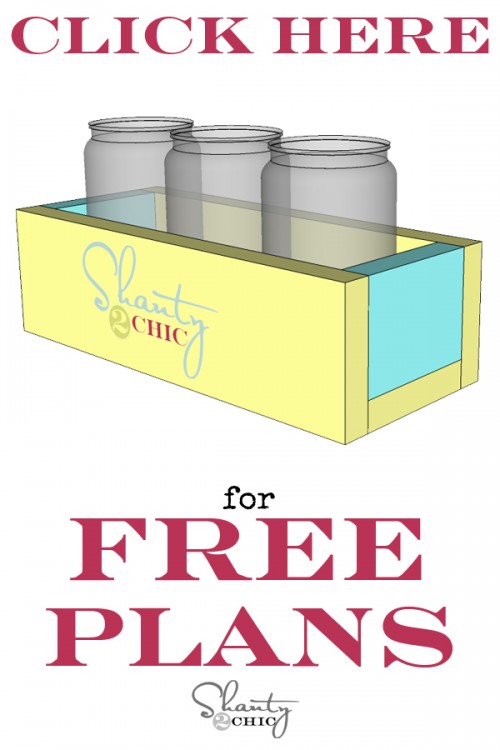
We have FREE plans and a FREE printable for this project… Woohoo!
You can download the free plans HERE or by clicking the button below! We are so happy to team up with Jay of Jay”s Custom Creations. He puts all of Shanty 2 Chic’s original ideas into printable plans for our readers. You should check his site out! He has some great plans himself! I will also share some tips and tricks below…
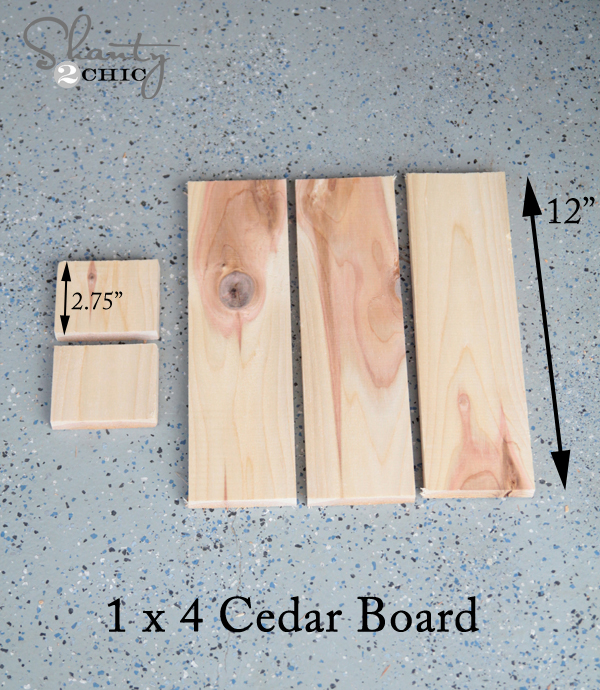
This is a super simple build! My favorite part? It only uses one 4 foot board. You can also do an 8′ furring strip which makes the cost of wood under $1 per box! They can also be assembled in about 5 minutes.
I started by making all my cuts. I actually used cedar board for this box, but any 1×4 board will do I made 3 long cuts and 2 short cuts.
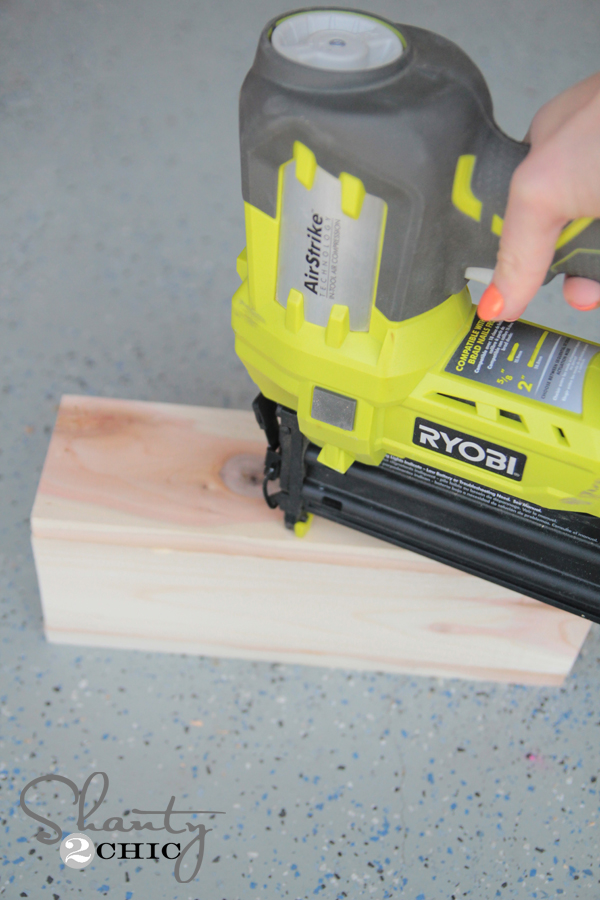
Next, attach all of your long boards. I used Elmer’s Wood Glue Maxf or this part, and my Ryobi AirStrike Nailer.
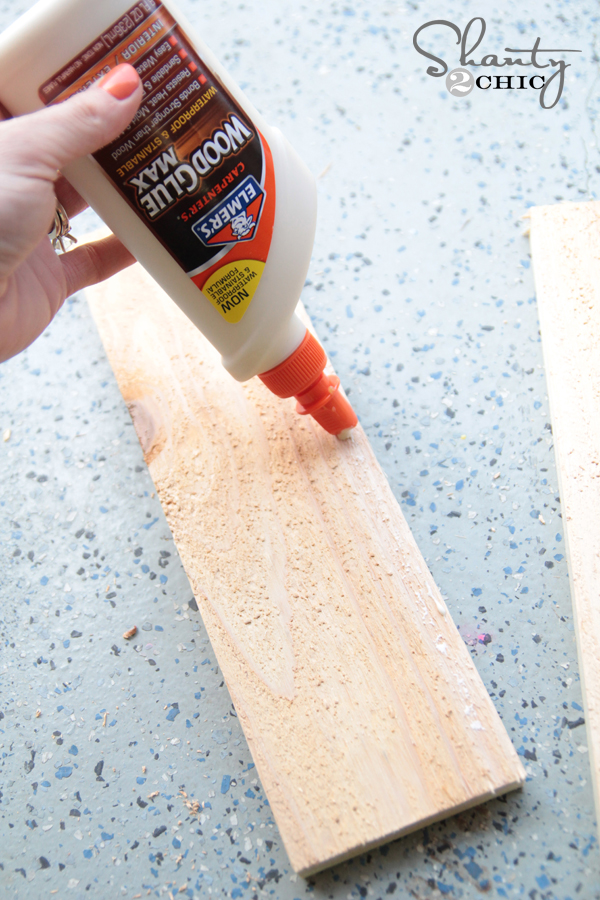
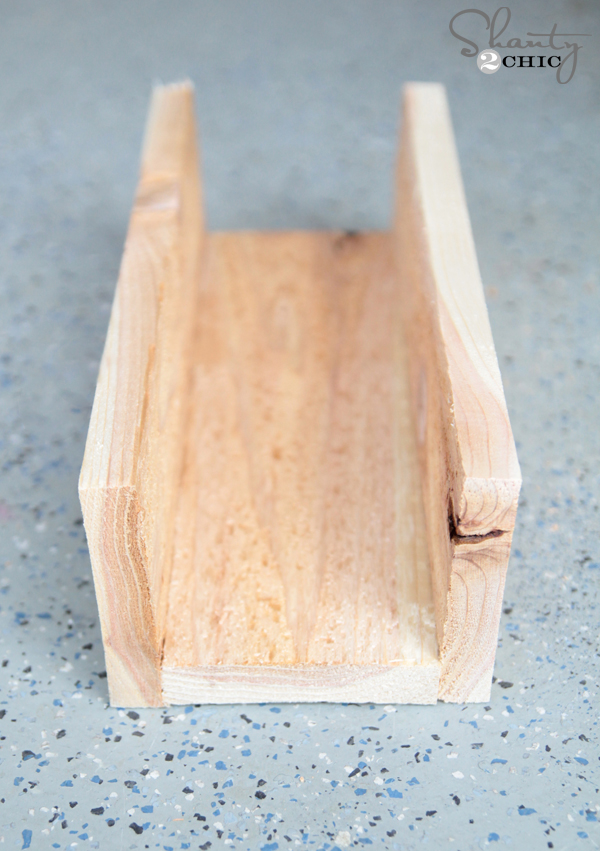
At this point, your box should look like this!
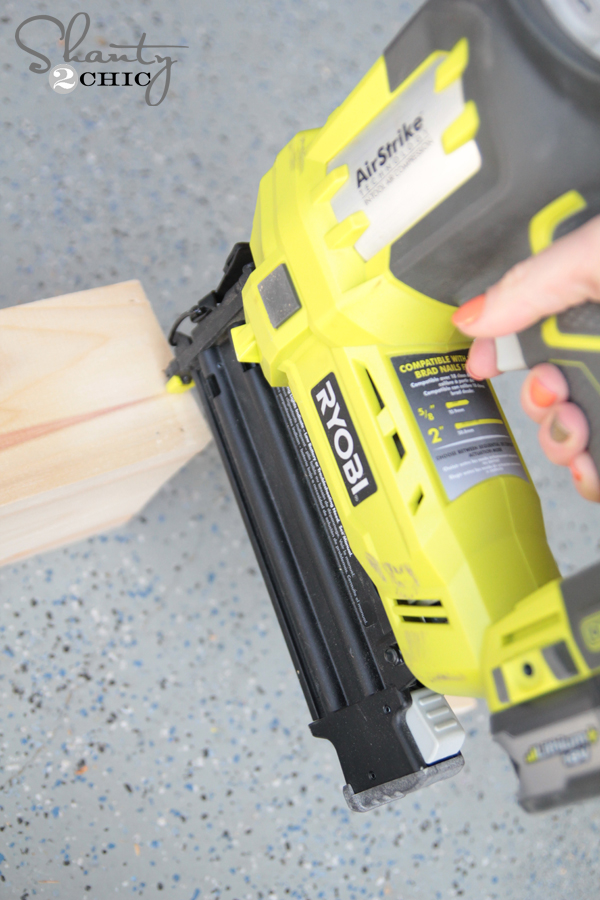
Next, just add a bit of glue and attach the side pieces.
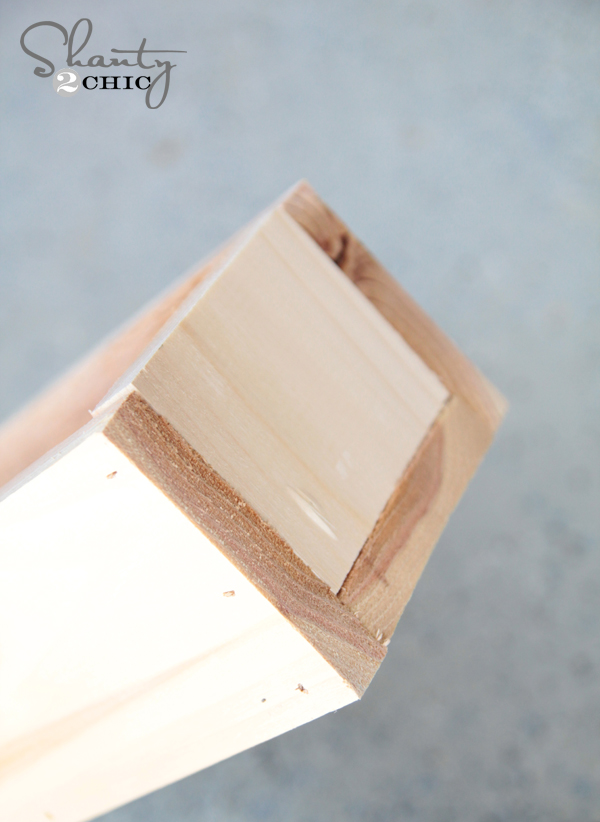
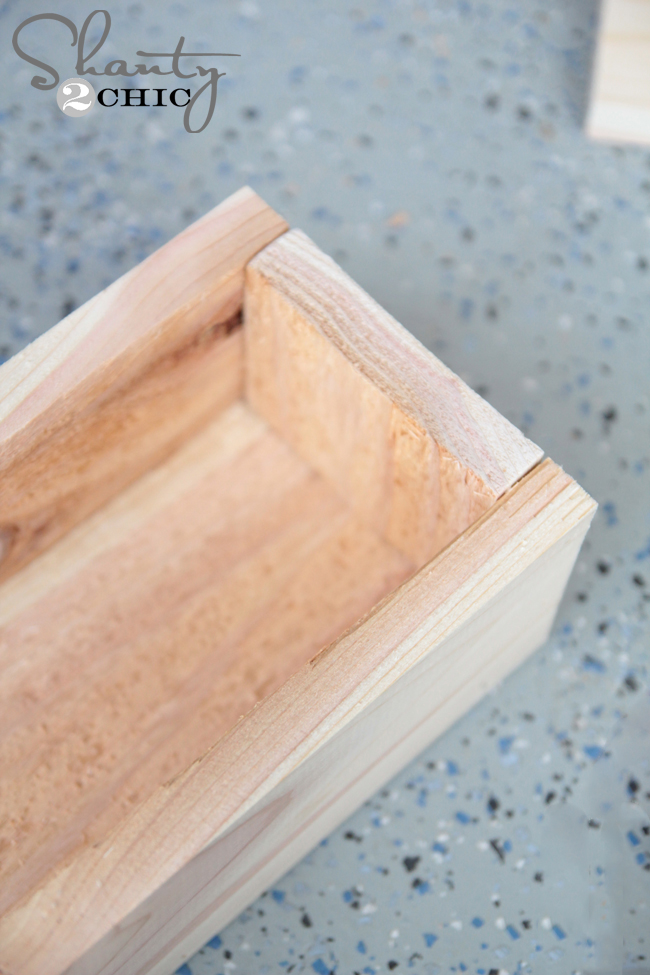
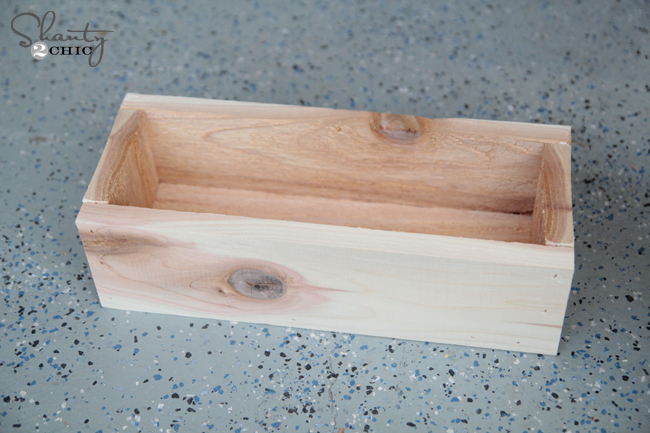
Box is done! See… 5 minutes.
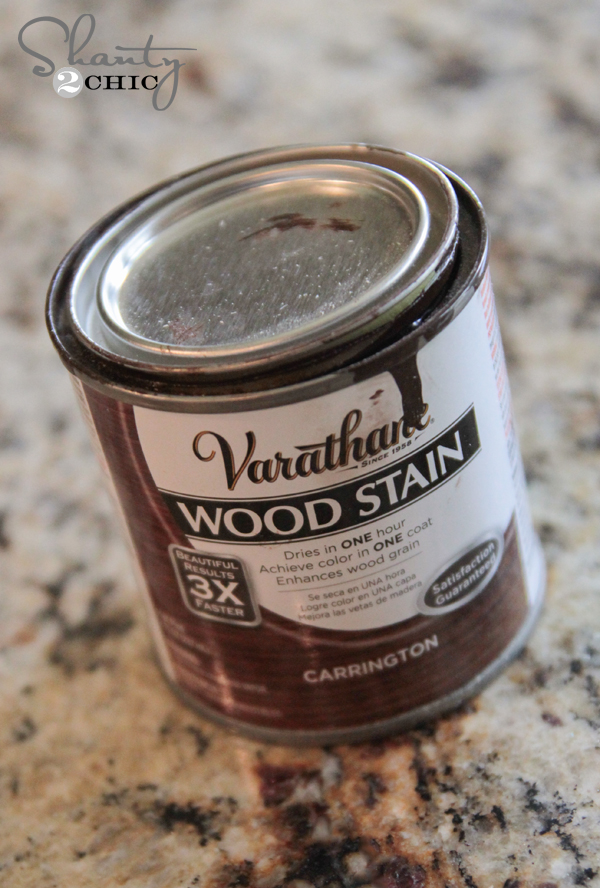
I stained mine with Varathane stain in Carrington.
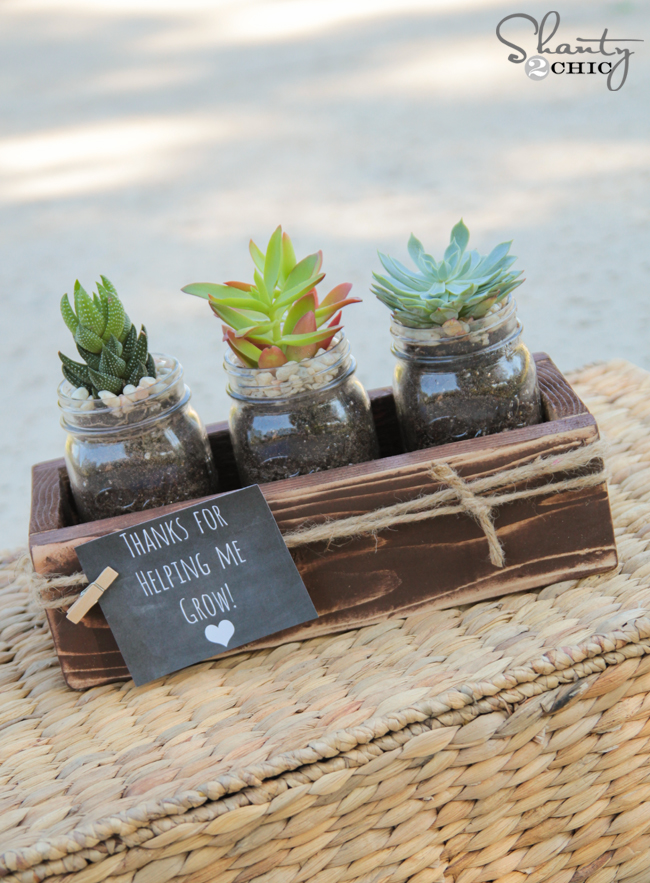
While it was drying, I finished the rest. I chose to use succulents for this project. I found mine at Home Depot. I used a bit of quick draining potting mix and added some white gravel to the top of each jar. I love the look!
Now for the tag! I made these as printables for you guys! I made a page with 4 tags if you need multiple tags like me! You can click HERE to open and print that!
I also created a page with only 1 tag on it. This will save ink for those of you that only need to make 1! You can click HERE to open and print it!
I just printed mine, cut it out and attached it to some twine with a mini clothespin. I love the results!
I also used my Ryobi Corner Cat sander to distress my wood a bunch… I LOVE the look of the wood like this!
What do you think? I hope they love them… It really is a very small thank you to them for loving my kids all year, but I am hoping they will love the thought and time behind it!
Thanks so much for stopping by guys! I would LOVE for you to share and PIN this gift with all your friends!
~Whitney


What a thoughtful and creative teacher gift idea! I love how it’s both personal and practical, making it something that any teacher would appreciate. For those looking for a functional yet stylish gift, our site, Fiberborne, offers minimalist iPhone and Android cases, along with EDC gear. They make great gifts for teachers who appreciate sleek and durable accessories!
https://www.fiberborne.com/
Thank you for sharing this creative teacher gift idea! It’s such a thoughtful way to show appreciation for all their hard work. As a gaming enthusiast, I know the value of recognizing those who guide and teach us. For more fun and unique gift ideas, visit us at Thinborne. https://thinborne.com/
Anyone know what size brad nails are best?
The one I made is far from perfect (no air strike nailer) and I used some old leftover deck boards, which is why it is bigger, same length..just bulkier. Mine also took longer to dry with the stain I used. Used pint jars and spanish moss around jars. Tried to post a pic, but it says my file is too large.:-( Hope teacher likes it.
Got it to work. Here is mine.
I would love to know if you made holes in the bottom of the jars for drainage? I was thinking of doing that but then didn’t know what to put inside the box to catch the drainage. Love love love your idea!
used these regular mouth 16oz Ball perfection jars
Just finished ours last night! Thank you so much for the inspiration!
Looks awesome!!