Have you ever “revamped” a “revamp”?? Have you ever had a project in your head that was so cute and then once it ends up in your house you wished you would have left it in your head?? This has been my problem for the last couple of months. I could not find the right piece of art for above my couch a few months back so… Ashley and I decided to get together and decoupage some canvases. They didn’t turn out bad… I actually get compliments on mine quite a bit. But, I hate it. I was done. A few weeks ago we started discussing some upcoming burlap projects we have planned. Ashley had a light bulb moment… She suggested we cover our shanty canvases with burlap and stencil them. Good thinking Lash! Here’s what I did…
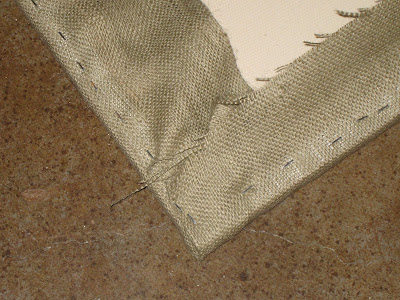
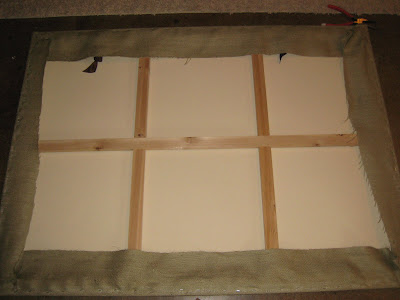
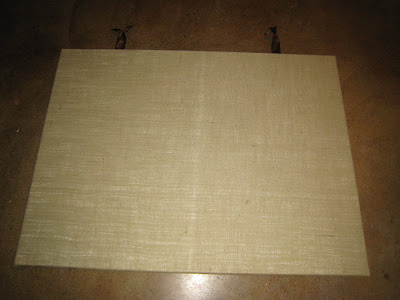
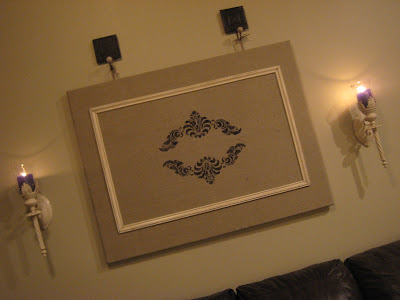
 I took my old 36×48 canvas (won’t even show you the befores 🙂 and laid it on top of a piece of ironed burlap. I used my staple gun to first pull down the top and bottom and then I pulled the sides. The burlap gives quite a bit so make sure you pull it tight. I cut my excess and moved on to the ties. I decided to hang mine from two hooks I found at Hobby Lobby just to add a little extra something. I cut 6 pieces of twin the same length and tied a bow with one piece on to two others… did that make sense at all? I used my staple gun to attach them to the back of the canvas.
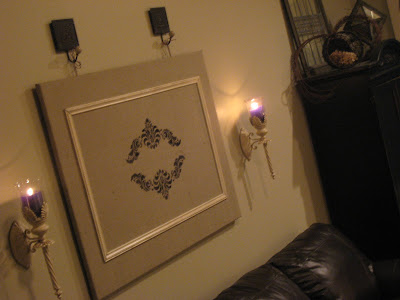
 Now for the stenciling… I found this shmancy scroll stencil at Joann’s for $6.99. I measured off center for the first scroll and taped it down. I used Americana ebony and burnt umber mixed together to create a really deep brown. Using a stenciling brush I pounced the paint on… don’t go sideways or the paint will go under the stencil. After finishing the first scroll I cleaned my stencil off and measured it off for the second one and did the same thing.

 I thought I would be done at that point but realized how large this canvas was compared to my stencil. I had some leftover trim out in the garage that I bought a Lowe’s. Using my trusty $12 hand saw I cut and mitered (not perfectly at all) 4 pieces of the trim to make a frame around my scrolls. I spray painted each of them with Rustoleum American Accents Heirloom White paint before I attached them to my burlap. I used my hot glue gun to attach each piece and also added a few dabs of Gorilla Glue just in case. My final step was to run a thin coat of Ralph Lauren Smoke glaze to bring out the detail on the trim. You will have to excuse my dark after pics… My camera did it’s best. Now you girls get ready for Ashley’s new canvases… they are in the works and her wonderful idea paid off big time. I will be sharing these shantys turned chic over with Kimba for DIY Day at A Soft Place to Land… I will also be sharing this at Hooked on Houses!
http://hookedonhouses.net/2009/09/17/hooked-on-painted-doors/




That is a very nice project! Looks lovely!
Wow, what a great idea! So simple and yet what an impact. Thanks for sharing!
Get outa town! That's gorgeous! Can I just tell you that I love the name of your blog? So cute.
Sophisticated burlap! I like it!
Very cute!!
I am not a big burlap fan but that is pretty. Great focal point and totally classy.
Great job! Big impact, little cost!
~Alyshia
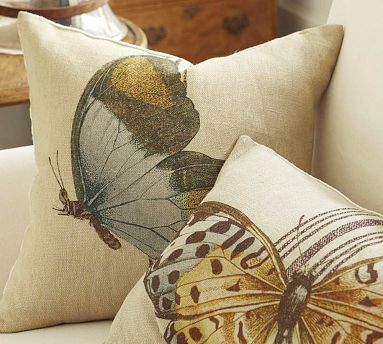
Hey REALLY Cute idea!!! You did a wonderful job! hmmm…sure would look good with my pillows!! 🙂
It's beautiful! What a creative and simple project. Love it.
wow, I really like that !
Very nice!
Great idea and even better execution – I'm afraid mine wouldn't look anywhere near that nice!
Very impressed 🙂
I did LOVE the other piece, but I'm pleasantly surprised by this! 🙂 The trim was a great idea!!!
What a great way to take up that huge space above the couch!
Very pretty. I love inexpensive art work that looks sophisticated. Thanks for sharing!
Absolutely love this! What an amazing idea!
Hugs,
Sariah