Hello everyone!! Hope everyone is having a great week!! It finally dropped below 80 hear in Texas so it is officially time to start preparing for Christmas:) I don’t quite have my tree up yet but I am in the process of making and revamping ornaments for it. My first one… this super cute baby right here…

Want to see how I made it??? Ok!
I started by cutting some of that great tin roof flashing I found at Lowe’s the other day. My tool of choice… My Sizzix machine! I have not pulled mine out in ages but when thinking about what fun projects I could do with this metal, my Sizzix came to mind. I did have to run it throught the rollers a few more times than usual to get it cut all the way through.

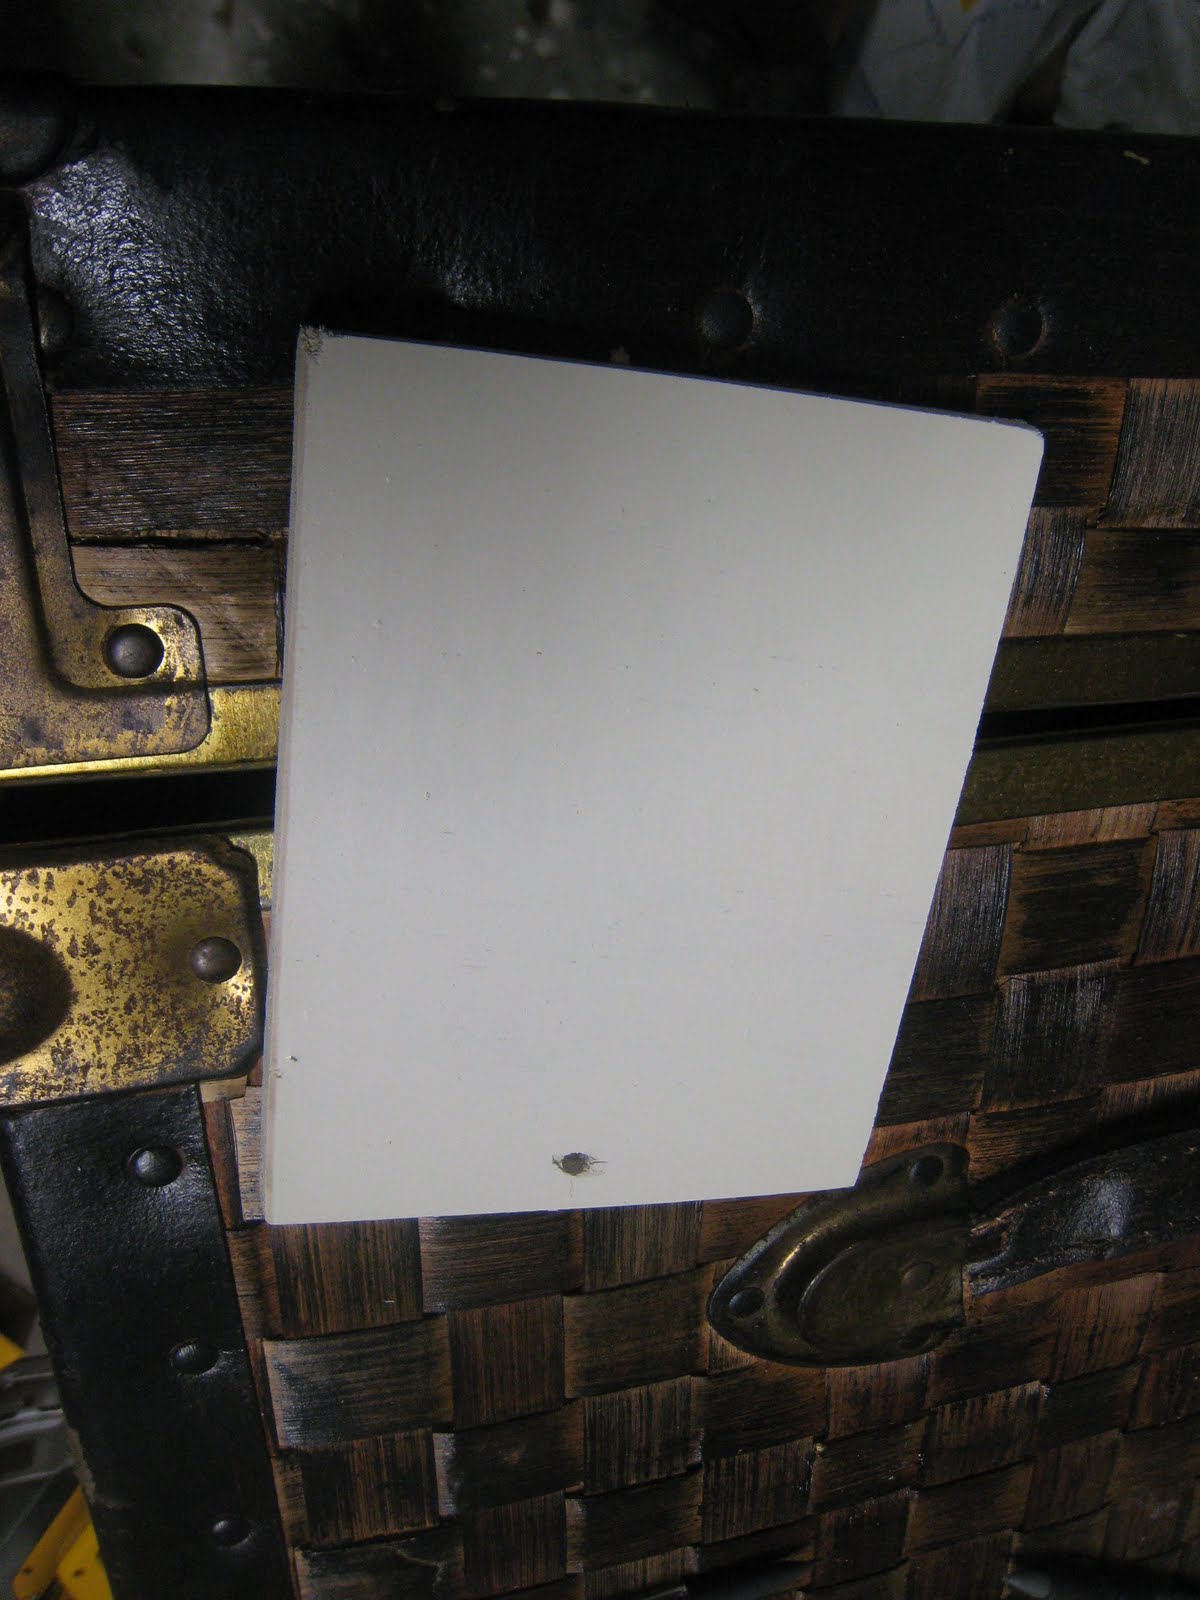
After doing that I started cutting my wood. I found a 1/4″ board at Lowe’s and I cut a small 4″ piece using my hand saw.

I then drilled a small hole on the top…

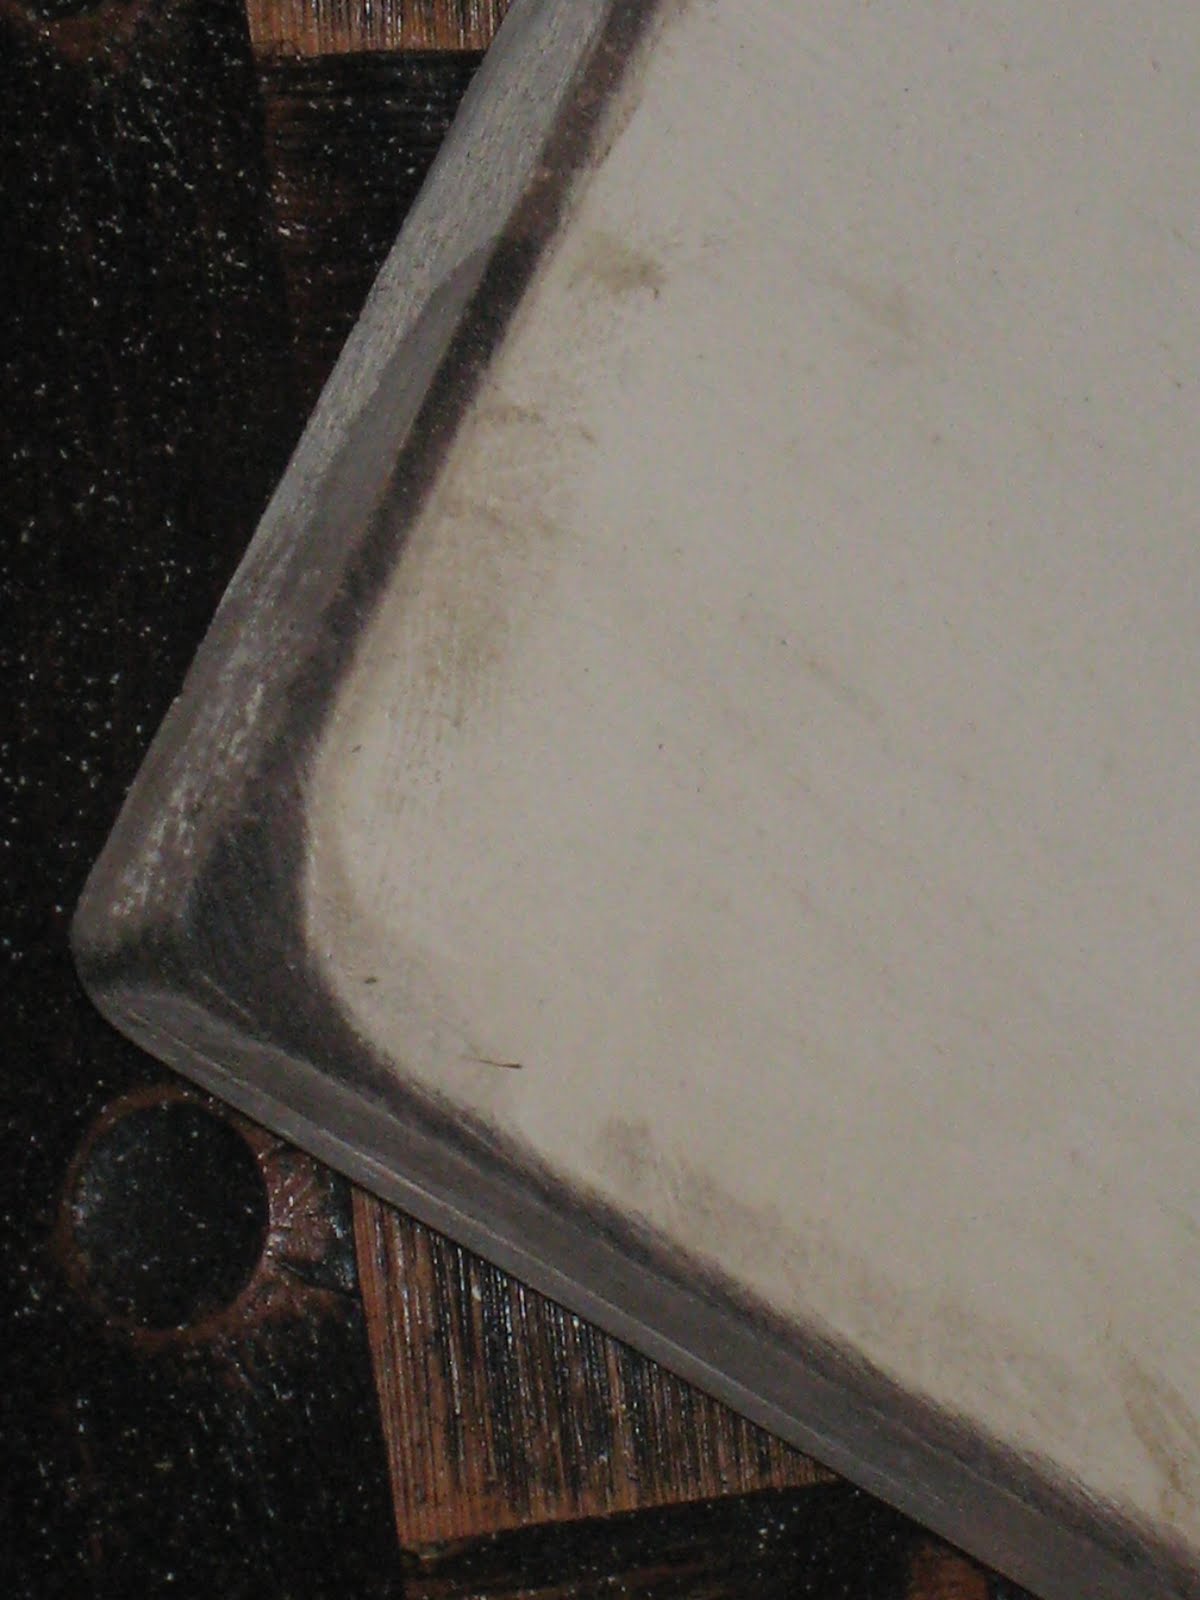
Time for paint… My favorite ever… Rustoleum American Accents Heirloom White spray paint. This only took 1 coat.
I shantied it up a bit… Using my 3M block sander with 80 grit paper.

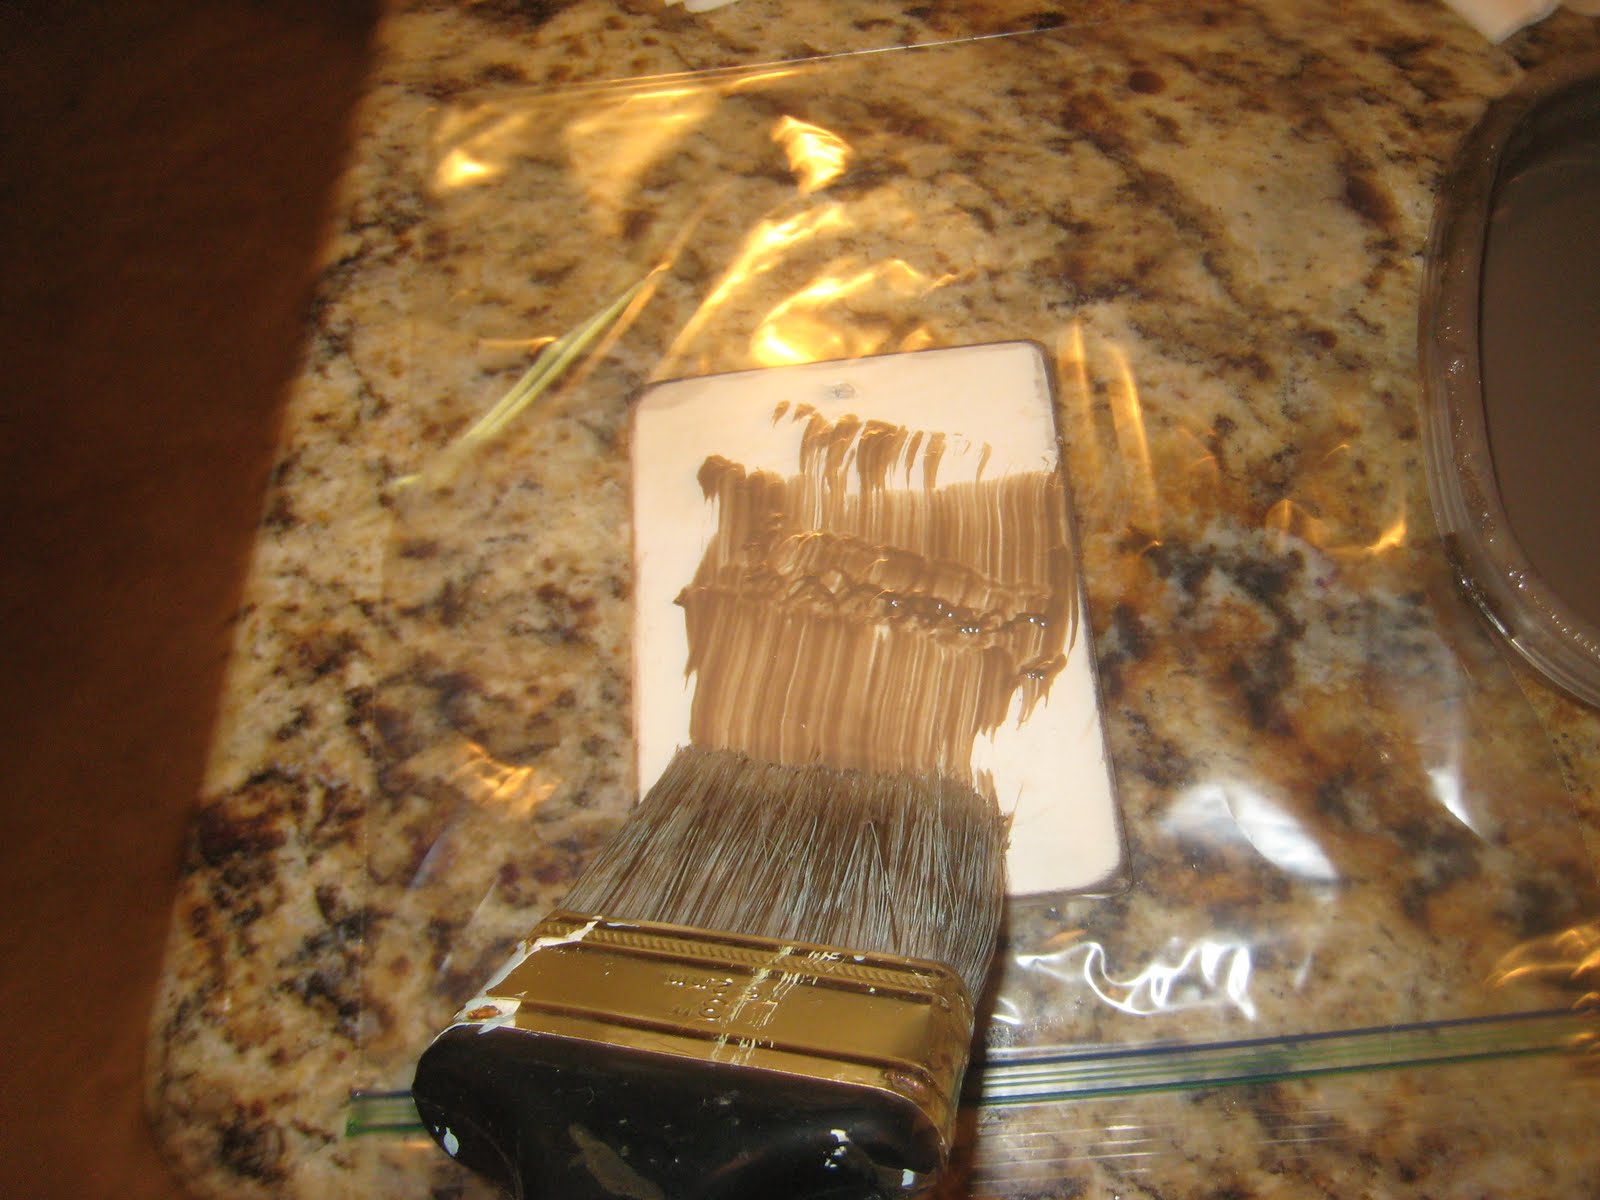
I added a little bit of Minwax Dark Walnut stain to my edges…
I then added my glaze… Ralph Lauren Smoke Glaze. You just paint it on and wipe it off… LOVE!
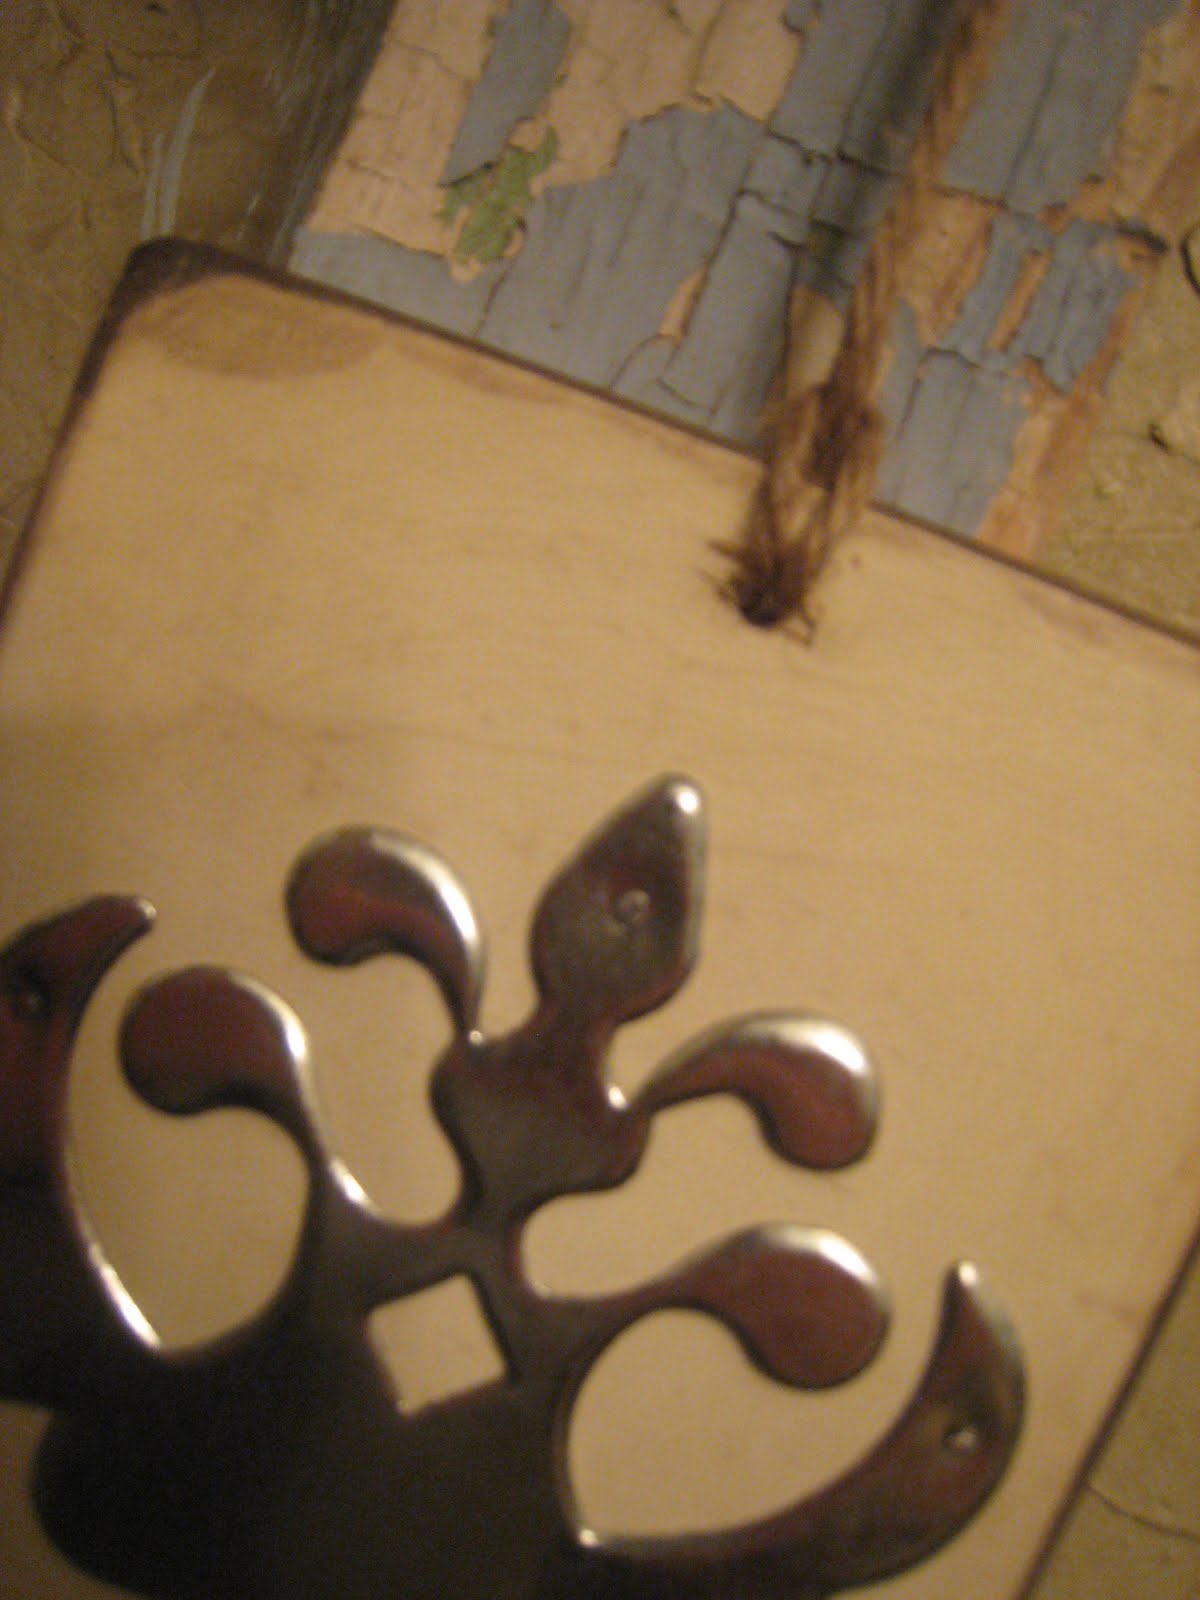
My next step was to attach my cute metal piece. I used a dab of hot glue in the center and then nailed the edges just to shanty it up a bit more.

I added a bit of twine and I was done. I wanted to share before it made it to the tree so I took some pictures for you guys…


You like?? I will also be offering these in our Shanty Shoppe. You can get there by clicking HERE or by using the button on our sidebar. Thanks so much for stopping by!!! I love hearing from all of you:)
I will be linking up at WFMW at We are that Family!!!
And here…

and here…


Too Cute! I think I will make these as tags for Christmas gifts. One side will be decorative and one side will have “To” and “From”. The person receiving the gift can use the tag as a Christmas Tree Ornament. I am always looking for new ideas on your website. The ideas you come up with are fantastic.
I know this is an old post, but I just found it 🙂 I have a sizzix also, and have cut soda cans with them – I never thought to mount it on wood though, I’m definitely stealing this idea, lol The sizzix cuts right through the soda can with no problem (just one pass), and it’s free. I don’t have the cute die that you used, but I do have several snowflake designs which I think would adapt to this idea perfectly. Thanks again for your inspiration!
Oh my word, capital A adoralbe! Love this! And you cut your own wood?! Too cute!
By the looks of all the comments, looks like you hit a homerun on this one. Now come see mine and tell me what u think!
Or put the reverse image on the other side. In other words, the cutout on one side and the metal it was cut from (with the design as negative space) on the other
I just love it – a suggestion, though. Why don't you do the same thing to the reverse side? That way you'll have the design on both sides and it will be beautiful no matter which direction it is viewed from.
Excellent. Thank you so much for the tutorial. And, I have been looking for the Heirloom White.I appreciate the complete name so much.