Learn how to build this DIY Wind Bottle Wall Vase with free plans by Shanty2Chic! This is such an easy and inexpensive project that will add character and style to any space in your home!
Supplies to Build a Wine Bottle Wall Vase
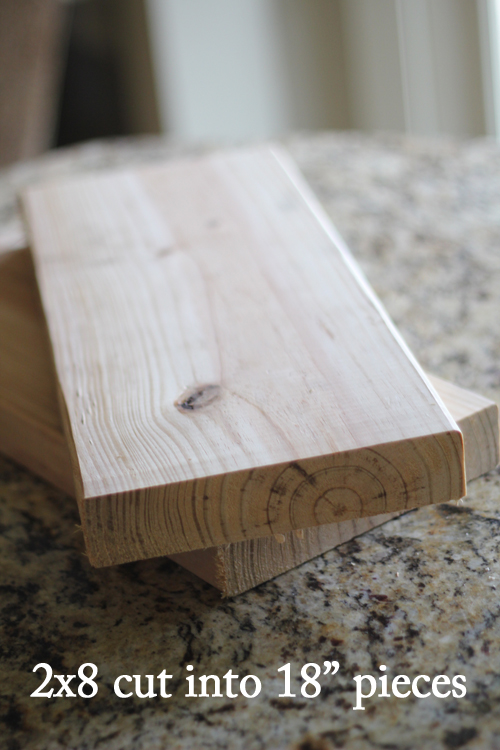
- 2x8x8 Board
These are the supplies I used to make them. I found everything at Lowe’s.
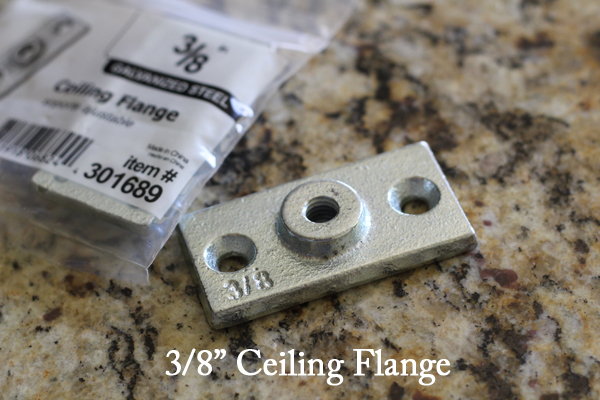
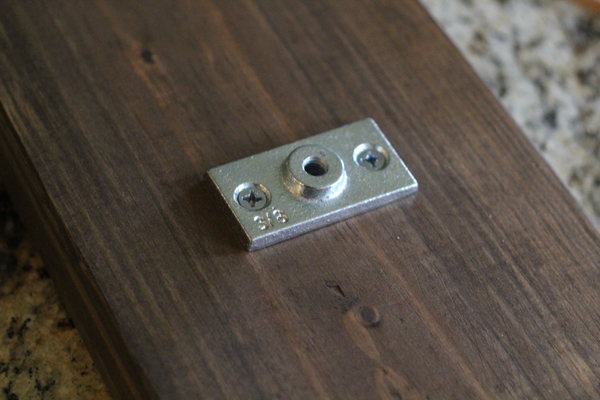
- 3/8″ Ceiling Flange
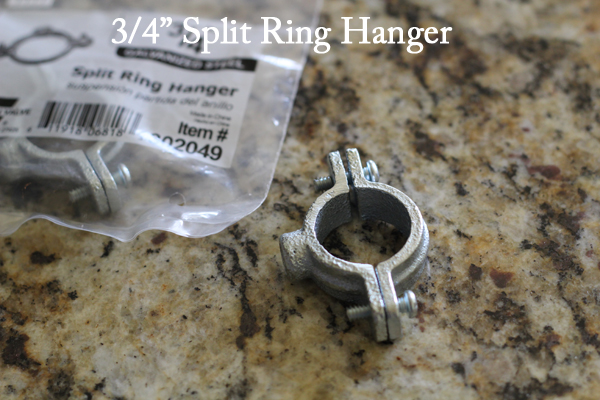
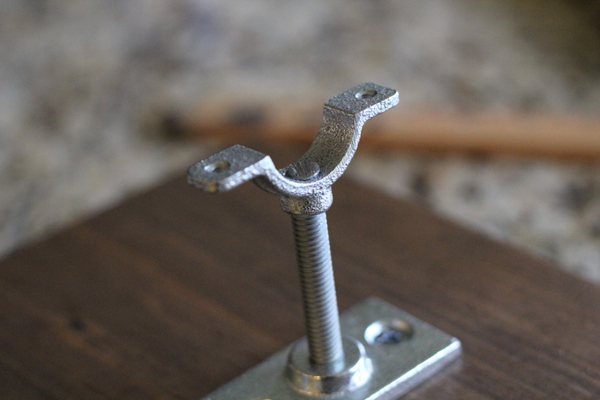
- 3/4″ Split Ring Hanger
- 12×1 – 1/4 Wood Screws

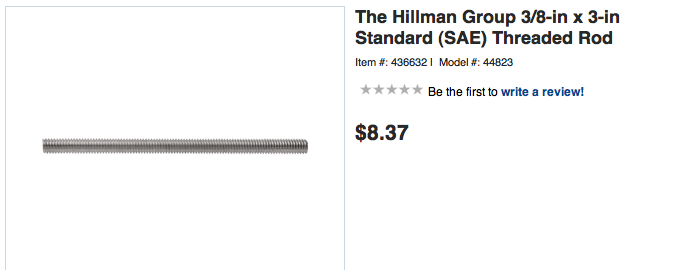
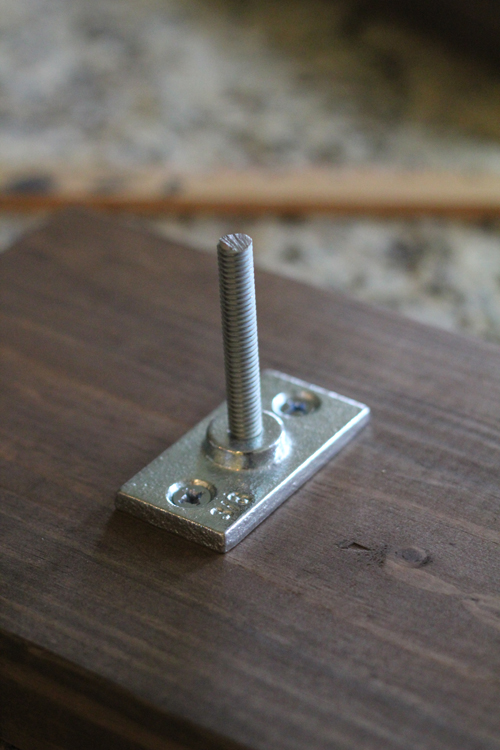
- 3/8″ Threaded Rod – 12″ piece cut into 3″ pieces
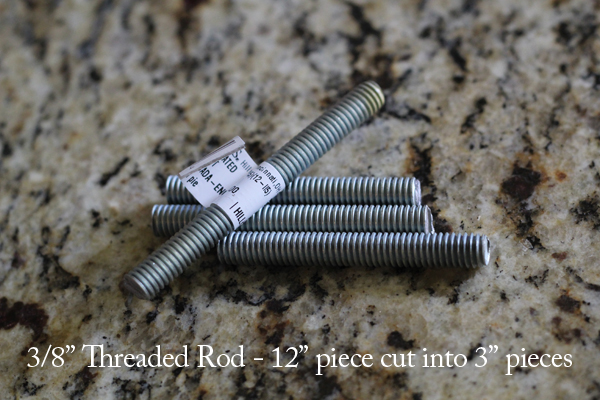
The threaded rod is super easy to cut. You just use a small hacksaw like this one at Lowes…
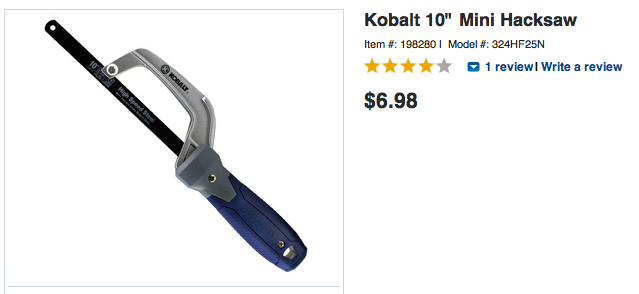
If you don’t want to cut your threaded rod, you can also purchase a pack of small ones already cut for you like this from Lowe’s…
- Empty Wine Bottle
You will also need a wine bottle or another bottle with a skinny neck. I found mine at Wal-Mart for under $3 a bottle… Whoop!
The rest is super easy too!
Steps to Build a Wine Bottle Wall Vase
Step 1 – Make the Cuts
Cut the 2×8 boards to 18″ long.
Step 2 – Stain the Boards
After cutting my boards (or you can have Lowe’s cut them) I stained them using my very favorite…
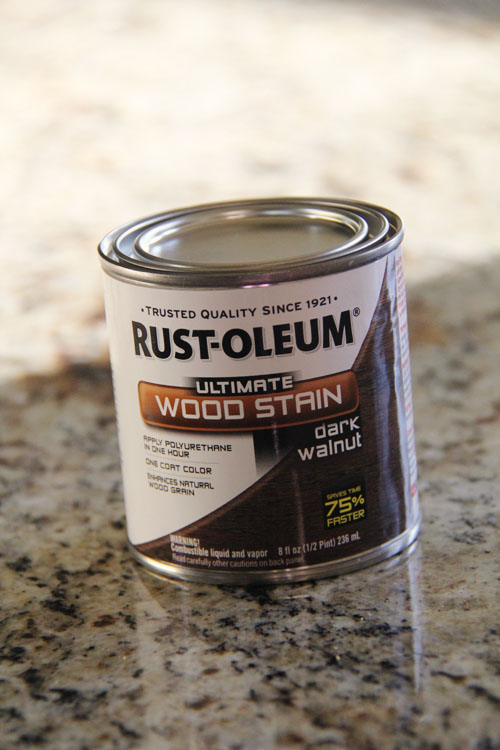
This stain is amazing! It dries super fast, and looks beautiful!! You can find it at Lowe’s. I love Dark Walnut the best! 🙂
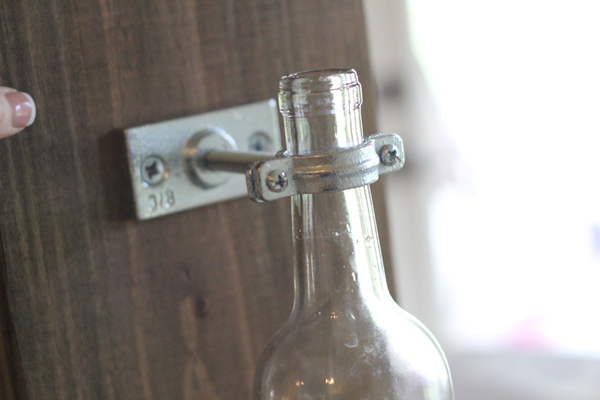
Step 3 – Attach the Flange
I positioned my flange where I wanted it on my board and penciled the marks to pre-drill.
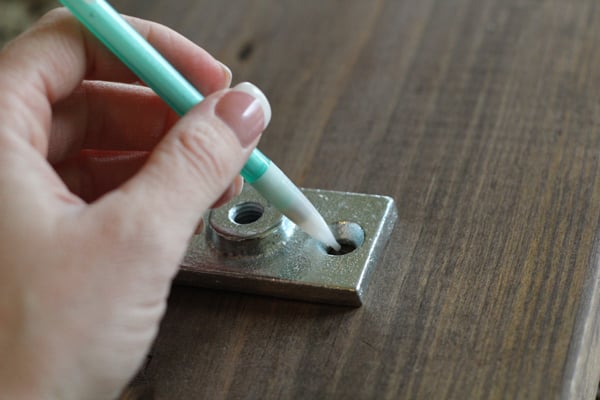
After drilling a small hole in each space I attached the flange with my wood screws.
Step 4 – Attach the Threaded Rod
Then I took one of my threaded rod pieces and screwed it in with my hand as far as it would go…
Step 5 – Attach the Hanger
And then I added the bottom half of the hanger to it like this…
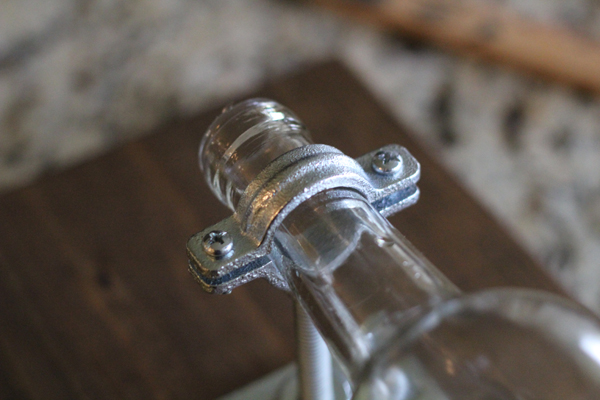
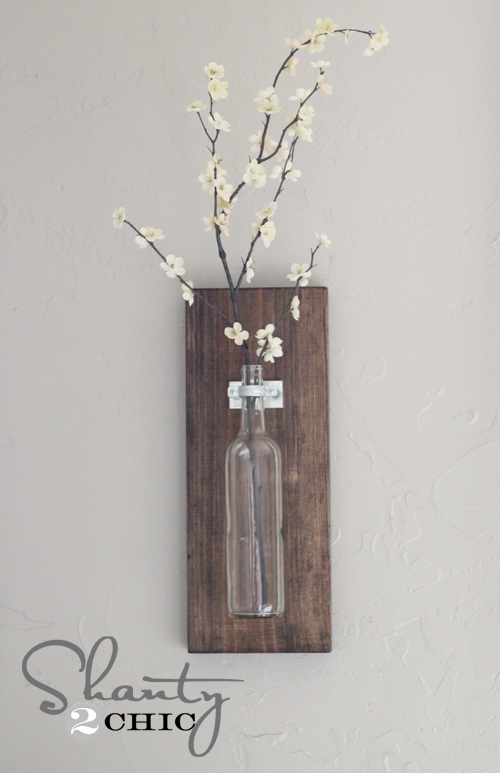
I attached my wine bottle with the other half of the ring hanger like this. Just tighten it with a screw driver.
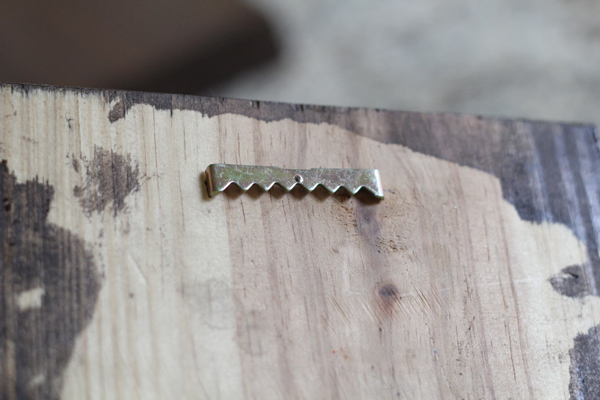
Step 6 – Attach the Sawtooth Hanger
Then, I added a sawtooth hanger to the back.
Step 7 – Hang the Sconce on the Wall
My final step was hanging them up and taking a few pics for you guys…
What do you think???
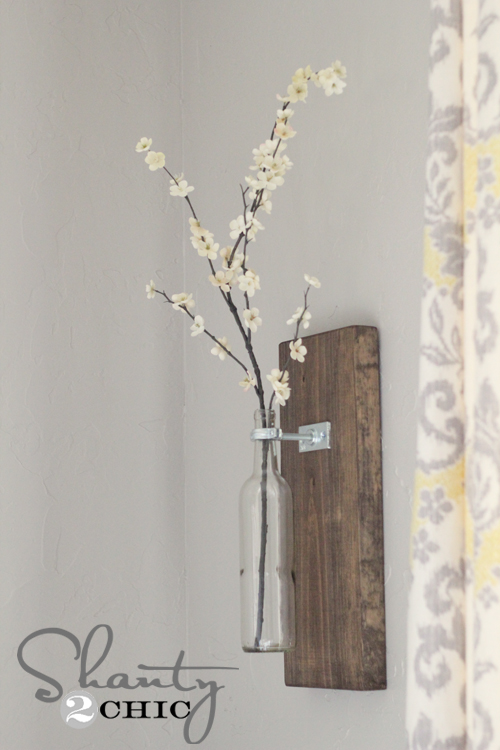

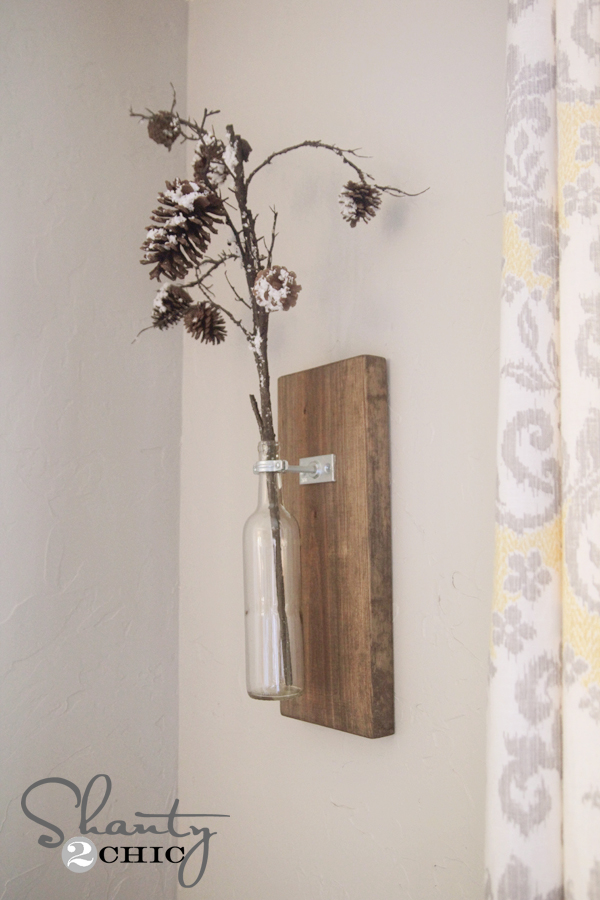
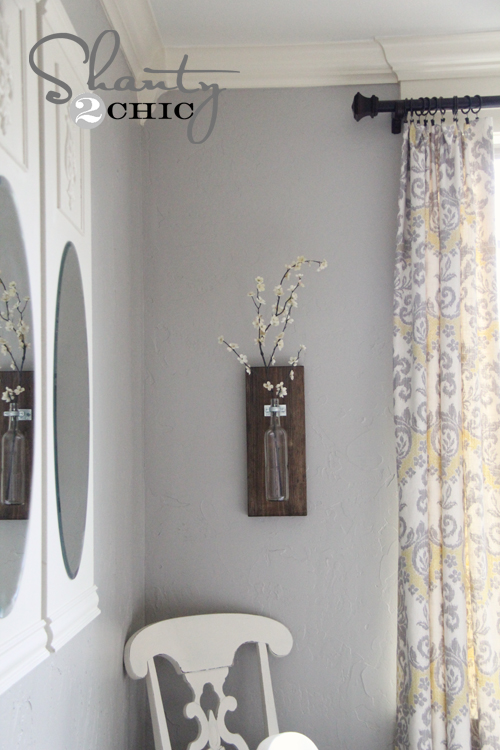
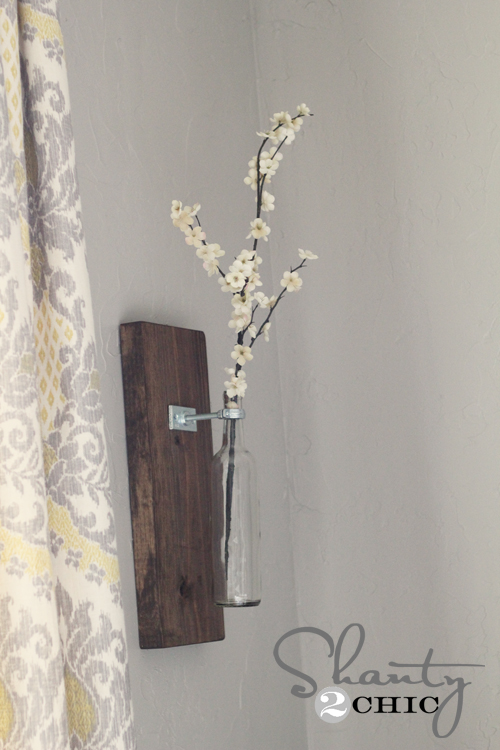
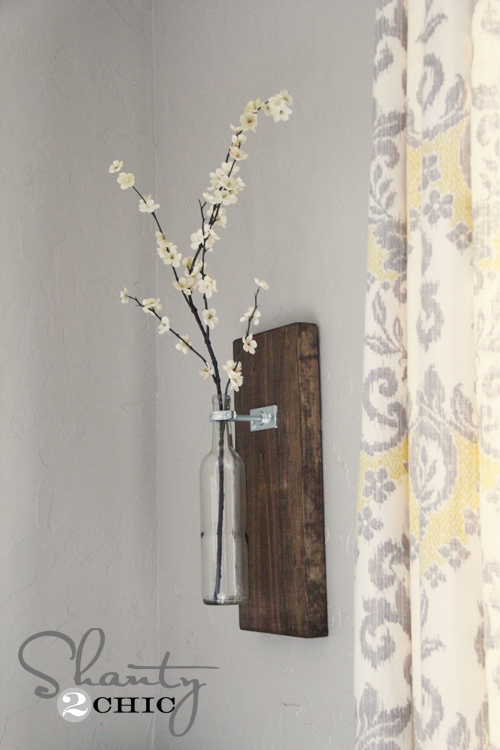
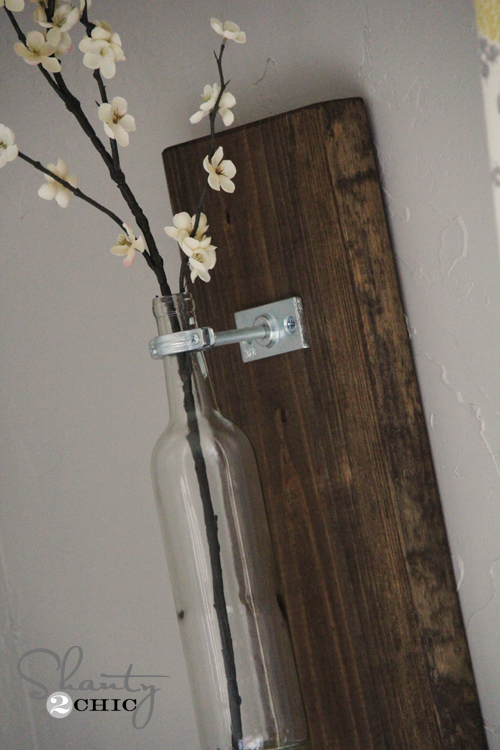
Hope you love them as much as I do! They are too easy to make and I love the industrial chic look of them!
Time for the fun part! COST!
Metal supplies – $4.74
Wood – An 8′ piece is $4.96 and 1 piece makes 4 of these so… $1.24
Wine Bottle – This can vary, but mine were $2.79 at Walmart
Total – $8.77! Whoop!!!
Do you like them?? I would LOVE for you to Pin this and share it below!! 😉
Have a great day!!
~Whitney

Just finished making these… they came out so beautiful! I put some hydroplonic wandering jews in them. Would love to send you a picture of what you inspired!!!
Great idea! The curtains (grey and yellow) caught my eye . . . any idea where they are from?
Love everything, I made the farmhouse mirror and turned out great! I would love to show a picture but how to upload.
Can you tell me what type of wood you bought? I bought some at Home Depot and stained it, but it doesn’t look anything like the color you got, and it looks kind of orange-y toned and uneven because of the grain… I’m wondering if I should go back to the store and try buying a different type of wood? The one I got had a little bit of an orange-y tint to it but I thought it was the only type of wood in those dimensions (maybe I’m wrong). Was your wood fairly white in color? How long did you leave the stain on before wiping it off? Your results are beautiful!
We can make it for you.- Contact us at bottledecorhn@gmail.com, we will be glad to supply it.
I’ve skimmed some of the comments but I didn’t see anyone touch on this…I bought the materials today, and I didn’t even touch the wood until it was already cut (the Lowes employees carried and cut it for me). Each 18″ piece is incredibly heavy! I feel like one sawtooth hanger won’t be enough support and it will fall right off the wall. Also, did you drill these into a stud? Our sheetrock is sort of thin, and the weight of this project concerns me. Any help?
We can make it for you.- Contact us at bottledecorhn@gmail.com, we will be glad to supply it.
This is my first one! I’m gonna add some glass stones to the bottom and maybe lights and ribbon! The rose is real dipped in silver 🙂
Here’s my project, a little different with the vase and the hardware… but came out great!
Julie
Québec, Canada
I LOVE these! I’m headed to Lowes right after I type this. : )
Where did you get your dining room curtains??? I love them!
I love the bottle idea. But NEED to know where you found those curtains! I adore them!
My first Shanty build 🙂 I love the way it turned out and now all my friends want one too! Glad I have some leftover supplies and so glad we have you guys to share your creativity and inspiration with all of us!
Thank you so much for this. I love filling those small corners with handmade things like this. This item in particular I’ve seen this around and admired it so it’s awesome that you’ve given us the steps to create it ourselves.
Thanks so much,
Liz
I know this is a couple of years old but I stumbled on this and gave it a try. Came out just awesome! Found all of the parts at Lowe’s and it took no time to make. I have another month long project I am working on so this was a good boost to get something of of my project list. Thanks for the step by step instructions, made it super easy!
I’ve been eyeing this for months… I finally got my chance to take a crack at it last weekend!! Also made friends with the wine store in town… they give me all the empties whenever I want them! 🙂
Love this! So cute and so many ideas that can be made from this. One
question, Is it me or is that a 1×8 and not a 2×8? a 2x would be a lot
thicker than that.
Thanks much!
Looks like a 2×8 to me. Remember, a 2×8 actually is only 1 1/2 inches thick by 7 1/4 inches wide, nominally.