Today I am sharing a project I started over a month ago. The entire thing took me about 30 minutes to finish, but I somehow managed to take a month to get the darn thing photographed. I blame a crazy summer with 5 kiddos 😉
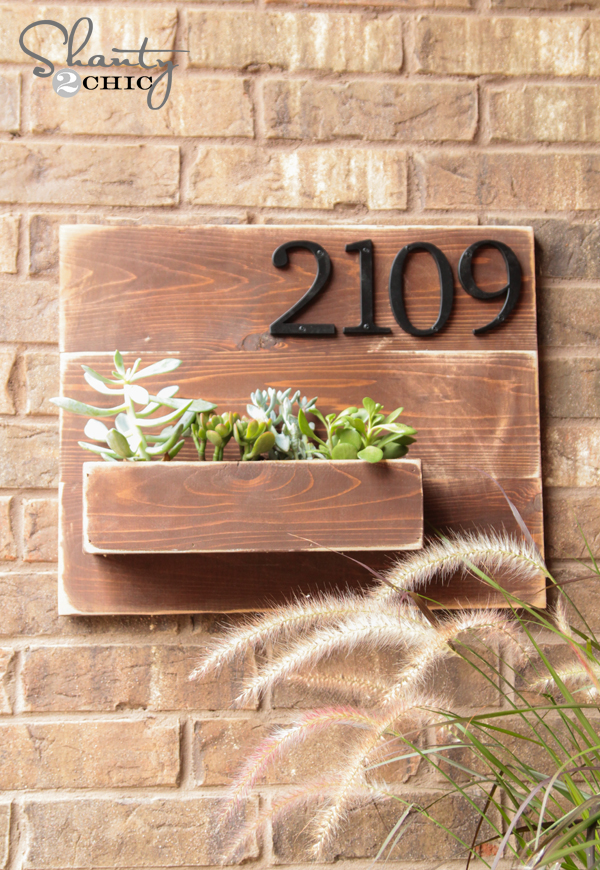
We have some blank space on the wall by our front door. I thought it would be so fun to create something fun to fill that space and serve a little function at the same time! Check out my DIY Address Number Wall Planter…

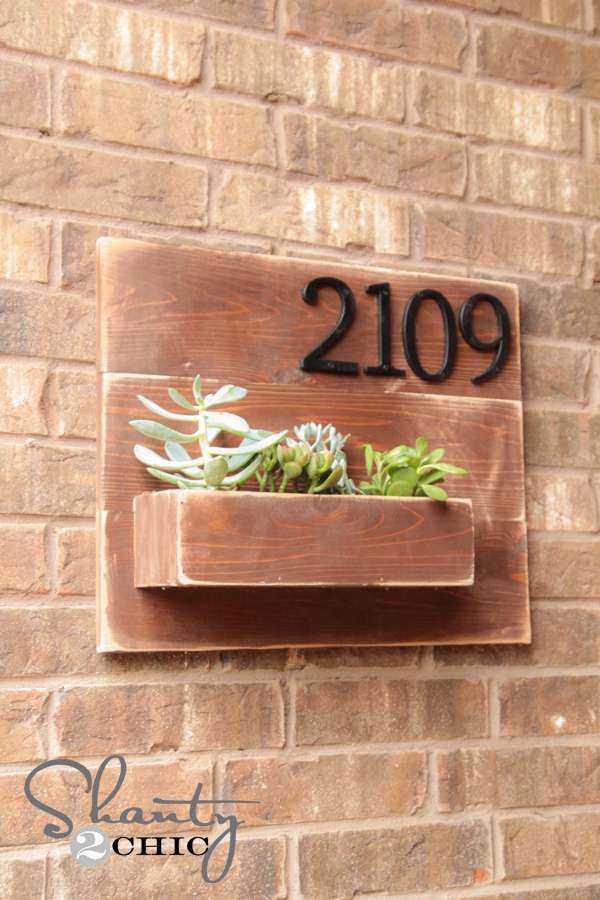
How cute is that? This thing is SO simple to make, and you can hang it with 3M fastening tape making it a perfect project for those of you who rent your home as well!
Let’s get started!
Supply List
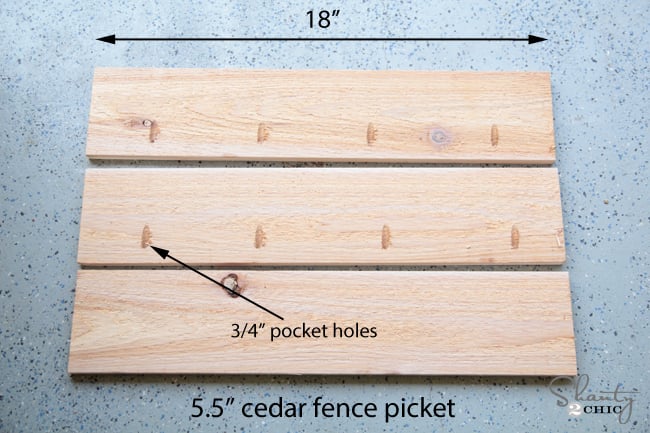
1 – 5.5″ cedar fence picket (mine is 3/4″ thick… if you use 5/8″ be sure to adjust your pocket holes)
1 x 4 x 8 cedar board – you will have scrap, but that’s she shortest you can buy at Home Depot
Metal Address Numbers
plants – I used succulents from Home Depot
With the plants included, the entire project cost me under $25. You can use less expensive plants, but you will have to water them more which I fail at. 😉
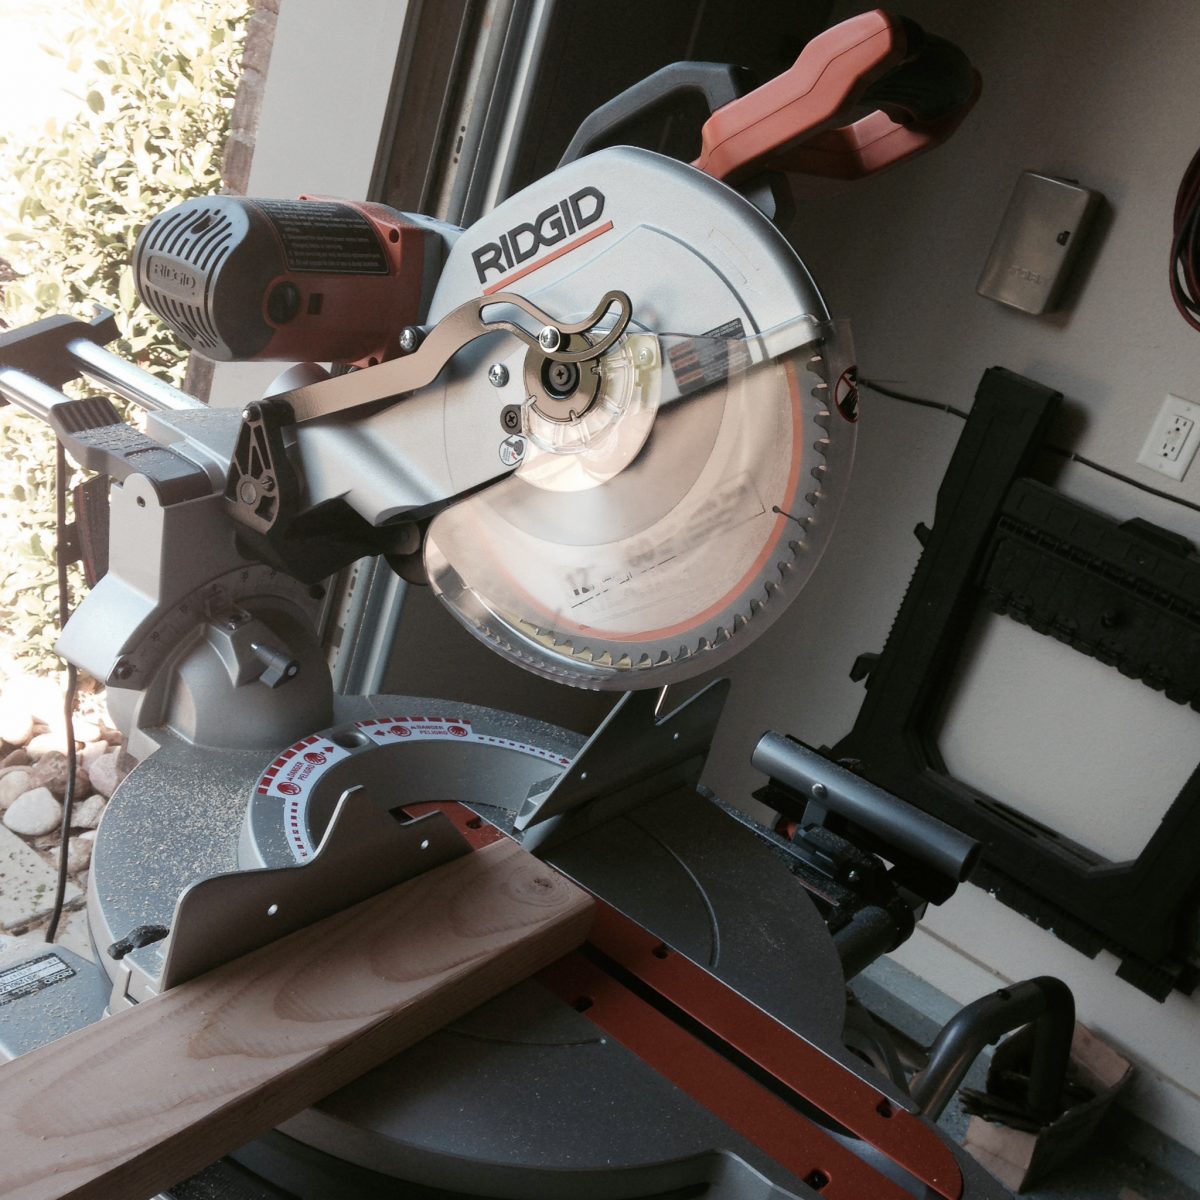
Start by making your cuts! I cut my fence picket into 3 pieces that were each 18″ long. I used my Ridgid miter saw for this part (which I love dearly and is always on my favorite tools list) but you can also use a small hand saw like this one.![]()
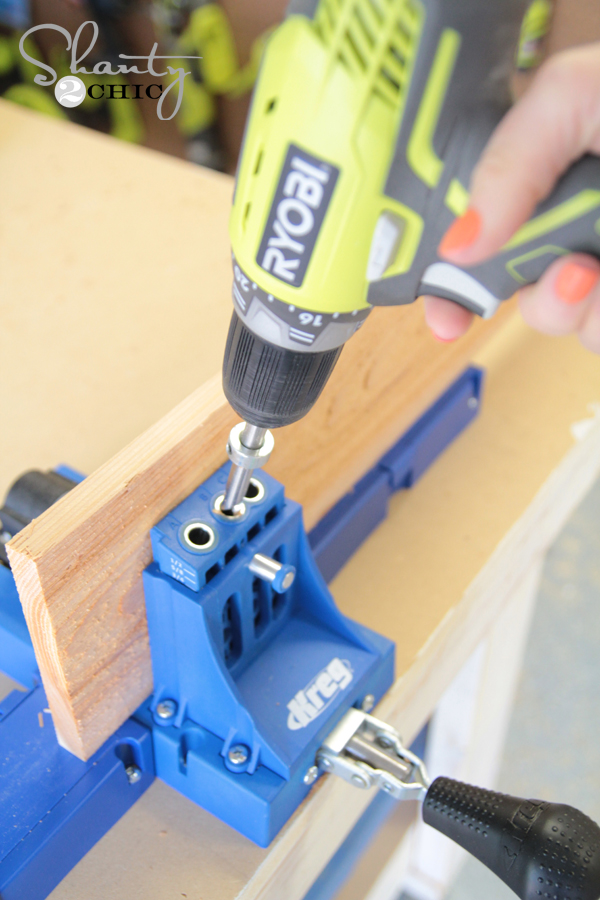
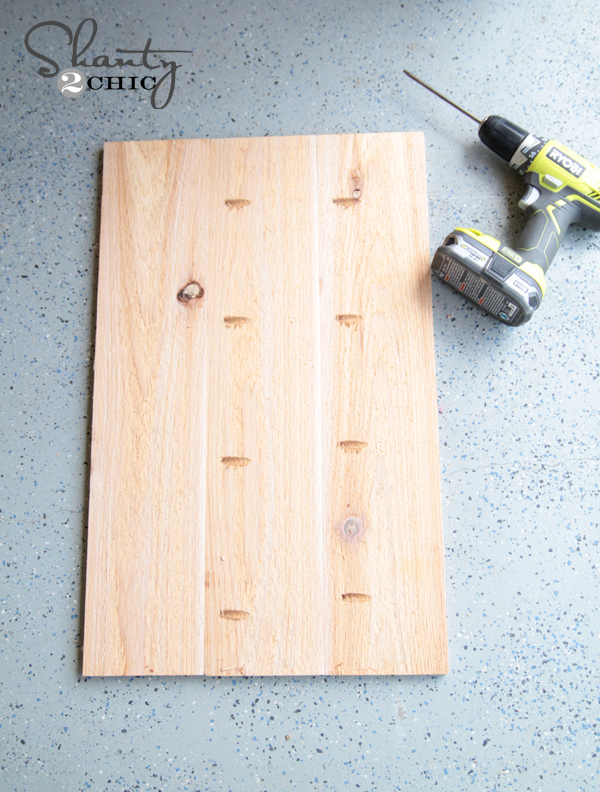
I used my Kreg Jig to add 3/4″ pocket holes on two of those 3 boards I just cut. I love my new K5![]()
model, but I mounted my K4![]()
to a board and I keep it handy to pull out when I have really long boards that won’t fit on top of my workbench. Both models are amazing, but my fav is for sure the K5 with all of the cool updates.
At this point, your boards should look a bit like this…
I used my Ryobi 18V One+ drill to attach my boards using 1 1/4″ pocket hole screws through my pocket holes.

Now the back looked like this…
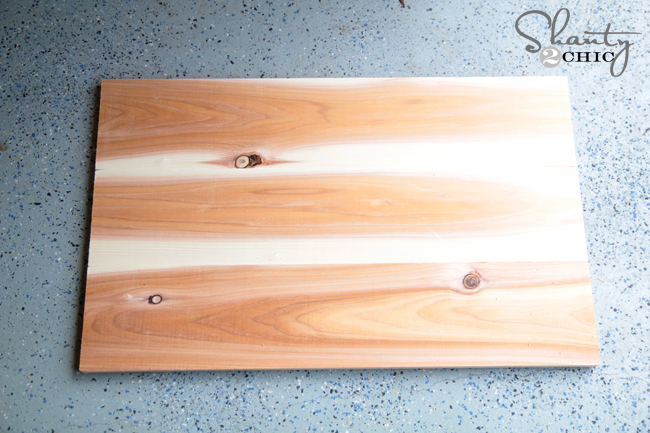
The front will look planked like this…
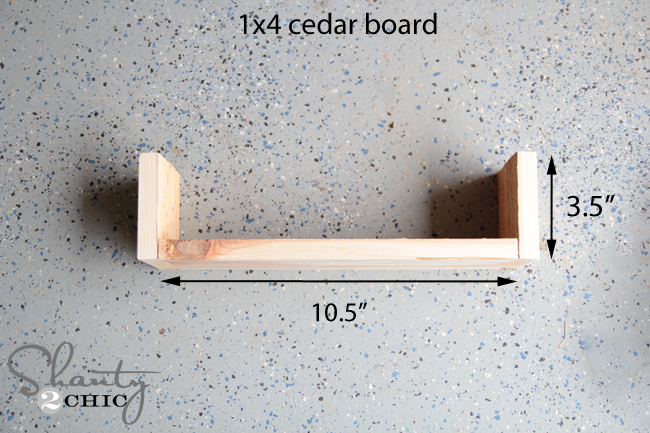
Next I made my 1×4 cuts. This will be my planter. I made 4 cuts…
1 – 10.5″
2 – 3.5″
1 – 12″
I added 3/4″ pocket holes to one side of the 10.5″ piece. I use these pocket holes to attach the planter to the planked back. These will face up and will be covered by the plants. After adding those pocket holes, I attached my two 3.5″ side pieces to the 10.5″ bottom piece using Gorilla wood glue and 1.25″ brad nails.
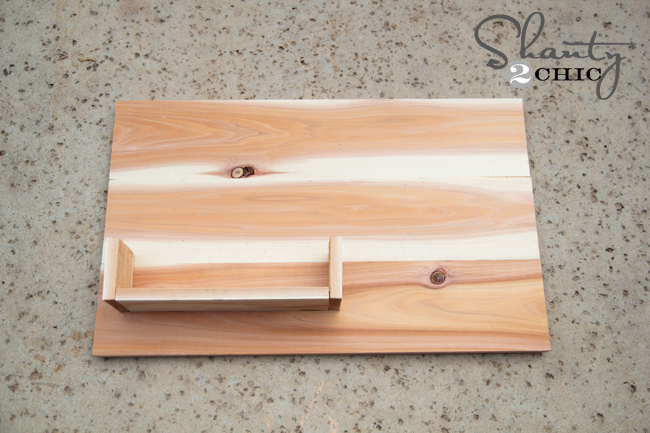
Next, I attached this piece to my planked back using wood glue and 1.25″ pocket hole screws through those pocket holes I mentioned earlier. I didn’t measure this part at all… Just used the old eyeball method.

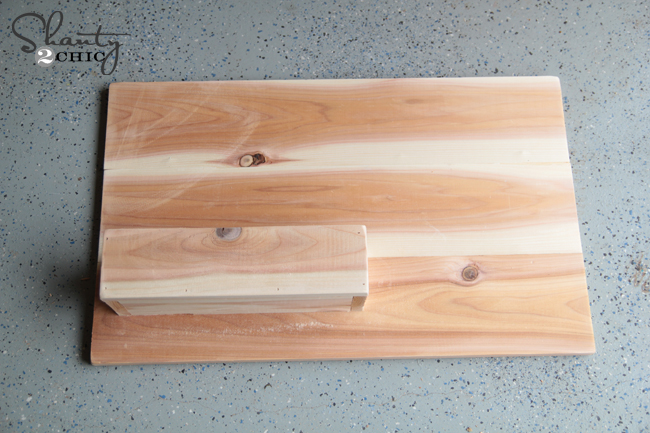
Now, it should look like this…
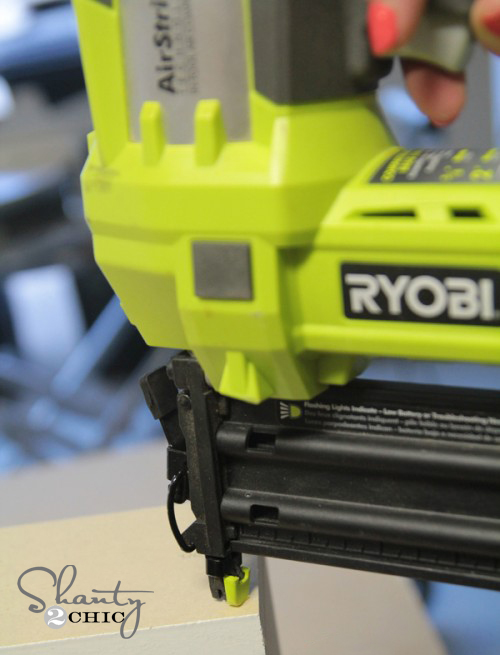
My final step was attaching the top 12″ board. I used my Ryobi Airstrike Brad Nailer with 1.25″ brad nails and wood glue to attach it.
Here it is all finished up ready for stain!
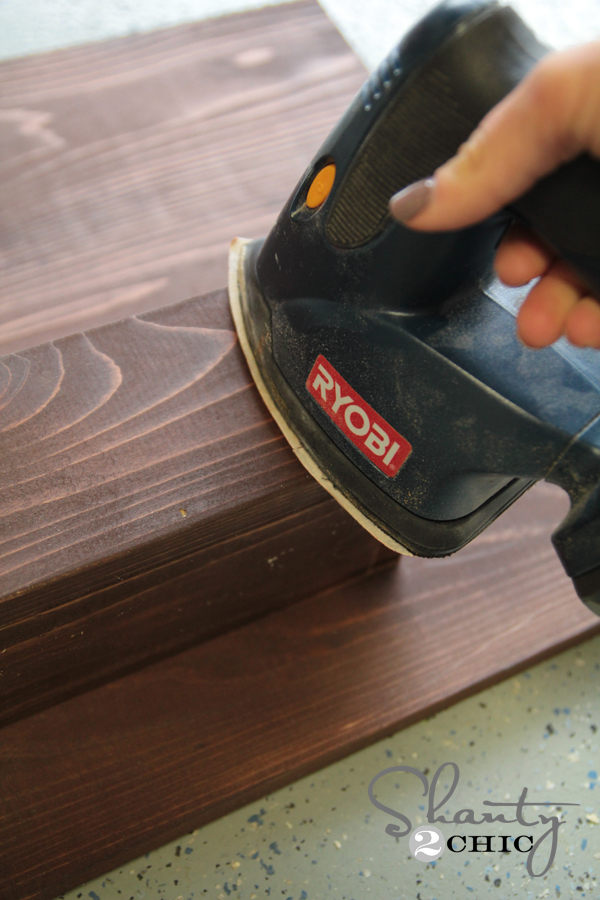
I chose to use Varathane Stain from Home Depot in the color Carrington. It’s one of our very fav colors. I think it’s the richest brown I have found, and it dries in under an hour and only requires one coat. That makes it even prettier 😉

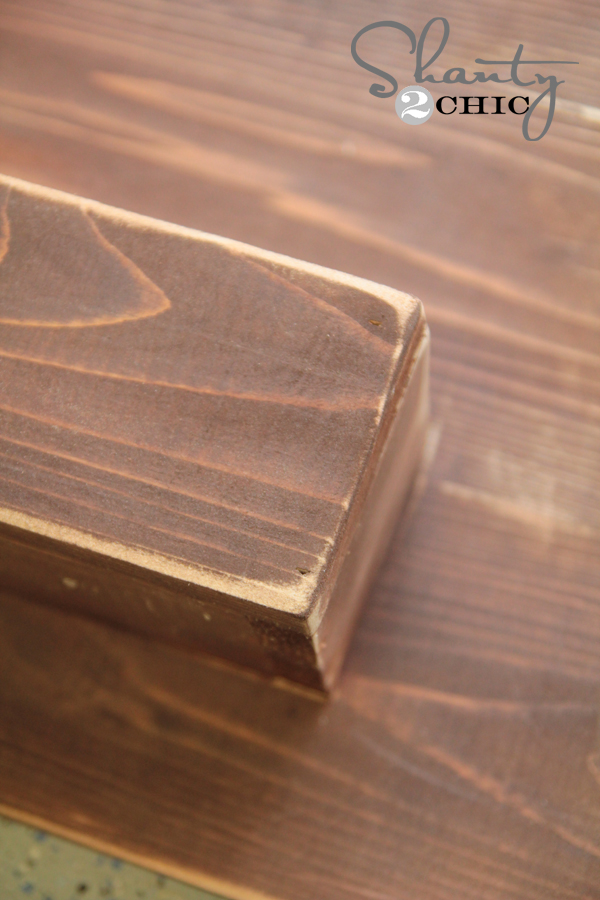
Once the stain dried, I used my Ryobi Corner Cat sander to distress all of my edges and corners. This is my very FAV sanding tool out there. It’s lightweight and super powerful and uses the same battery as my drill. The tool by itself is only $29 which is an amazing price! I use it on every project I do.
This step is totally optional! I just love the rustic ‘shanty’ look it gives the whole piece!
I finished the whole piece with one coat of Spar Varnish since this will be outside.
After that dried, I attached my numbers. I found mine at Home Depot.
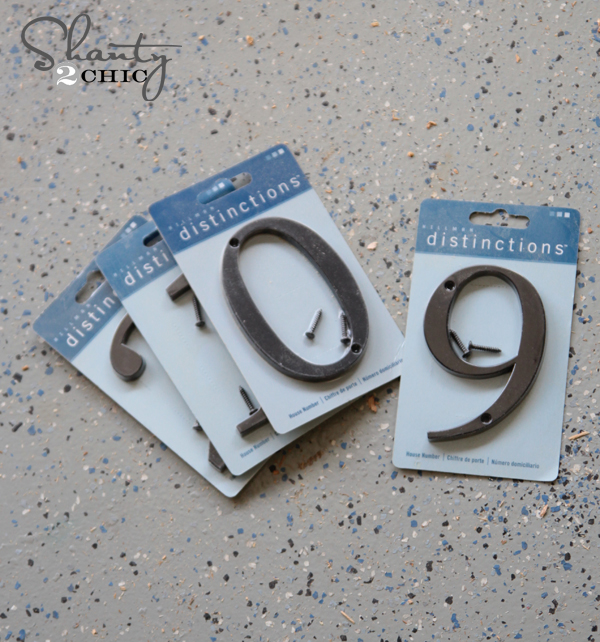
I just used my drill to attach them and I was done!

I found the succulents at Home Depot as well. I filled my planter with a few and hung it on the wall. I used 3M heavy duty mounting tape to hold mine. It has now been hanging steady for about a week. You may choose to hang yours differently depending on where you are putting it! Here are a few more shots…

Thanks so much for stopping by! Wouldn’t this make a great hostess or housewarming gift?? I love the little touch it adds to our entry. I also love that it took me 30 minutes to throw together…. My kind of project people! Let me know if you have any questions at all! I would LOVE for you to share and PIN this project with all of your friends.
Thanks so much for stopping by!
Whitney

How big are the numbers you used?
Did you add a specific hanger on the back to mount this to the house? Did you drill into the house to hang this?
Thank you!
I love this and am partway through the project. So far so good. However, is there another way you recommend to assemble the planter box? I don’t have a nail gun and don’t want to shell out $100 bucks for one right now.
I made do with a hammer. Love your #nailedit shirt. Where did you find it?
Do you have a YouTube channel?
Just wondering why you didn’t do a glue up instead of using pocket holes? Is it because the glue can break down with weather and expansion/contraction of the wood?
What a lovely idea! Do you think I could just glue the planks with Gorilla glue or something similar as I don’t have the Kreg Jig yet? Great job 🙂
It’s been a bit since this post. How is this holding up? I’m trying to think of a way to attach the planter box using brackets or something less permanent. That way, if it rots out I can just build a new little planter and not mess up the sign.
Muy bonito y natural;-)
I really love this. Thanks for the inspiration!
Hi Girls! Love this so much!! Is there another way to attach it to the brick (drilling or something?) I am new to all of this and am not sure what it is you mentioned to keep it on the wall – a heavy duty mounting tape? Does that require any drilling or is it literally just a tape you add to the back of the project!? I can’t wait to try this out. Also – as a beginner I have just been using Furring Strips at home depot…. do you think those would work or should I stick with Cedar as mentioned in this plan?? I Don’t really know the difference in all the woods yet so I keep sticking with the same kind 🙂 Thanks so much!!!
I believe the purpose of the cedar over other types of wood is because it won’t rot with the soil and watering of the plant. But I assume if you decide to plant artificial succulents in there then it wouldn’t matter the type of wood
Love mine! Thanks so much for the plans 🙂 I made mine a tad larger (6″) and stained in dark walnut.
Can I see the one you made?
Super cute! Now if we don’t have a kreg jig to make the pocket holes, is there a different way to do this?
I love the work you ladies do. Can’t wait to try some out and post them on IG for you to see! 🙂
Thank you Julia! You could also use a thin board (similar to a paint stick or ruler), line up your boards and attach thin wood and run it opposite the direction of the planks. Just use glue and nails to attach through the thin wood and into the back of the planks. Does that make sense?? Hope so!
Yes, thanks so much! I have a birthday coming up so I’m hoping the hubby will get me a Kreg jig 🙂
I’m working on doing one of your shelves now. Once its complete, I will post pics on IG and tag you guys!
Adorable! Love the succulents – although I manage to kill those off too. I’m convinced I was born with a black thumb. Great meeting you at Haven – finally! Thanks for sharing!
Thanks friend! I kill most as well 🙂
SO cute! Lovely idea
Thank you Edea!
Does water not leak through when you water?
Succulents require very little water… If you want to use other plants you may want to add some kind of liner. Hope this helps!
This is so beautiful! I love how it is a wall planter too. Great idea!
Thank you Susan!!