Happy Thursday guys! SO glad you are here… To keep up with all of our projects be sure to FOLLOW US ON INSTAGRAM and PINTEREST!
Recently, I closed off a loft space to create one of my oldest daughter’s her own room. She has shared a room with my oldest girl for 10 years, and I thought it would be a fun treat for both of them. I have come finished several projects in the new room, so I decided to turn my attention Avery’s room for a bit! Now, she is almost 12 and has become well aware that I build furniture. Over the last couple of years, she has started making special requests. I often find her with a Pottery Barn Teen magazine in her hand and know that I am in trouble 😉 That leads me to today’s build! Check out this DIY Platform Dresser Bed!
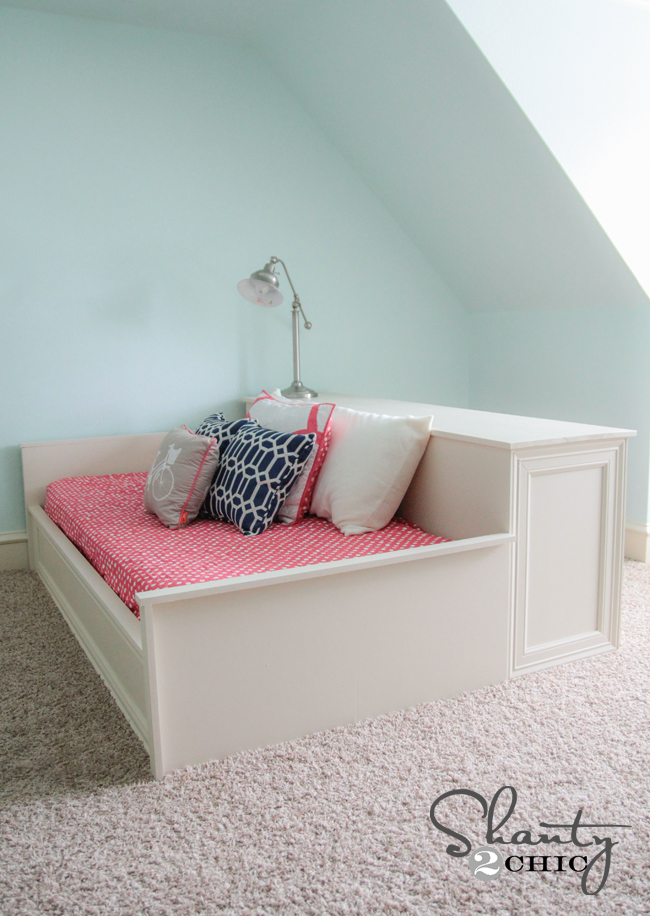
How fun is that?? Today I am focusing on the bed part. It really is a 2-part build, and I thought this was the best way to share!
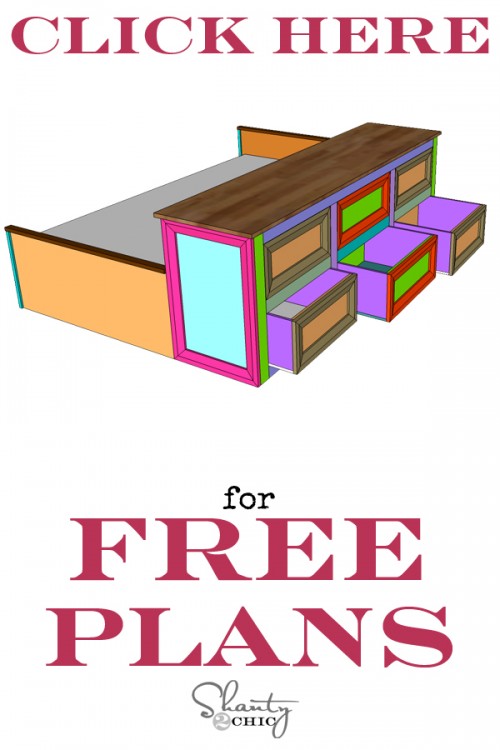
Be sure to download and print the FREE PLANS for this dresser bed HERE or by clicking the button below!
Let’s get started! Much of this build is long pieces of hardwood plywood.
To keep the cost of the wood down, I decided immediately to use a favorite product for the plywood. Many of you have heard us talk about PureBond Plywood. It’s an amazing hardwood plywood that we use on so many of our furniture pieces. What’s so cool about it? Well, it’s made in the good ol’ USA. It’s formaldehyde-free making it safe for me and my family. It’s affordable! You get the look of a beautiful hardwood at the cost of plywood, and it’s made from reusable resources. But, our very favorite thing about it is what it looks like. It’s BEAUTIFUL!
Since learning about it a few years ago, we made it our go-to brand for plywood. It was an easy choice!

You can get PureBond at the Home Depot. I decided to go with birch for both the bed and dresser. It comes in a huge 4′ x 8′ sheet which is next to impossible to get in the car with 5 kiddos in tow. That’s why I let Home Depot do most of the work for me!
I had the nice man in the lumber department rip the sheet down.
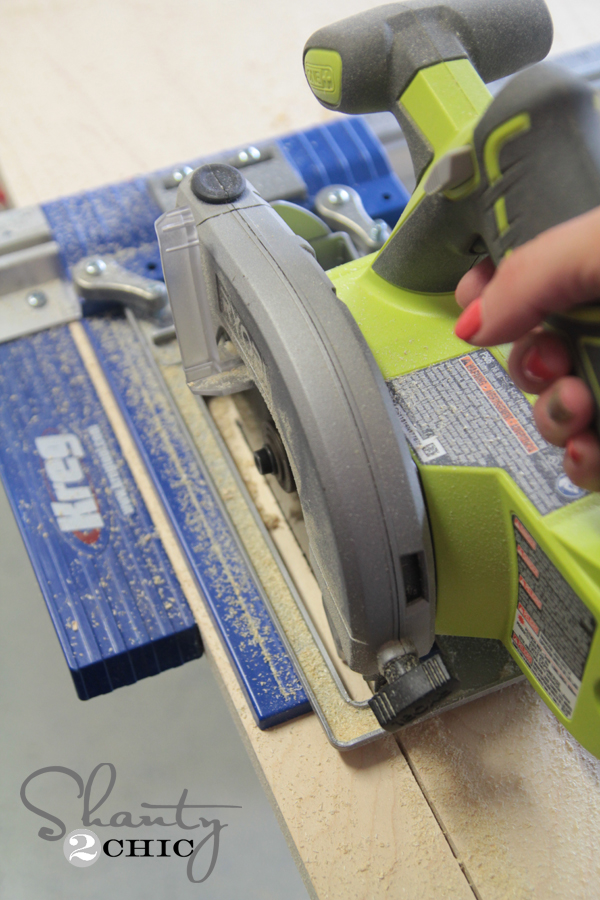
I have found the easiest way to rip down plywood is to use my Kreg Rip-Cut![]()
with my Ryobi circular saw. This is a great team right here…

The Rip-Cut can be a bit intimidating at first, but once you use it you won’t rip wood a different way again. It attaches to you circular saw. All you do is set the red arrow guide to the same location of your blade. Then, you adjust the arrow on the ruler to the width you want to cut.

At the end of the ruler is a guide that runs the edge of the wood. This keeps you going straight. You just line it up and go. It’s SO EASY.
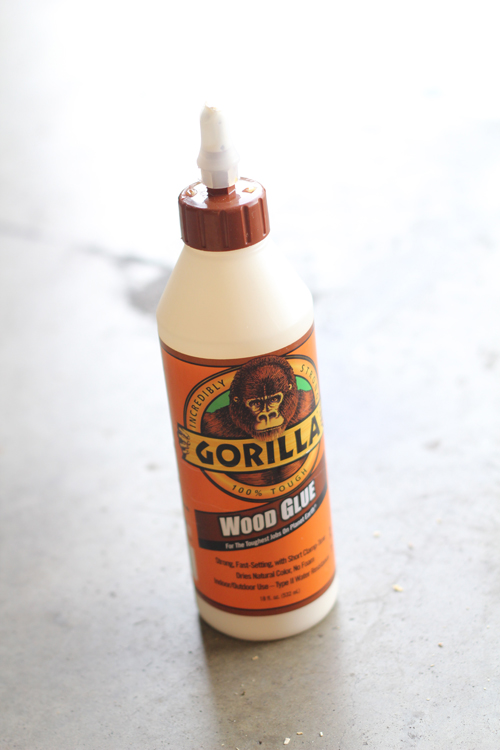
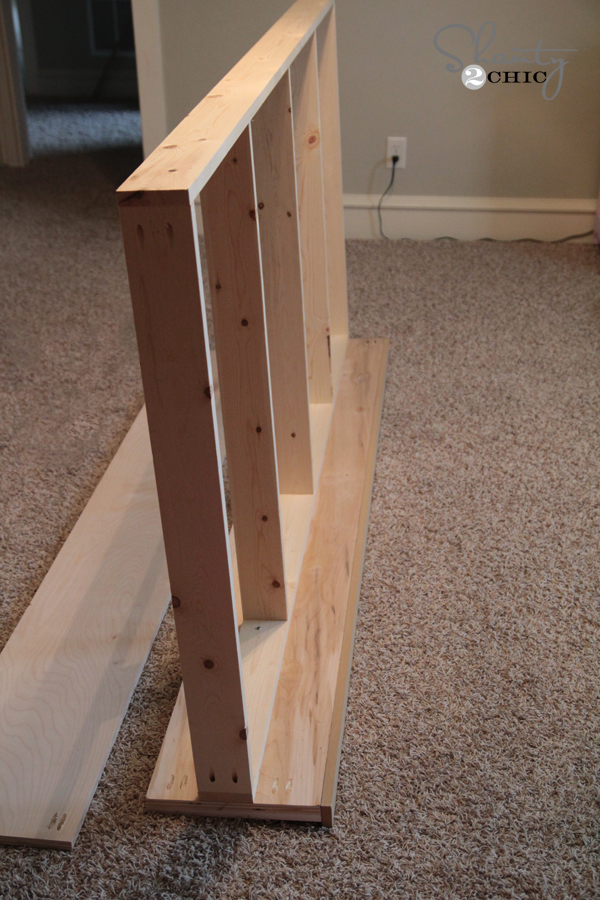
You will assemble the headboard and footboard first. All I did was rip these pieces down and add trim. I used my Ryobi Airstrike Nail gun to attach all my trim. I used a line of Gorilla Wood glue under each piece of trim. Don’t forget to glue!


I did decide to build the headboard, footboard, side rails and frame in the shop and assemble everything in Avery’s room. I was worried about getting it up the stairs since I had nobody home to help me.
I used my Kreg Jig for the next parts. I am currently using the K5 model and love it to pieces. Is it weird to get giddy about a tool?? Probably so, but I’m owning it. 🙂
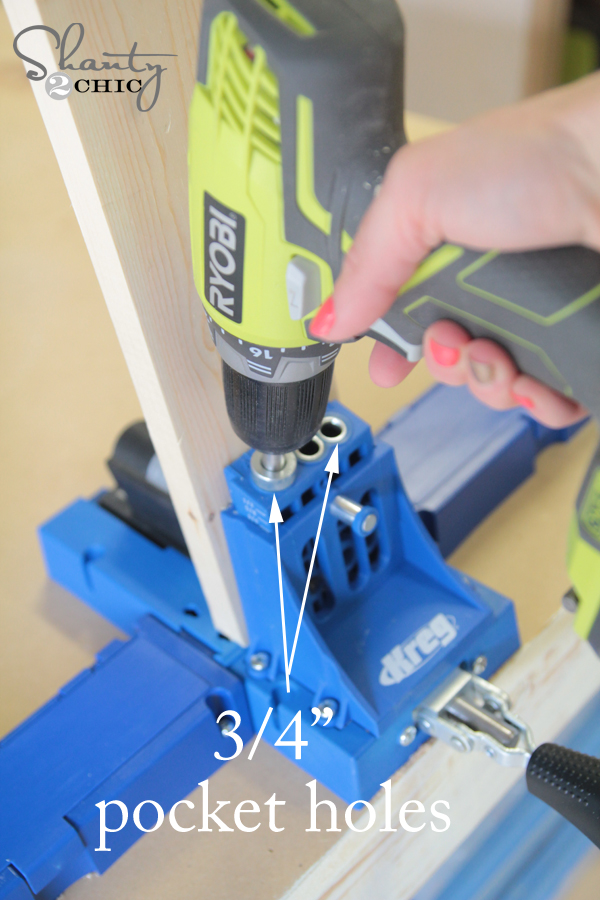
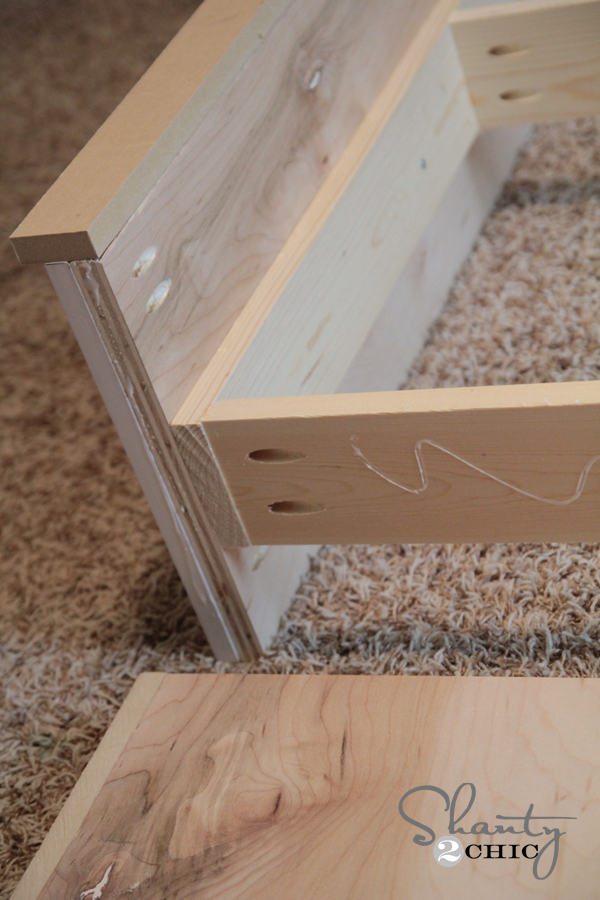
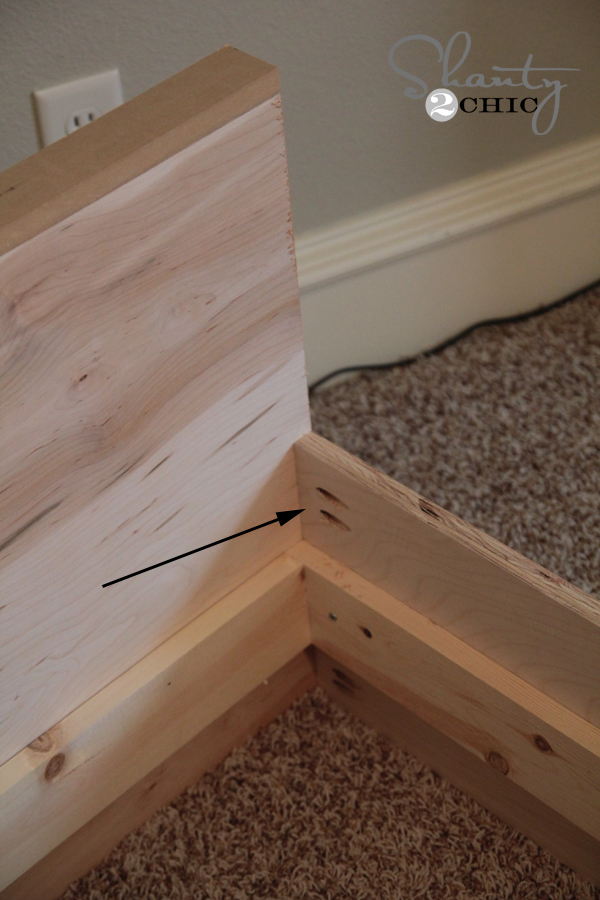
Your side rails are next. One will be a plain piece of hardwood plywood since it attaches to the dresser. The other will be trimmed out. I chose to use an inexpensive door casing for mine. Make sure to add 3/4″ pocket holes on each end of your bed rails. These will be used to attach the rails to the headboard and footboard.
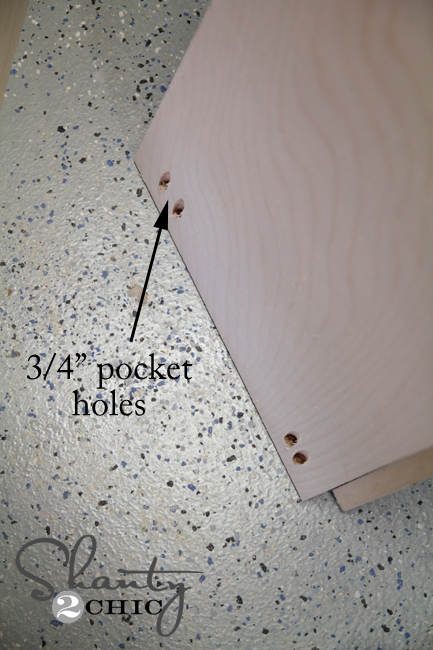
Finally it’s time for the frame of the bed. I used 3/4″ pocket hole and 1.5″ pocket hole screws on the frame.

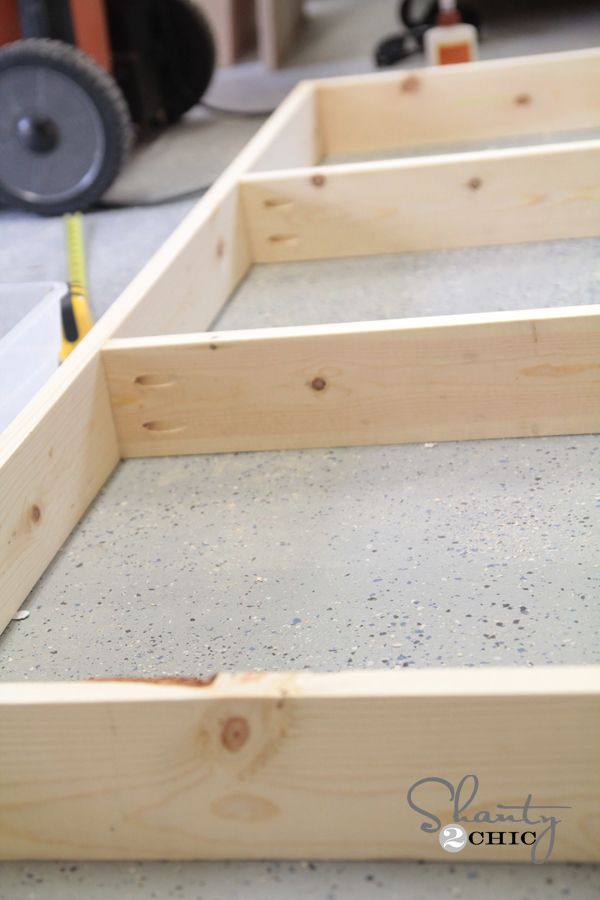
Once I had all of these pieces brought upstairs, I started assembling! First, I attached the bed frame to the side rails like this.
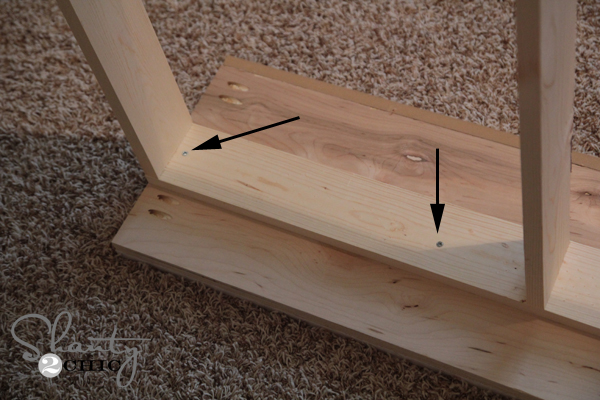
I used 1 1/4″ wood screws and wood glue on this part.

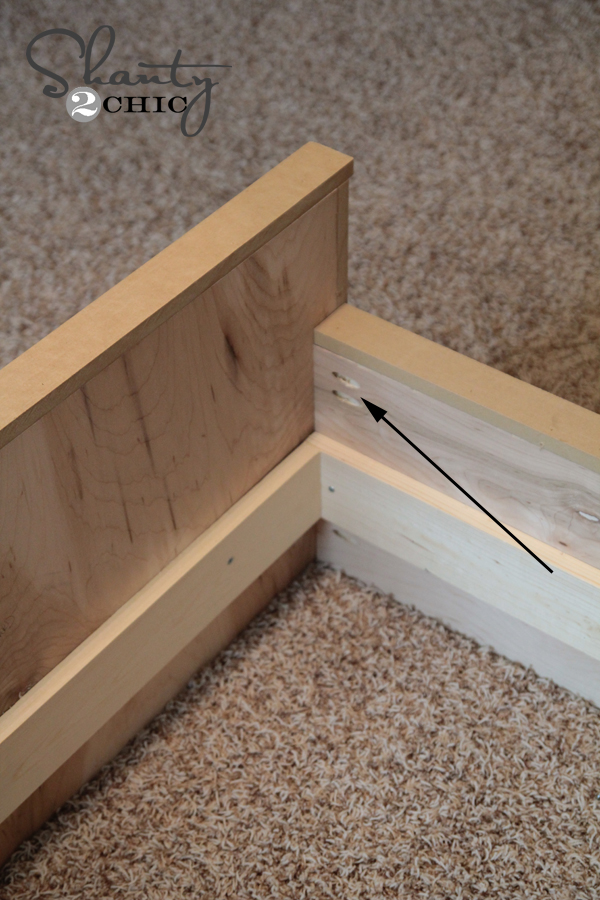
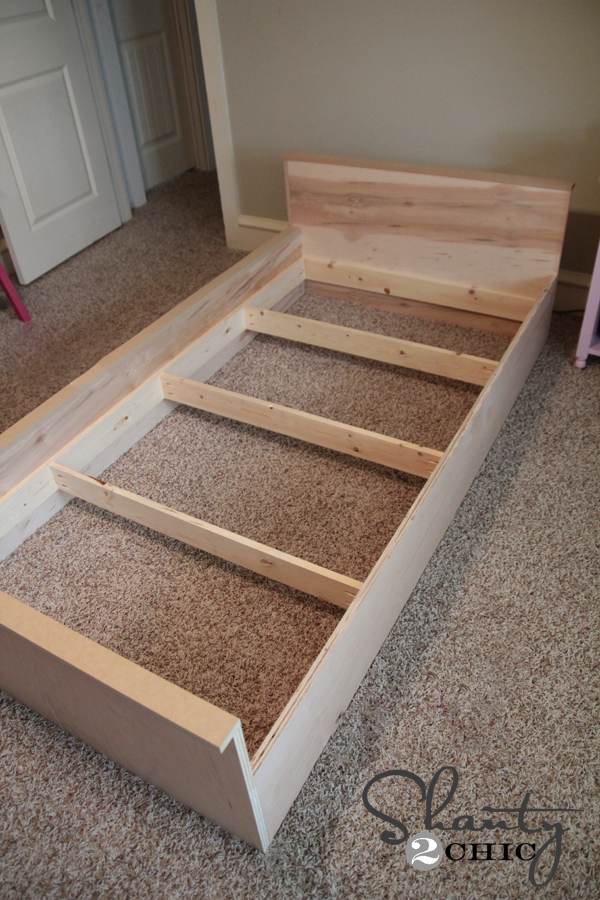
And, my last step was assembling the headboard and foot board. I used wood glue and 1 1/4′ pocket hole screws on this part.
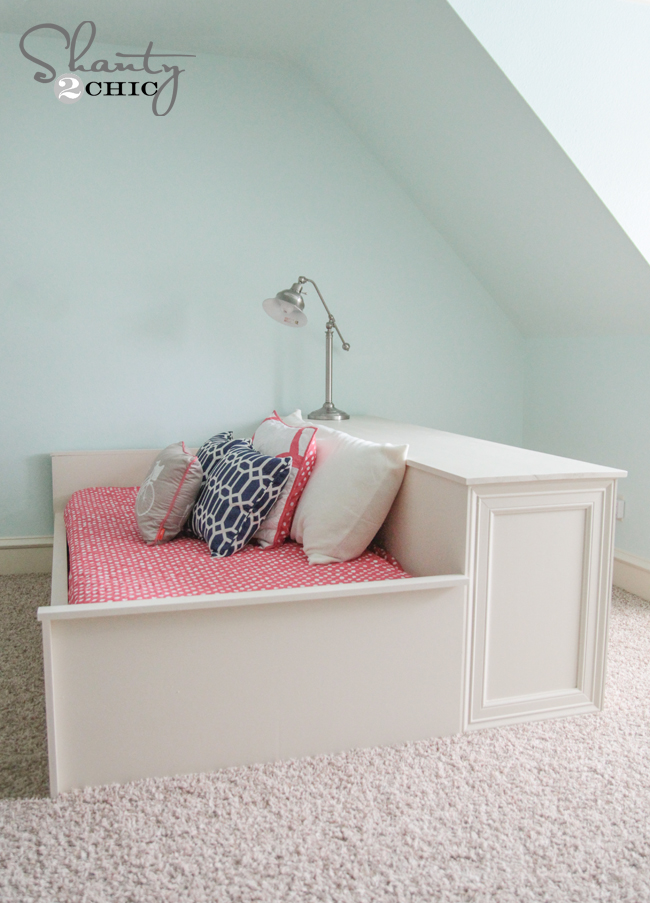
All finished! Well… Minus paint and a dresser 😉
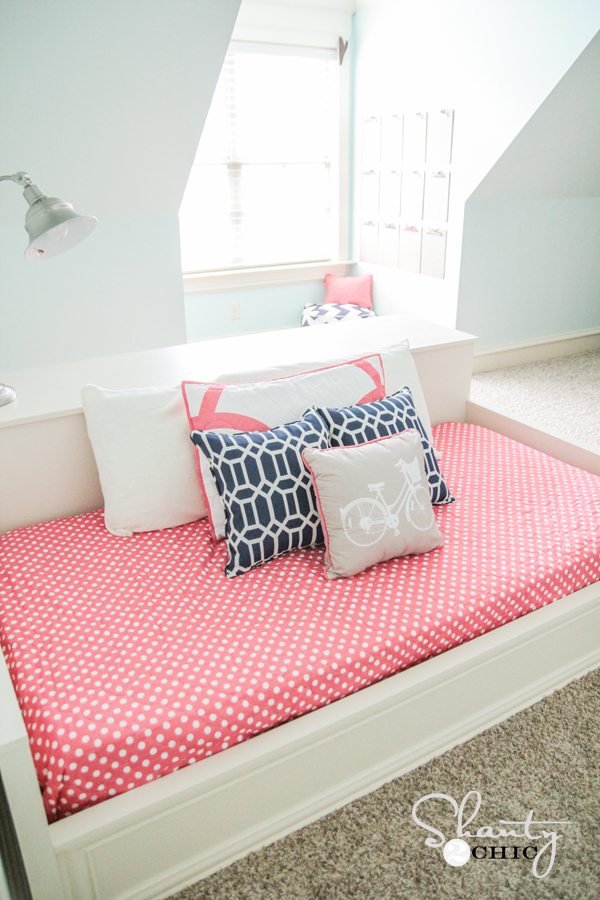
Here are a few more shots of the bed! Want to see the dresser?? You have to wait until next week for that 😉
Thanks so much for stopping by! I would LOVE for you to share and PIN this bed with all your peeps!
Thanks so much to Jay of Jay’s Custom Creation’s for putting all of our original ideas and designs into printable plans for our readers! Check his site out! LOTS of fun ideas!


Is it possible to have these plans adjusted to a full size bed?
Is this a Twin or Full size bed? Thanks!
Is this a twin or a full size bed?
May I ask what the brand and color of the paint on the walls is?
Once I have purchased all of your “required” carpentry extras, I willhave spent more money than just buying 2 Pieces of substitute furniture in a high end furniture store. This and many other featured projects are a very far cry from DIY in my estimation. This is not DIY except if you are an experienced woodworker or skilled furniture craftsperson. You folks should be ashamed. DIY, really!!
This is a bit harsh. If you are not interested in doing the job yourself or have no tools then why are you looking at DIY in the first place.
It is allot of work, know how and cost for tools and materials. If you do everything DYI then one would most likely have these tools and have some experience. If your new to DYI and plan on continuing to build things for yourself, but the tools. Kreg jigs make lots possible, and create strong builds. Most DIYers are looking for lower costs and better quality. Every DIYer starts somewhere, good luck. Thanks for sharing the plans.
Is this bed made to fit a full size mattress?
Do you know how much you spent on materials? Would you ever consider making a plan that adds a desk instead of a dresser? 🙂
Ola boa tarde, adoro seu site. Tem coisas maravilhosas.
Moro no Brasil, e não falo nem leio inglês. Gostaria se houvesse possibilidade de você colocar o tradutor no seu site.
Aqui no Brasil, quando criamos um blog, o google já oferece o tradutor.
Isso facilitaria bastante a minha vida. Pois, tenho que ficar copiando e colando no para traduzir tudo.
Obrigada, odoro seus trabalhos.
Se você usa o Google Chrome, que vai oferecer para traduzir qualquer página para você.
WOW! 🙂
I wish I had room to do the whole bed but I am really interested in the tutorial on the Dresser. It looks perfect for my room 🙂