Oh hey guys!
I have wanted turned leg barstools for years now. I finally scratched the itch and here is what I came up with!
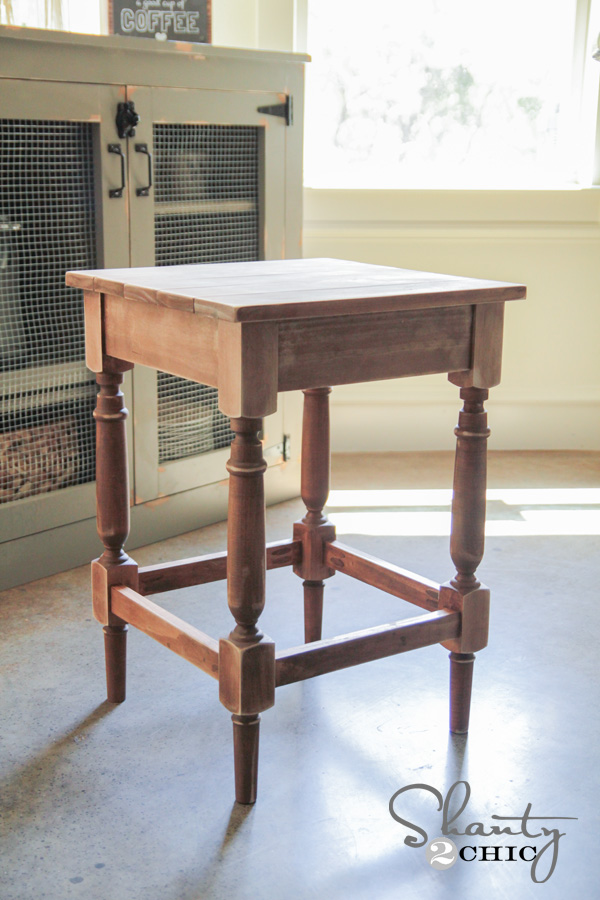
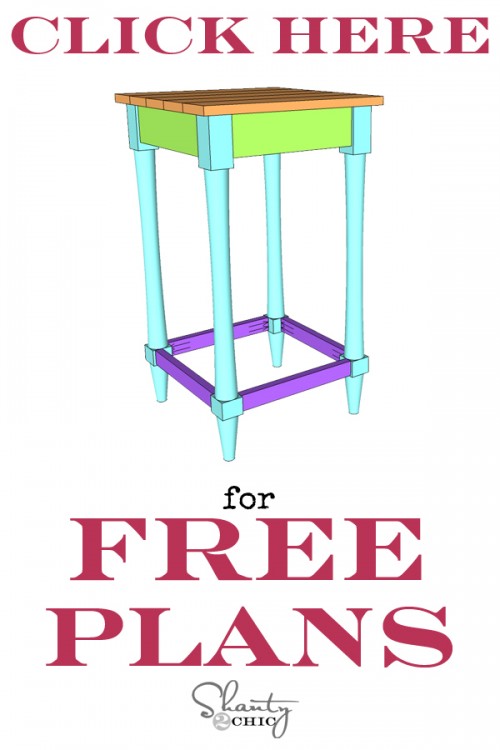
How fun are those? Two of my favorite things about these stools is that you can easily customize them to fit your own decor, and we are offering free plans to build both the bar height stools and the counter height stools! We had our good friend Jay of Jay’s Custom Creations put our barstools into printable plans to make the build easier for you guys! He’s great… You guys should check him out! You can click HERE or the button below for the free plans! As always, I will share some tips and photos from my own build!
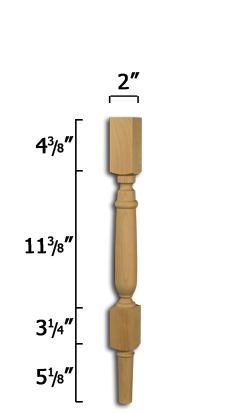
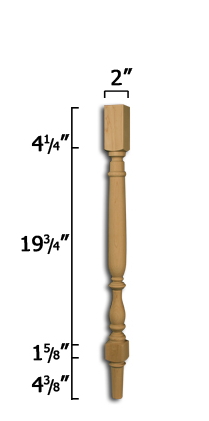
So let’s start with those legs… My fav part! I teamed up with our favorite furniture leg company to design these legs and offer them to you…. Osborne Wood Products! You can find the shorter counter height stool HERE
and the taller bar height stool HERE!
I started by making all of my cuts. This is such an easy build! I built my bar stool tops first. I used select pine for this part. You will cut 5 – 1×4 at 17.5″ long.
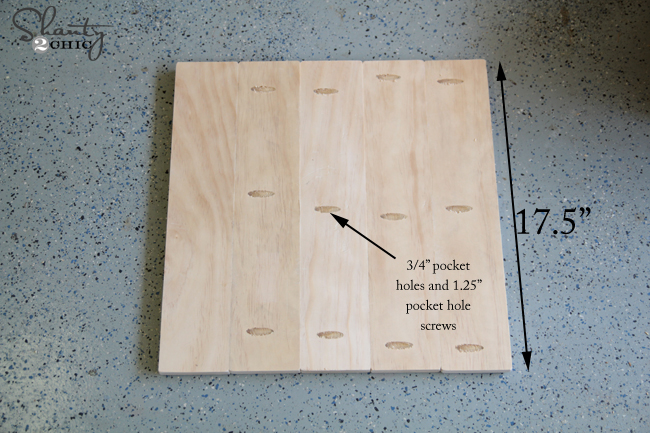
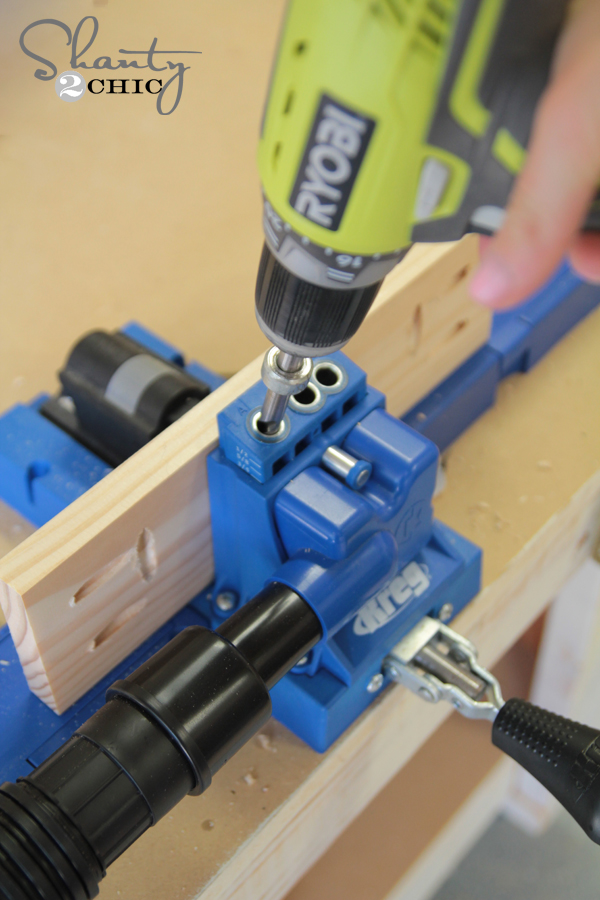
Once I made these cuts, I used my Kreg Jig to make 3/4″ pocket holes on 4 of these boards. I eyeballed the spacing, and this is what they looked like before attaching.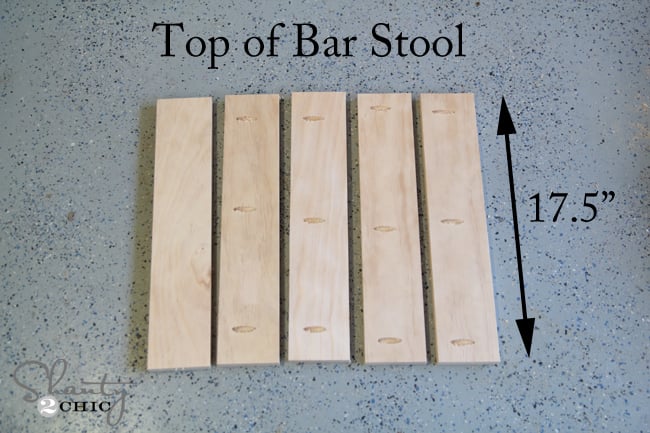
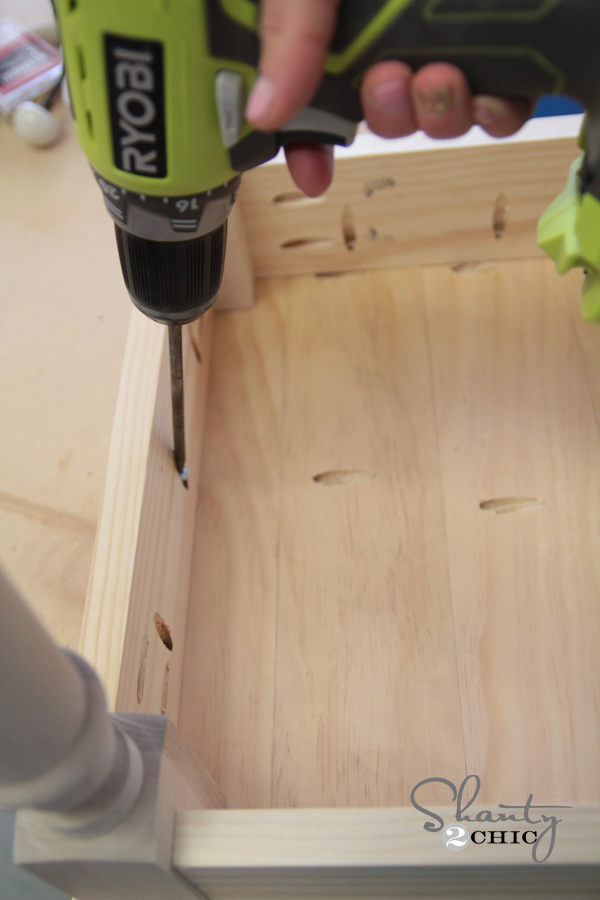
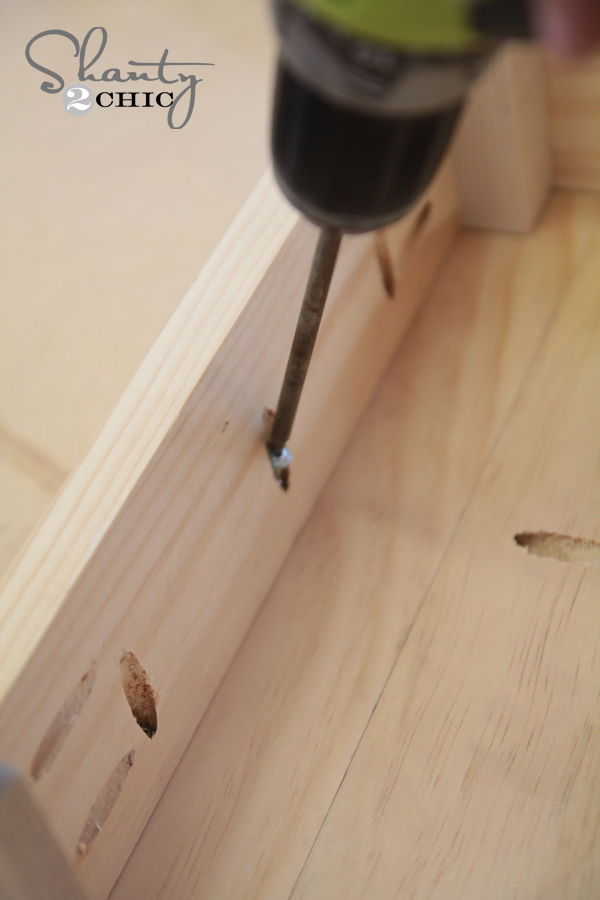
I attached these boards using my drill and 1.25″ pocket hole screws through those pocket holes I just made and into the board that laid directly next to it.
Now for the bottom!
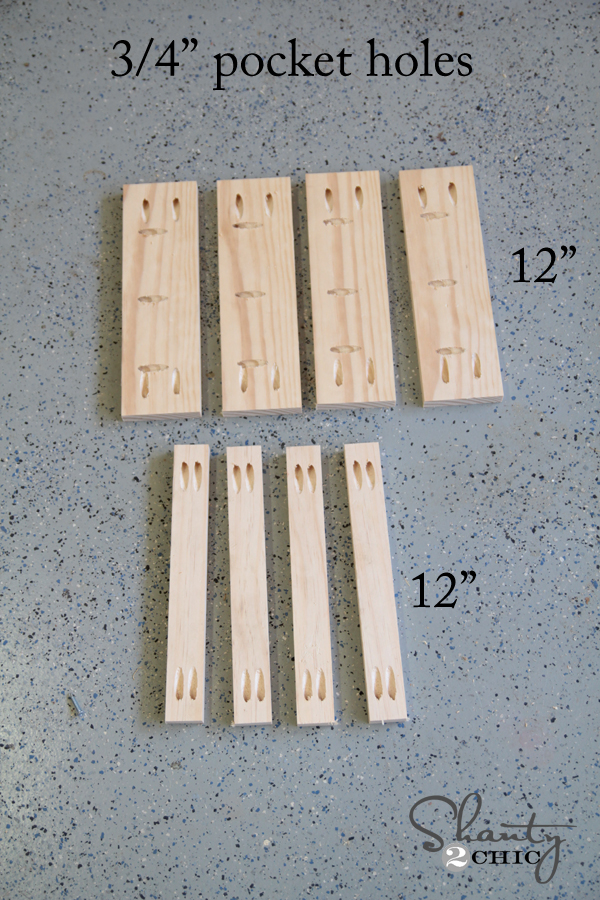
Each stool will use 8 boards for the base… Four 1×4 at 12″ and four 1×2 at 12″. Once you have those cuts made, it’s time to get jiggy. Couldn’t help it. Sorry. 😉
Here is how I lined up the board in my K5 Kreg Jig to make my pocket holes on the ends of each 1×4.

I laid each 1×4 on it’s side to add pocket holes down one side. These pocket holes will be used later to attach the base to the top.
I also added two pocket holes to each end of my 1×2 pieces. Keep those pocket holes on the same side of the board. This side will face the inside of the stool.
At this point, all of your boards should look kind of like this and you are ready to attach!
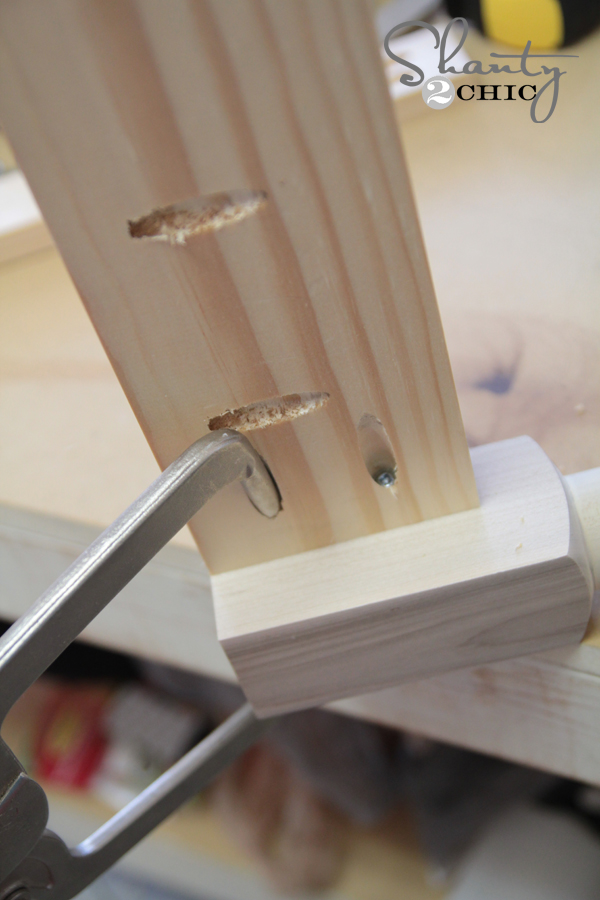
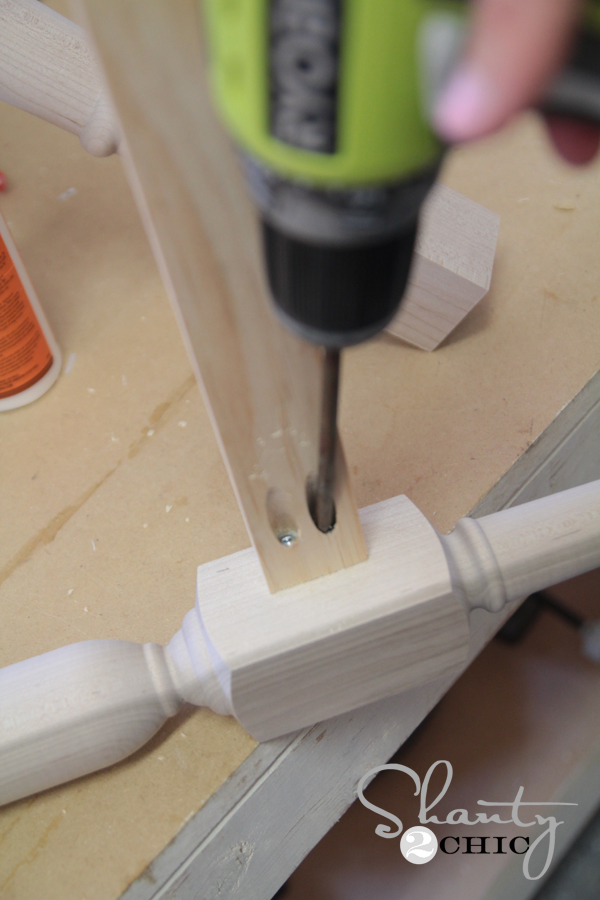
Each of the legs come with two square spaces. These spaces are where you will attach the side pieces. The top 1×4 pieces will sit flush with the top of the bar stool leg. I attached mine using wood glue and 1.25″ pocket hole screws. I found it really helpful to use my Right Angle Clamp by Kreg. This clamp is the bomb. It sits inside a pocket hole and uses a face clamp on the opposite side to hold everything tight together. It kind of acts as an extra really strong hand!

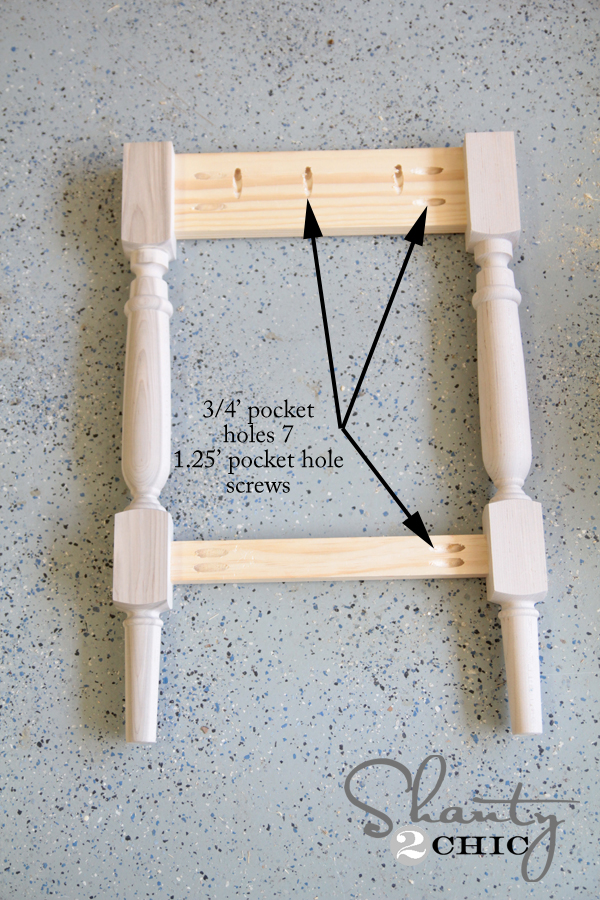
Now for those 1×2 pieces. I measured the center of the bottom square space on the legs first. Make sure to line everything up evenly and attach those the same way!

You will have two sides that look like this…
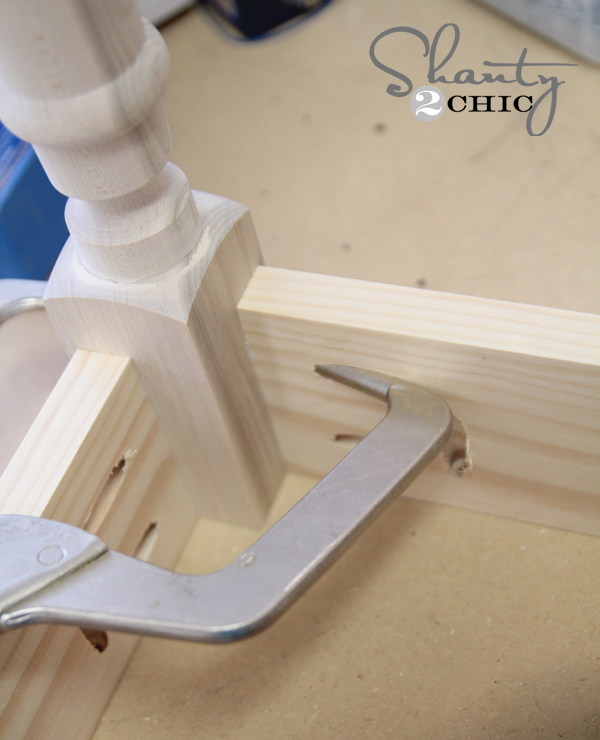
Next, I used my right angle clamp again to hold everything in place while attaching the other pieces.
Time to attach the top! I laid the top down on my workbench with the bottom facing up. I then turned the bottom piece I just built upside-down on top of it. My final step was using 1.25″ pocket hole screws to hold it in place.
I did decide to make plugs for my pocket holes that are on the inside of the 1×2 pieces because they are so visible. I found THIS GREAT TUTORIAL on making your own plugs. SO easy! I made my own using pine dowels.
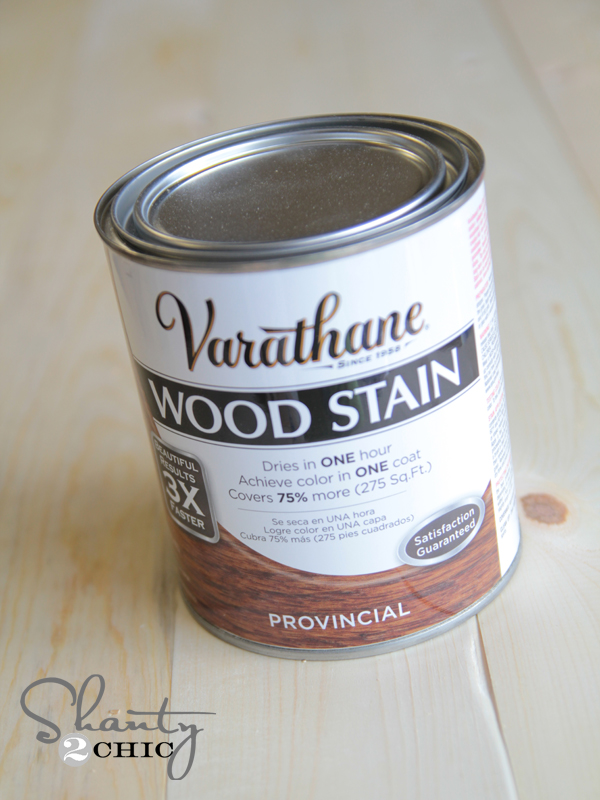
That’s it! Done! My final step was staining… I used a new fav color on mine!
Varathane Stain in Provincial… You can find it at Home Depot! It only requires one coat and dries in an hour… Woohoo!
After mine dried completely, I used my Ryobi Corner Cat sander to distress the whole thing. I love the rustic, vintage look it gives it!
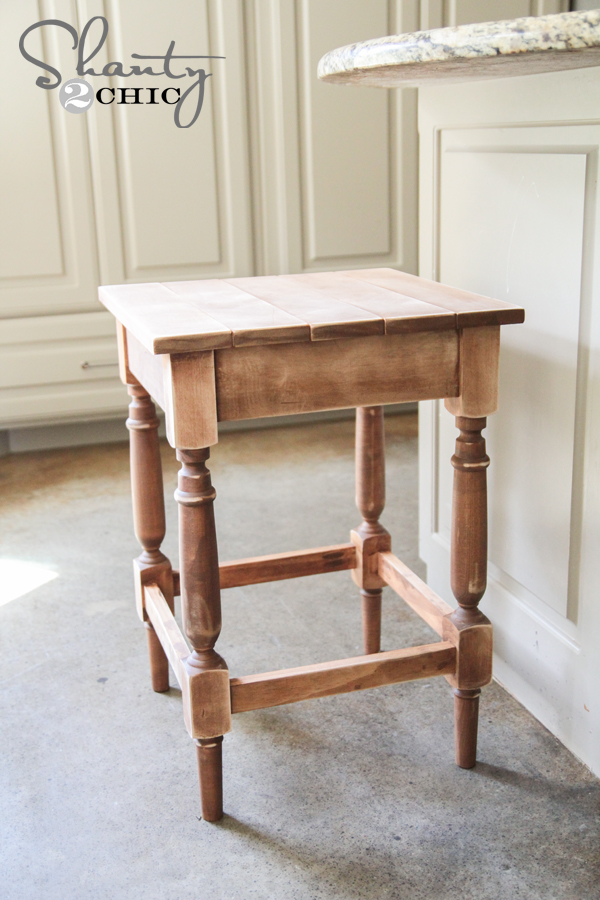
What do you think?? I have to finish my other 6 before you get to see the full reveal… Yup. 6.
Let me break down the cost for you!
Everyone’s shipping will vary with Osborne. I am giving you a cost estimate for the wood minus shipping.
For the counter stools… Each leg costs around $25 with tax.
You will then need 3 boards that you can get for around $10.
That makes each of those stools around $110. I know that may sound high, but compared to the box stores (PB, Ballard, etc) it’s about a third or even less the cost they are asking. Works for me!
Let me know if you have any questions at all! I would LOVE for you to pin and share this with all your peeps!
~Whitney

There’s definately a lot to learn about this subject.
I love all of the points you have made.
I’m not understanding how this is a bar stool?? Looks like an end table..
Love! Gorgeous project as always!
Love these stools. I have been looking for bar stools forever and these will fit my needs. Look pretty easy to make with the Kreg jig.