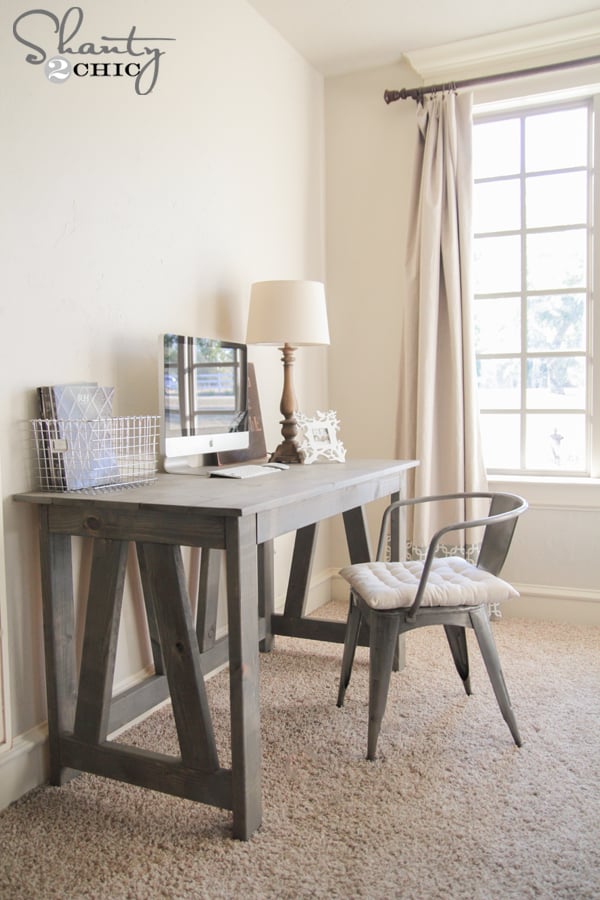
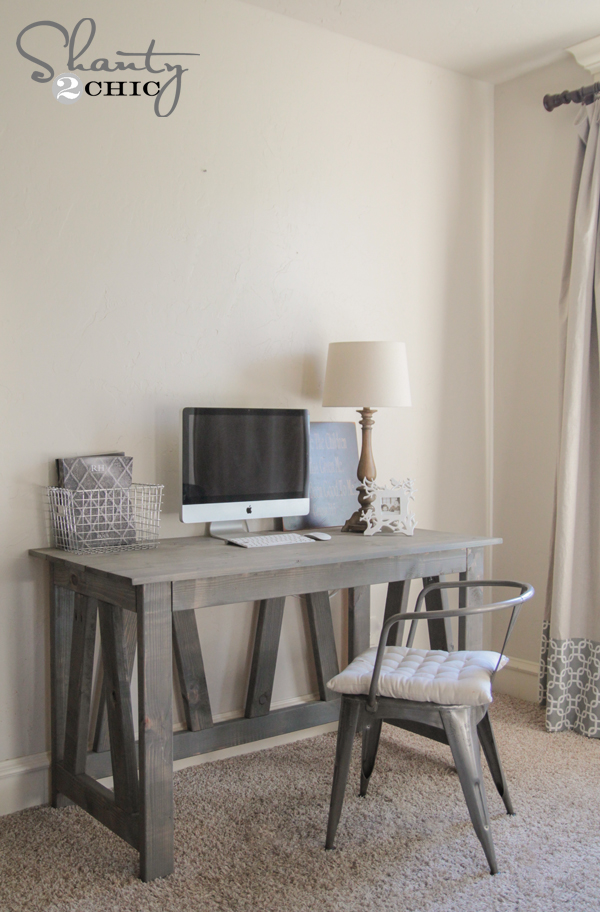
I’m so pumped to show you guys our latest free woodworking plans! I have just started redoing my entire bedroom. It’s the only room I have yet to build furniture for! My next project will be the king bed, which I CANNOT wait to share! Today I am sharing the first half of my new DIY Desk… Check it out!
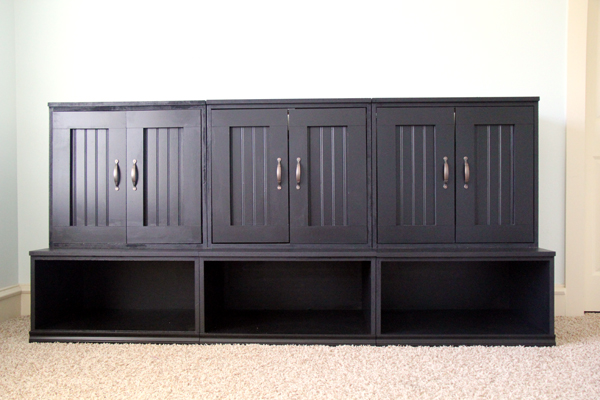
Here is the desk finished with the additional pieces!
For the free plans for the side cabinets click HERE!
For the free plans for the bookcases that sit on top of the cabinets click HERE!
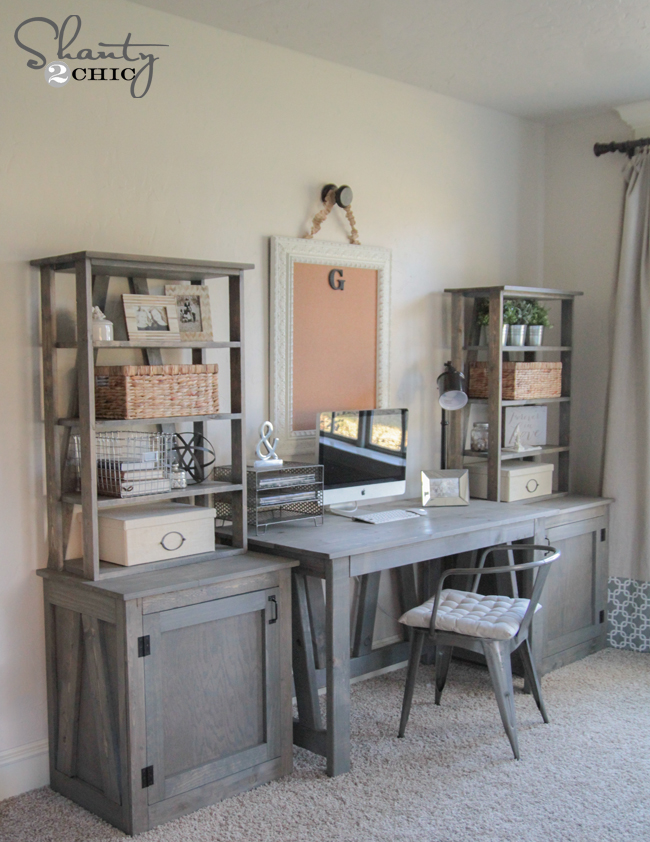
And wait until y’all see the other half… Well, the other 2/3 I should say. I was needing a desk space with a bit more storage, and I designed this Truss Desk collection. You can build the desk alone, or you can add on some extra pieces that I will be showing you really soon.
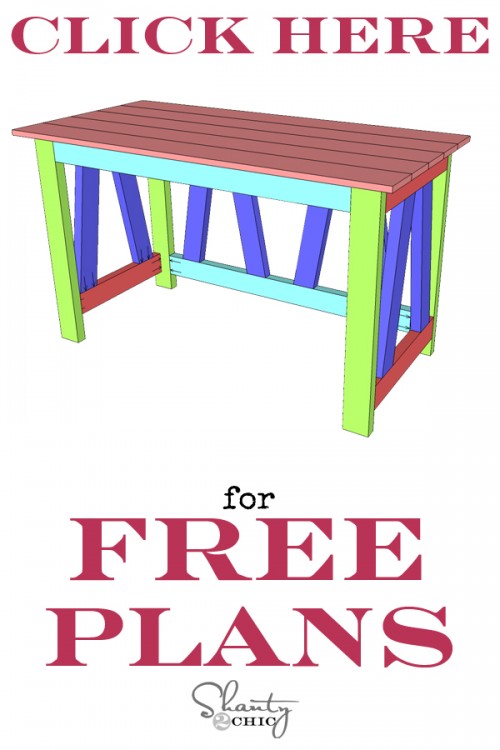
Thanks so much to our good friend Jay of Jay’s Custom Creations for putting all of our original plans and ideas into printable plans for our readers. Y’all should check out his site… He has lots of great tips, ideas and plans of his own! I will walk you through the build below, and you can download and print the free plans by clicking HERE or the button below!
So… Let’s get started! Before we do, let’s first talk about this supply list guys.
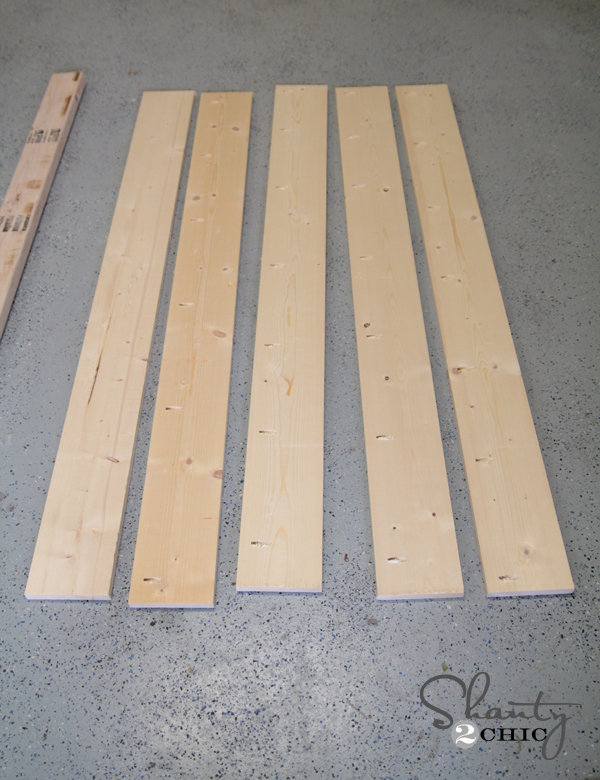
Six 2×4 and three 1×6 boards is all the wood you need to build this desk. I LOVE that!
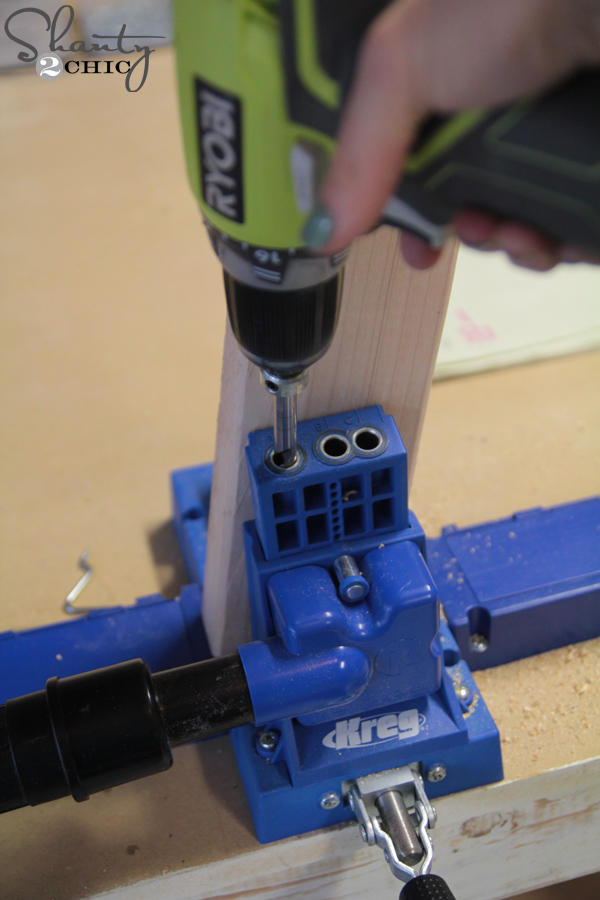
I did use my K5 Kreg Jig![]()
for the entire build. You don’t have to hang around here long to know about our love for this tool. Ashley and I both currently use the K5 model. You can find it on Amazon HERE!![]()
For those of you wondering what the heck a Kreg Jig is, you can check out our quick video HERE where we break it down just a bit and explain it’s awesomeness.
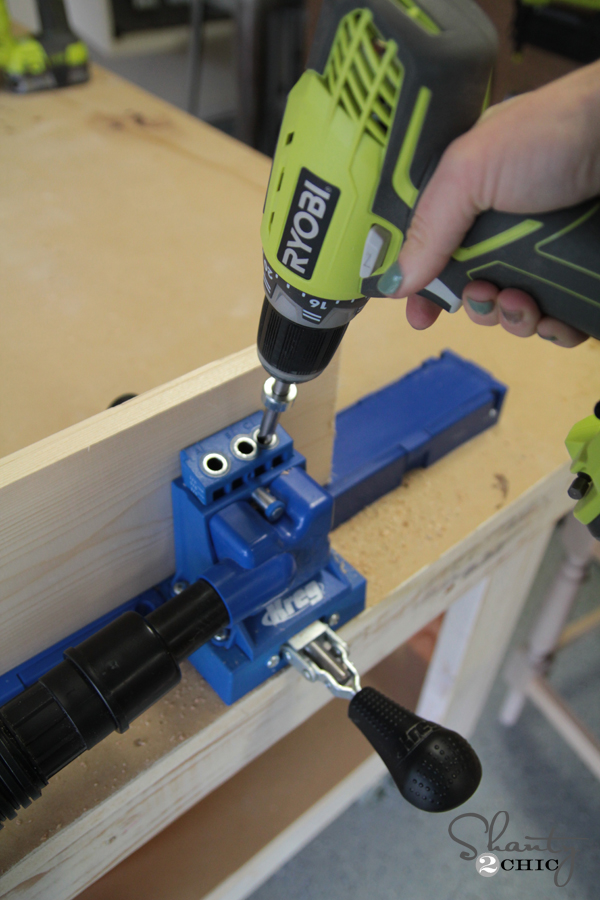
The base of this desk has several 10-degree cuts. I made these using my Ridgid Miter Saw. They go into the Kreg Jig like this to make the pocket holes. For the base, I used 1.5″ pocket holes and attached everything with 2.5″ pocket hole screws.
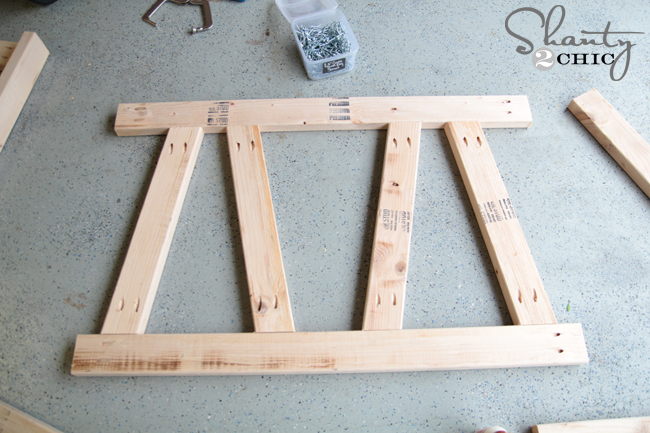
You can see below where I placed my pocket holes for the back of the desk. The pocket holes for the back will face the back keeping you from having to cover them if it is up against a wall.
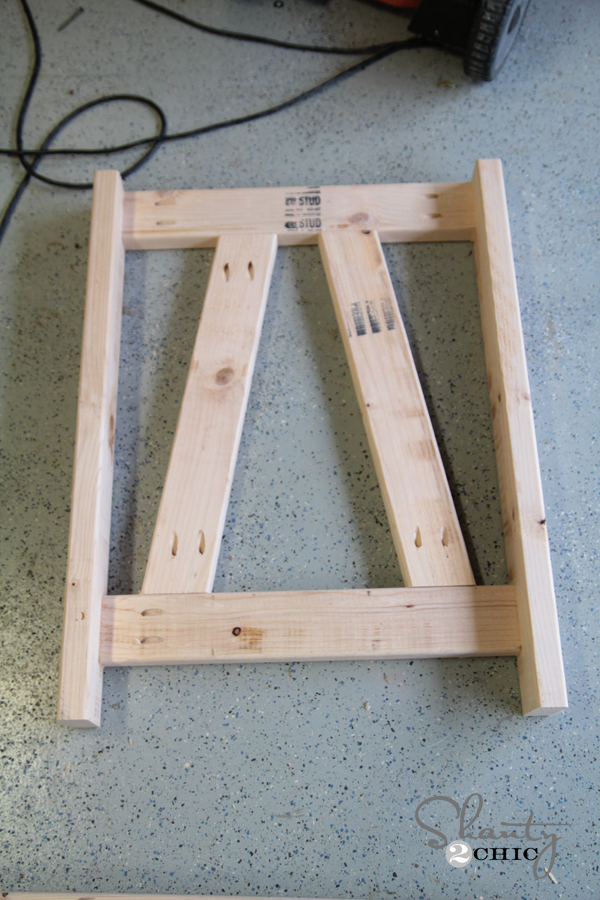
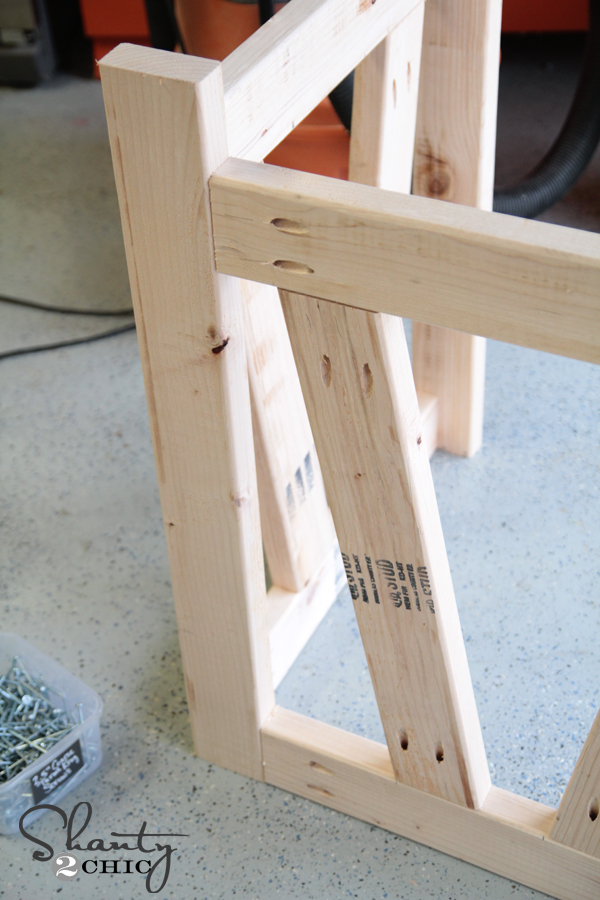
Now for the sides. You will build two sides that look like the photo below. I randomly placed my pocket holes by how much they would show. I knew I would be adding some other pieces of furniture around this desk, so I chose to place the pocket holes where they would be most covered. You can place yours in the same way.
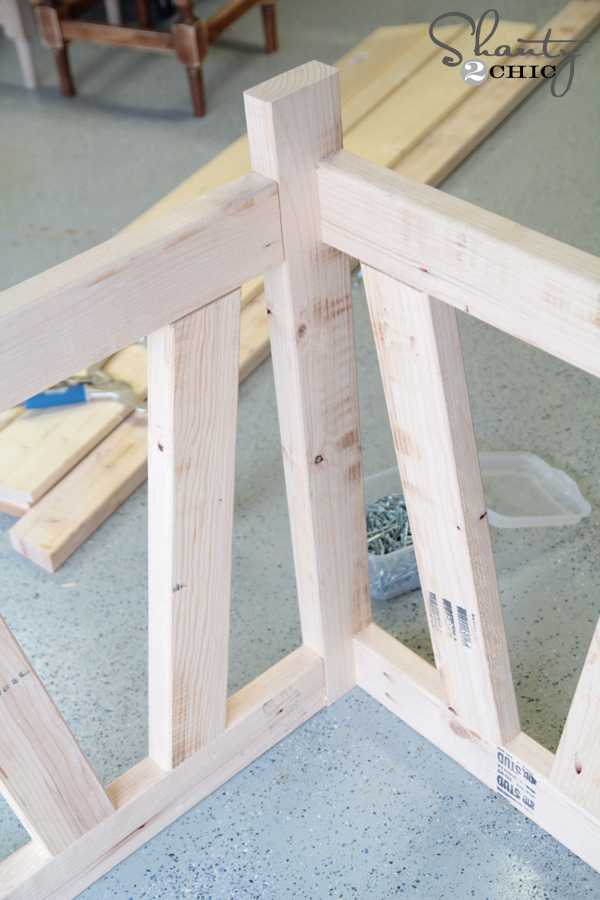
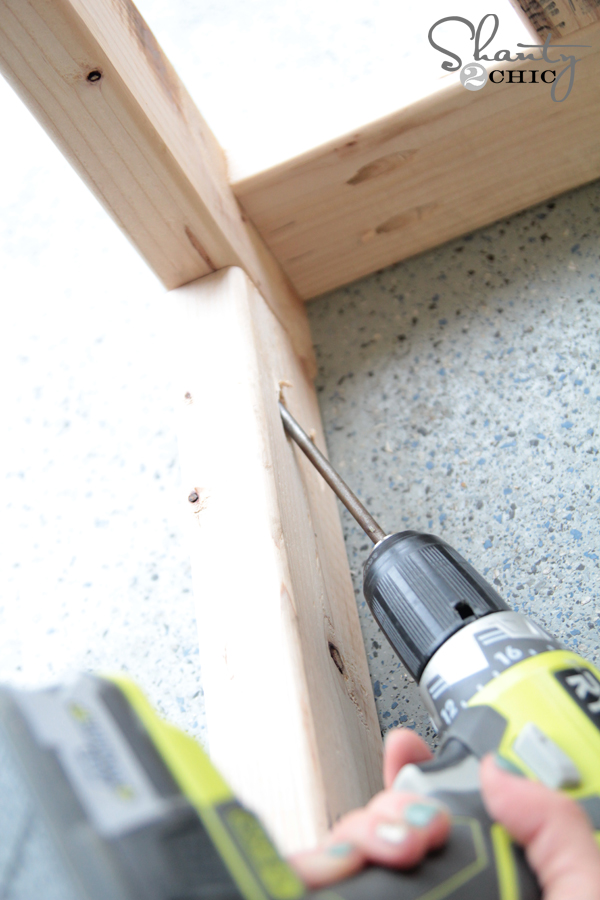
Once both sides and the back are built, you are ready to attach it. I used my Kreg Right Angle Clamp to help me on this part. You can see it fits into a pocket hole and holds the pieces close together while I add the other pocket hole screws. It’s like having an extra hand which is never a bad thing! 😉 You can see this clamp HERE on Amazon!![]()

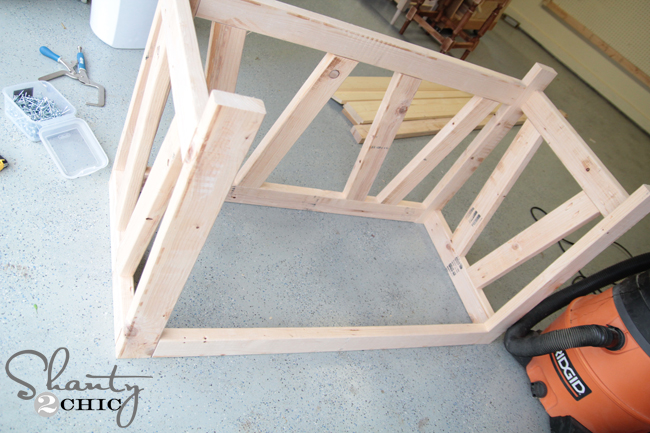
This is a shot of the inside of the desk once I had it all joined together…
And another shot of the back…
Some of my pocket holes were on the inside of the desk as I mentioned.
At this point, the base is constructed and ready for the top. Here is mine upside-down and ready to go!
I also used my Kreg Jig for the top, but I changed the settings. Because the thickness of the top is much less than the legs, I used 3/4″ pocket holes on 4 of the 5 boards. Each of the 4 boards have pocket holes running up one side.
I attached those pieces using 1.25″ pocket hole screws through the pocket holes and into the other board.

Once the top is all attached, you are ready to attach it to your base. I just laid the base on top of the desk top. I used 1.25″ pocket hole screws through the pocket holes on the apron boards and into the top to hold it all together and I was DONE. So stinking easy!!
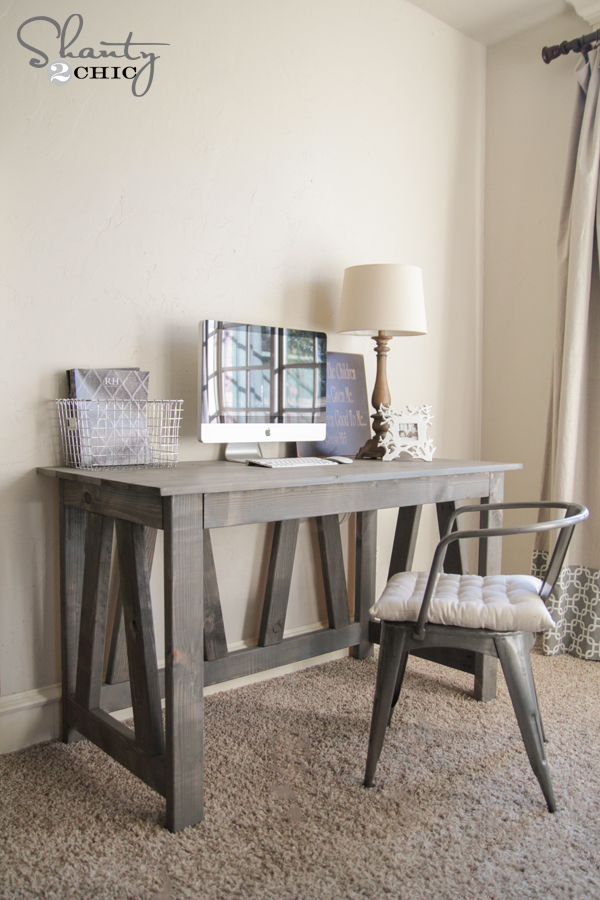
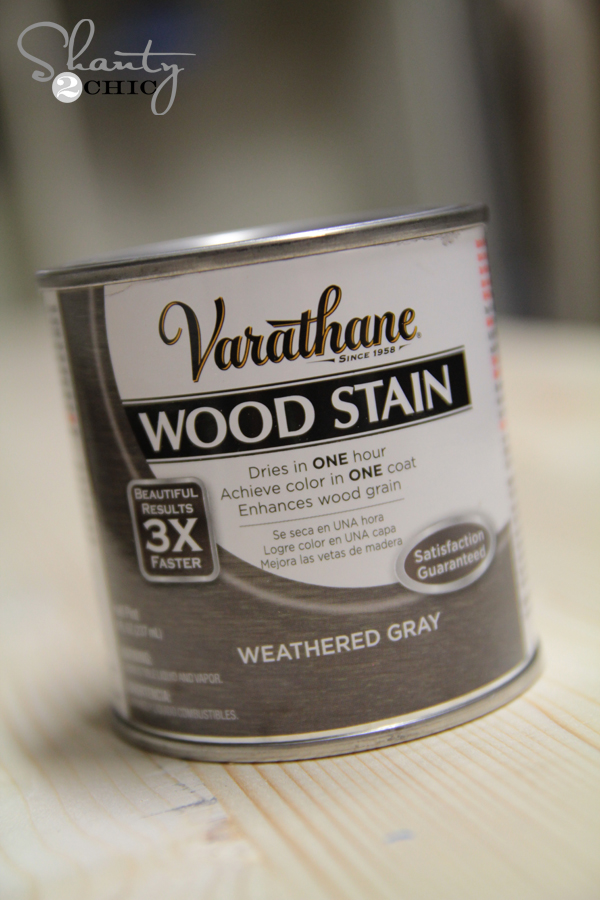
I used one of my new fav stain combos for the finish! I started by staining the whole thing with Varathane wood stain in Weathered Grey. You can find this at Home Depot! It only requires one coat and dries in an hour… Yes please!
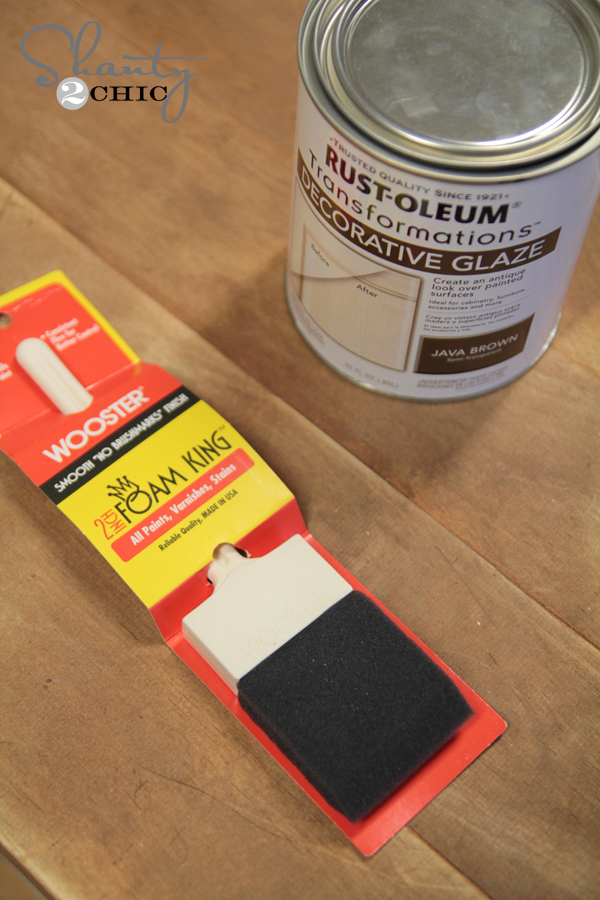
I wanted mine to look a bit more distressed, so I used Rust-Oleum decorative glaze on top of the stain once it dried. You just brush this stuff on and then wipe the excess off. Work on one side at a time as it does dry pretty quickly. You can also find this at Home Depot.
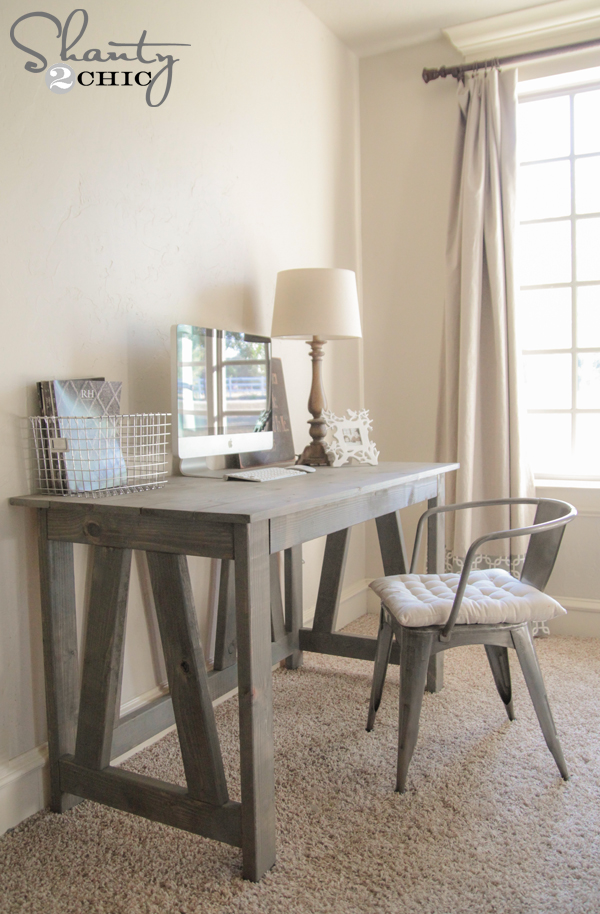
Here she is all set up!
I’m so pumped to share the rest of it and the whole room with y’all soon! Let me know if you have any questions at all!! I would LOVE for you to share and PIN this with all your friends!
Thanks so much for stopping by! Happy Building!
~Whitney

Photos
Had to twist my head a bit to see it in full glory, but this is awesome!
We did this desk this weekend! Turned out beautiful! Under $50 too! Stained it with beechwood gray from Lowes. Adjusted the size to a bit smaller to fit the space we have
“You can build the desk alone, or you can add on some extra pieces that I will be showing you really soon.”
Did you ever post the extra pieces?? I can’t find them on your site.
Hello, Can you tell me where you found these curtains? They go so well with the desk and I will be making this desk this weekend! Thank -you !
I built this over the weekend and finished it late last night. Luckily I read the comments and shortened the legs to 29″ because we’re a short family. LOL! I love it though!
I had fun Build in it,but I have to agree that it turns out to be too tall 32 3/4″ I have to raise and bend my arms to reach the top ,I will be cuting 3 1/2″off. 29-30″ seems a proper height for keyboard height .
Hi J Costte, what kind of wood did you use for your desk particularly? I love the finished look.
What color did you use?
Weathered Gray stain and java brown decorative glaze.
are u selling this desk?
Thanks for the plans! I used reclaimed pallet wood and epoxy to make the top level enough for my boys.
is there a reason why you deleted my comments? I am going to have to remove the link and name from my blog…
This is perfect in so many ways! With the decorative glaze, do you need to polyurethane as well?
HD paint guy recommend using car wax over the glaze…
Gorgeous!
Beautiful! This desk might be next on our building list! Where did you find that awesome chair??
The stain on this desk is exactly what I have been looking for! I have a dresser and night stands to stain. Can’t wait to try it!
What are the actual dimensions of the table? It looks beautiful and I would love to build it for my guest room
did you ever get the dimensions
The desk is much bigger than it looks it in the picture! Unfortunately we forgot to calculate the dimensions before building and it’s much bigger than I anticipated. 32.75″ high, which is about the height of a kitchen counter, 56″ wide and 27.25″ deep. We cut 2.5″ off the bottom and it’s still higher than I would like.
Oh bless you for giving me the dimensions. That’s the one thing I wish they’d do. It helps in order to plan a room, so know what sizes you’re working with. I’m redoing my mother’s kitchen and needed a counter/table that would allow a slide-away dining table I could tuck underneath the counter. This is actually going to work perfectly because the sideboard I’m also building her is about that height.
gorgeous. Where is the chair from?