Good morning guys! I am really excited about this post today. Ash and I have teamed up with Rust-Oleum to help promote their #PaintItPink campaign for the month of October to help raise money for breast cancer awareness. Rust-Oleum will be donating $10 to the Bright Pink campaign for every pink project post that uses the hashtag #PaintItPink. We were happy to jump on board and help!
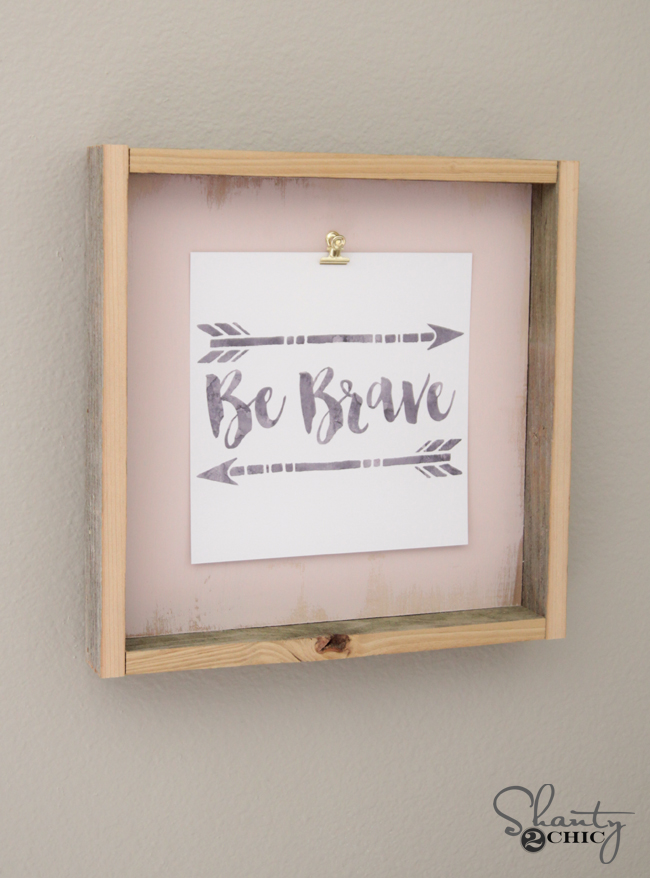
Today I am sharing the tutorial for this DIY frame and I have also included a FREE ‘Be Brave’ printable!
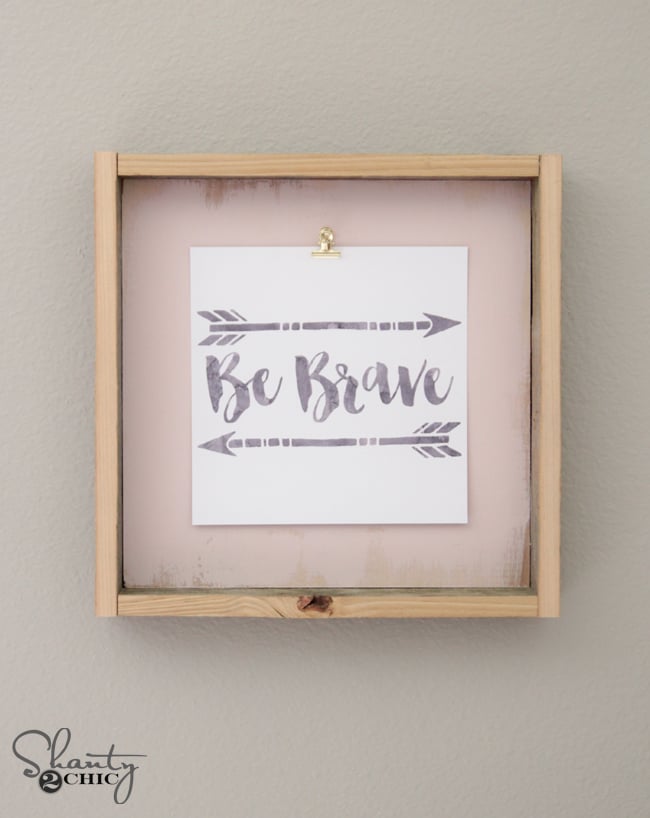
Isn’t it cute? These are so simple to make! I actually shared a larger version of them a few weeks ago when I shared my daughters new bed.
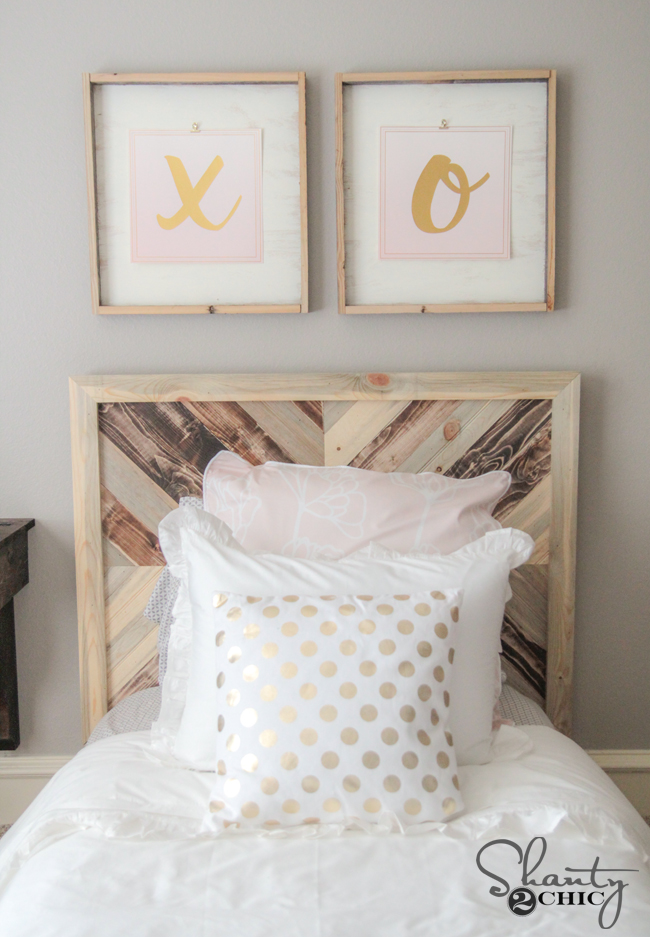
This is a scaled down version, but the construction is identical.
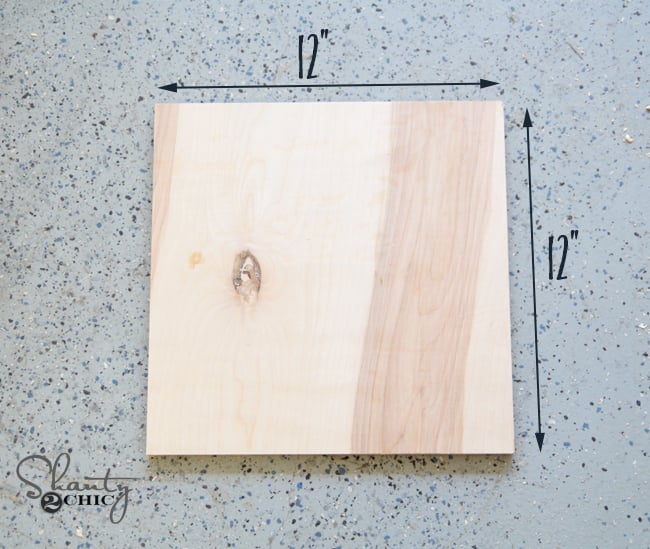
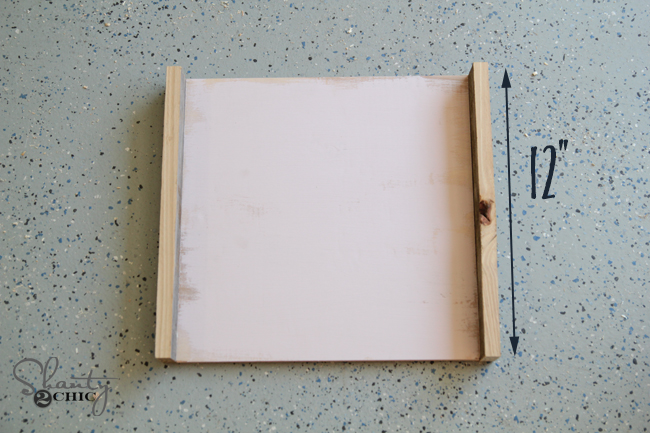
The base of the frame uses 1/2″ hardwood plywood. You can get these in 2’x2′ sheets at Home Depot super cheap. One of these boards will make 4 of these frames. I had scrap 1/2″ PureBond at home, so I went with that. I used my saw to cut the board down to 12″ x 12″.
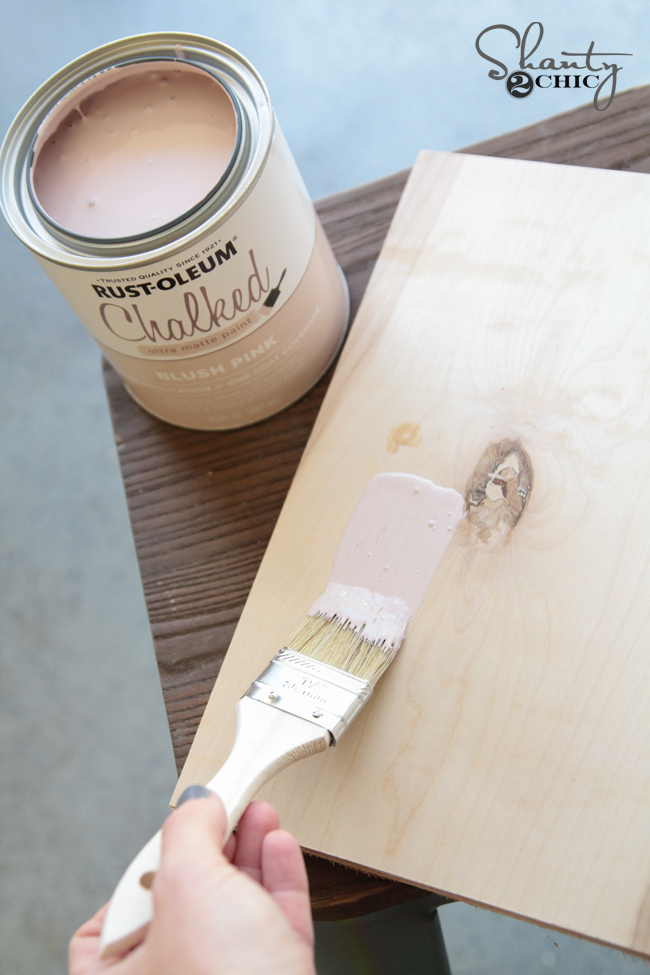
Next, I used Rust-Oleum Chalked paint in Blush Pink to paint a messy finish on this board. You can find this stuff at Home Depot as well. I love it, and they offer lots of colors.
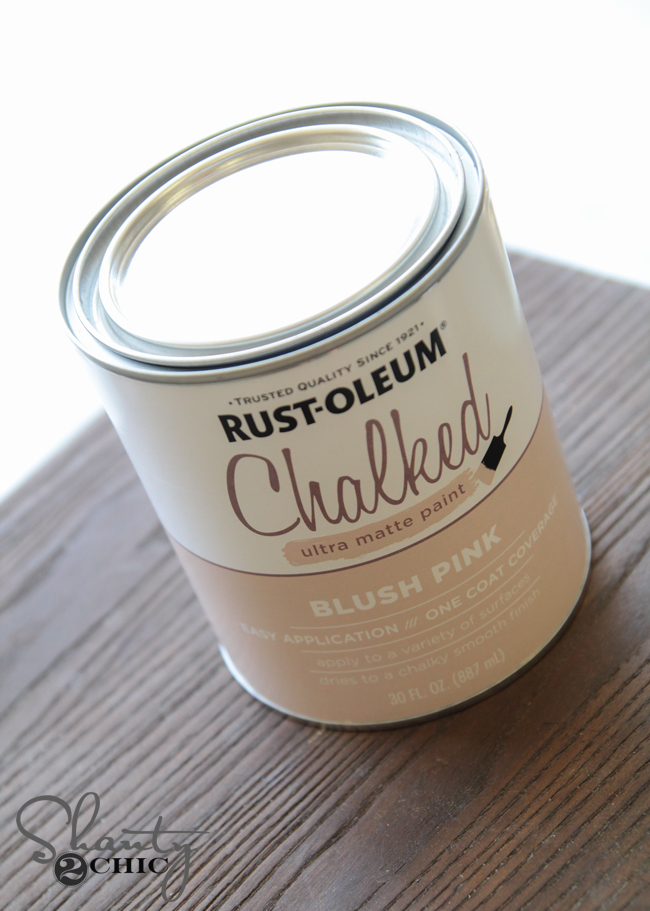
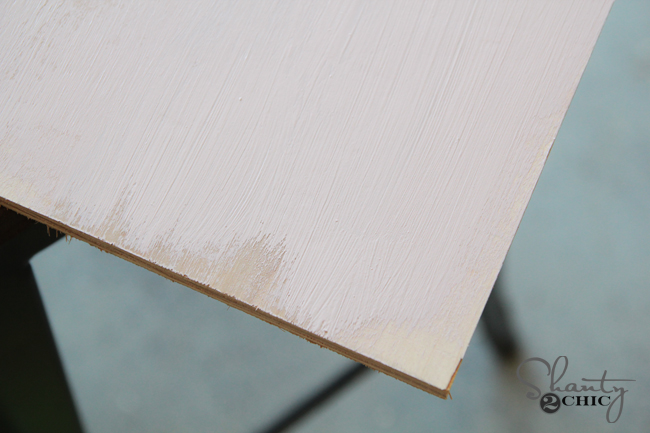
You can see where I didn’t paint all the way to the edge. I wanted a messy, halfway painted look.
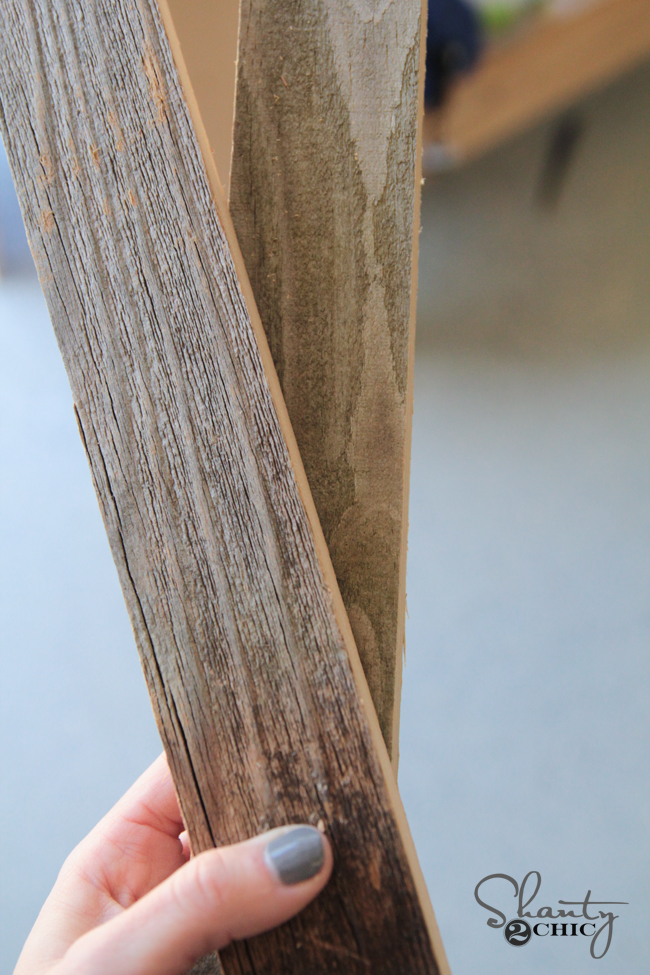
After that dried I trimmed the whole thing out. Hobby Lobby sells these great old, weathered boards that come 6 to a pack for around $4 with a coupon. They are in their ‘Woodpile’ section. You can also use 1×2 and stain it if you don’t have a Hobby Lobby nearby.
I cut the first two boards to 12″ and use wood glue and 1.25″ nails to attach it to the edges of my 12″ board.
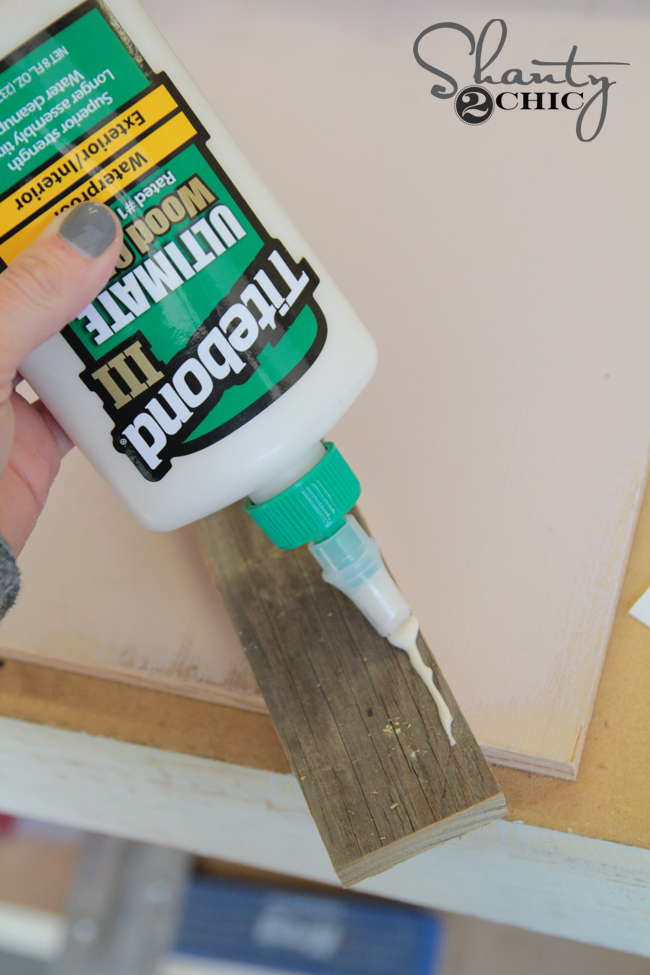
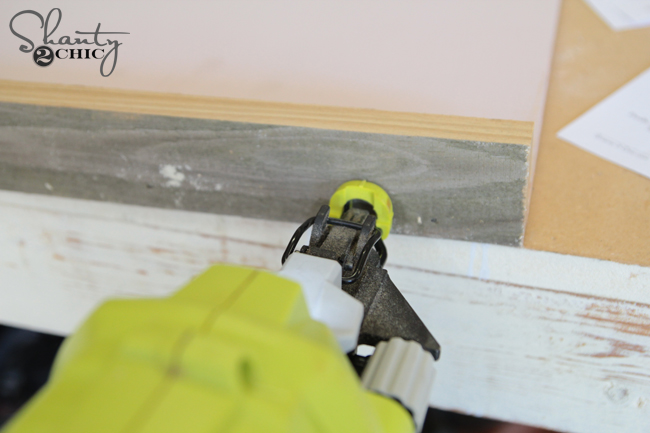
I measured the exact length for the next two boards, and then I added some glue to the other edges. I then attached these with my nailer as well.

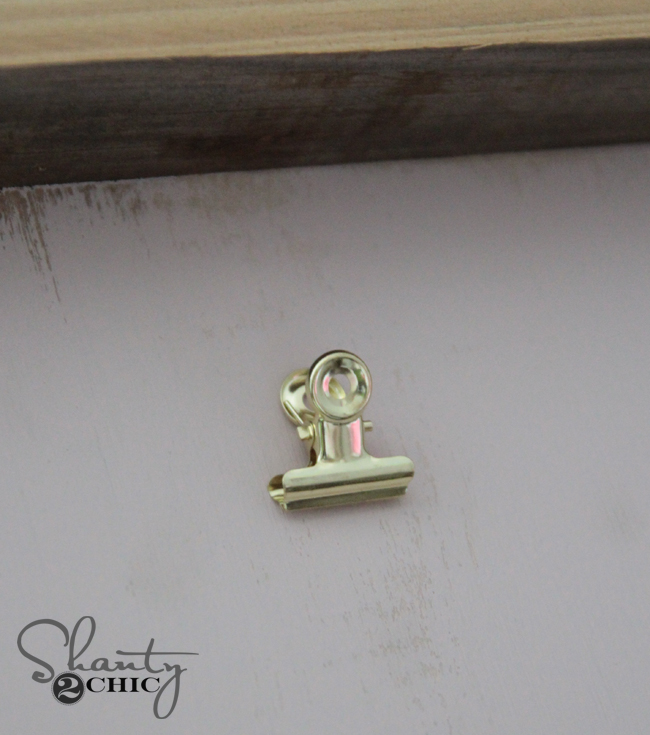
My final step was attaching the mini bulldog clip. I found the gold ones at Hobby Lobby as well, but I do know they also carry some dark bronze mini ones and dark silver that are both really cute as well. I dabbed a small amount of super glue gel to the back of my clip and attached it to the board and I was done! See… Told you it was simple!
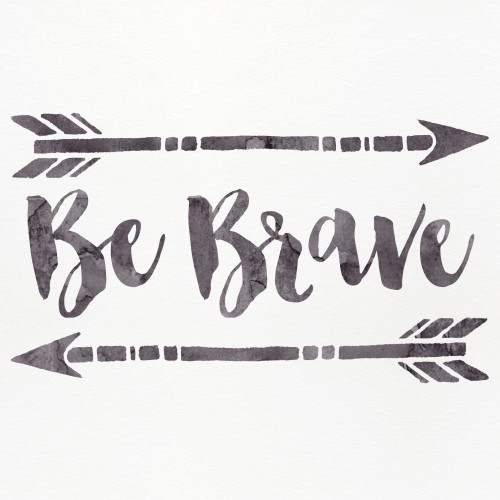
Now for the printable! Yeah for free, right? I created this printable for the frame. I think it has perfect meaning in support of this campaign, but I also think it holds a great message for anyone. To download and print the printable, just click HERE or the picture below.
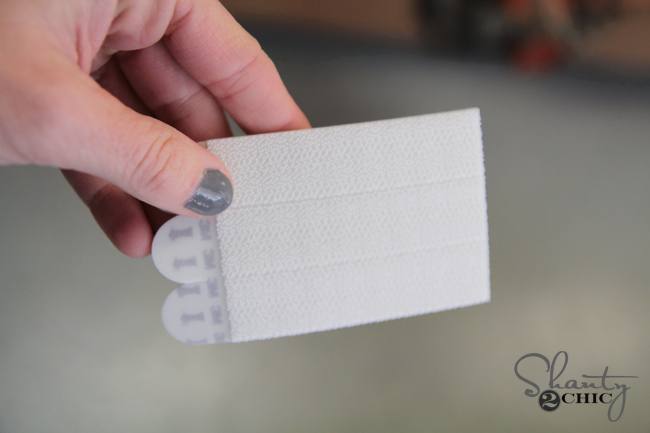
I attached mine to my wall using 3M command strips. Love these things… So easy 🙂
Do you love it? And, it can be totally customized with different colors, finishes and of course photos!
While I have you here, I also wanted to tell you guys about a really cool program that Rust-Oleum has launched. I think it’s perfect for our readers. It’s called Creator’s Studio.
It’s a really fun, new site that they created for y’all to come together and exchange ideas, and give product input as well. They host challenges where members vote on favorite projects, and they offer prizes for their winners. They know our readers love DIY, so they want you to get signed up. You can check it out HERE!
Thanks so much for stopping by guys! I would love to see your #PaintItPink projects as well! It’s for a great cause, and it totally gives you the excuse to bust out some pink paint 🙂
Thanks so much!
Whitney


Very pretty! Thanks for sharing the DIY and the printable and giving us a way to support a great cause!
I am so thankful for what you did.
“Once again, thank you for your kind and generous support.”
This is fantastic! Love the project and the support for the campaign.
good
Quick question as in the middle of trying to make one of these, actually a couple, for a local raffle for breast cancer we are having Sunday. I got the weathered boards that they sold a Hobby Lobby however the only ones they had have a lip or groove on both edges. Did you just rip these down so they were smooth on both sides before you attached to exterior of the frame or did you use them as is? Just checking as I’m making with a saw (i have no electric tools) so don’t want to ruin the wood if I’m supposed to leave that lip on. Any insight would be super helfpul. I know these are going to be a hit at our auction. Thanks so much!
Very pretty! Thanks for sharing the DIY and the printable and giving us a way to support a great cause!
Whitney
whitneydonae.com
Would you mind sharing what font you used?
How did you make the saying? I love it, but would like it to say something different :)))
This is fantastic! Love the project and the support for the campaign.