We just finished shooting our pilot for HGTV this past weekend! It was a lot of work but it was so much fun 🙂 We can’t wait for you all to see it and we will let you know when it will air, as soon as we find out!
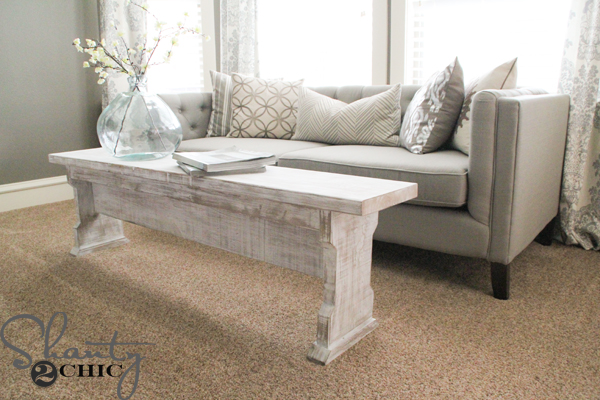
I was able to sneak in some time to build this cutie for our master bedroom though!
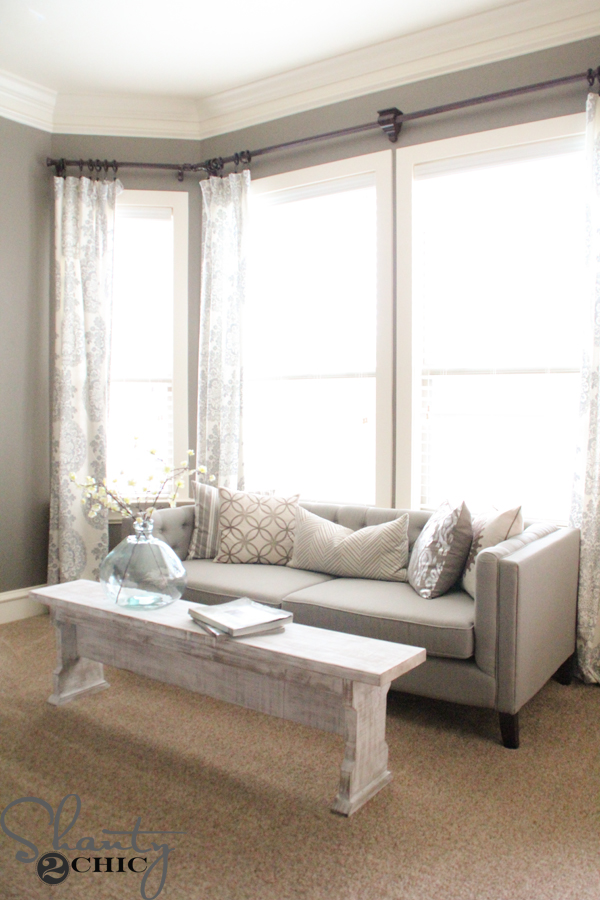
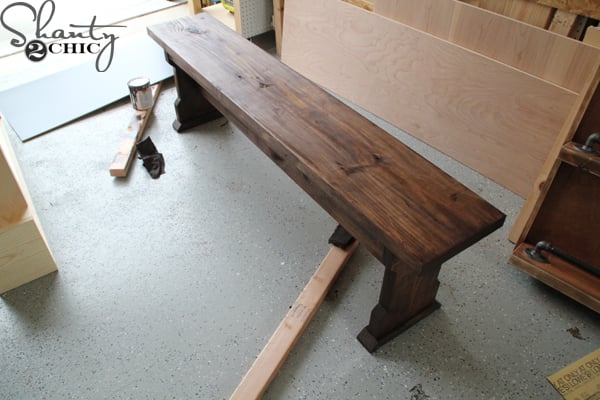
Is it a coffee table or a bench? It could really be whichever you need/like or both 🙂 Would you believe it only cost $25 in lumber? I bought this couch to sit in front of our bay windows and I love the way it fits however, it was driving me CRAZY not to have a coffee table to put my coffee cup or a cute vase with flowers on! I didn’t want to cramp the room with a full size coffee table so I came up with this solution and I AM IN LOVE with it 🙂 It’s just what this space needed!
As always, we have the FREE Printable Plans for you, as well as a full step-by-step tutorial for you to follow along with. You an click the image below or HERE to print the plans.

A big thanks to our friend Jay, from Jay’s Custom Creations for creating the printable plans! Check out his site for more free DIY plans!
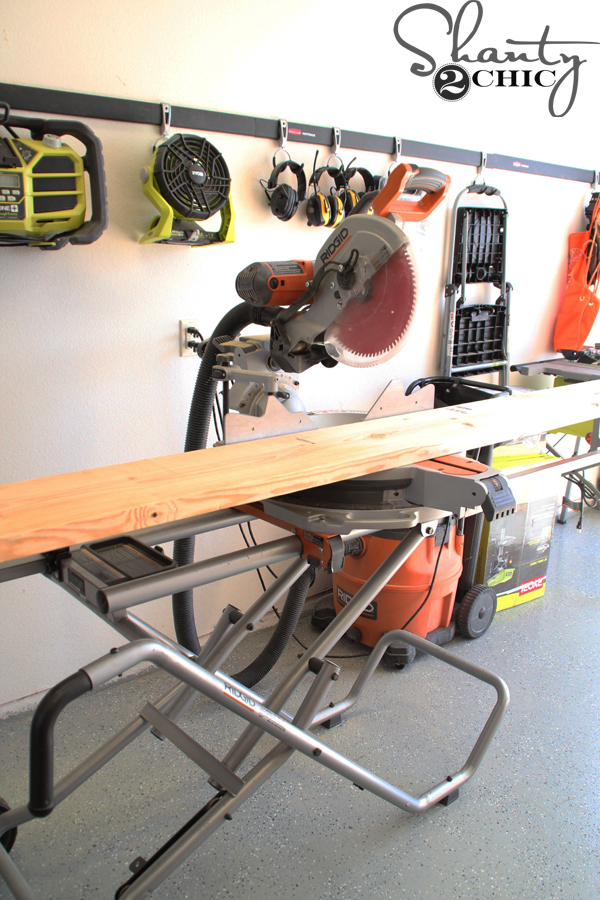
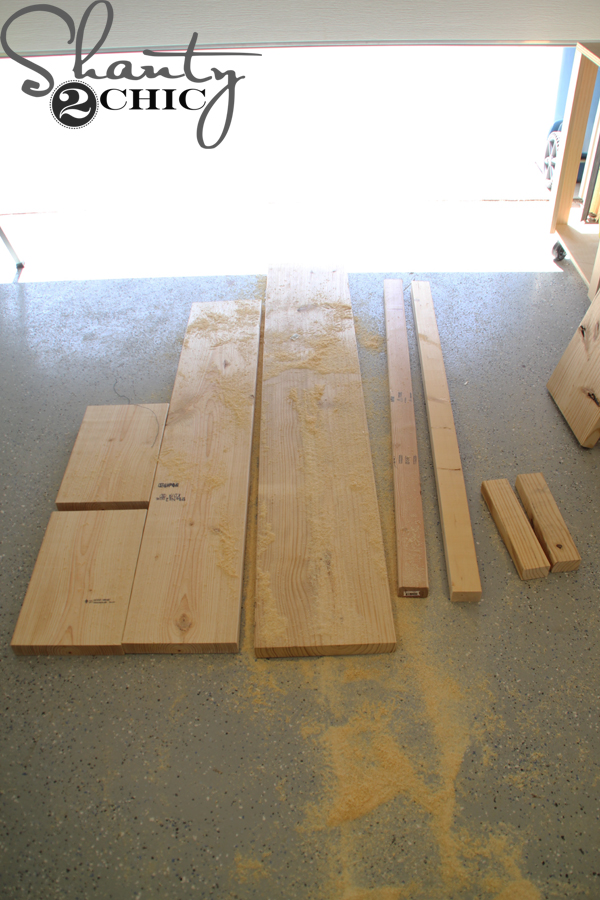
I started by making all of my cuts (minus the feet) first!
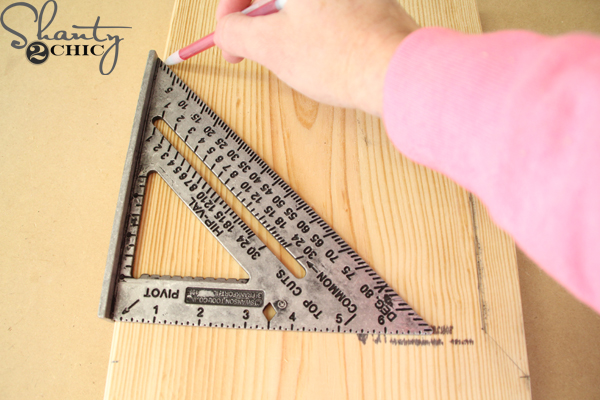
Then, I marked the places to cut-in on one of the side pieces.
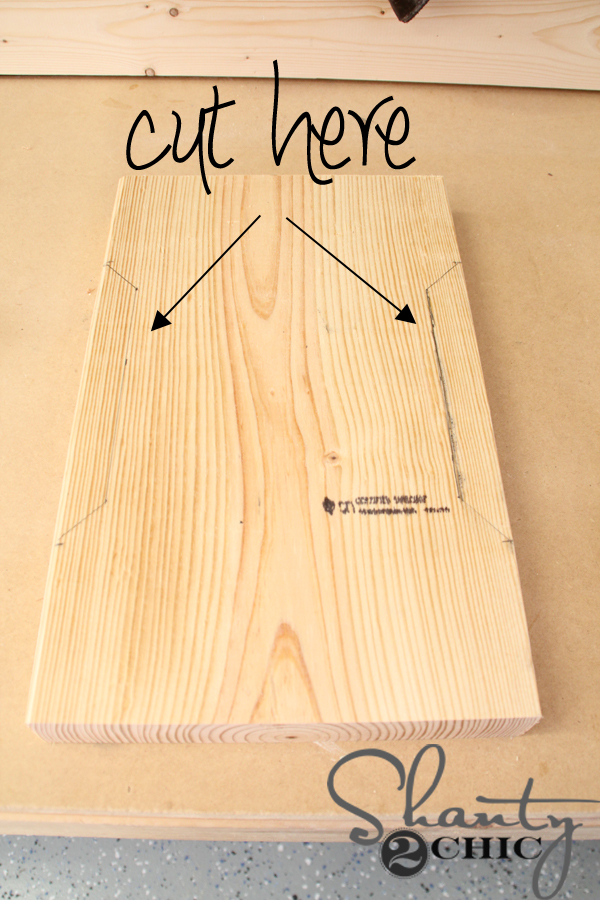
My marks 🙂
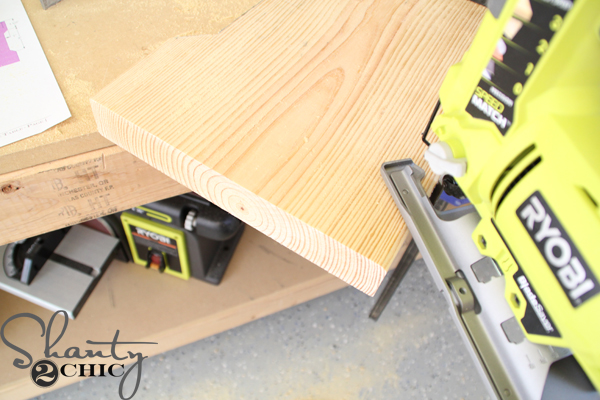
I used my jigsaw to cut along those lines.
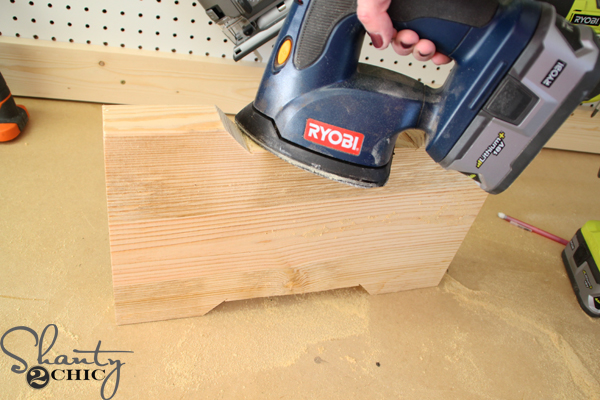
After I cut the first side piece with the jigsaw, I used my corner cat sander to smooth the edges.
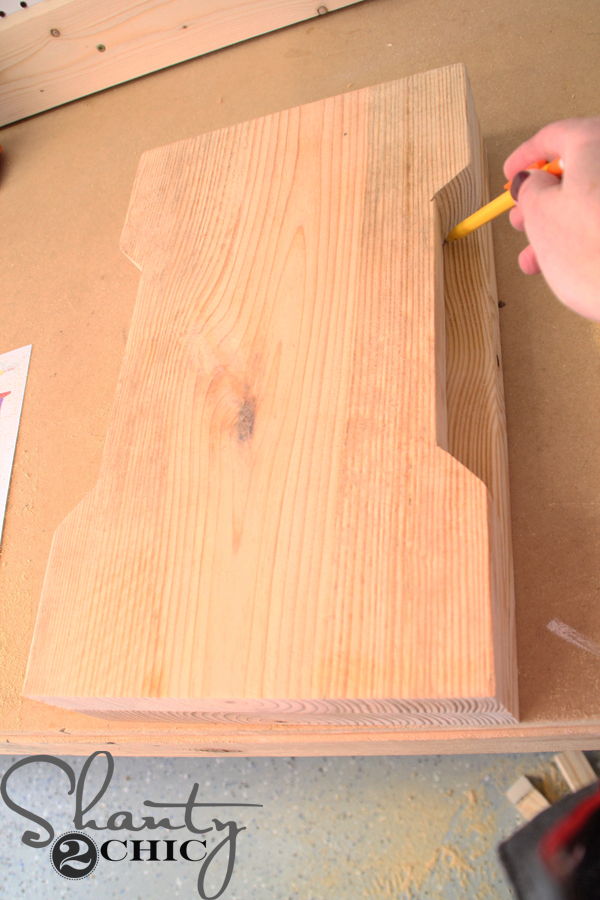
Then, I used that piece to trace the other side. This way they will look the same 😉

Easy enough!
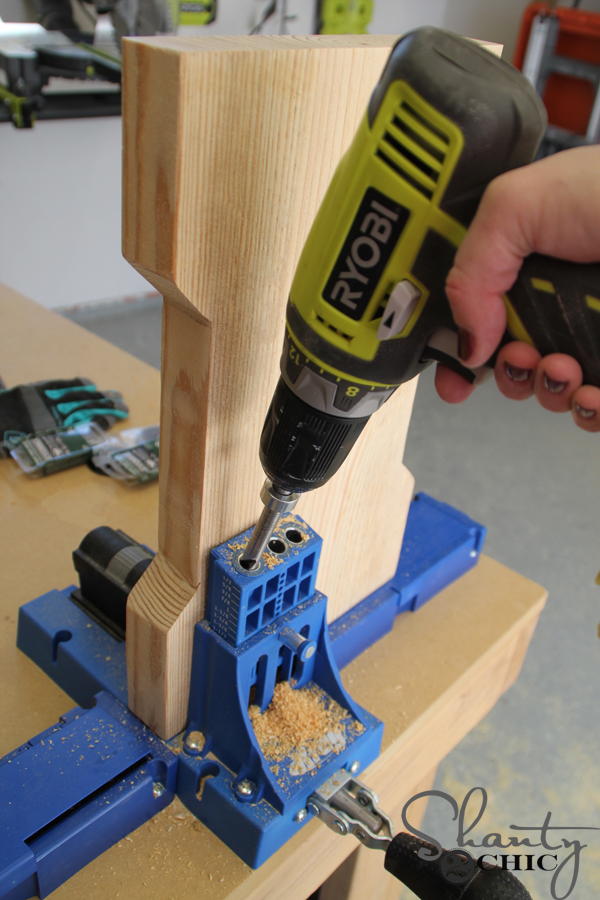
I then drilled pocket holes into one end of both of the side pieces.
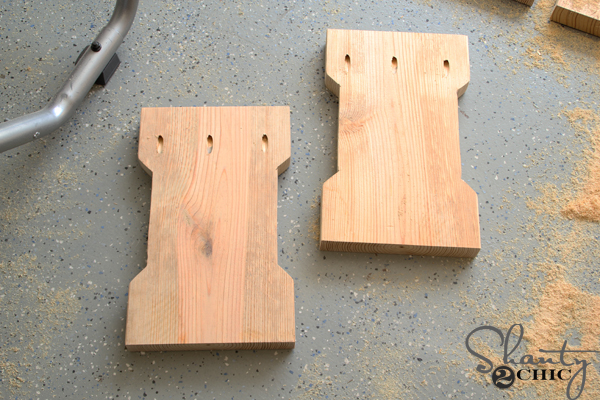
They should look like this now. (You will drill the pocket holes into the 2×4’s at this point too).
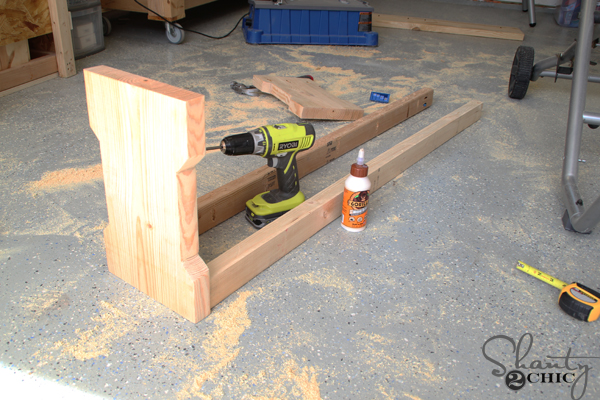
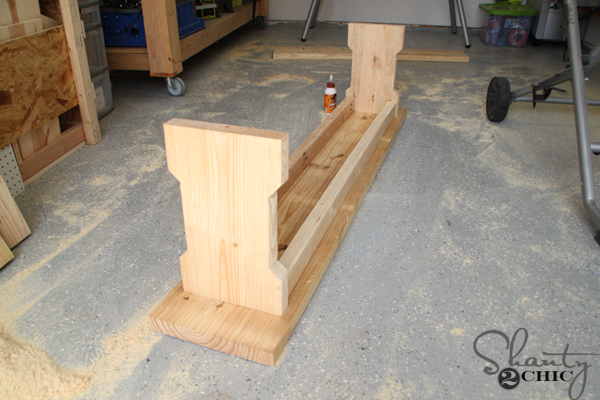
Next, I attached the 2×4 pieces to one of the side pieces with pocket hole screws and wood glue.
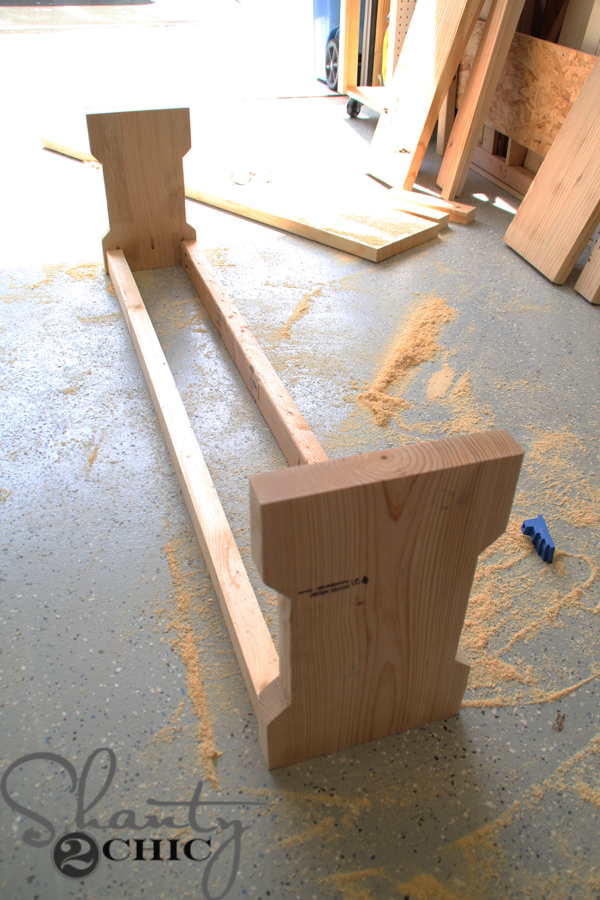
Then, attach the other side piece the same way.
I attached the top of the bench to the base with pocket hole screws and wood glue, too.
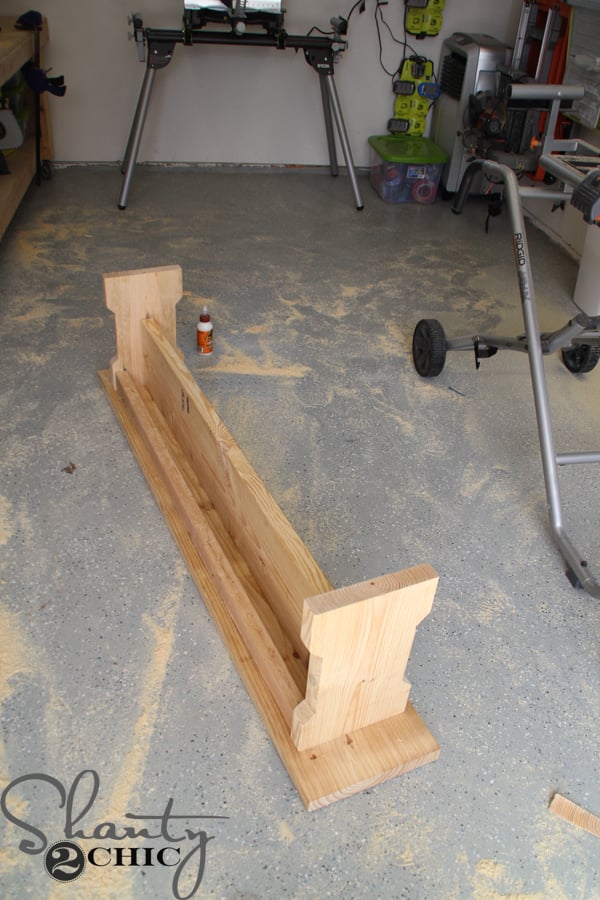
Then, the stretcher.
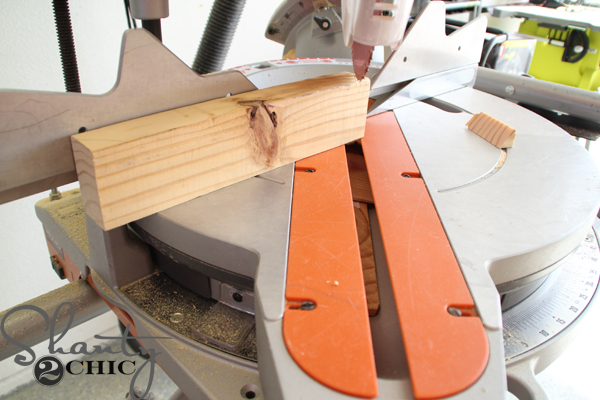
I cut the angles on the feet with my miter saw set at 45 degrees and attached them to the bench with brad nails and wood glue.
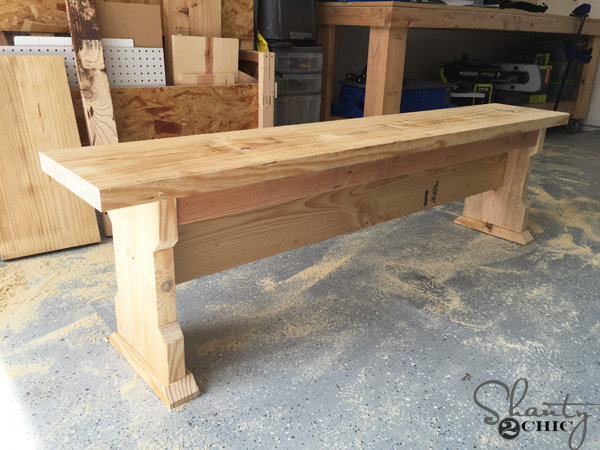
Now it’s ready for the finish!
I applied one coat of Varathane Dark Walnut. Just wipe it on with a clean cloth, wait about 5 minutes, then wipe it down with a separate clean cloth to blend the stain.
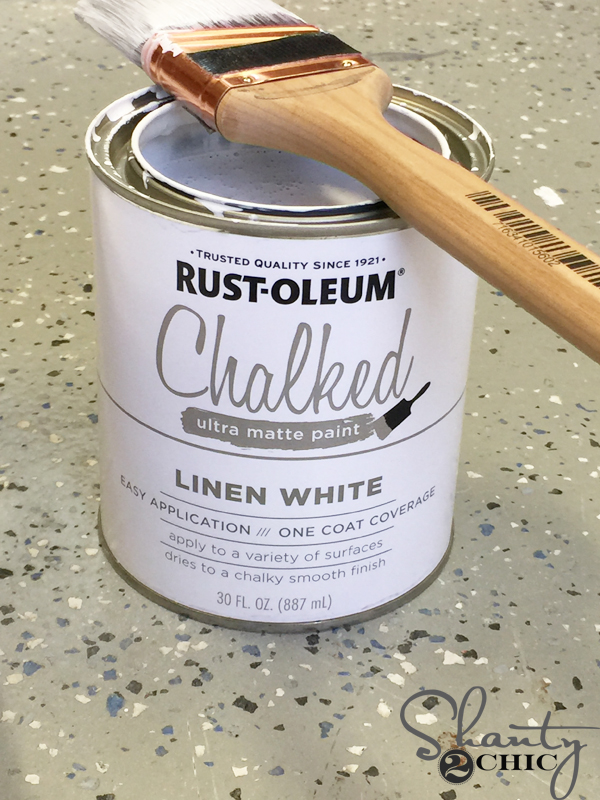
When the stain was dry, I brushed on one coat of Rust-Oleum Chalked paint in Linen White. This will not look pretty, you will see the stain underneath but that is OK!
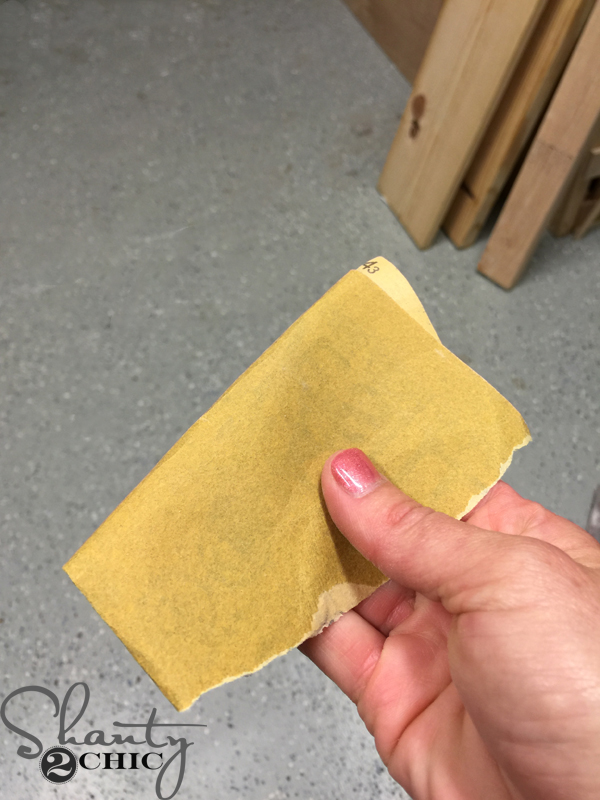
When the paint dries just rub an 80-grit piece of sand paper all over. I went with the grain.
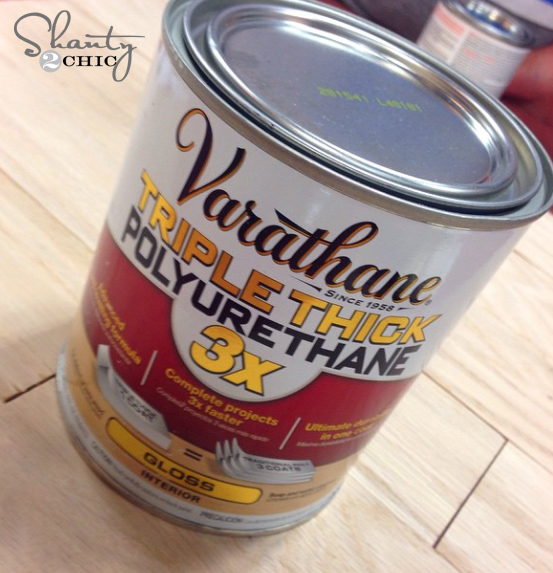
After sanding all over, I wiped it down with a damp cloth and applied one coat of Varathane Triple Thick Polyurethane all over.
And, that was IT!


Such an easy and inexpensive project and I’m LOVING this finish technique! I’ve got an itch to paint all of the furniture in my house like this…. oops 🙂
Thanks so much for stopping by!
~Ashley
Sources for other items in the space:
Couch – World Market
Vase – World Market
Pillows – Hobby Lobby and Target
Curtains – Pottery Barn
Curtain Rods – Home Depot
Check out this video to build this DIY Rolling Storage Coffee Table!


I just made this bench. It came out great. You will need to add 2 pocket holes not listed in the plans to the stretcher on each end so it attaches to the legs.
Do you have a tutoral on how to use the jigsaw? U can’t get that middle cut right. Ruined so much wood 🙁
Yes!! Here 🙂 https://www.shanty-2-chic.com/video-tutorials
Hi! I noticed the plans show 2×3’s, but in your tutorial you mention attaching 2×4’s. Did you use 2×3’s or 2×4’s for the side pieces? Beautiful by the way! I really love it! ~Janice
Is the “stretcher” necessary? Like so the legs don’t flair out? I’m looking to make a bench with space for storage baskets under. Maybe a middle leg? Looks great!
I can’t tell you girls how close to my heart this one is! Our coffee table in my college apartment was a bench we found on the side of the road! Our apartment was so small, that is all that would fit! Love it! xoxo
What type of cloth did you use for the stain? Any recommendations on the type of brush for the chalk paint
Just a basic synthetic brush and I use the stain rags that you can purchase in a bag at Home Depot. Hope this helps!
Love the bench! Exactly what I’ve been looking for. If I widen the feet and adjust dimensions, do you think it would work as a dining table? I need a narrow table for a porch.
For sure if you widen the feet – it will be really heavy though 😉
I was wondering how stable this is? It seems like it my be tipsy. I adore it and planing making it. Also how does the chalked paint compare to others? Any feed back on that? Thx again for all your creativity!
The feet are only as wide as the top so it could tip. I like the look of it and it is sturdy for where I need it. If you need more stability just widen the feet 🙂
I’m considering making this taller for an entry way table. Do you think it would still be stable if I doubled the height?
Hi Kathleen,
If you double the height I would widen the feet a bit so that it won’t tip. Great idea 🙂
Great idea for the finishing touch and function! It’s beautiful!
Thank you 🙂
LOVE LOVE LOVE! Where did you purchase the chalk paint? I have not see it at the big box stores they we frequent regularly. 🙂
I read someplace that this is a new paint she found at Home Depot.
Thank you Linda! You are correct 😉
thank you 🙂
Thank you! You can find it at Home Depot 🙂
Thank you! I will share what I am making with the finish when I am done, I think you will approve 🙂
I have a kitchen table that I would like to refinish like this. Do you suggest sanding the existing finish first?
Yes! If you are going to stain the first layer like I did here, it needs to be sanded to the bare wood.
Thank you so much! I love your blog and instagram! You do amazing work!
Thank you so much! We appreciate that 🙂