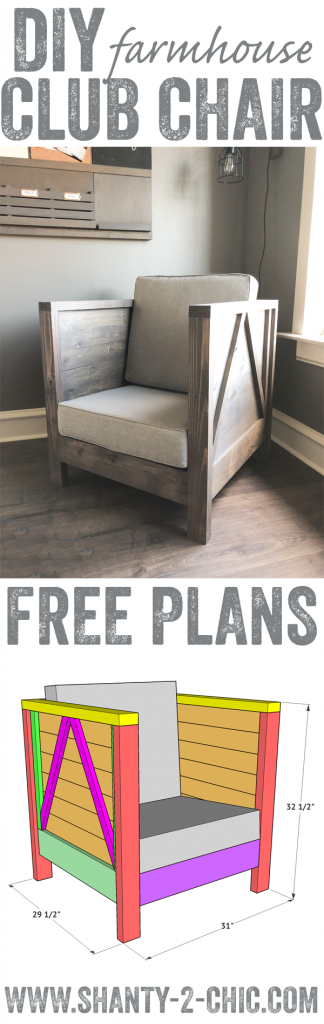
Hey guys!! As promised, I am sharing the free plans and how-to video for our DIY Farmhouse Club Chair!
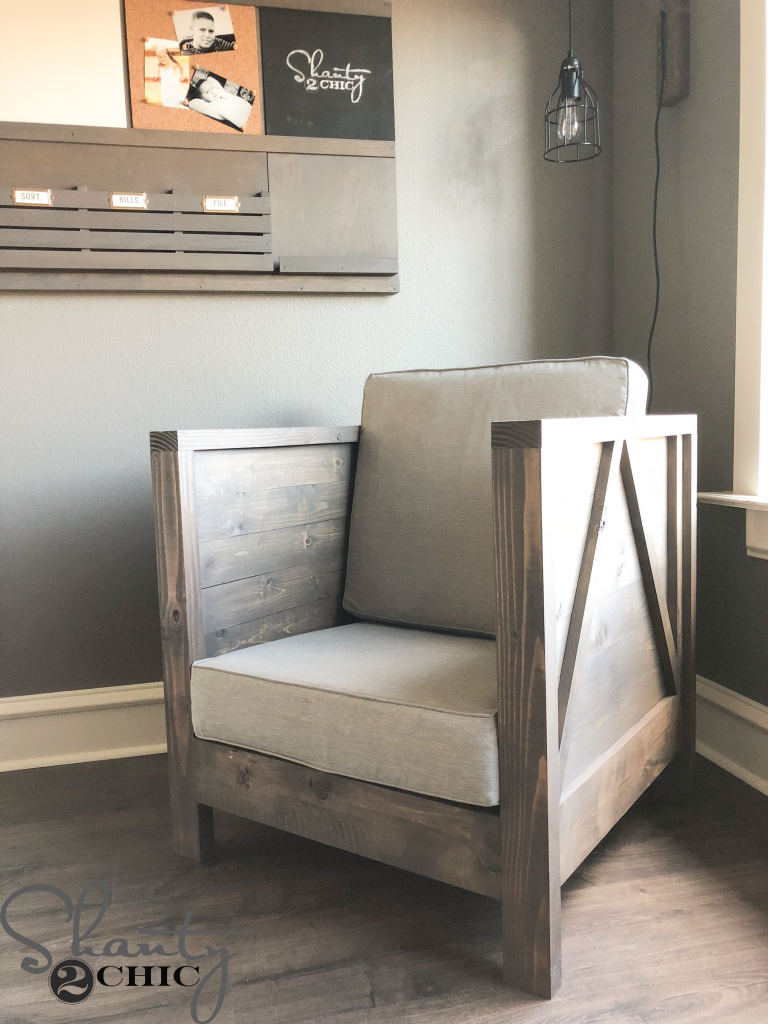
This guy is so big, so cozy and an easy build! Did I mention I only spent $80 in lumber to build it? Come join us in our shop and see just how easy it is to build! You can click HERE or the image below to watch the video!
So fun!!! Make sure you download the FREE printable plans HERE and follow along with us as we build it below!
Table of Contents
DIY Farmhouse Club Chair – The Build
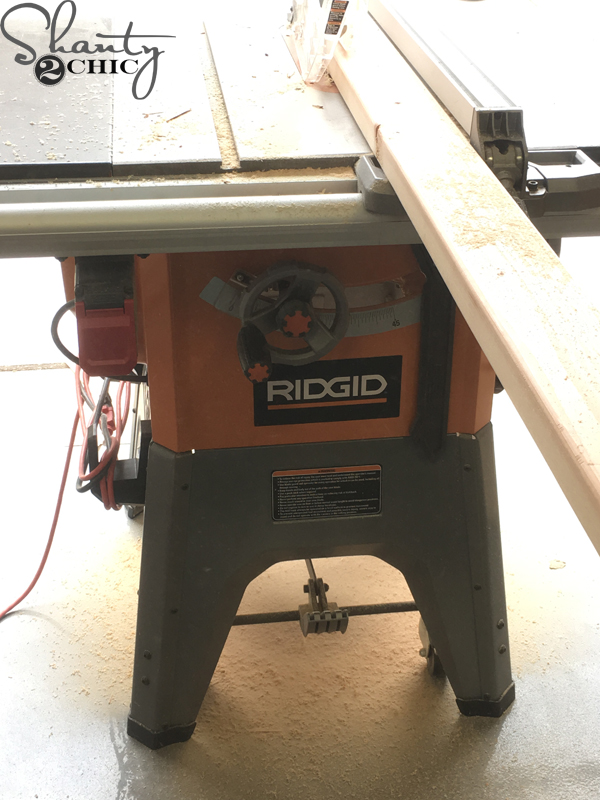
Before I started, I ripped the rounded edges off of the 2×6 and 2×4 boards. This is not a necessary step but if you choose not to, make sure to adjust the measurements accordingly. Make sure to check our our How to Rip Edges video HERE!
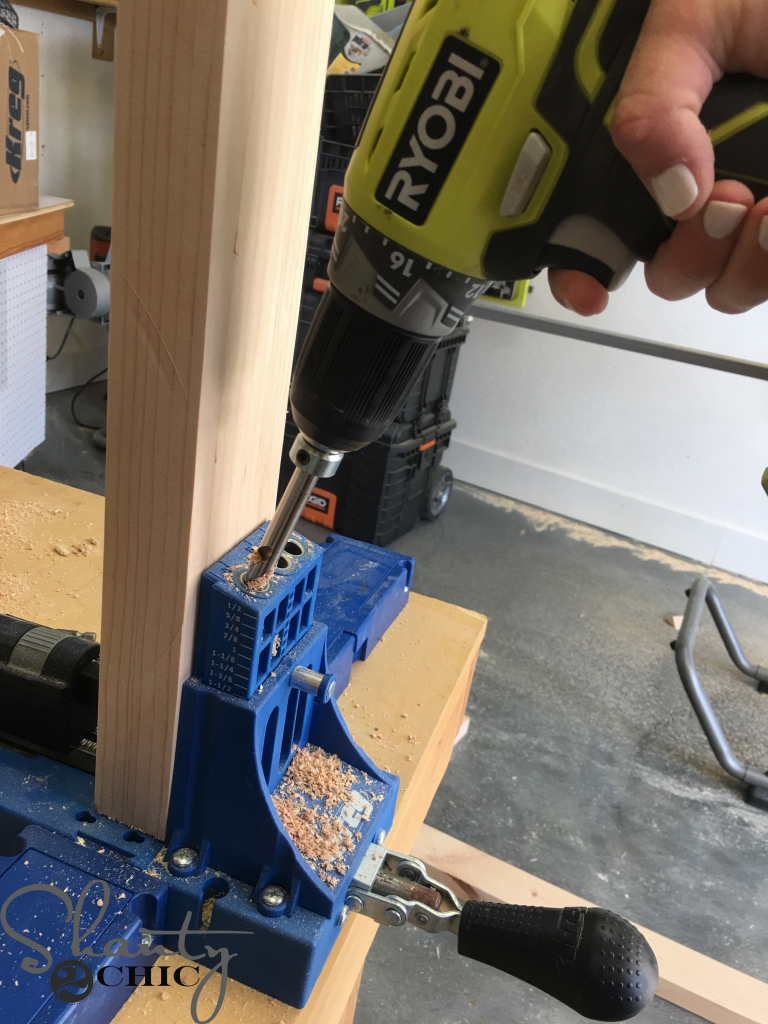
Once the edges were ripped an my cuts were made, I drilled pocket holes, with my Kreg Jig, in the appropriate boards. Refer to the plans for the proper pocket hole placement. Check out our favorite Kreg Jig model HERE!
DIY Farmhouse Club Chair – Side Frames
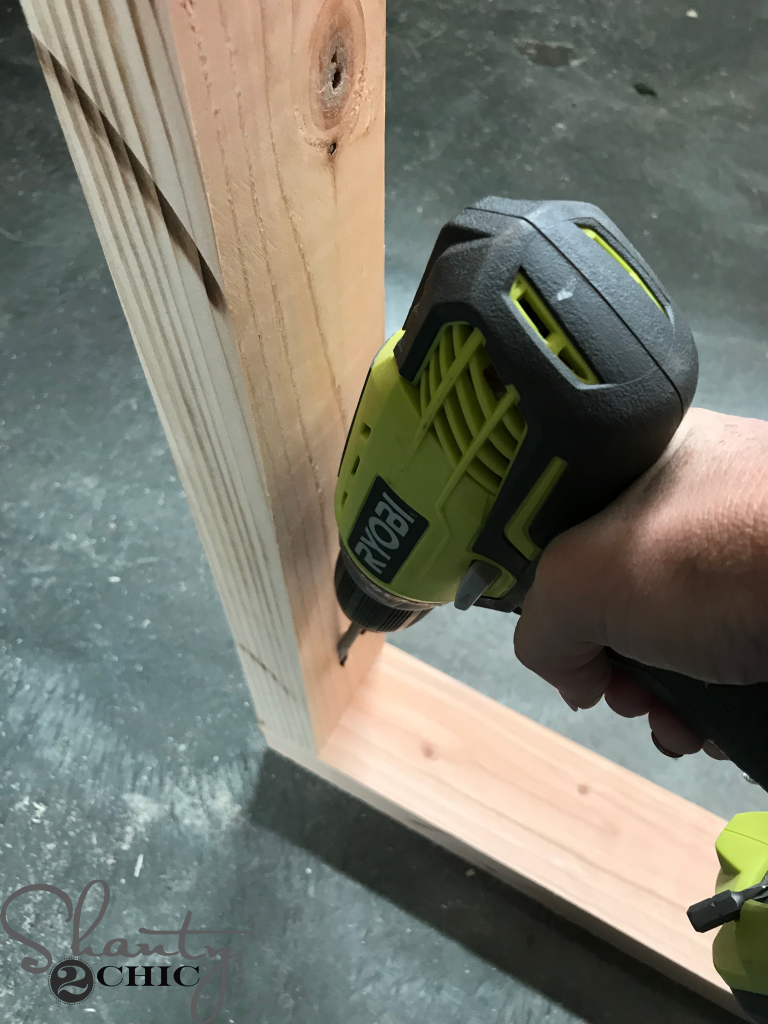
The first building step is to build the side frames. To do this I attached the post pieces to the top piece. I used 2 1/2″ pocket hole screws and wood glue. Do this for both side frames.
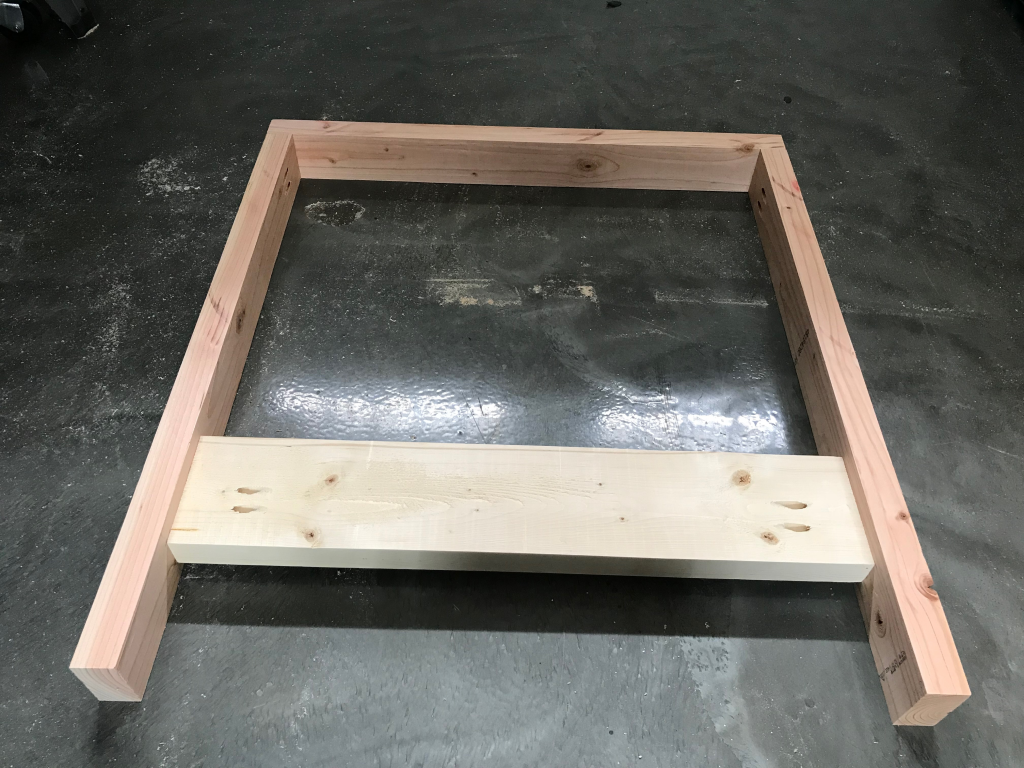
DIY Farmhouse Club Chair – Apron Pieces
Next, I attached the side apron piece wit 2 1/2″ pocket hole screws and wood glue. Refer to the plans for the proper placement of the apron piece.
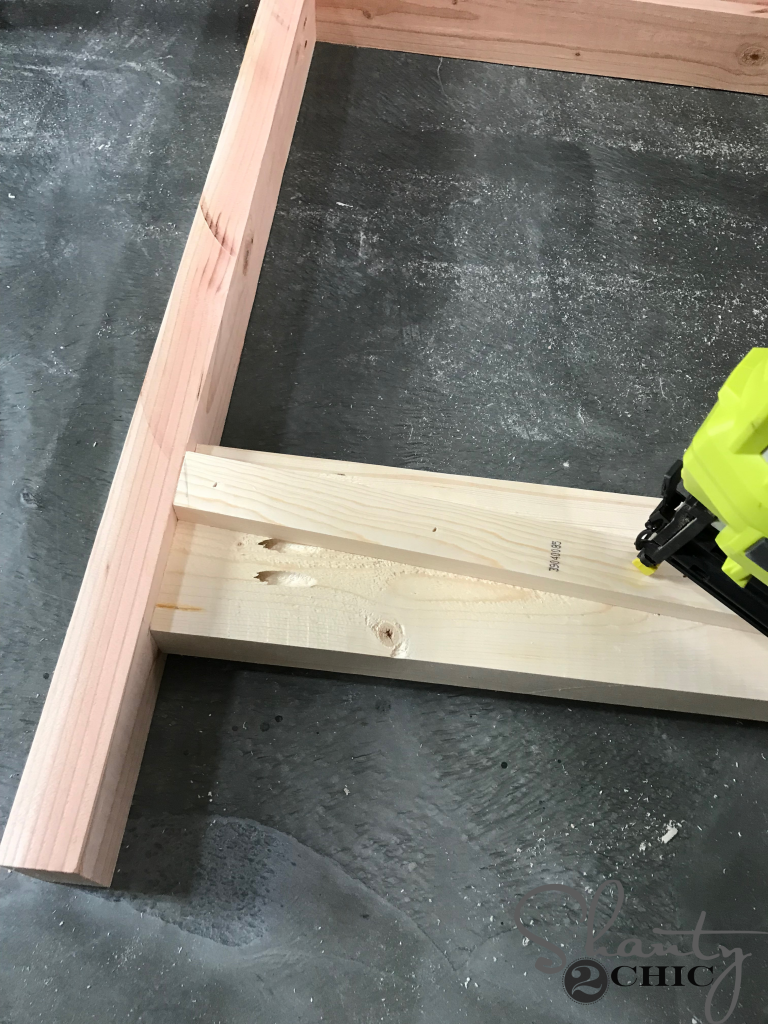
I cut the apron cleats to size and attached them to the inside of the aprons with 1 1/4″ brad nails and wood glue.
When you build the other side frame, make sure that the apron cleats “mirror” each other.
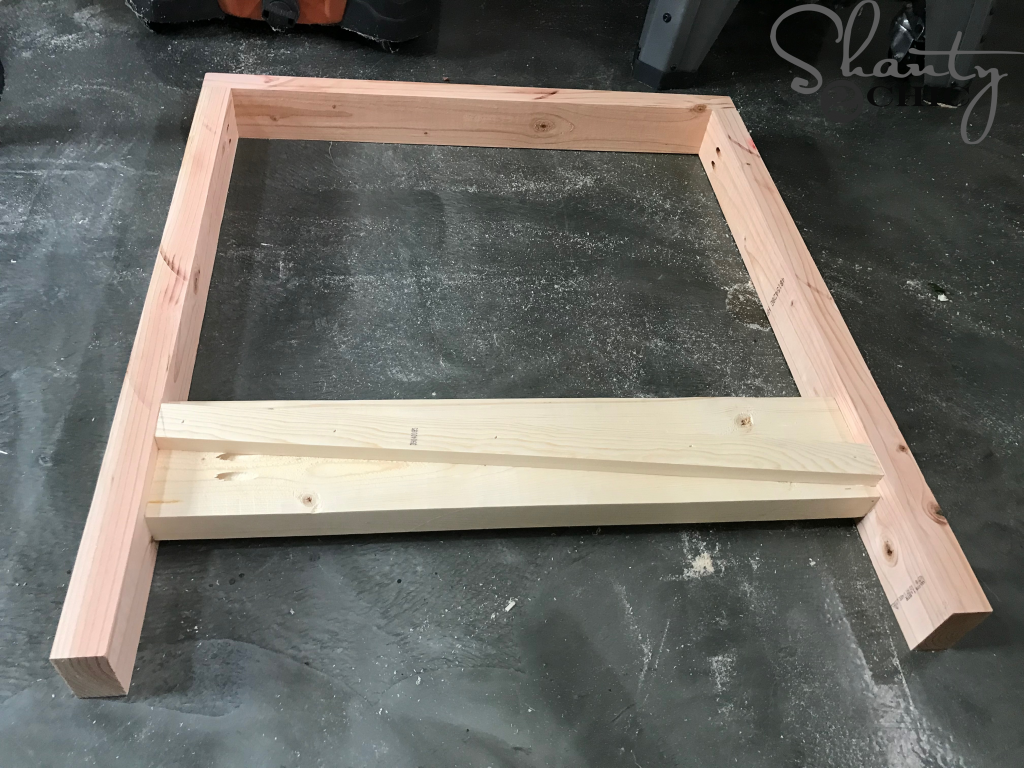
DIY Farmhouse Club Chair – Side Cleats
Now, attach the side cleats with 1 1/4″ pocket hole screws and wood glue. Refer to the plans for proper placement.
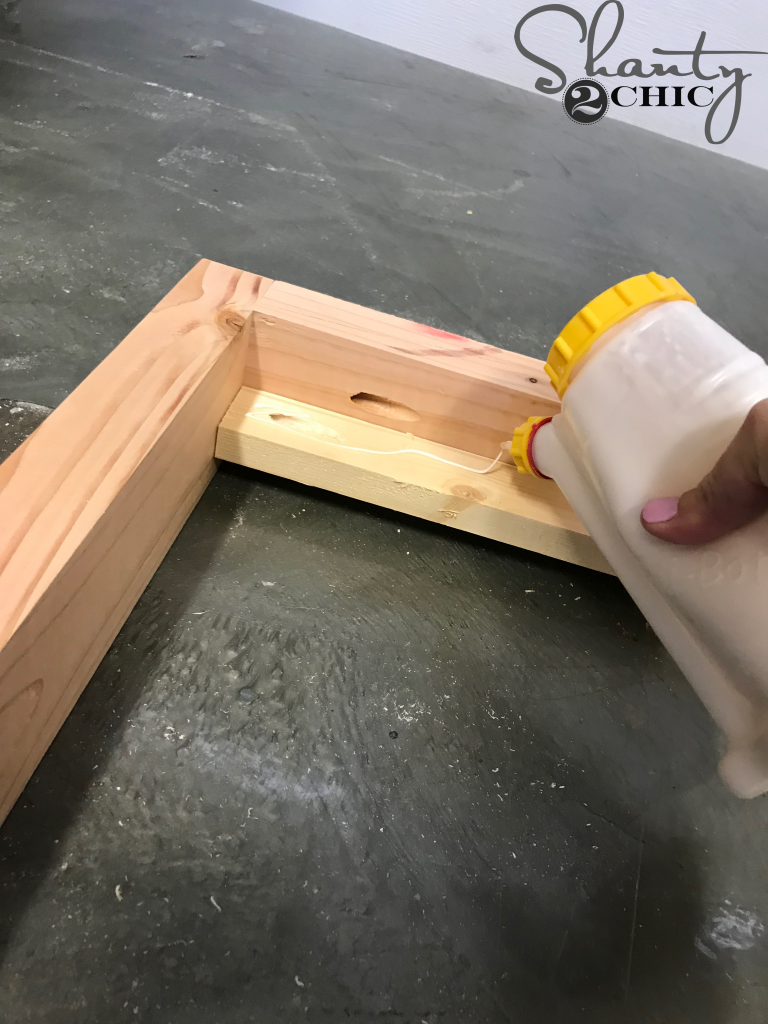
Apply a thin line of wood glue down the inside of the side cleat.
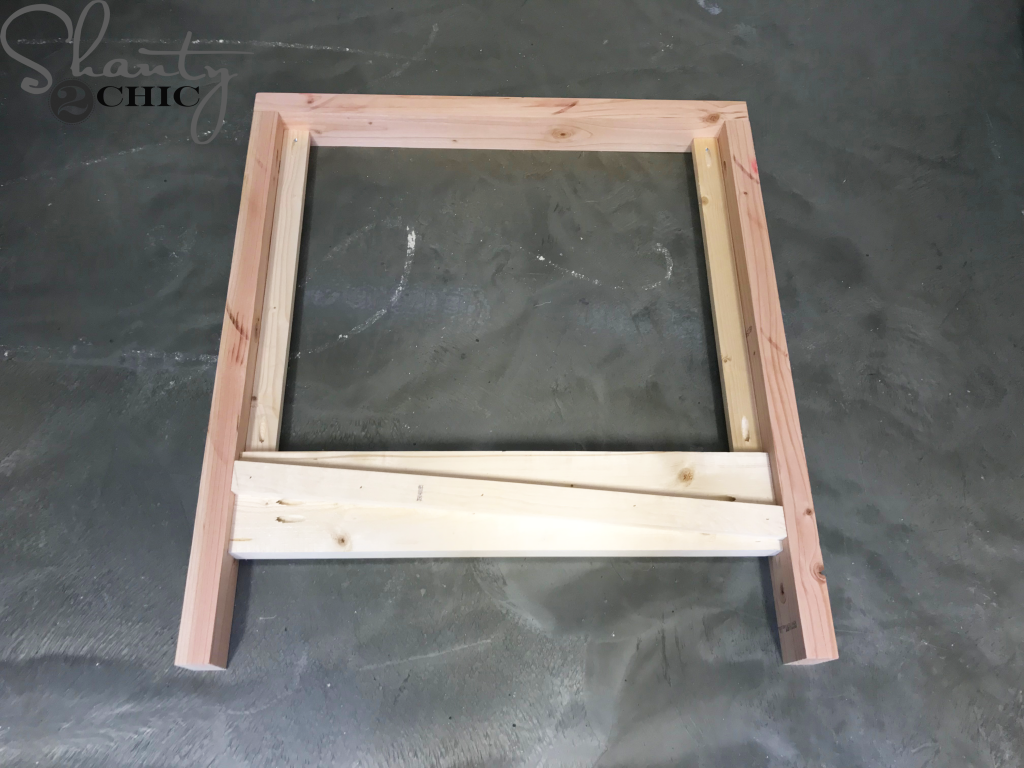
DIY Farmhouse Club Chair – Attaching Side Slats
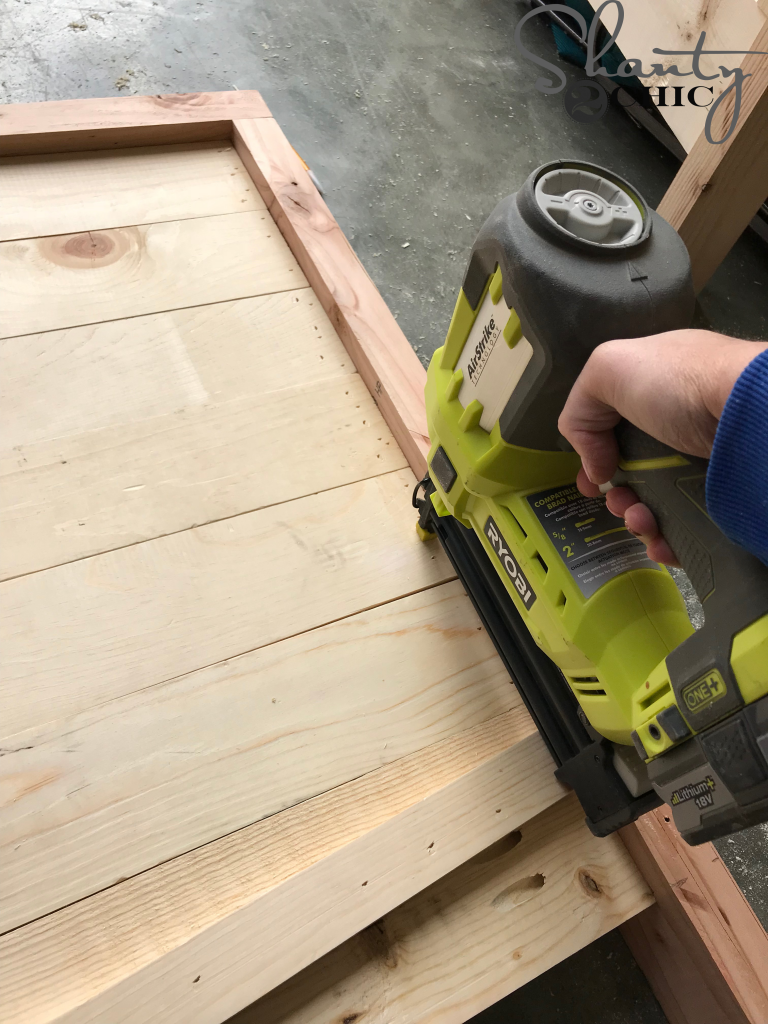
Then, attach the side slats to the inside of the side cleats with 1 1/4″ brad nails and wood glue. Start at the top and work your way down.
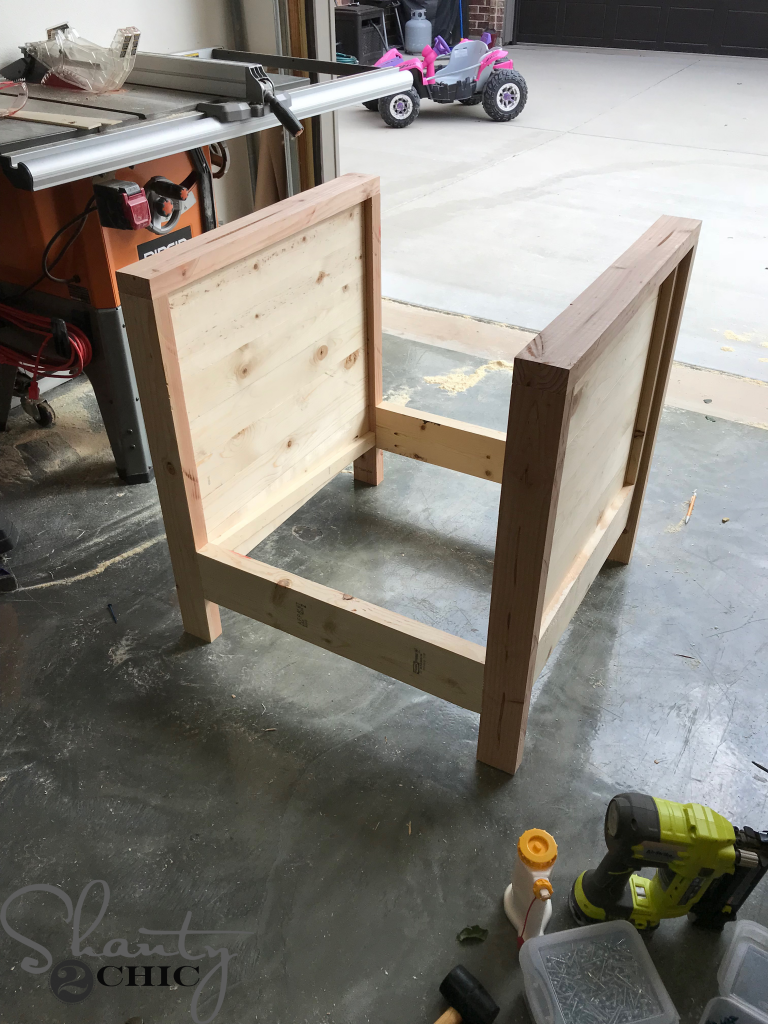
Attach the front and back apron pieces with 2 1/2″ pocket hole screws and wood glue. Note the pocket hole placement on the back apron.
DIY Farmhouse Club Chair – Top Back Piece
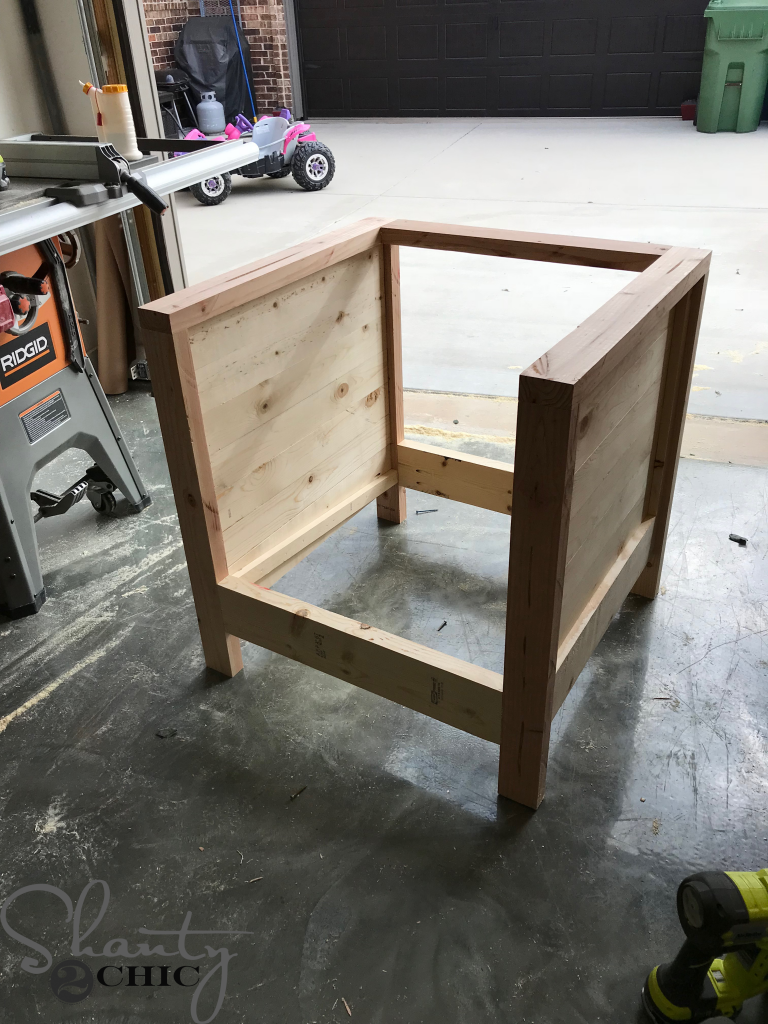
Next, attach the top, back piece with 2 1/2″ pocket hole screws and wood glue.

DIY Farmhouse Club Chair – Seat Slats
Attach the seat slats to the apron cleats with 1 1/4″ brad nails and wood glue.
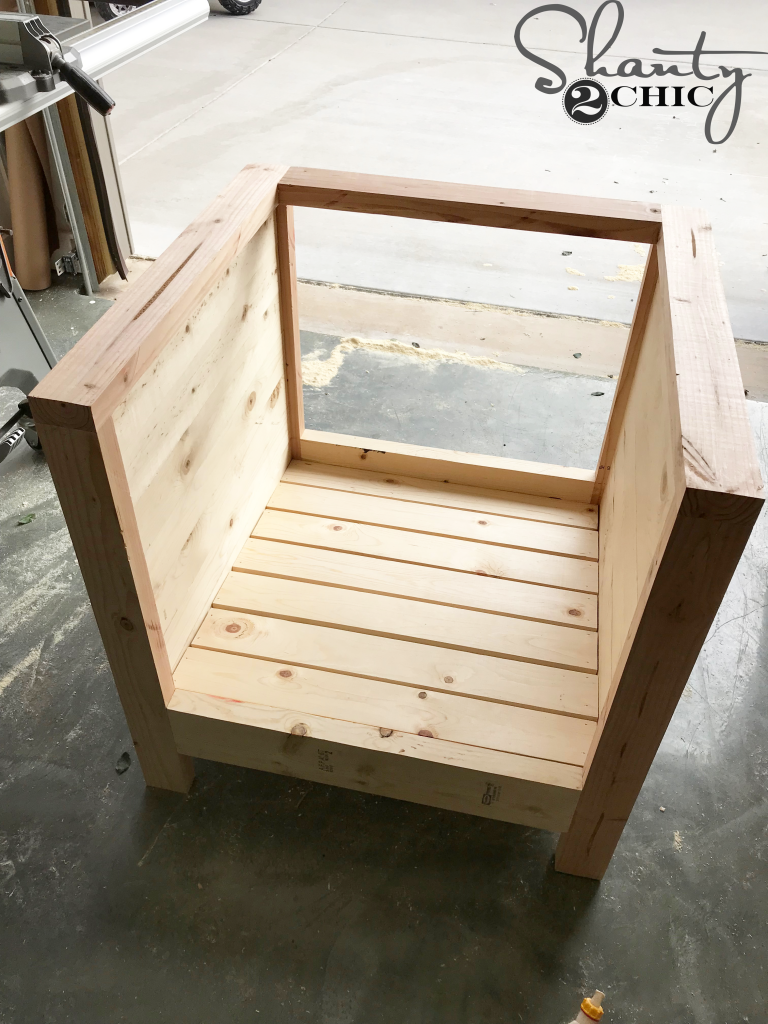
Start with both end pieces, then space the rest out evenly.
DIY Farmhouse Club Chair – Back Slats
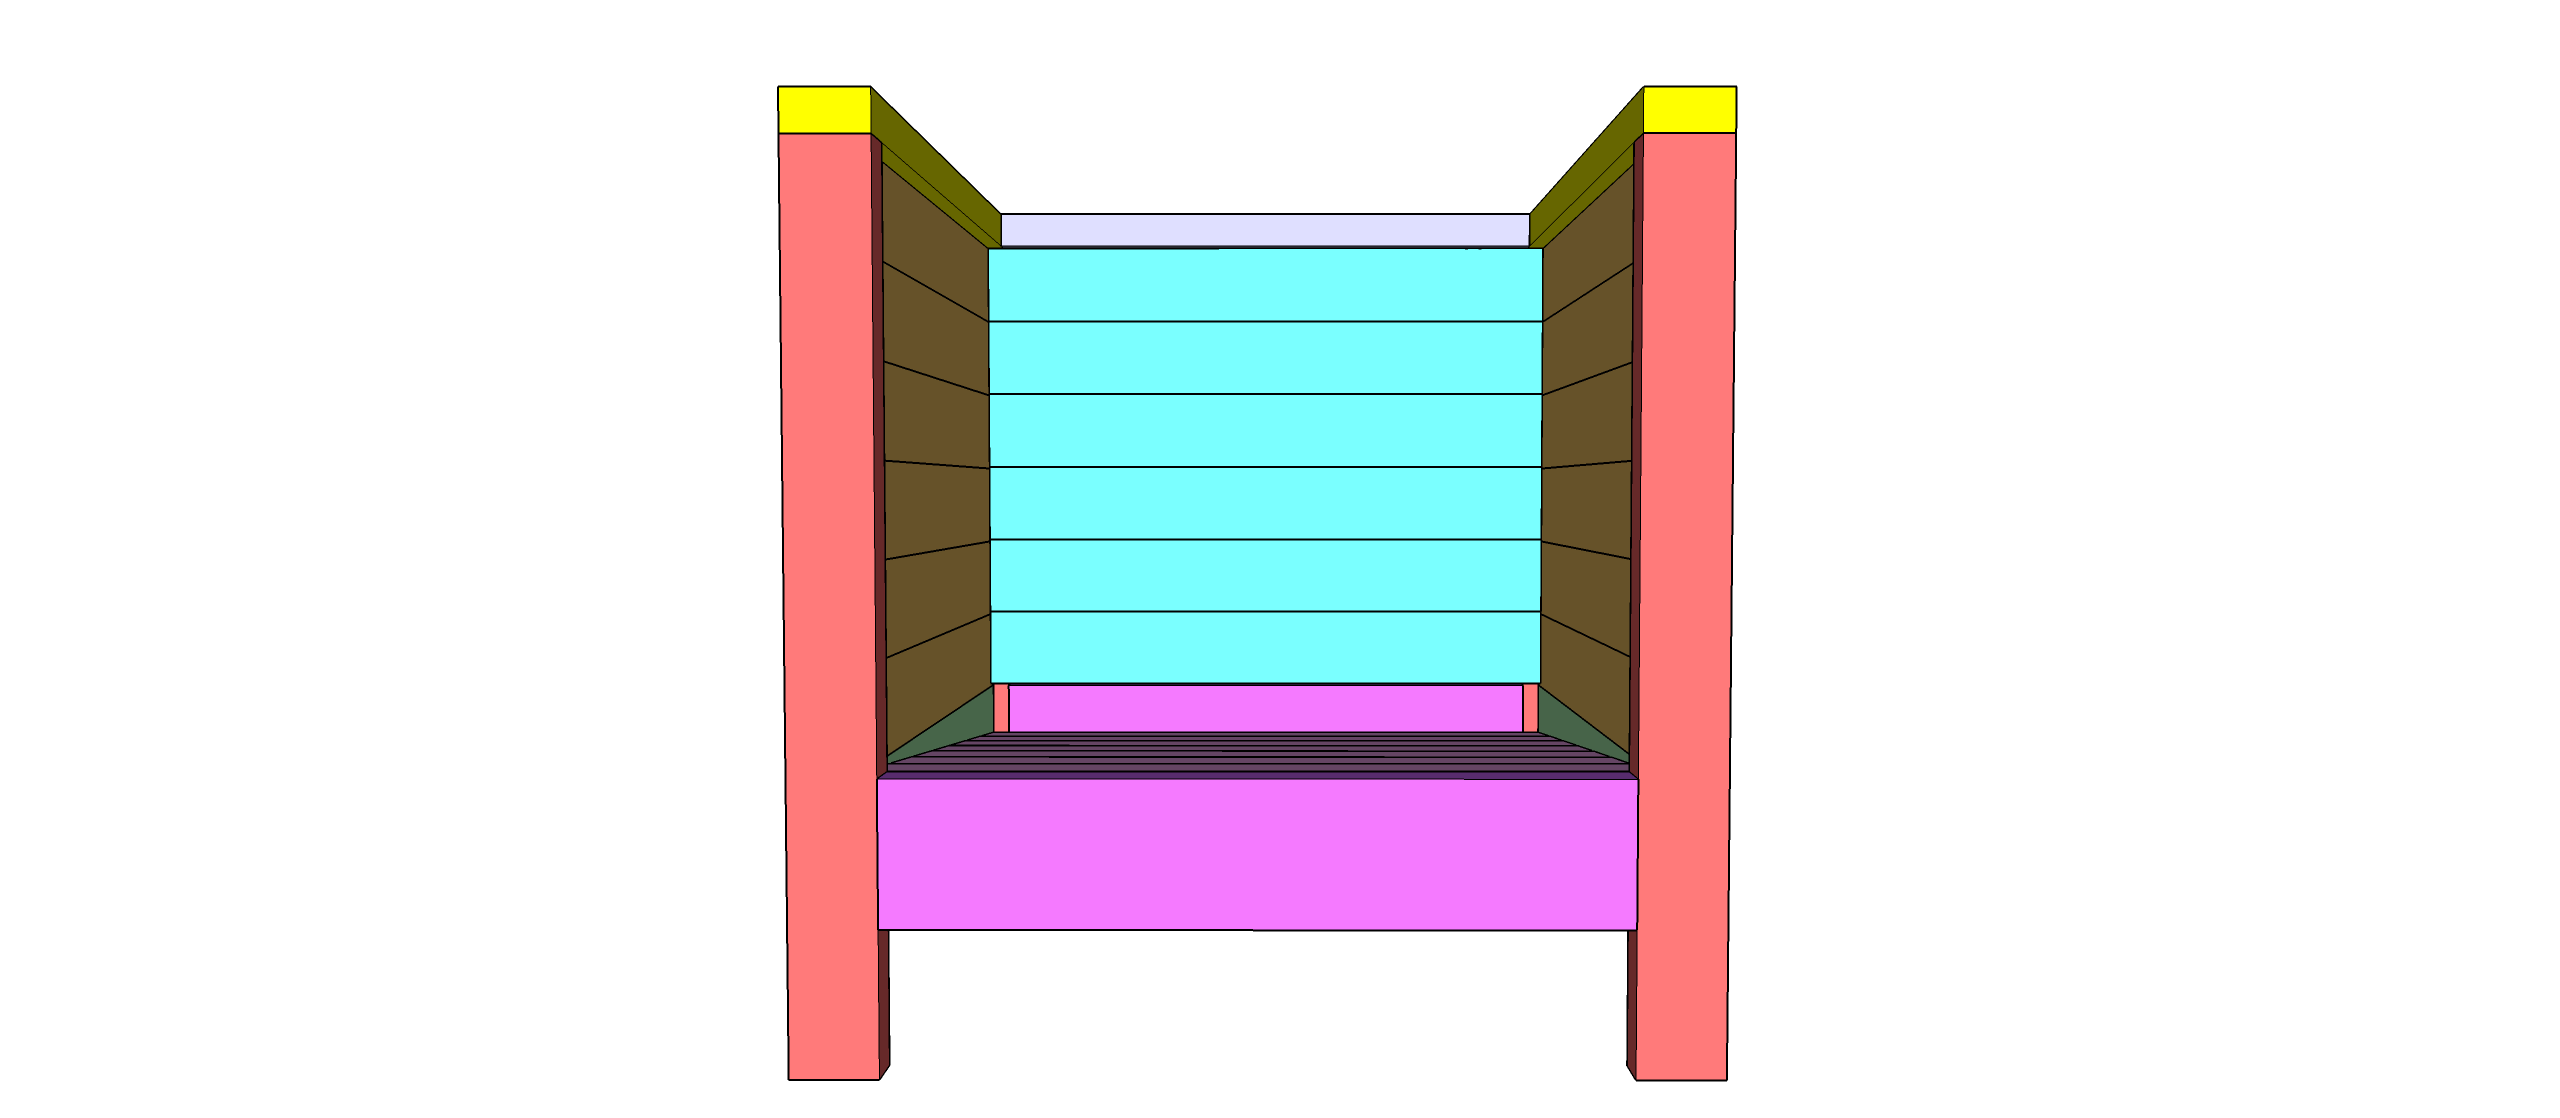 Follow up by attaching the back slats. Start at the top of the inside of the chair and work your way down. Use 1 1/4″ brad nails and wood glue.

DIY Farmhouse Club Chair – The Trim
Finally, measure and cut the side trim to size and attach it to the sides of the chair with wood glue and 1 1/4″ brad nails.
DIY Farmhouse Club Chair – Stain It
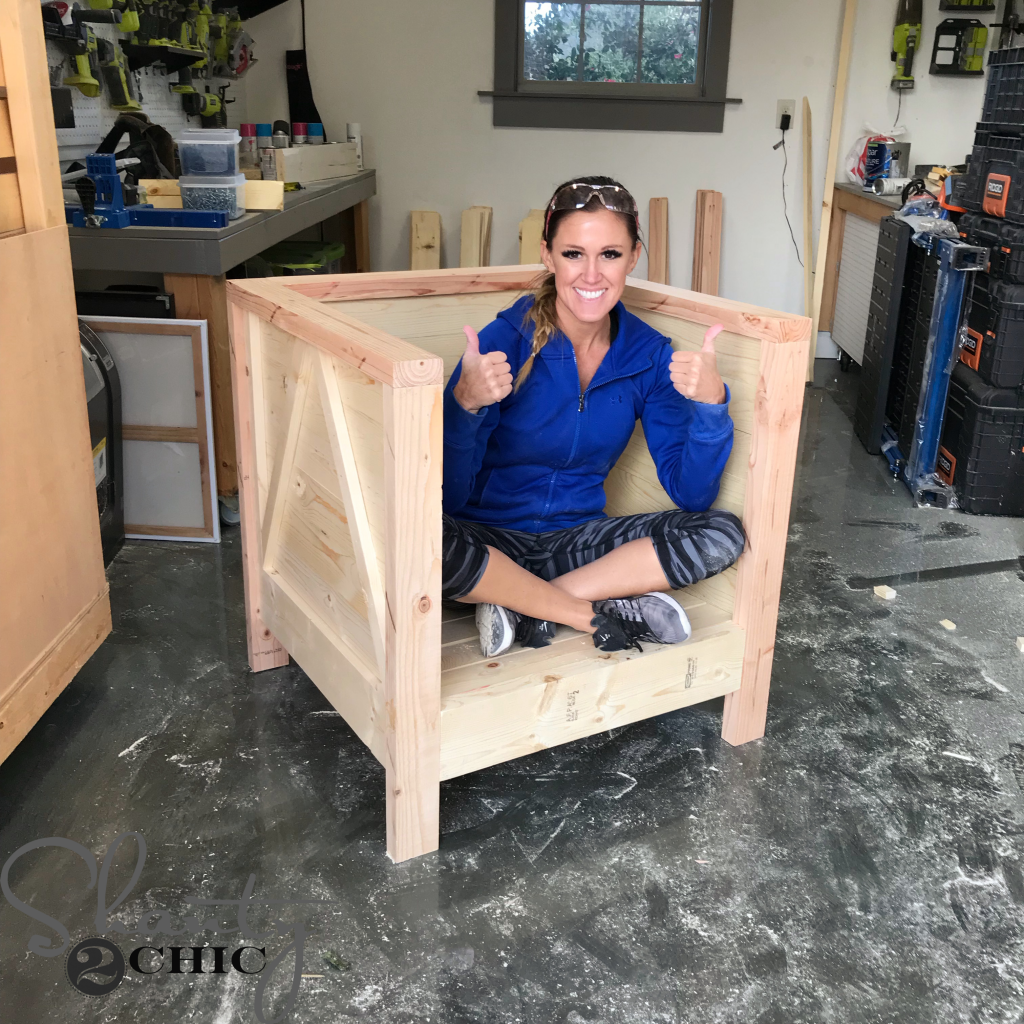
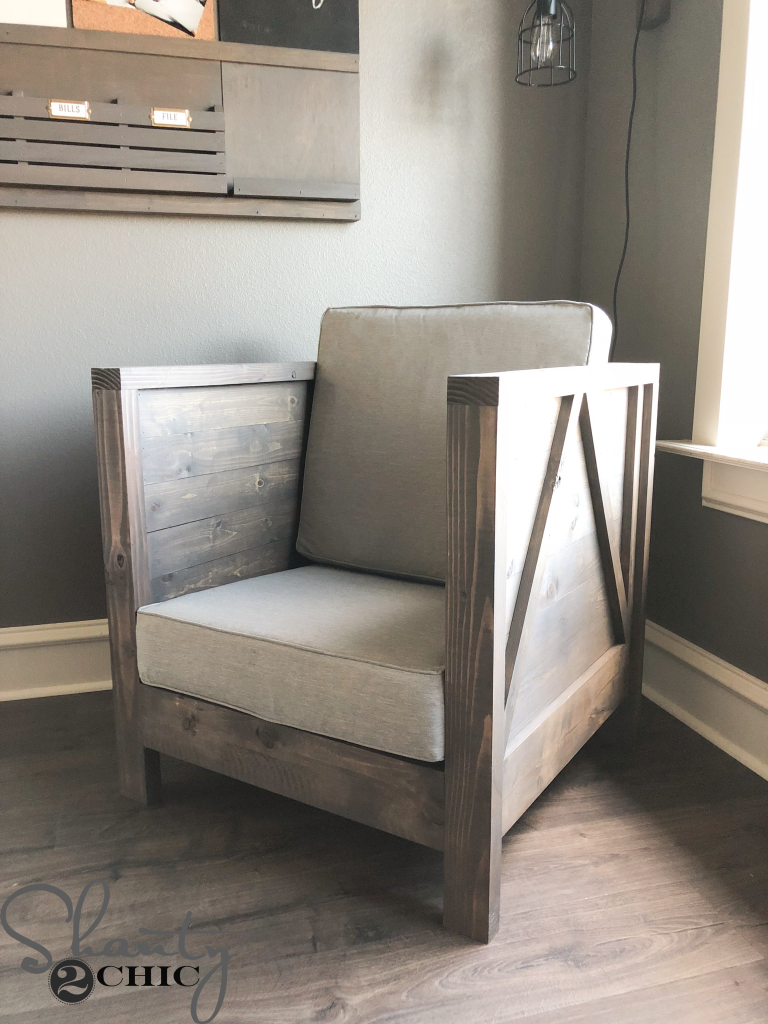
Ready for a finish!
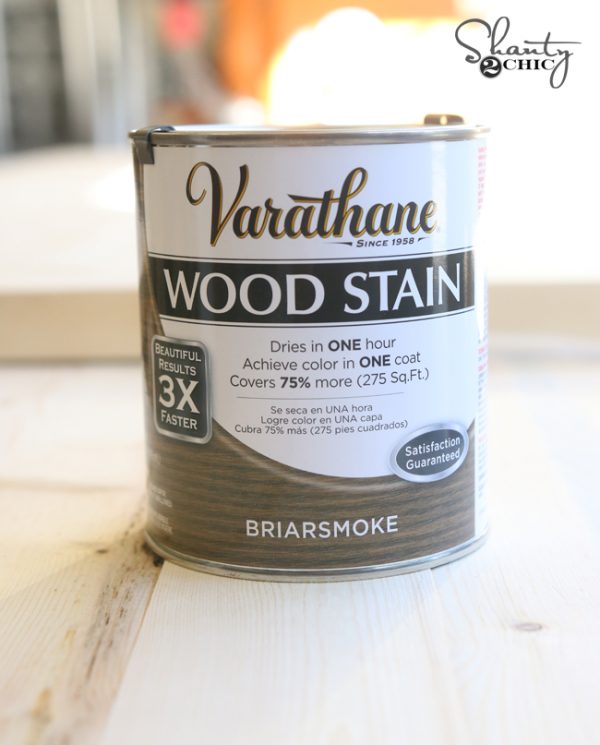
I gave my chair one coat of Briarsmoke Stain by Varathane. You can find it HERE on Amazon or at some Home Depot stores.
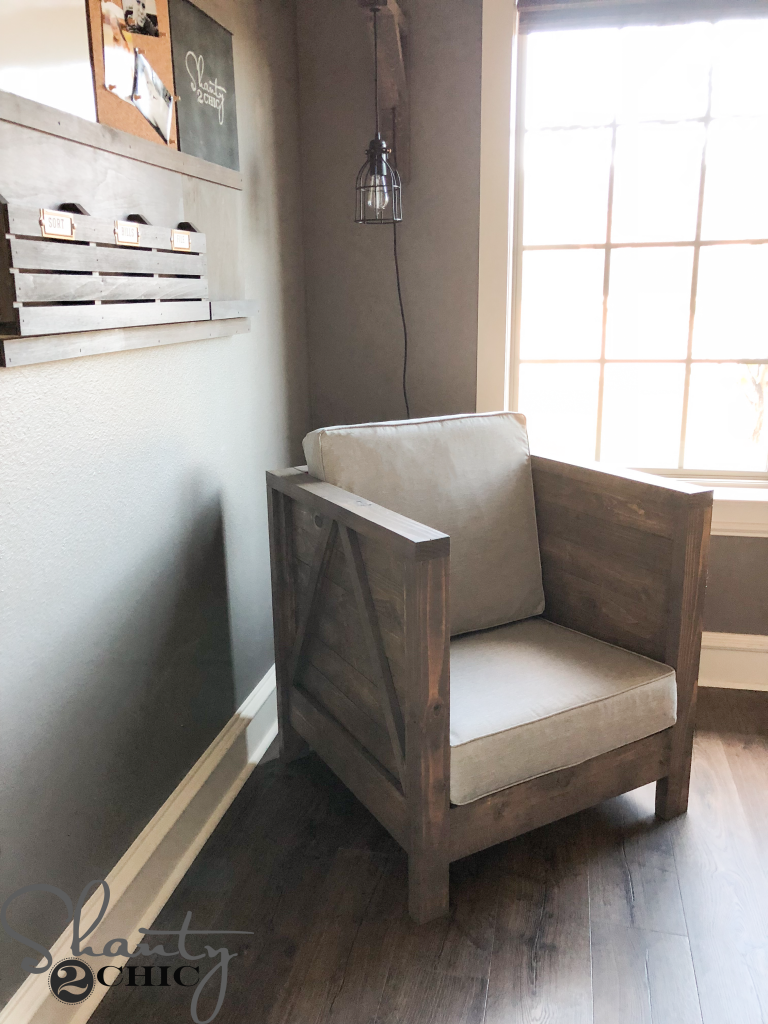
I added a seat and back cushion and called it a day! You can find the back cushion HERE and the seat cushion HERE, on Amazon.
As always, if you love this project, we would love for you to pin it to help share 🙂
Thanks so much for stopping by!
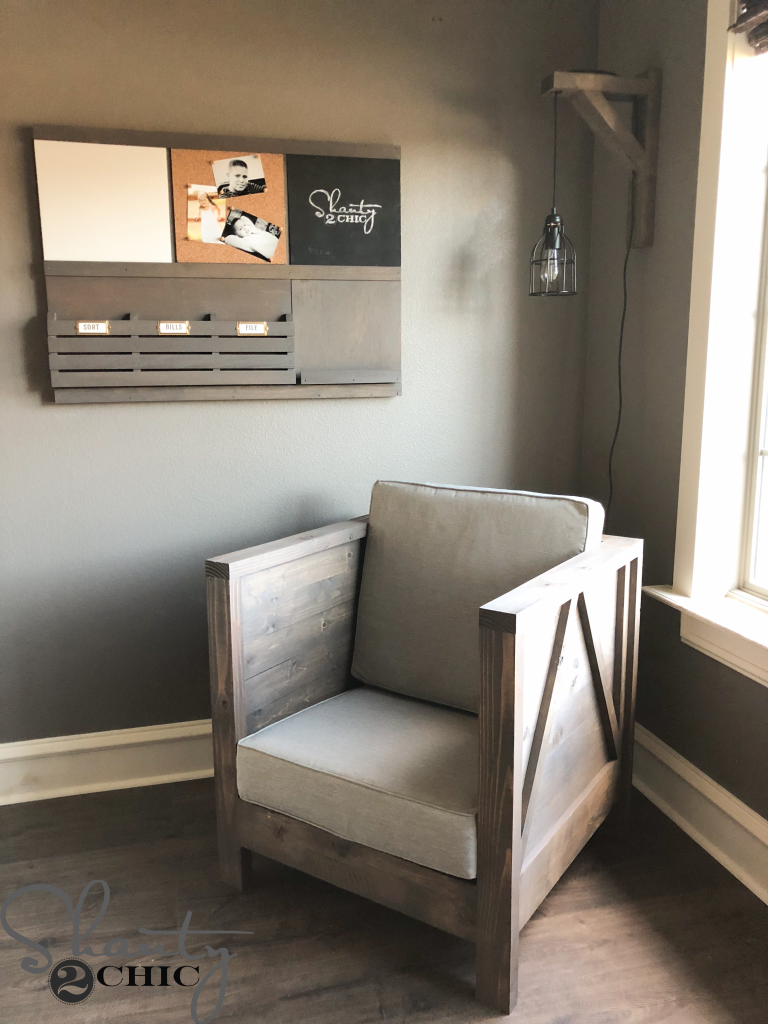
Curious about the other items in this room?
Paint on the walls is Seine by Valspar
Trim Color is Ivory Lace by Valspar


Hi! What is the measurement of the 2X4 AFTER you ripped it down? Curious if I use 2x3s for less bunk but keeping the rounded edges for kiddos.
Great work! Do you have a tutorial for the pillows?
Love this DIY project. I will only add that you can use coconut oil to refinish the wood. Just take a cloth and rub it into the wood. It will make it shinier and give it a “hydrate” look. Thank you for sharing this! Bookmarked it for the spring! ^^
Love the club chair. Will be making this after the holidays. Question tho… Is it a low sitting chair? Maybe that’s what a club chair is. I may need to add length to the legs. Arthritic knee doesn’t want to lift me much anymore. Lol. Good job girls, again.
Love the club chair. Will be making this after the holidays. Question tho… Is it a low sitting chair? Maybe that’s what a club chair is. I may need to add length to the legs. Arthritic knee doesn’t want to lift me much anymore. Lol. Good job girls, again.
Love this! But, now you’ve got me wanting to put all my Christmas projects on the back burner to bust some of these out 😉 Thanks for another awesome idea!
Love this! But, now you’ve got me wanting to put all my Christmas projects on the back burner to bust some of these out 😉 Thanks for another awesome idea!