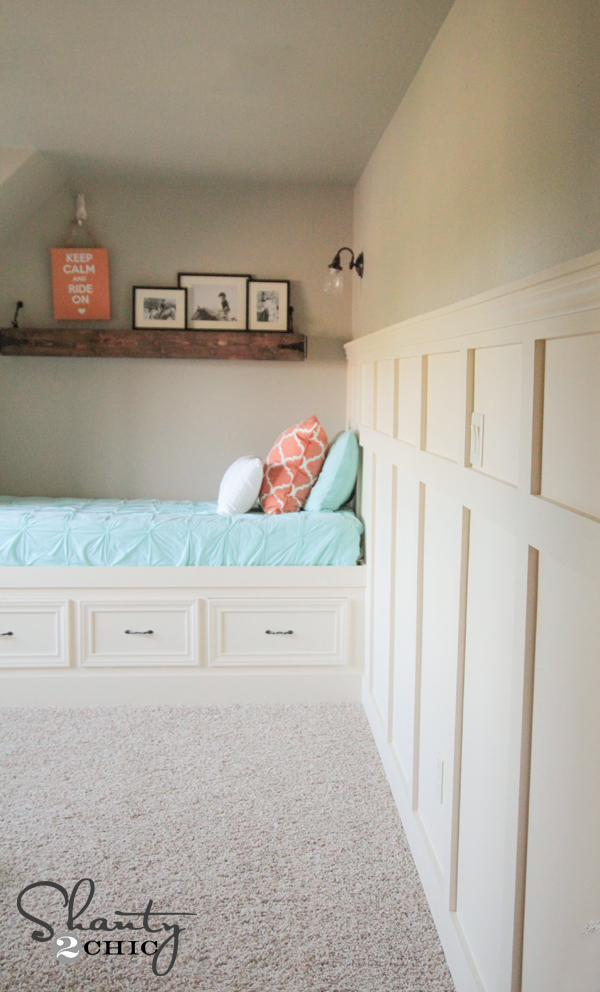
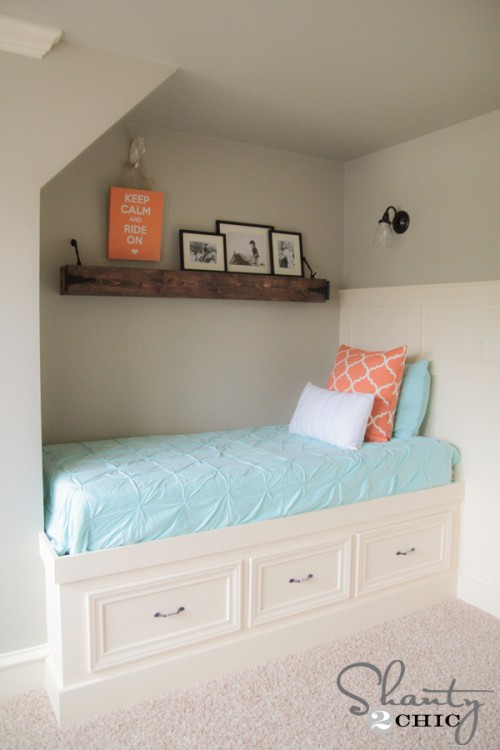
I recently closed off an open loft space upstairs to create a new room for one of my girls. It is quickly becoming one of my favorite spaces in the house! The room is a different shape than any of my other rooms. It is a long and narrow room with one long flat wall you see when you first walk in. I knew I needed some sort of wall treatment to break that baby up, and I decided to use plywood and boards to create this DIY wall paneling.

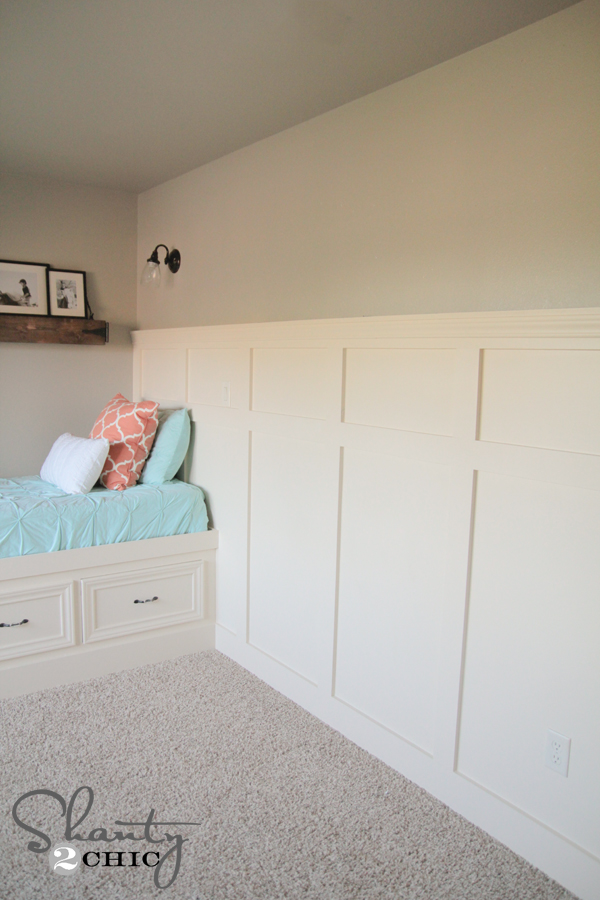
I LOVE the results!
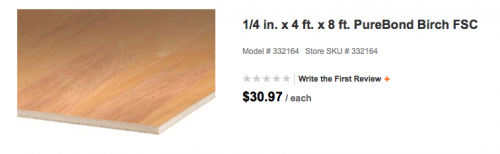
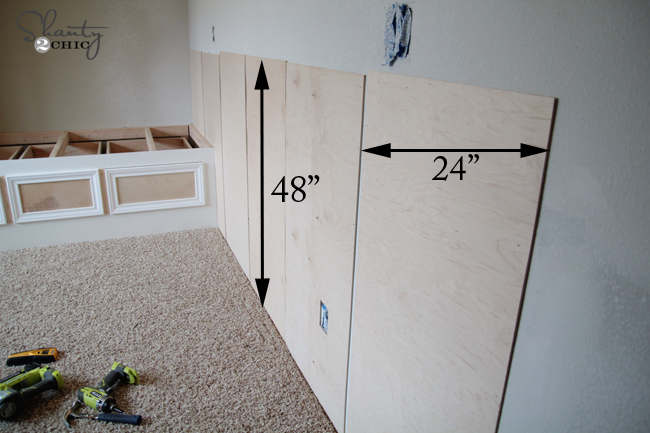
For my boards, I decided to use PureBond plywood in Birch. I bought 4×8 sheets of 1/4″ birch at The Home Depot and had the nice guy there cut each sheet down into 2′ x 4′ pieces. This made them small enough to get them in my car and back home.
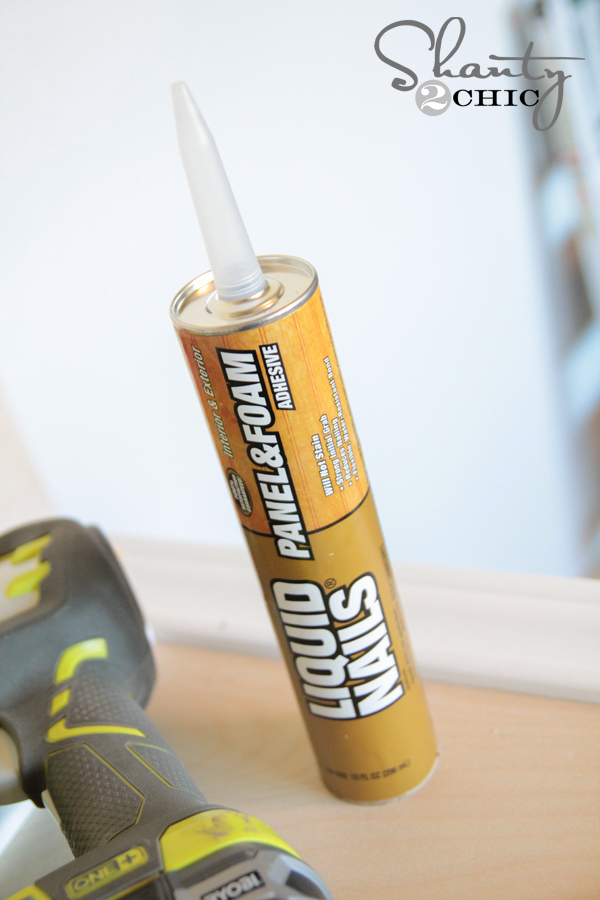
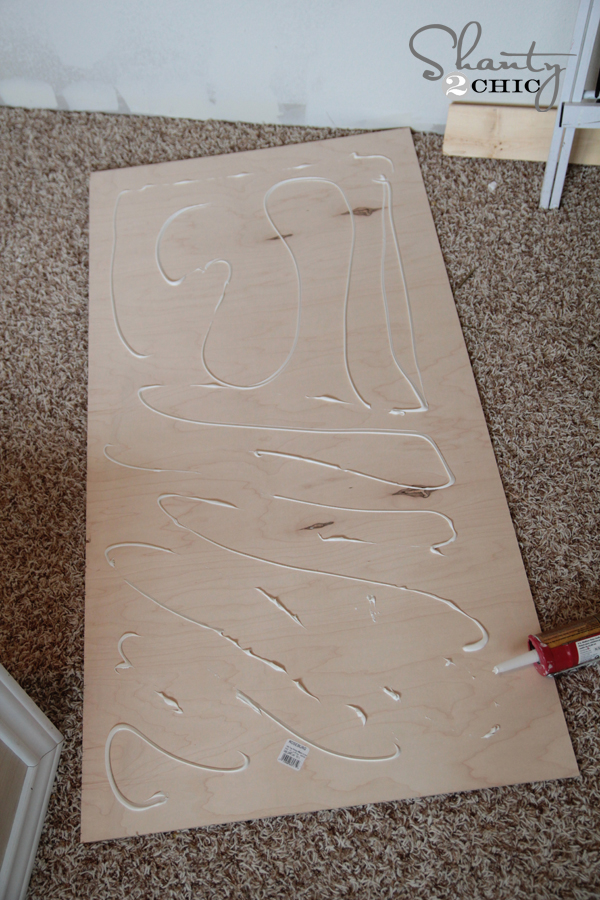
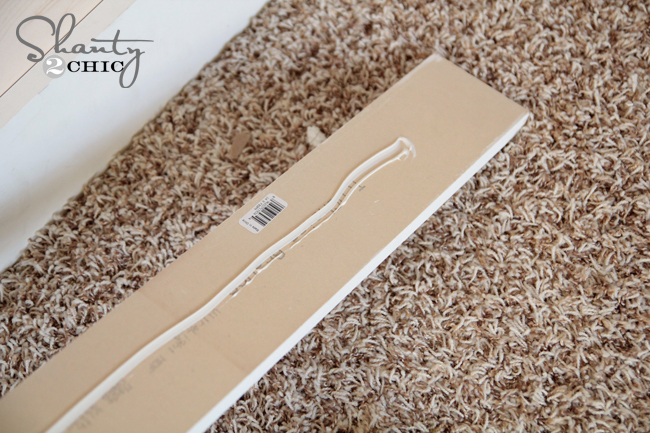
You will need panel adhesive to attach these boards to the wall. I found mine in the wood section by the wall paneling.
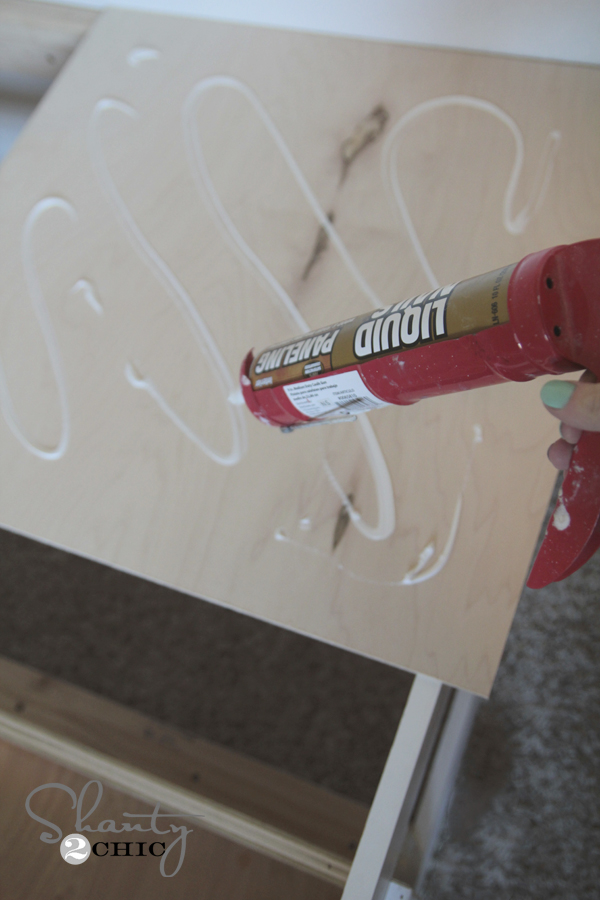
For each piece I attached, I ran a big glob (pretty sure that is the technical term) to the back of the boards.
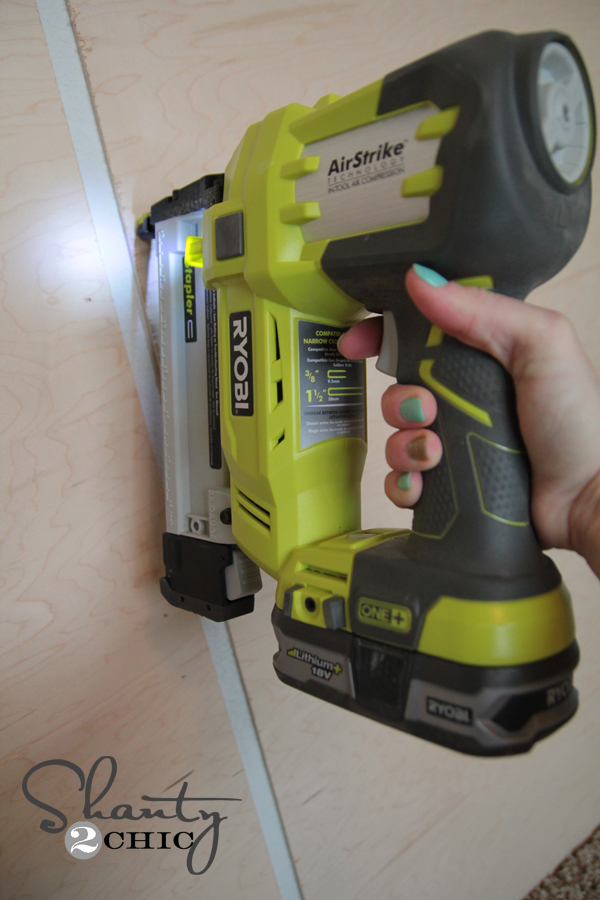
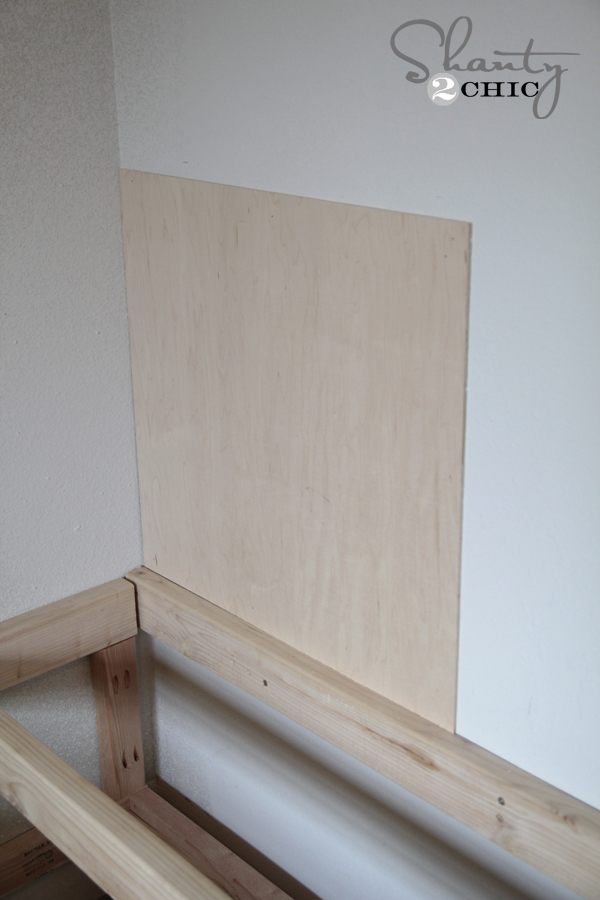
I started with my most visible corner and worked to the corner that was more hidden. I did have to make my first two pieces shorter to accommodate for the new built-in bed I made for her room. I knew my other pieces would be 48″ tall, so I measured from the top of the bed to 48″ to find my difference. I attached all of my boards with a cordless stapler. You guys… This thing is the BOMB. My old stapler hooked to the air compressor, but this one uses the same battery as my drill… Too legit. It looks almost identical to my AirStrike Brad nailer, but you use them for different jobs. I kept most of my staples to the outside, since I know they would be covered later with my battens.
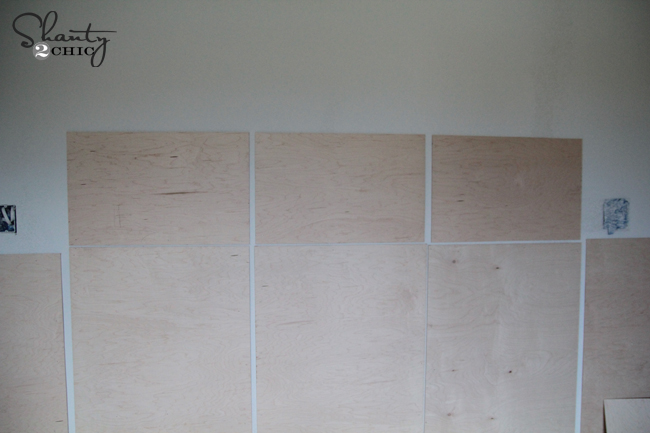
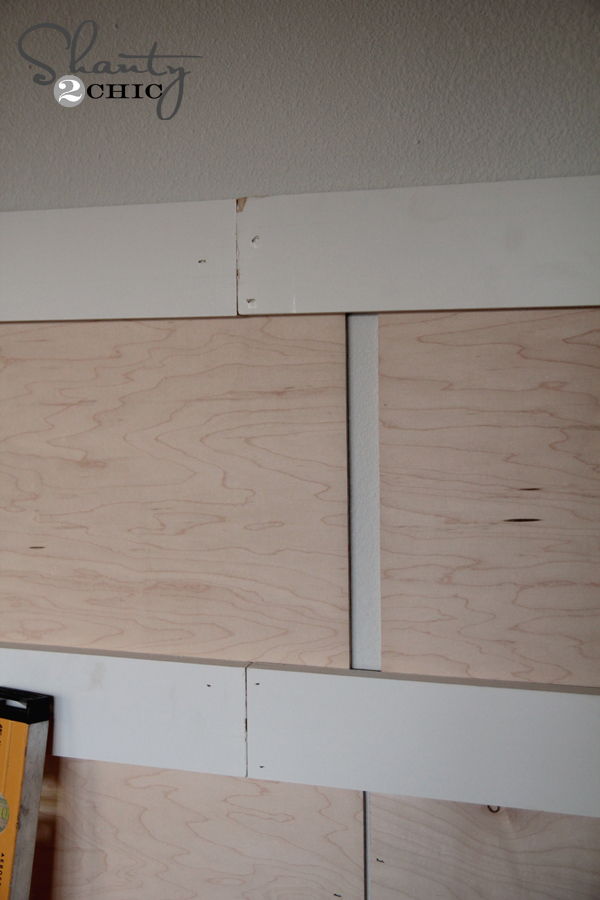
Here are a few progress shots… I left about an inch between all of my boards to space them out a bit on the wall. I knew they would be covered anyway and it took up a bit more wall space.
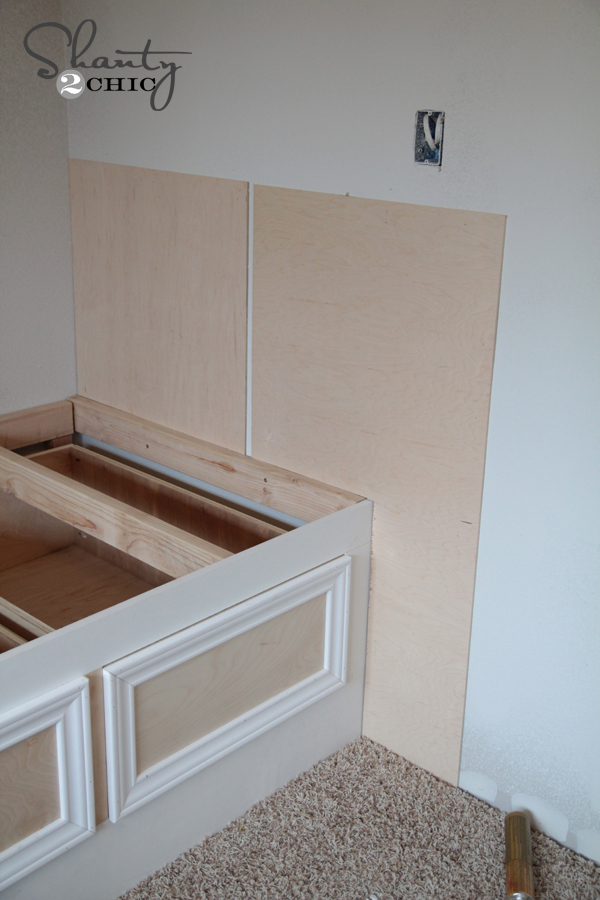
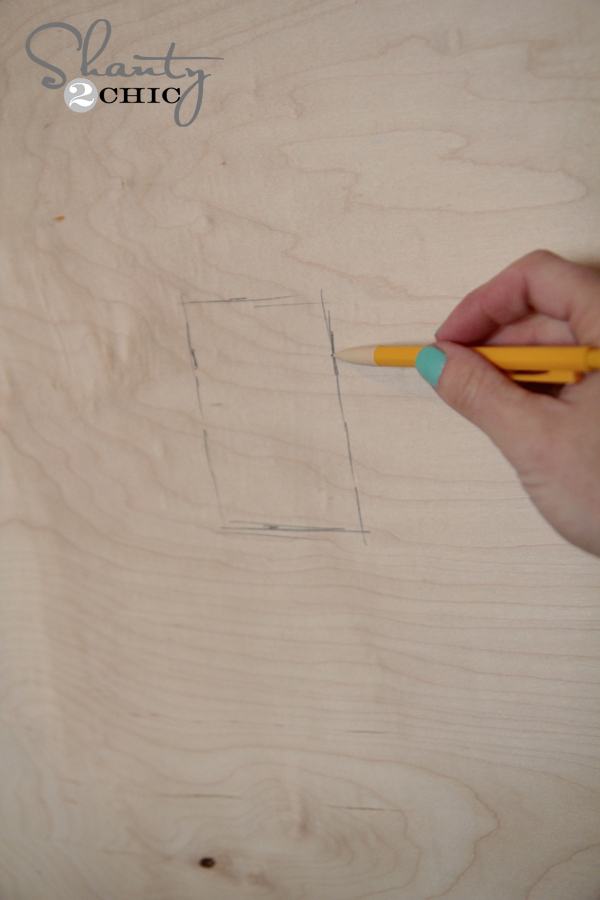
There were a couple of times when I came across the dreaded electrical outlet. This is actually a very easy step with the right tools!
I started by placing the board I was going to attach up to the wall and marking with a pencil where the outlet lined up.
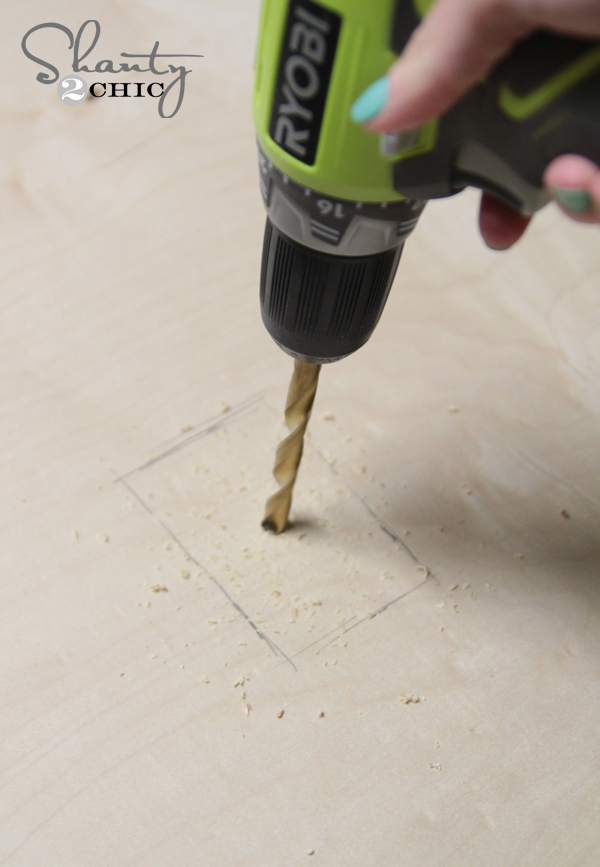
Next, I pulled the board down and used my Ryobi drill with a larger drill bit to drill a pilot hole right in the middle.
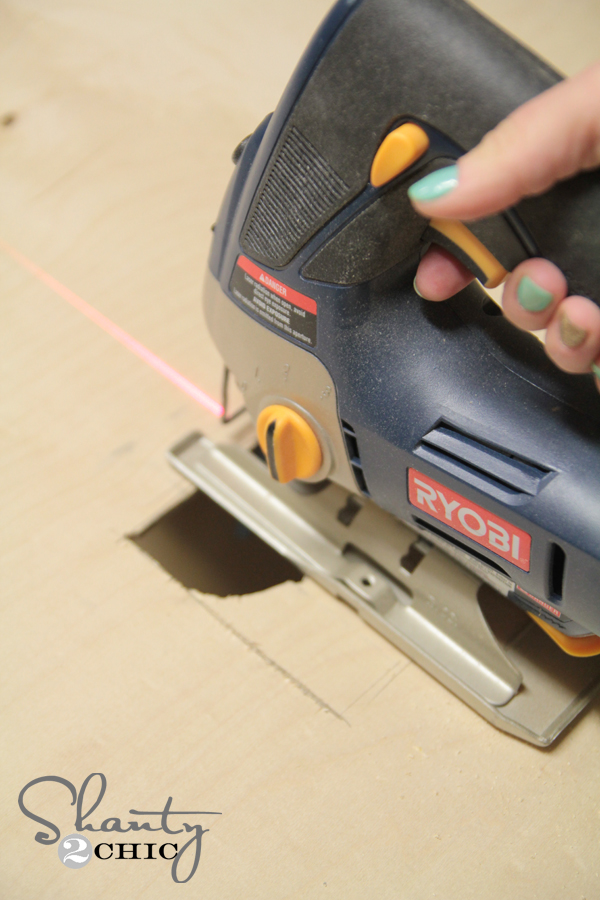
Then, I used my jigsaw to cut along the lines I had drawn.
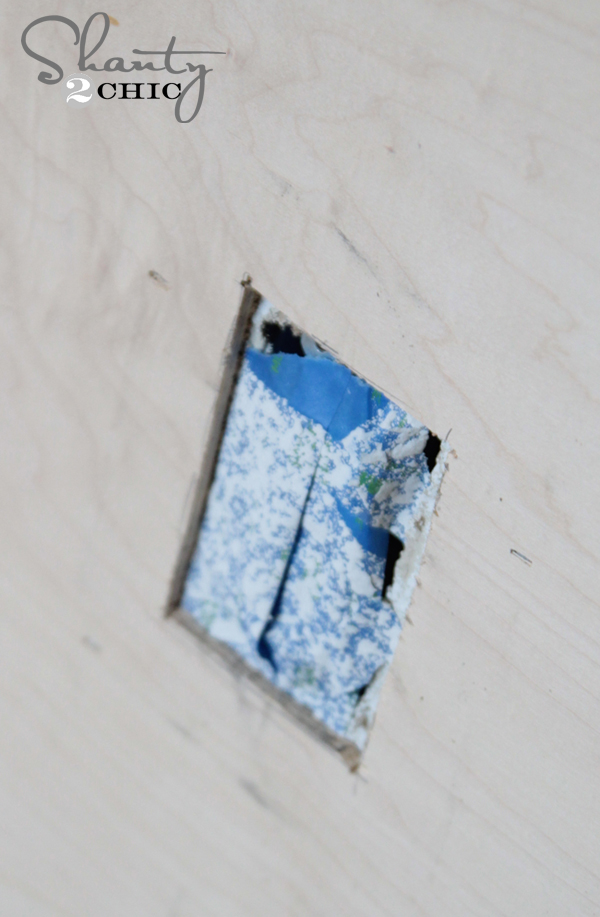
That’s it! I added panel adhesive to the piece, and stapled it to the wall!
Once I had those pieces attached, I started on the top pieces of 1/4″ boards. These were each 24″ wide by 14″ tall. I attached them the same way, and left a bit of space between each one. You may see my guy didn’t cut all the pieces the exact same at Home Depot, but I knew my battens would cover it all, so I was cool with it.
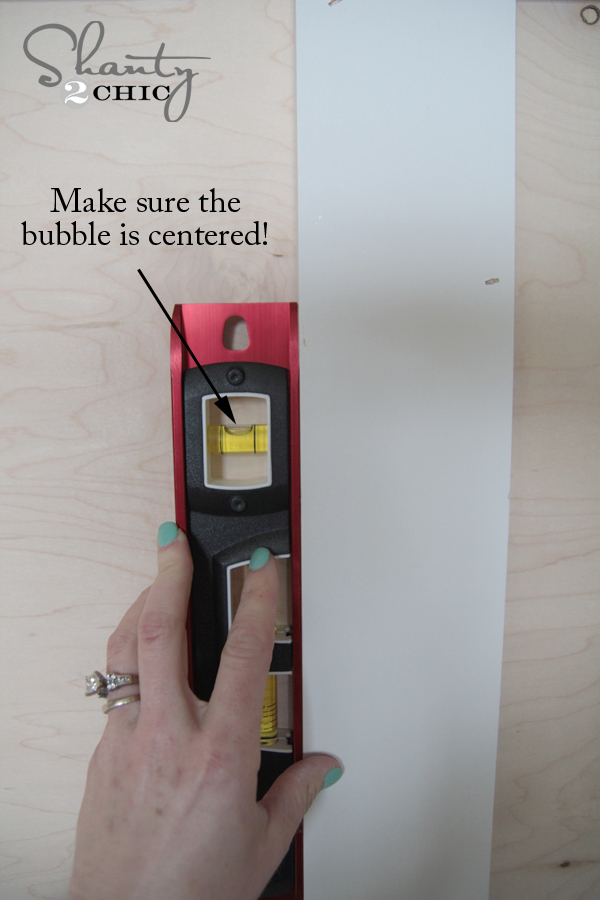
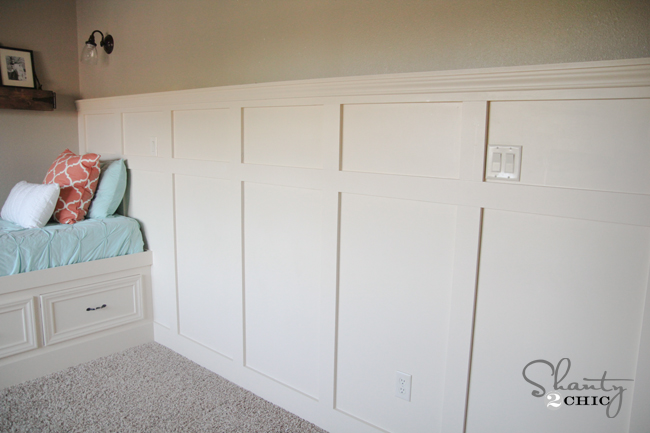
Next, I started adding my long boards. I chose to use primed MDF boards for this part. I knew I would be painting it all anyway, and these are super straight boards that are very easy to work with. Make sure to use a level on this part! I used a 48″ level. I added a bit of panel adhesive to each board and attached them using my stapler. I started with 5.5″ boards for the baseboards, and then used 3.5″ boards for the center and top board.
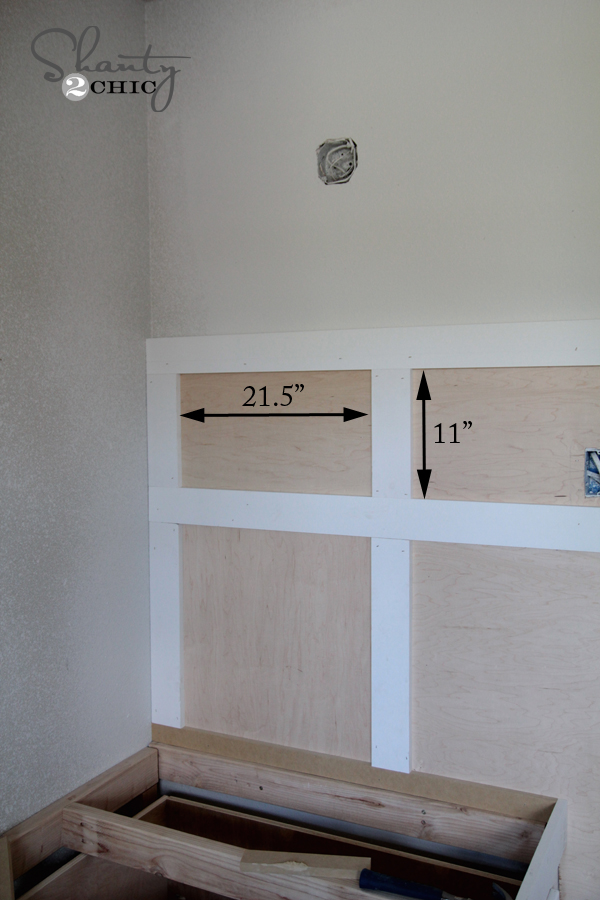
I placed my middle board 45.25″ from the ground.
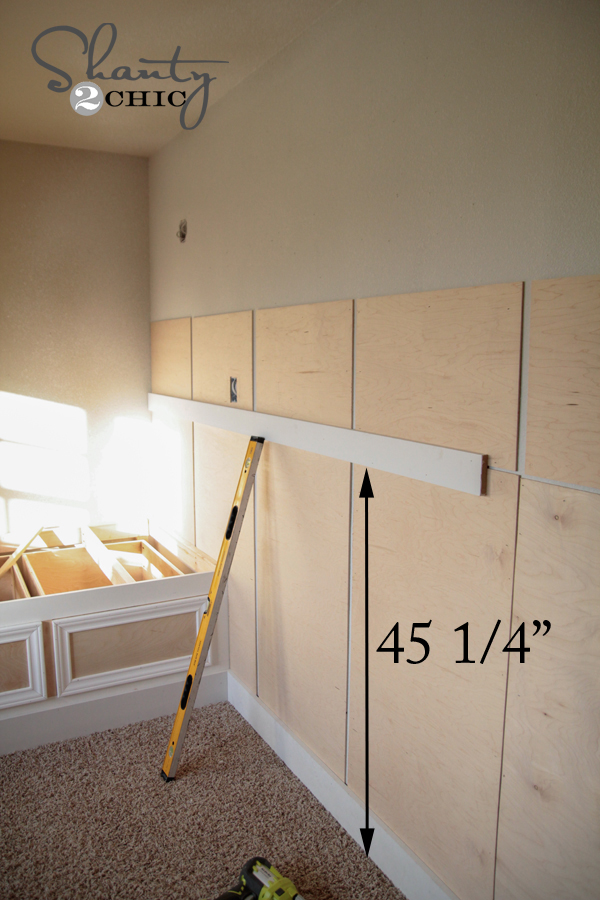
My top and middle boards are spaced 11″ apart.
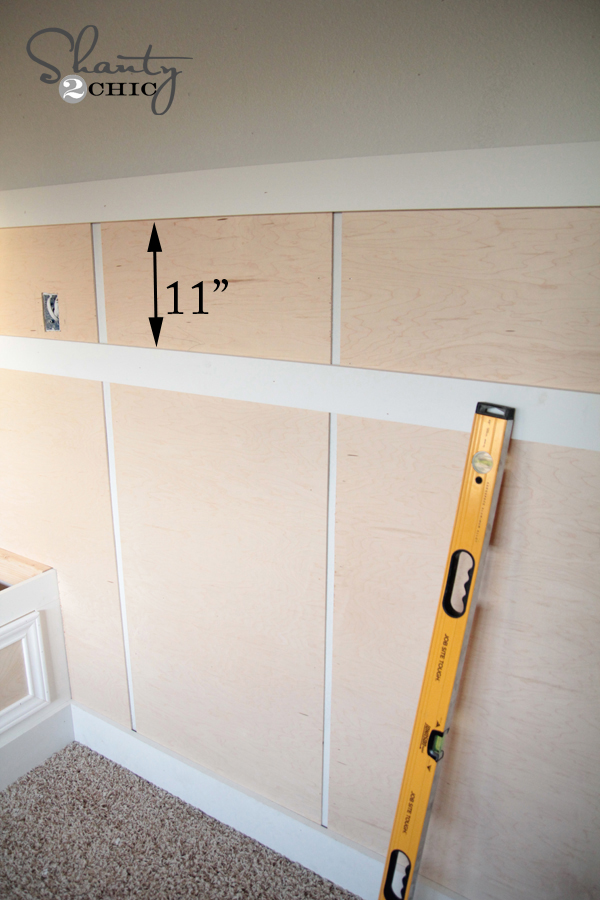
You can see where my boards lined up. I will come back before I paint and caulk all of these lines and holes.
Now it’s time for battens!
I cut each of my bottom boards at 39.75″ long. I also used the 3.5″ primed MDF for this part. I ran a glob of panel adhesive under each, and used a level to line up each piece…
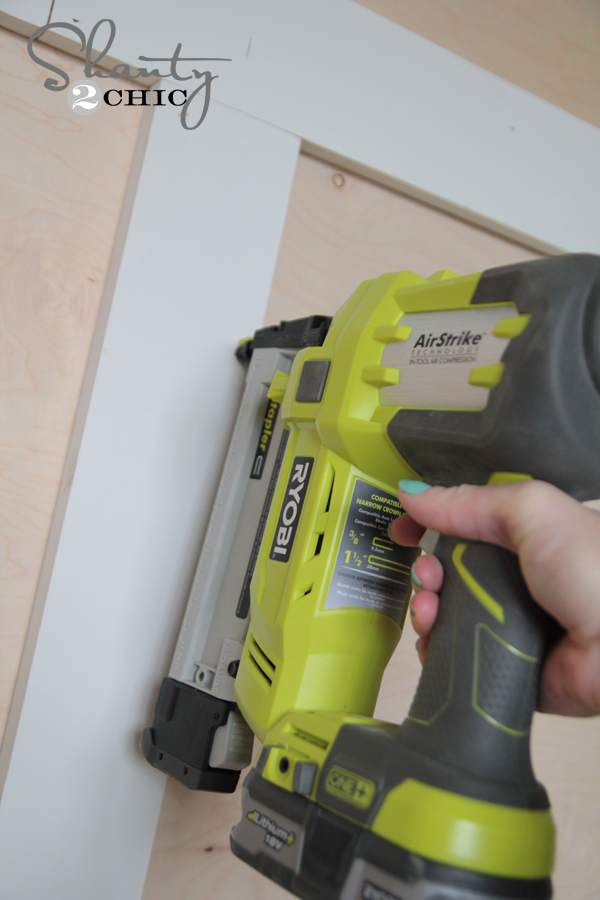
I used my AirStrike stapler again to attach each piece.
Once all of my bottom boards were done, I moved to the top boards. Each of these were cut at 11″ and I attached them the same way.


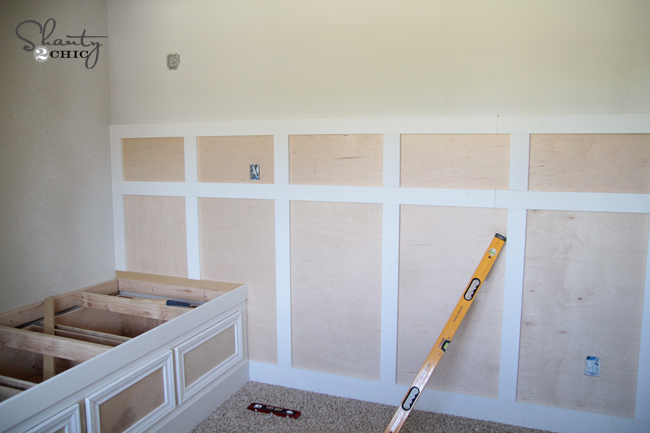
You can see here where I lined all of these boards up.
I finished up the rest of the boards the same way! The cordless stapler made this part SO easy. No carting the cord and compressor through the house = WIN.

Now for a few more boards to finish it off!
I first attached a 1×2 MDF board on the top using wood glue and my stapler.

Next, I used a cheap casing piece just under the shelf. I also attached it using wood glue and the stapler.

Here it is all finished up ready for caulk and filler!


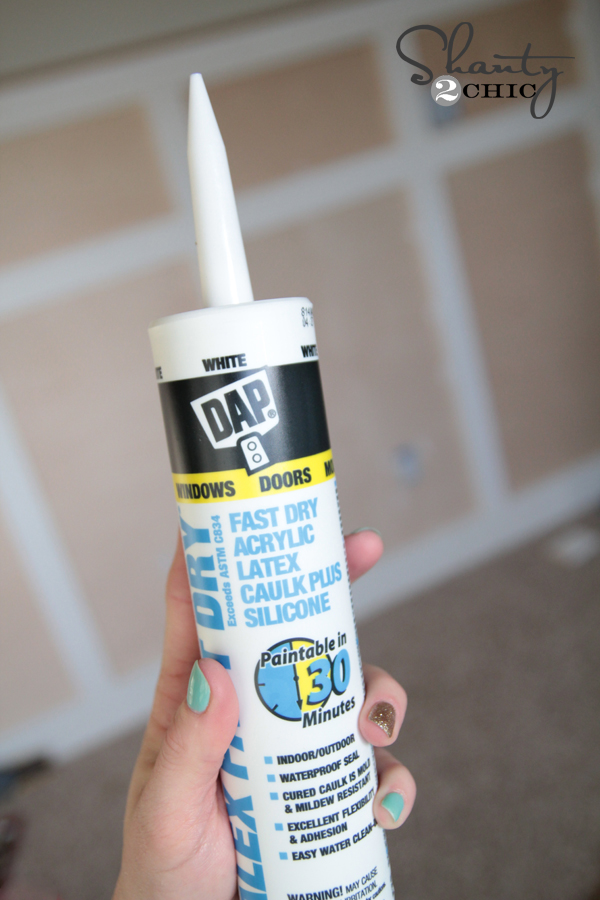
I used caulk on all my seams…
I like to keep baby wipes with me on this part. I run a line of caulk down each seam and then go over it with my finger to smooth it out. Then, I just use a wipe to clean my hand off… Works for this mom 🙂
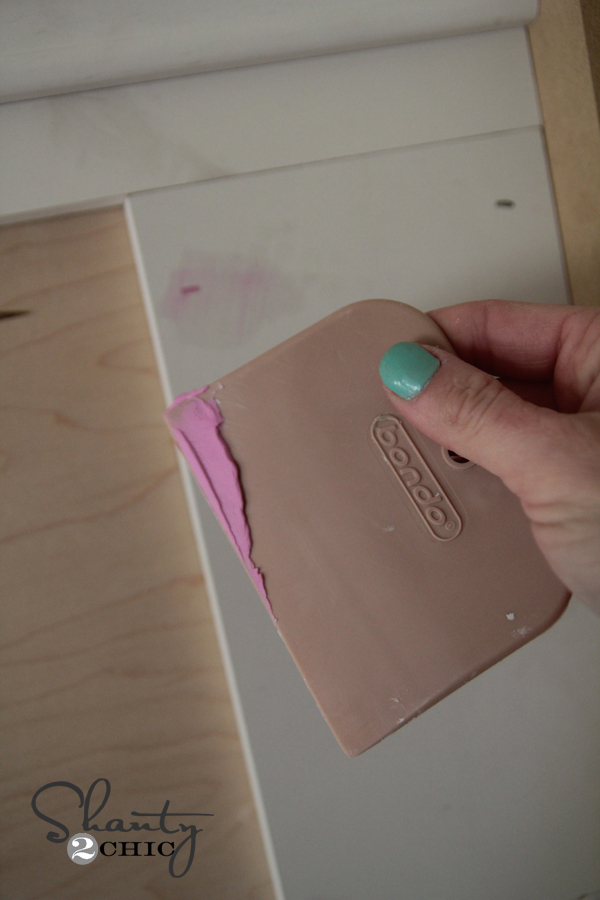
To fill my holes, I used this fun pink stuff. I love that it goes on pink and dries white.
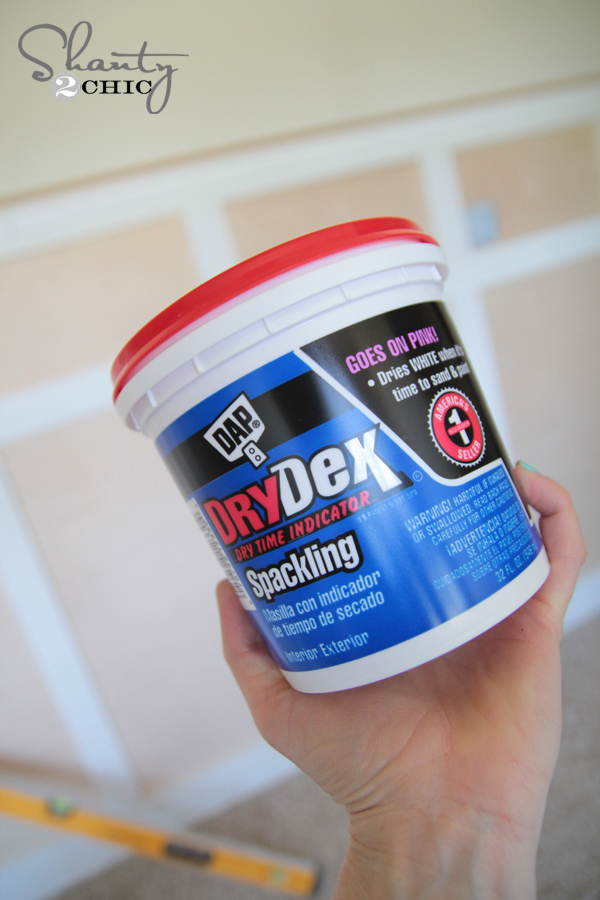
I just use a plastic scraper to apply it and smooth it out.
Whew… That was a lot. My final step was painting it. I will give you guys some more details on the paint later.
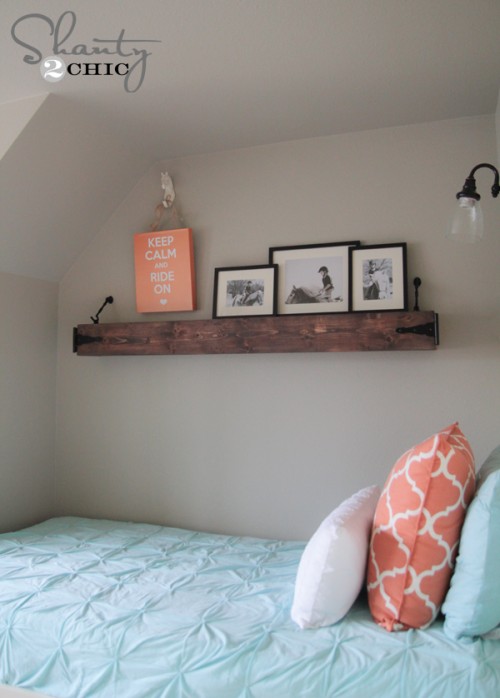
Here it is all finished up! LOVE how it totally changes the look of the room!
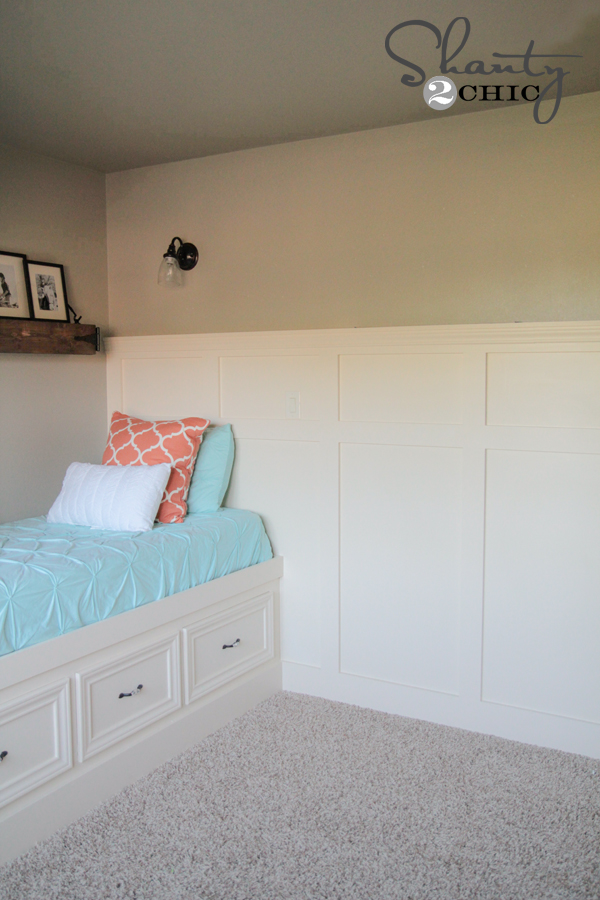
Hope you guys love it as much as I do! I would LOVE for you to share and PIN this tutorial below! This is such a great way to add character to any room! Make sure to check out the other projects in her room I have shared too!
DIY Rustic Floating Shelf or Mantle

When you nailed up the plywood for you nail into studs it just the dry wall?
Beautiful! What color of paint did you use for the walls?
Fabulous post ! I will be watching for more. Board and batten has been on my list and I like the way you use a 1/4″ back board . It must give a more “real ” look and feel.
This looks amazing! Do you know what the approximate cost was for this project?
Beautiful! I’m curious what the paint color is that you used for the bedroom?
Very nice!
*impress…oops!
As always, you continue to impess with your amazing eye,& excution!
I meant to ask before: where did you get the comforter or duvet cover in these photos? (It wouldn’t surprise me if you said you made it yourself, but I hope not for my sake!=^_^*=)
Looks great! Why did you use a stapler instead of the Brad nailer?
I can’t wait to do this to my master! One question. When you put up the 1×2 as the shelf, do you nail it at an angle? or straight on through? Thanks.
LOVE IT! Do you use a brad nailer or a finish nailer for this? -Meredith