I LOVE this set of DIY Lockers that I built for my son! Check out this DIY Locker System that you can build yourself.
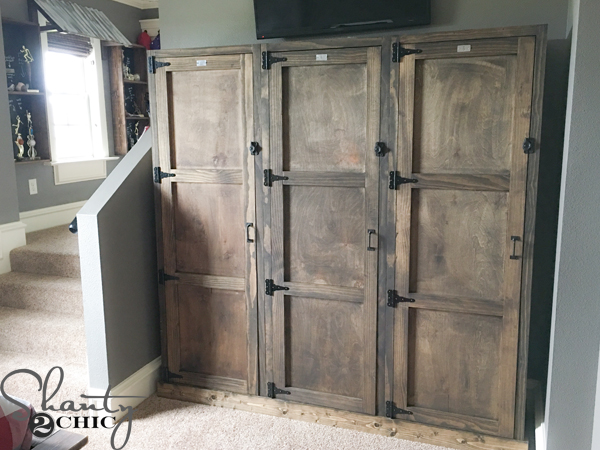
He LOVES baseball and asked for me to do his room in a baseball theme. So, I have been adding things here and there to make it feel a little vintage and a little baseball.
He was in desperate need of a dresser, of some sort and I thought that instead of a standard dresser, it would be fun to give him some vintage looking wood lockers!
Now, there are several great things about these lockers – 1. They are big and hold a lot of junk 😉 2. They can be used anywhere in your house, laundry room, entry way, mudroom….. 3. They are MODULAR! You can build one locker or 17 lockers depending on your space 🙂
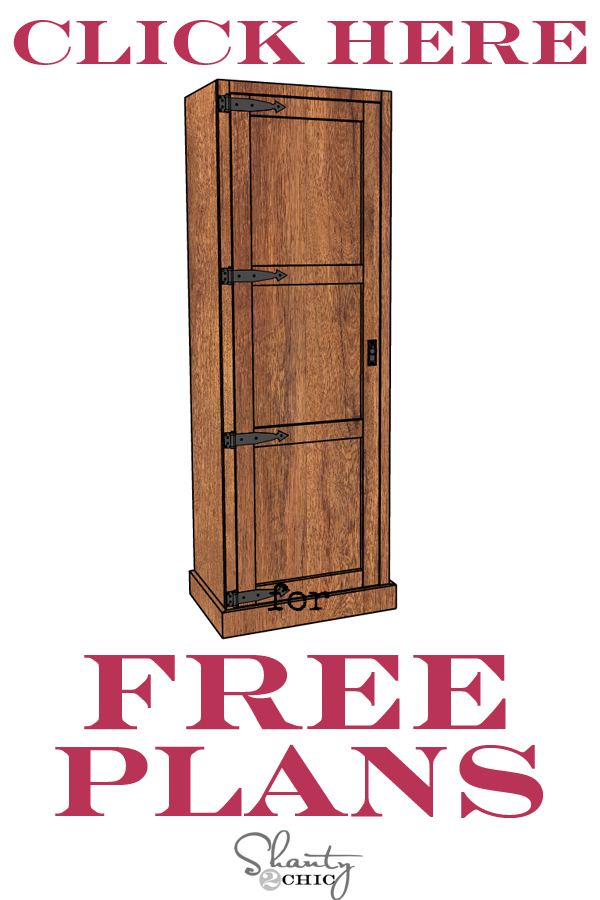
Now for the tutorial and the FREE plans! You can click them image below or HERE to print the plans.
And as always, you can follow along with me as I show you my build process!
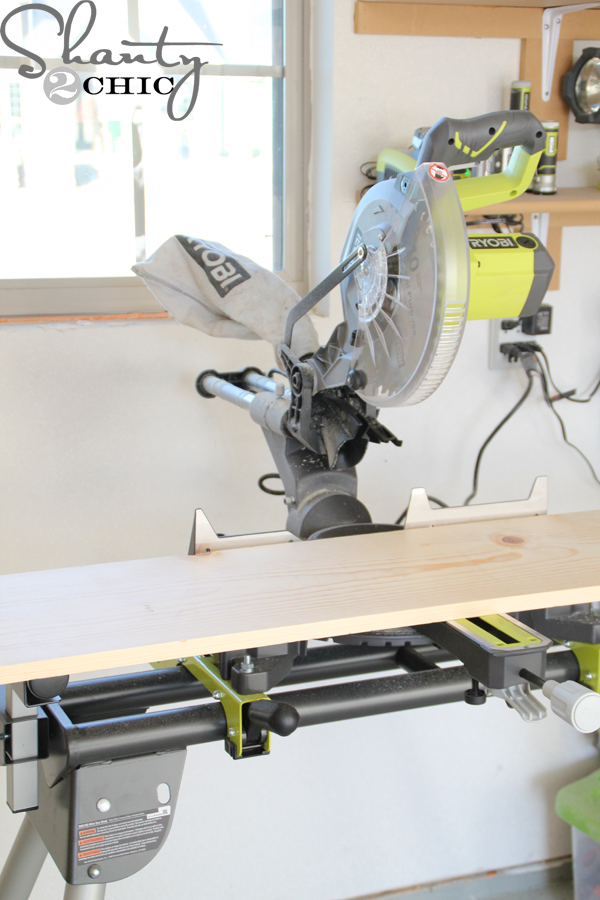
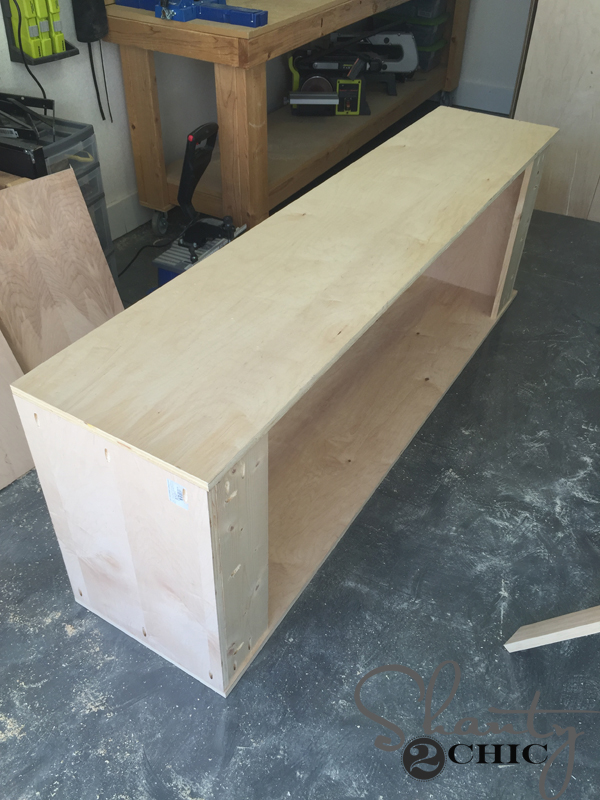
I started by making the cuts for the top, bottom and sides of the lockers.
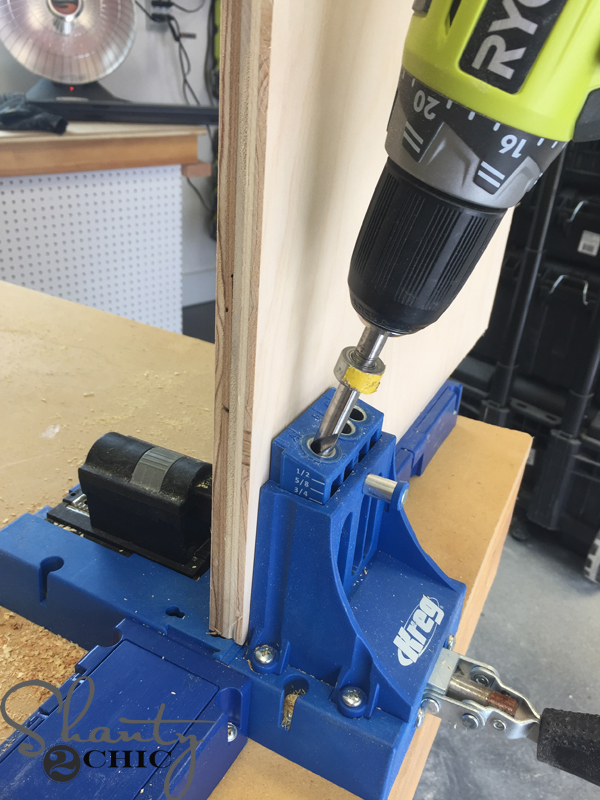
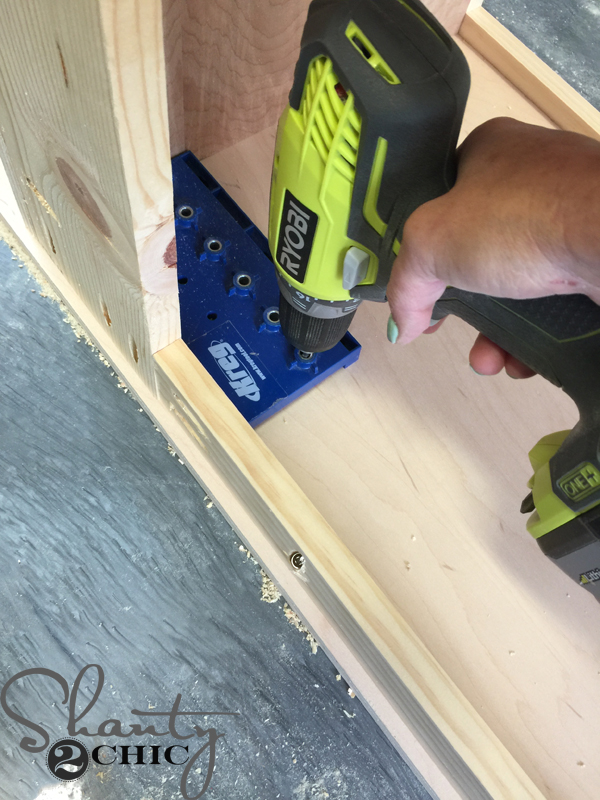
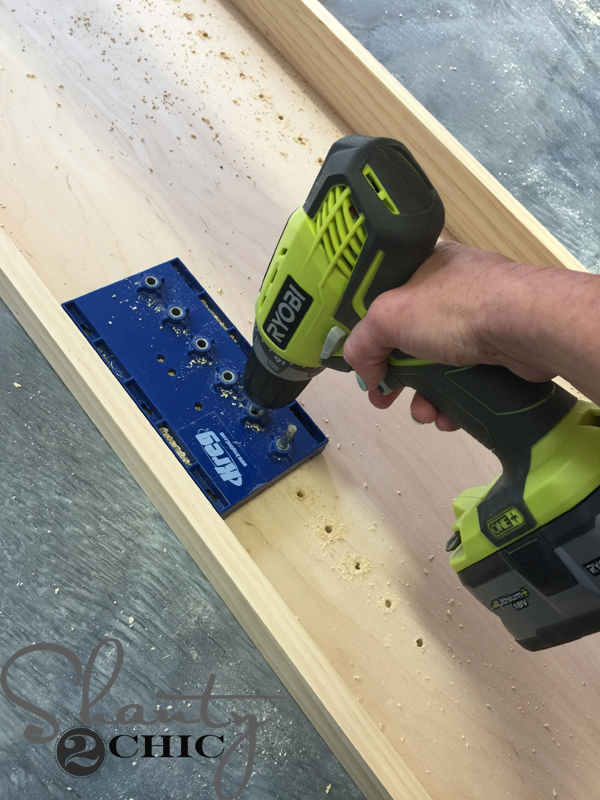
Then, I used my Kreg K5 pocket hole jig to drill 3/4 pocket holes in to the top and bottom pieces. Make sure you checked out our How to Use a Kreg Jig video! You can also click HERE to purchase a K5 on Amazon.
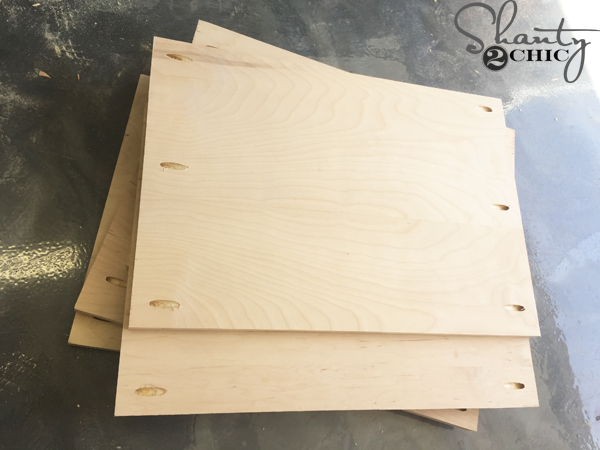
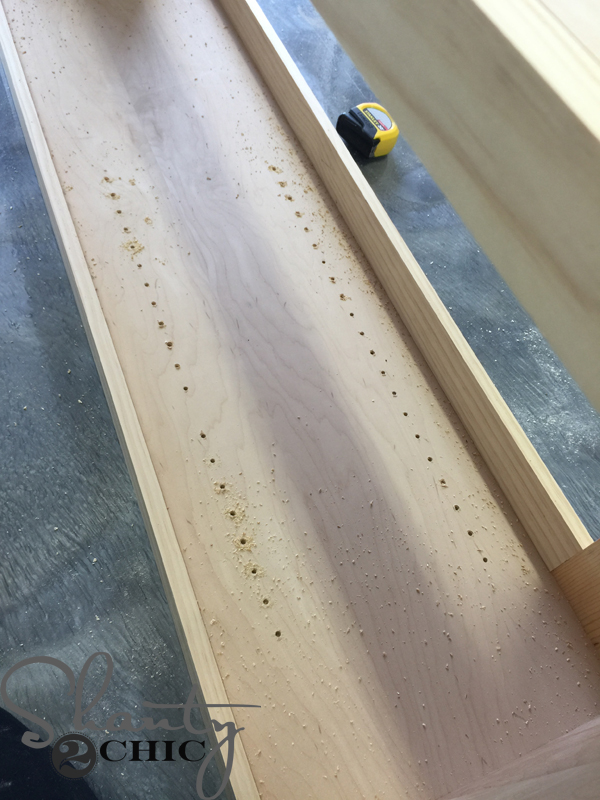
Here are the pieces with the pocket holes.
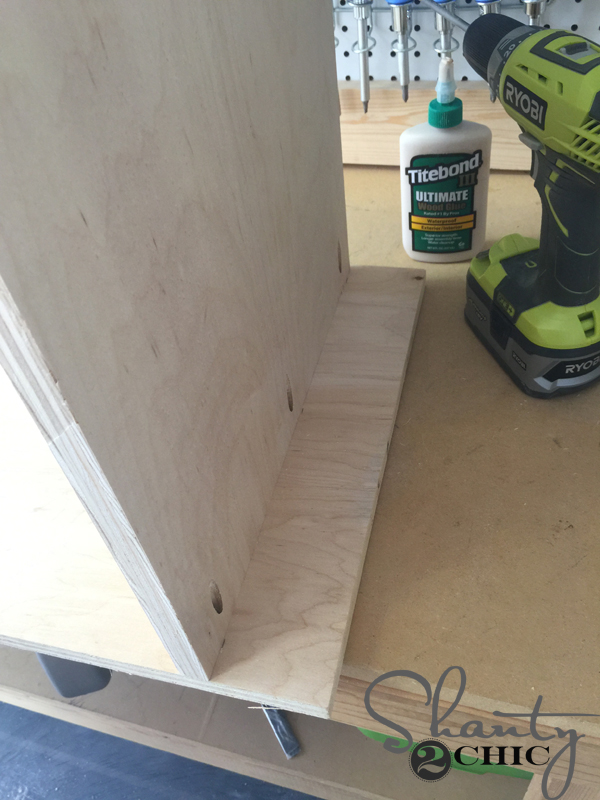
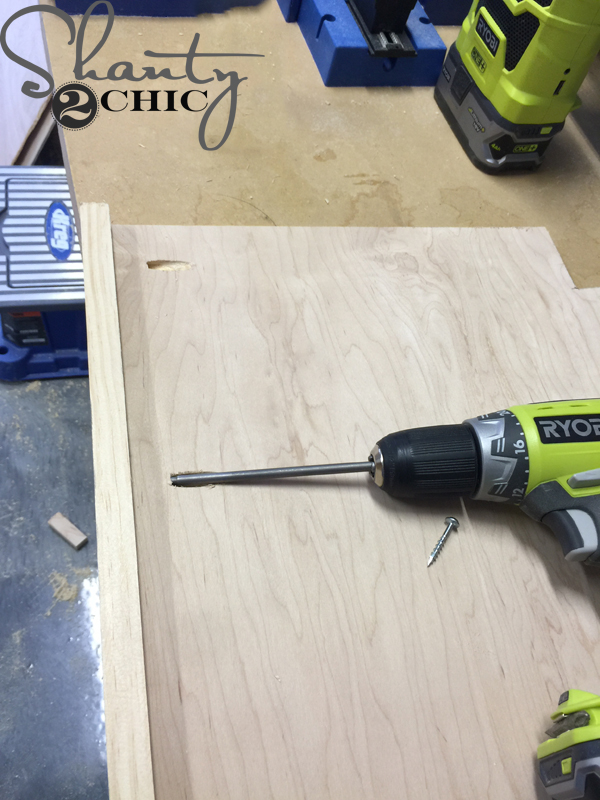
Next, I attached the side pieces of the locker to the top and bottom pieces with 1 1/4″ pocket hole screws and wood glue. Notice the spacing of the bottom piece (refer to the plans).
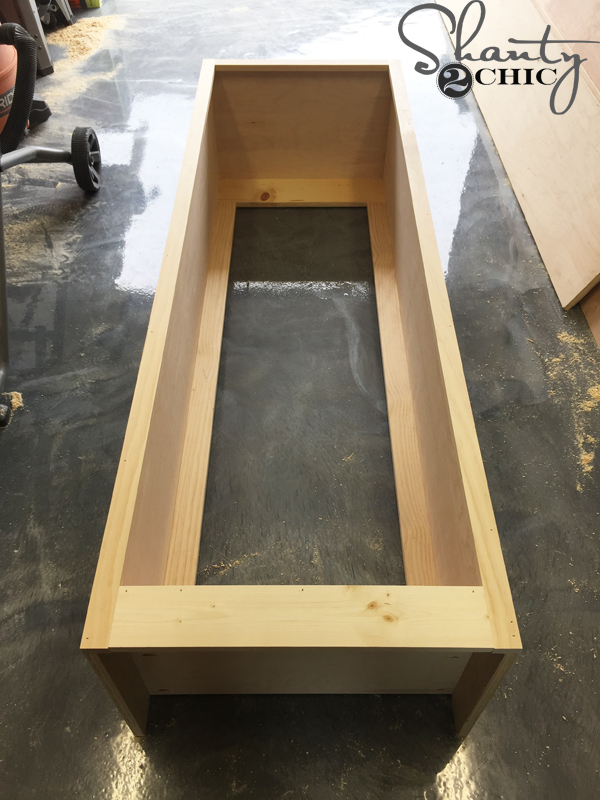
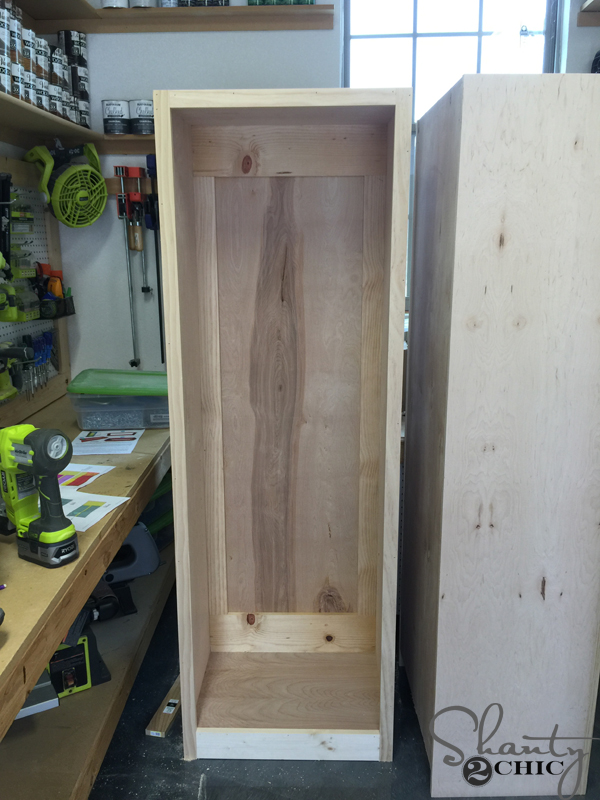
Here is the locker frame with the sides and bottoms attached.
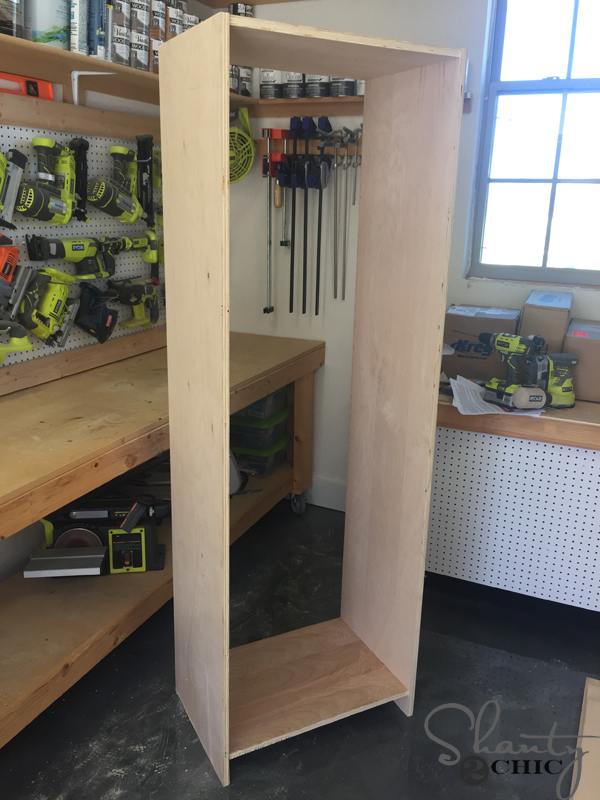
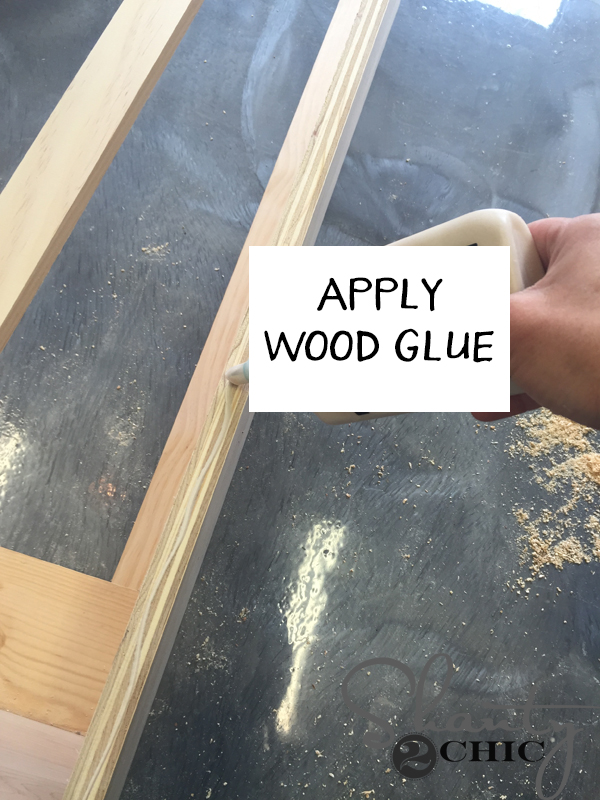
Now, you can cut the back braces. Make sure to measure the space before you cut. You will attach these pieces with pocket hole screws and wood glue, as well. The pocket holes will face out.
Now, measure the space from the top brace to the bottom brace.
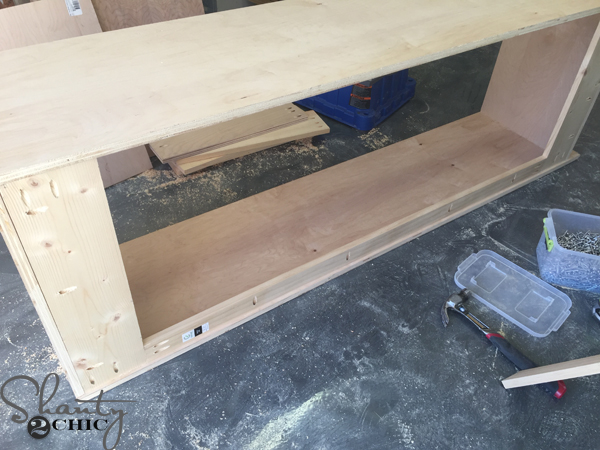
Cut the side braces then attach them with pocket hole screws and wood glue.
Here is a back view of the locker with the back braces attached.
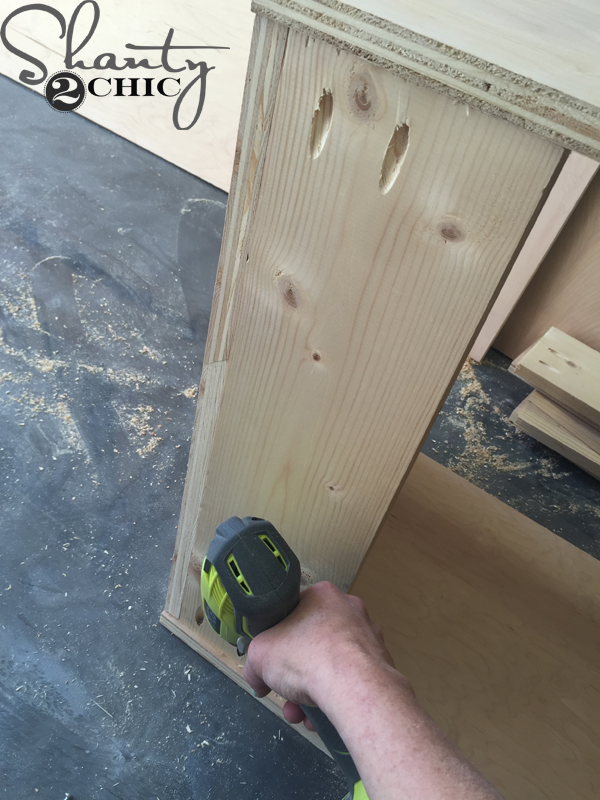
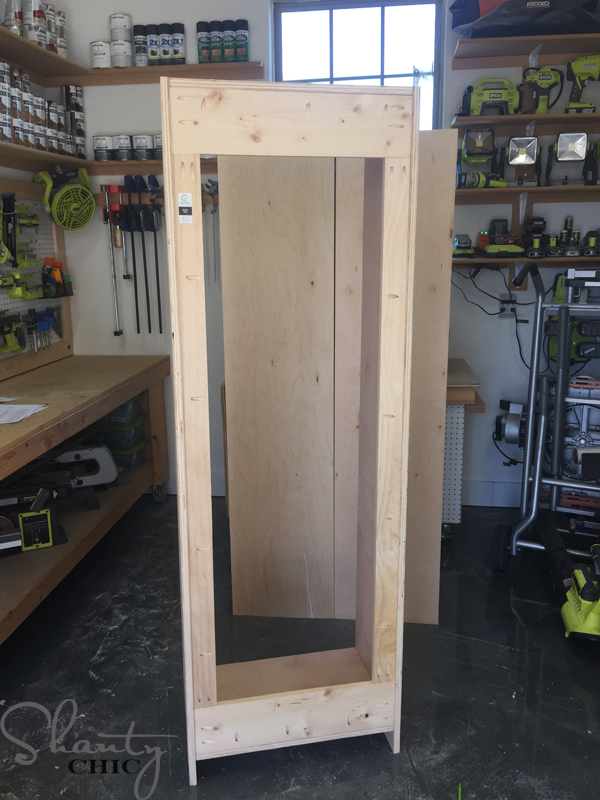
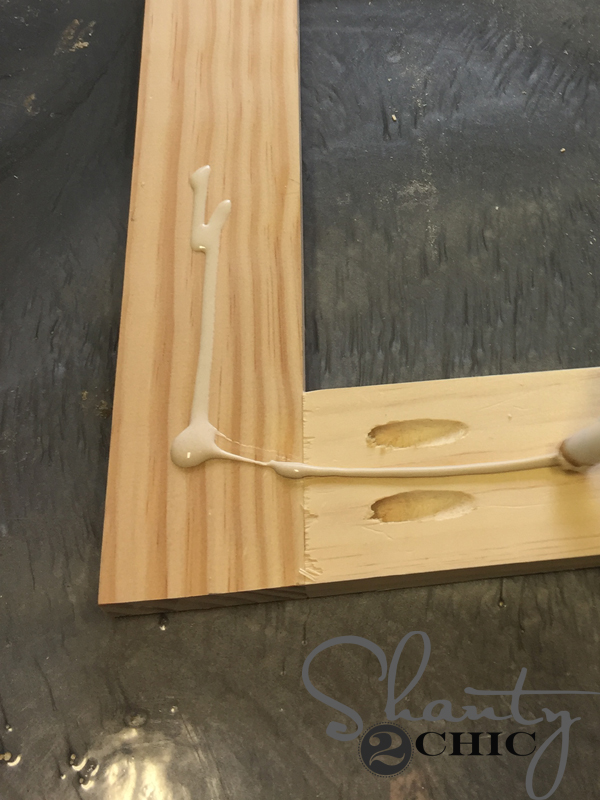
Now for the face frame. Measure and cut the pieces for the face frame. Apply a thin line of wood glue the front edges of the side pieces (make sure that you don’t use too much glue here).
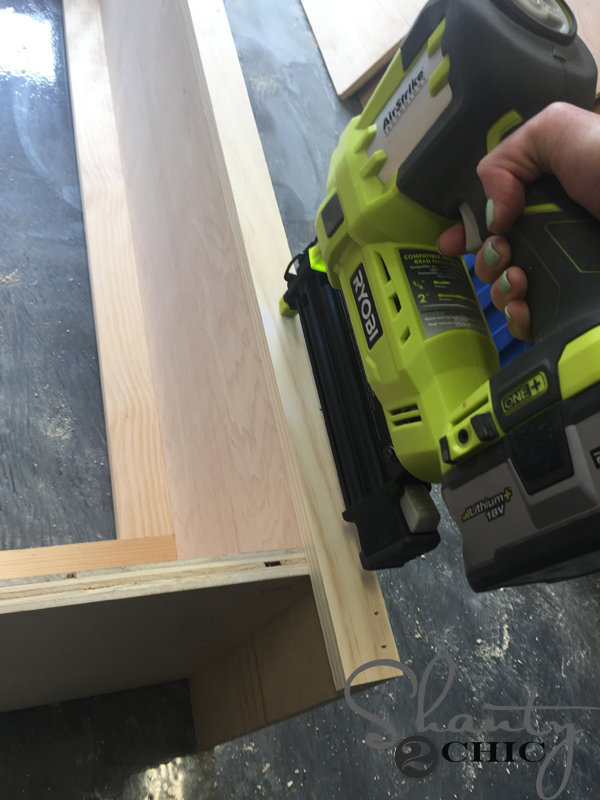
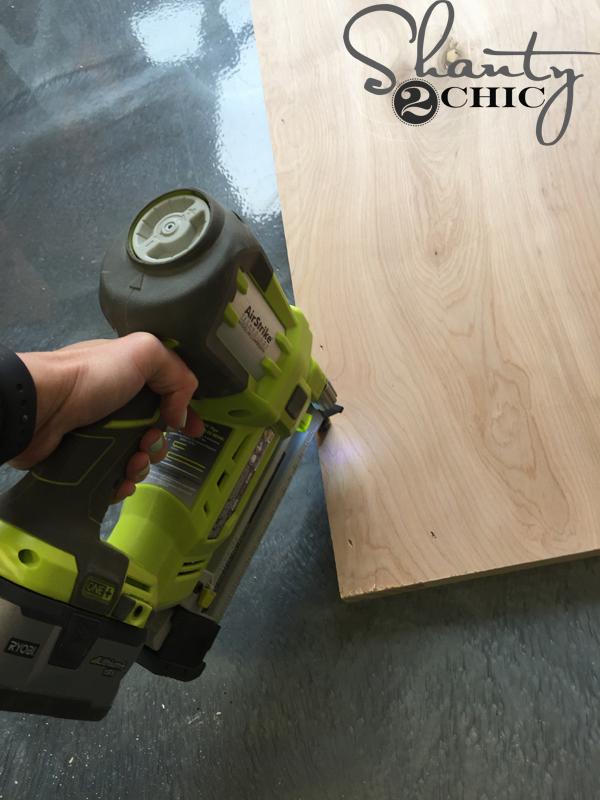
Then, attach the face frame pieces with finish nails. I used my Ryobi Airstrike Brad Nailer. If you don’t have one, you can use finish nails and a hammer.

This is a shot of the locker with the side pieces of the face frame attached.
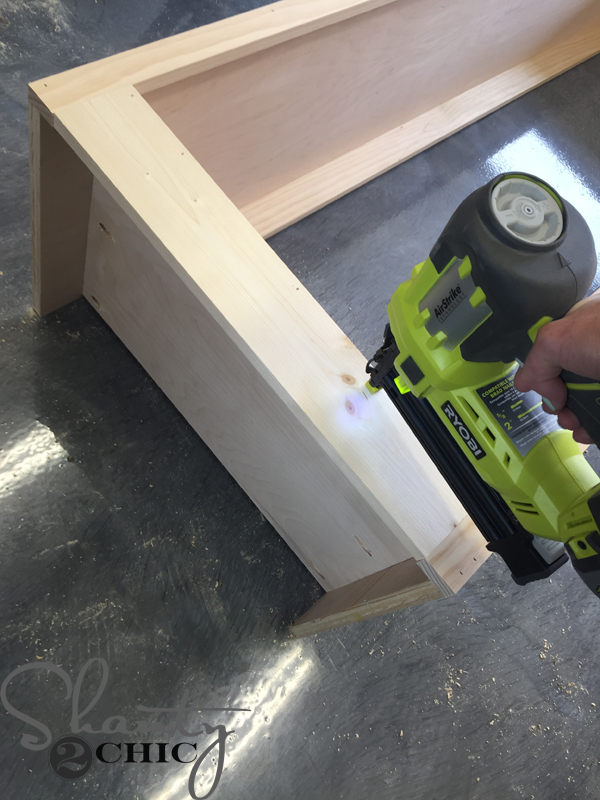
Measure and cut the bottom and top face frame pieces. Attach again, with wood glue and nails.
Face frame complete.

Now, flip the locker over and apply wood glue to the back of the back braces.
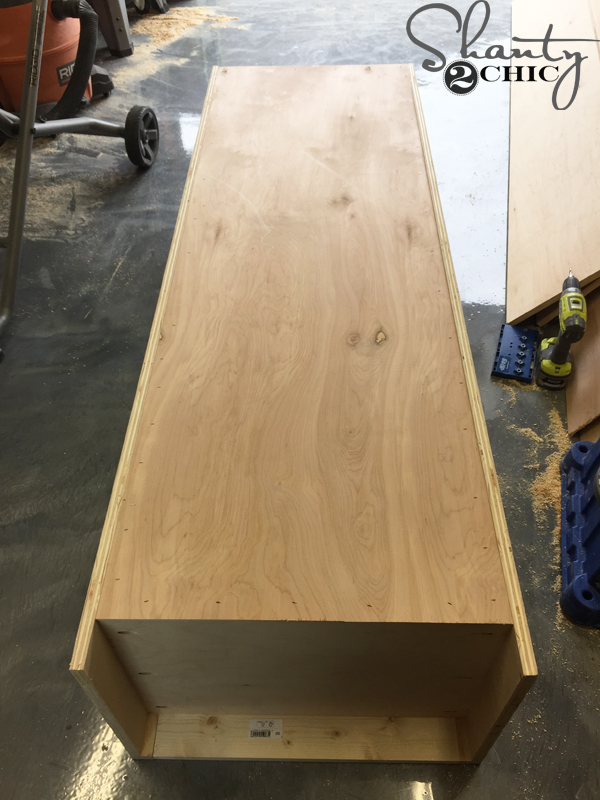
Then, attach the 1/4″ plywood backing to the locker. I used my Ryobi Airstrike Stapler. You can use the Brad Nailer or a hammer and finish nails for this part too but it’s best to use staples when attaching 1/4″ material because it grabs the material for a better bond.
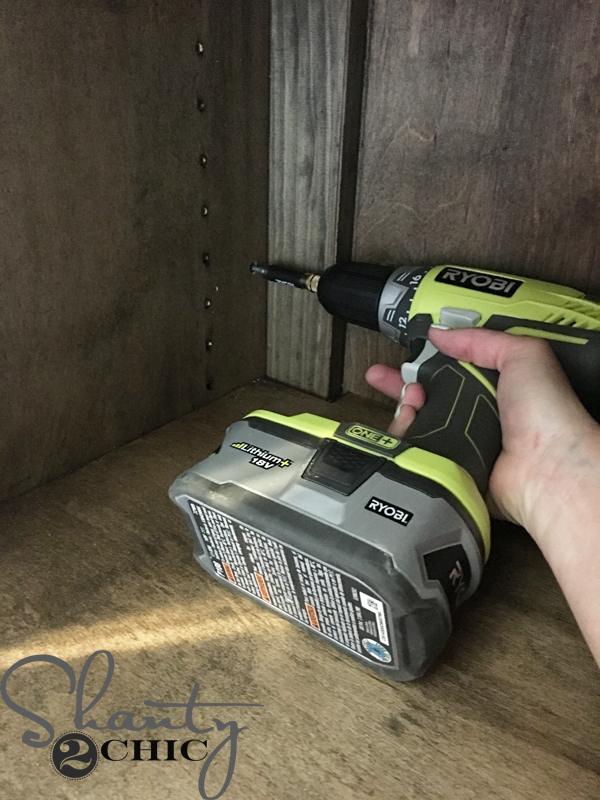
Looking good! Now for the shelf pin holes!
I LOVE my Kreg Shelf Pin Jig! It takes all of the brain work out of drilling shelf pin holes and it makes it super fast and easy. Just start where you want the shelf pin holes to begin and drill away.
To continue past the first 6 holes, insert the metal peg, that comes with the jig, into the last hole drilled and continue drilling more holes – how easy is that! You can order it HERE on Amazon for about $30!
Here it is with the holes drilled (and I totally see the missing hole in the middle that I didn’t notice until I tried to install the shelves) 🙂
Honestly, you can stop right here if you prefer open lockers. Just build the shelves and add a finish and you’re done 🙂

To build the shelves, I cut the pieces then used a speed square to notch out the back corners. Refer to the plans for the notch measurements. You can order this speed square from Amazon, HERE.
I clamped the shelf to my workbench and used my Ryobi 18V Jigsaw to cut the notches out. You can find the clamp HERE and my rolling workbench plans HERE.
Next, drill the 3/4″ pocket holes into the shelf piece then attach the trim to the front of it with 1 1/4″ pocket hole screws.
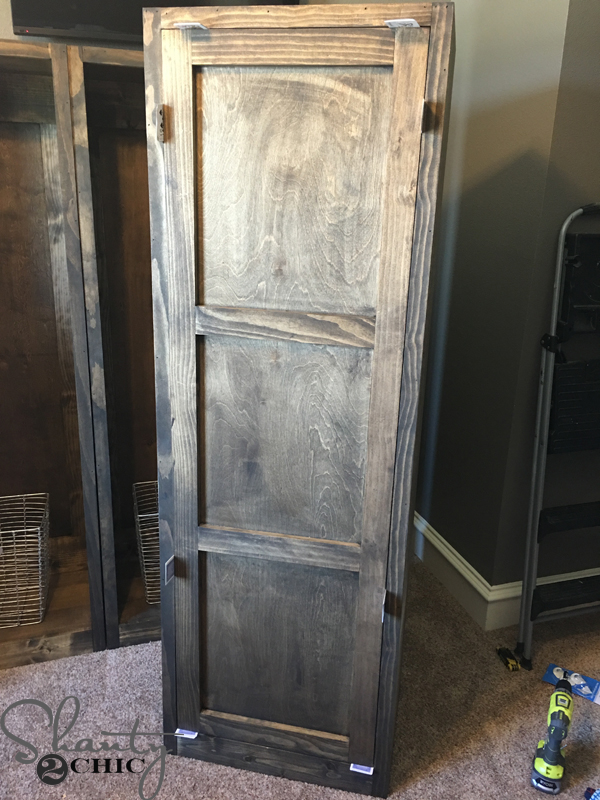
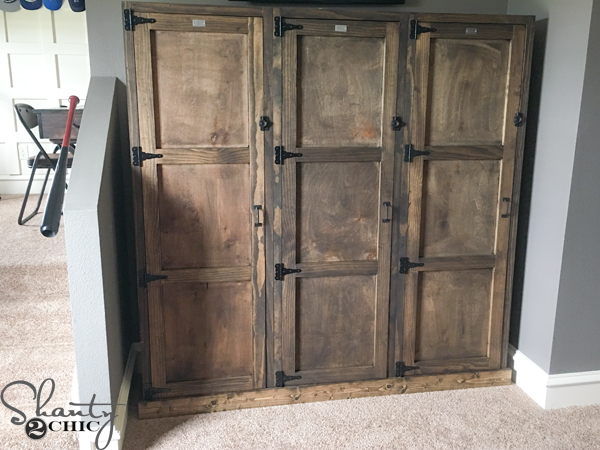
Now for the doors!

Build the frame of the door according to the plans. You will build it with 1 1/4″ pocket hole screws and wood glue.
Apply wood glue to the back of the frame
and attach the 1/4″ plywood to the frame with staples. Again, you can use your brad nailer or finish nails and a hammer here too.
Now, if you plan to make multiple lockers, stop here. Don’t attach the bottom trim pieces but do cut them so that you can stain them with everything else. Tip: Cut the front trim piece a little long so that you can cut it to fit exact once the lockers are attached together.
Now for the finish!
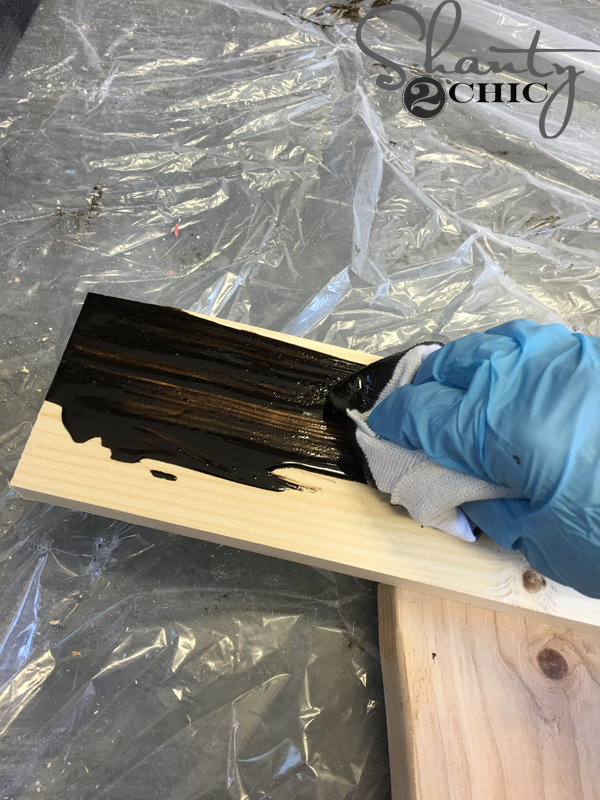
I applied one coat of Rust-Oleum Dark Walnut stain with a clean cloth. Let the stain sit for about 5 minutes then, with another clean cloth, wipe the stain to blend it evenly over the pieces.
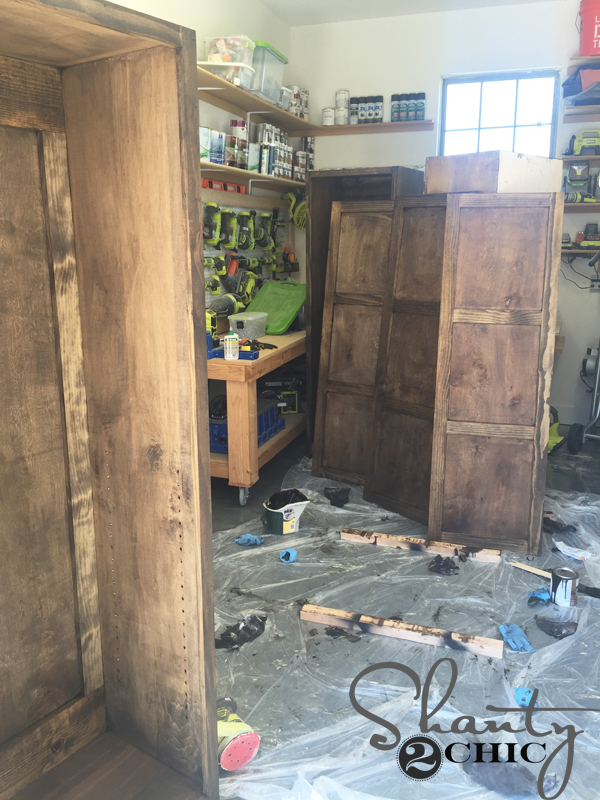
After staining everything, I let them dry for about an hour.
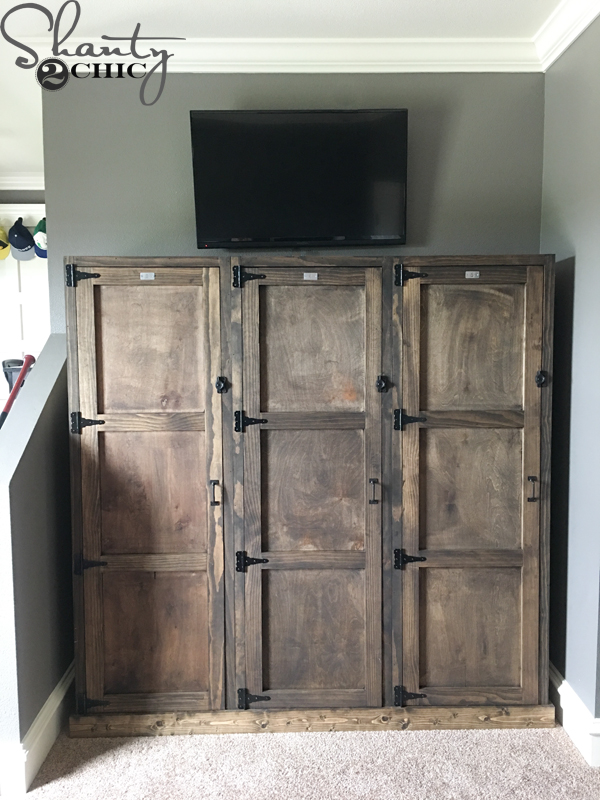
Once they were dry, I brought them in the house and attached the lockers together with 1 1/4″ Spax screws. I put about 4 screws in the front end of the locker and about 4 in the back end.
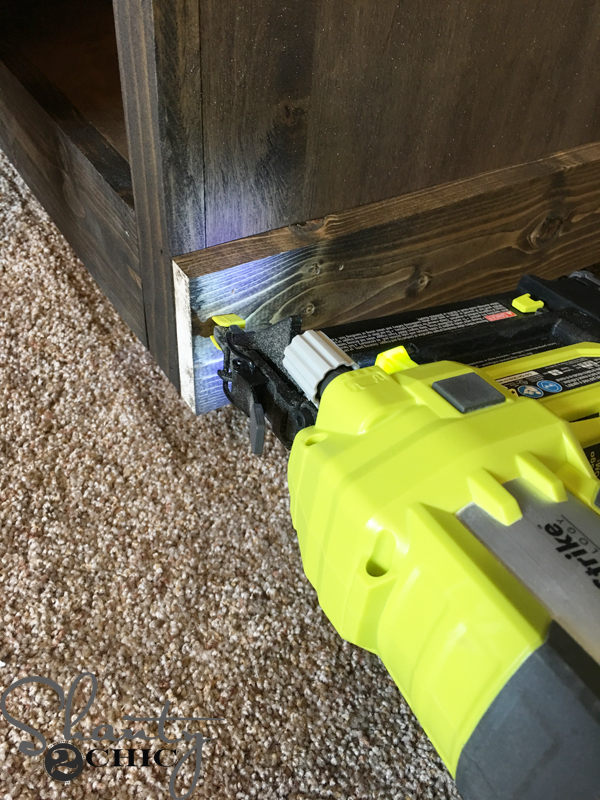
Once the lockers were attached together, I added the final, bottom trim pieces. Put the sides on first then you can cut the front trim piece to fit exact and attach it. I didn’t miter these pieces because I have a wall on either side so they aren’t seen. If I didn’t have a wall, I would have mitered them but I think it will look fine either way.
To attach the doors, I stole this super cool card trick from our friend Brad, from Fix this Build that! He shared a quick video on his Instagram and I thought it was brilliant!
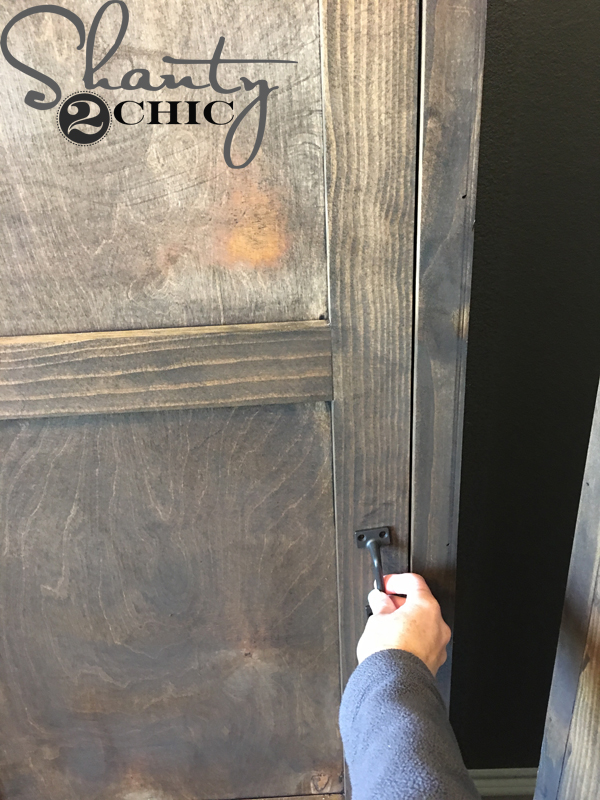
I attached these door pulls that I found at Lowe’s
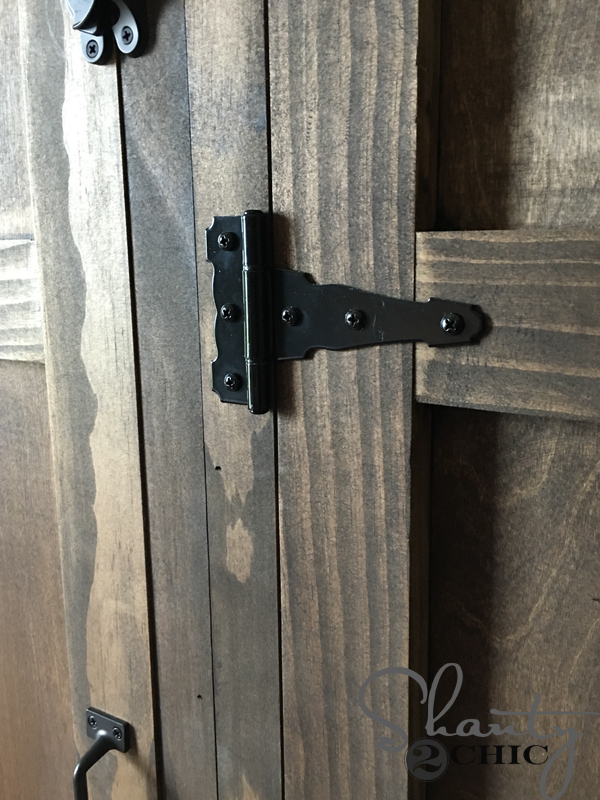
and these hinges that I also found at Lowe’s.
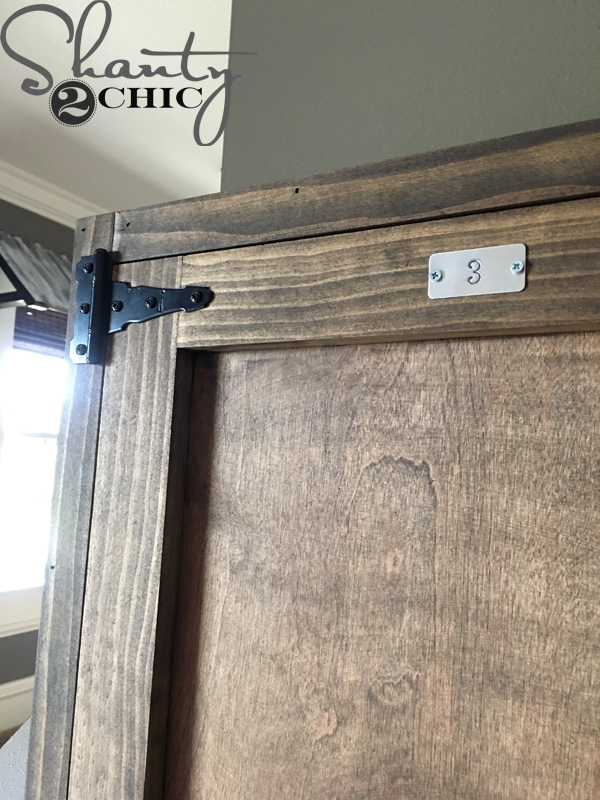
My favorite part of the finish on these lockers is the little metal plates!
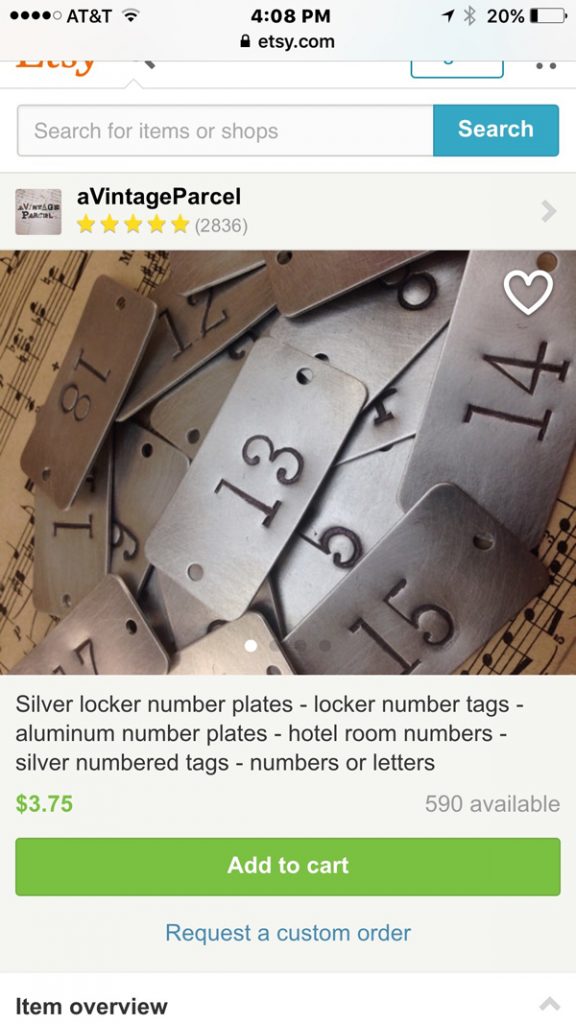
I found them from this seller on Etsy. They were affordable and came super fast! You can find them HERE.
Well that’s it! I really do love the way these lockers add so much character to his room AND they store so much stuff! My son loves them too and he’s using one locker for all of his sports gear, one for his “things” and one for his clothes that don’t hang in the closet 🙂
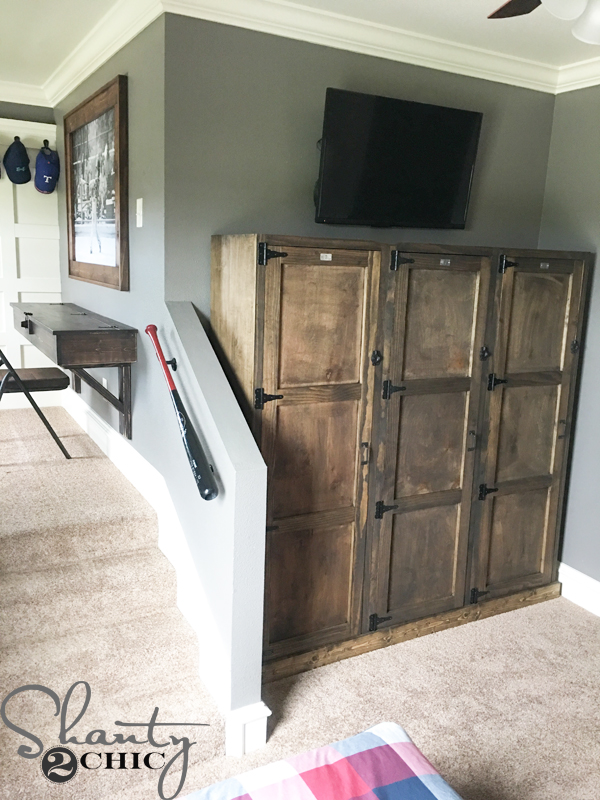
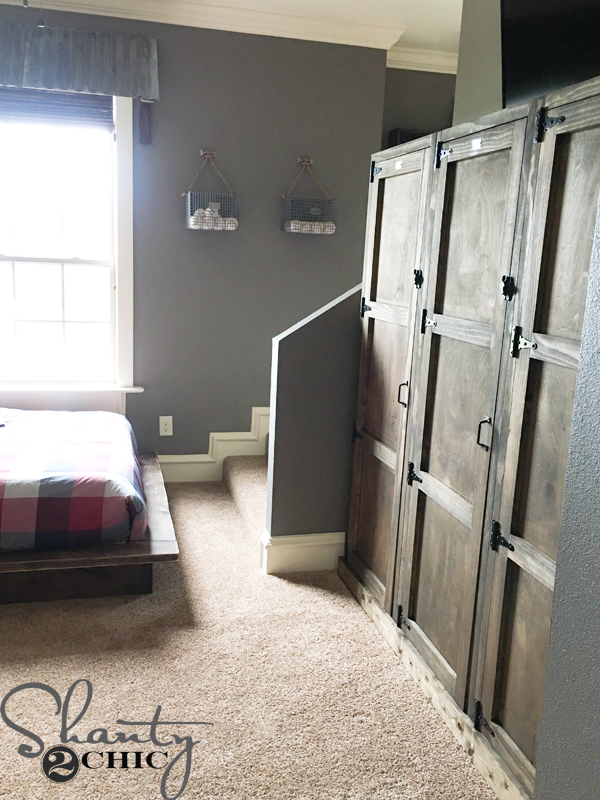

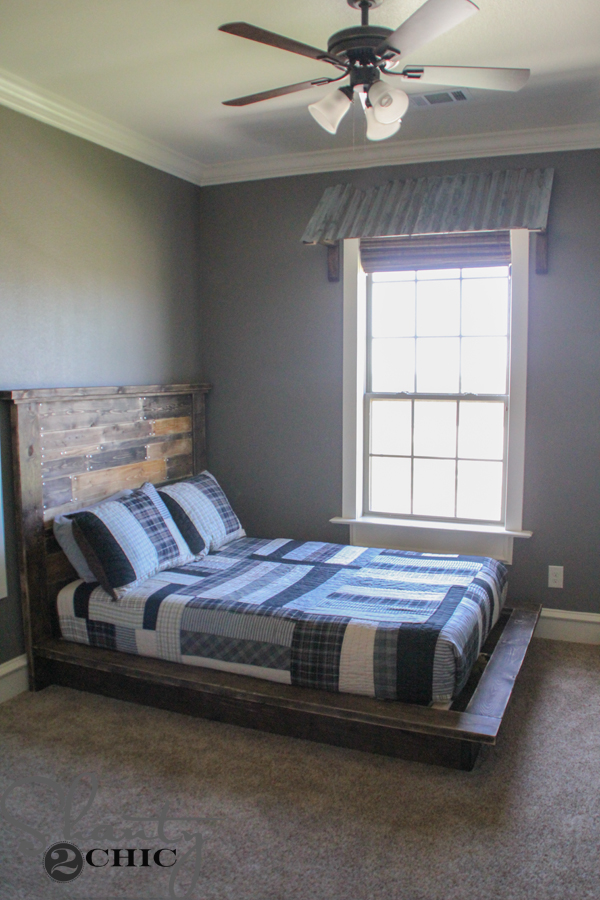
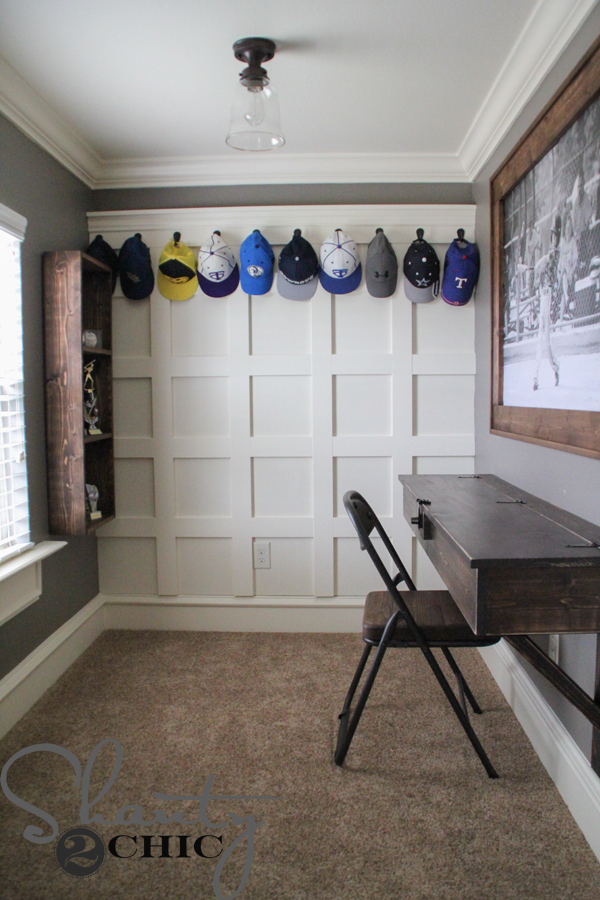
I’ve built everything in his room over the past few years and I’m happy to say that it is almost complete! You can scroll down to find tutorials to everything you see in his room. The only thing I haven’t shared yet is the student desk, the large picture hanging on the wall above the desk and the score board over his bed. The bedding is from PotteryBarn Teen and the wall color is Seine by Valspar.
Thanks so much for stopping by!
Happy Building!


Jeremy –
It should be strong enough, as long as you’re not hanging body armor or half a dozen 30 pound coats.
Do you think that the interior walls are sturdy enough to install a bar across to hang clothes/uniforms on or should I go with a thicker material?
BTW……I love all of your designs!!! My wife is keeping me busy 😀
Please share the plans for the desk pictured in your sons room! I love it! And also what wood did you use for the lockers and the desk, and what is the estimated cost to build these? Thank you!
Can you please share the plans for the student desk? My boys are both in school and my daughter will be starting this year and really need a desk like this for their rooms so they can have a space of their own to sit and do their homework. Especially for my oldest as he is in science club and has lots of projects they do. Thanks and I love your videos and plans. My husband and I are about to build the platform bed for my boys.
Thanks a lot for sharing your work and some tips. Sincere congratulations ’cause you did a great job.
Thanks for sharing the design and plans. I had a question about the 3/4 inch backing. Is there a particular reason to place the plywood backing behind the framing. I am thinking of placing it in front of the 1×6 and 1×3 framing. Thanks Again!
It’s 1/4″ backing. If you attach it in front of the supports, there is a good chance it won’t be exactly flush on every side and that will be visible when you open the door. You will also see the staple/nail holes when you open the door. Hope this helps!
Hi ! Wich wood did you use for this DIY ?
It would be lovely if you would share your tool list. I never know what kind of brand is the best, and what is a good size…like your chop saw, if I am just using it occasionally, do I need to buy a $400. one or will a $150. do. What features are a must? Any advise is much appreciated. Thank you!
Check out our “Tools” tab at the top of our page. We break all of that down for you 🙂
I know my post is answering an old question but I couldn’t resist as these ladies have encouraged me to take my skills to the next level as well. I recently just found these amazing ladies and what talent they have! 🙂
I would encourage you to buy the tools that are within your budget. Black n Decker has great tools for just starting out and as you get more versed in your skill you can start trading out your tools for better ones. Dewalt has always been my brand of choice simply because of its reputation and the longevity of the tools. Some are reasonably priced while others are not. Start slow and work your way to the tool pricing that you are comfortable with as your skill improves. Best of luck! 🙂
What is the estimated cost for building all three lockers? They are absolutely stunning.
I always look forward to what you gals are gonna build next. I’ve a question about installing hinges though. I think its my biggest fear, as I don’t want to be drilling multiple holes when it ends up binding because I didn’t get my hinges on properly. Is there another “trick” to make sure the barrel is in the same spot for each hinge so things swing smoothly?? I love the card trick, so that will come in handy for the spacing, but getting that hardware on right the first time, is a thorn in my side.
You can allow the hinge to fold down at 90° along the anchor side of the piece. If the hinge will, that will center the barrel and square it with the unit/door frame/etc. It works for hinges that are “flat” on one side. Most are.
Just amazing! thanks so much for the great tutorial…would love to see a pic of the inside as well.
Do you have pics of the insides of the lockers?
Where is the brick wall?
You might be talking about Whitney’s brick wall she did in her sons room? We have lots of kids 😉
Ashley, great write up! That was involved and it turned out amazing! Glad the “card trick” helped you out and thank you for the shout out ????. Hope to see y’all somerime this year!
Brad
Very cool. Also love the “hat rack” wall. Do you have plans for the desk? Love it. Thanks again.