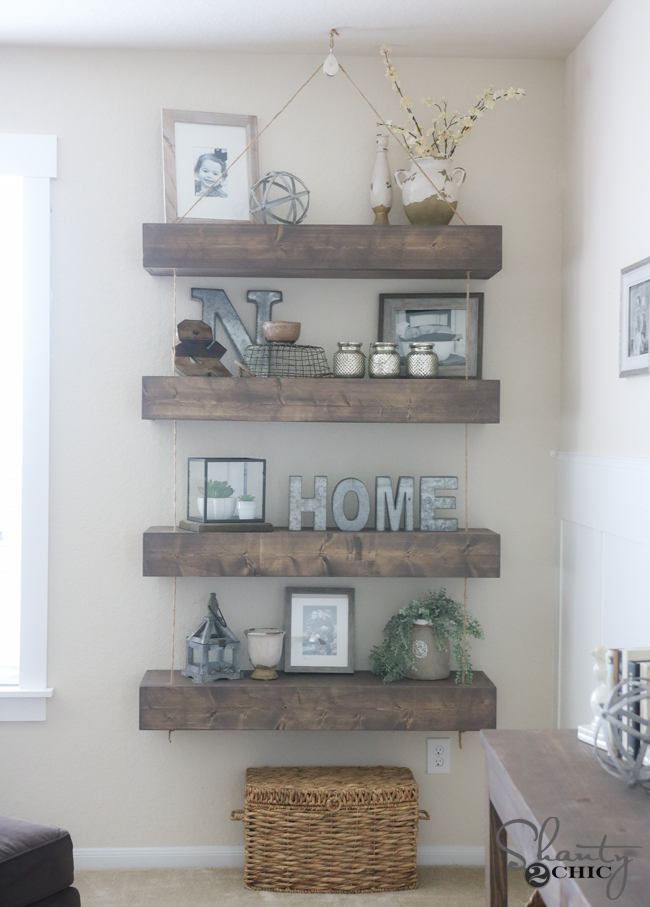
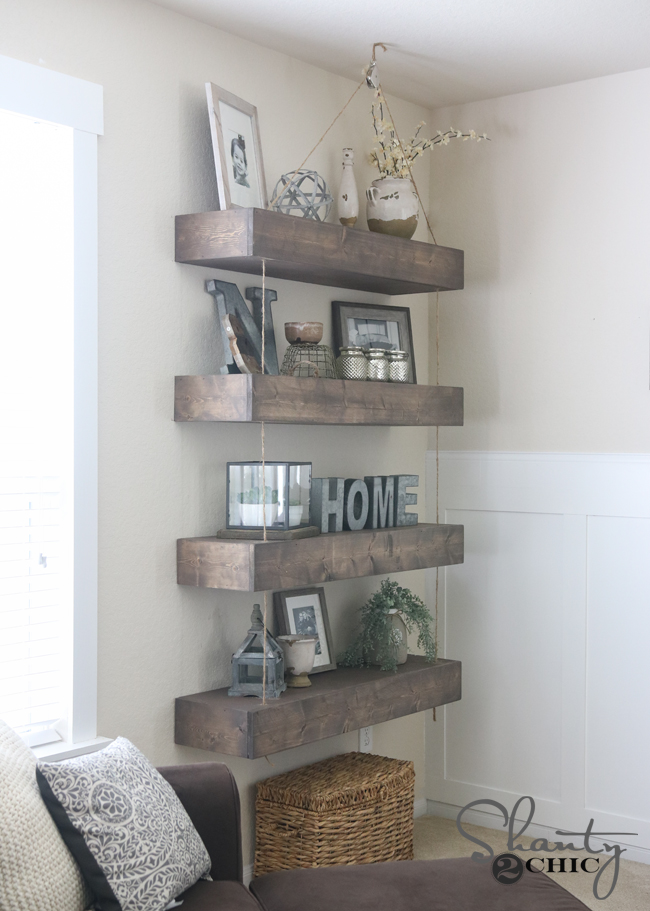
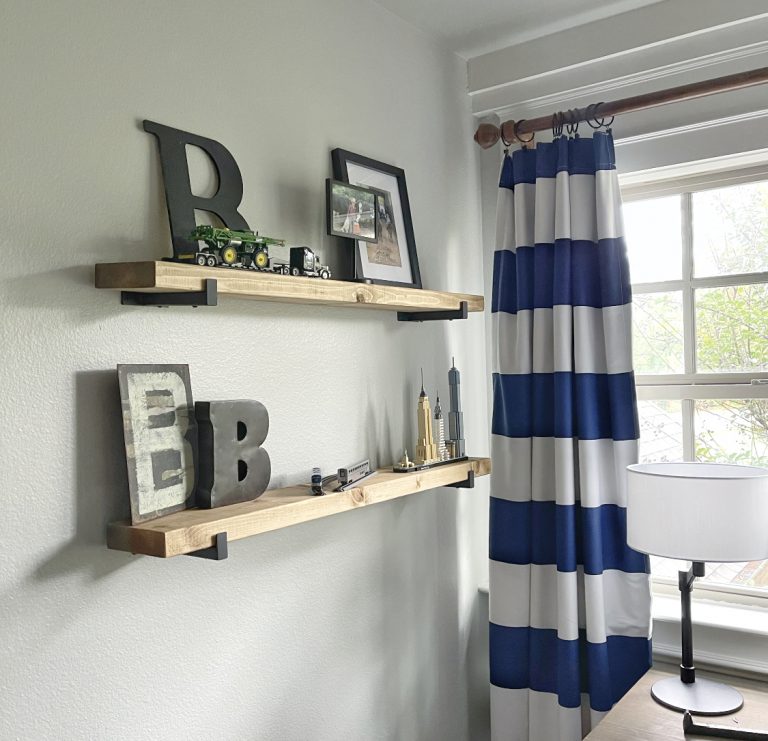
Hey guys! Ash and I had the best time crashing our sister’s house a few weeks ago! We took a 5 hour road trip with tools, wood and kids in tow to her house in Houston. We spent less than 24 hours and completed 6 big projects for her. We called it a “Shanty House Crash”! One of the projects we did for her home was an amazing set of DIY Floating Shelves hanging from a pulley. She had a big blank corner that needed some love, and these fit the bill! Check out how they turned out!
How fun are these?! We love how them! We started by building the DIY floating shelves. We followed the same plans we used for our DIY Floating Shelf Video on YouTube. You can see that video by clicking HERE, or by clicking below!
Click HERE to download and print the FREE PLANS to build these shelves!
The great thing about these shelves is that you can easily modify the length to fit your space. The plans call for 33″ shelves, but we decided to make our sister’s shelves 45″ long to fit the larger space.
These shelves use hardwood plywood. What the heck is that? Good question! Hardwood plywood is plywood that comes in 4′ x 8′ sheets and s0me smaller sizes. Our very favorite brand to use is Purebond Plywood.

You can find it at Home Depot. The outside layer of the plywood is a hardwood veneer like oak or birch. So, you get the look of a hardwood at the cost of plywood. Can’t beat that people! Plus, it’s super straight making it easy to work with which makes me happy! It’s also formaldehyde-free and made in the U.S.A.!
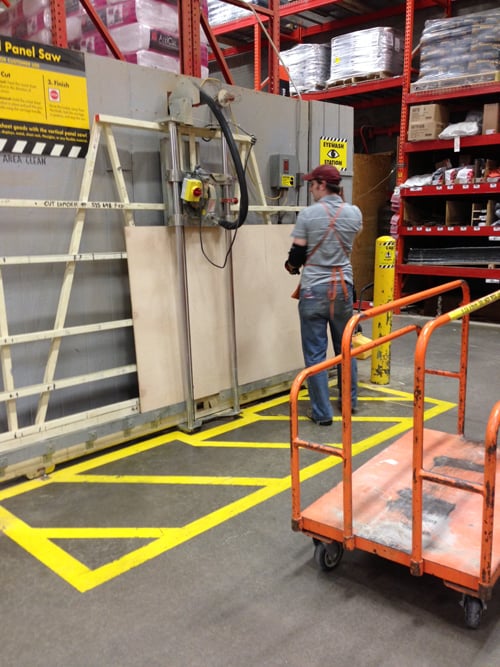
The plywood sheets are big, and often impossible to fit into your car… Especially when you have 5 kids in the back ???? We like to have Home Depot make the rip cuts for us in order to get it in the car at home.
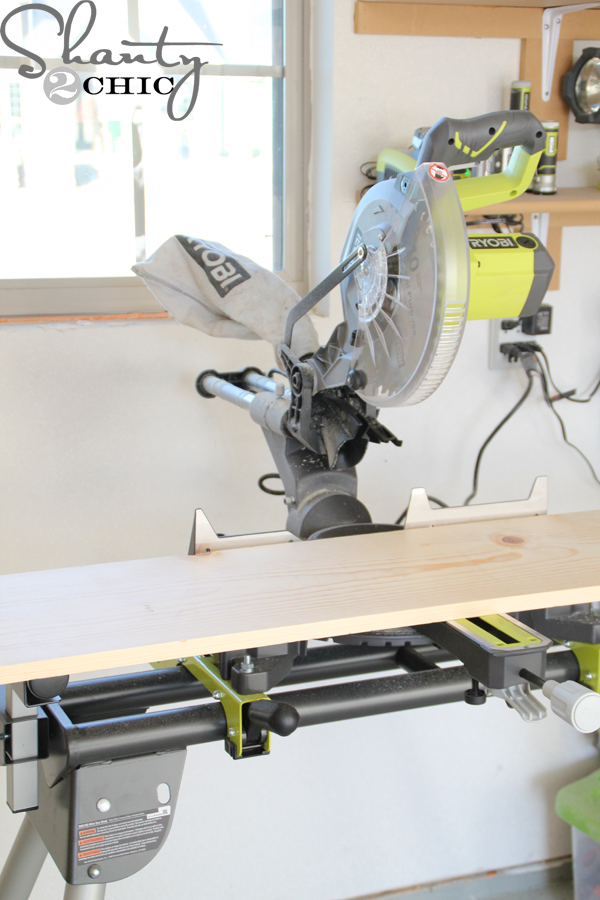
Here are the cuts for 1 floating shelf. We used a Ryobi Miter Saw for this part.
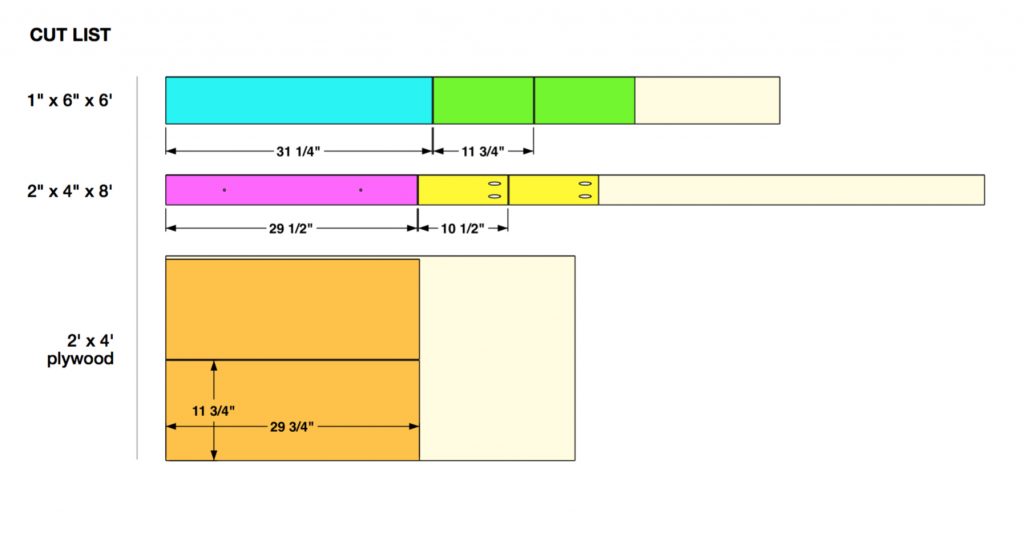
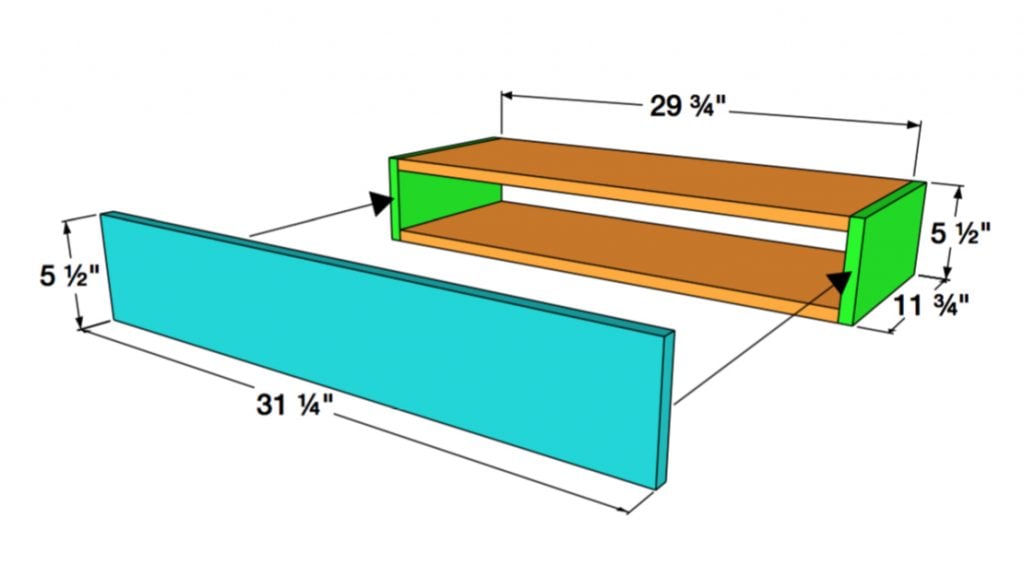
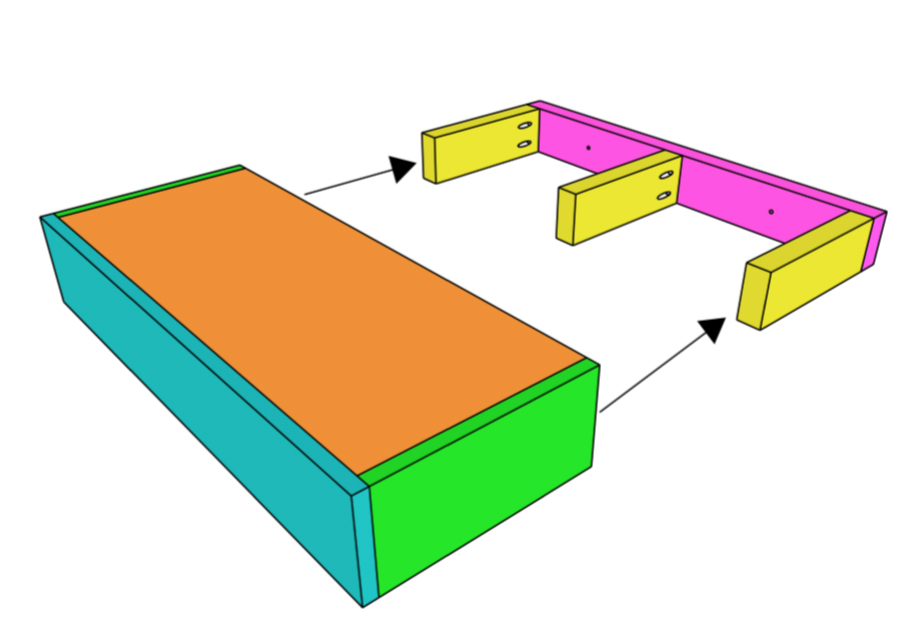
Second step…Build your box. This shelf uses hardwood plywood and 1×6 to create the box. For this box, we used wood glue and 1.25″ finish nails to attach all of our pieces. Build the 4 sides first, and then glue and nail the top piece to that.

We finished our box and stained it. While it was drying we built the wall cleat.
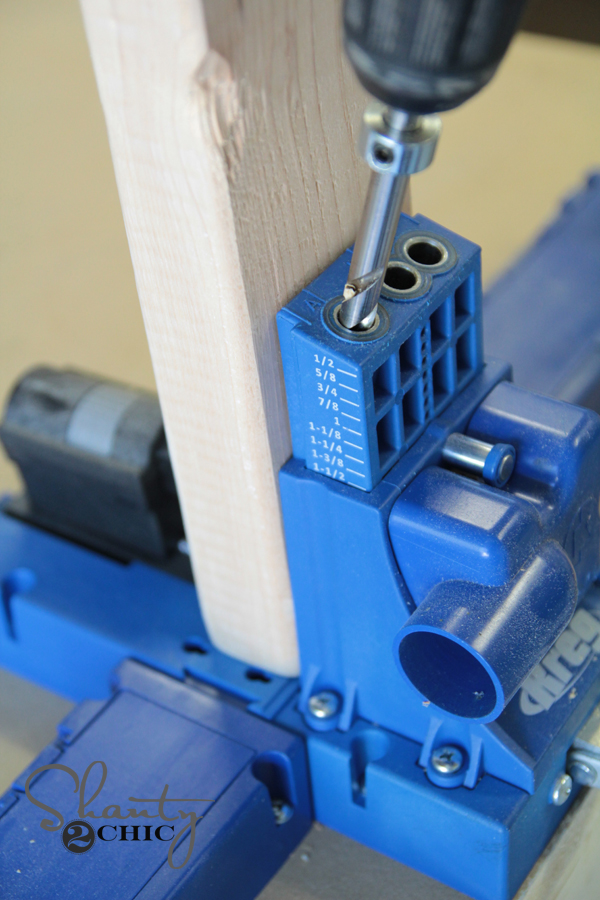
This is made from a 2×4. We made our cuts and then used our Kreg Jig to create 1.5″ pocket holes into each of the 3 smaller pieces.
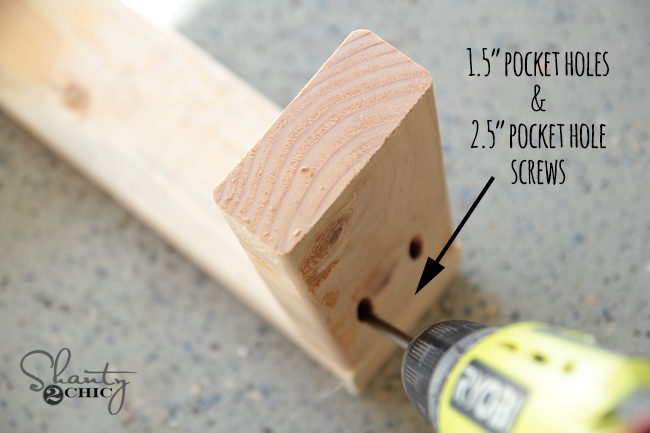
We attached each of those three pieces to the longer 2×4 using wood glue and 2.5″ pocket hole screws.

Once we had the wall support assembled, we attached it to the wall using 3″ screws. We used a stud finder to mark the studs in the walls and then drove the screws through the wall support and into the studs of the wall. We often get asked how much weight these shelves will hold. If you build and attach them correctly, they are strong! 🙂

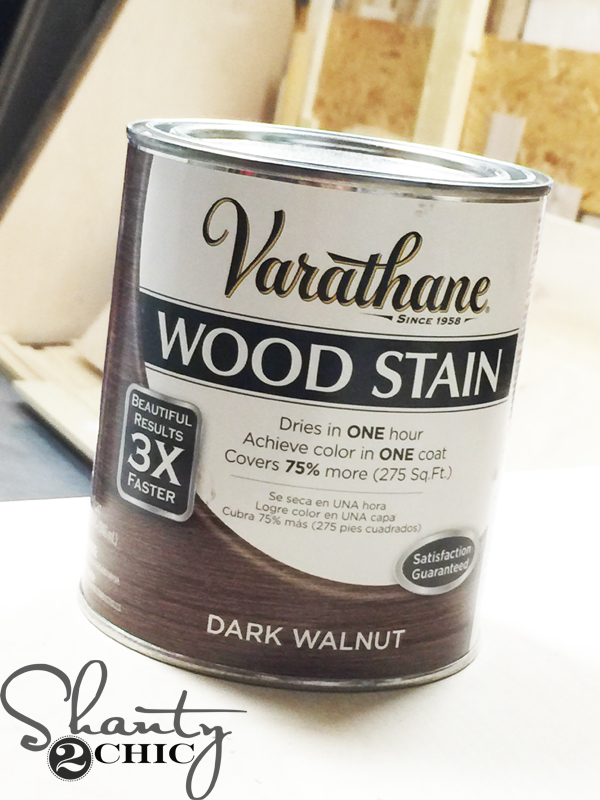
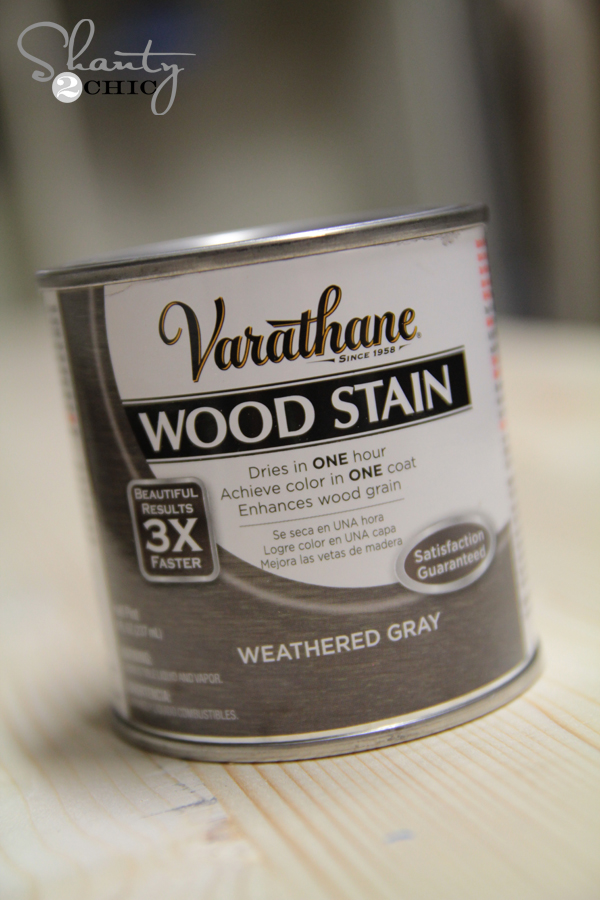
We stained each box before our final step, which was fitting the shelf over the support. We had a hard time finding stain in Houston, so we mixed to of our favorite stains to create this tone. We mixed equal parts of Varathane stain in Dark Walnut and Weathered Grey. When mixing stains, just make sure you stir them together well, and apply just as you would a single color.
The box just slides over the wall support. We placed each shelf on the support, but waited to secure it to the cleats until after we added the twine.
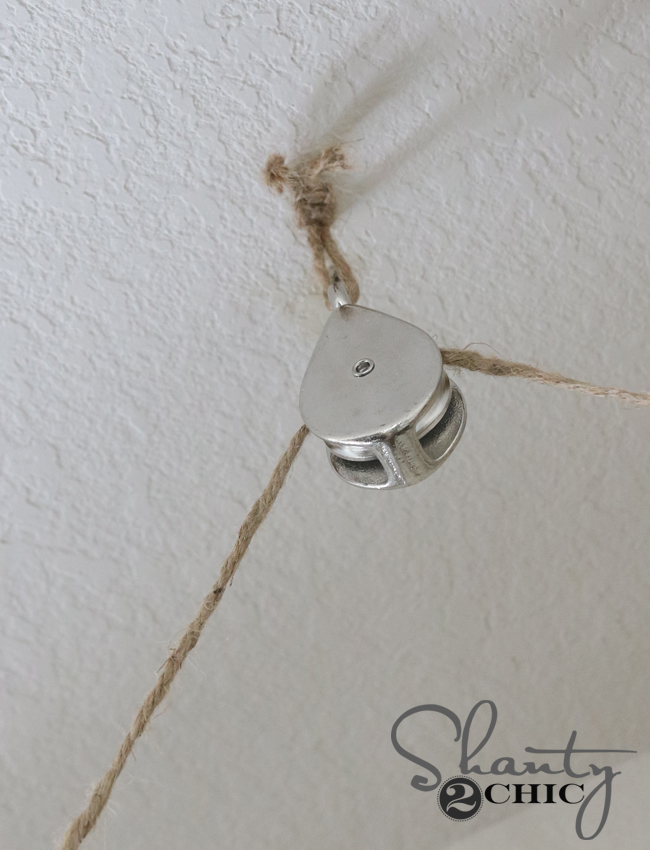
Now for the twine and pulley! We found these pulleys on Amazon.

We used ply jute twine as our rope on these. You can find some HERE on Amazon. You have a few options when mounting this to your ceiling. We decided to use our stapler to attach ours. We made a small knot through the top of the pulley to start. Then, we used our stapler to attach the knot to the ceiling with 5/8″ staples. The only actual weight that is held by those staples is the weight of the pulley, so we knew this would work great.
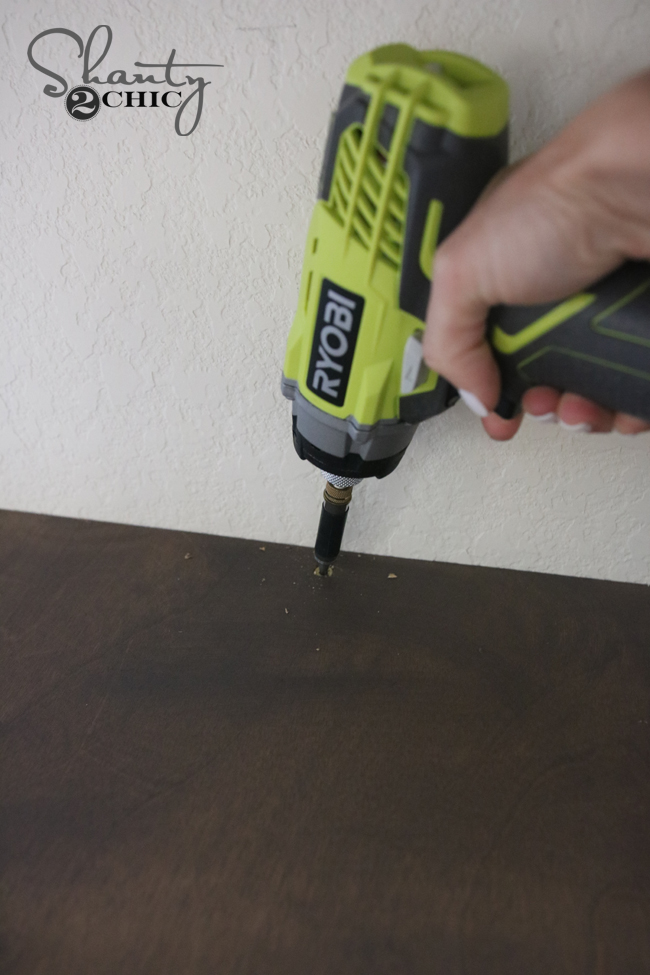
Our next step was drilling the holes into the shelves. We used our drill and a 1/2″ drill bit to put four holes in each shelf. These holes were at the front corners of each shelf, and in the exact same spot on the bottom board of each shelf. We spaced ours 1″ from the front of the shelves and 2″ from the sides so we wouldn’t drill into our wall cleats.
We wrapped some painters tape around the end of the twine to make it easy to string through, and started by going up through the bottom shelf on the left hand side. As we were going through each shelf, we pulled them off the wall to make this part really easy. We went through the bottom and top hole of each shelf and then through the pulley at the top.
From there we went down the right side starting with the top shelf. On our way down we went through the top hole and out the bottom hole of each shelf and worked our way down.
Once the rope wall all the way through, we tied knots under the bottom board of the bottom shelf and used the driver to attach the shelves to the cleats with 1.5″ screws.
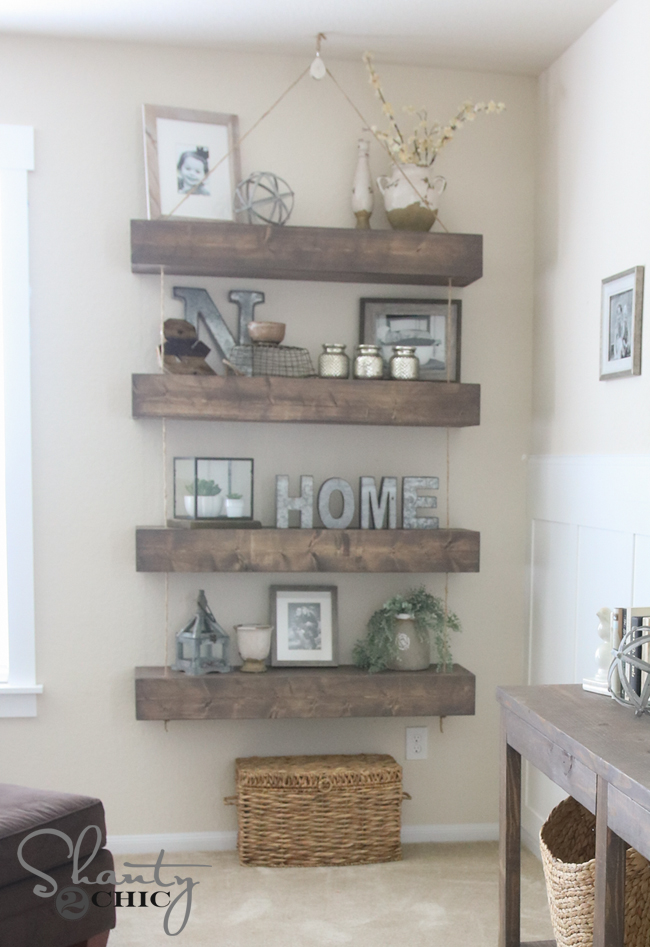
Now for the fun part! We dressed them up! One of our favorite stores for this is At Home. We grew up walking the aisles of Garden Ridge with our Meme, and the company has rebranded and formed an amazing store that we LOVE. Literally, you can find anything there. We were able to dress up her entire space with lots of goodies, and their prices are great! You can find a store near you using their store finder.
Here they are all dressed up! Leasha loves them and so do we!
We can’t wait to show you what else we managed to get done at her house in 24 hours! We had such a blast and already have a trip to our other sister’s house planned… So fun!
Thanks so much for stopping by! Let us know if you have any questions at all!
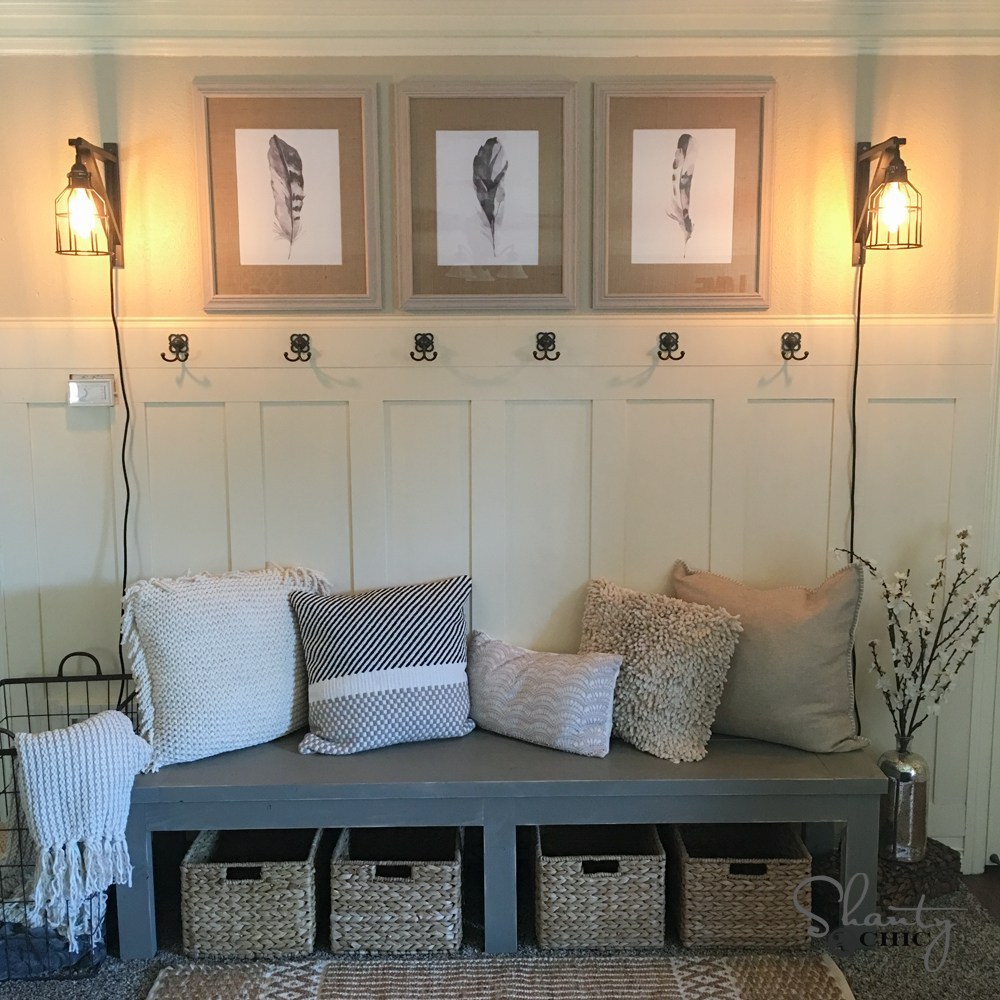
Make sure to check out the other projects we did in this #shantyhousecrash!


where did you buy and what are the decorative pieces called that are circular on the end cap of your shelves. The flat side facing you. They look like a rustic metal of some sort. Maybe a little bigger than a half dollar.
How far apart are the shelves spaced?
I’m thinking about using these in my bathroom. However I’m going to put them on a wall I will be adding mosaic tile to. Should I tile wall first and attach cleet after or should I attach cleet and then tile around cleet?
Have you ever had issues with the box sliding off of the cleat? Mom of four asking. If it could happen, it would happen to me lol. How would you recommend attaching the box to the cleat? Nails? Glue?
How many inches is between each shelf
I absolutely LOVE all of your DIY’s! I see that you use the Kreg Jig often. While I have the best intentions to make tons of projects, I usually end up never having time. These shelves are an absolute must though for our kitchen. Rather than purchase the Kreg Jig, knowing I’ll probably only use it once, is there an alternative, or maybe cheaper version?
Thank you! Yes, the Kreg R3 is a much less expensive version and does the same thing 🙂 good luck!
Hi ladies, the wood in the ryobi miter saw pic and ryobi nail gun pic do not look like plywood edges and neither does the finished product. Did yall really use pine common boards the HD sells?
We used what the supply list/cut list says. We were rushing to get the projects done and didn’t get enough process pictures (so we had to use similar ones for reference). Sorry about that!
How much space is in between the top of the one shelf and the bottom of the next one. I didn’t see it in your post, but I might have missed it. Thanks in advance!
I am interested in purchasing some of these tools. The Ryobi airstrike nail gun you have, should I buy the 18 or 16 in one? Can you interchange brads and finish nails?
Get the 18 gauge. It’s the most universal as far as projects go 🙂