
Learn how to install this DIY Barn Wood Herringbone Wall Treatment in your home with this free how-to video by Shanty2Chic.
What do you get when you combine 2 sisters, 4 hours and some beautiful reclaimed barn wood?
This DIY Barn Wood Herringbone Wall Treatment!
We teamed up with one of our best-kept Shanty secrets, Reclaimed DesignWorks! Whitney and I discovered this place when we were searching for old barn wood, for a project we were working on. After scouring Craigslist ads, we finally found someone that was selling old barn wood, we went to check it out and discovered that, not only was the majority of it falling apart, it was filthy and needed hours of prep before we could possibly put it to use. We threw the wood away and started searching on google for other options.
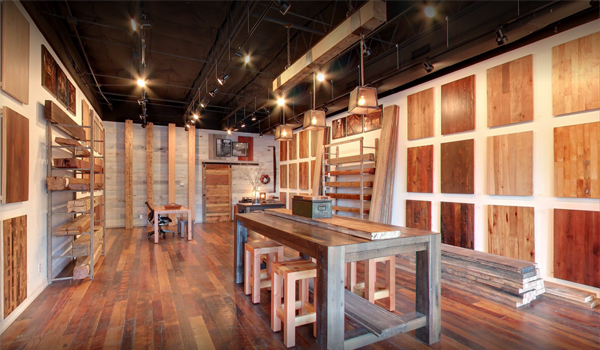
That’s when we discovered Reclaimed DesignWorks! They have old barn wood that has been cleaned, dried, it’s BUG and MOLD-free, it’s been tested for lead-based paint, it’s already been cut and milled and wrapped in bundles, ready to pick-up, take home and install! We had just discovered the mother-load of barn wood and couldn’t wait to get our hands on it!
We visited their showroom in Dallas, drooled over everything in their store, picked the perfect barn wood for this project, loaded it in the car and took it home! They have showrooms nation-wide but if there isn’t one close to you, they also ship bundles directly to your door! You can check out the barn wood that they have in-stock and ready to pick up, at any showroom, HERE!

We picked the Faded Gray/Brown Face Planed Barn Wood for this project. You can see it HERE!

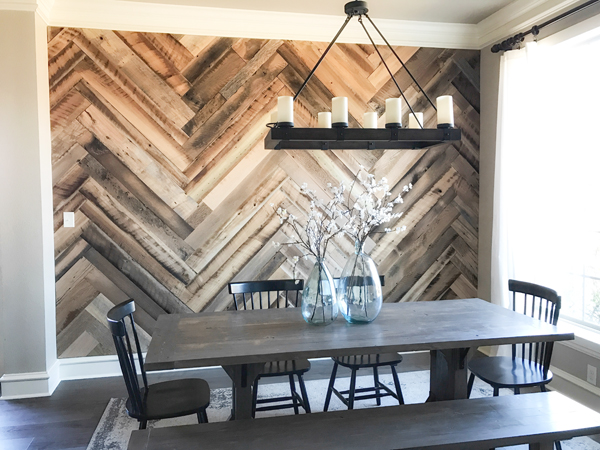
Want to learn how to create your own Herringbone Wall Treatment? Watch the video below and see just how easy it is!
Quick, easy and fun right!?!
Here are some of the other projects that we have used Reclaimed Design Works barn wood on!

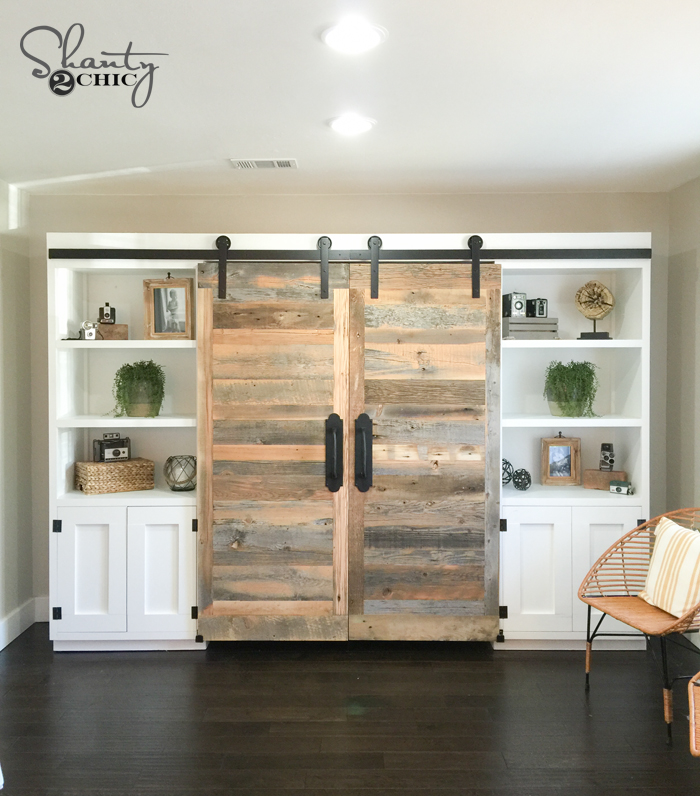

DIY Vent Hood – plans soon
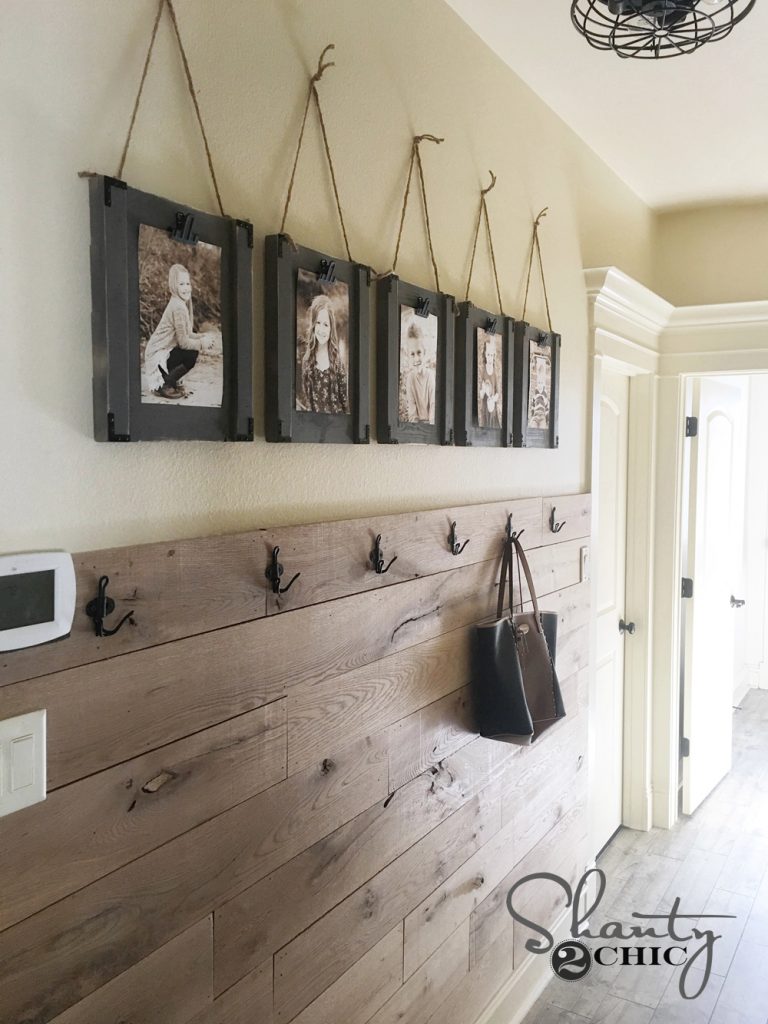
Planked Wall – Tutorial Soon!
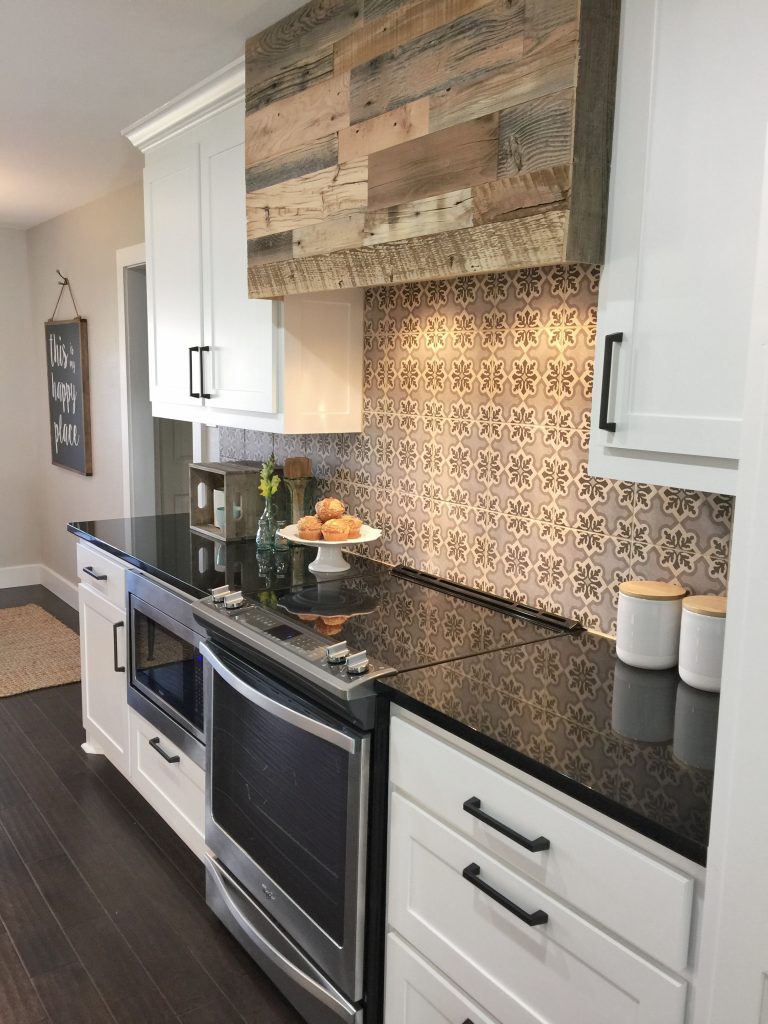
DIY Vent Hood