If you follow us on social media, you know that we are in the process of moving into our new shop/studio space! We are so excited about this new space because we finally have a dedicated shop to shoot all of our how-to videos in! We have a shop/studio tour coming soon but while we are busy busting our booties to get this space ready, please enjoy the very best of our worst moments 😉 followed by free plans to build your own DIY Floating Shelves with Hardware!
Just click HERE or the video below to watch!
And, because we just can’t bare to leave you without a how-to projects, we have a special how-to today for you!
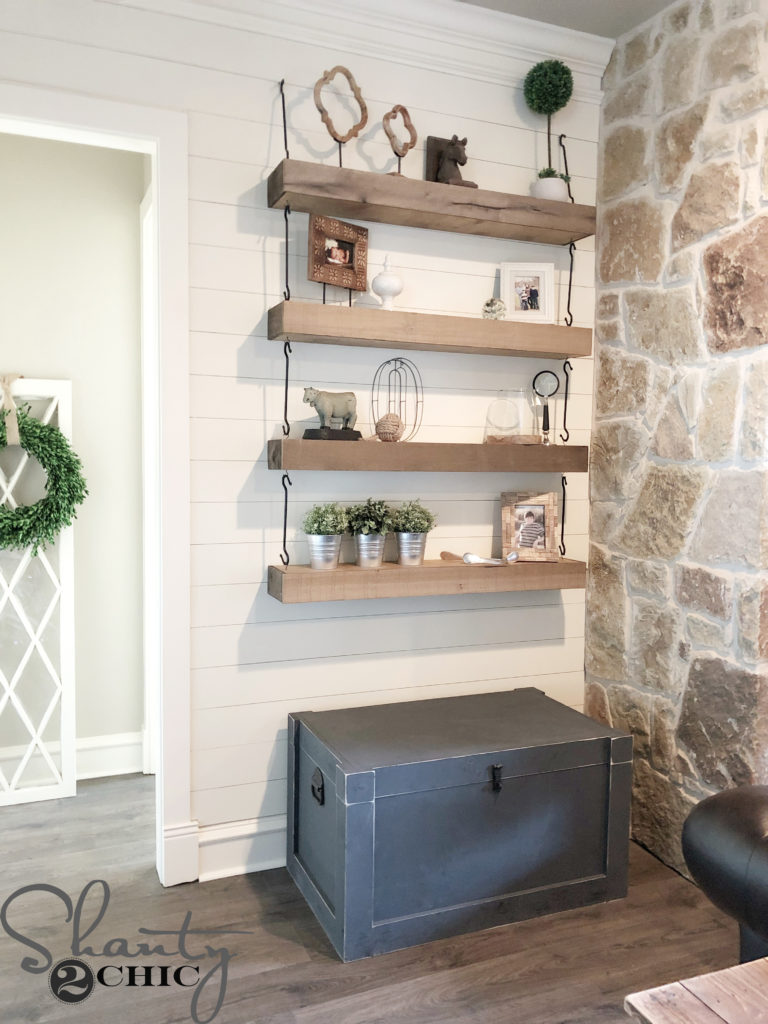
DIY Floating Shelves with Hardware
Check out my newest floating shelves! They are built like our basic shelves but they have unique hardware, creating the hanging look, and they are built with real barn wood! They are super easy and inexpensive to build!
Make sure you grab the FREE Printable Plans HERE and follow along with the how-to below!
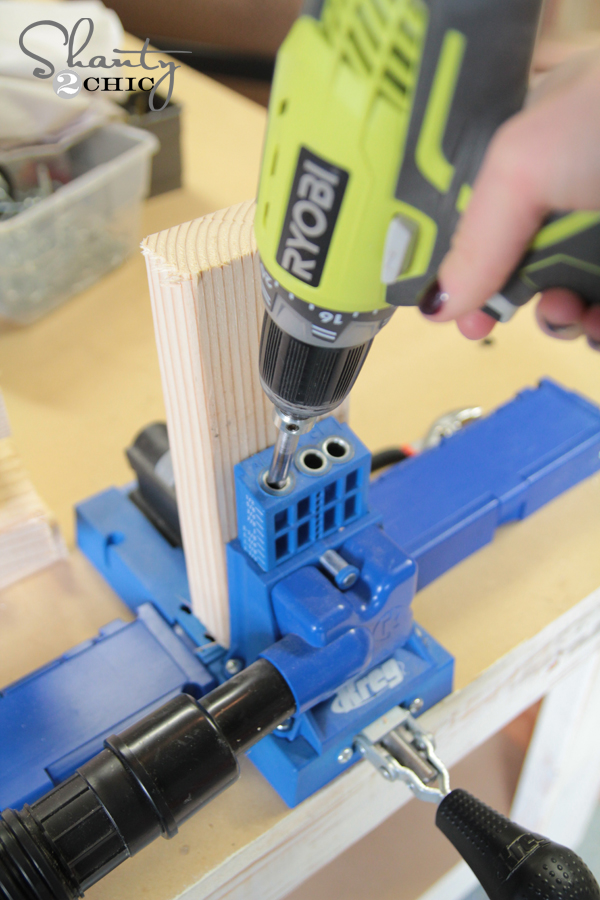
The first step is to cut all of the cleat pieces to size. Then I used my Kreg Jig to drill 1 1/2″ pocket hole screws into the short cleat pieces. You can find our favorite Kreg Jig model HERE!

Attach them to the long cleat piece with 2 1/2″ pocket hole screws and wood glue.
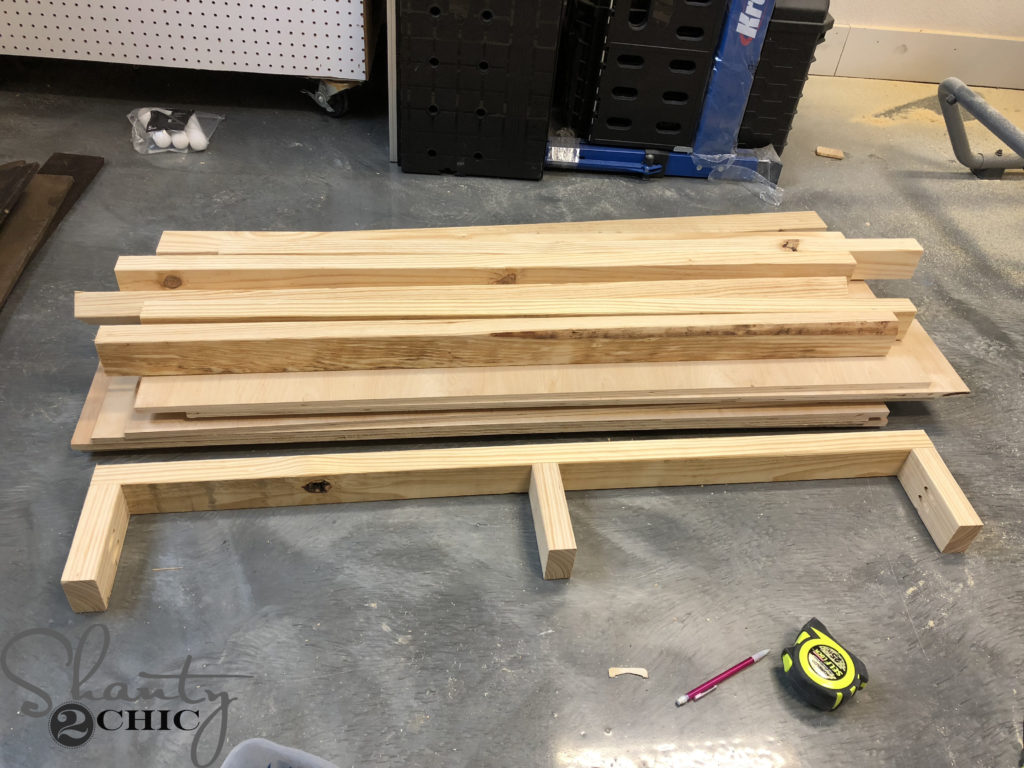
Here is one cleat assembled. Now onto the boxes for the shelves!
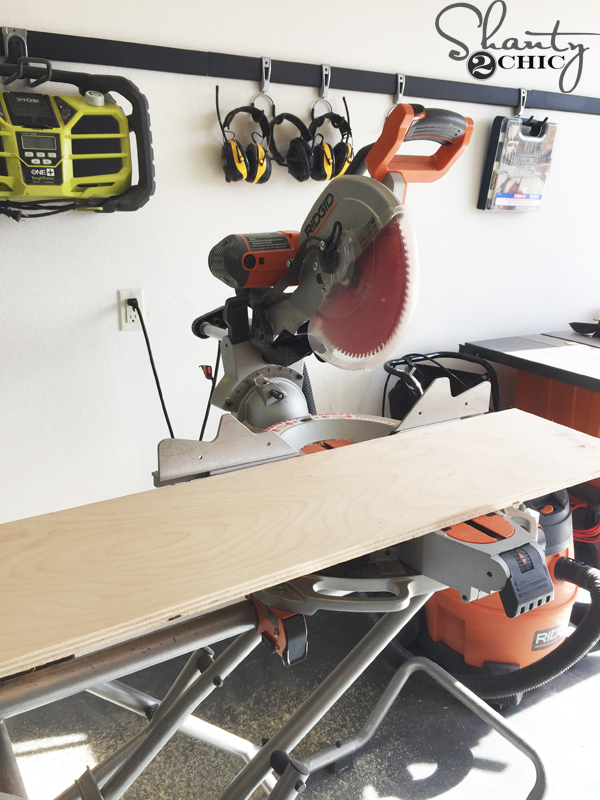
I cut the top and bottom plywood sheets to fit the length of the cleats.
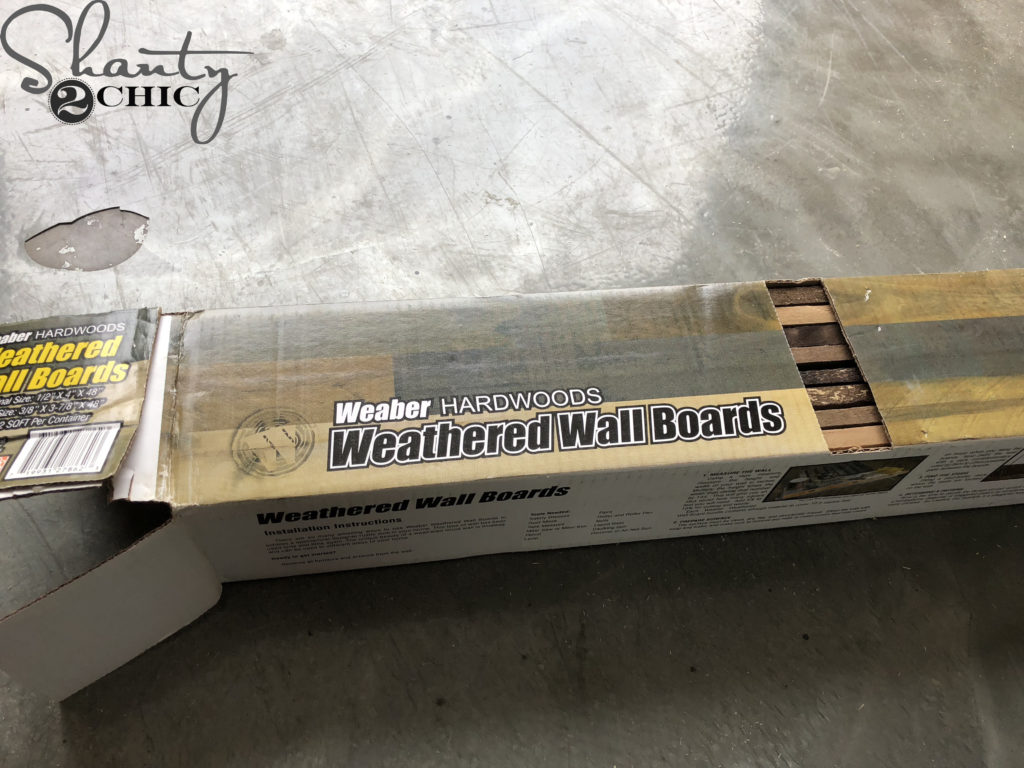
I found this awesome barn wood from the hardware store. You can find it HERE! I used this barn wood to wrap the front and sizes of the boxes.
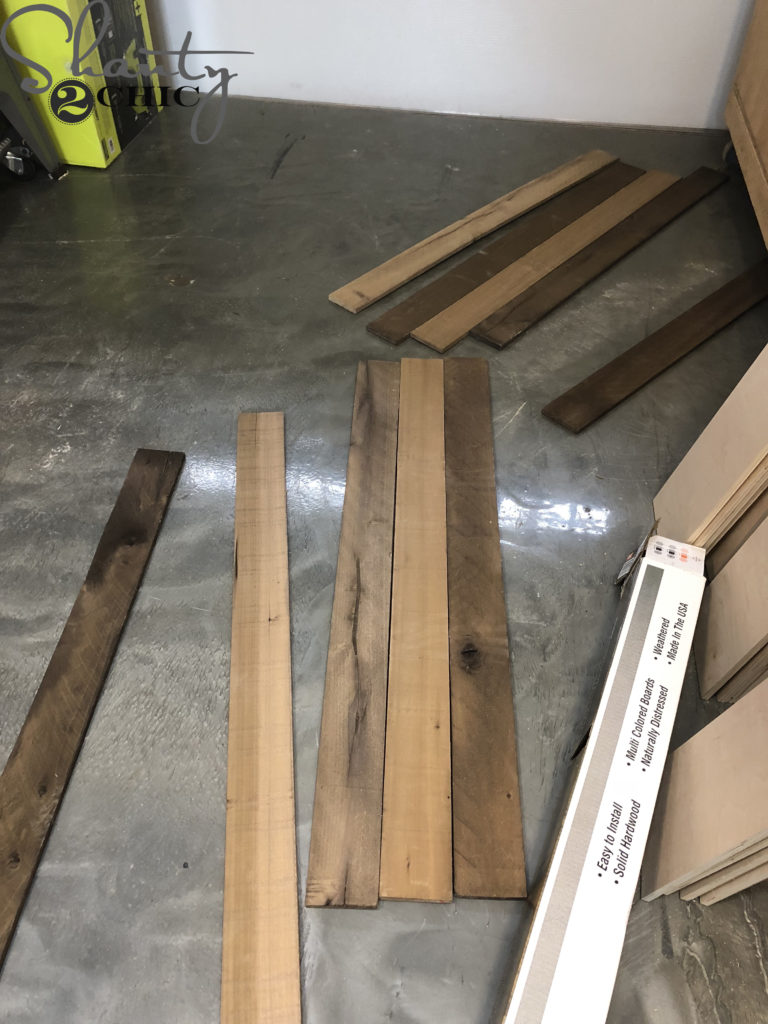
This barn wood comes in different shades of brown, per pack. So, I picked the lightest colors to wrap the shelves.
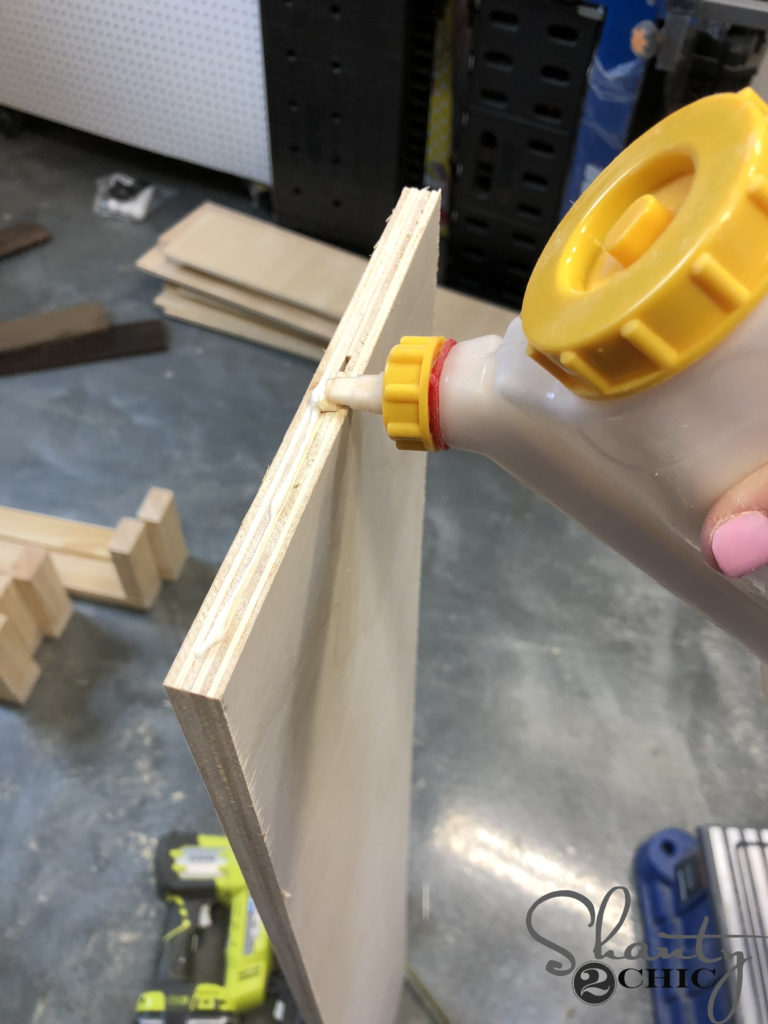
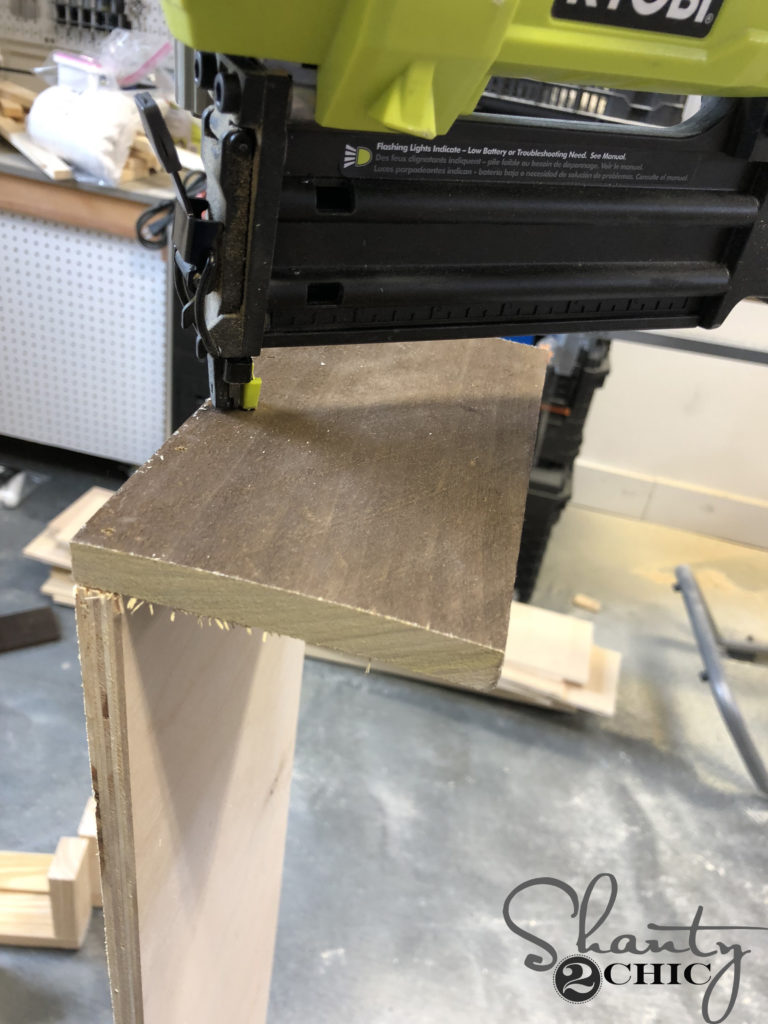
I cut the side pieces to size and attached them to the top and bottom plywood with my Ryobi 18-Gauge Brad Nailer, with 1″ brad nails and wood glue. You can find our favorite glue dispenser HERE and our favorite Ryobi Brad Nailer HERE!
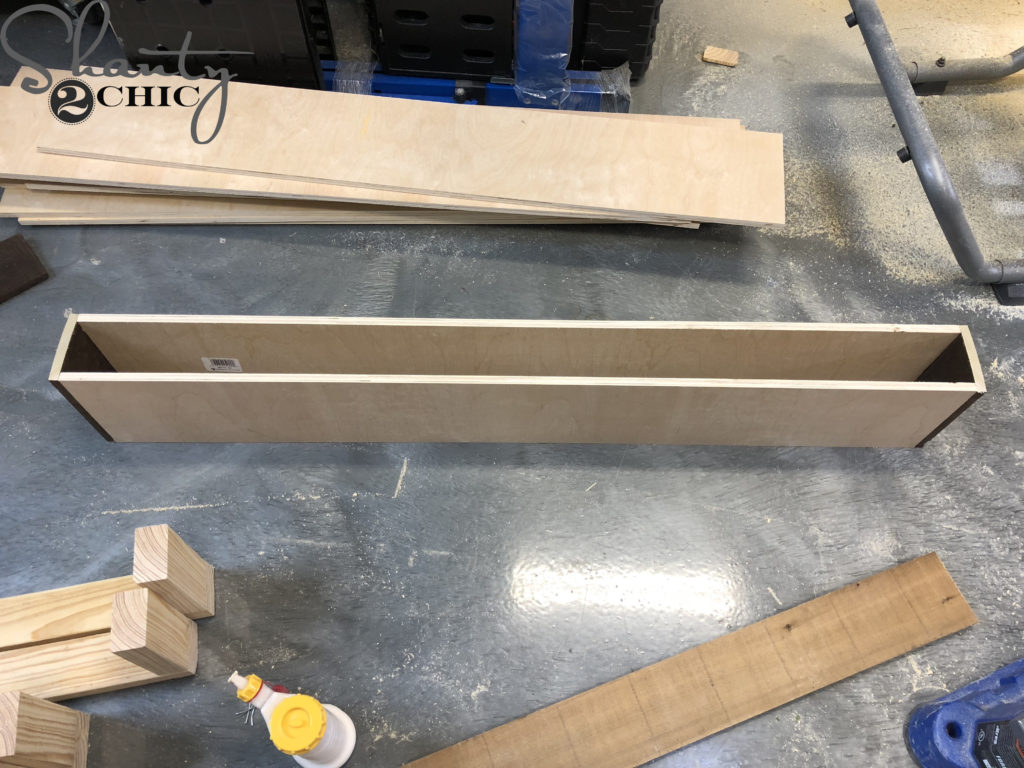
This is what the shelf box should look like at this point.
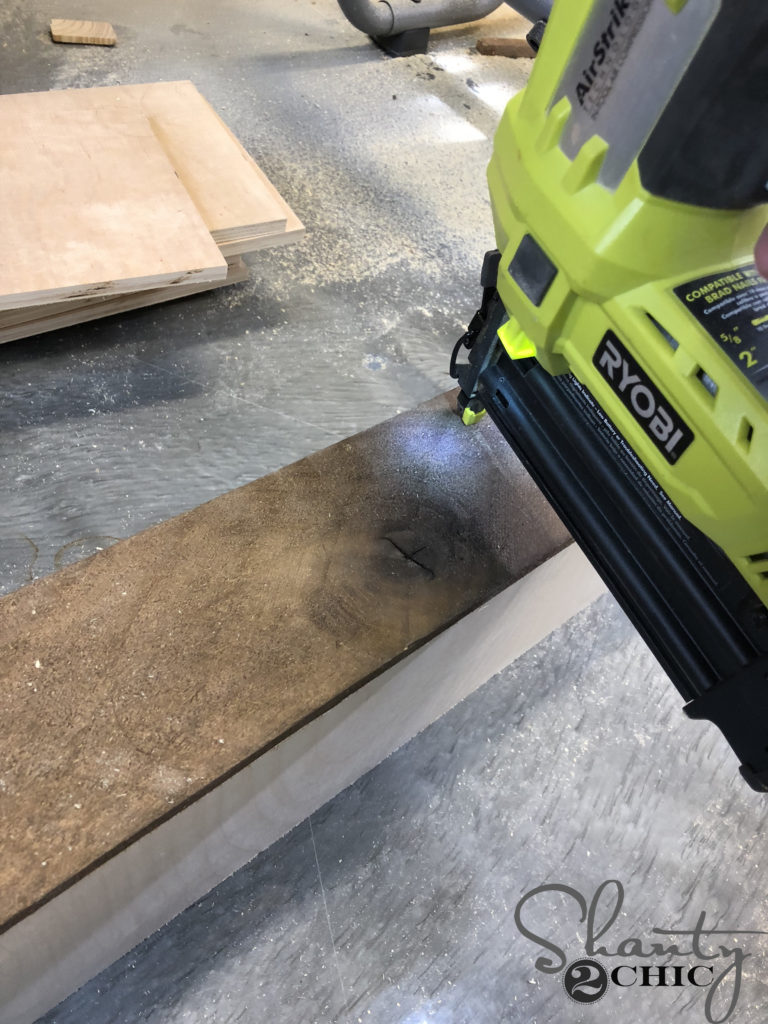
Next, I gut the front trim piece to size and attached it to the shelf with 1″ brad nails and wood glue. Now is a great time to stain the top and bottom of the shelf. You can find the stain that I used to match the barn wood HERE.
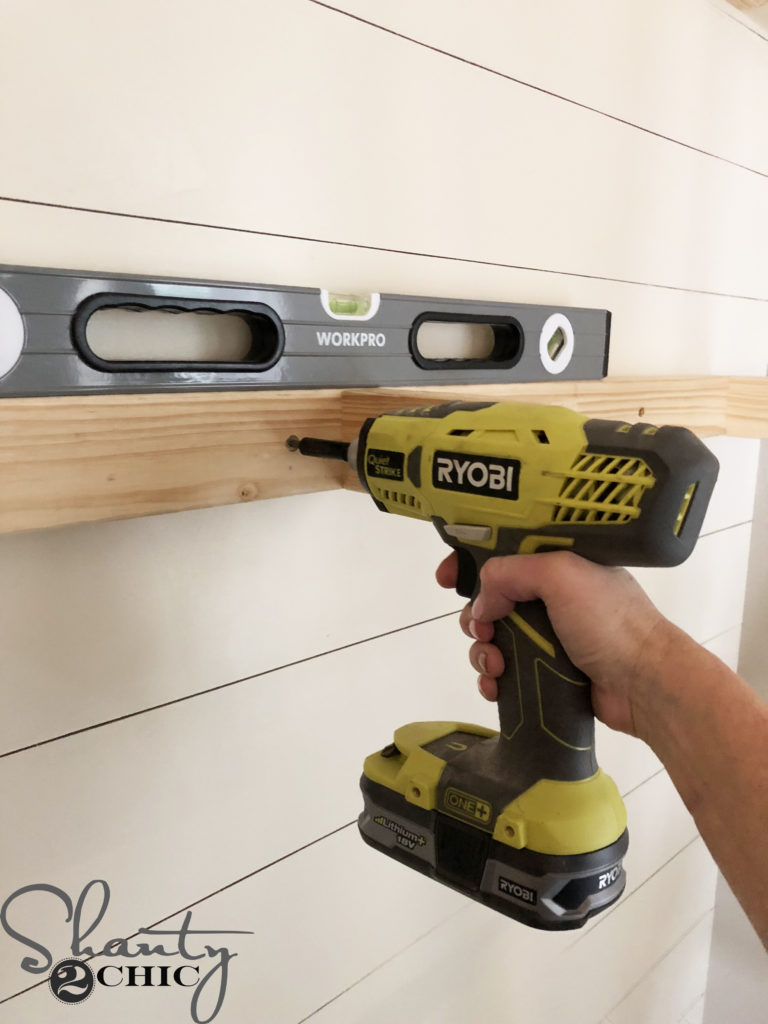
The most important step in this project is to make sure you space the cleats out correctly. Attach the cleats to the studs behind the wall with 3″ wood screws. We like to use our Ryobi 18-volt Impact Driver when we are attaching pieces to studs behind the wall. You can find it HERE!
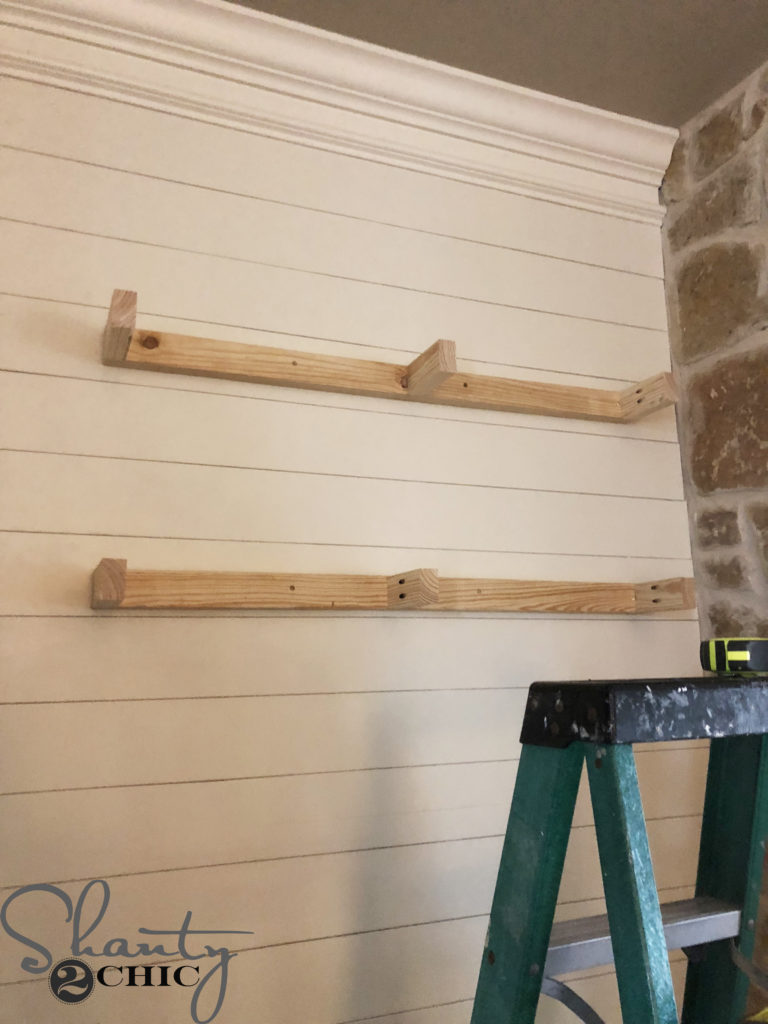
Refer to the plans for the spacing I used. Once the cleats were all attached, I slid the shelf boxes over each cleat and secured them with a few screws from the plywood top, into the cleats.
Now for the hardware!
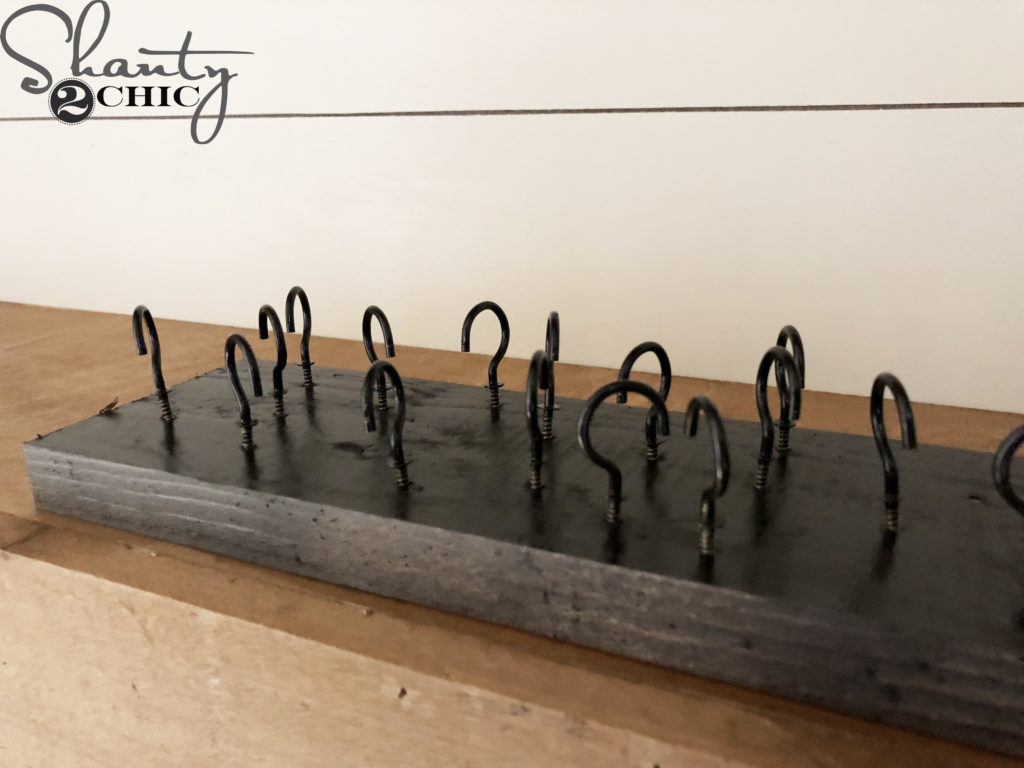
I found a box of cup hooks at the hardware store (you can find them HERE) and spray painted them with black spray paint (you can find the spray paint that I used HERE).
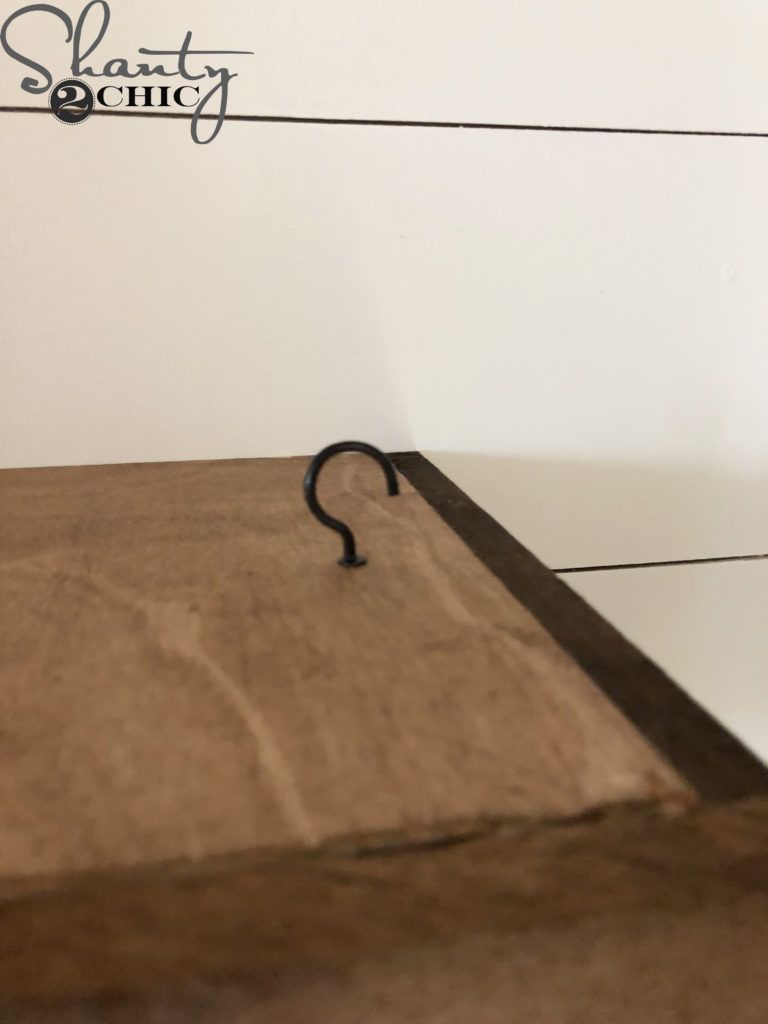
Once the paint was dry, I attached an eye hook to each side of the top and bottom of the shelves. The bottom shelf will not have eye hooks on the bottom of the shelf.
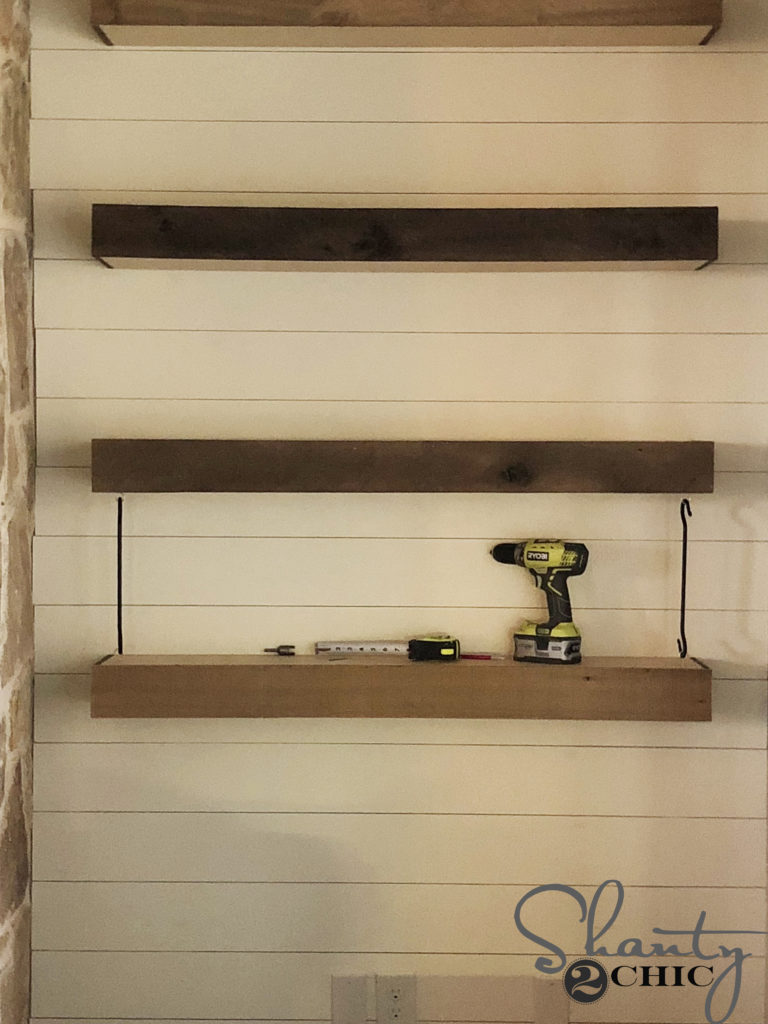
Then, I attached a S Hook to each eye hook to make the shelves look like they are hanging from each other. You can find the S Hooks HERE.
I attached the top hook and eye rods to the top shelf and the wall.
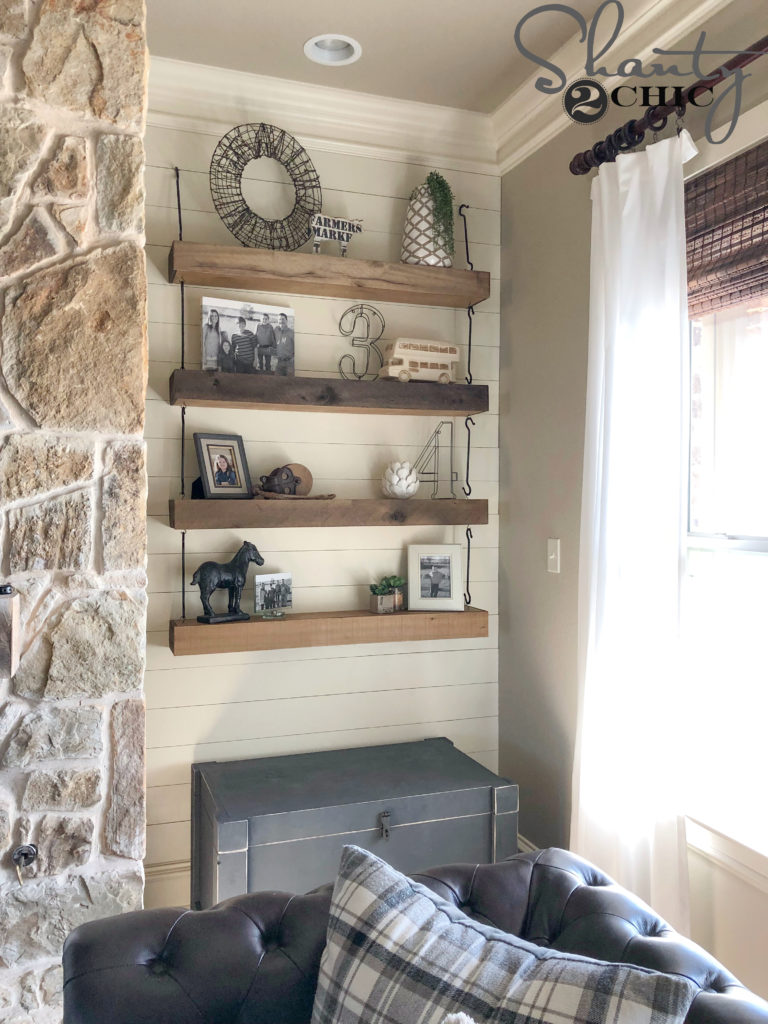
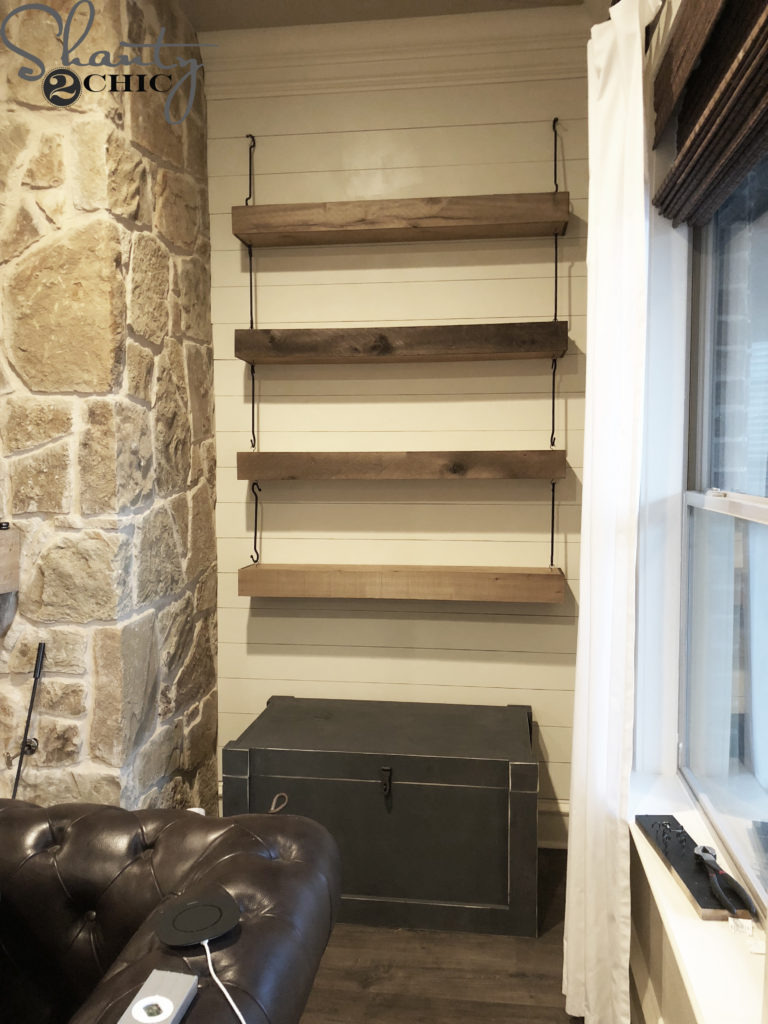
That was it! I filled the shelves with all my favorite things and called it a day! I love that these shelves are more shallow and the hardware really gives them a unique look!
You can find the plans for that cute DIY Trunk HERE!
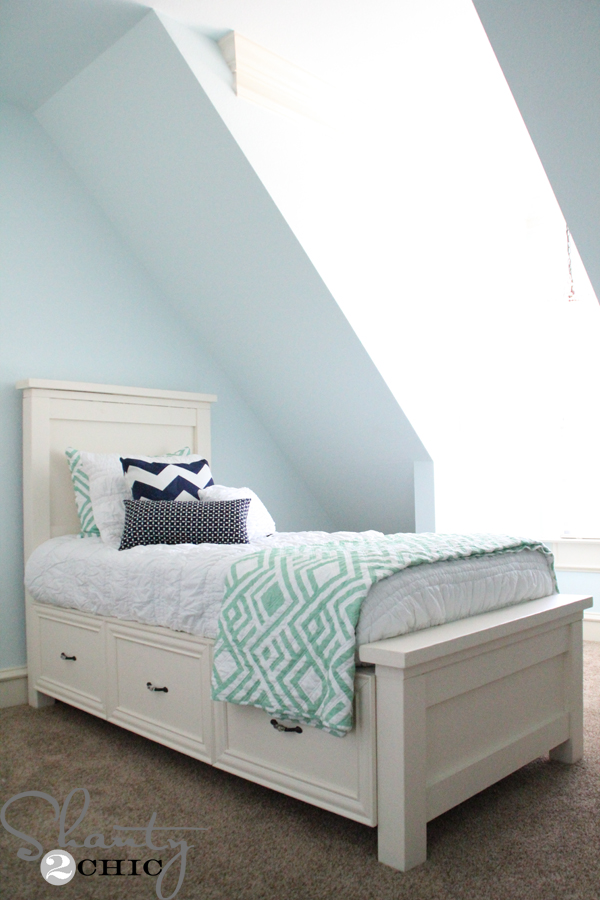
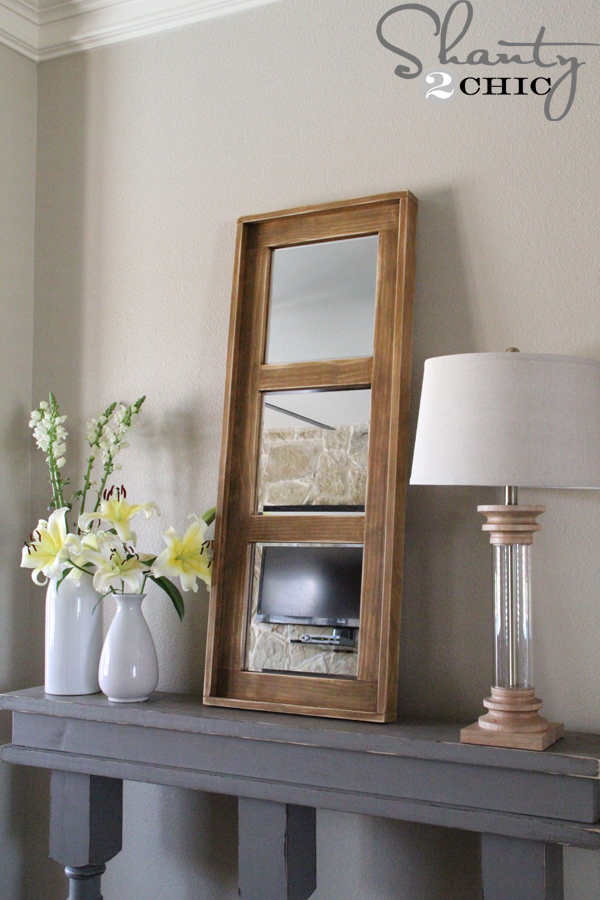
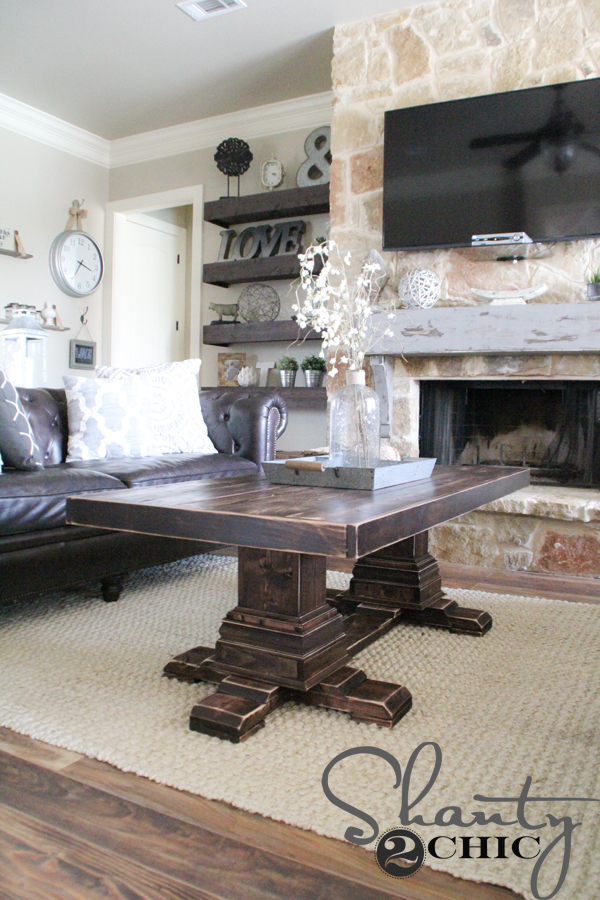
And, we have so many other floating shelf plans! Click the images below for the free plans!
Thanks so much for stopping by!
Happy Building!

What size are the s hooks for these shelves? The link does not work any more.
Your tag for the stain used is “Light Walnut” which is a very red stain. Assuming that’s incorrect link? I had to go between three different stains to find one similar to barn board colors.
Love these shelves! Do you have aworking link to the hardware? It isn’t pulling up anything :/ Thanks!
Why would you want to use the barn wood to trim out the front and sides when you have to stain the top and bottom boards? What advantage does the barn wood have compared to staining?
The reclaimed barn wood as more texture and uniqueness to it compared to plywood. I believe they applied it to the front and sides because these are the most visible areas of the shelves. This is just a guess 🙂