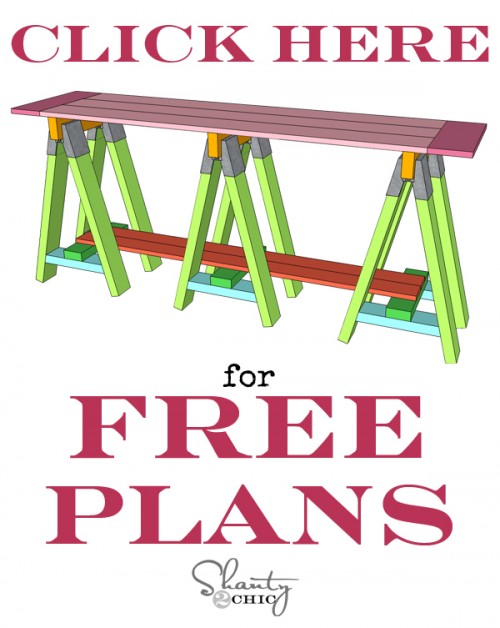
Today I am finally sharing a table I designed and built over two months ago. I LOVE the way it turned out. Check out my DIY Sawhorse Console Table!
I love the size of this table… It’s long and narrow and looks cute in just about any room of the house. As always, I will walk you through the entire build here, and you can also download the FREE printable plans at the bottom of this post! clicking HERE or the button below!
The first thing you will need to get is sawhorse brackets. I found mine at Home Depot in the hardware section by the sawhorses. The come in a package of 2 that look like this…

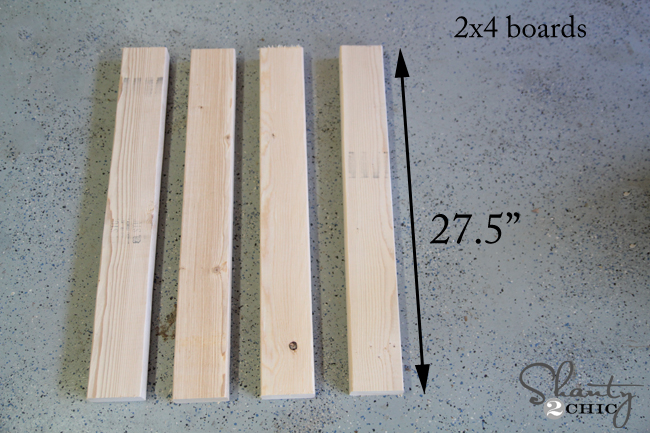
I created all of my bases first. This is really simple and uses 2×4 for everything keeping the cost really low… Yeah! Make the cuts according to the plans. Each sawhorse uses three boards cut at 27.5″ each.
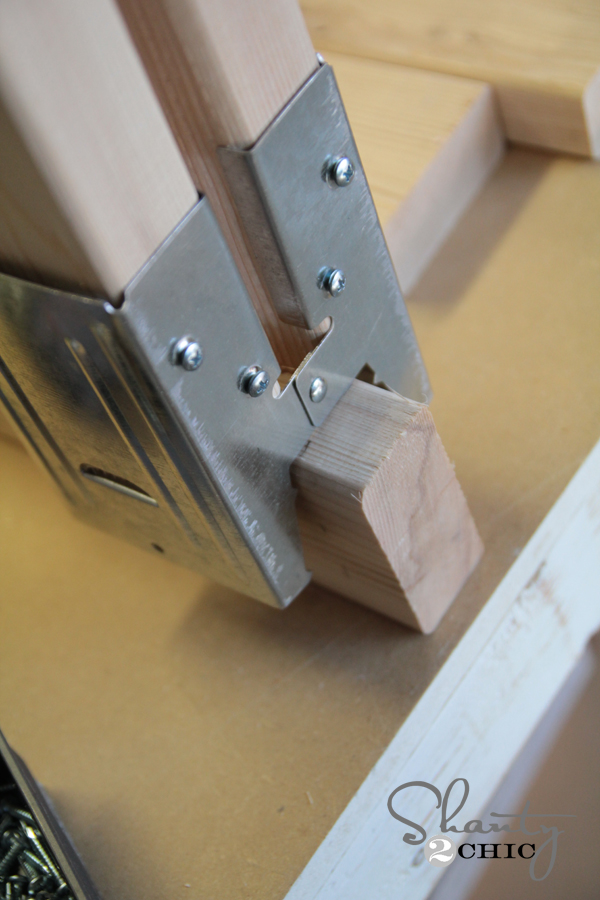
All you do is fit the ends of the board into the bracket and use a wood screw to hold it in place.
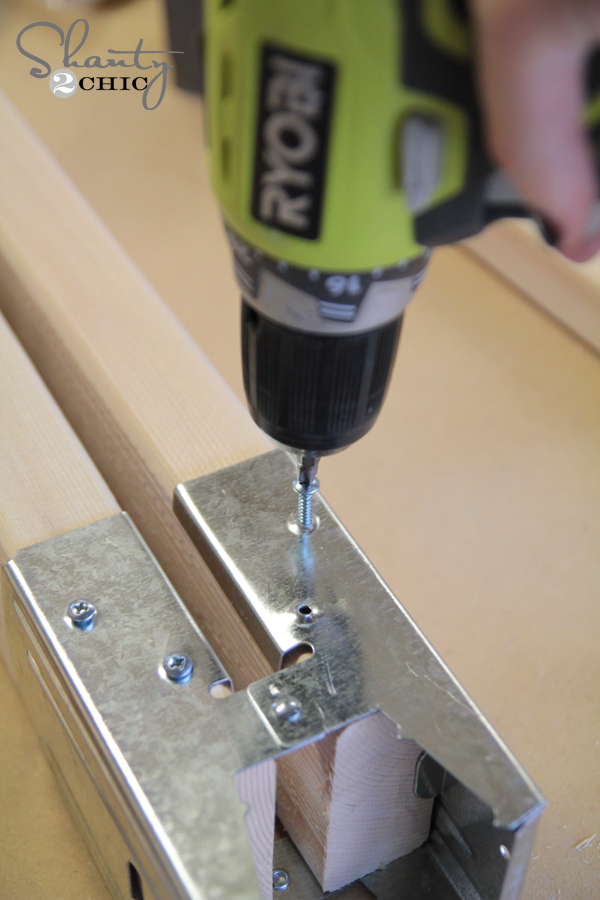
Each bracket will look like this…
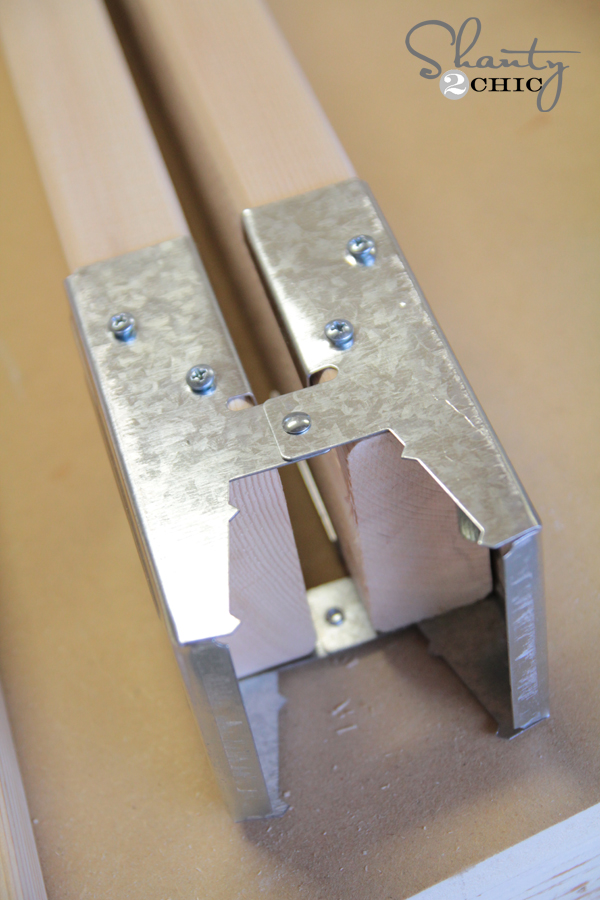
Next, you will 3 smaller pieces, each at 16.5″. These will fit into the teeth of the bracket and clamp down on it like this.
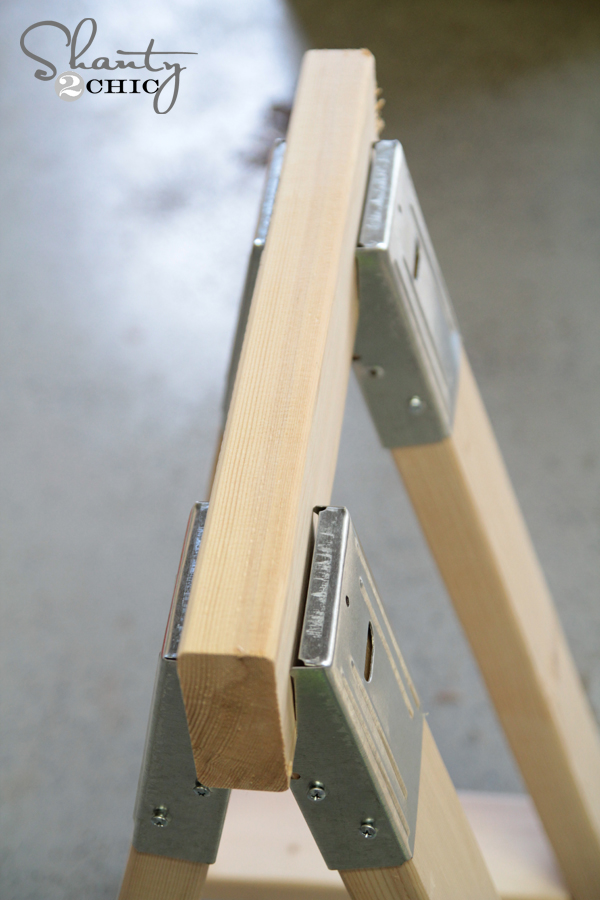
At this point I cut my pieces that run between each leg. These will hold the boards to run under that bottom shelf. I cut each of these pieces 12″ long, and each end is cut at a 14 degree miter.
I used my Kreg Jig K5 to make 1.5″ pocket holes one each of these pieces. You can see how I aligned it in the jig below.
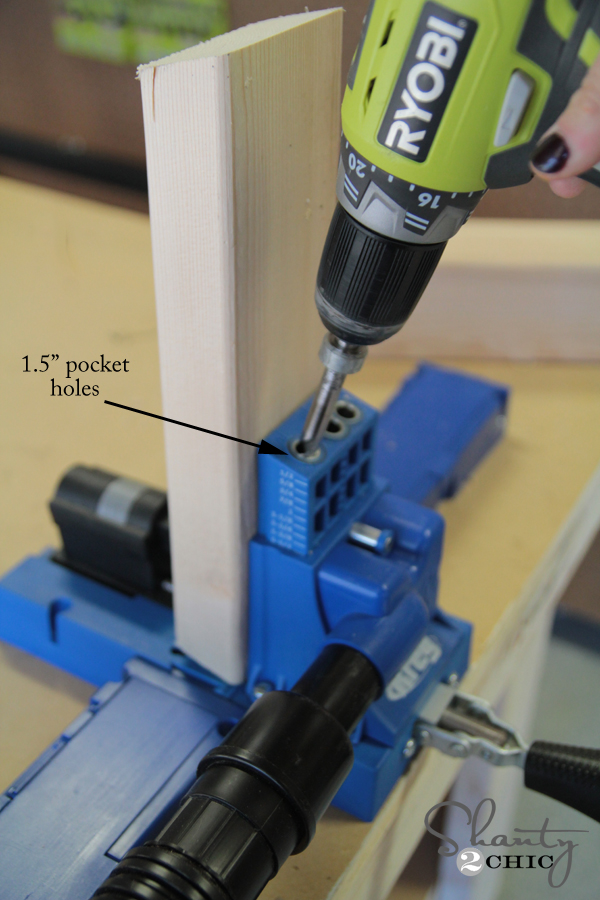
Next, I used 2.5″ pocket hole screws to attach all of these boards. I lined each one up 3.5″ from the bottom of the leg boards.
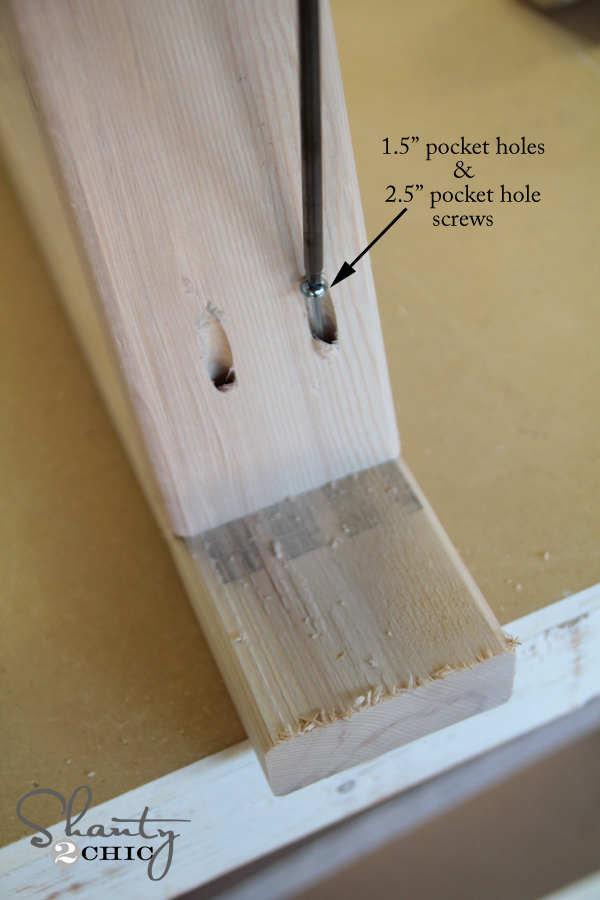

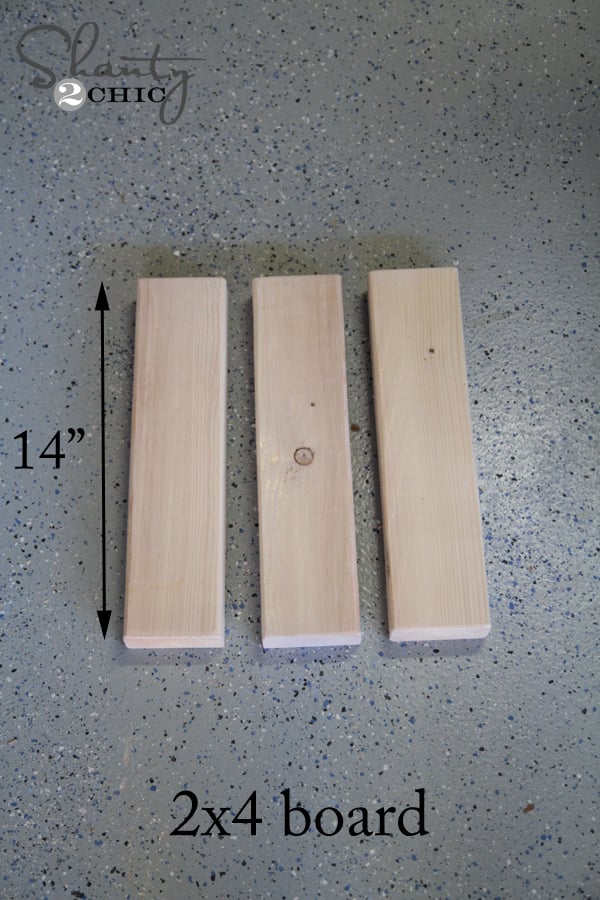
Next, I cut three more 2×4 pieces, each at 14″.
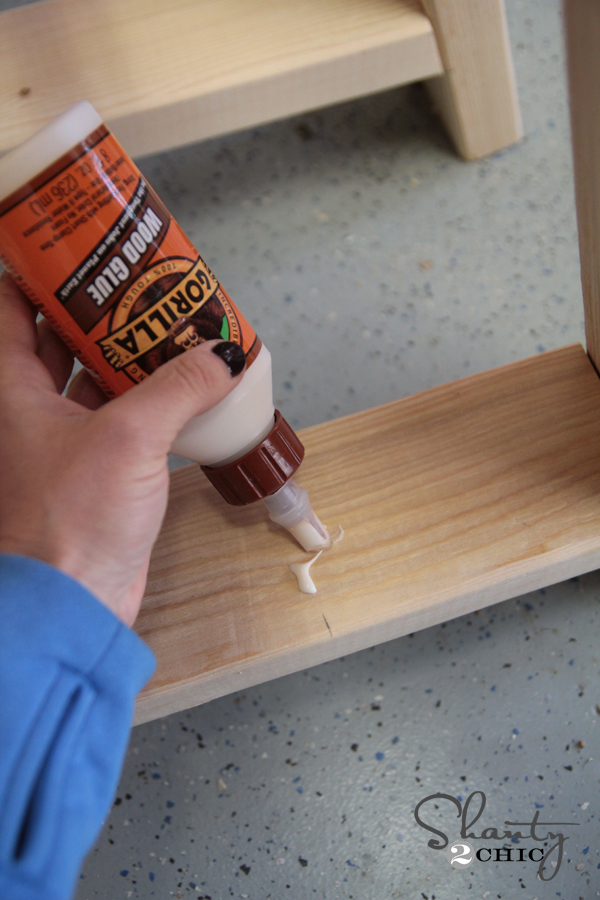
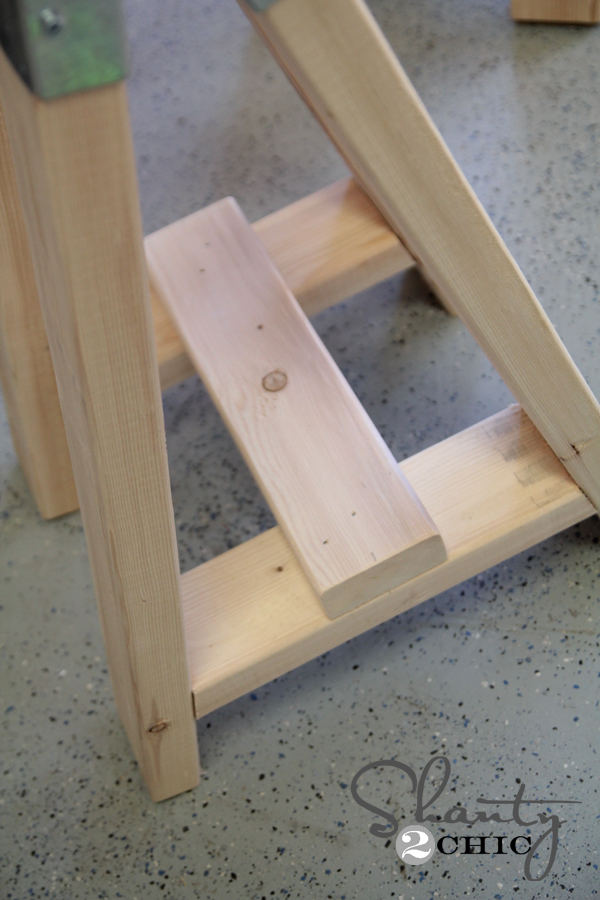
I attached these to the leg braces using Gorilla wood glue and 2″ finish nails.
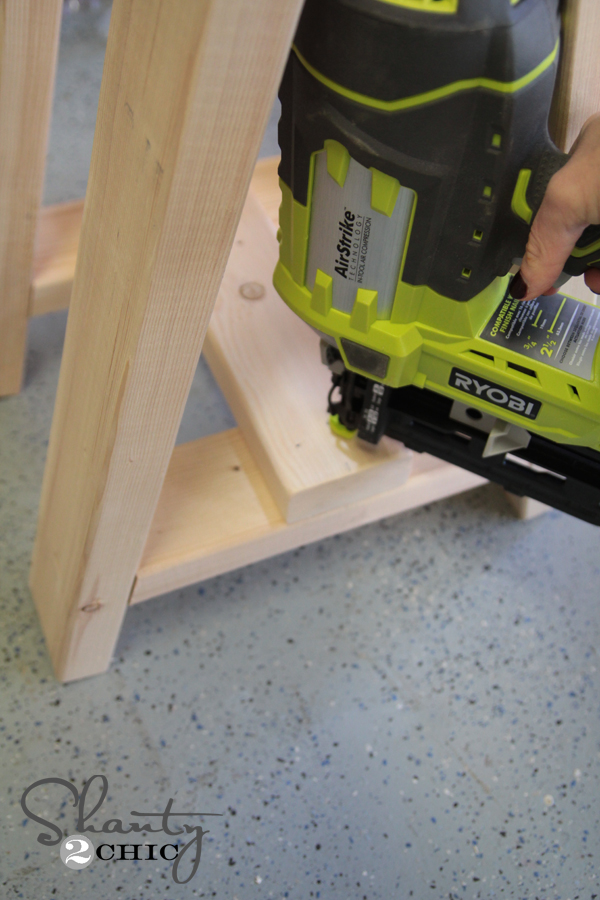
I used my Ryobi Airstrike Finish Nailer for this part. LOVE this nailer… No hose or compressor. It’s as awesome as the brad nailer. Trust.
Now for the bottom shelf. For this part I used two 1×4 boards cut at 58″. I lined them up evenly and side by side and attached using wood glue and finish nails. I also naturally forgot to photo that part… My bad. At least it was an easy part! 😉
Now for the top! I planked this one using my Kreg Jig. I really don’t plank anything now without using pocket holes. It makes the overall look so much nicer. Everything just lines up so much better.
I cut the longer boards first. These are 1×6 cut to 59″ long.

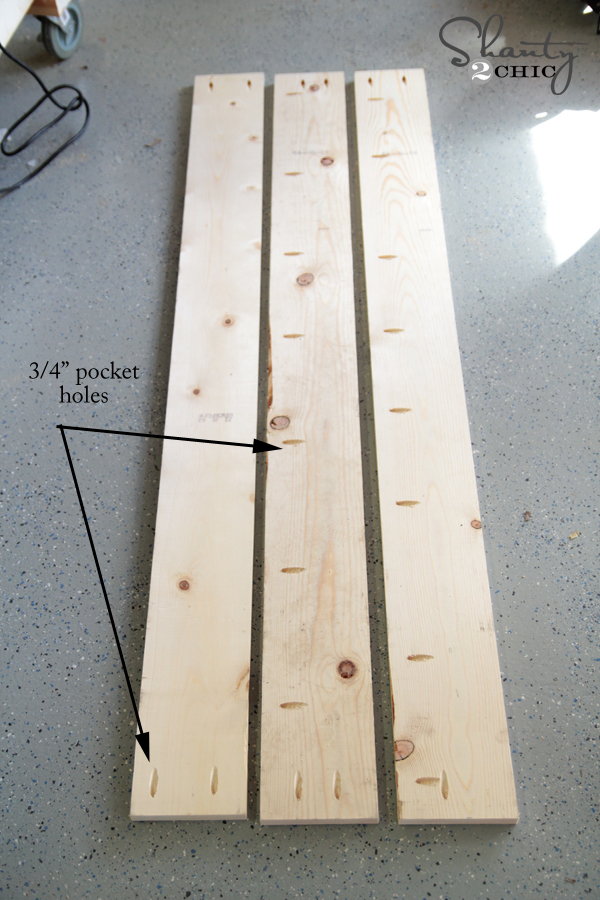
Next, I added pocket holes down the sides of 2 of these boards. I used 3/4″ pocket holes for this part. I also added two pocket holes on the ends of each board to attach my breadboards.
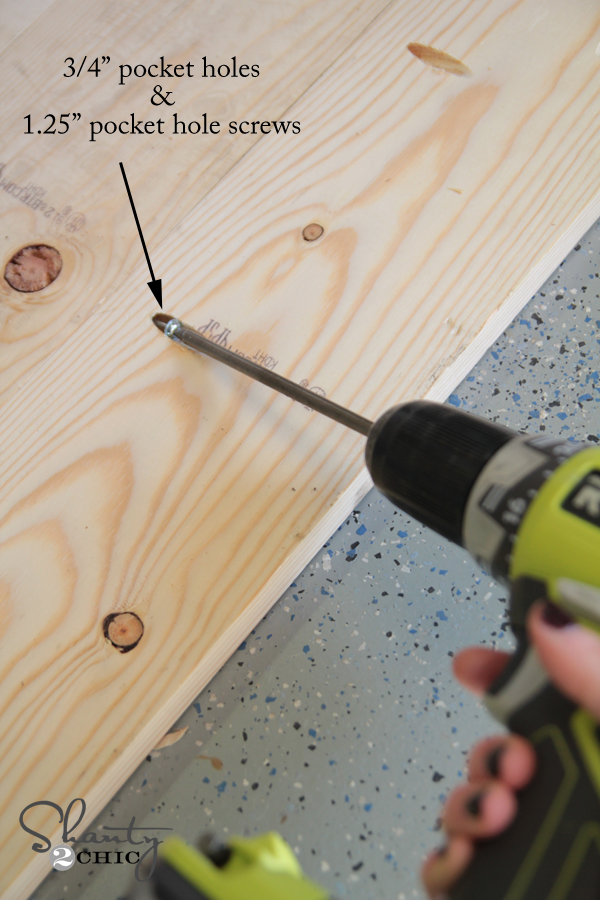
I attached these boards using 1.25″ pocket hole screws through the pocket holes. I don’t use glue on this part because I’m too messy… The pocket hole screws are strong enough without it I have found.
My final step was adding the breadboards. I suggest measuring the width of your planked top before making this cut. Wood can run different widths so I do suggest measuring here to get an exact fit. I attached these boards using 1.25″ pocket hole screws as well.

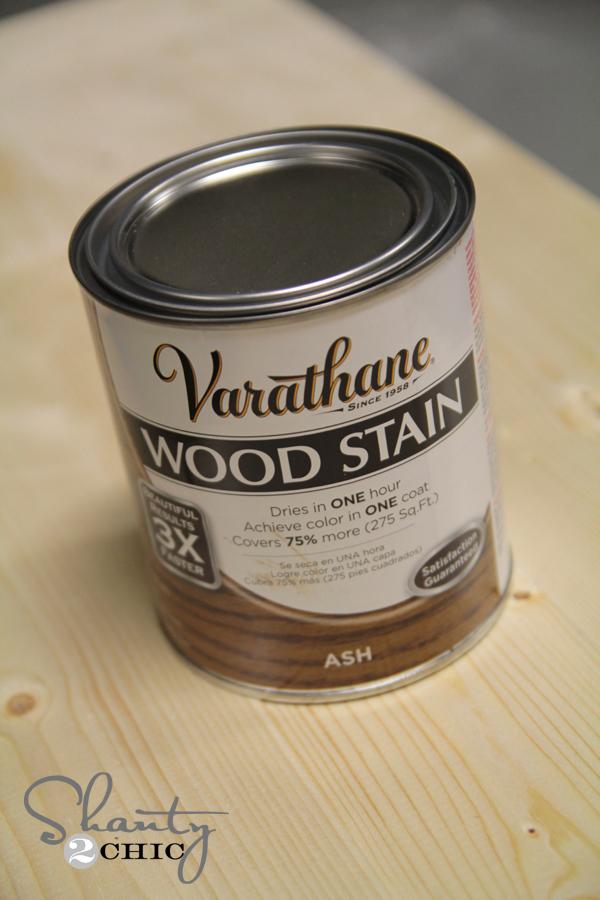
To attach the top to the base I used a line of wood glue on the top of each sawhorse base and used 2″ finish nails through the tabletop and into the bases. I finished mine using a stain by Varathane called Ash. You can find it at Home Depot. The great thing about those sawhorse brackets is that you can get them a little messy with stain and they wipe right off… No need to tape them off.
Here she is all finished off!
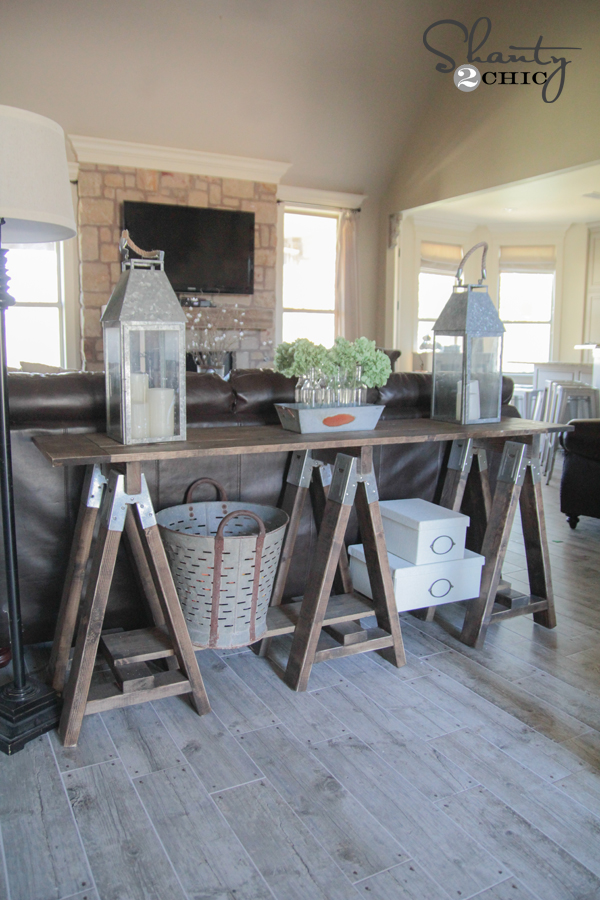
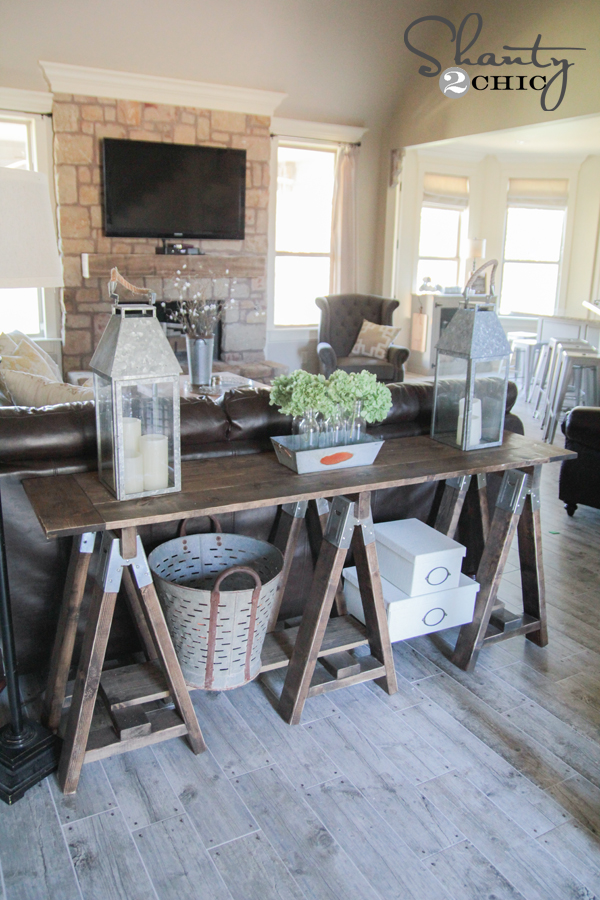

What do you think? I love how it turned out!
Let’s talk cost…
Sawhorse Brackets – $7 for a set of 2 making total cost $21
Lumber – $48
Total Table Cost – Under $70! Can I get a woohoo? 🙂
Also, for those of you who may ask… Did you notice my new floors. I absolutely love them. Best decision I have made in a long time. They are faux wood tiles from The Tile Shop called Cottage Grey.
Thanks so much for stopping by guys! Let me know if you have any questions at all!
~Whitney
Download the free printable plans by clicking HERE or the button below!