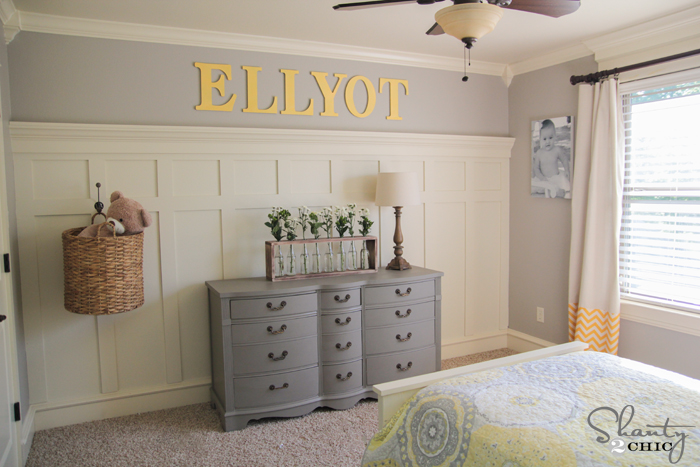
Happy Wednesday friends! I am SO, SO pumped with the way this project turned out! I just happen to be in the middle of a room revamp for my littlest girl, and I had the perfect wall to ‘play’ with! Check out how it turned out!
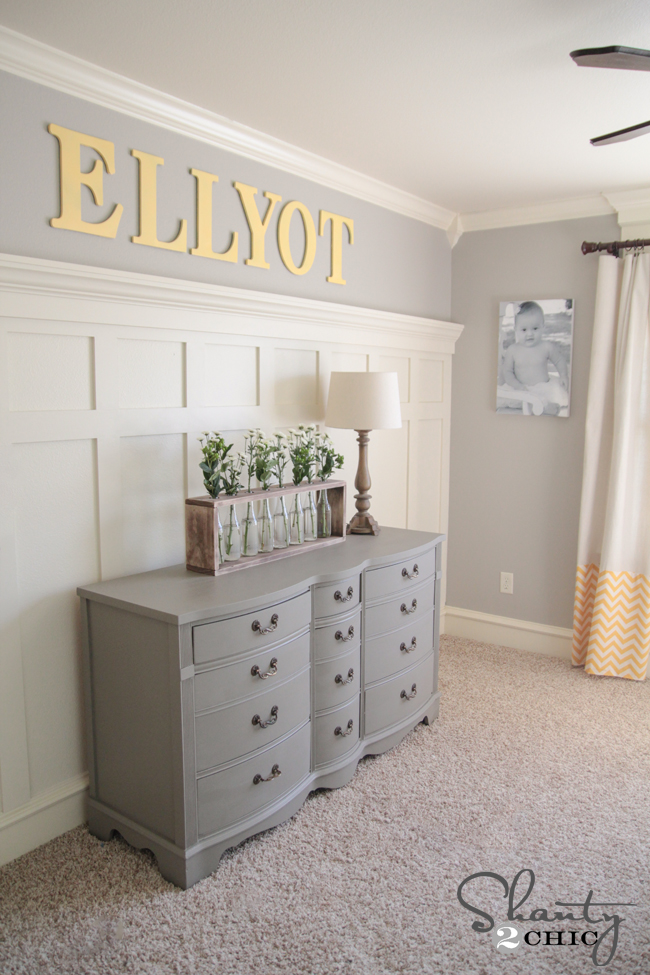
First, let’s talk about how simple this project is…. We literally used just a couple boards and a piece of trim, and the rest of the wall is made with boards we had ripped from a full sheet of MDF we had Home Depot cut down for us.
We used two tools for the whole thing… A saw, nailer and stapler.
I had my entire wall done and ready to paint in under a couple hours.
Now let’s talk cost… The cost of wood for this wall was under $70. YUP. That’s a WHOLE lot of bang for very little buck.
To see the whole tutorial, you can check it HERE for free!
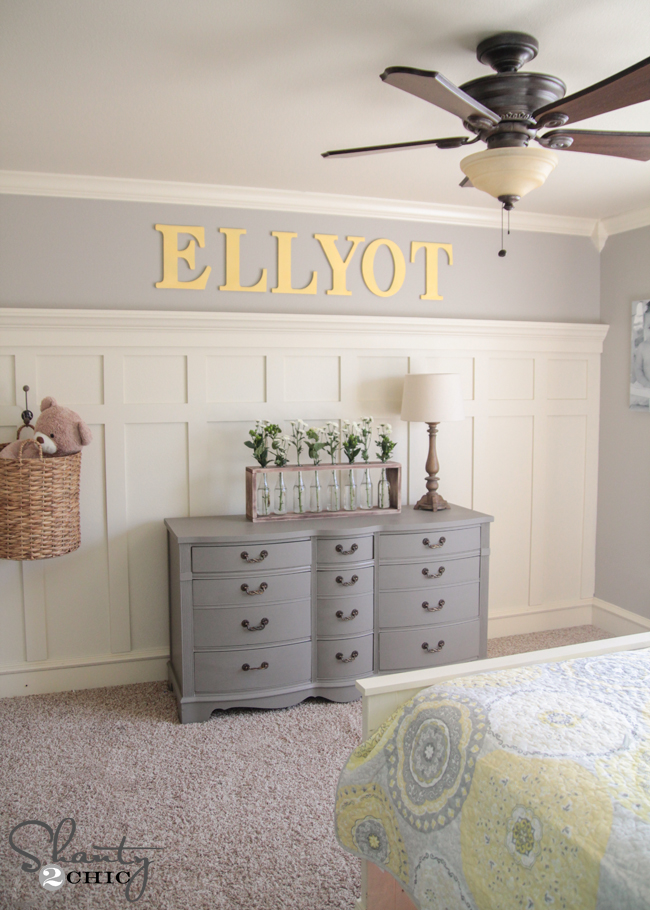
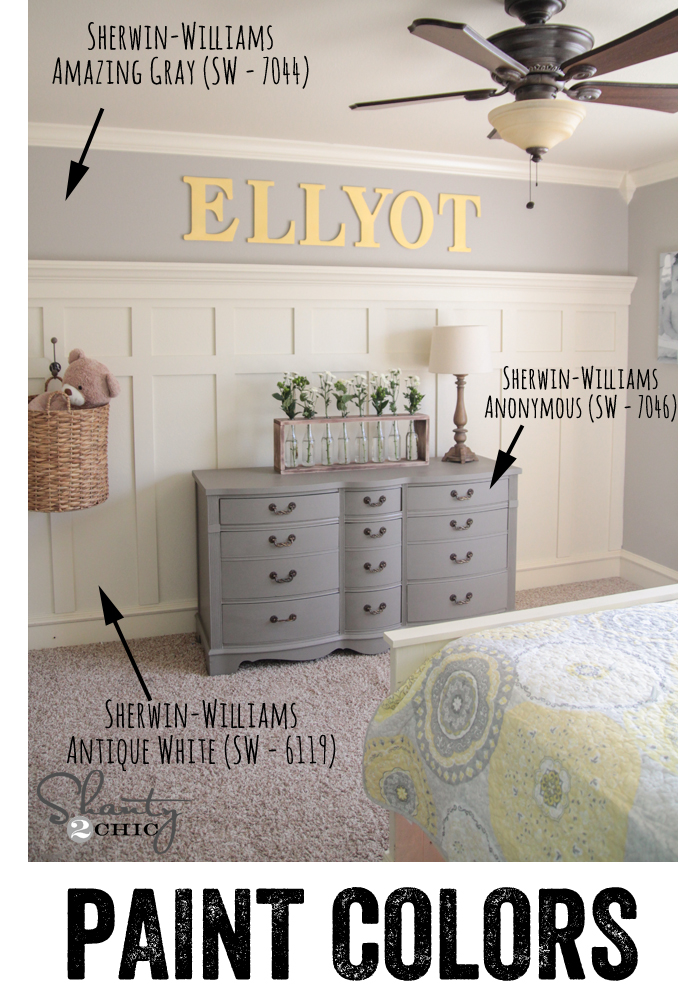
And… For those of you that may ask, I used Sherwin-Williams paint for the whole room. Here are the colors I went with!
Thanks so much guys!
~Whitney


This page used to have all the measurements of the board you used but it no longer does. The link to the tutorial leads you to a different project.
I did this project in a different house and want to redo it in my new house but I can’t remember the dimensions of the boards. Please help!