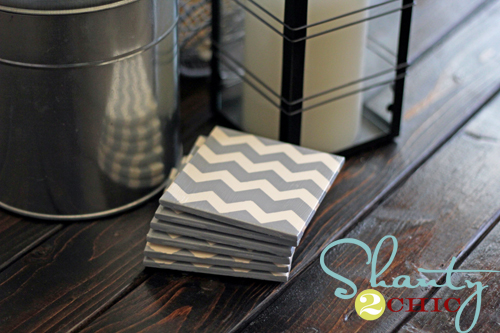
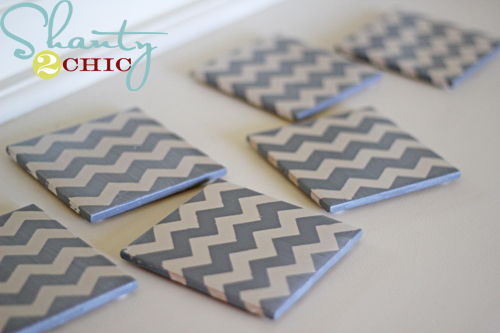
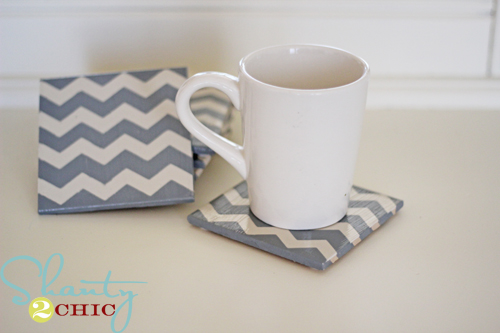
Hey guys! So this is a super quick and cheap project that I LOVED making! And, I’m thinking they are a great gift idea for under $5!
I love my Chevron Stocking Hangers so much and I wanted to continue the same pattern with another project. Being that I have been using the same boring, black, rubber coasters for years, it was time for a change. Off to Home Depot I went!

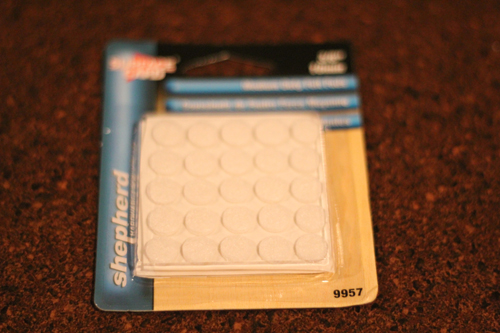


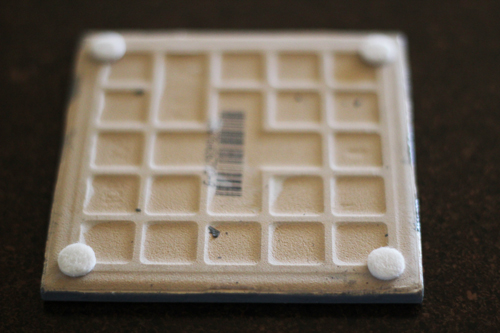
ummmm LOVE:)))
They give me the false sense that I’m all put together in the morning when I sit down to drink my coffee…..I’m quickly brought back to reality when we are making a mad, screaming dash out the door as we are running late for school:) It is nice while it lasts though!
Thanks so much for stopping by!!!
~Ashley






Probably a stupid question…I am a “newbie”, but what is a silhouette, and where can I buy/get one?
these r so cool iv never had the chance to make coasters but these r amazing so this is a must thanks this is now on my to do list
I am obsessed with DIY coasters! There are so many different things you can do. Here are the ones I made last week. I am giving away a set to a random commenter, so check them out and leave a comment =]
http://www.paintsandpans.com/2012/01/23/diy-coasters/
Love your blog.
-Natalie
I absolutely love this idea. I bet if you kept a close eye on craigslist you could get some real bargains on tiles if you were doing lots of these.
Those are SO cute. Thanks!
Who doesn’t love a chevron pattern? These are beautiful. I like the way you wrapped the design around the sides.
It’s time for me to refresh our coasters. Replace them would be a better word. We bought them on our honeymoon, 20 years ago! Thanks for the pretty tutorial.
My contact paper didn’t leave very crisp edges– i found that a wipe down through the parts that weren’t painted left me with the edges I wanted! Very cute idea. It inspired my friends and I to do a coaster exchange where everyone makes one set with one color but we trade so we have a set of all different colors. So fun!
These look great! Thanks for sharing.
Just another reason why I need a Silhouette! Very cute
I have fallen in love with these coasters!!! Chevron is one of my favorite prints right now and to see it on a coaster…Awesome way to add a special touch of pattern to any room! Thank you for sharing 🙂
Today, I am sharing this with my lovelies… http://polkadotbungalow.blogspot.com/2011/11/marvelous-mondayno-10.html..Thank you again!
Steph
Love it… That is such a great DIY idea… I might have to use it 😉 Thanks for the great tutorial… Time to get out my Cricut and make a design!!! Great gift idea and bonus… it is inexpensive too…
Blessings,
Diana
These coasters are really eye-catching! Love them!
Nice job, Ashley! It would be fun to make these in coordinating colors for family and friends if you know their color of choice! Thanks for sharing!
These are so gorgeous! Wow! And so frugal too…I had no idea the tiles were so inexpensive! I would love to have a set of those. Would you pretty pretty please share them here at my Shine On party?
http://oneartmama.blogspot.com/2011/11/shine-on-fridays-1.html