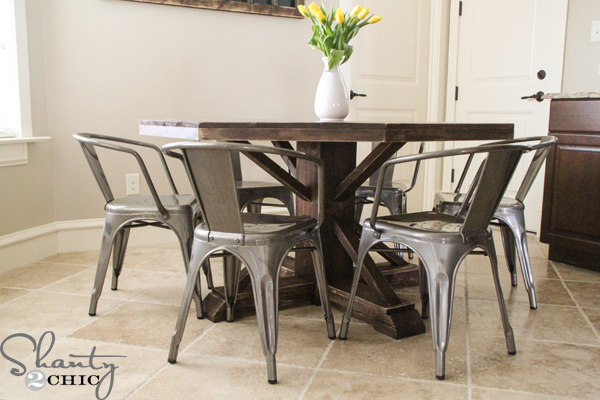
The design is inspired after my Dining Table that you can see HERE. I love it so much that I decided to build a desk very similar. I hit up our friend, Jamison a.k.a. Rogue Engineer to design the plans and he did an AMAZING JOB! We created this 5 ft. long desk for only $70 in lumber – BAM 🙂
You can click HERE to download and print the FREE Plans and follow along below to see how I built this bad boy 🙂
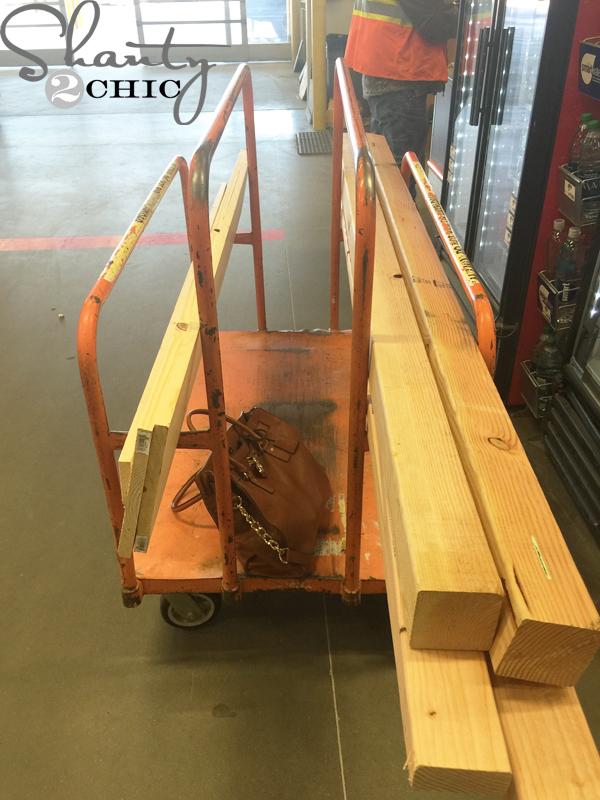
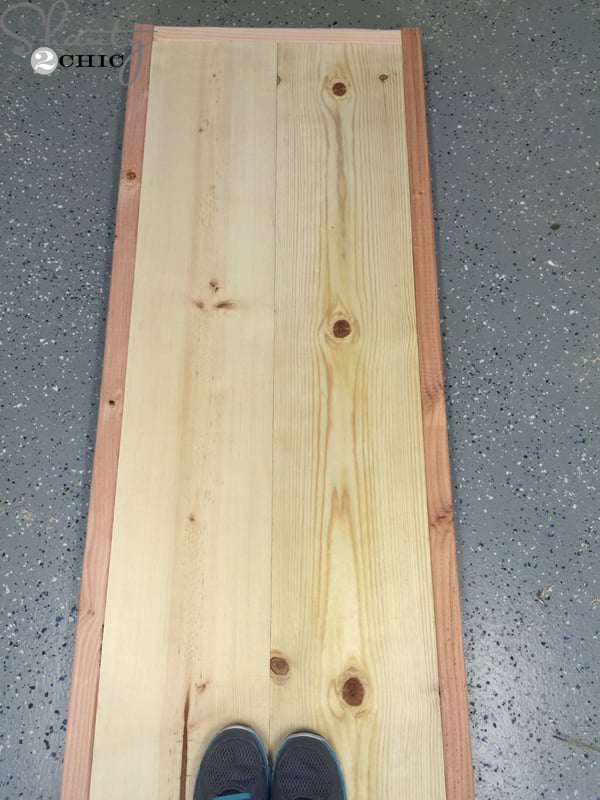
Here is the before 😉
(Image Here: Attach Top Planks)
I started by creating the planked top.
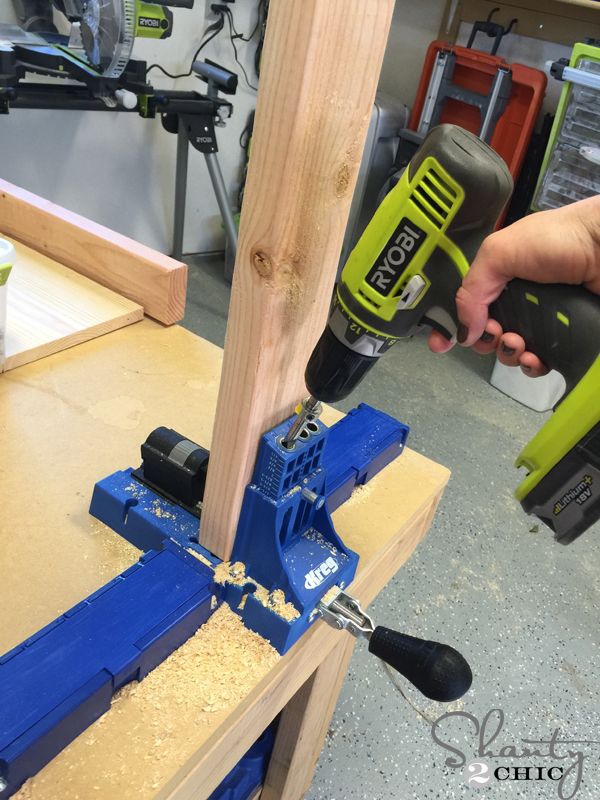
Then, I drilled pocket holes into the 2×4’s for the frame.
(Image Here: Attach Side Pieces)
And attached the end pieces to the side pieces.

Frame – DONE 🙂
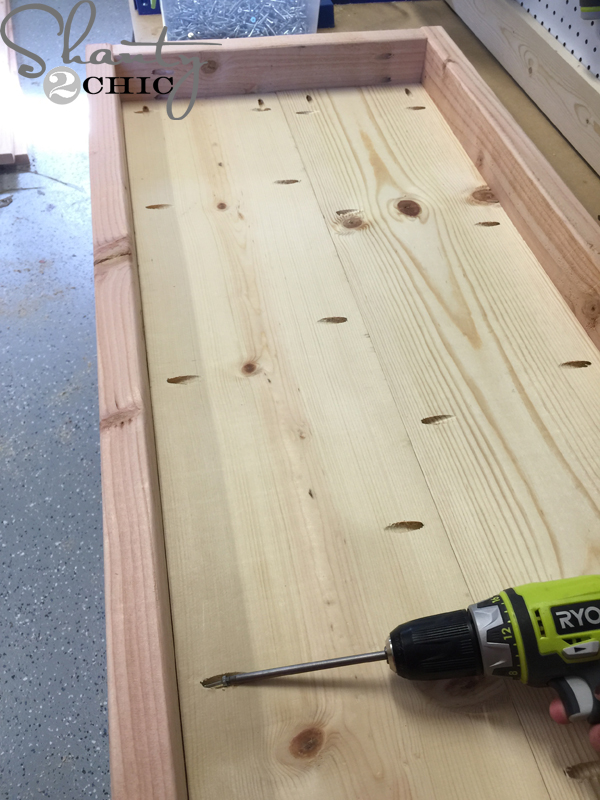
To attach the frame to the planked top, I used 1 1/4″ pocket hole screws. The planks will be flush with the top of the 2×4 frame.
(Image Here: Add Supports)
Finally, I added the supports under the top.
Desk top – DONE 🙂
Now for the legs!
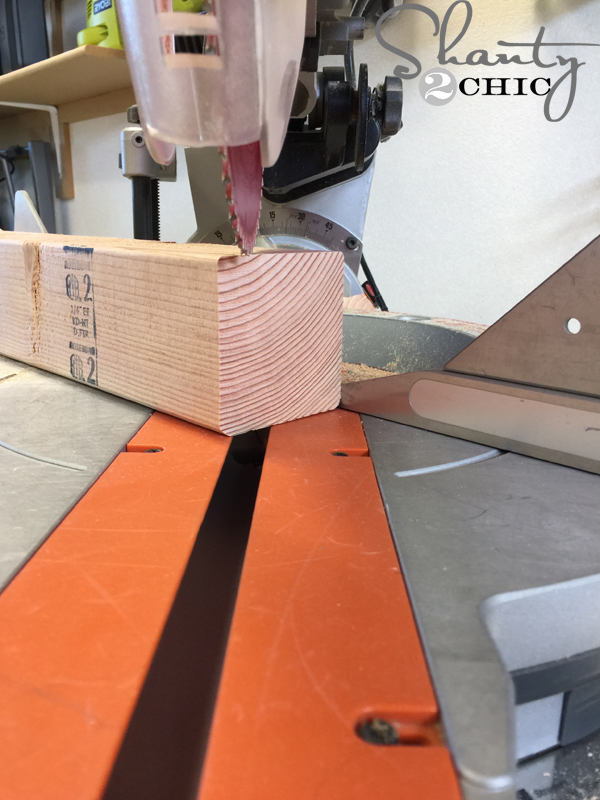
The legs are just straight cuts but the feet will have a 45 degree angle cut off the end. To do this, set your miter saw at 45 degrees, make a mark where the angle will start on the board (according to the plans)
(Image Here: Angle Cuts on Feet)
and make your cut!
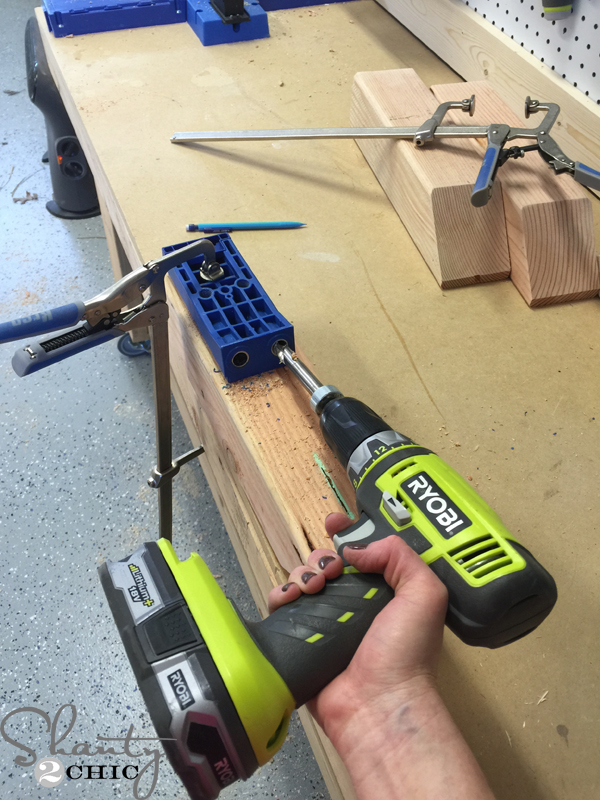
I used my Kreg HD to drill pocket holes into the feet. This is a jig for boards that are thicker than 2″. You click the box below to find one on Amazon.

Then, I attached the feet to the legs with wood glue and Kreg HD pocket hole screws.

Next, I attached the foot pads.
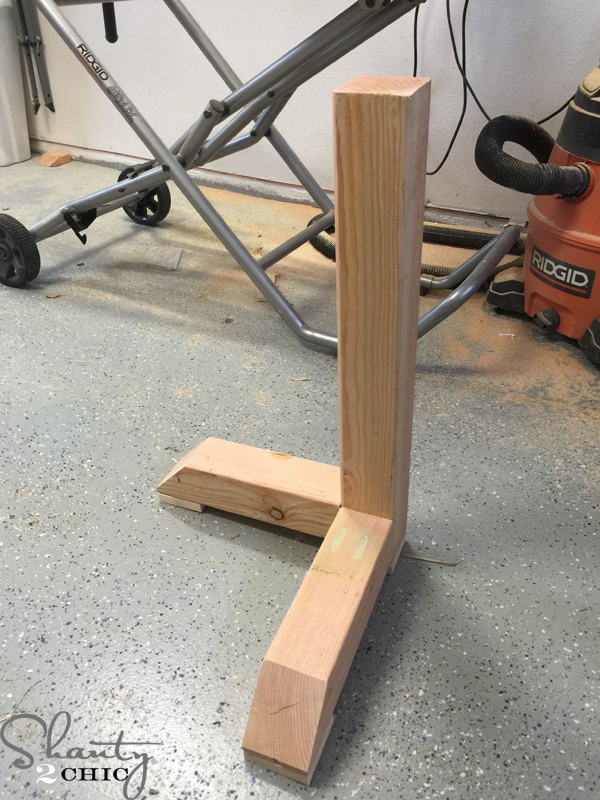
Nice legs 🙂 (yes, I put the pocket holes on the wrong side… I was bummed but I filled them with wood filler and there are angle pieces that cover them so you don’t see them at all).

Two legs and a top ready to go!
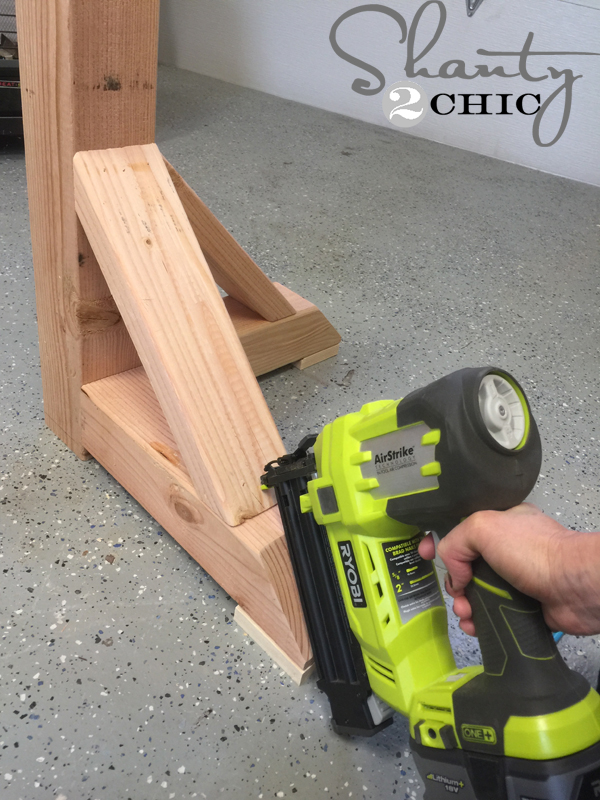
I used my Ryobi 18-volt nailer and wood glue to attach the angle pieces on the bottom of the legs. You can use screws here but the nailer is easier.
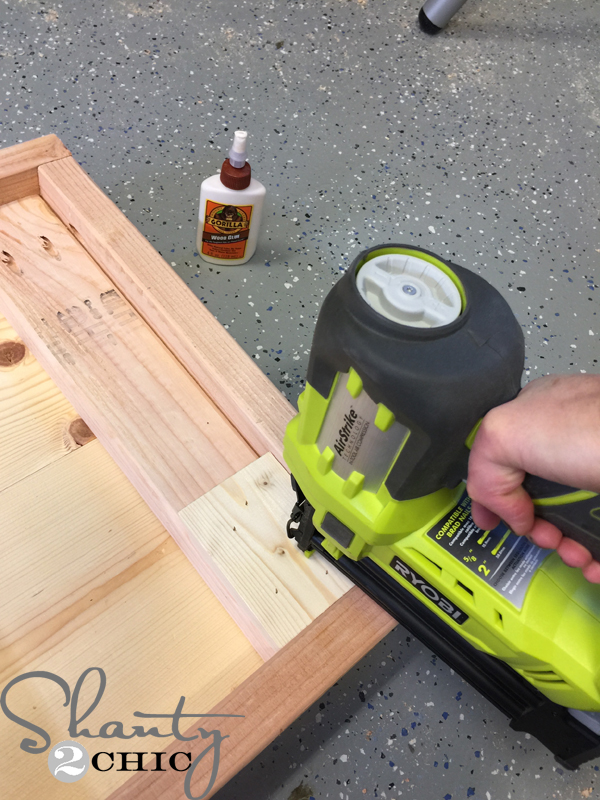
I flipped the top over and attached the stop blocks with my nailer and wood glue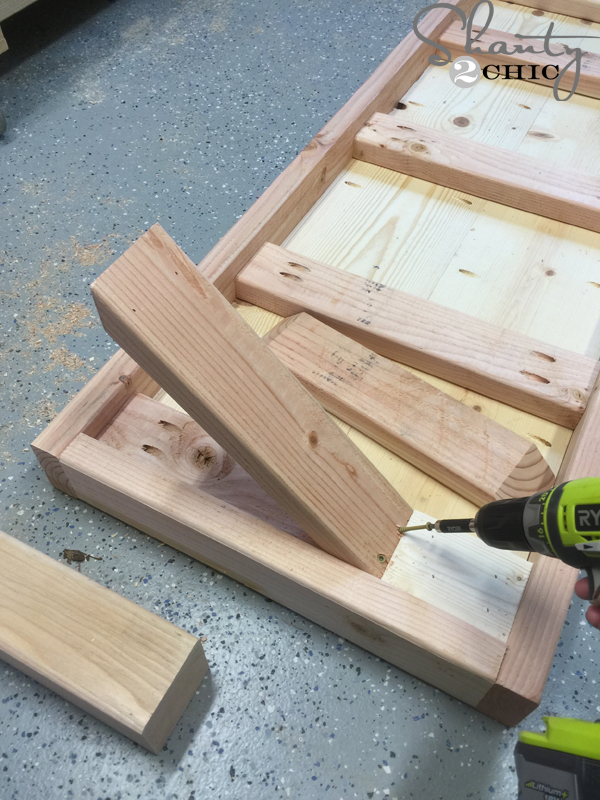
then attached the angle piece to the top.
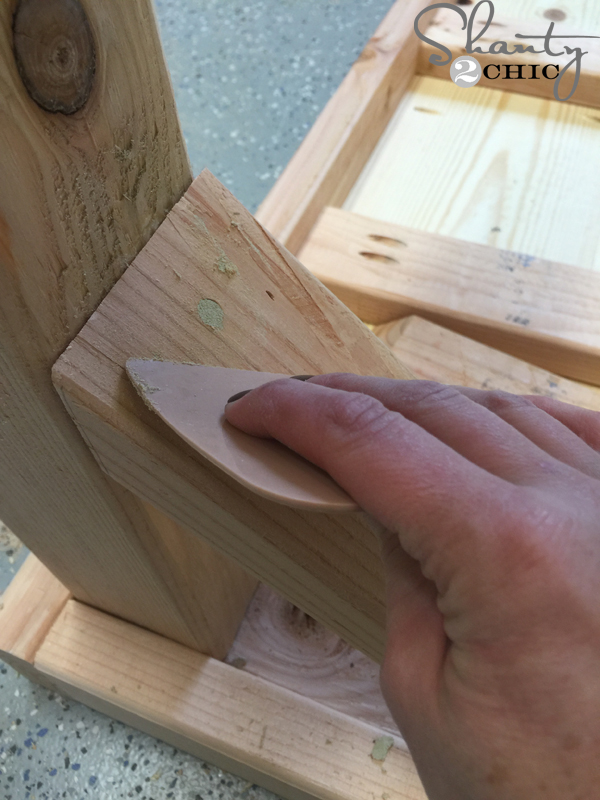
Make sure to fill your holes with wood filler.
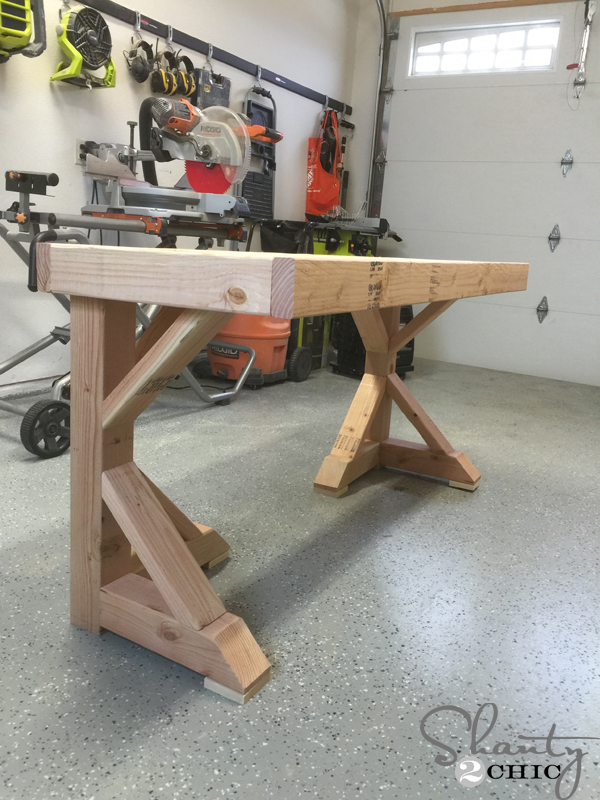
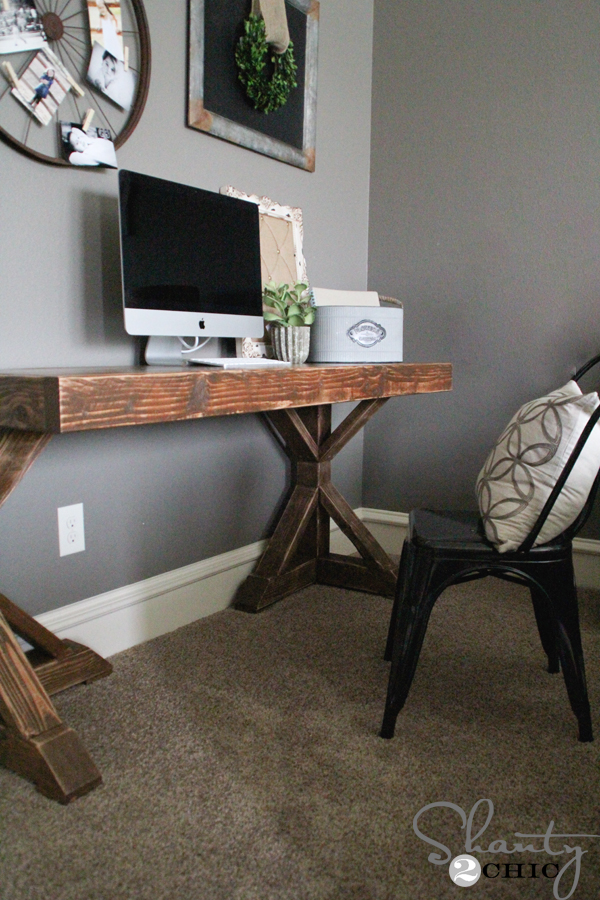
She’s done and ready for the finish!
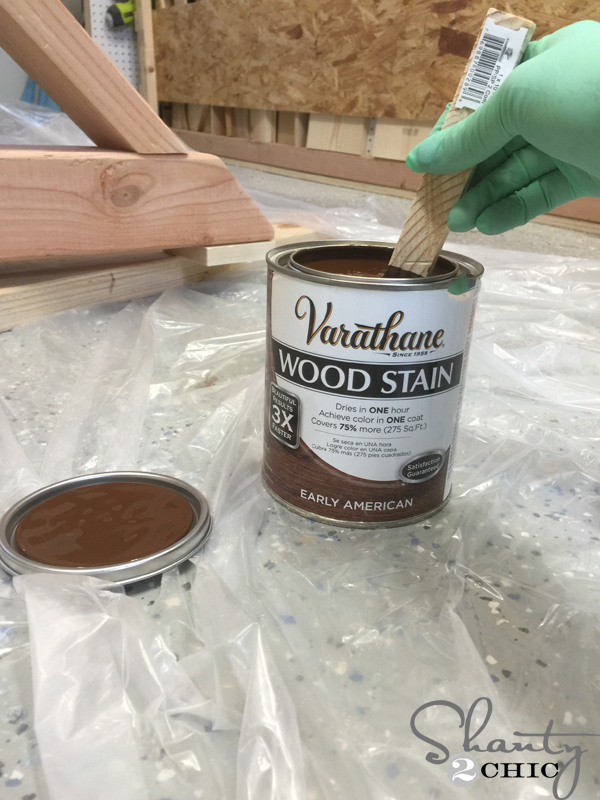
I chose Early American by Varathane. I built the desk for my master bedroom and wanted it to match the bed that I built. You can see the bed HERE.
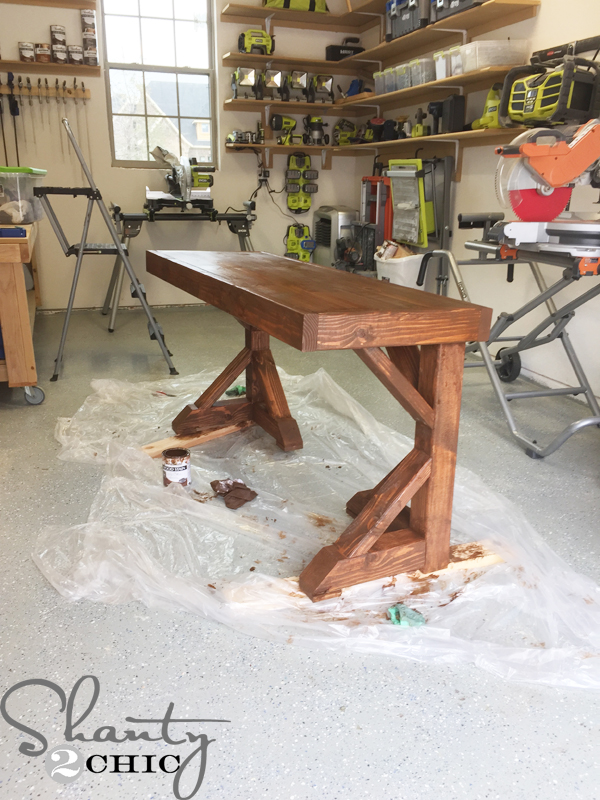
I waited an hour for it to dry and then used my Ryobi Corner Cat Sander, with an 80-grit sanding pad to distress the entire piece.
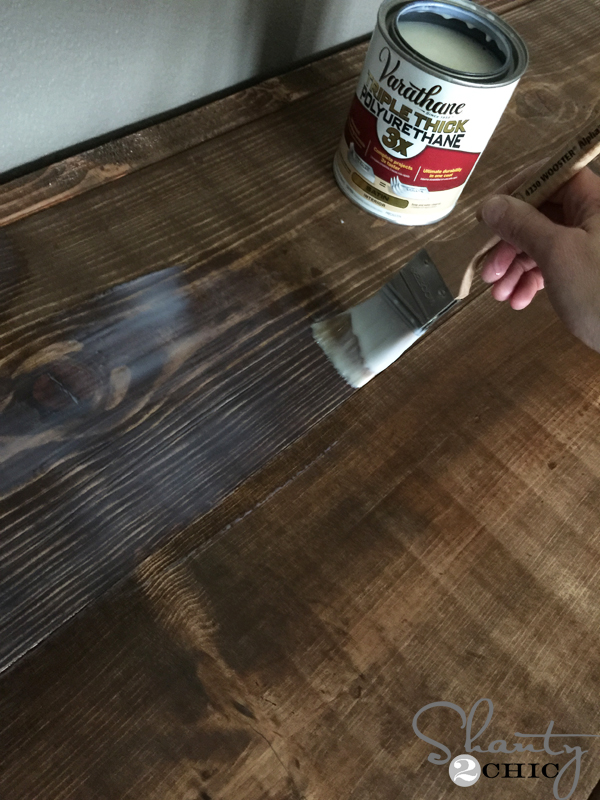
Finally, I applied one coat of Triple Thick by Varathane to the top of the table. This stuff is the BOMB! Just be very generous with it and it will level itself out. The top of my table is so smooth! It will look a bit like glue until it dries.
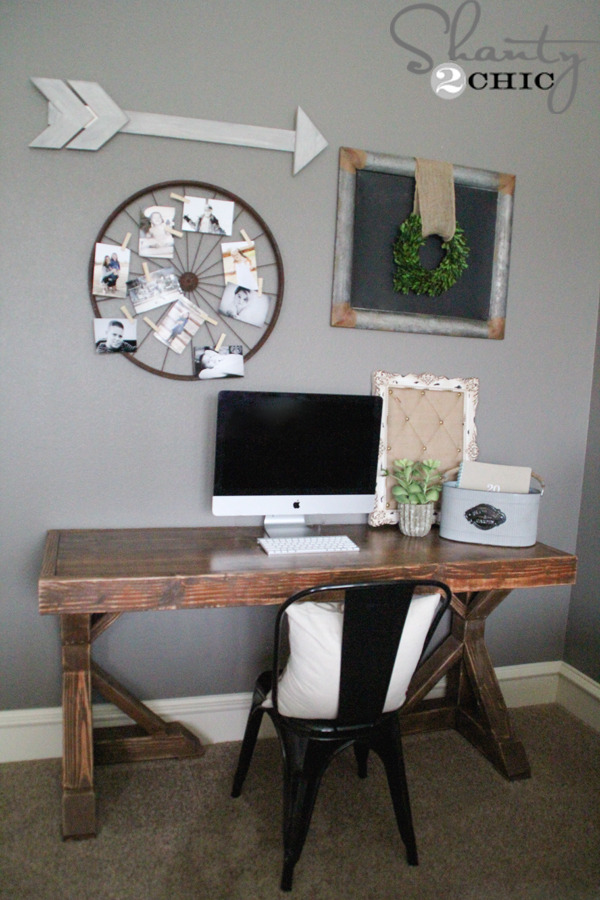
And that was IT! I LOVE it 🙂

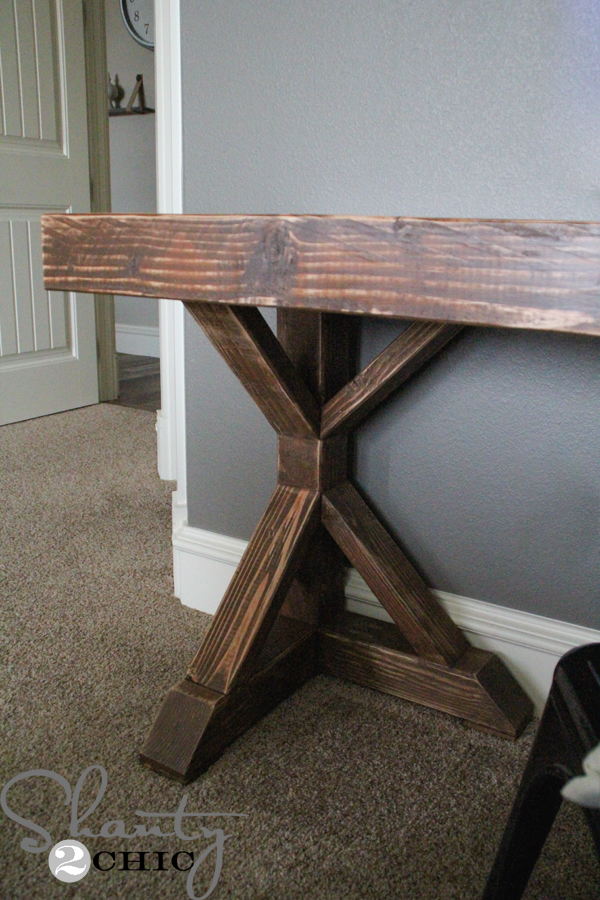
The legs are my fave 🙂
A HUGE thanks to Rogue Engineer for the FREE Plans! Go get them HERE and tell him the Shanty Sisters said hi!
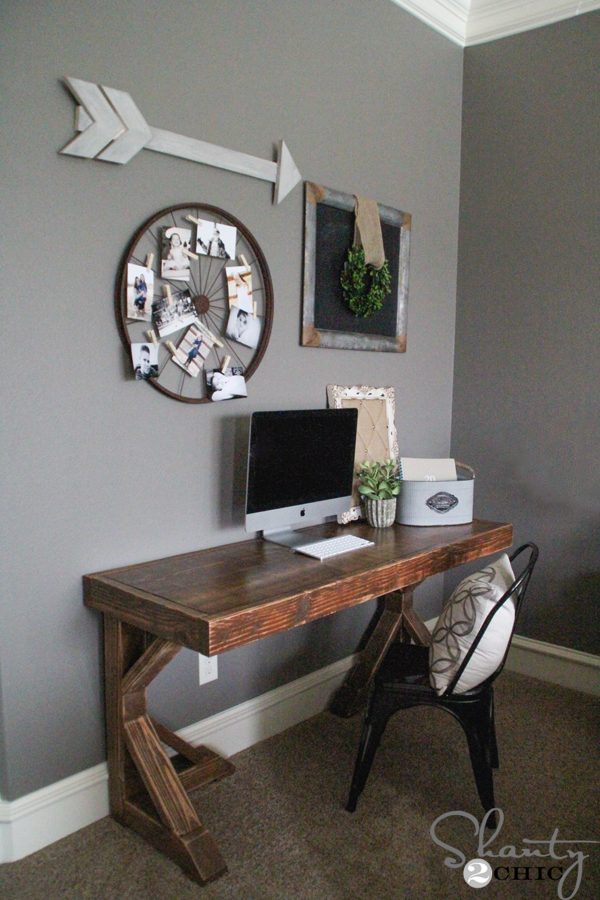
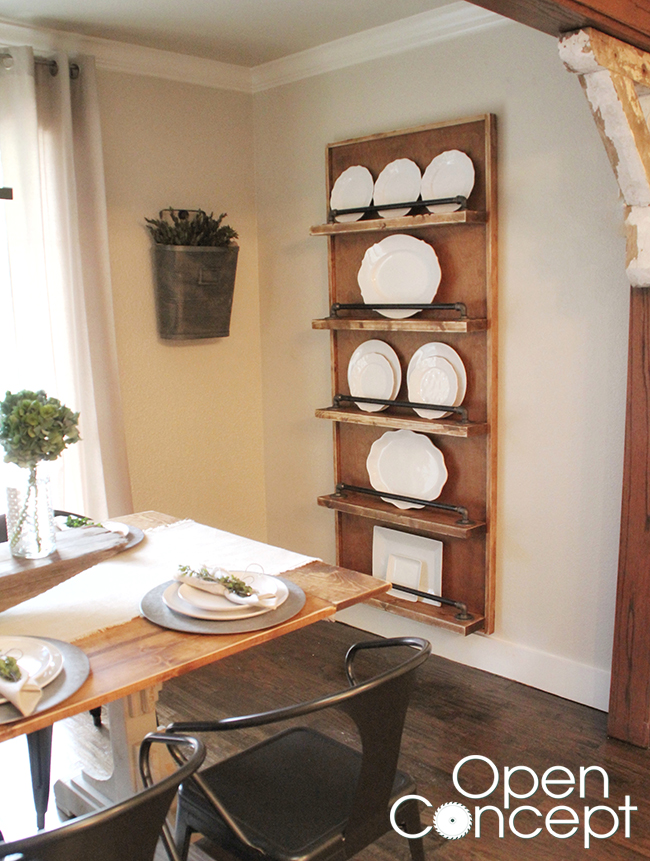
Like something you see in my pics? Here are the sources!
Wagon Wheel Photo Collage: Save On Crafts
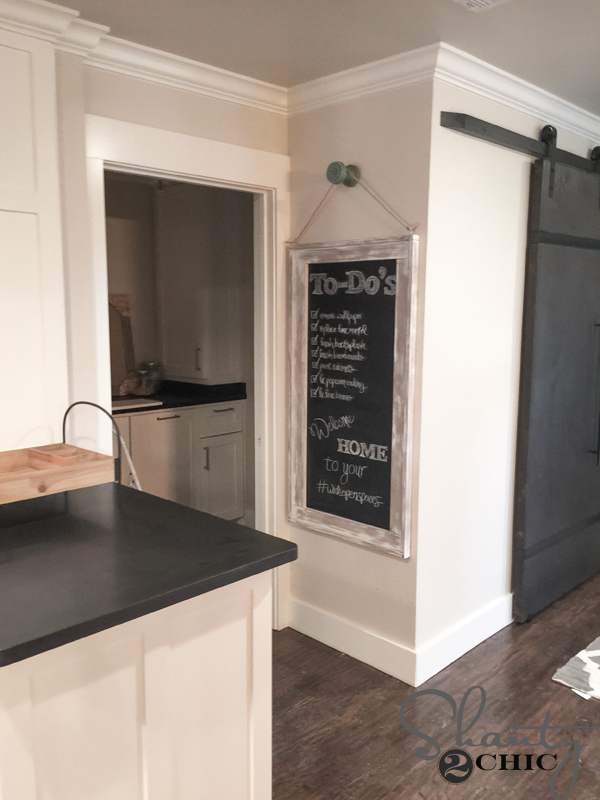
Chalkboard frame: Hobby Lobby
Boxwood Wreath: Target
Metal Bucket: HomeGoods
Succulent: HomeGoods
Thanks so much for stopping by!
~Ashley


How did you make the cuts w/ in the 4×4 that have the 1/2 in end? Also, I have a kreg 5 how can I make the pocket holes in the 4×4 w/ that? Thanks!
Where’s the plans? Lumber list?