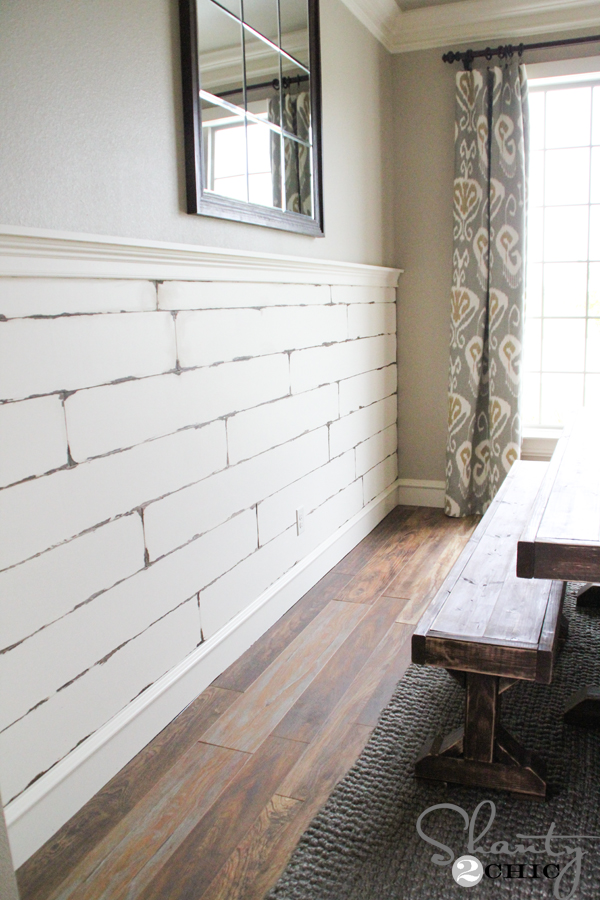
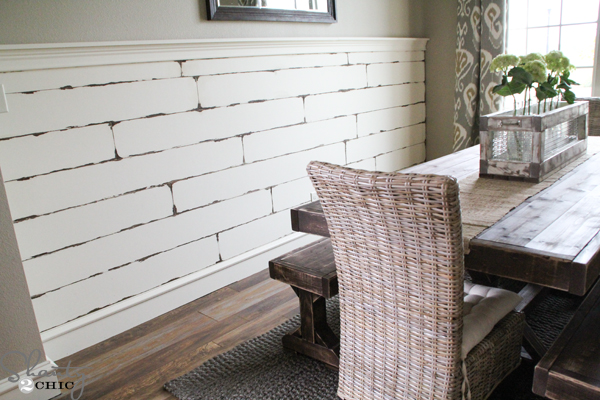
Hey guys! I took a little break from my furniture building to add an easy and inexpensive, planked wall treatment to my dining room!

I love the character it adds to this room and it was super easy 🙂 This wall is about 12 1/2′ long and I took the paneling up about 4 1/2′ making the total cost of this wall treatment around $100! Here’s how I did it!
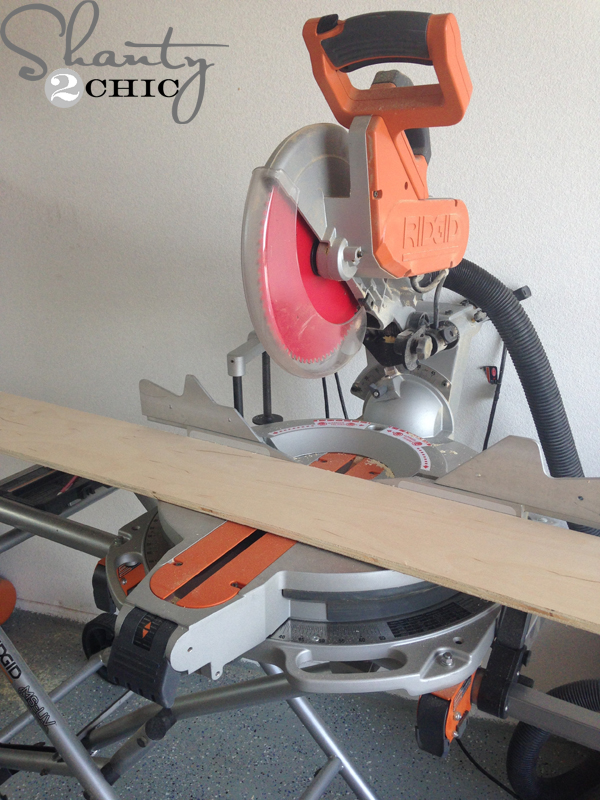 I had Home Depot rip 2 sheets of 1/2″ Purebond Birch Plywood into 7 1/2″ boards (essentially creating 6 – 1×8 boards). I chose 1/2″ plywood because the width worked the best against my existing baseboards but you could do 1/4″ or 3/4″ as well. Having these boards ripped, as opposed to purchasing 1×8 pine, saves money and the boards will be straight – win, win! I brought the boards home and got to work! I cut my very first piece at 4′, then the next at 6′. There really is no rhyme or reason to the pattern but you don’t want your joints to stagger as you work your way up the wall.
 I didn’t use glue for this project – you can use a panel adhesive, but I am fickle and may not want this wall up forever. Nailing these planks to the studs is the best solution for a temporary wall treatment and would also be great if you are renting! So, I used my stud finder to mark the studs along the wall.
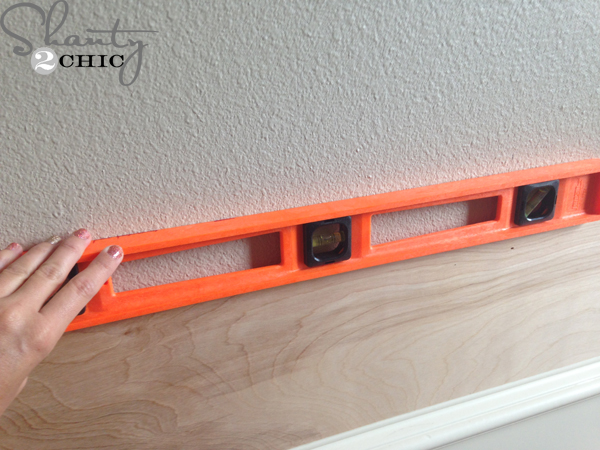 I used my level just to make sure the planks stayed level
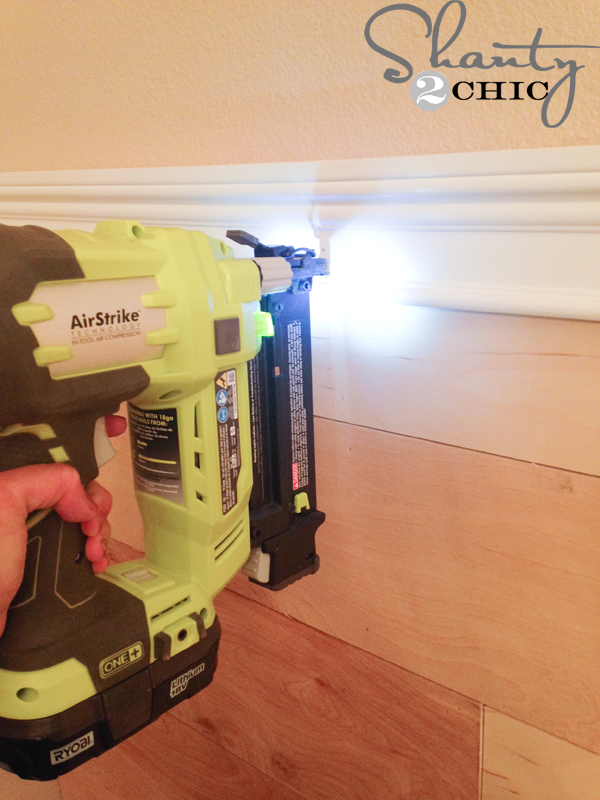
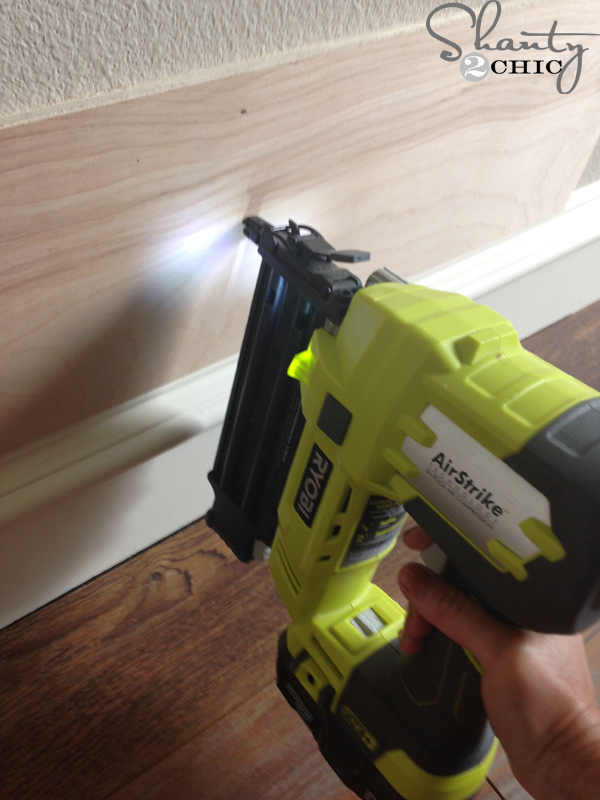 and nailed several 2″ nails, through each plank, into every stud.
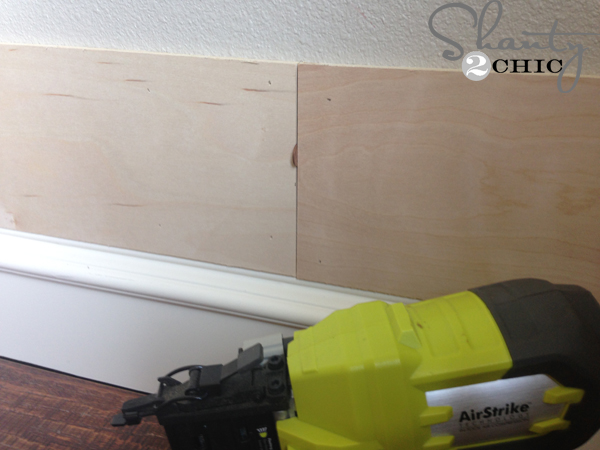 And, like Whitney did on her Pallet Wall, I used pennies as spacers between the planks.
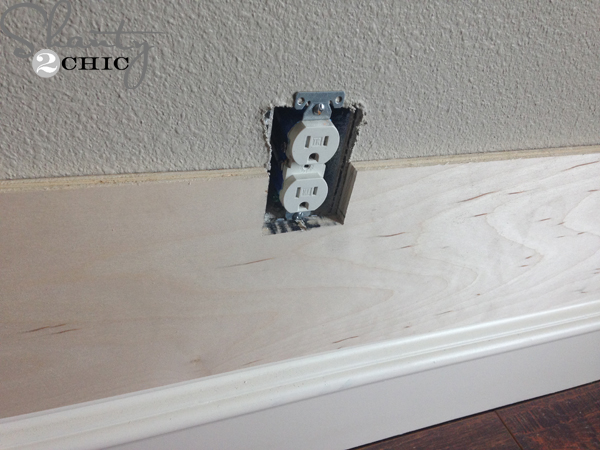
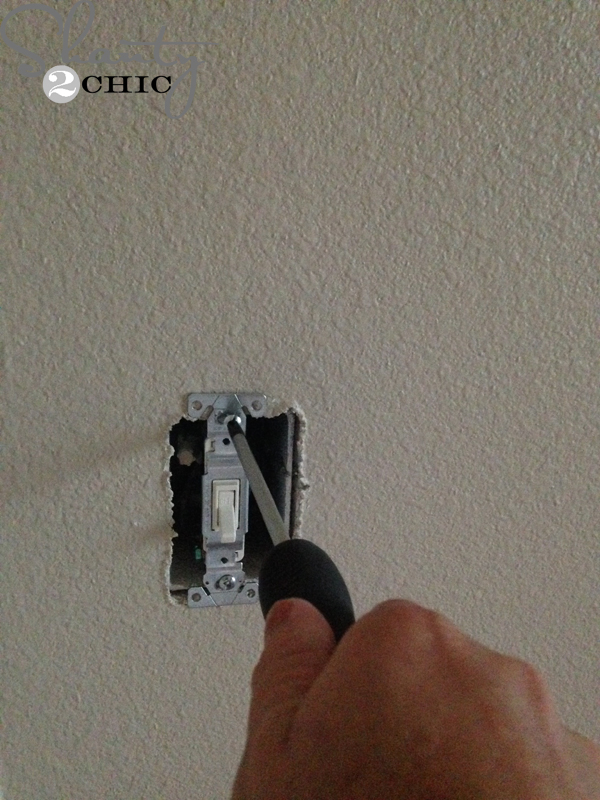 I did have one electrical socket and light switch to maneuver around but this was a piece-of-cake! ****Before handling any socket, turn the electricity to the area off!!**** After turning the power off to this room, unscrewed the machine screws holding the sockets. I didn’t remove them completely, I just loosened them so that a 1/2″ plank would fit underneath.
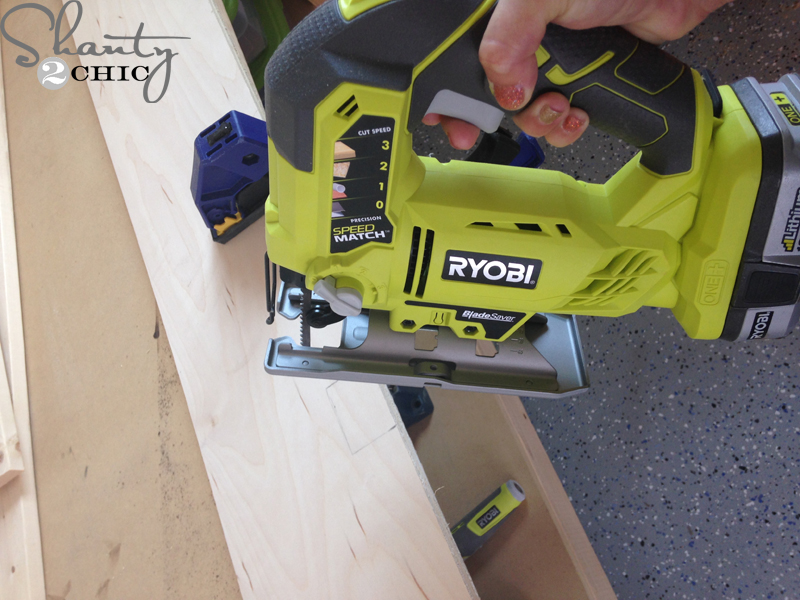 I marked the spot on the plank that hit the socket and used my Jigsaw to cut out a spot for the socket.
 Easy!
Easy!
 The machine screws that you have in your existing socket will probably not be long enough. I purchased 1 1/2″ machine screws at Home Depot for about $2 and replaced the existing screws.
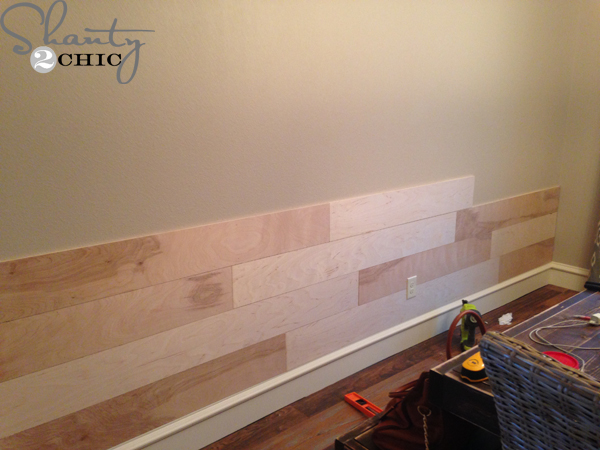 Progress
 I stopped the pallets after 7 rows and then added trim.
 I attached a 3.5″ piece of casing directly on top of the top planks with wood glue and 2-inch nails, into the studs.
Finally, I glued and nailed 1×3 to the top to form a small ledge. Time to finish!
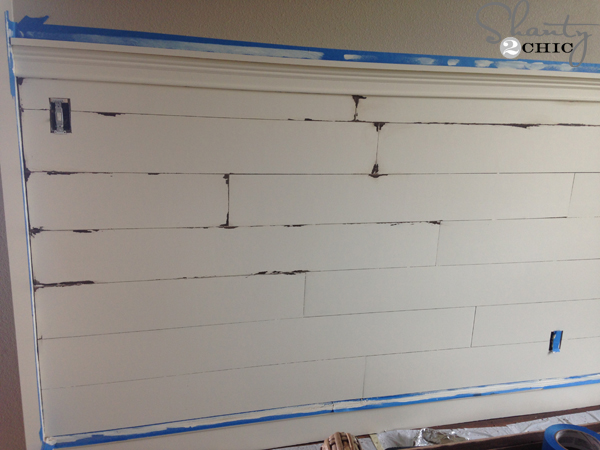
 To prep for the finish, I taped off around the edges with my ScotchBlue™ Painter’s Tape
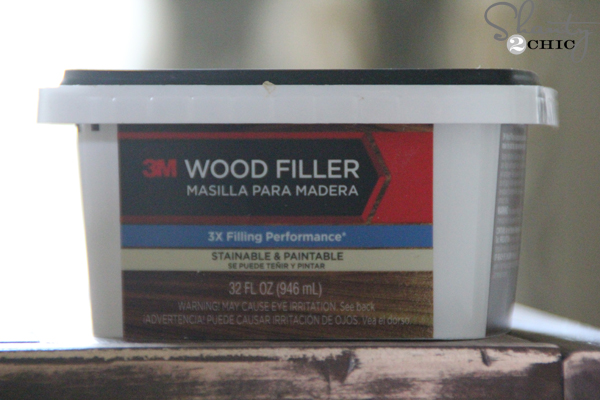
 and filled all of my nail holes with 3M™ Wood Filler !
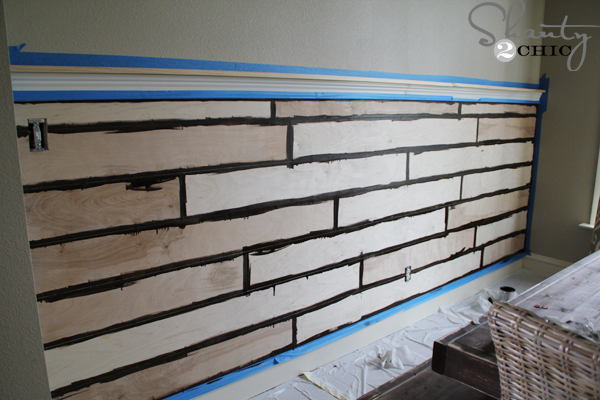 To get the dark to show under the distressed paint, my first step was to apply 1-coat of stain around the edges of each plank.
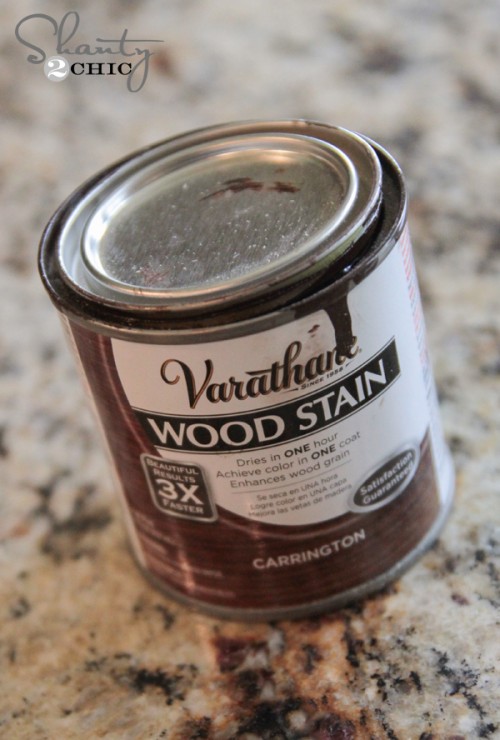
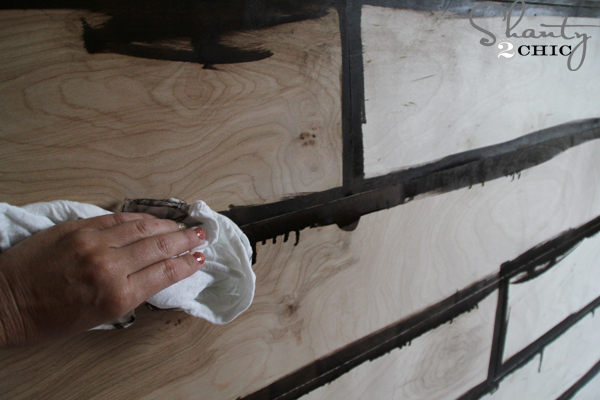 After letting the stain sit for about 5 minutes, I wiped it down with a clean cloth.
 Once the stain was dry, I applied a very thin layer of Vaseline to the edges that I wanted the stain to peek through.
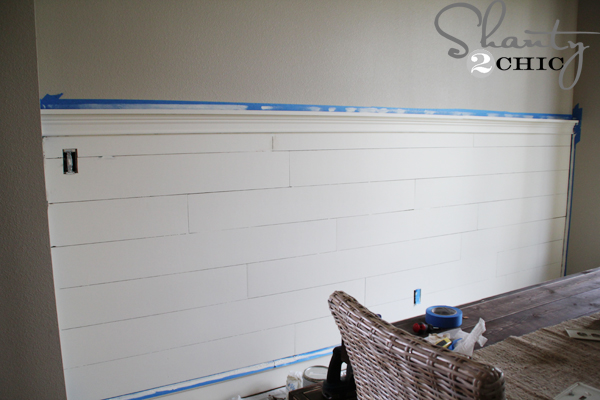 Then, I rolled 2-coats of paint. I had Home Depot mix a latex paint to match my trim so that the base boards looked like part of this treatment.
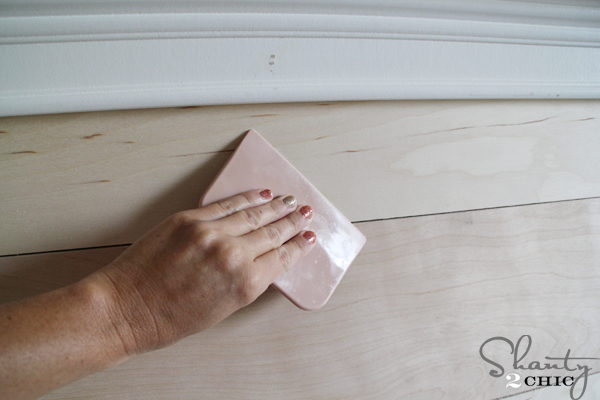
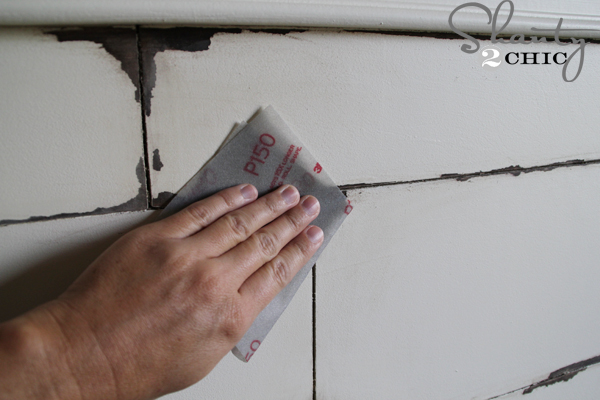 Once the paint dried, I used my 3M Ultra Flexible sanding sheets. This is a new product from the 3M™ Advanced Abrasives line and it is AMAZING!
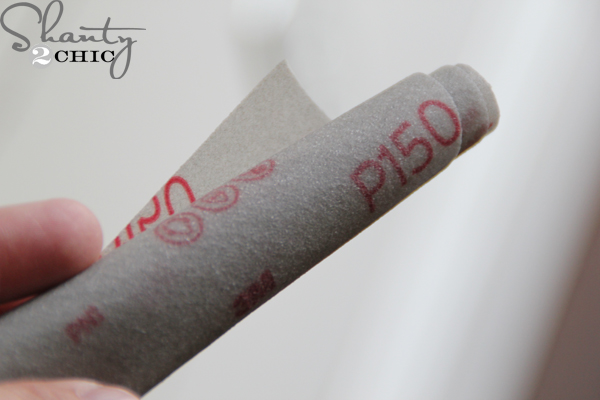 You can roll it
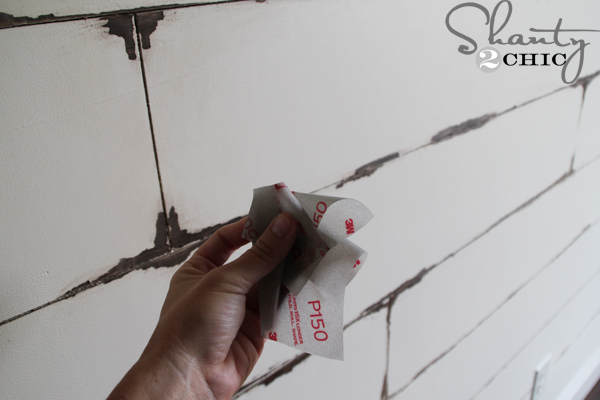 fold it and shape it! It works wet or dry, it is clog resistant and it resists punctures, tears and creases! It’s pretty much the mac daddy of sanding sheets! I just ran a 150-grit all over the edges of the planks and the paint fell off where the Vaseline was applied.
 Starting to take shape 🙂
Once I had the distressed-look I was going for, I removed all of the tape and replaced the plates over the light switch and electrical socket.
 And that was IT!
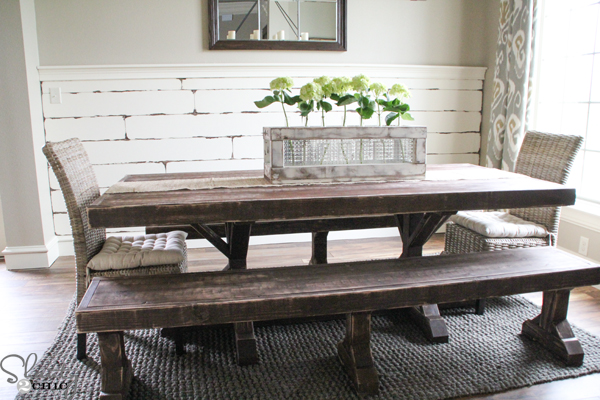 I’m so happy with my new plank wall! This is a project that can definitely be finished in a day and at $100, it is so much bang for your buck!!! If you like my $110 Dining Table, you can download our FREE plans to build your own HERE! You can read about my curtains HERE, the centerpiece HERE, the flooring in this room HERE, the chandelier HERE and the paint color on my walls HERE!

Be sure to check out the 3M DIY Website to learn more about their products! They have rolled out a new look to the website and they are featuring new project ideas to inspire your DIY itch even more!
You can also check them out on their social channels!
I am proud to be a 3M- sponsored blogger, and, as part of my responsibilities, I get the opportunity to evaluate products from 3M DIY. Opinions are my own and additional product used in the project were selected by me.


If I were to plank an entire wall, would I need to remove the existing paneling first? It is a beadboard look type of paneling.
I enjoy you because of each of your efforts on this web page.
Kate enjoys engaging in internet research and it is simple to grasp why.
I learn all about the powerful mode you deliver great thoughts on the web site
and in addition foster response from other ones on the idea then our simple princess is without a doubt
studying a great deal. Take advantage of the rest of the year.
You are performing a dazzling job.
I absolutely love this! I can think of many places I’ll be using this as we are remodeling our 1970’s decor home. I love the “bar front” idea and would also love to see pictures of RhoniT’s finished bar!!!!
My specific question for you: I’d love to dig thru the 3M DIY website, but the link is bad “Page Not Found”. I’ve tried finding it, but am not having any luck. Can you provide a new link? Fingers crossed…. :). Thank you!! (I’m addicted to your website!!!)
Anyway to print this off? I am not seeing a link for it
Could you share where you purchased your wood flooring and it’s name/style and color pattern? Thank so very much. I’m going to attempt this in my laundry room ?
Love this project and my wife and I are going to attempt it in a couple of weeks but question though, can I use a brad nailer? I am going to use 1/4″ wood for the planks.