Now, we are no stranger to floating shelves around here. I shared my bathroom floating shelves at the beginning of this year, and Ashley recently shared her living room floating shelves as well. Be sure to click on those to find the tutorials!
I have a space in my own living room that has been begging for some, so I came up with these!
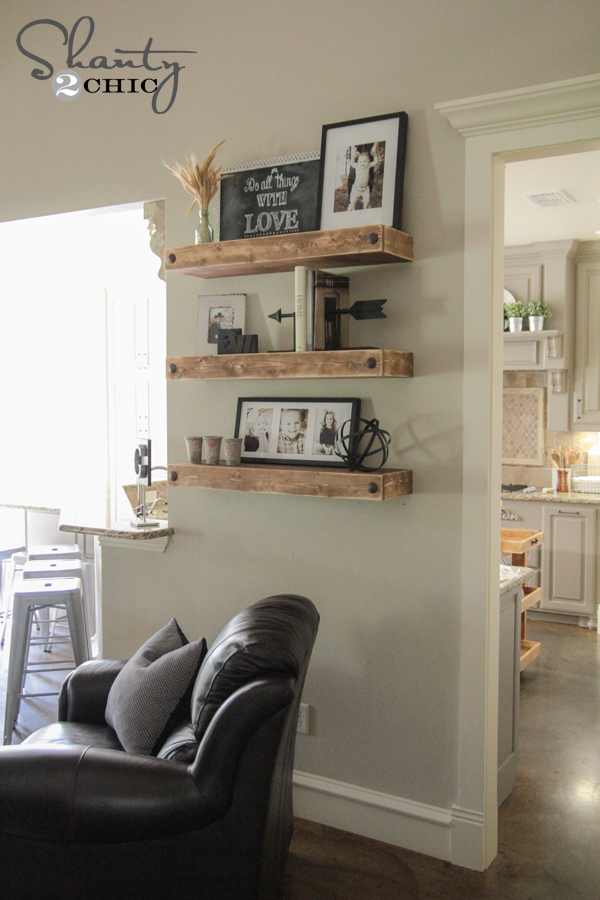

I LOVE them!! I love the height they add to the room! I did design these a bit different than my last floating shelves to simplify the build for you guys (and for me 😉 )!
I will walk you through the entire build below, and you can also download the FREE set of printable plans by clicking HERE or the button below!

Check out our How to Build a Floating Shelf Video HERE!
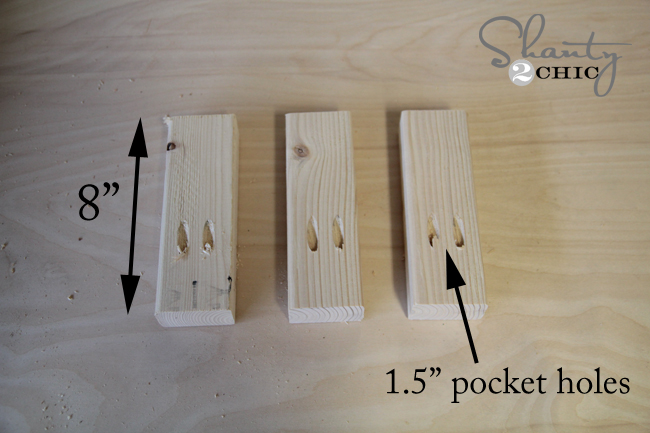
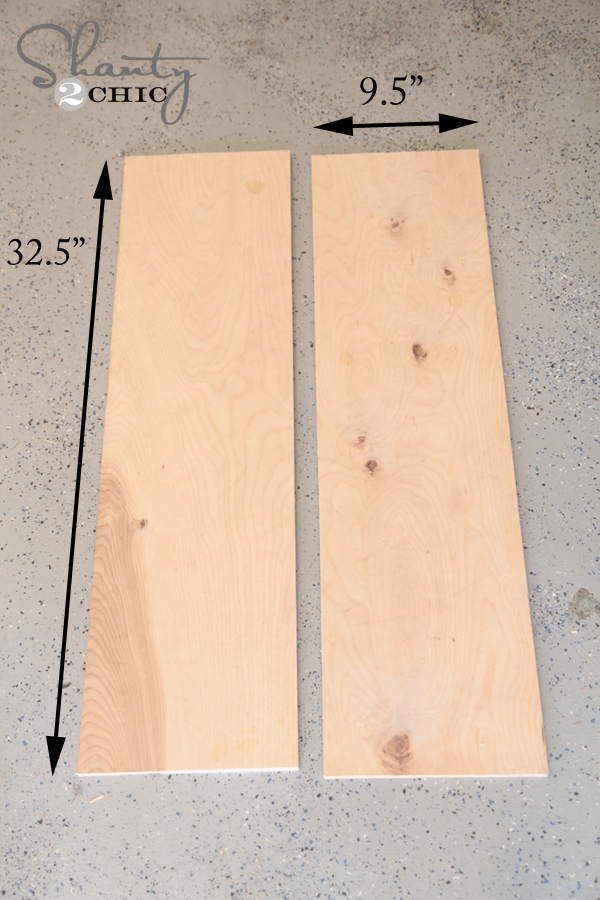
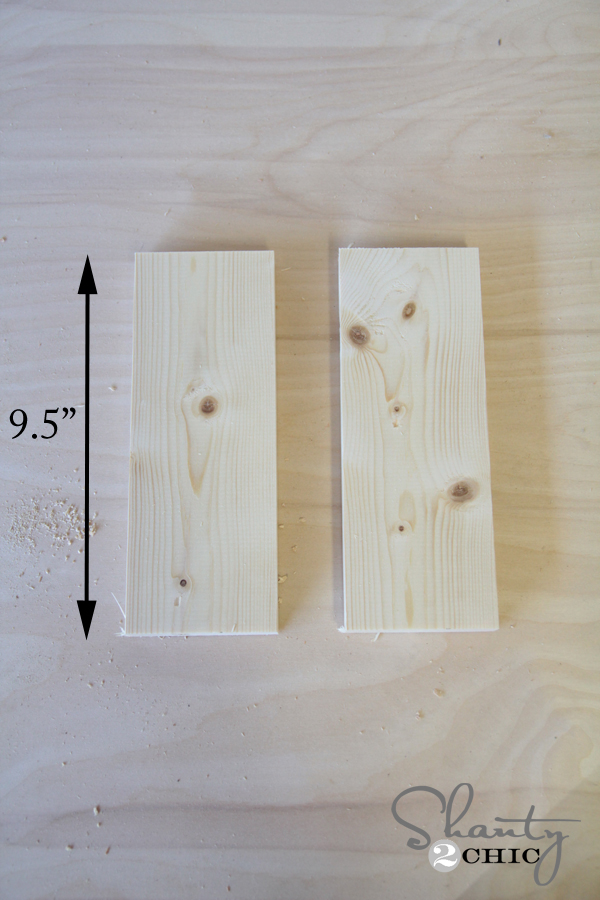
I started by cutting down my 2×3 boards. These are the bones of the shelves and it is what you will actually attach to the wall. I cut three pieces of 2×3 at 32.5″. I also cut 9 pieces of 2×3 at 8″ each. You can see my 8″ pieces below. Each shelf will use 3 of these smaller pieces.

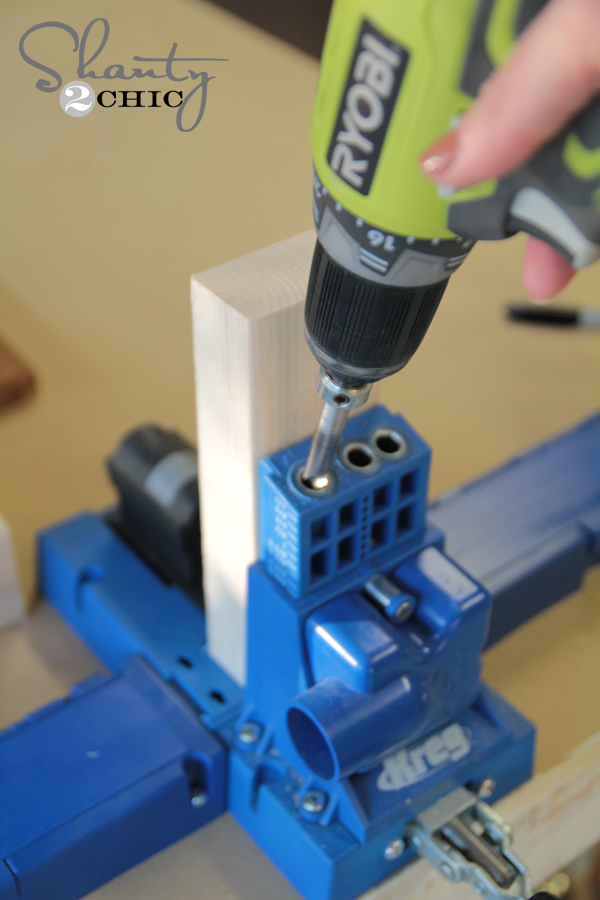
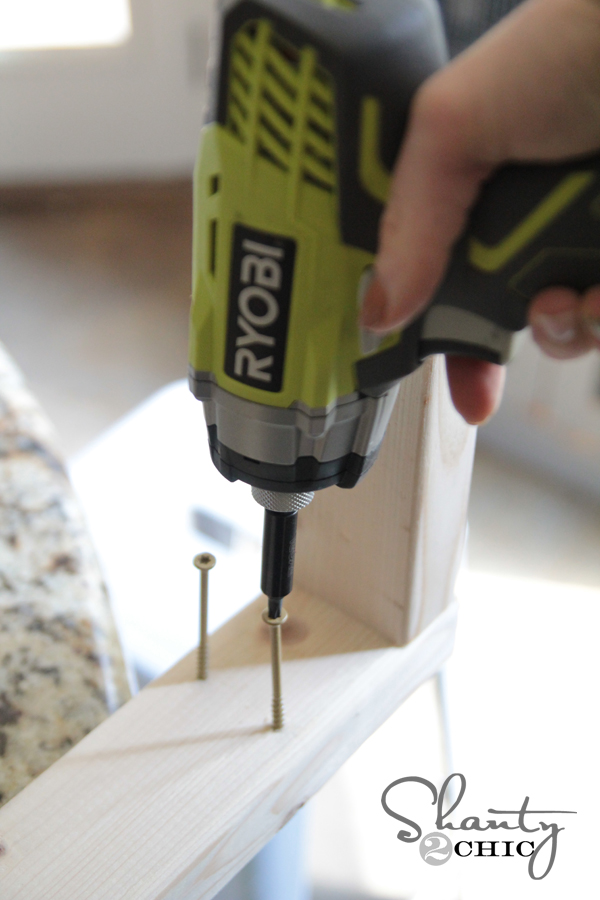
I used my Kreg Jig and my Ryobi drill to put 1.5″ pocket holes into one end of each of the smaller boards.
This is what each of the pieces looked like before attaching them to the longer boards.
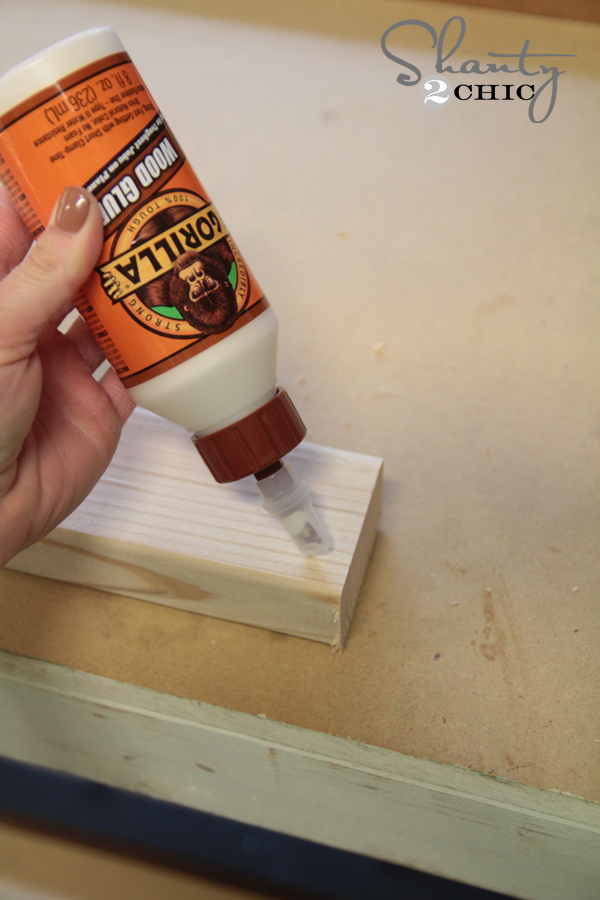
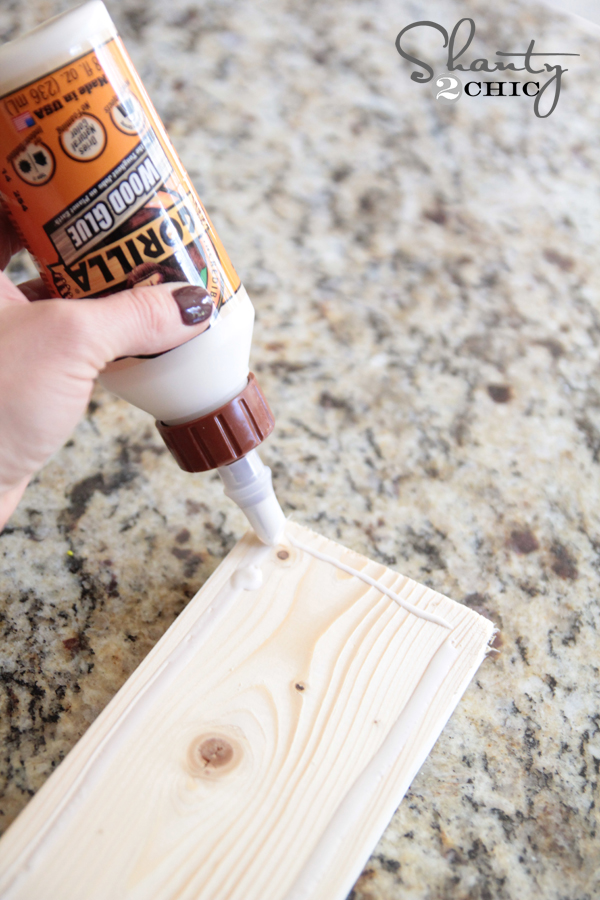
Next, I added a small amount of Gorilla Wood Glue onto my 32.5″ boards where the smaller pieces will attach.
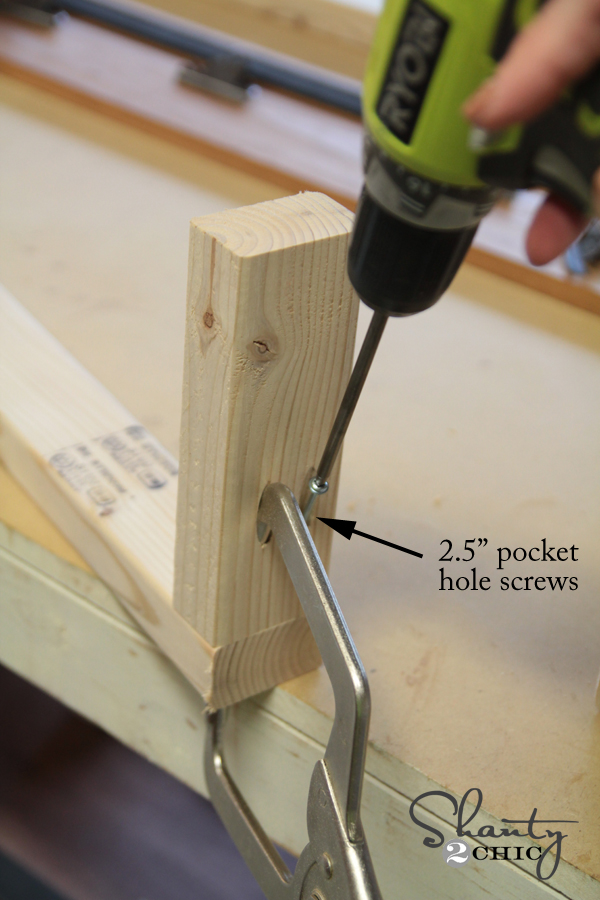
I used my always awesome Kreg Right Angle clamp to hold mine the smaller pieces in place while driving the first 2.5″ pocket hole screw. You can see how this clamp easily fits into a pocket hole to hold everything all together. It’s AMAZING.
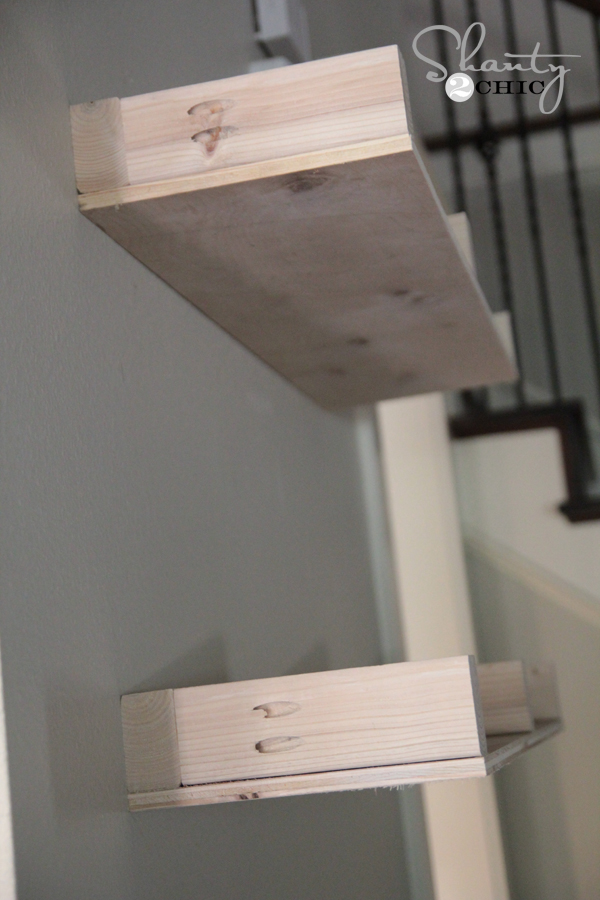
Once you have you ‘giant E’s’ built (that’s what my 4 year old called them 🙂 ) you are ready to attach them to the wall. I started by lining mine up where I wanted them and using a stud finder to find the studs in the wall. I marked on my boards where all of the studs lined up. Don’t have a stud finder?? You guys need to check out Ryobi’s new Phone Works Stud Sensor! This thing, and the whole line of Phone Work’s products are so cool and affordable! It actually hooks up to your smart phone… So awesome. You can see it HERE at Home Depot.
![Studs in wall]](https://www.shanty-2-chic.com/wp-content/uploads/2014/10/Studs-in-wall.jpg)
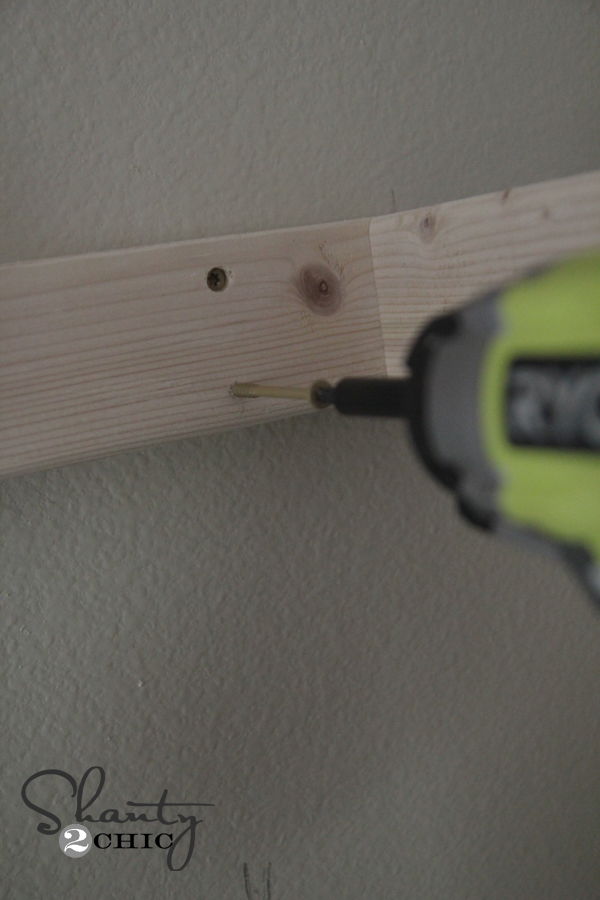
I used my Ryobi Drill and a small drill bit to pre drill holes into the board where I had made my marks. Pre-drilling will help keep the wood from splitting.

I chose to use my Impact Driver to attach mine to the wall. Why? Because I can hold the thing in one hand and push the button and it drives the screw with literally almost no work on my end. A drill will work too, but whenever I am driving screws into studs like this, I always use the impact driver. Before holding it up to the wall, I barely attached each screw into the holes to make it easier when I was holding it up.
I used 3″ torx screws to attach mine. Wood screws will work fine too. Make sure to also use a level on these boards so you know they sit straight on the wall.
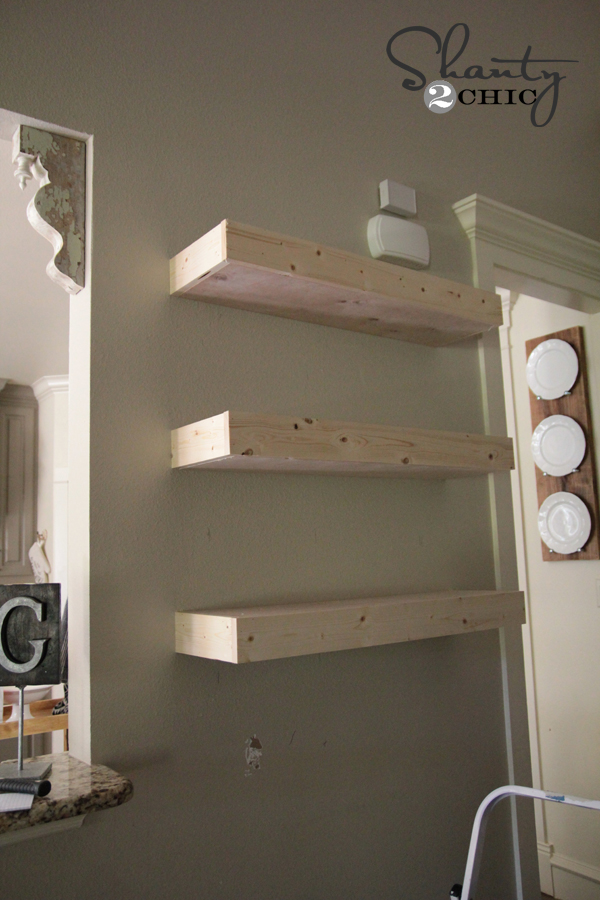
And there you have it… 3 Giant E’s on the wall 😉
Now to cover them up!
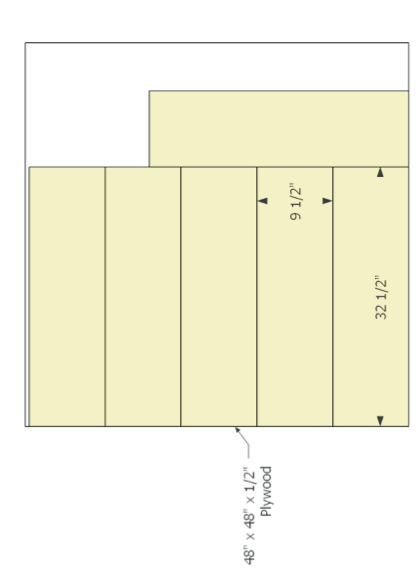
I chose to use PureBond Hardwood Plywood from Home Depot to create the tops and bottoms of these. I LOVE the way this product looks stained, which is why I chose it! I ripped my boards down to size with my Kreg Rip-Cut, but you can also have the guys at Home Depot cut these for you. It will make it easier to get it into the car and saves you a step! This is the board you will have cut and the cuts that you will need for this part…
This is what my pieces looked like after I ripped them down.
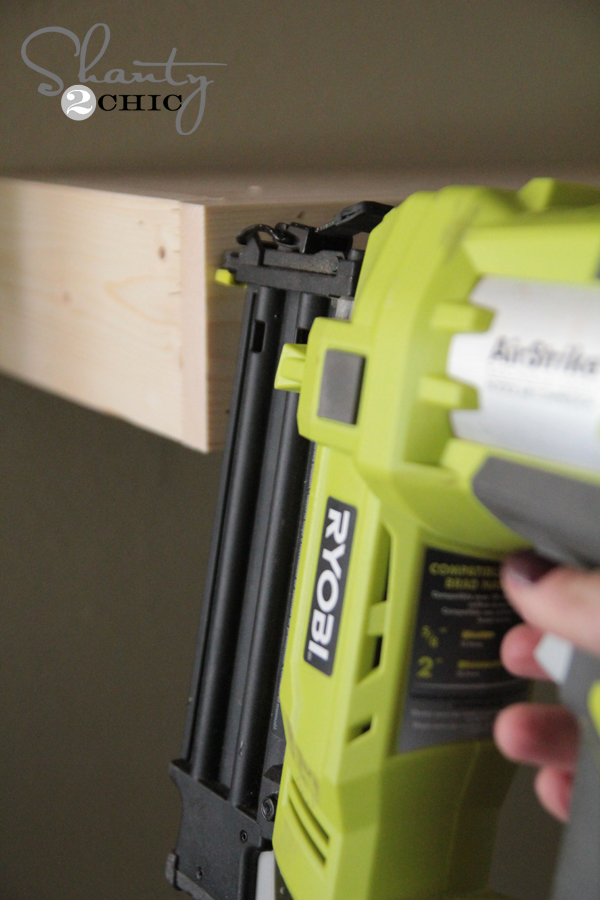
I used my Ryobi AirStrike brad nailer with 1.25″ brad nails to attach the bottom pieces first.
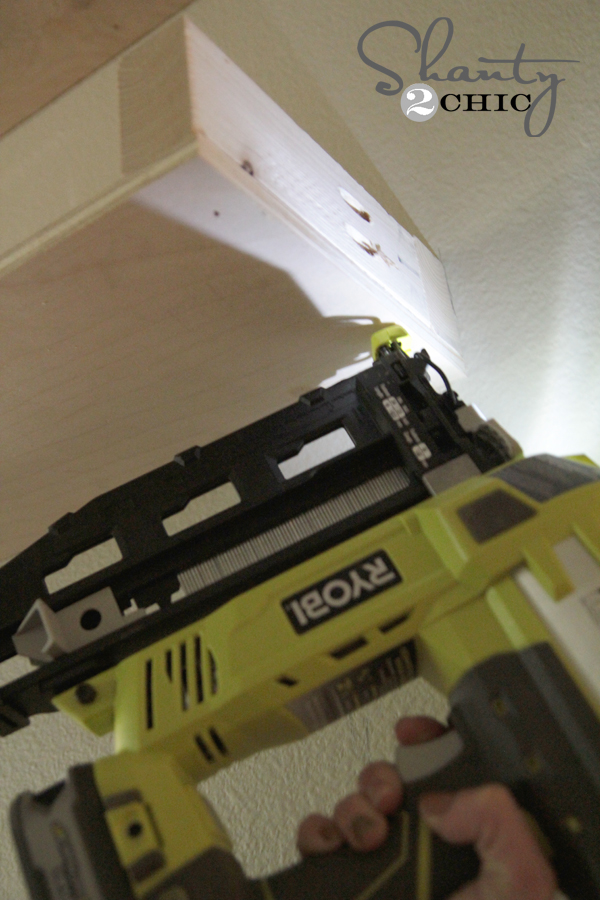
Next, I did the same thing with my top pieces!

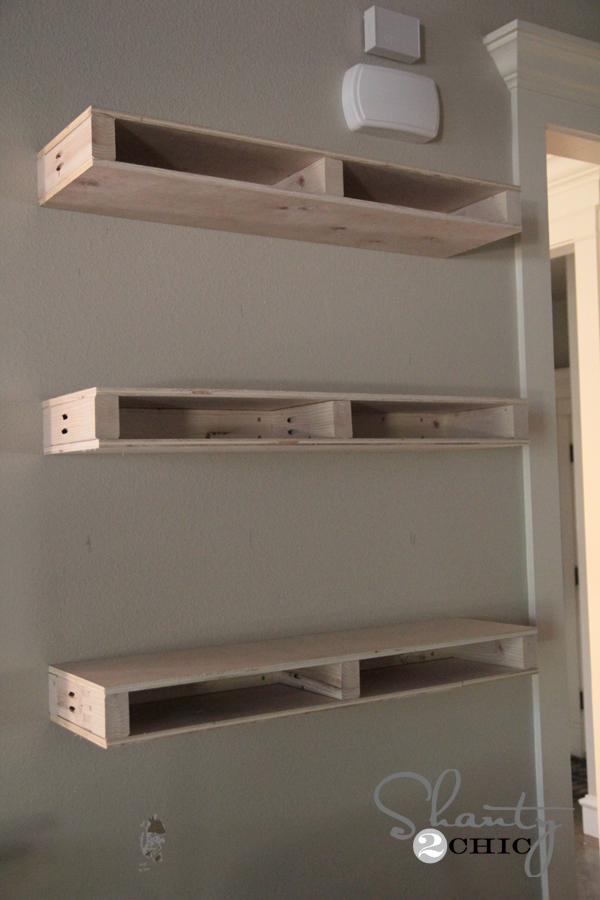
All three should look a bit like this once you have this part finished!

Now to trim them out! I used inexpensive whitewood for this part. I love the way it unevenly takes stain and the price makes me happy too! 🙂
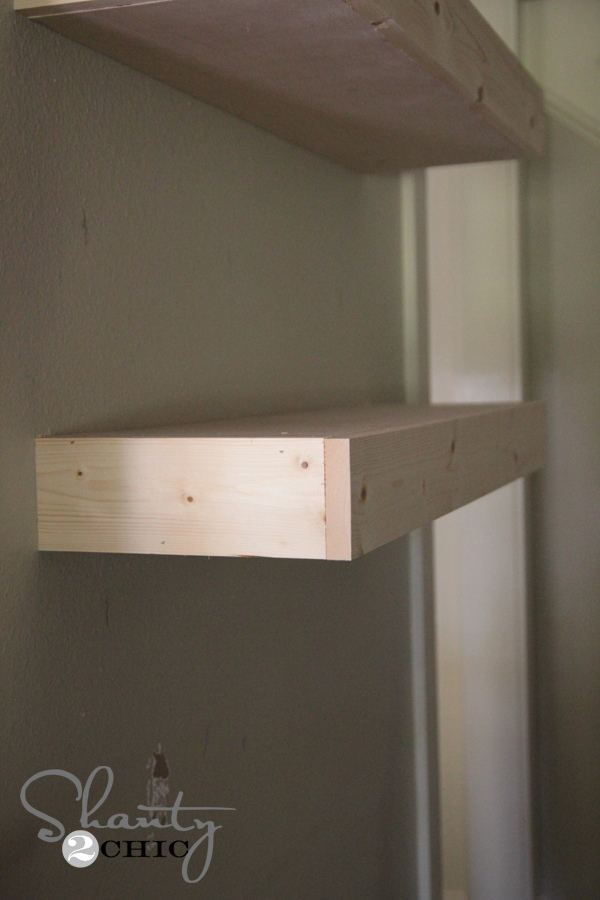
I started by cutting my side pieces.
Before attaching them I added a line of wood glue to each one.

I used my brad nailer to attach those with 1.25″ brad nails and then cut the longer front pieces. I added wood glue along the outer edge of these pieces before attaching them to the front of the shelves.
I used the same nails on this part too.
All finished!
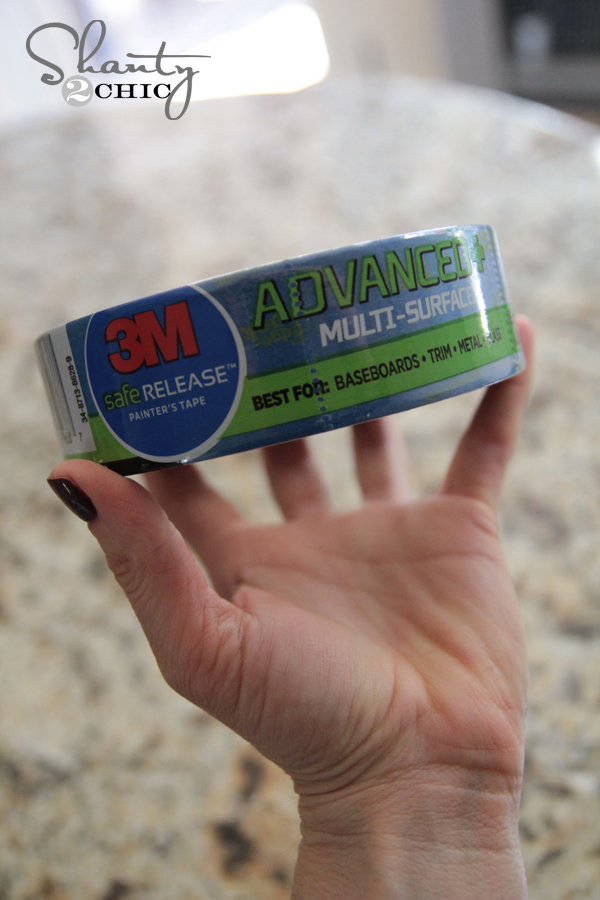
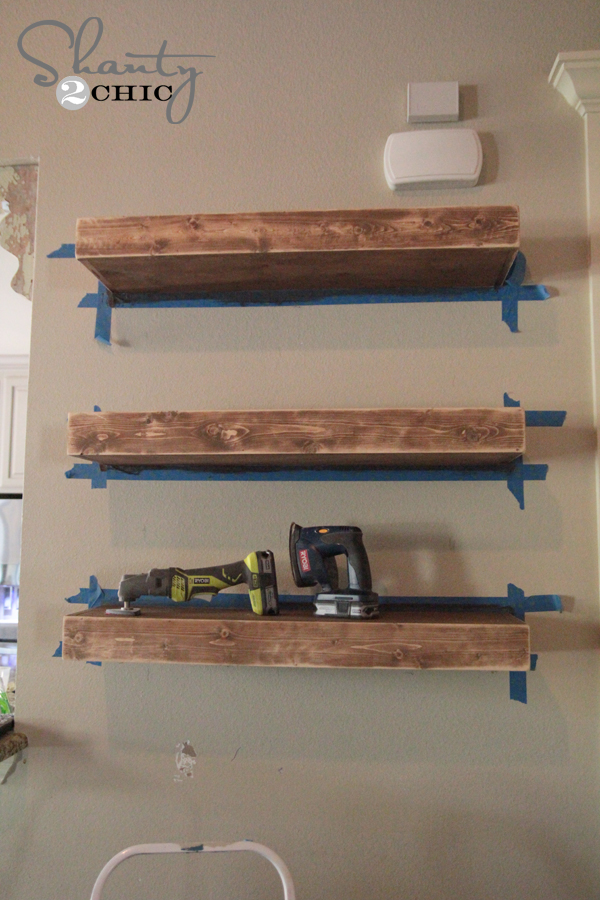
I used 3M painter’s tape to cover the wall around each shelf before adding the finish.
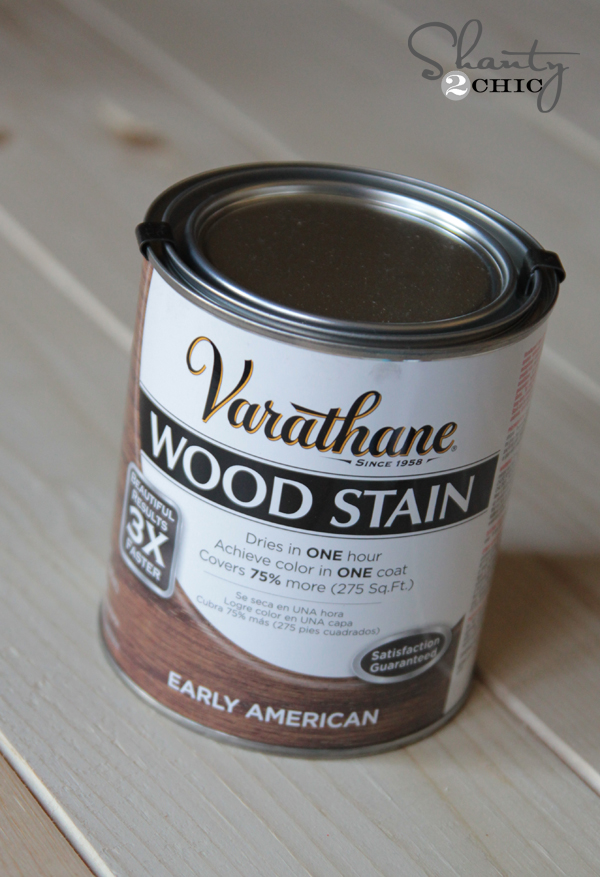
I chose to use Varathane wood stain from Home Depot in one of our FAV colors for mine…
After allowing that to dry an hour (yup! Only an hour) I used my Corner Cat sander and my JobPlus sander to distress the heck out of these. I wanted them to look old and rustic!
My final step was using a rubber mallet to attach these awesome clavos I found! You can find similar ones HERE on Amazon!![]()
! I love the added touch on that rough wood… So shanty! 😉

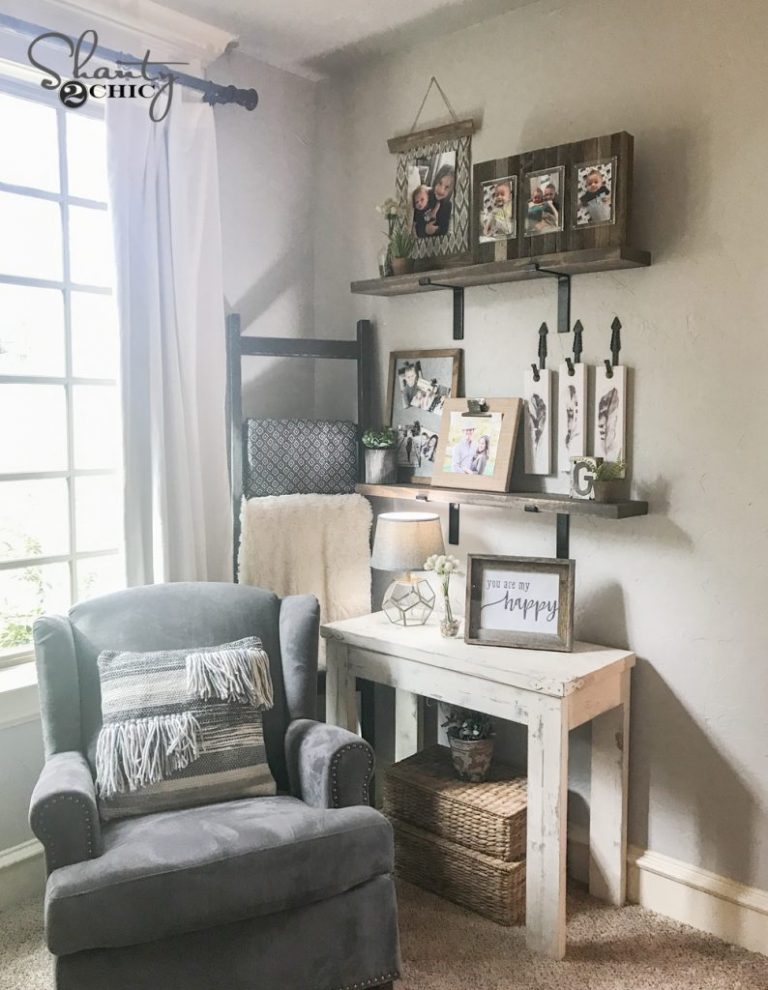
And here they are all dolled up! What do you think??
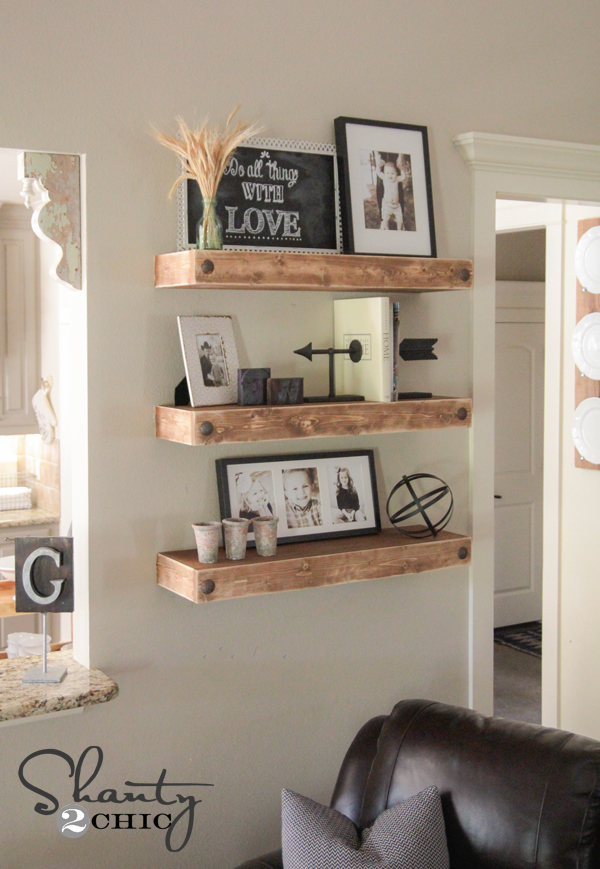

Hope you LOVE them as much as I do! It’s amazing to me what a project that costs under $50 can add to a room. YES! Under $50! Can’t beat it guys!
I would LOVE for you to share and PIN these! Thanks so much for stopping by and let me know if you have any questions at all!
~Whitney

Would these bear much weight? Say, for a kitchen? Looking for floating shelves that can hold the weight of dishes and such.
I’ve had this pinned for years and just now getting around to making them. Two questions though?
Did you mean 2 x 4″s? I had no idea HD carried 2 x 3’s?
Second, why couldn’t you stain all the boards ahead of time.?
PS. love your site.
What color is on the wall?
Love it! I never really knew how these worked before. They turned out great!! =D
Hi, could you tell me which kind of plywood you used? As in, was it birch or maple, etc. I’m a diy newbie so I want to make sure I get the right supplies. Lol. Love all your projects! Thanks so much 🙂
Birch but you can do maple too. You can’t tell much of a difference between the two. Good luck!!
What is the paint color of the kitchen cabinets in the background of the first photo??
I’m curious as to why you didn’t pre assemble the box, then slide them over your supports, then attach the shelf using screws?
Hello Whitney,
I LOVE these, I have appointed myself lead designer of my boyfriends abode and they would look lovely in the living room. But I do not have a kreg jig and am a super beginner with the building! How could I modify the instructions so that they look just as pretty without the same tools? Thanks!
I just saw episode 1 of your new TV show. LOVE it!! Thanks for the great directions. I am going to be making these soon!!
Yeah Gina!! Thank you so much and GOOD LUCK! Can’t wait to see them!
Love these, and you did a awesome job with the instructions I’ll let you know how mine come out when I am finished, this is perfect for my office area! !!
Where did you purchase the decor that you put on the shelves?
Love the Shelves!! I want to make them for our home office. This looks easy to make :). How much weight do you think these shelves can take? And any suggestion on making them a bit sturdy to be able to handle maybe couple books etc? Thanks.
Found this on Pinterest and it’s exactly the directions I’ve needed for a project I have planned in my kitchen. How sturdy would you say they are, as far as the amount of weight each shelf can hold? Would you be willing to share where you found the black cage sphere?
What is the color on the wall?