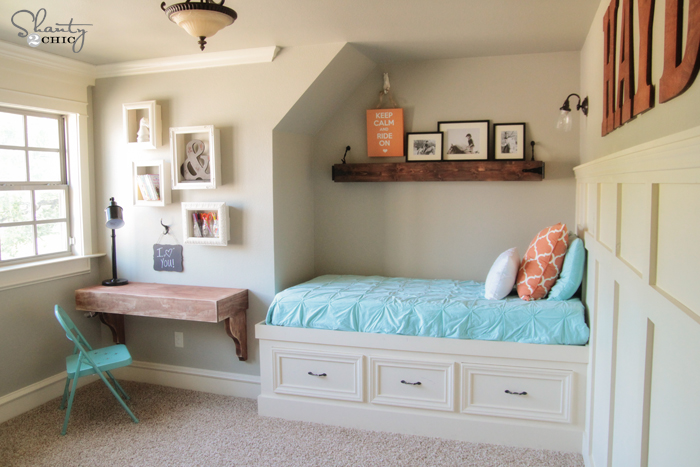
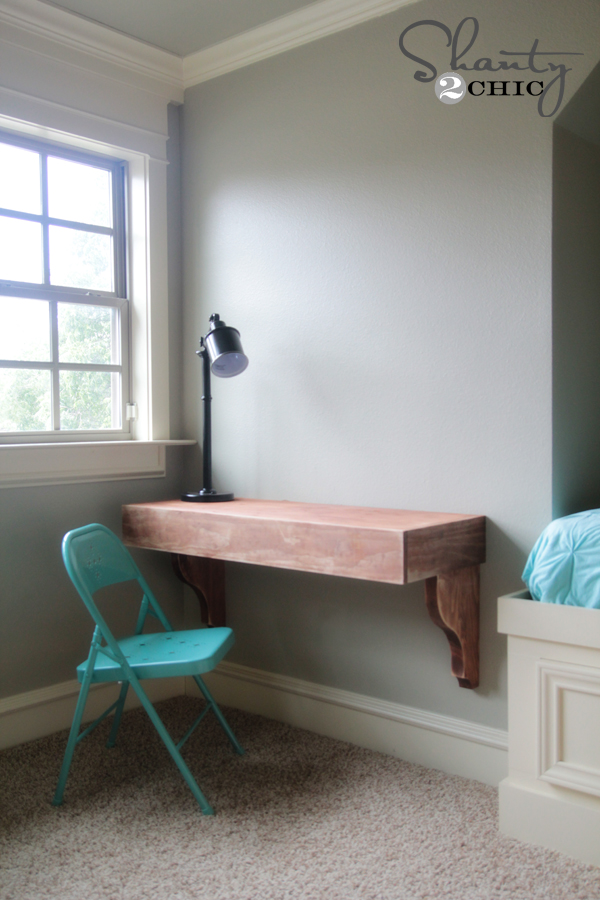
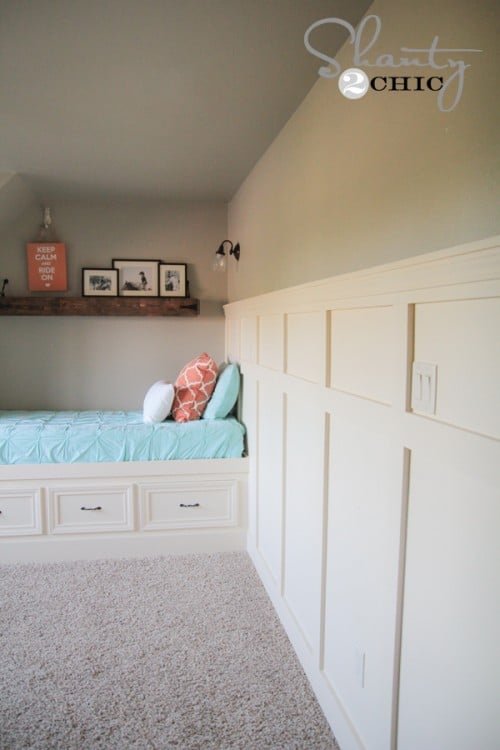
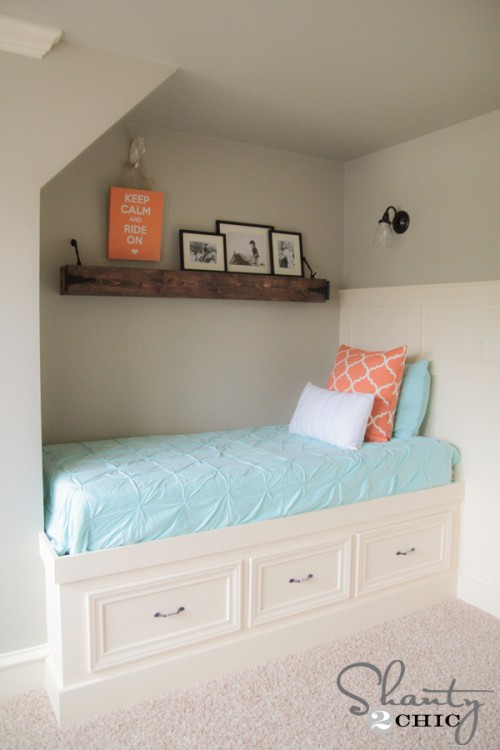
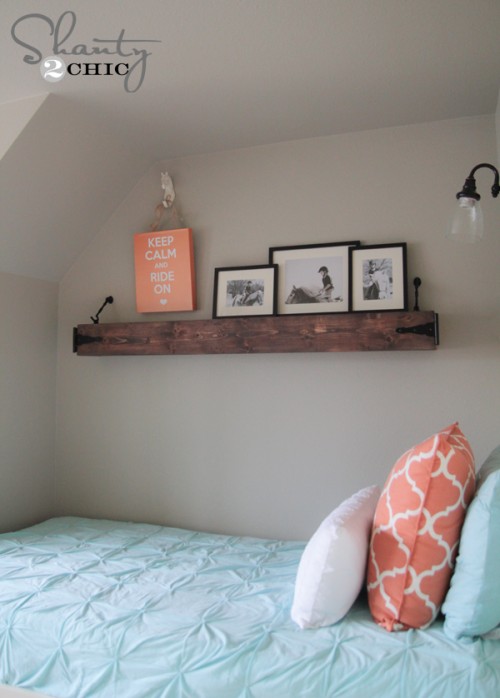
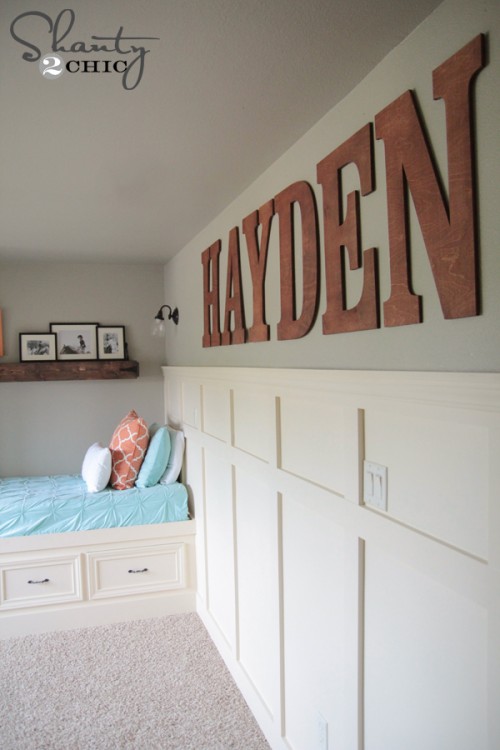
Many of you know I have been finishing off a bedroom for one of my girls over the past several weeks. I closed off a loft space upstairs to give her a new room, and I have been busy getting it all decked out. Last week I shared her DIY corbel desk I created for under $85. I decided to fill up the blank wall space above it with these really cute and simple DIY frame shelves! Look how fun they are!

This is such simple project, and a great way to reuse old frames or to dress up cheap frames. I started with some old frames I used on my old photo wall. Most of these frames were from Walmart and Hobby Lobby, and they were all super cheap. I started by taking the glass and backing out and removing any hardware on the back leaving a blank frame. Then, I measured both sides of the frames.

Next, you will need some 1×4 boards. I used all scrap for mine. I actually had scrap 1×4 MDF, but pine will work! Really anything will! You will make two cuts for each side. So, I had 2 cuts at 8″ and 2 at 11″ since that was the measurement of my frame. Each frame will be different, so just cut yours to size.

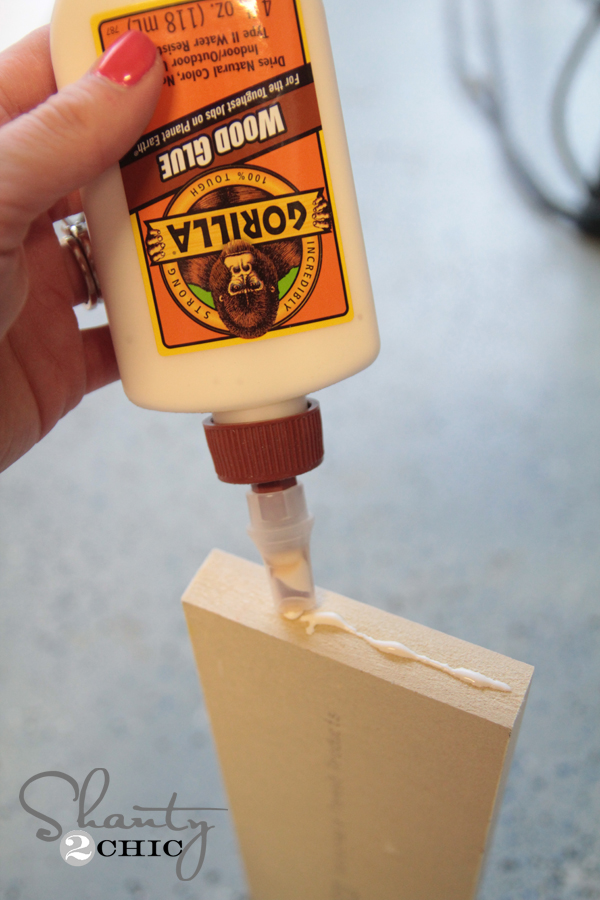
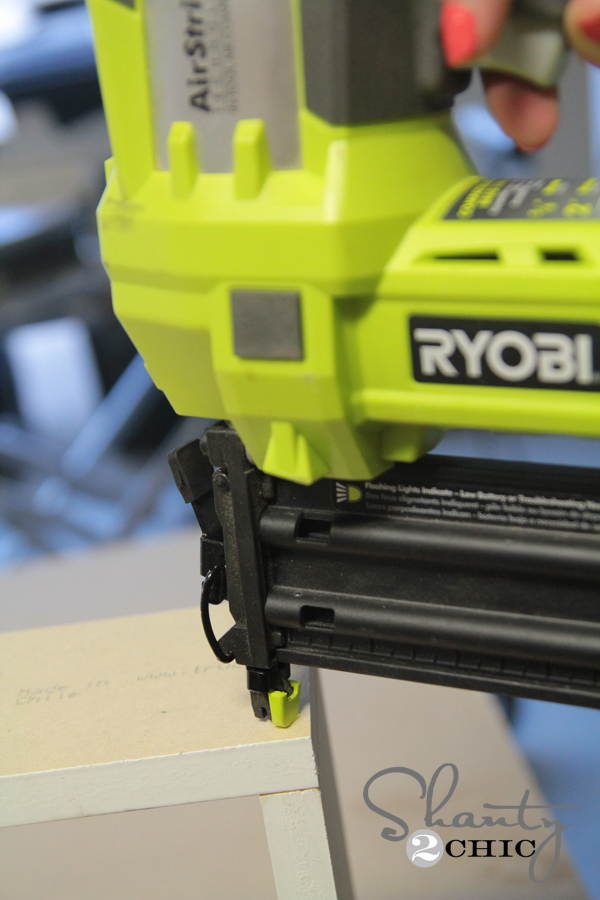
Next I added a line of Gorilla wood glue and used my Ryobi Airstrike Nail gun to make a box from these pieces. I used 3 nails on each corner like this.
Your finished box should look a bit like this…
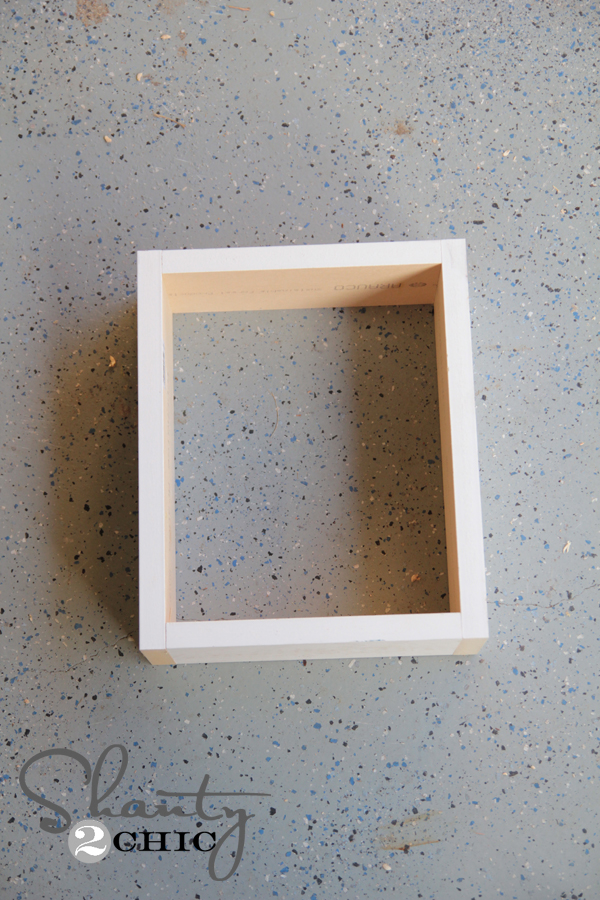
You can see how it measures the same as the opening of the frame…

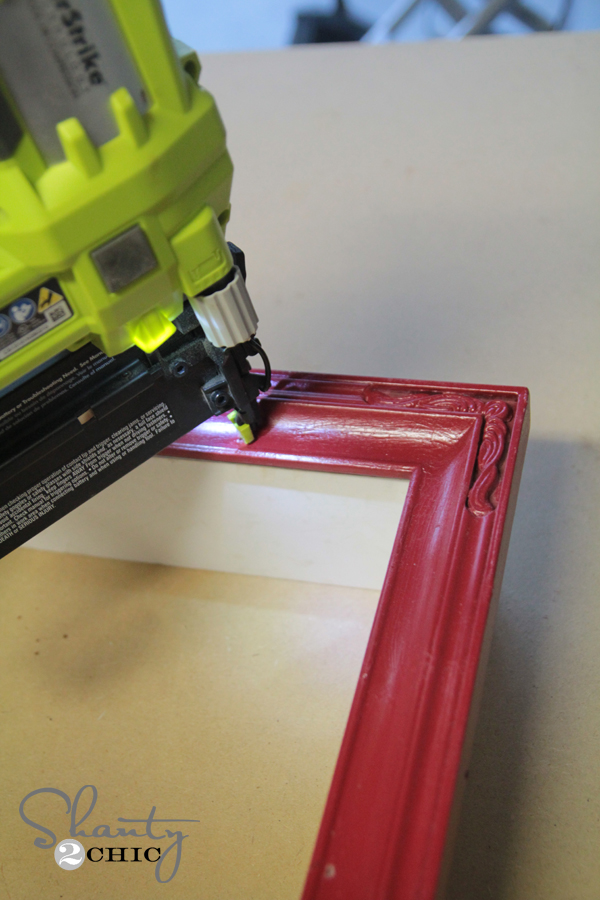
Next, I used a line of wood glue around the edge of the frame like this…

I laid my frame on top of my box and used 1 1/4″ brad nails through the frame and into the box to hold it together.
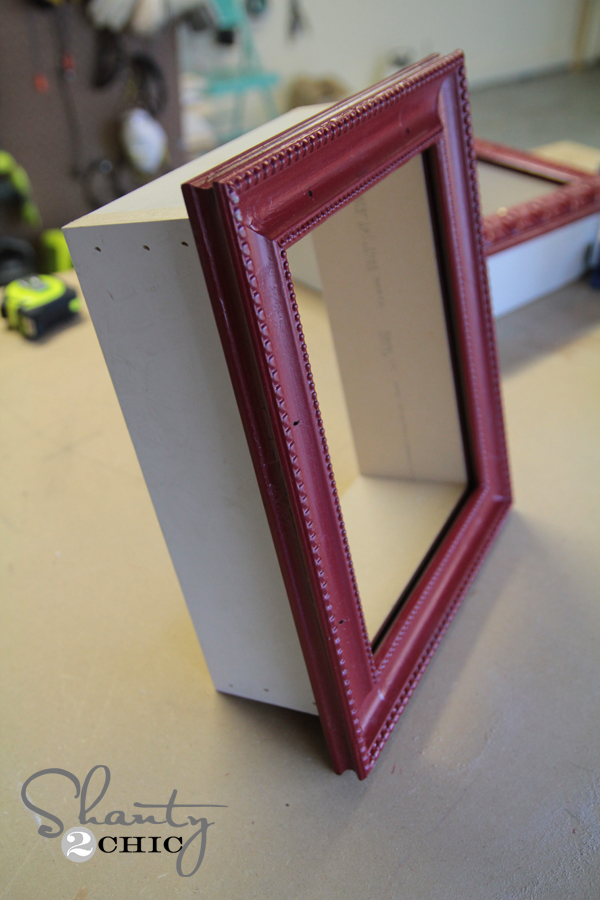
The finished boxes looked a bit like this…
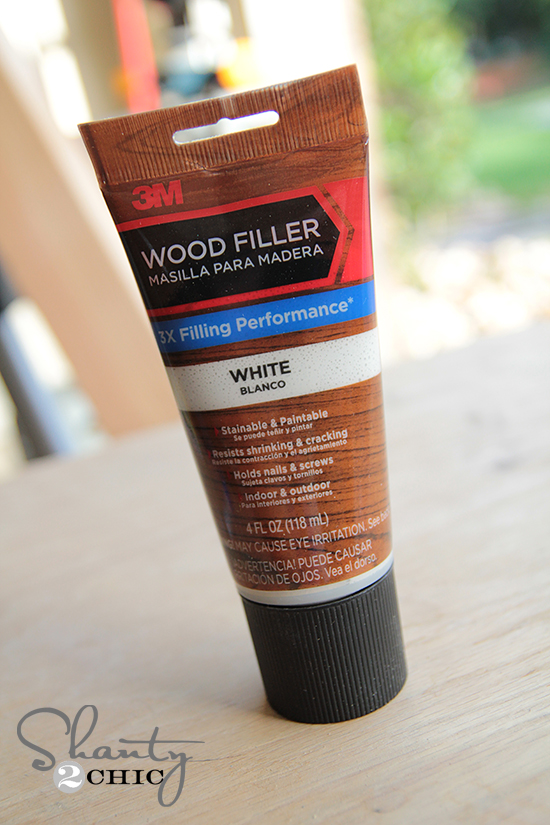
My final step was painting them. Before I did that, I used a bit of wood filler to fill all of my nail holes.
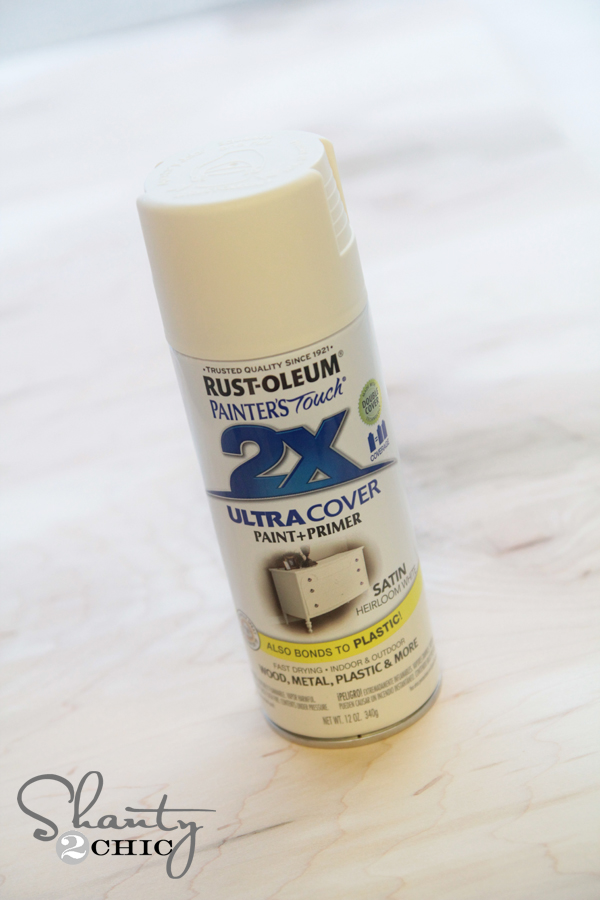
I painted all of the boxes and frames with my very favorite spray paint color. I used Rust-Oleum Painter’s Touch in Heirloom White. You can get this at Home Depot.
Once they dried I was ready to hang them up! I used command strips for this part. These things are the BOMB. They make life so easy. I decided to use 3 hangers on each frame.

I just attached the strips in pairs, attached them to each box, and pulled the back piece off before attaching the frames to the wall.

I filled each of her boxes with stuff she uses for art and reading. I found the really cute ampersand HERE at Birch Lane! The awesome task lamp is also a Birch Lane find! You can see it HERE! It’s one of our fav new stores for accessories… Such cute stuff!
Here is how they turned out!
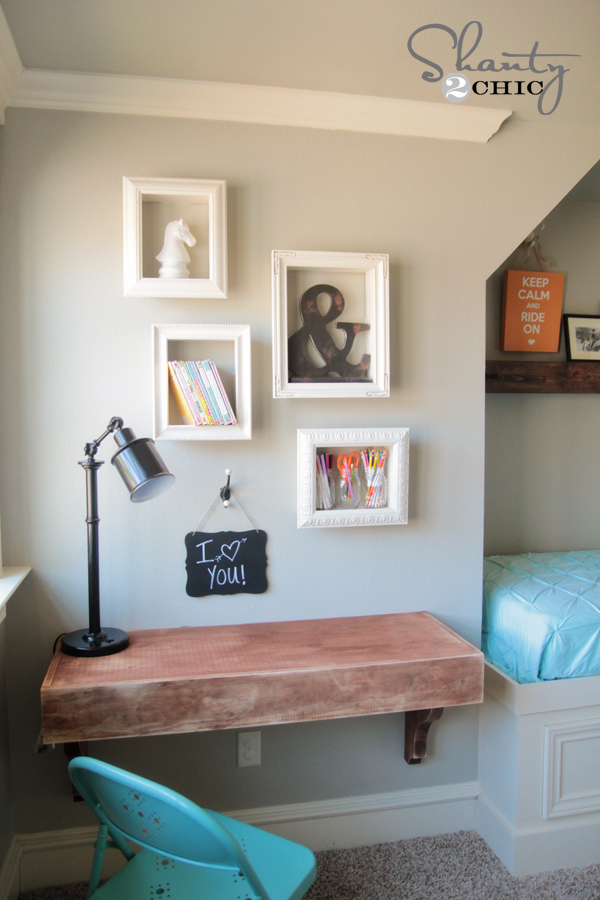
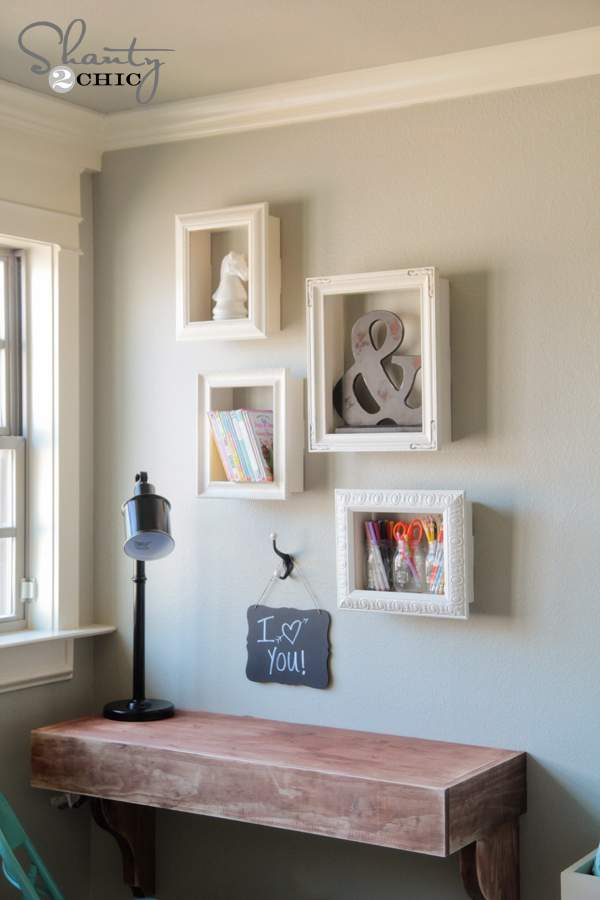
So fun!
I hope you guys love them as much as she does 🙂 I would LOVE for you to PIN and share these frames with all of your peeps! You guys are the best!
You can also check out the other projects I have done in her room below!


I am relatively new to “PINTEREST”, You are just amazing!!!!!
I have seen so many beautiful redo’s & original crafts & ideas it is just overwhelming to me….. I really love to see what people are crafting, cleaning, cooking, well you get the idea…. I look forward to seeing more of you work 🙂 I have been wanting to get an idea for my grandson’s high school diploma & “U” just gave it to me…. THANK YOU!!!!!
His diploma cover is white leather type material & I want it to remain that way…. Shadow box to keep it dust free….
Definitely will be giving this a go! Thank you for a lovely idea.