Table of Contents
Creating my Cleaning Supply Closet
Learn how to build a DIY Cleaning Supply Closet with Free Plans by Shanty2Chic!
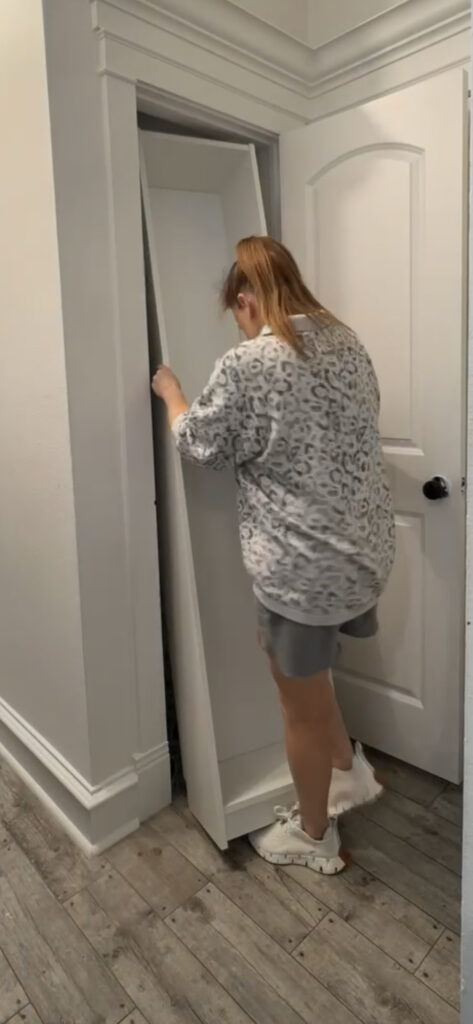
Hey guys! Recently I turned my closet under the stairs into a storage closet. Previously, I had stored my vacuums and mop in this closet along with some cleaning supplies. I have been wanting to find a great storage space solution for my vacuum, mop, broom and dustpan and other cleaning products. I decided that I would turn a small coat closet into my cleaning supply closet. Check out how it turned out in my video below!
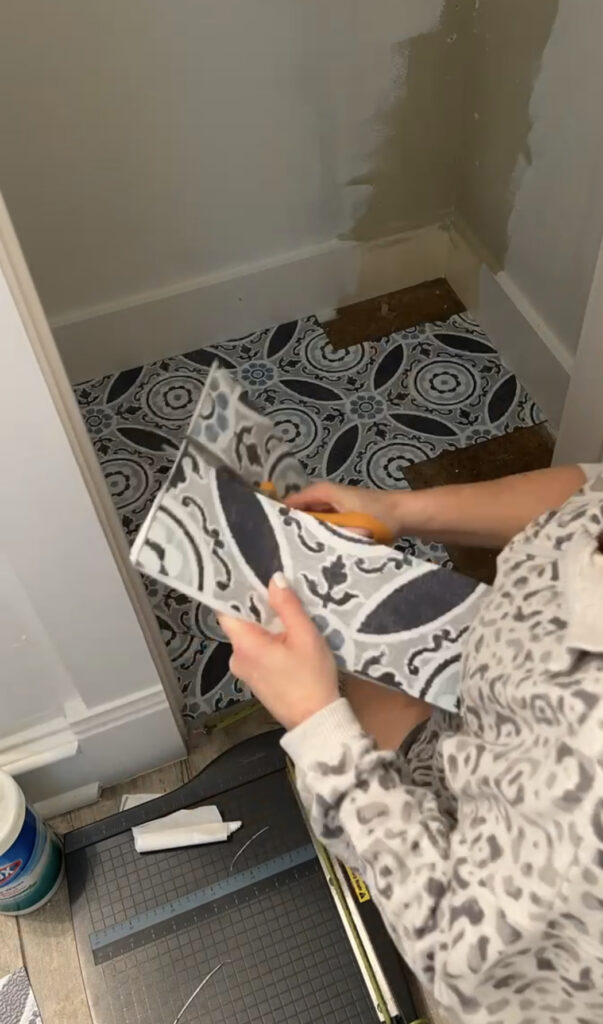
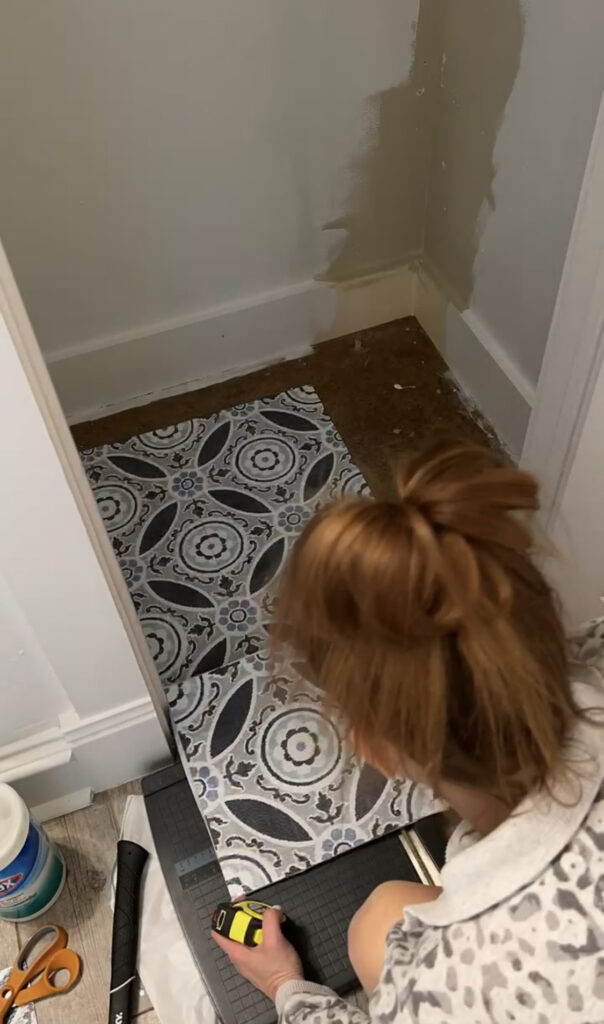
Flooring for the Cleaning Supply Closet
The first thing I did after emptying the closet was giving it a fresh coat of paint. I painted the walls and ceiling and door with Sherwin-Williams pure white. The floor space inside this closet was previously stained concrete. I wanted something that would be easy to clean and also add a little bit of color to the closet. I found the cutest peel and stick vinyl tile on Amazon! You can see it here! It’s so easy to install. I just used a sharp pair of scissors to make the cuts for the edges.
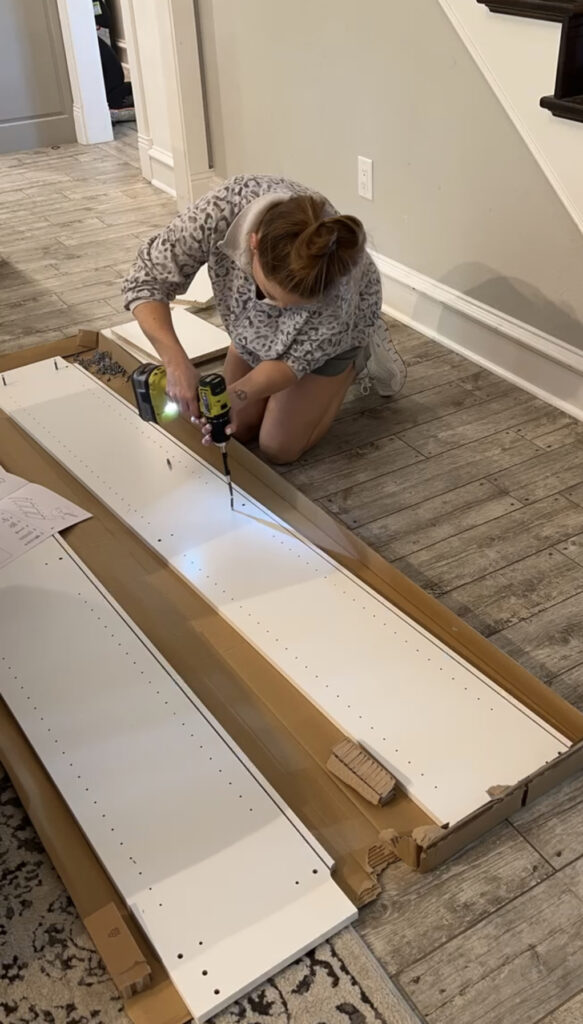
Shelves for the Cleaning Closet
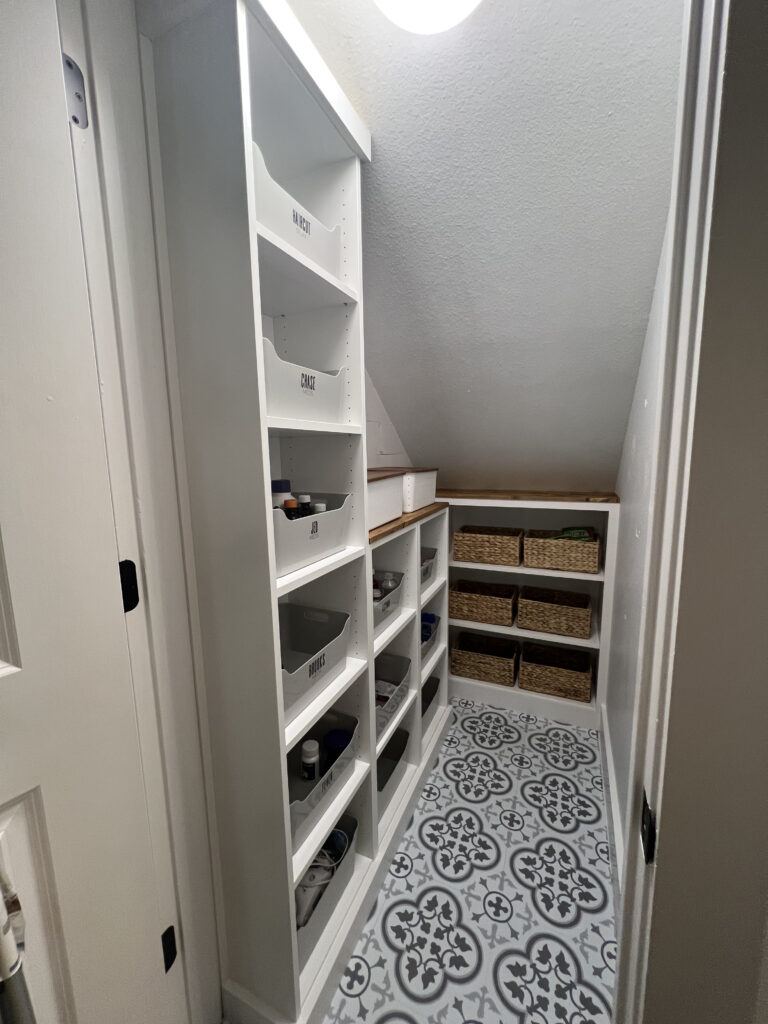
I decided to use a tall Billy bookcase from IKEA as my starting point with shelves. These are inexpensive and customizable. With the price of plywood being so high right now, I knew this would be a great alternative, and I prefer it over wire shelving personally. I started by assembling the bookcase, then I moved it into the corner of the cleaning closet. I did secure the bookcase two studs in the wall using wood screws.
Once the bookcase was set in place, I added boards on the other side of the bookcase to create two taller shelves. This allowed me to fit my vacuums and taller tools in the vertical open space below but also utilize some extra shelving above. Are used laminated pine boards cut to size to serve as the shelf boards.

After I had all shelving in place, I added some trim to cover the base of the bookshelf and a few trim pieces on the front of the bookshelf to give it a more “built-in“ look. Then, I caulked all of the seams, filled the holes with putty and painted all of the wood with the Pure White paint.
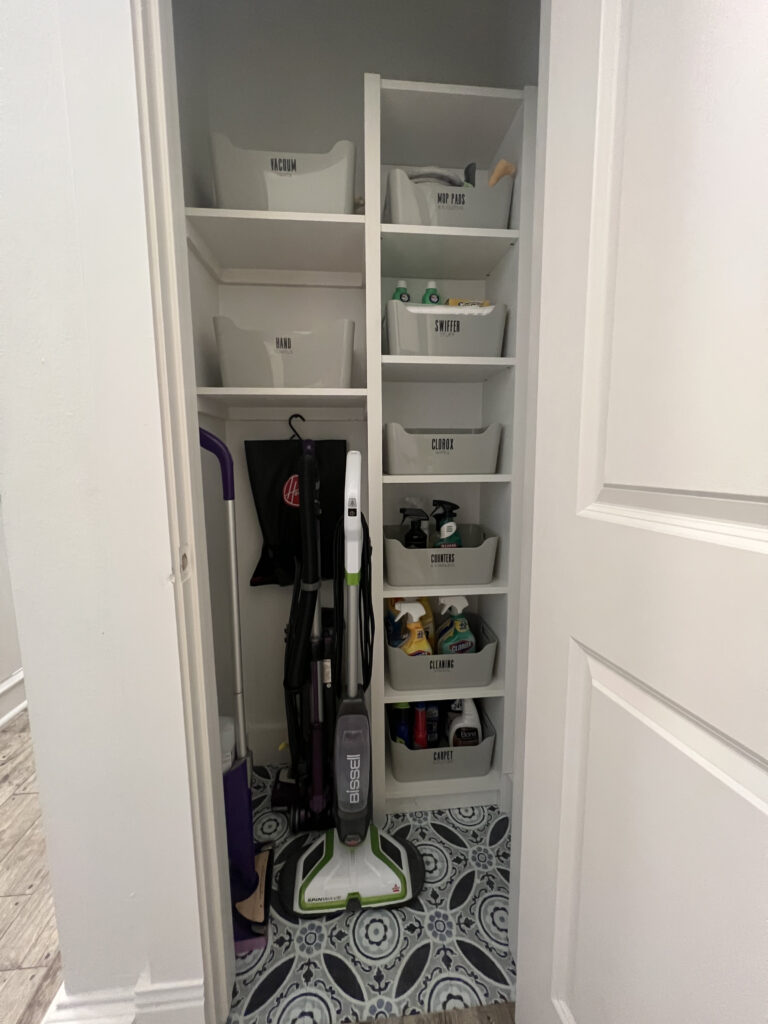
Cleaning Supply Closet Baskets
I found the best baskets to help store my spray bottles, rubber gloves, duster and sponges. I found them at The Container Store. You can see them here! These are super inexpensive and come in a variety of sizes and colors. I decided to go with light gray. I like that they’re tall enough to keep the supplies from tipping over, but they’re short enough to allow me to reach in and grab certain supplies and bathroom cleaners without taking the entire tub out. I also love that these bins have handles. I used the medium size on the smaller bookshelf cubbies, and I used the large size on the two taller shelves on the left-hand side.
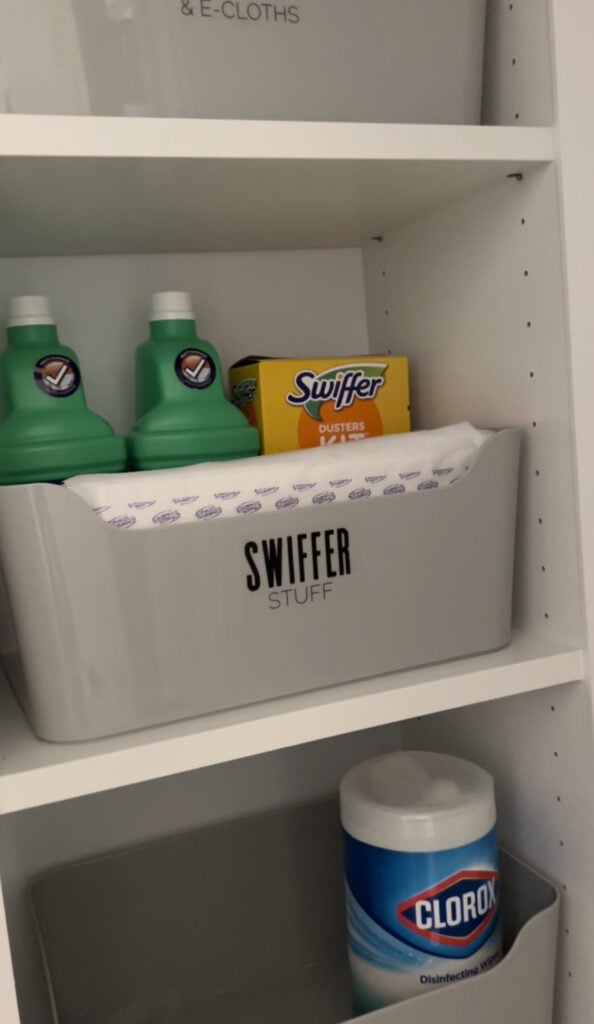
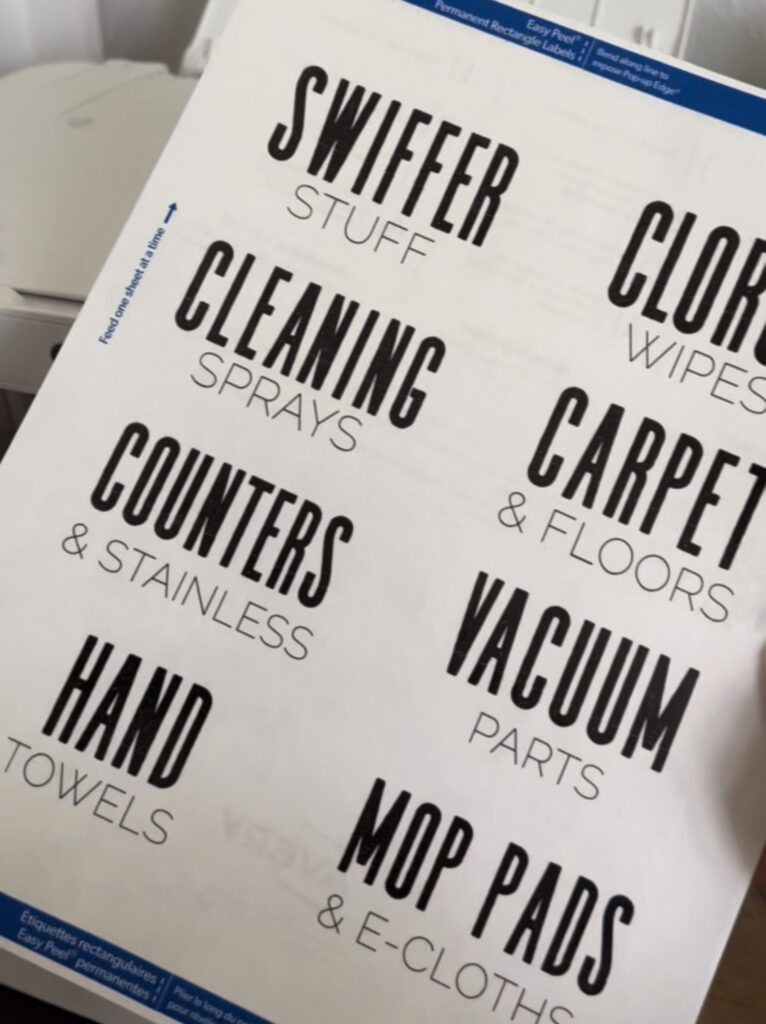
Labels for the Bins
I found a great solution for creating labels for each of the bins. I found these labels on Amazon! You can see themHERE! They are super simple to use. You actually create the label on your computer and print it at home on your printer. So easy. They also peel off if you need to change your label in the future.
What do you call a closet for cleaning supplies?
I was trying to figure out what to call this new cleaning supply closet of mine. What do you all call yours? I am thinking utility closet? Or maybe Mom’s closet since I will be using it the most 🤪 I love how it turned out so much. My kids are good about keeping it organized as well. I love that the top shelf can store my smaller handheld carpet cleaner and I’m able to put the other carpet cleaning tools on the bottom. I was able to add some command hooks to hold the bag of vacuum attachments and get my broom off the floor as well. It cleared up space under my kitchen sink and also gave me some extra storage in the laundry room. I love rethinking the small spaces that are intended for a certain use but making them more functional for my family and our lives.
Check out some of our other organization solutions!
Closet Under the Stairs Makeover


This is a very practical and inspiring organization project. A dedicated cleaning supply closet can make everyday storage much more efficient while keeping the home neat and clutter-free. I appreciate how the design focuses on maximizing space and accessibility without sacrificing style. It’s always interesting to see smart storage ideas alongside broader cabinetry and material trends here: https://plywoodbazar.com/ A useful and well-planned DIY solution.
How ? very nice
How did you secure the two pine boards to the Billy bookcase in the utility closet? I’m afraid the partial board will split if we screw anything into the sides to anchor the two additional shelves. I couldn’t find a full YouTube video on the one. Thanks!
Love this idea! Thank you so much for sharing! How did you secure the added shelves (above the vacuum) to the Ikea shelf? Glue? nails? screws? or???