This DIY map art guide will show you how to create beautiful and personalized map art for your home with easy-to-follow steps and pictures. Looking for a fun and budget-friendly way to decorate your walls? We got you covered!
After building my DIY waterfall console table, I knew I wanted some fun wall art to decorate the wall above it! I love maps on the wall, but wanted a custom look without breaking the bank. I got to work searching the internet on how to make that happen. I decided I wanted a city map poster of some kind!
You can check out my reel about how I made these on Instagram here!
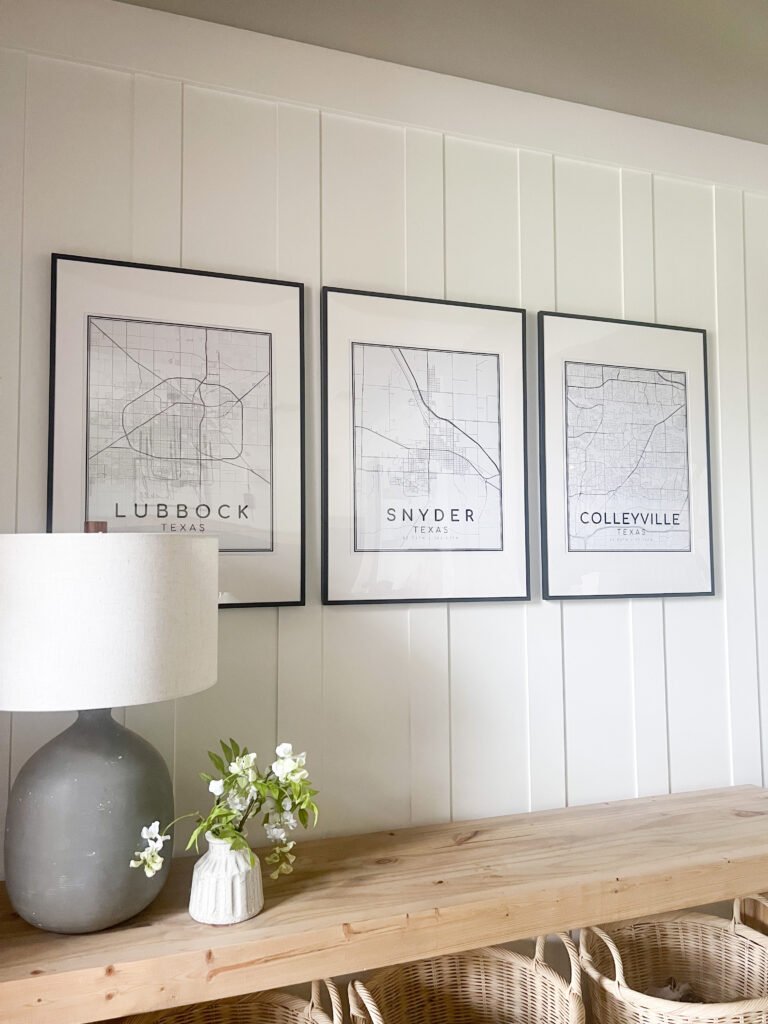
Table of Contents
City Map Prints
I found many options online to create my maps, and settled on THIS ETSY seller! I love how the maps are outlines. This process was so easy. The seller makes the instructions very simple. I provided the city of my choice, the size I wanted the prints to be, and then I gave the email address I wanted the files sent to. I had all 3 city map files delivered to my email within a couple hours. I picked cities that have personal significance to our family, but you can choose any city when you purchase yours.

How to print the city maps
You have several different options for printing your city maps. I chose to use CVS Same-Day Photo to print my poster prints. You can find them HERE on their photo website. You just upload the files, select the size and order. They are ready in under an hour… YES please!

I chose the 16×20″ poster print for each of my files. I chose glossy print because it was available same day. Right now all posters are 50% off with the code GIVE50 making these babies $10 a pop! YEAH!
Frames for the city map art
You also have lots of options for frames for this project! I ended up using the Lomviken frames from Ikea. I purchased the 19 3/4″ x 27 1/2″ frames for this project. They are $25 a piece and I needed to go out there for some other items making this an easy decision for me.

Less Expensive Frame Options
I also found this great set of frames on Amazon! You get 5 of them for $46! That’s an AMAZING deal! They also have an additional 10% off coupon on them right now!

Frame the print
Once you have chosen your frames and picked up your posters you are ready to put them together. For mine, I chose to tape the poster prints down to the back side of the photo mat to make sure they didn’t move around at all. After taping all sides, I replaced the back of the frame and finished the other 2 prints.


Hang the frames on the wall
I hung my frames on the wall using nails. These frames are pretty lightweight and I was securing into thin wood so I knew I would be ok. You may need to anchor into drywall if you are concerned about the weight of the frame at all. I also added a small Command strip to the bottom and back of each frame to make sure they didn’t shift and stayed square once they were up.
All finished!
I LOVE how these turned out and that I was able to do the entire project for $100. You can make it even cheaper than that, but I feel you get so much bang for the buck with this one. I get so many questions about them all the time and I think it is great decor to cheer up any boring wall in your house! Please send us photos or tag us if you decide to make your own DIY city map wall art!