I have owned my Glowforge for over a year now and I have been able to create so many unique DIY Projects and gifts! Come see what I’ve made!
Whitney and I have been proud Glowforge Pro owners for over a year now! We are sill learning new skills with our 3D Laser printer but we have created so many unique gifts, DIY projects and we’ve been able to customize our furniture builds even more with our laser cutter!
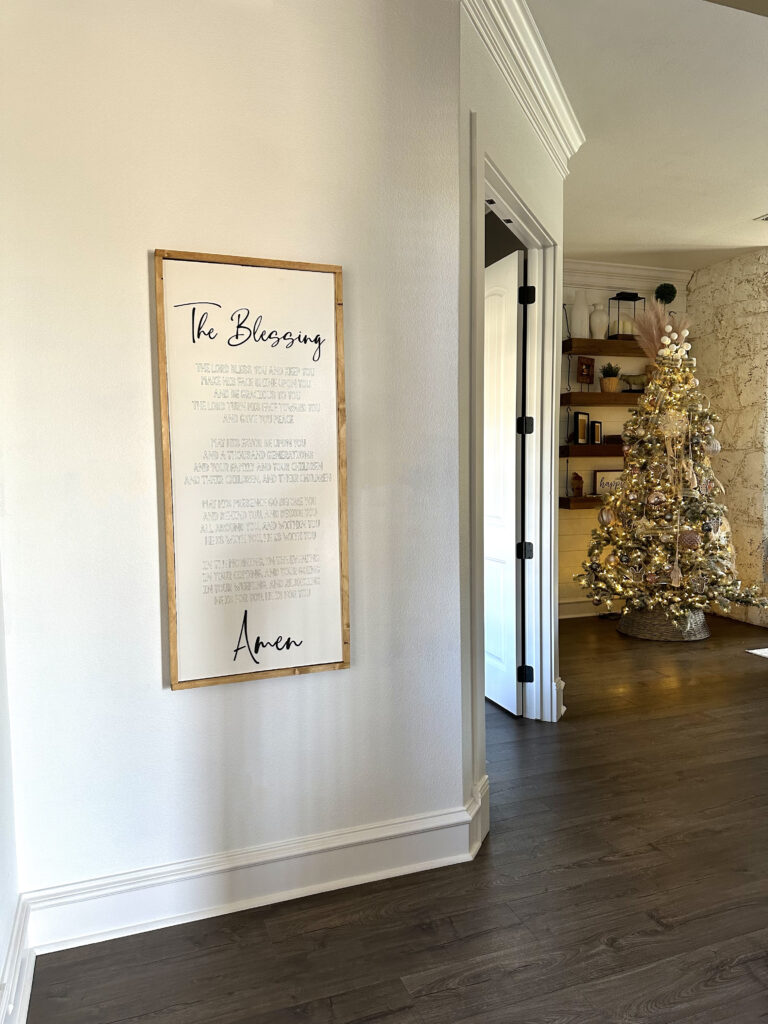
Today, I’m sharing this large wall sign for my entry that I was able to create from scratch with my machine! The Blessing has been one of my favorite songs for a long time and I’ve been wanting to frame the lyrics for wall decor! I love that the Glowforge allowed me to create exactly what I was envisioning in my head and it was SUPER easy!
You can watch me build it here!
Scroll to the end of this post for a special promo link, for our readers, to save up to $500 on your Glowforge purchase!
How to Create a DIY Wall Sign with a Glowforge
Table of Contents
Tools:
Supplies:
Scoring the Lyrics
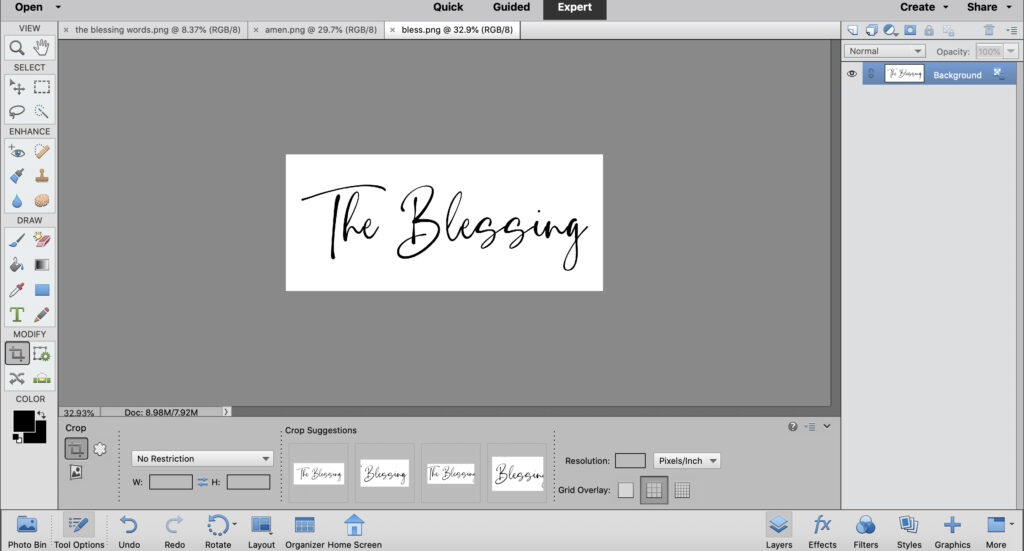
Step 1: Creating the Artwork
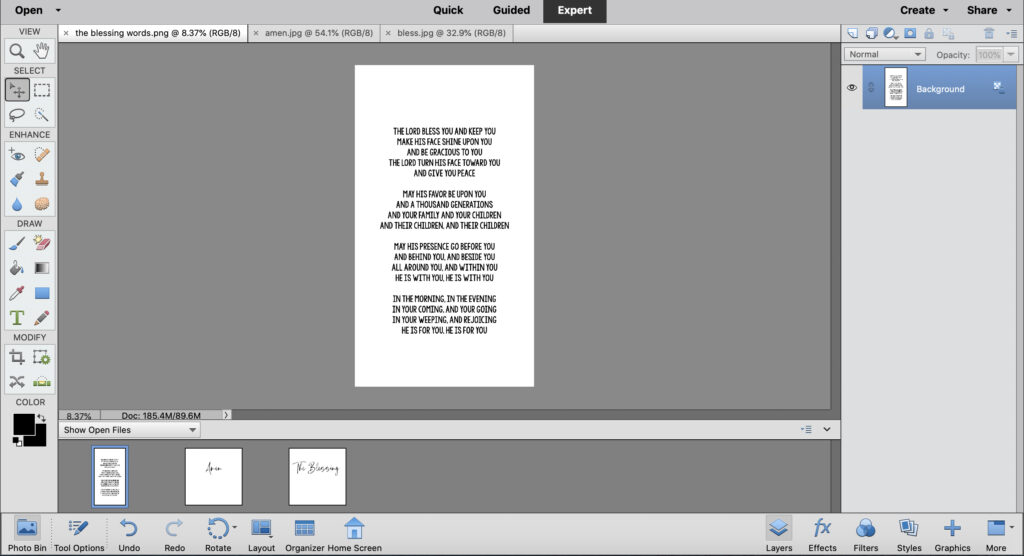
I created my file in Photoshop. You can use any design program you want to create your own file, some people use Adobe Illustrator, some use the Glowforge Design Studio included with their Glowforge Premium Membership. You can also find so many files on Etsy that are already done for you.
Step 2: Prepping the Material
I chose to use Eucalyptus Board that I found at Home Depot for the sign. It’s inexpensive and it engraves and scores so well! I cut it to size with my table saw.
To create a sign this large, you need to have the Glowforge Pro because it has a passthrough feature for large designs. With the Pro’s Passthrough Slot, there is no maximum material height and the maximum material width is 20″ and the maximum material depth is 2″. I chose to make my sign 48″ long and 20″ wide.
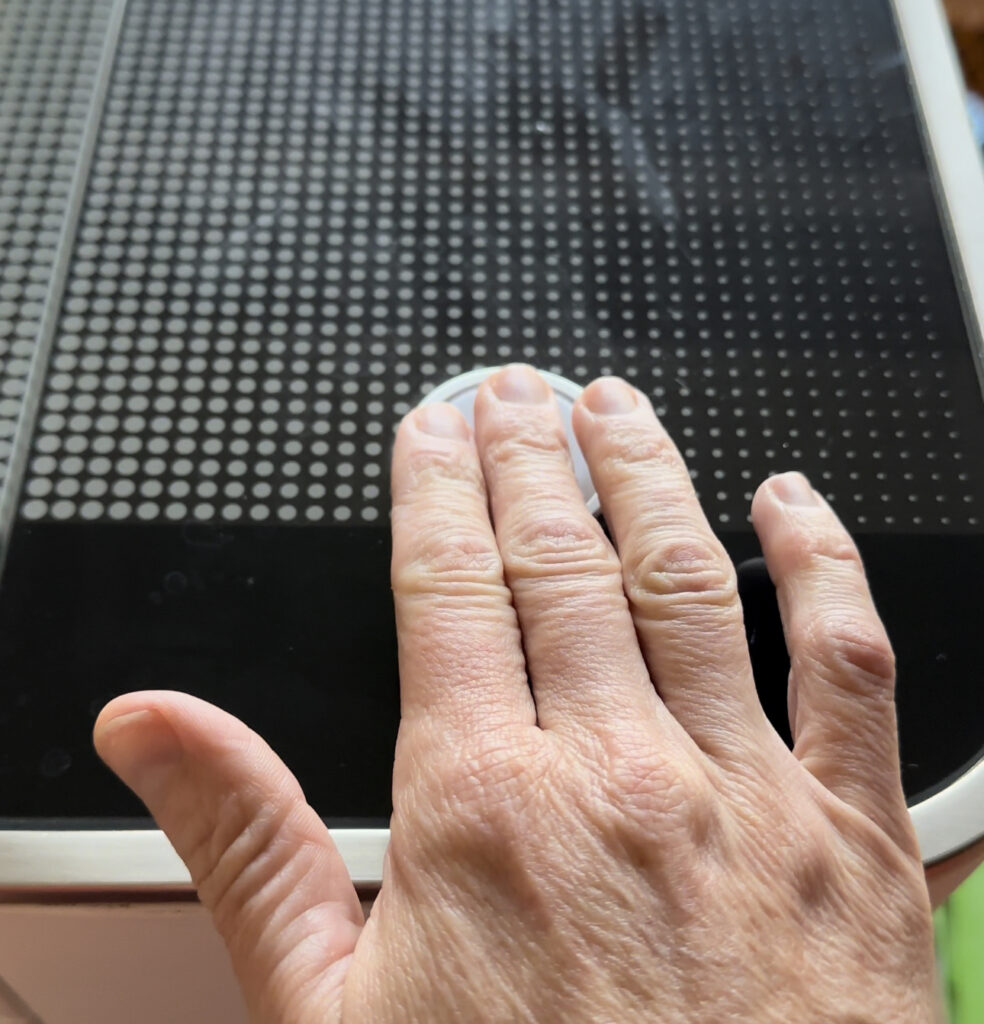
To load the material into the Glowforge, you will need to open the passthrough slots. I was scared to do this for the first time but it is so easy and I’ve used it so many times since!
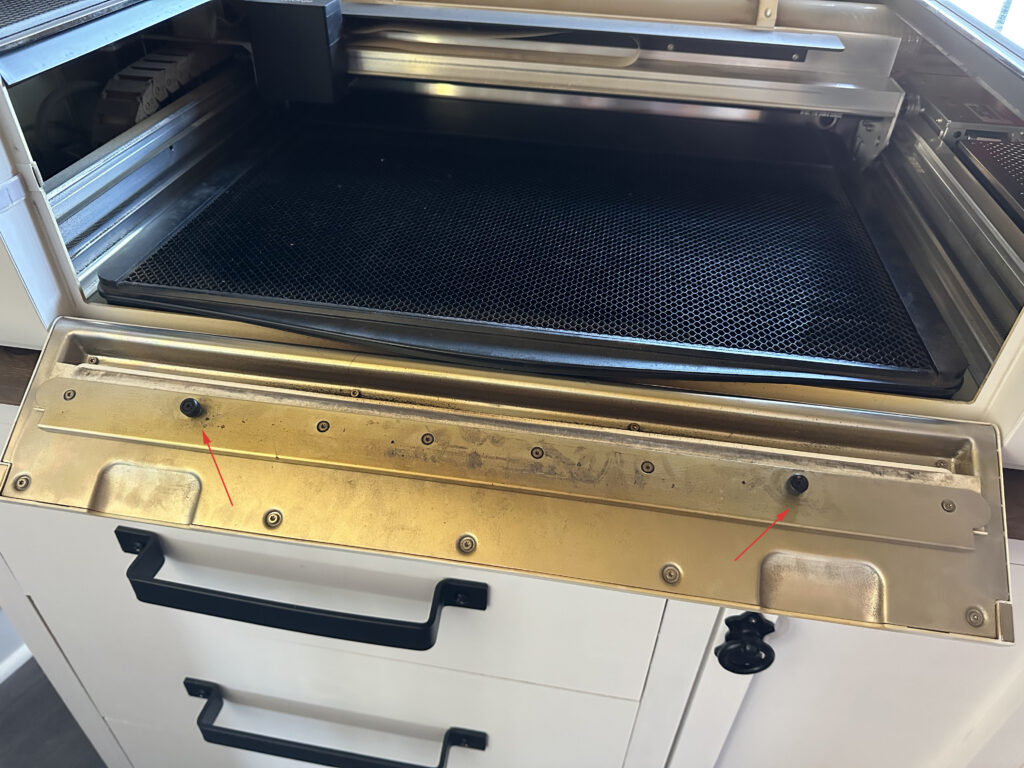
To access the slots, just loosen the screws on the front and back plats until the plates come off, then set them aside.
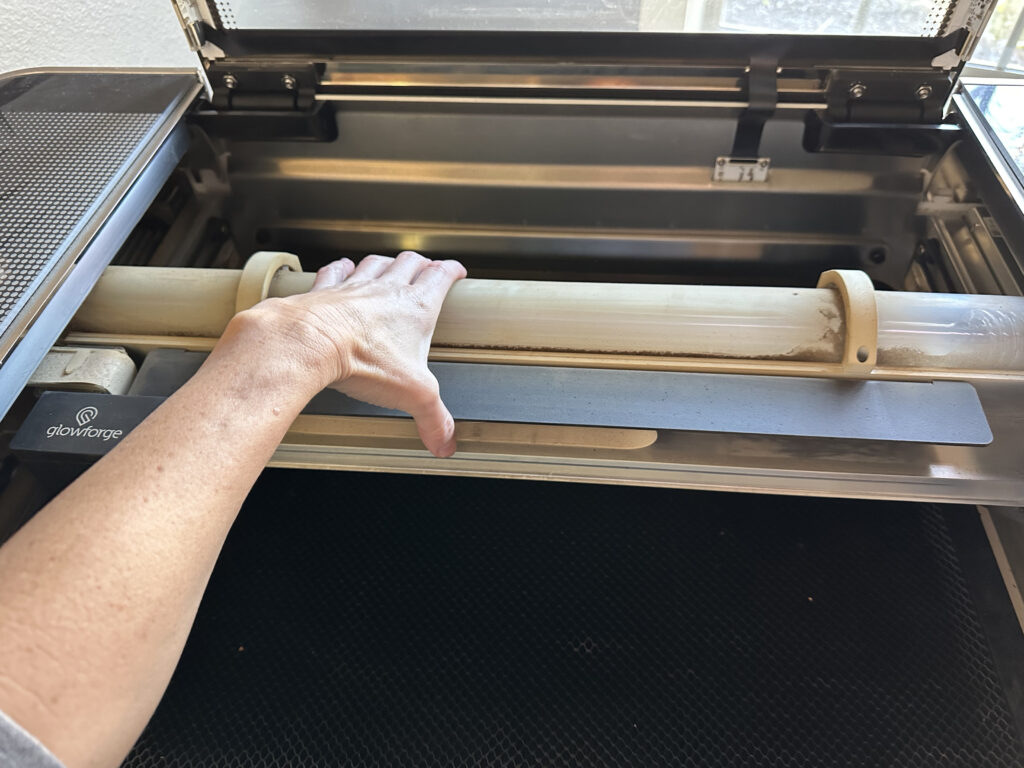
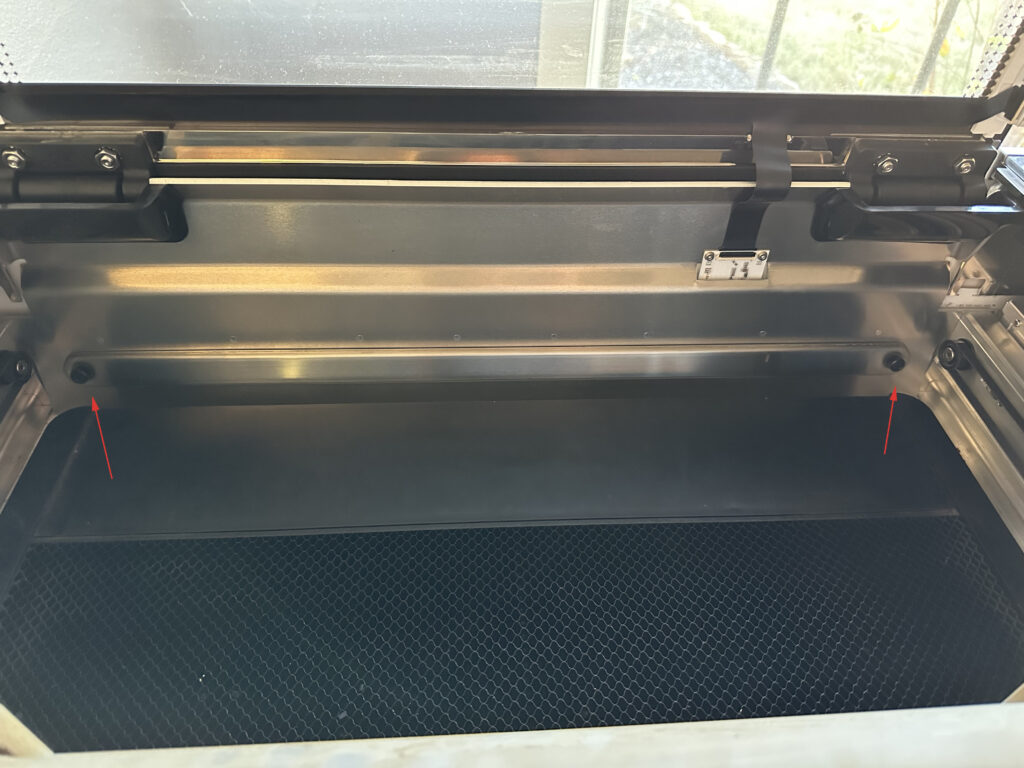
Note: to access the screws on the back plate, you will need to slide the laser tube forward slowly with your hand.
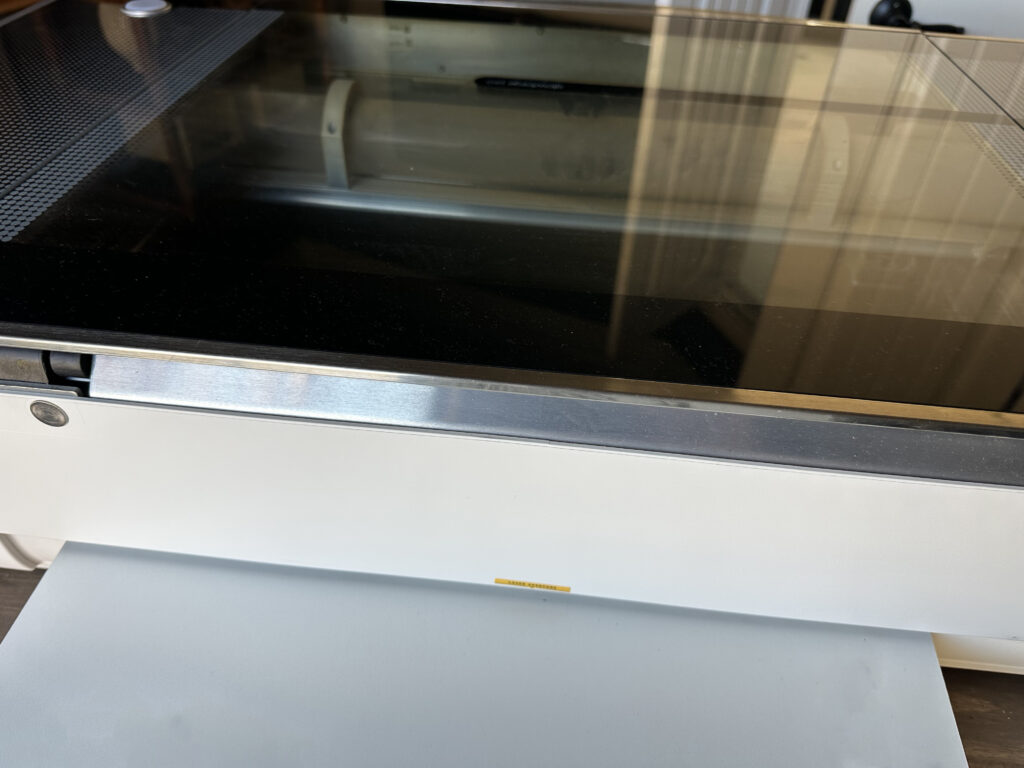
You will load the material through the open slot on the back end of the machine and slide it forward when instructed to in the Design studio. Once your design is complete, just place the plates back in their spot and secure them with the screws.
Step 3: Loading the File into the Design Studio
Once my design was complete, I saved it as a png file (you can also save it as a jpg or pdf file). Then, I found a free website to convert it to an svg file and loaded it into my Glowforge Design Studio.
- You can find the website I used here
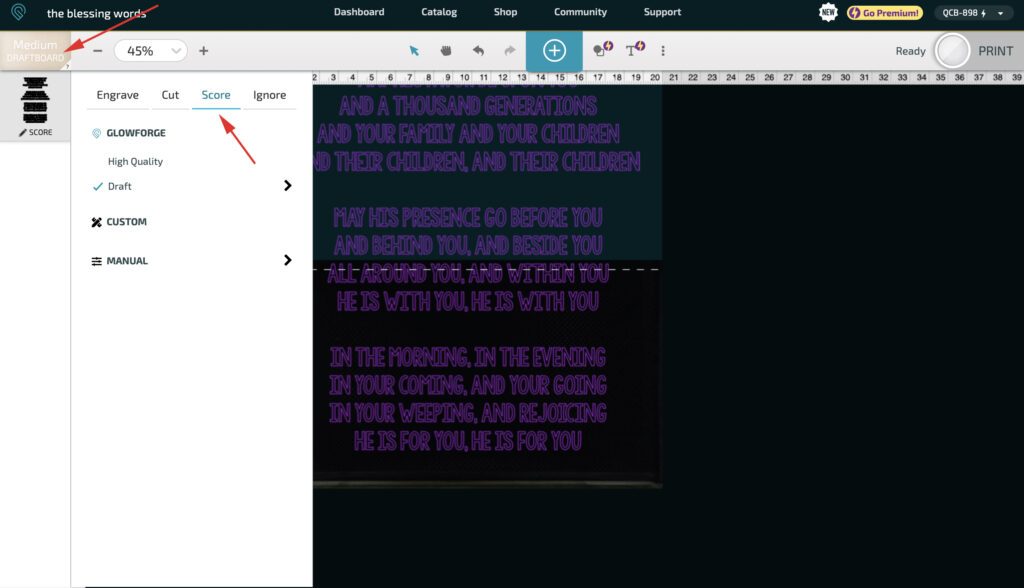
I chose medium draft board for the material and set it to score.
You can also choose to engrave but the engraving does take a long time for a design this size. The scoring will outline each letter, engraving will engrave the full letter.
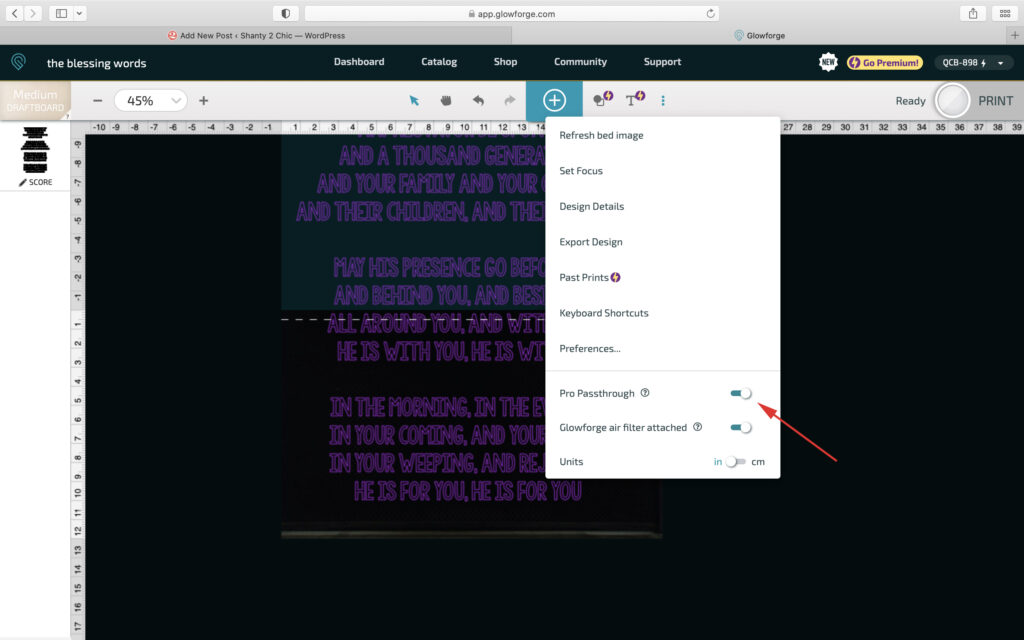
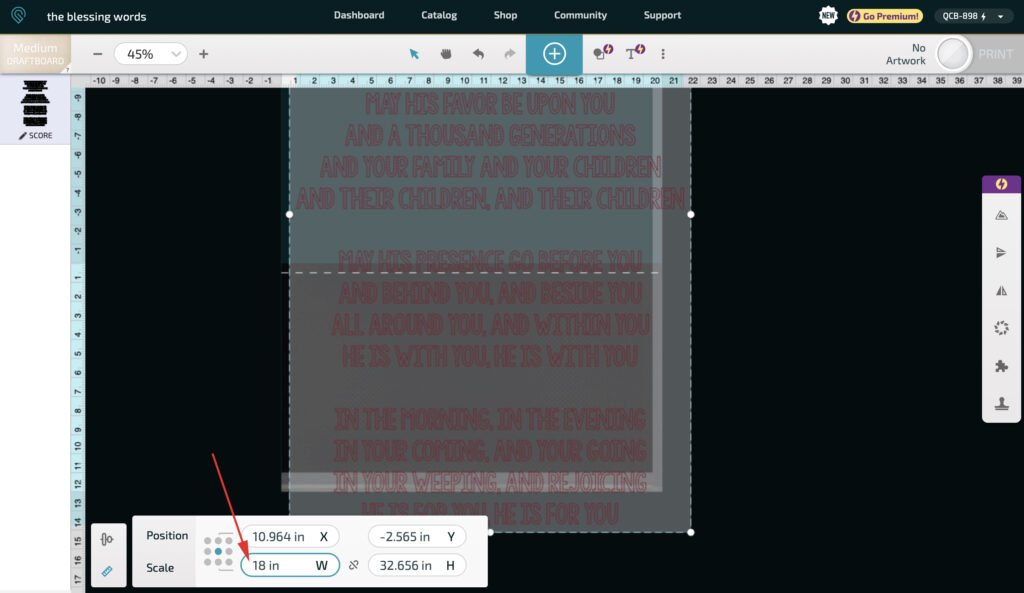
With the passthrough option toggled, I manually sized my file to be 18″ wide and centered it on the work area. I love the camera feature on this machine. It allows you to see the material you’re working on so you can get an exact fit for the design.
Step 3: Scoring the Design
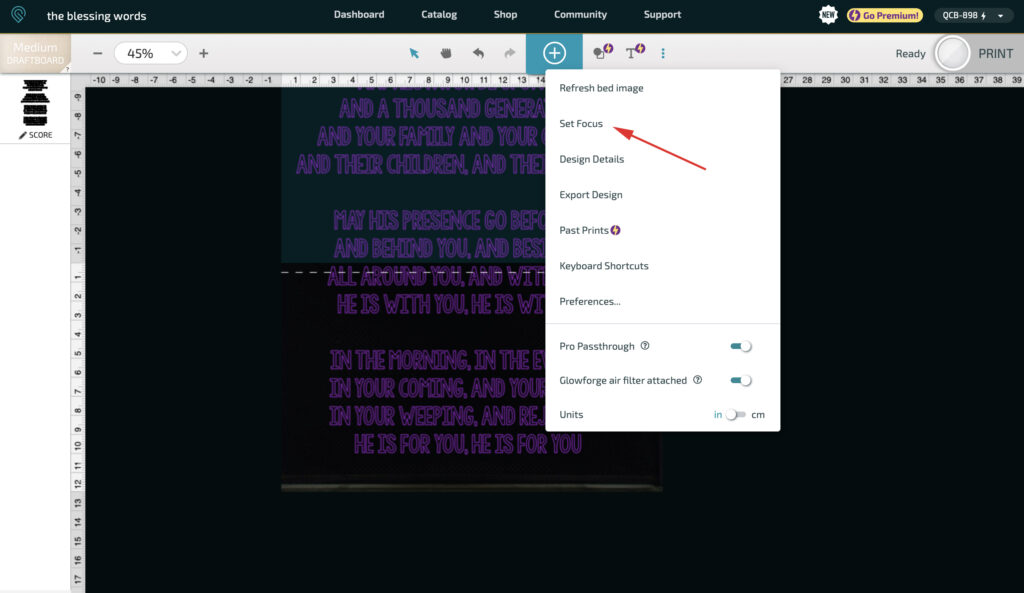
Once I had my design exactly where I wanted it, I used the set focus feature to make sure the machine was reading the material correctly. I do this every time before I “print”. If it alters the sizing of the file after the focus, just size it and center it again and then set focus one more time.
Everything looked good and centered so I clicked “print”.
Then, I pushed the print button on my machine and let the machine do the rest!
Note: When you use the passthrough feature on the machine, it will work in 12″x20″ sections. The design studio will guide you through sliding the material as it works it’s way through the full file. It might sound difficult but the Glowforge is so smart, it takes pictures after each section so it can line up the laser for the next section. It has been spot-on every time for me!
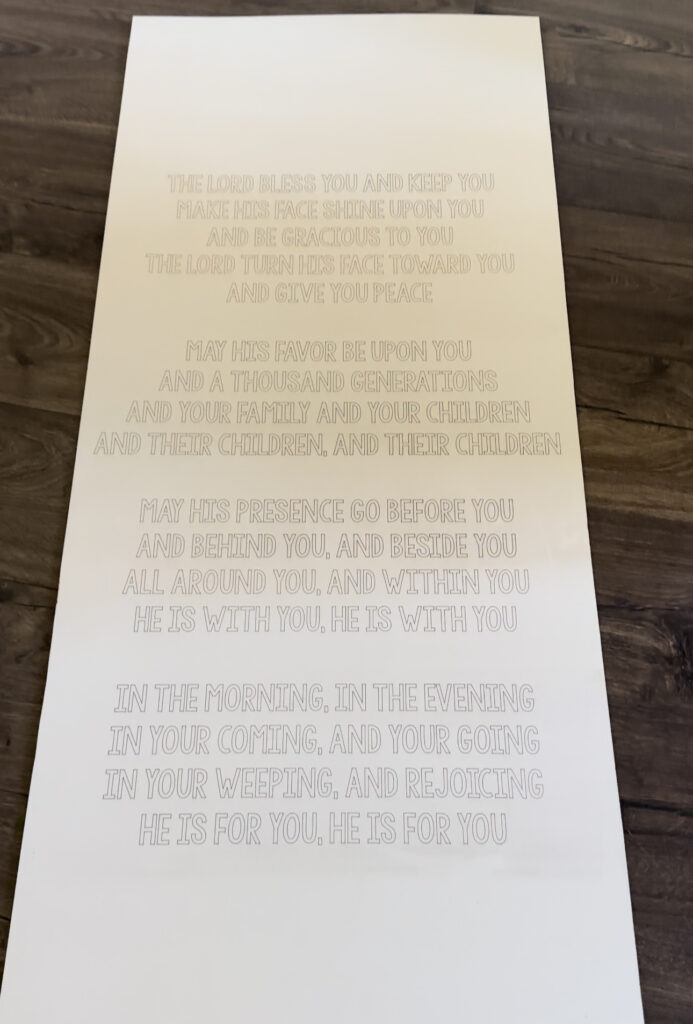
All done with the scoring! You can wipe this board down with a damp cloth to remove the dust.
Cutting the Heading and Ending
Step 1: Creating the File for the Words
I designed the heading and ending words file in Photoshop and converted them to svg files the same way I did the lyrics.
Step 2: Prepping the Material
I used a chalkboard material for this part because I wanted black words but you can use the same material and spray paint the words after you cut them!
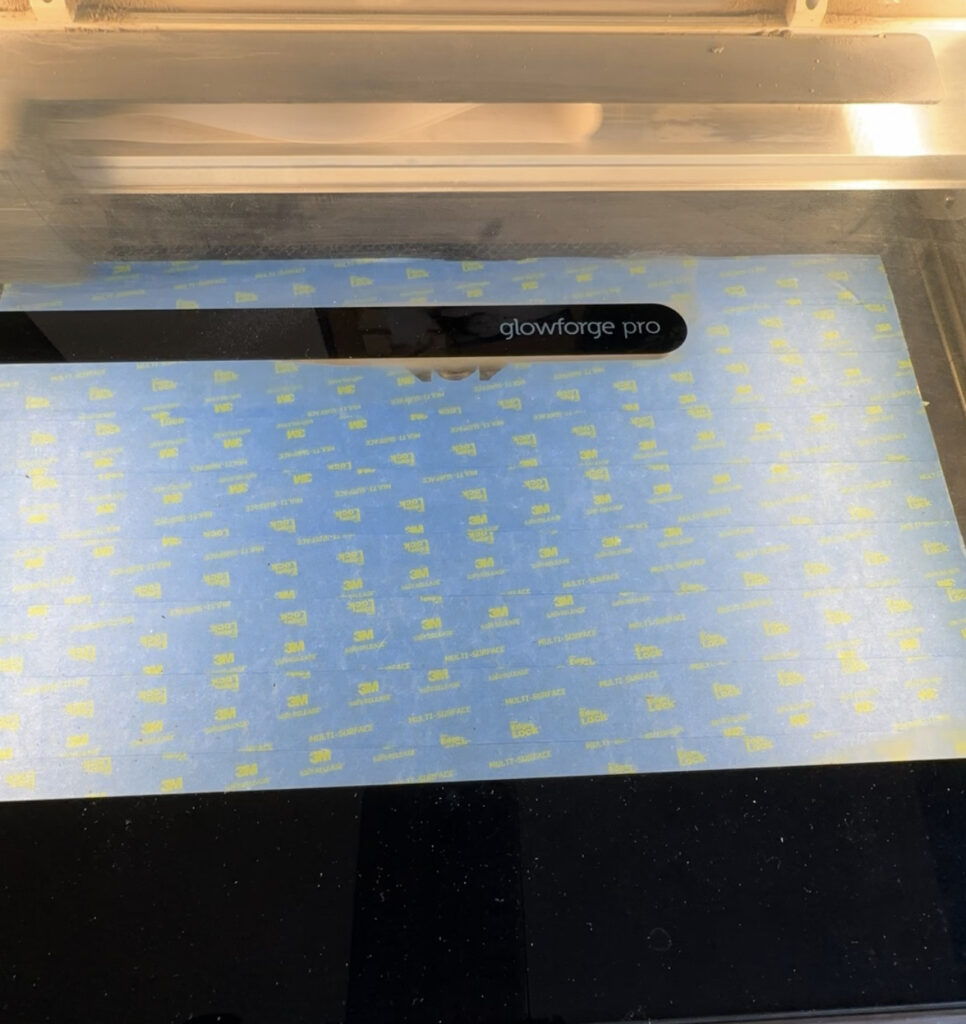
Because I was using chalkboard material, I masked the chalkboard with painters tape. This will keep the laser from scorching the face of the material. If you’re spray painting the words, you do NOT need to mask the material.
Step 3: Cutting the Words
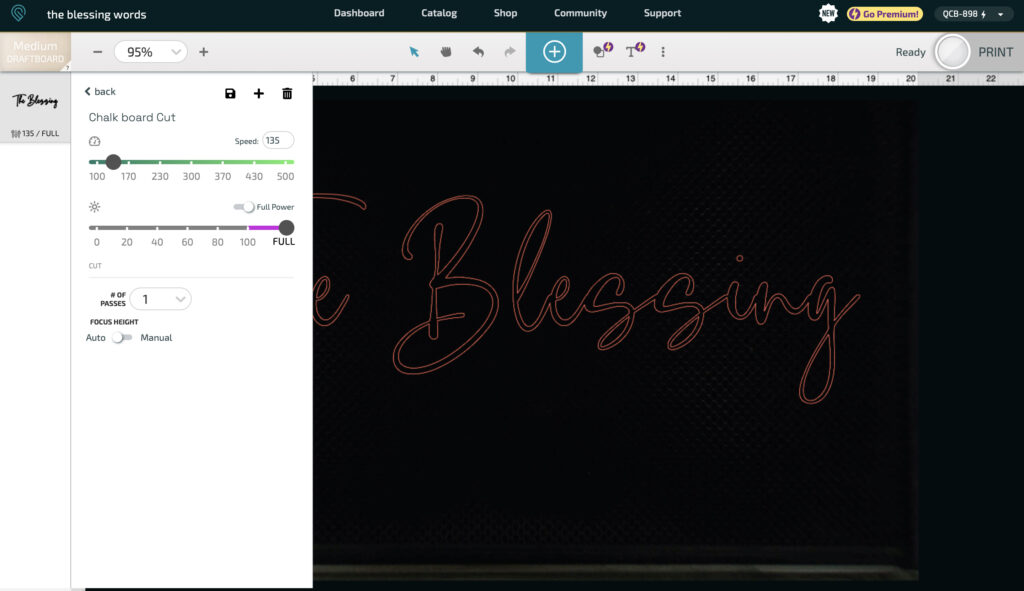
I loaded the design in to the Design Studio, set the material to medium draft board with the custom cut settings above.
Note: this is the standard 12″x20″ size that will fit inside the Glowforge so there is no need to have the passthrough feature toggled.
Then, I manually sized it down to 17.5″ wide for the Title and I set the Ending to the same height as the title.
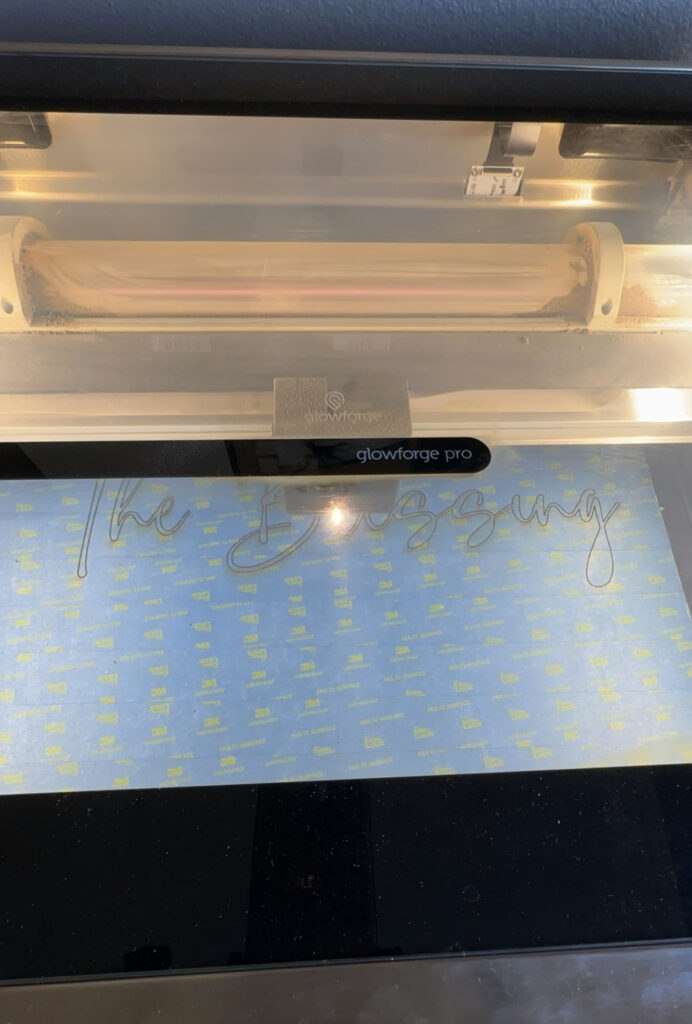
Next, I set focus, made any adjustments needed, clicked print and let the Glowforge work its magic!
Building the Frame
Step 1: Cutting the Boards
I used one 1x4x8 board and ripped it to two 1x2x8 boards with my table saw to save money. Two 1x2x8 boards cost more than one 1x4x8 board. I cut the 1×2 boards to size to create the frame.
- 2 – 1×2 @ 48″ – Side Pieces
- 2 – 1×2 @ 21.5″ Top and Bottom Pieces
- 4 – 1×2 @ 10″ cut at 45° on both ends long point to long point – Corner Pieces
Step 2: Assembling the Frame
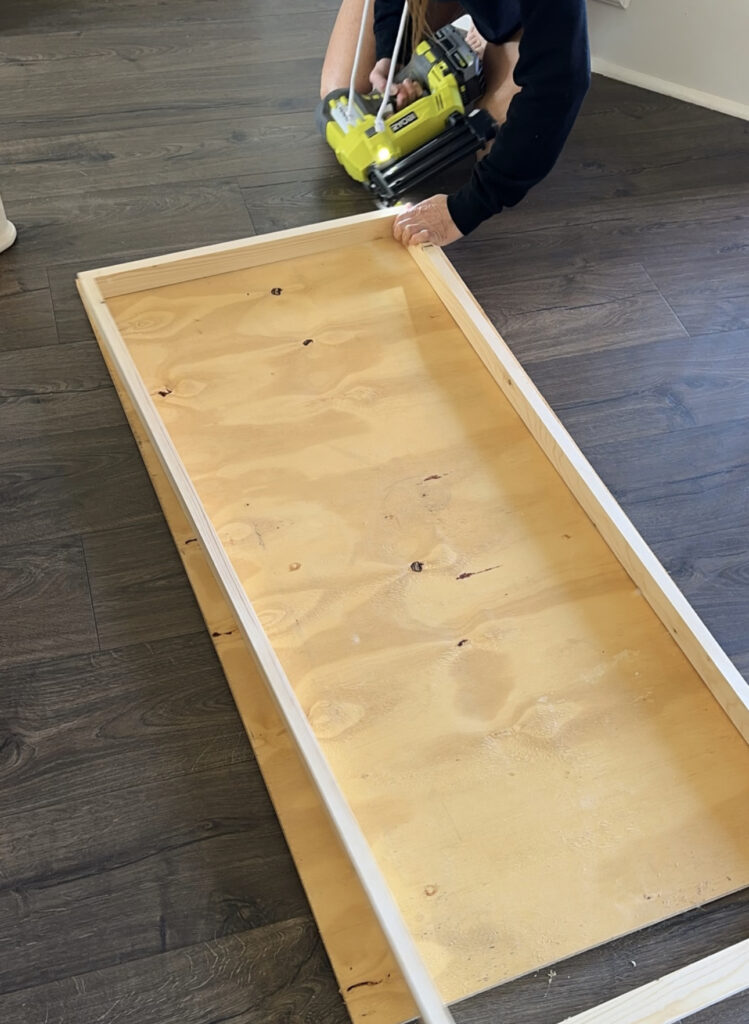
To assemble I attached the top and bottom pieces to the side pieces with wood glue and 1 1/4″ brad nails.
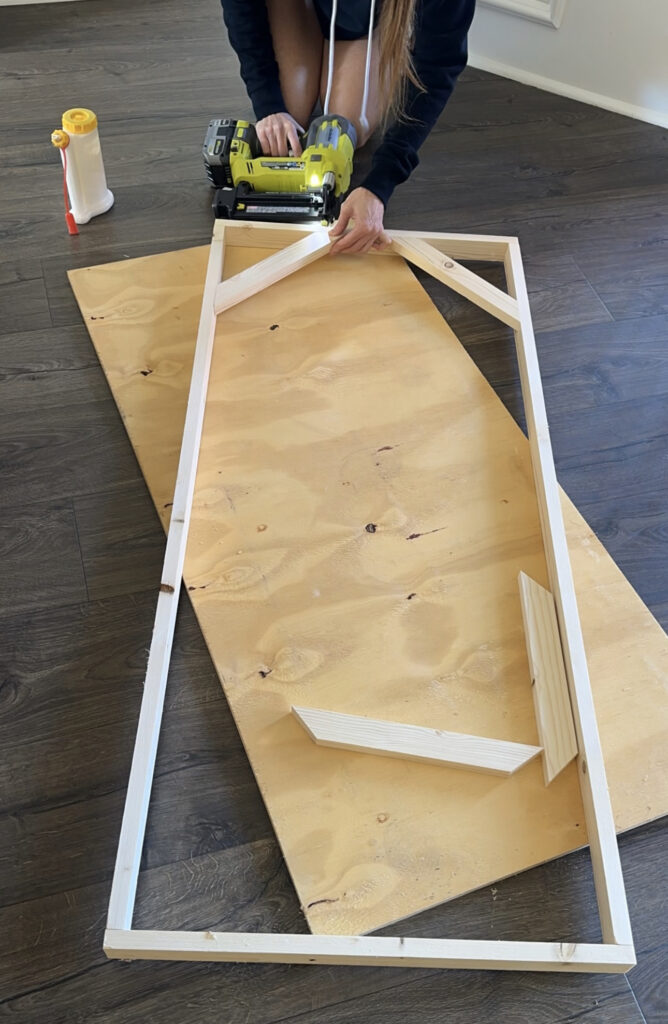
Once the outside of the frame was complete, I attached the corner pieces the same way.
Step 3: Applying a Finish
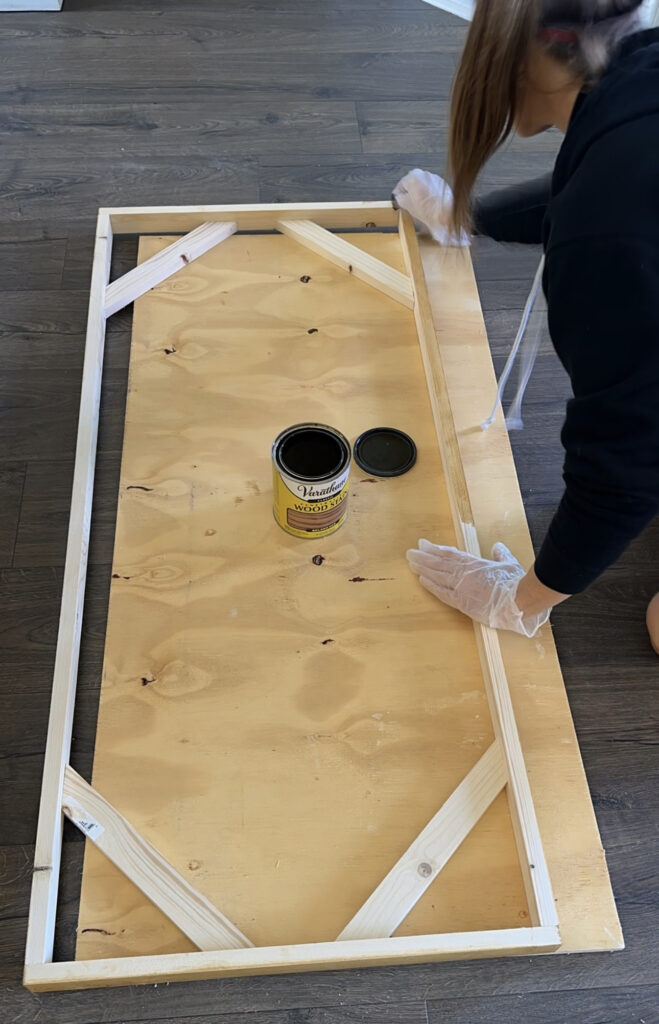
Once the frame was built, I applied one coat of stain over the entire piece.
Step 4: Attaching the Sign to the Frame
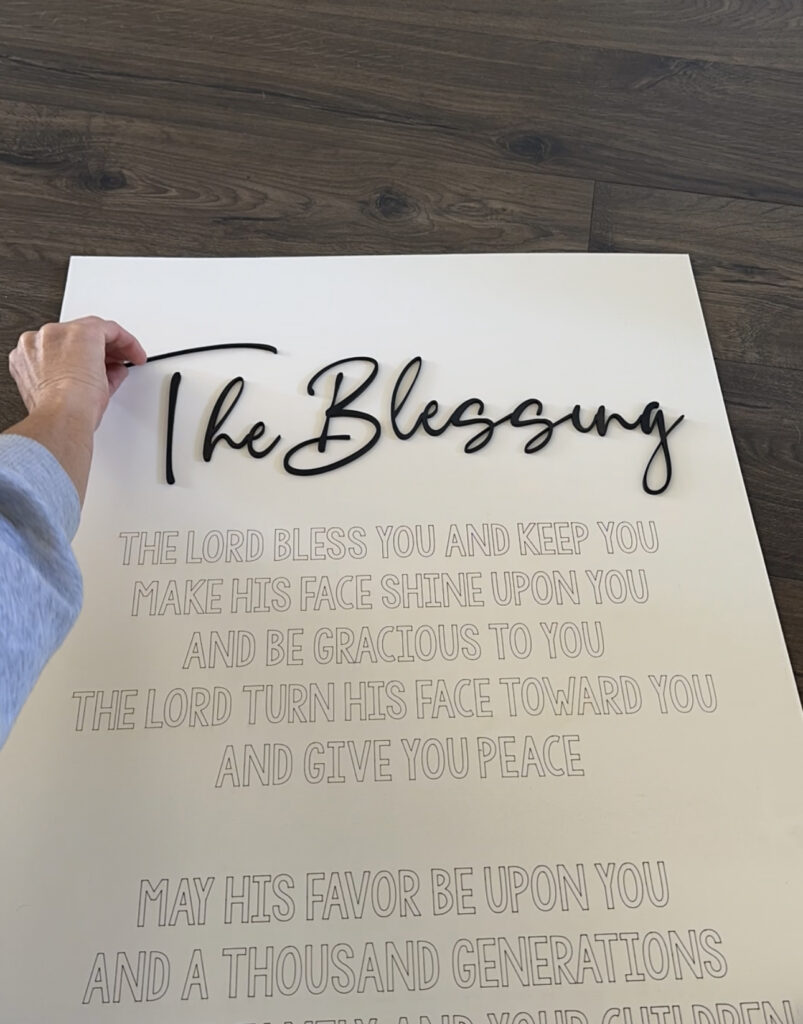
While the stain was drying, I attached the heading and ending words to the sign. I removed the painter’s tape masking from the letters and applied them to the top and bottom of the sign with glue.
Once the stain was dry, I applied the glue on the corner pieces of the frame and laid the sign inside the frame. You can use heavy items as weights to secure the sign while it dries.
That was it! I found the perfect spot in my entry to hang it!
Now, let’s talk a little more about the Glowforge machines!

I built this custom craft cabinet to house my air filter and Glowforge! You can get the free plans to build your own here!
We have learned so much about the machines over the last year and we have tried so many different materials in them and have created so many fun projects and unique gifts!
I’ve even been creating items to sell locally over the last few months (when I have free-time). I have had to limit how often I sell items because I’ve had a hard time keeping up with orders – so If you are debating making the purchase, know that it IS very possible to make your money back on the investment if you use it for small business!
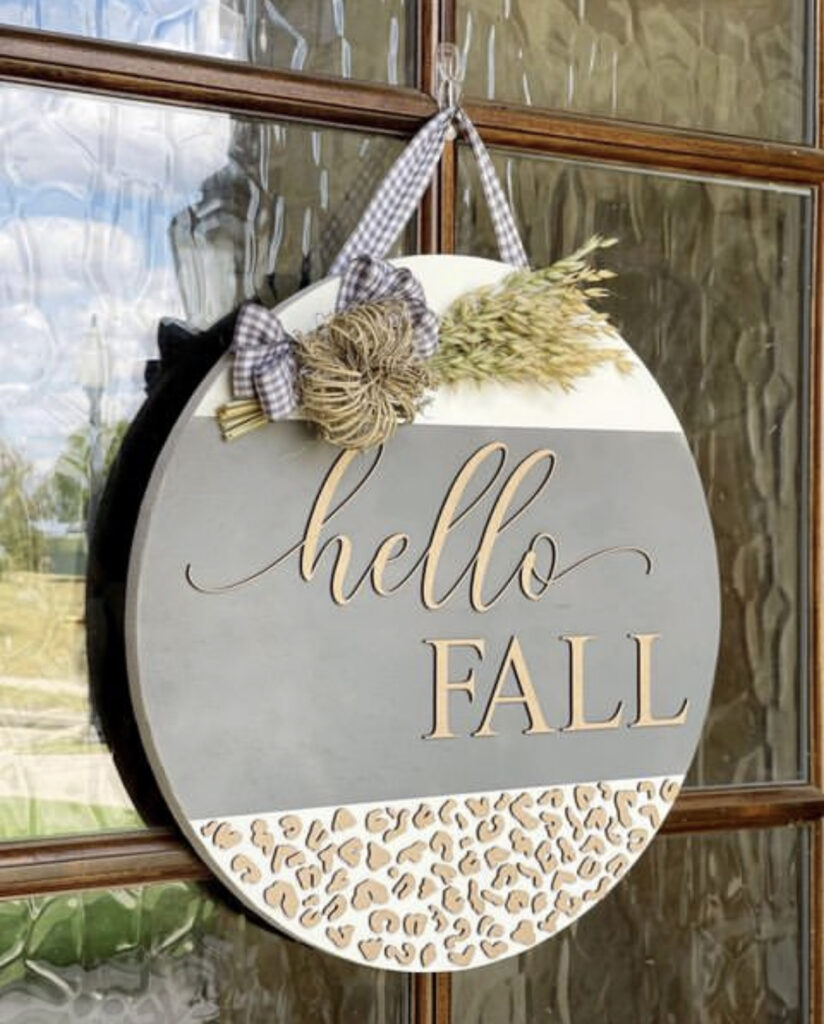
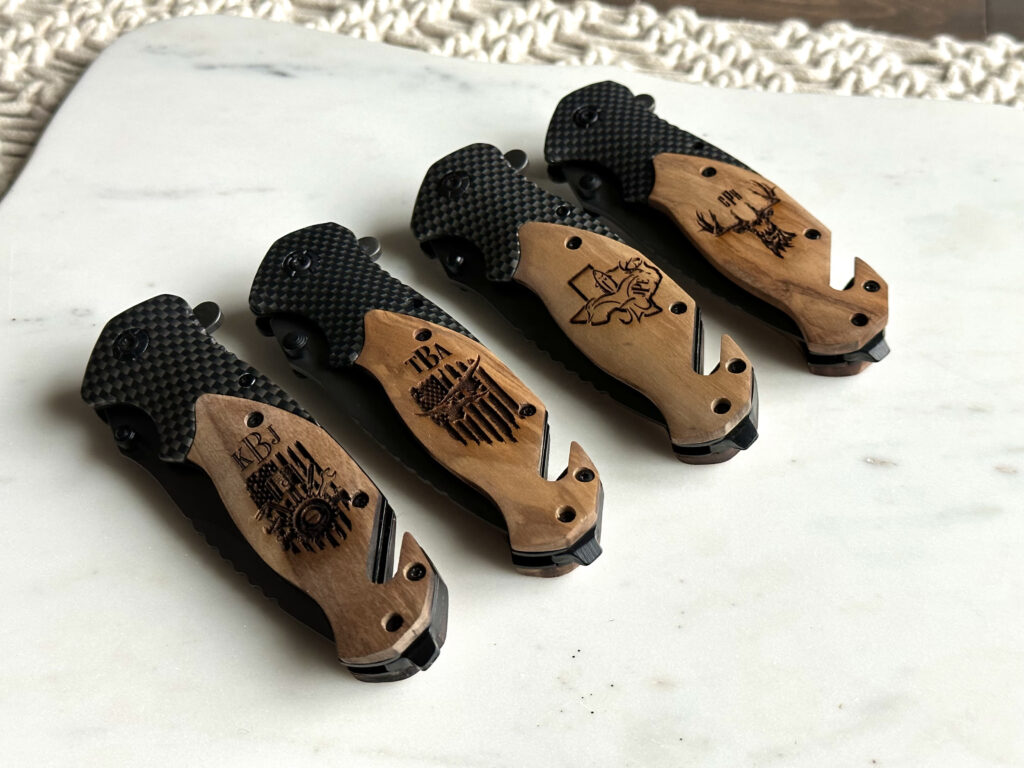
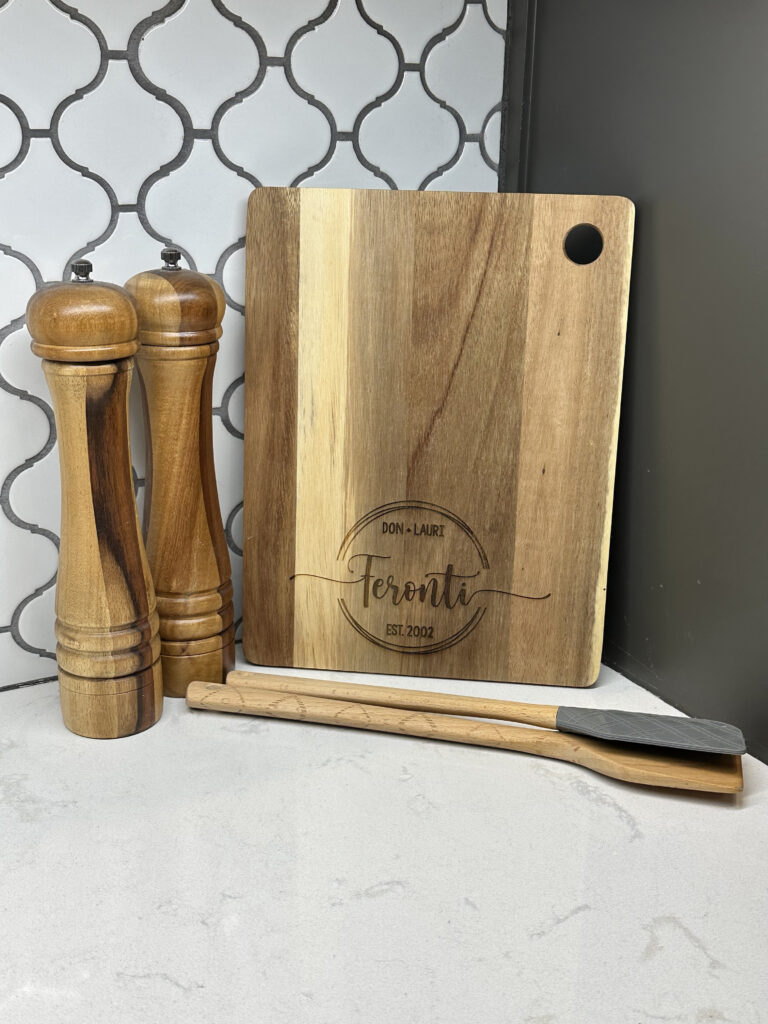
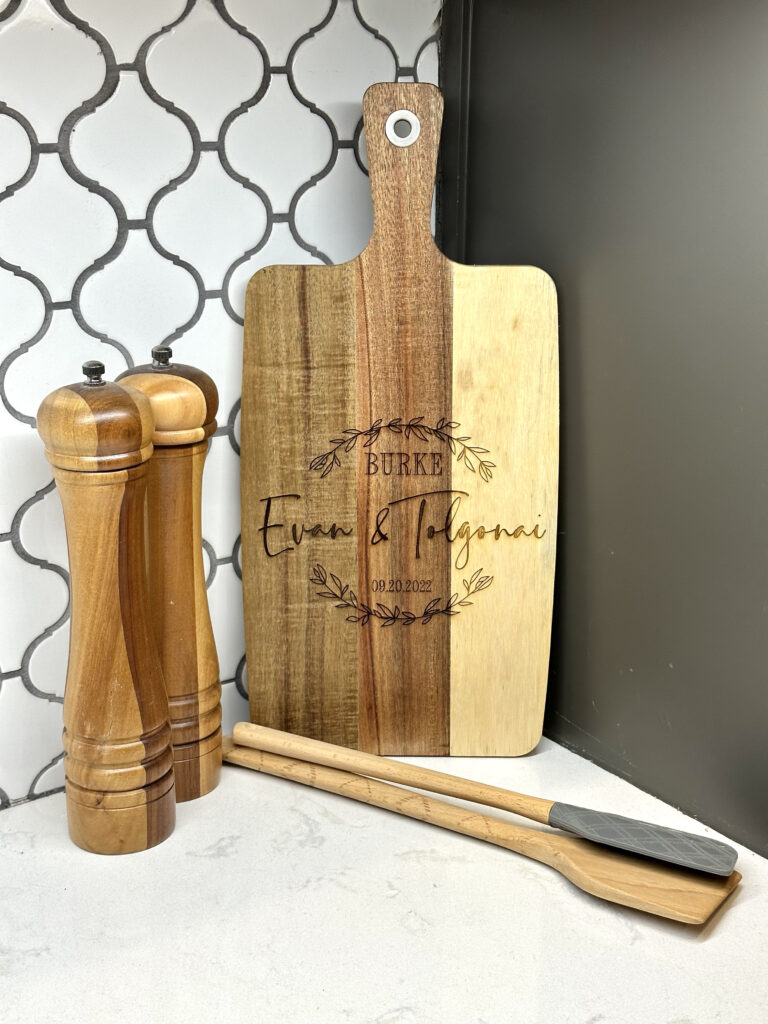
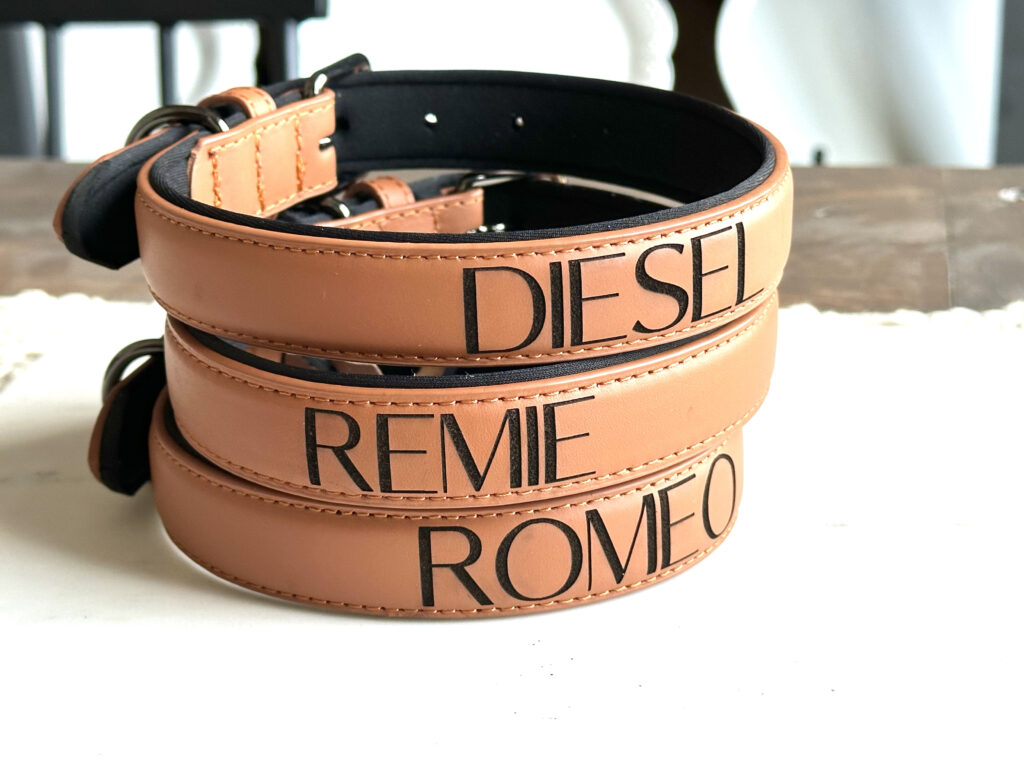
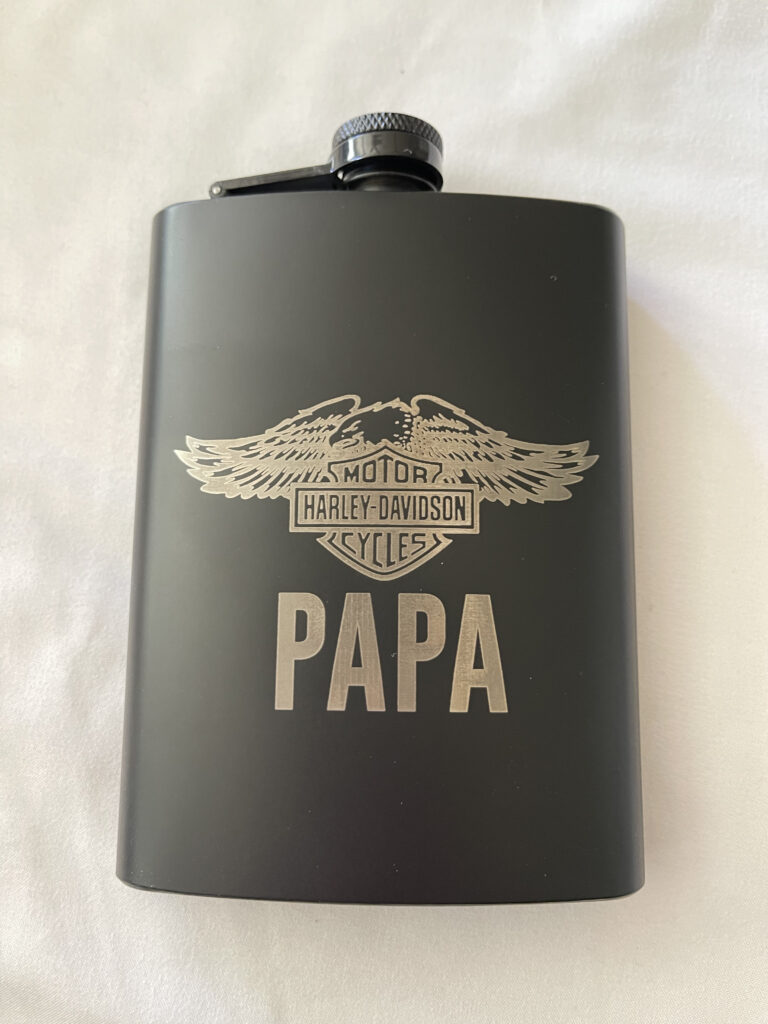
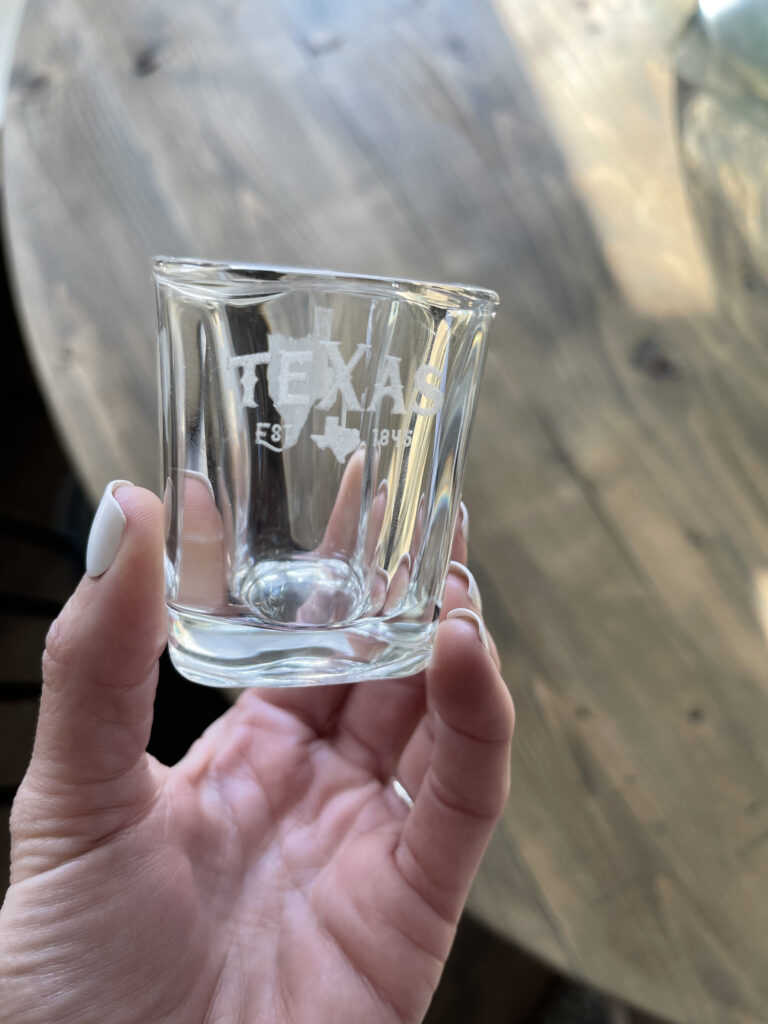
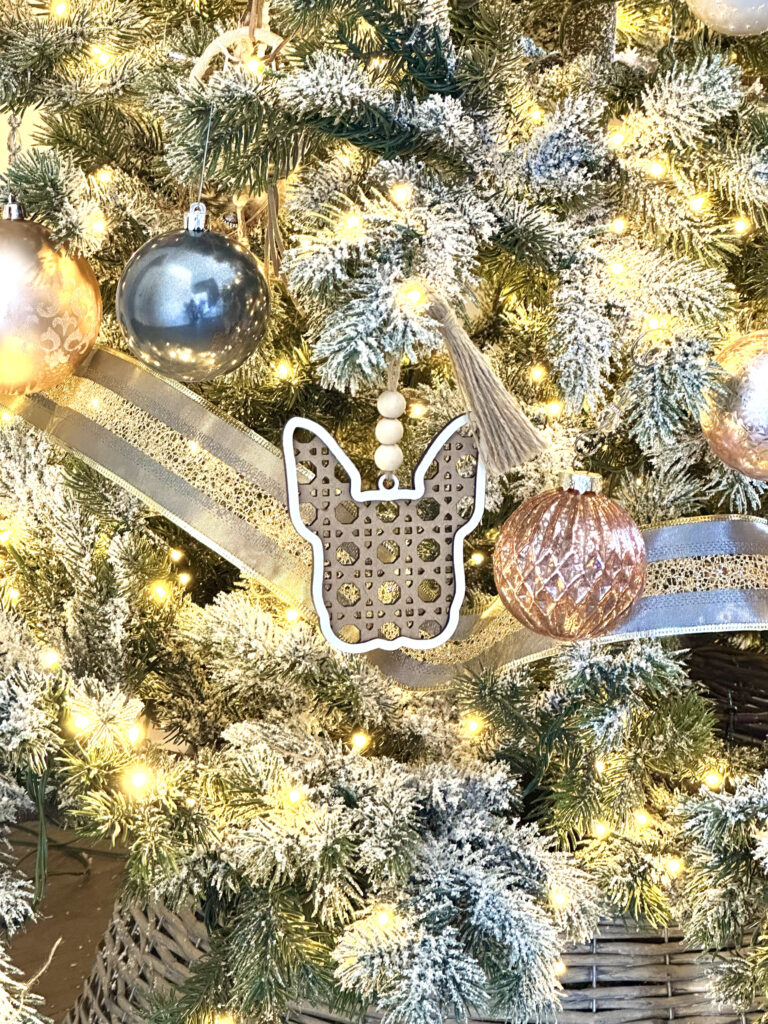
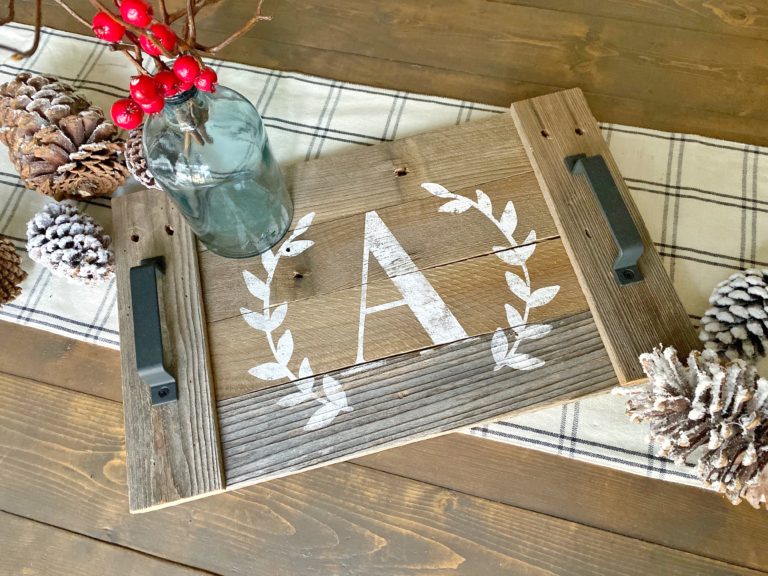
Here are some of the items I’ve made with my Glowforge!


More info on the Glowforge 3D Laser Printers!
WHAT IS A GLOWFORGE LASER CUTTER?
The Glowforge is a 3D laser cutter that makes magical things with a push of a button, and a focused beam of light. One of our favorite features was the simple setup. We had ours up and printing in under 30 minutes. The startup is SO easy! It cuts a wide variety of materials from plywood, leather, fabric, aluminum, acrylic and wood. It also has amazing features like autofocus and 3D engraving. It’s compatible with Mac, PC or mobile and Glowforge uses free web-based software. Another favorite feature of ours is the live preview camera. It literally shows you exactly what is in the cutting area in real time. You just place your material on the crumb tray and the Glowforge goes to work.
GLOWFORGE COMMUNITY
The Glowforge Community is one of our favorite resources! I didn’t understand the value of this group of creators until I started printing on my own printer. The Glowforge Community is group of fellow Glowforge makers who love to help you brainstorm, troubleshoot, and experiment. Most posts have answers in just a few hours. You’ll always find someone who tried it first or wants to learn it alongside you! When you are working with a new material and aren’t sure on settings, there are so many others out there who have tried it and share their tips with you. It’s also a great place to share your own creations. There are also so many Glowforge groups on Facebook that you can join!
Glowforge Graphics
Another feature we love about our Glowforge printers are the files. Glowforge printers use a digital file called an SVG file, and with a simple search you can find thousands of files to help you create your vision. Many of these are free, and Etsy is an awesome source for Glowforge tested files that are very inexpensive. You can also create your own SVG files using certain software like Inkscape, Adobe Illustrator and Adobe Photoshop. The Glowforge community is a great source of info on that if you choose to do so.
Proofgrade Materials
Proofgrade materials are the first materials that are sourced, prepared, encoded with a qr code, and lab-tested for perfect printing, every time. They are specially formulated for the Glowforge 3D laser printer and work well with other cutter/engravers using CO2 laser technology. It knows the perfect settings for each piece, and takes all the guess work out. You are also able to cut a variety of other laser-compatible materials. The Proofgrade materials just make it even easier!
Which Glowforge is for you?
There are 3 different models of Glowforge laser cutters. Ashley and I both own a Glowforge Pro model printers. That is their most popular model with enhanced speed, power and it includes the exclusive pro Passthrough Slot which allows you to work with long materials create a piece with an unlimited length. They are pretty amazing. There are also the Glowforge Plus and Glowforge Basic models. You can read the differences in each of these machines HERE on the Glowforge website. All models come with a great warranty, cut different materials and have so many features!
Glowforge Filter
One of the things you will need to consider is how you plan to filter your Glowforge. Currently, I use the Glowforge air filter and Whitney has recently converted hers to filter out of a window. We have learned so much on the Glowforge Community about how other makers are setting their laser cutters up and it has been our go-to resource for information!
Glowforge Web App
The Glowforge App is where you will do all of your prep before making your cuts. It is super user friendly. It’s a web based software that controls the machine.
Glowforge Promo Code
We hope we showed y’all just a glimpse of what a Glowforge 3d Laser Printer can do for you! It’s an amazing investment that can literally pay for itself as you create with it. Glowforge does not do a Black Friday deal. Instead, they have given our readers THIS LINK to purchase your own Glowforge with the best deal they offer on the machines!

Could you tell me the font you used for “The Blessing”? Thank you so much, I love your work!
Your idea has given us a new perspective to work better.