Hello summer! I’m sure most of you are also experiencing the heat wave in your area! It’s down right hot in the Lone Star State:) I couldn’t get this project started fast enough!
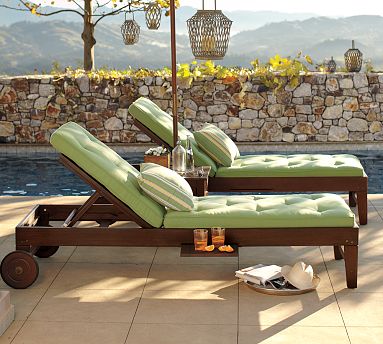
Ahhh!!! Swoon! Love this set of chaise lounges from Pottery Barn….but I don’t love the $600 price tag (and yes that is the “marked-down” price;) I’m sure they are worth every penny but my wallet will never know!
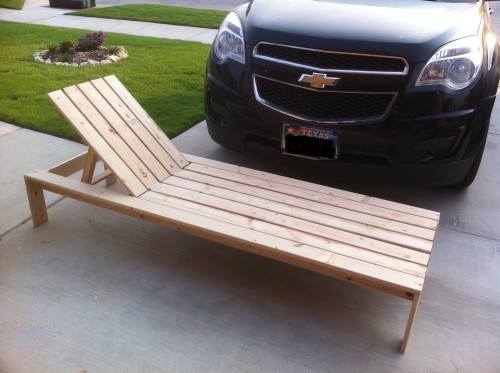
Nope, I saved some dough and built my own for $25 thanks to the free plans I got from Ana’s site!
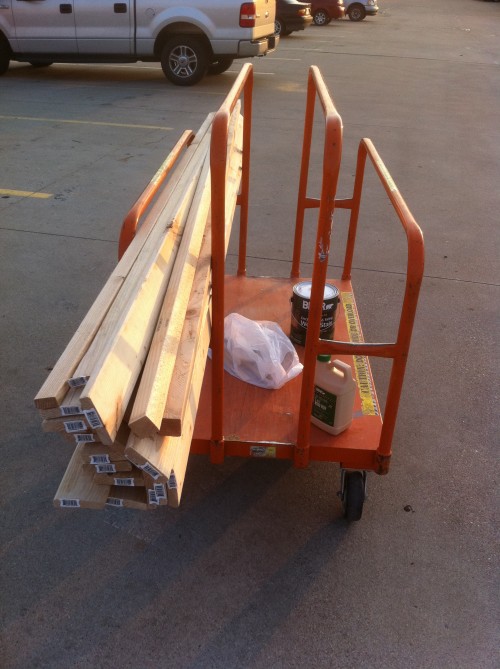
Trip to Home Depot for supplies (no kids;) Thank you hubby!
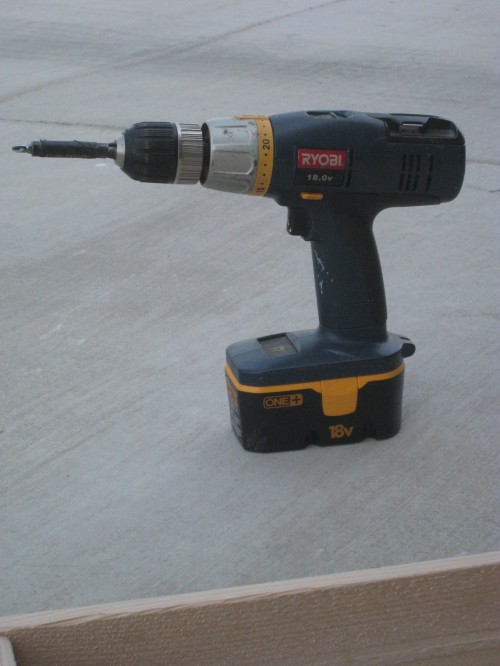
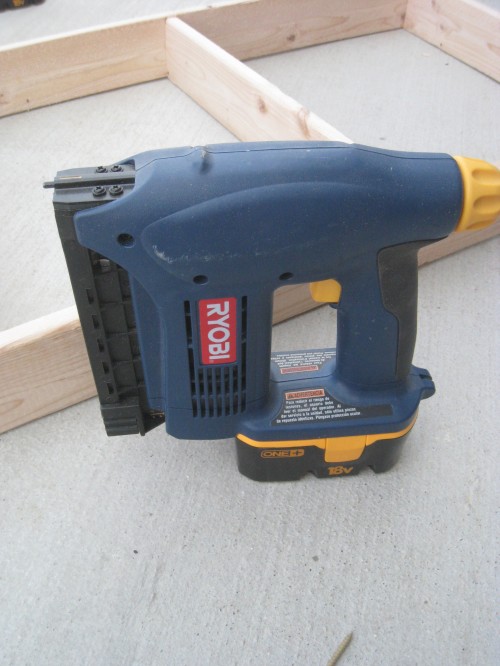
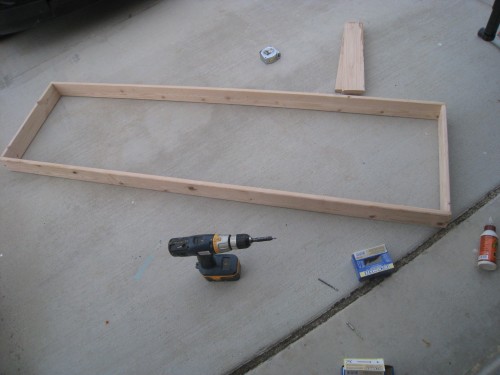
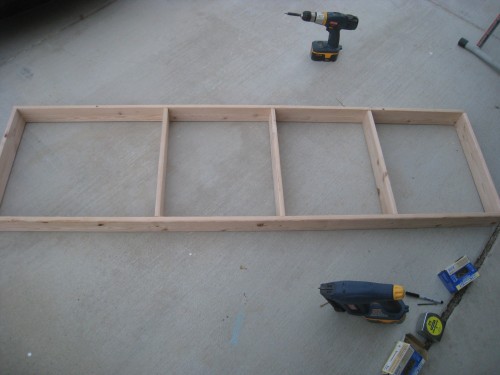
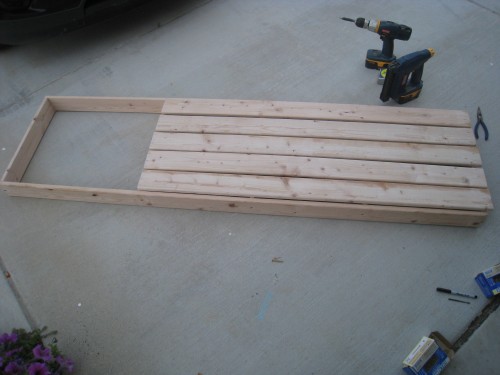
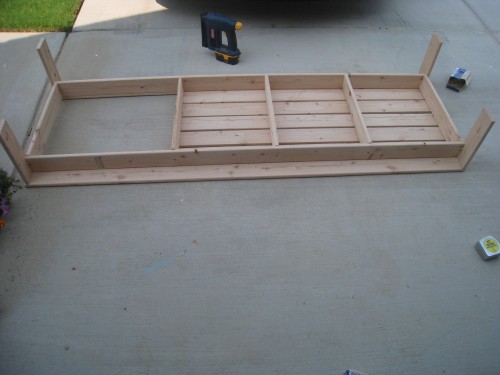
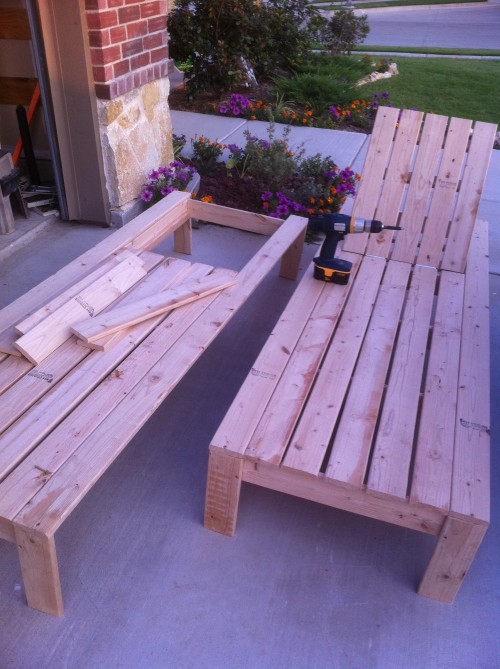
I used my battery-powered drill and nailer to assemble the chairs…. oh and Gorilla Glue Wood Glue of course;) Here are some pictures of the steps I took as I went…
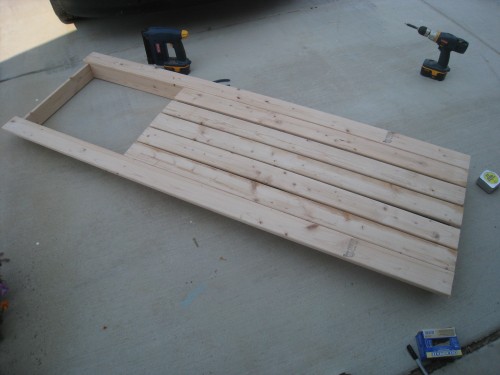
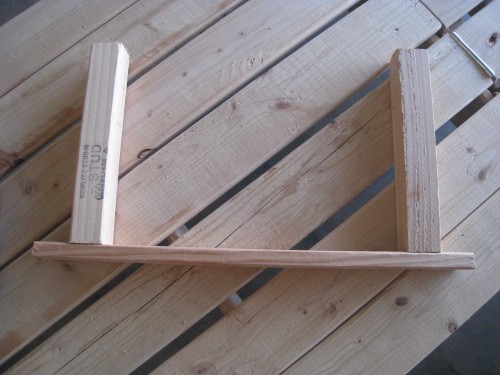
I used the base of the chaise to assemble the back by aligning each board on top of the other to ensure a good match when the back was attached.
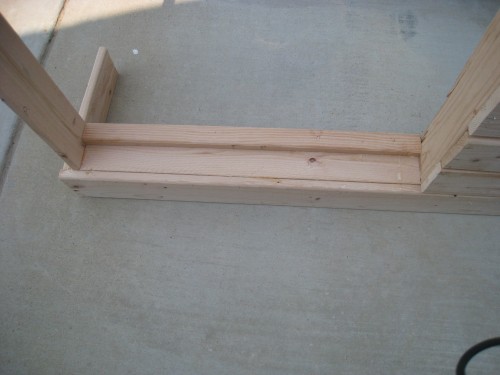
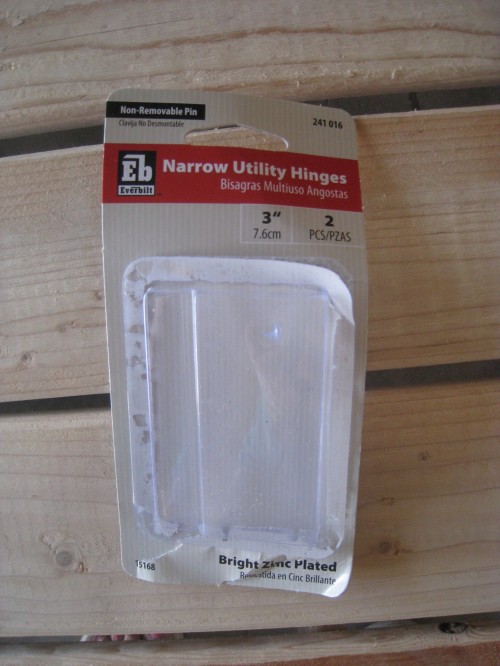
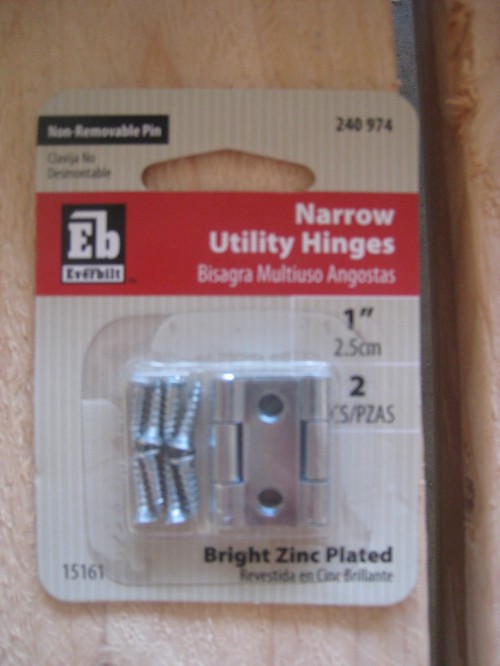
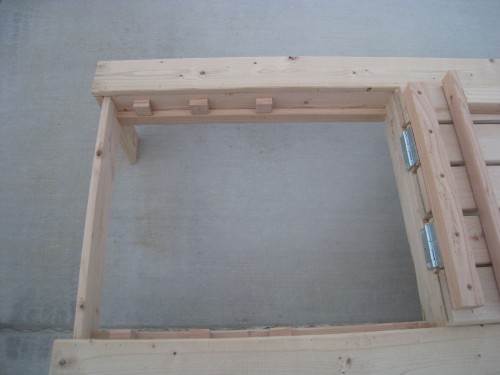
Use narrow utility hinges to attach the back to the base. The regular width is too wide…I learned this the hard way…
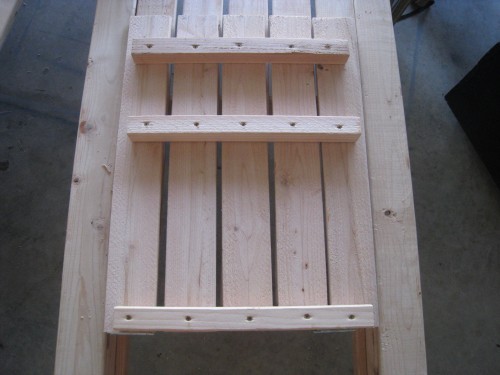
This is the prop for the back rest:)
Again, narrow hinges to attach the prop to the back.
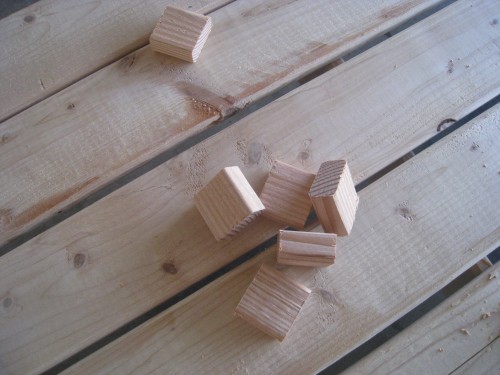
This is my FAVORITE part! All of these scraps are used to make…
stoppers for the prop on the back rest!!! You just pick the angles that you want the back rest to sit at and attach them!
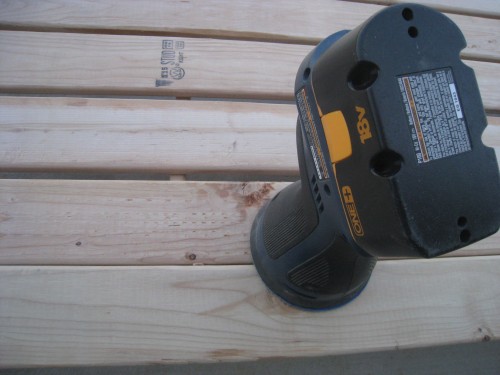
I finished with Elmer’s Wood Filler and a good sanding using my battery-powered sander and that was it!
Yah, I had to make two:) I might make a third….
I can’t share all of them with you just yet….because they aren’t finished but, I will be back very soon to show you the finished chaise lounges!
These were very simple to build. The only annoying step was the hinges but after I got past the first set I was okay:)
Time invested: 1.5 hours to measure and cut lumber for 2 chairs, 1.5 hours to build each chair.
Money invested: $50 for lumber!
I’m a happy girl:) I’ll be a happier girl when I can actually enjoy them!!! Hope you all have a great FRIDAY! Whoop!
~Ashley




This is such a great idea! I was recently pricing lounge chairs for our new pool and i cannot believe how EXPENSIVE they are, I never thought of making one out of wood!
I love these thanks for posting. Here is a link to a DIY Lounge Pillow you can make from Martha! These would be cute with your lounger!
http://www.marthastewart.com/273544/custom-made-cushions?backto=true&backtourl=/photogallery/sewing-projects#slide_36
This is awesome Anne! Thank you so much:))))
LOVE this project! Very clever.
Michael
Done good job showing how to make – Thanks for showing step – step
These are awesome and look like they were easy to build. Thanks for the cost and time breakdown. You’ve inspired me to build something!
These are great! Stumbled Upon your blog!
jamie
Thank you Jamie:)))
Lounge looks really nice, however the legs are waaaay too flimsy. They will only last if you never move it. First time someone drags it over a brick patio, the legs will come loose and eventually crack. Easy fix though. All you need to do is to make each leg from two pieces, in an L shape. They will be 10 times stronger. Round the bottom of the legs so the corners are not sharp and don’t catch on stuff so easily. Even better, buy a couple of wheels and a piece of threaded rod at your home store and you can then pick one end up and roll it around the patio. Trust me, you will move it more than you think, like every time the angle of the sun changes.
Thanks for the tip John:) If the legs to start to deteriorate I will fix them this way. I do intend to add the wheels because I love the look:) Thanks for stopping by!
I thought the legs looked fragile as well. I’m not a “wee” lass. 🙂 I noticed the pottery barn chaise has square legs on the front that look to be affixed up inside the apron of the chaise on both the side and the front of the apron…thereby creating more structure. This is an awesome idea. Thank you so much for sharing your experience!
We have made it through 2 summers with these chairs:). Kids standing on them, adults lounging and they have been dragged everywhere! They are still standing strong! Never a bad idea to reinforce but I do stand behind these plans!
Ooh ooh ooh! I SO want to do this!
I think I can, I think I can attempt at trying to make this. The price is much better then PB’s! Thank you for sharing!
Found you from Tip Junkie link party!
www.redblondeandburlap.com
Wow! I love these! They look so easy to make too. It nice to see another girl who knows how to use power tools 🙂
I found you on Tip Junkie.
Emily
Thank you Emily:)) LOVE power tools;)
Wow! What a great job! I think you should start taking orders. lol
Hope you’ll drop by and see the tile floor Jane wrote about for Met Monday.
Allison
Atticmag
Thank you Allison:)))
So pretty. I’m sharing this post with my readers today.
Awesome! Thanks so much April!
They look great, well done. And you make it look so easy making them. Thanks for the tutorial.
Thank you:)))
Amazing!! I’ll take two!!
I’ve been pining for these chairs for years, and I agree with you, that price tag from PB is too steep!
{I’m pinning you to my covet folder on pinterest!}
Thank you Nicolette!!!!
Hey! Stumbled onto your site. These look great. However I am concerned about the 1×4 legs. They don’t look strong enough. Also it is not clear how you attached them. I wouldn’t want you laying on the chair and having the legs give out under you. You might spill your drink!!! Also make sure you use a good wood sealer cause that untreated wood won’t last long out in the elements. Now the next step for you is the wheels and side tray of the expensive ones.
Hi! Thanks so much for commenting! I actually just started building within the last year so I am fairly inexperienced… I have been getting all of my plans from Ana-White.com and I just followed her plans exactly. What would you suggest using instead of 1×4’s? They seem very sturdy right now but I definitely understand your concern. I am using outdoor wood sealer to finish them and I do have plans to add the wheels and tray just trying to work it all out;) Thanks so much for stopping by!!!!