Make your own outdoor dining table for only $65 in lumber! Free woodworking plans and video tutorial included.
Spring is one of my favorite times of year so, I had to take a break from furnishing our new home and move outside to our patio!
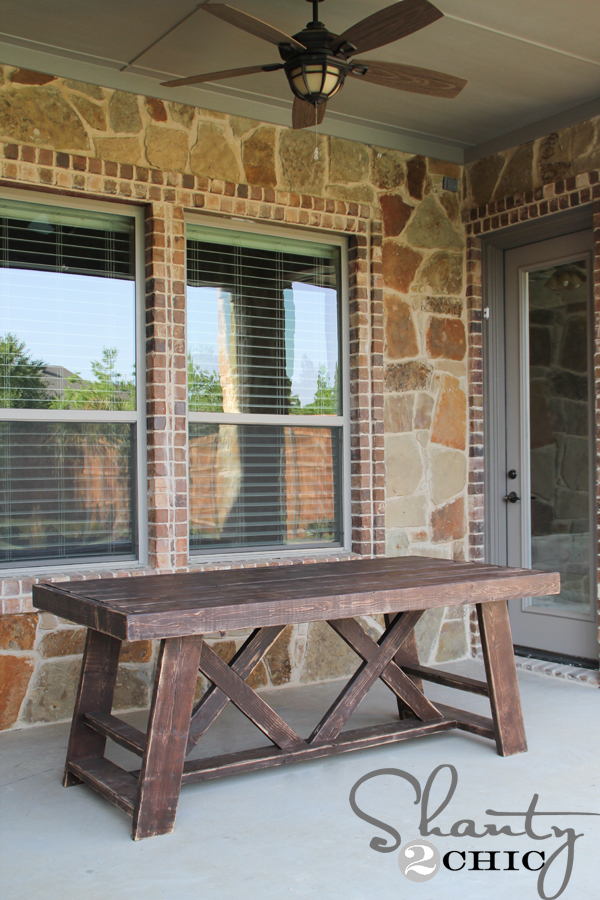
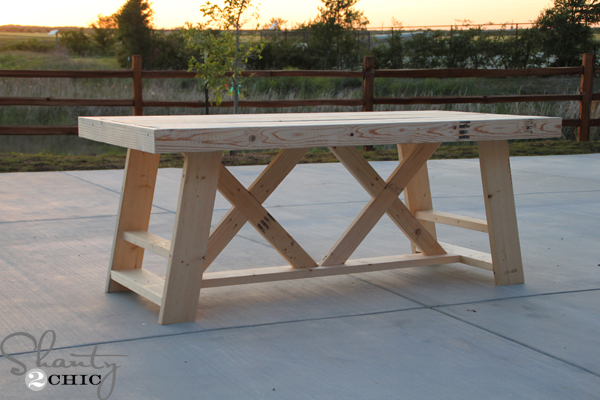
I’ve been dying to build an outdoor table for this space and with a few 2×4’s and 2×6’s, I created this super stout and GORGEOUS outdoor table for – wait for it – only $65!
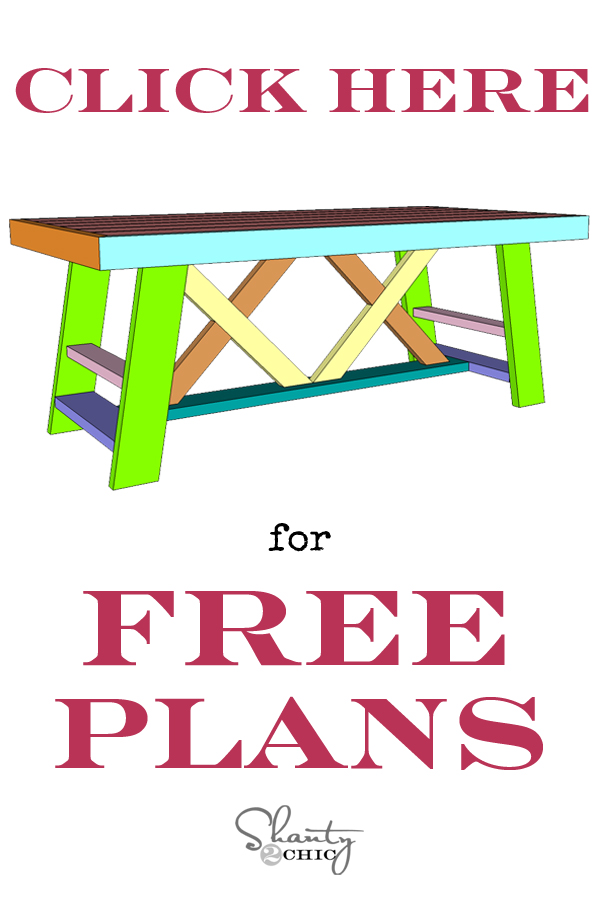
Of course, we have the printable plans for you to build your own! You can click the image below or HERE to print them! You can find plans to the matching set of benches HERE.
A huge thank you to our friend Jay from Jays Custom Creations for converting our table design into PDF plans for you!
And, as always, I am also sharing the step-by-step pictures for you to follow along!
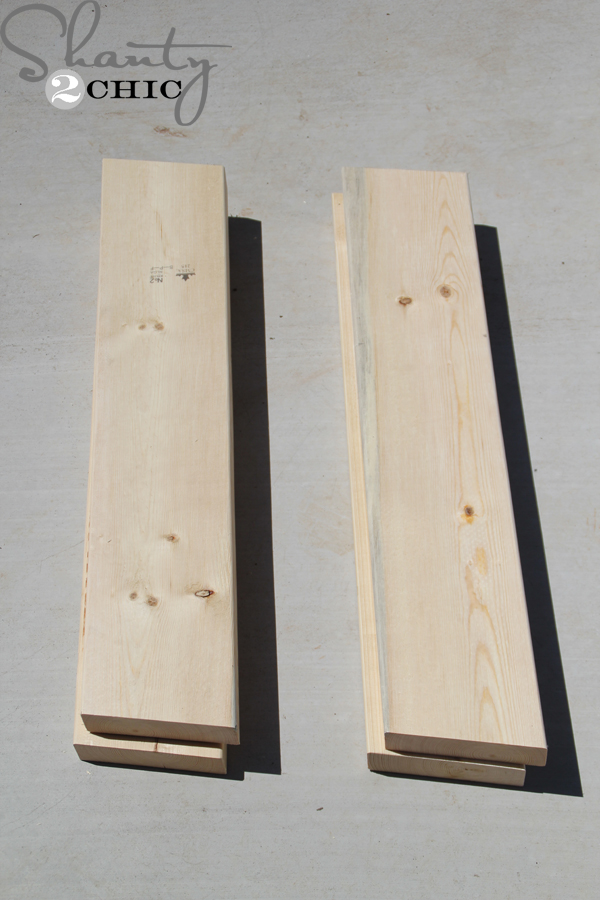
I started by cutting the legs at 10 degree angles.

We always make sure to protect our eyes and ears when we are building! These 3M safety glasses and headphones are some of our faves from the 3M Safety Products line!
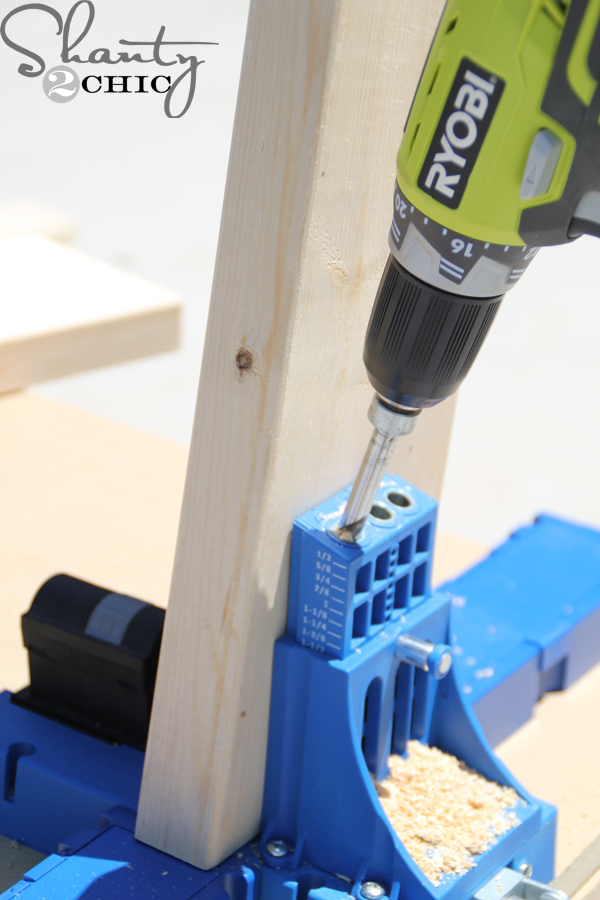
I used my Kreg Jig® K5 to drill pocket holes in both ends of each leg. You can see that I have it set at 1 1/2″ pocket holes.
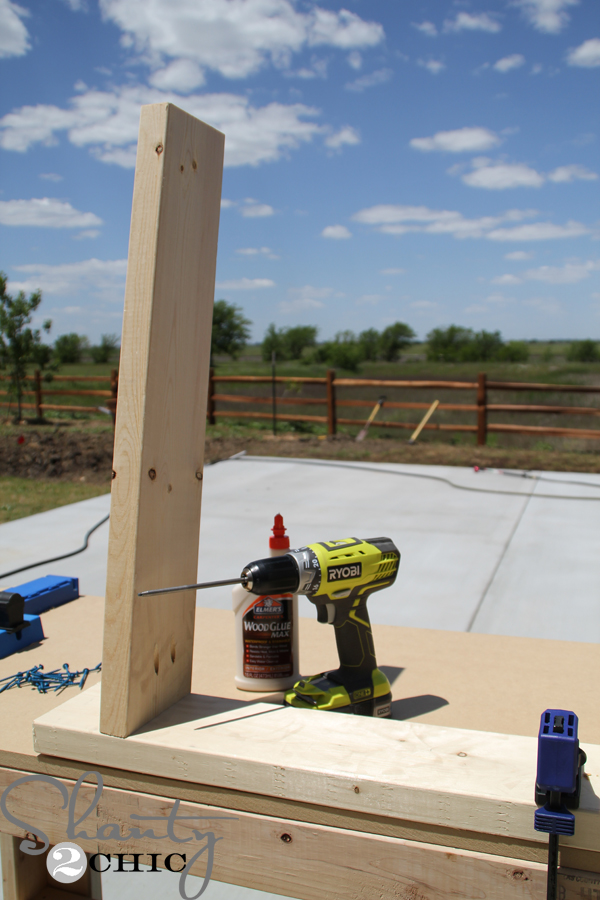
I used 2 1/2″ exterior pocket hole screws and wood glue to assemble the legs.
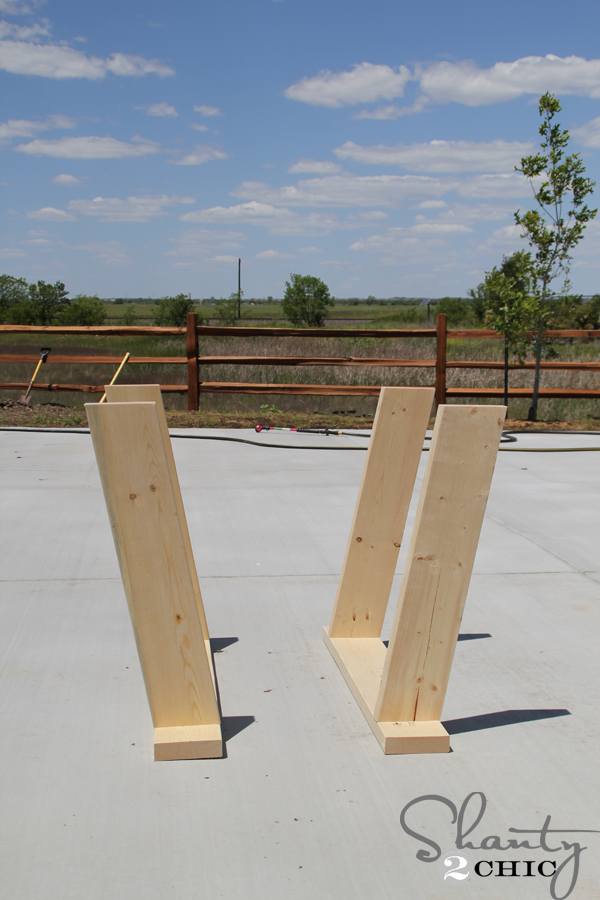
Almost done with the legs 🙂
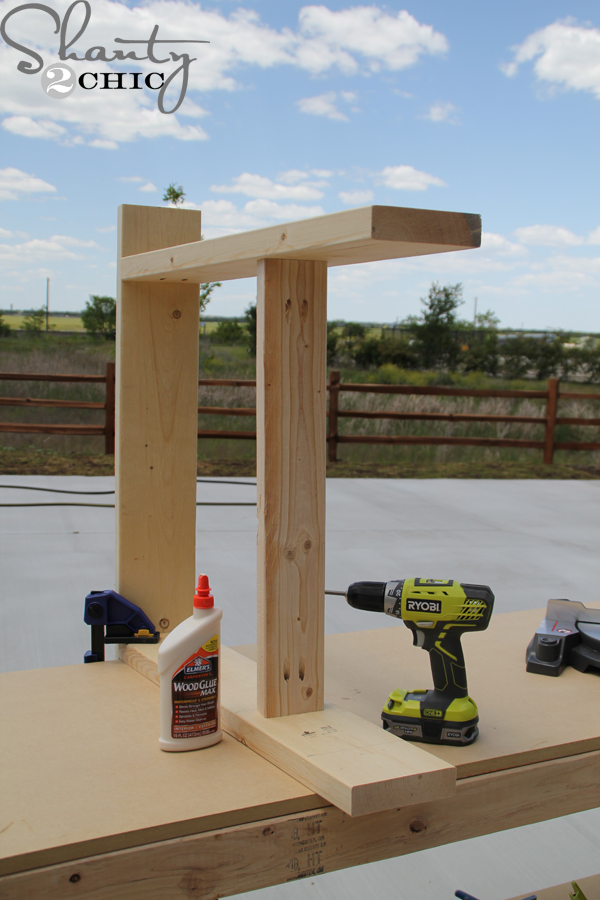
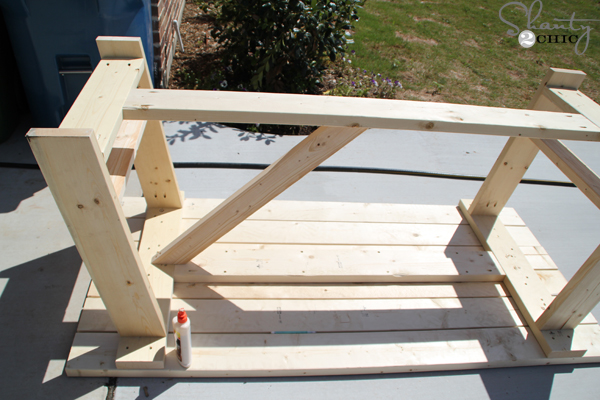
I attached the 2×4 to between the legs first. If you attach the 2×6 first you will have a hard time adding the 2×4 – trust me 😉
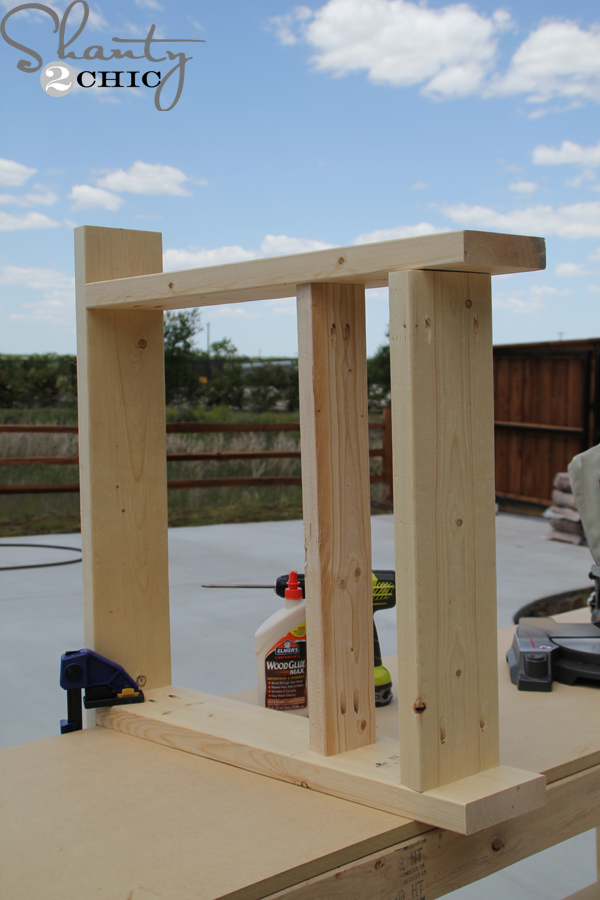
and now the 2×6!

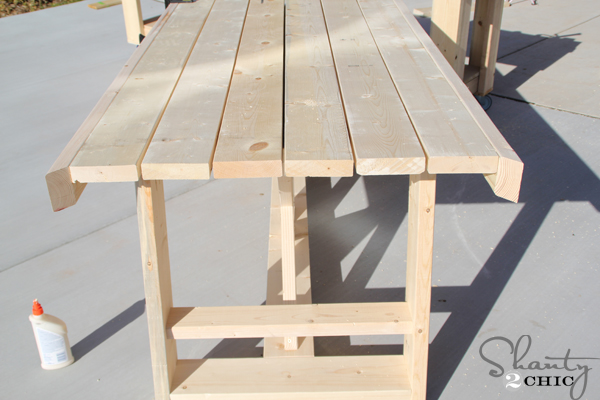
I attached the legs to the planked top and attached the stretcher with wood glue and pocket hole screws.

Then the support under the table top.
Now for the fun 🙂 I started attaching the double “x’s”. This is a great place to measure and cut as you build!
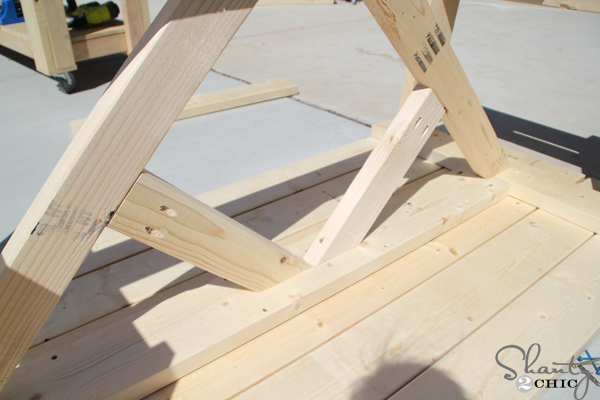
Now the small pieces.
Now, because I was designing the table as I was building, I added the trim as the final step. Don’t do this! Follow the plans and do it first but I did want to show this step so that you can see how I measure for the trim as I go. I cut the long pieces first, attached them and then measured for the short pieces.
Ahhhhhh! Love it! This table has TONS of pocket holes so I did have to fill them.
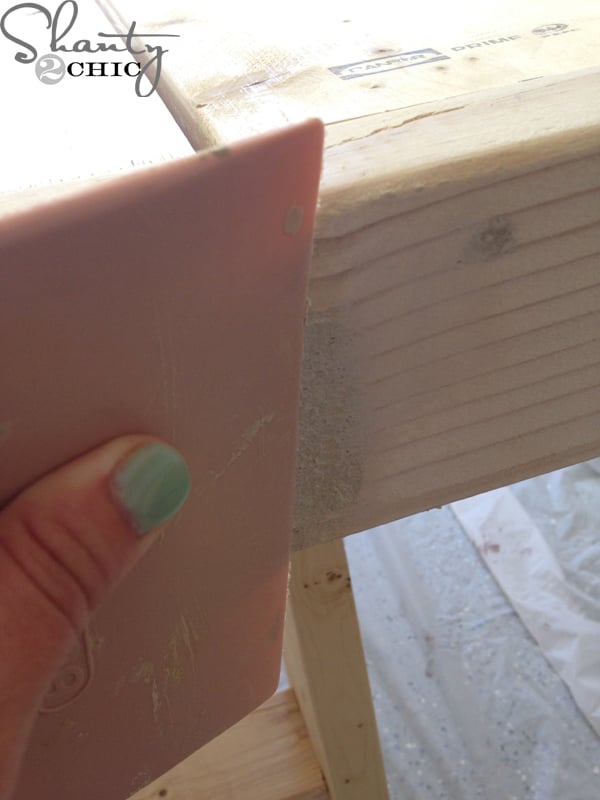
I used 3M Wood Filler to fill them all
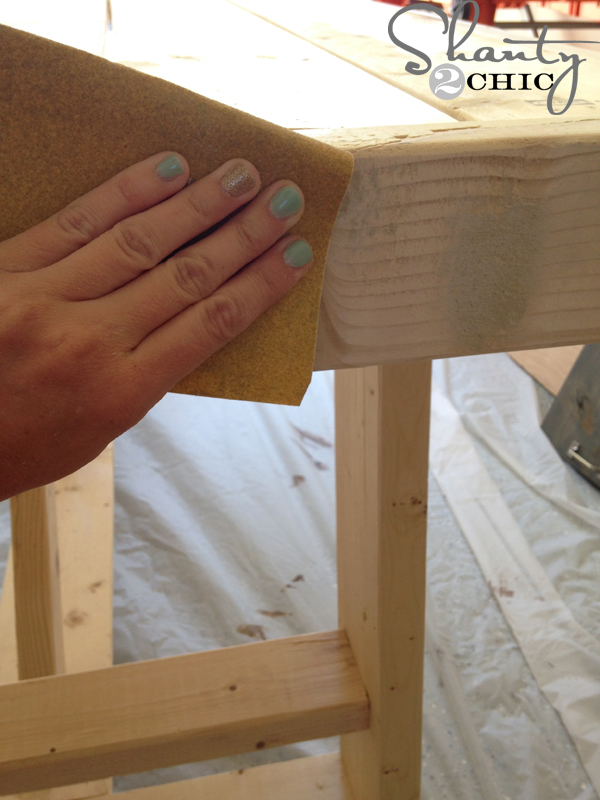
and after it dried, I used 80-grit sandpaper from the 3M Advanced Abrasives line to smooth the wood filler out flush with the wood.
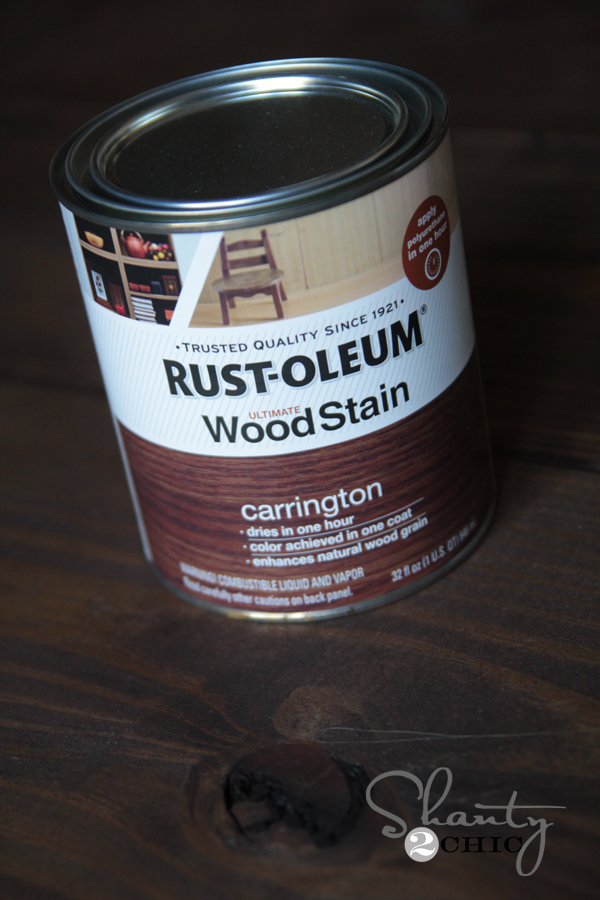
For the finish, I used one-coat of Rust-Oleum® Carrington Stain then used a sander to distress all over the table to get the worn look!
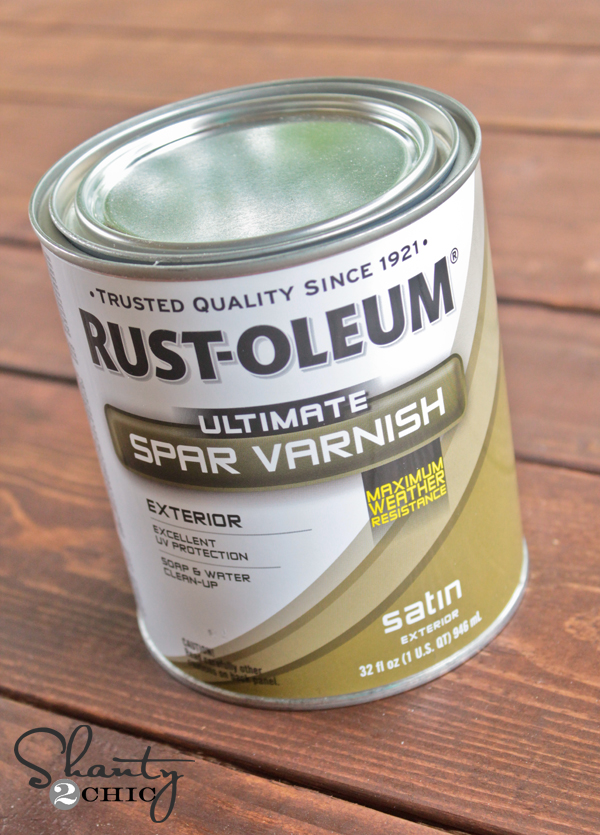
To help this table last, I put 3 coats of Spar Varnish on top of it 🙂

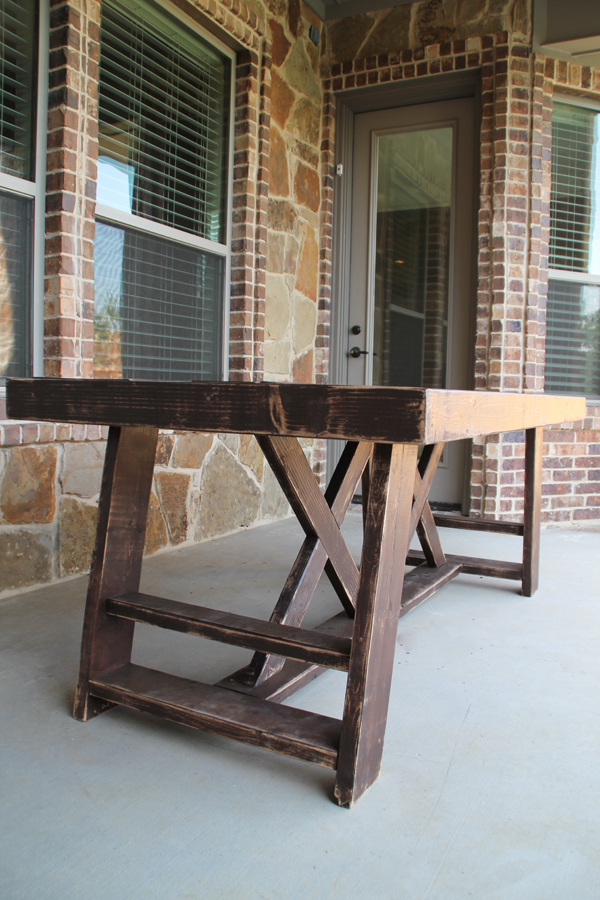
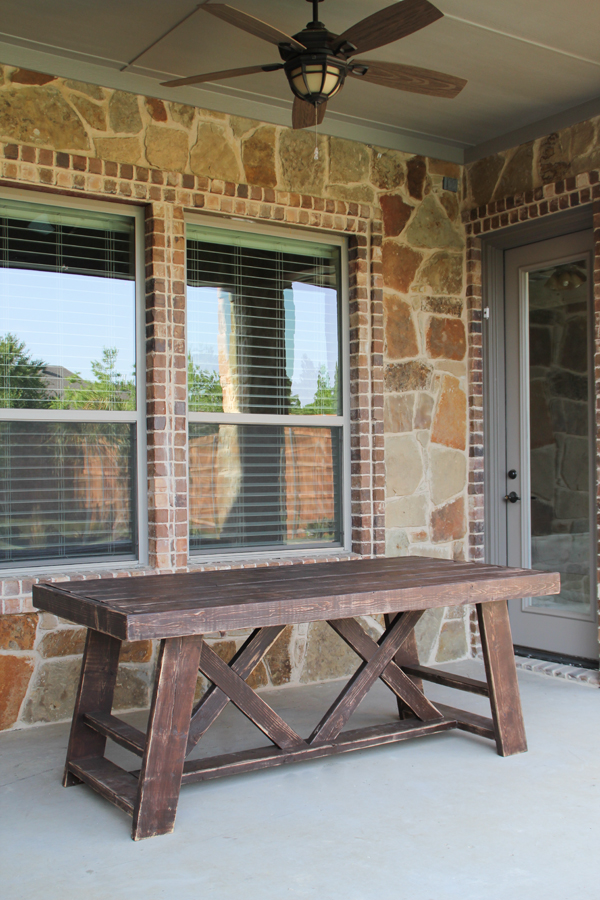
That was it! With some 2x boards, an afternoon of work and about $65, my family has this awesome outdoor table to enjoy and entertain at!!! Now I can splurge on some decorations 🙂 It’s time for me to get busy on some matching benches 🙂
Thanks so much for stopping by!
~Ashley
Make sure to check out all of our DIY Dining Table Plans! We have over 25 free tutorials that will fit any budget, style or skill level!


I’m going to build this, with the benches, this weekend. I want to add a hole for an umbrella. How would I go about that?
I truly love all of y’alls plans!! I would like to know if it would be possible to build this as a counter height dining table? If so, what changes would need to be made? Thanks so much!
What are the finished dimensions? Thanks
Can I make an 8ft table top and use the same base? I want it a bit longer for more leg room on the ends.
Can I make this an 8ft table top with the same base? I want it a bit longer.
What are the final dimensions finished? I’m making a scale model of my space and I’m trying to determine if it will fit comfortably.