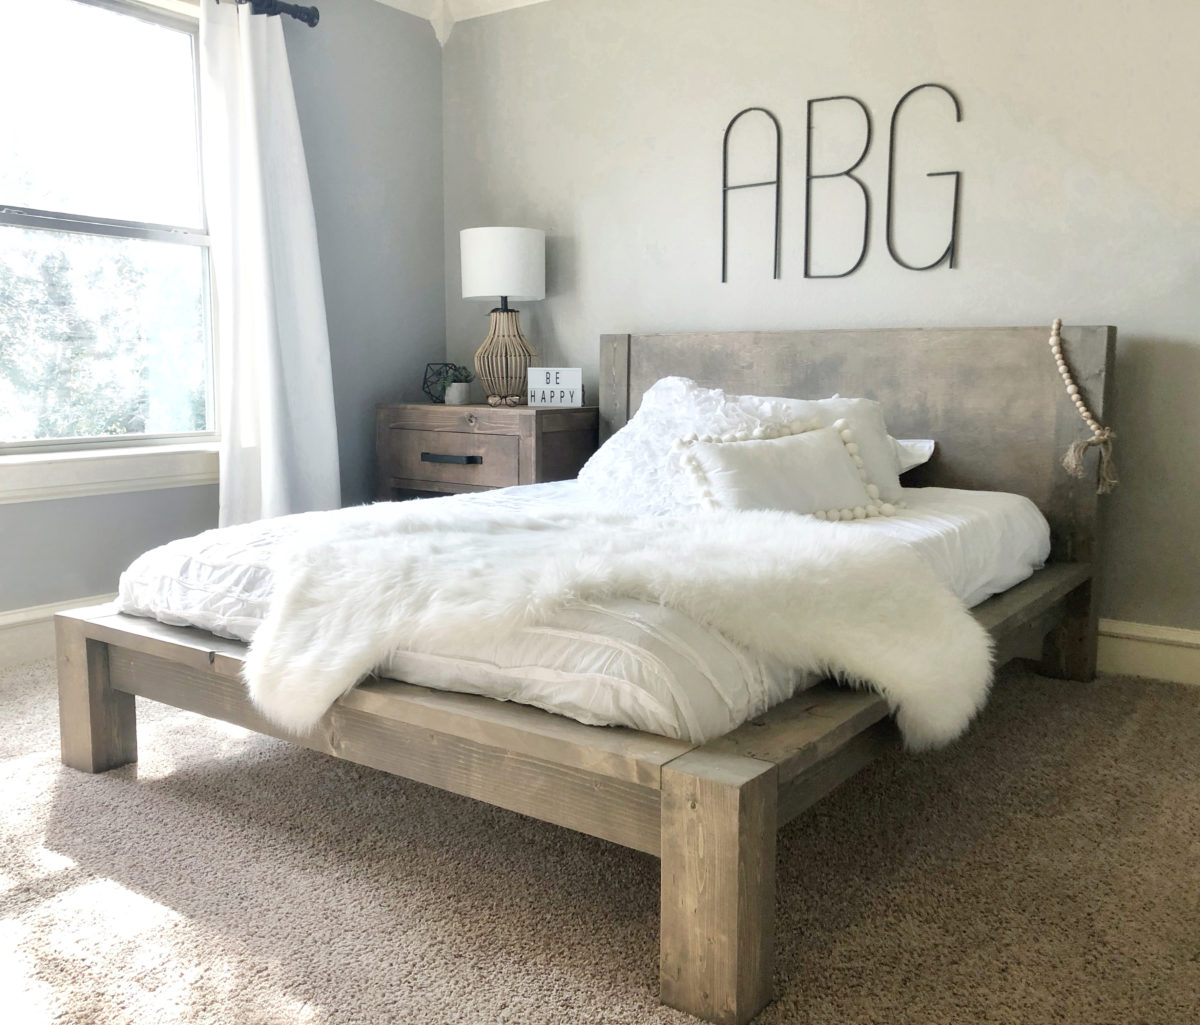
My oldest princess turned 16 this month and decided she needed a queen bed. So, I got to designing and came up with the cutest bed that I was able to build for under $100 of lumber! This bed is so darn cute and perfect for kids or adults. I love the clean lines and modern yet super rustic look. Check out how we built this bed by watching the video below!
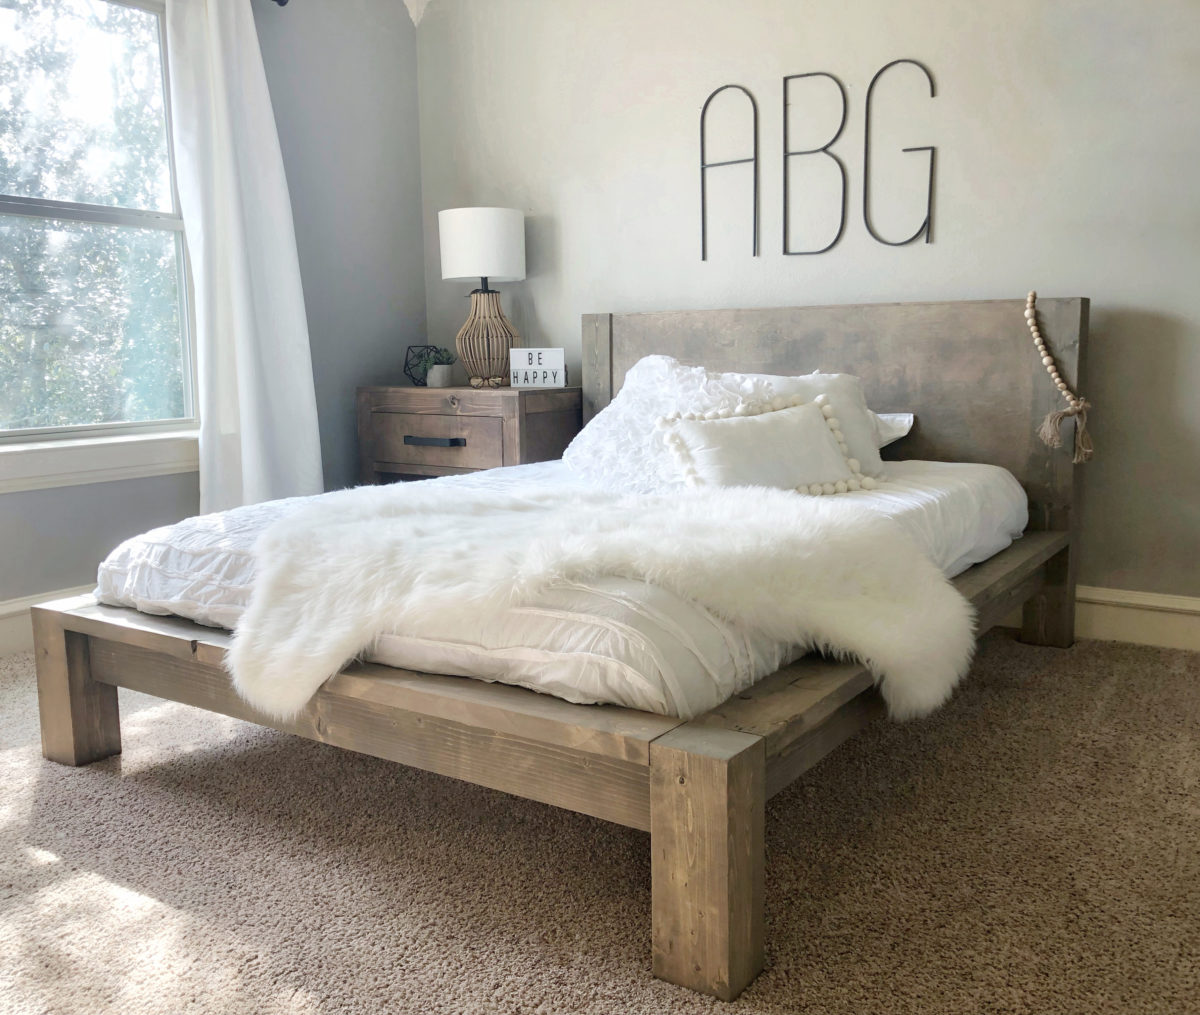
How cute did this thing turn out??
Before we get started, be sure to download and print the FREE PLANS by clicking HERE!
DIY Rustic Modern Queen Bed
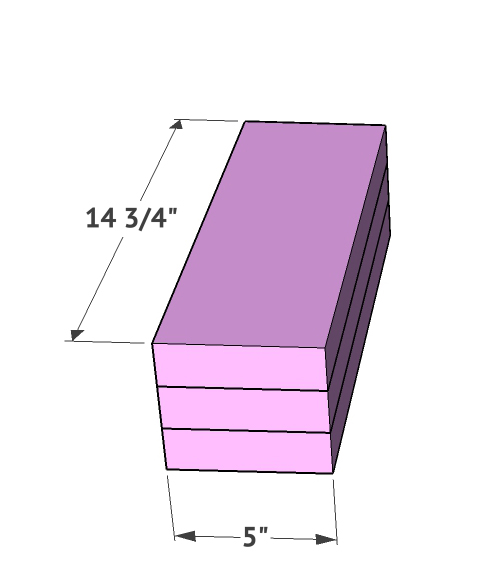
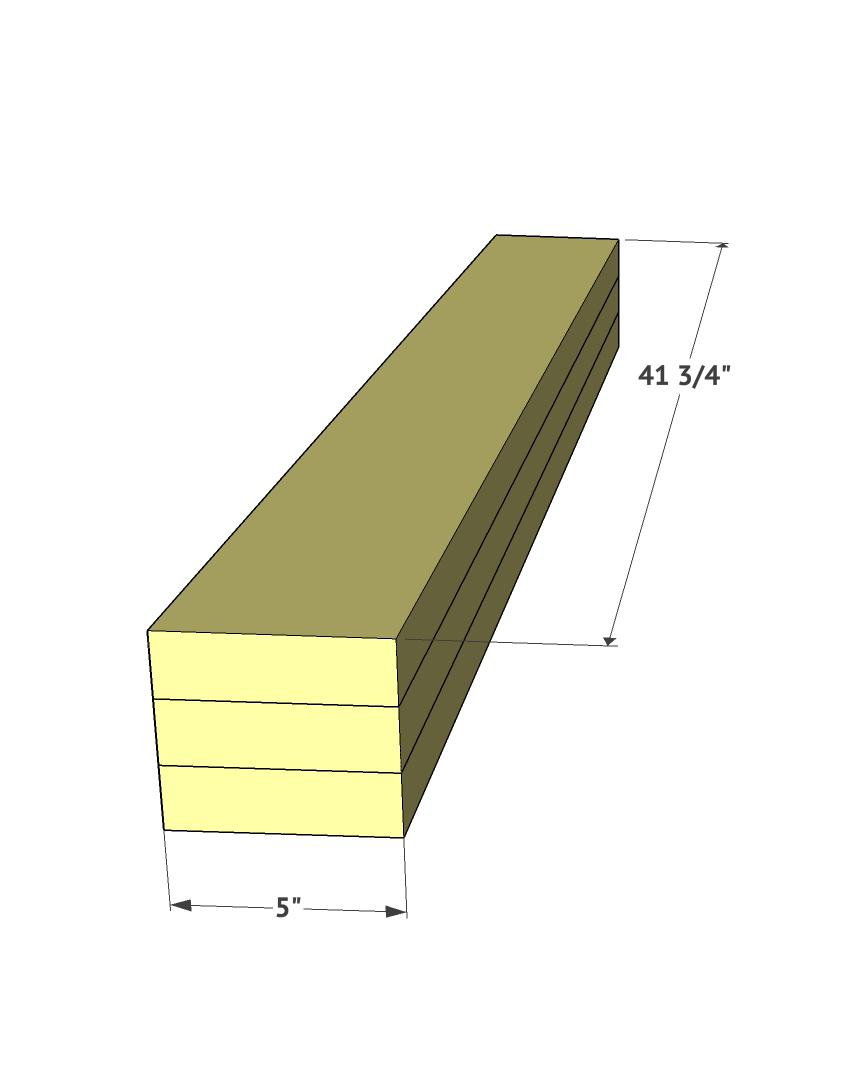
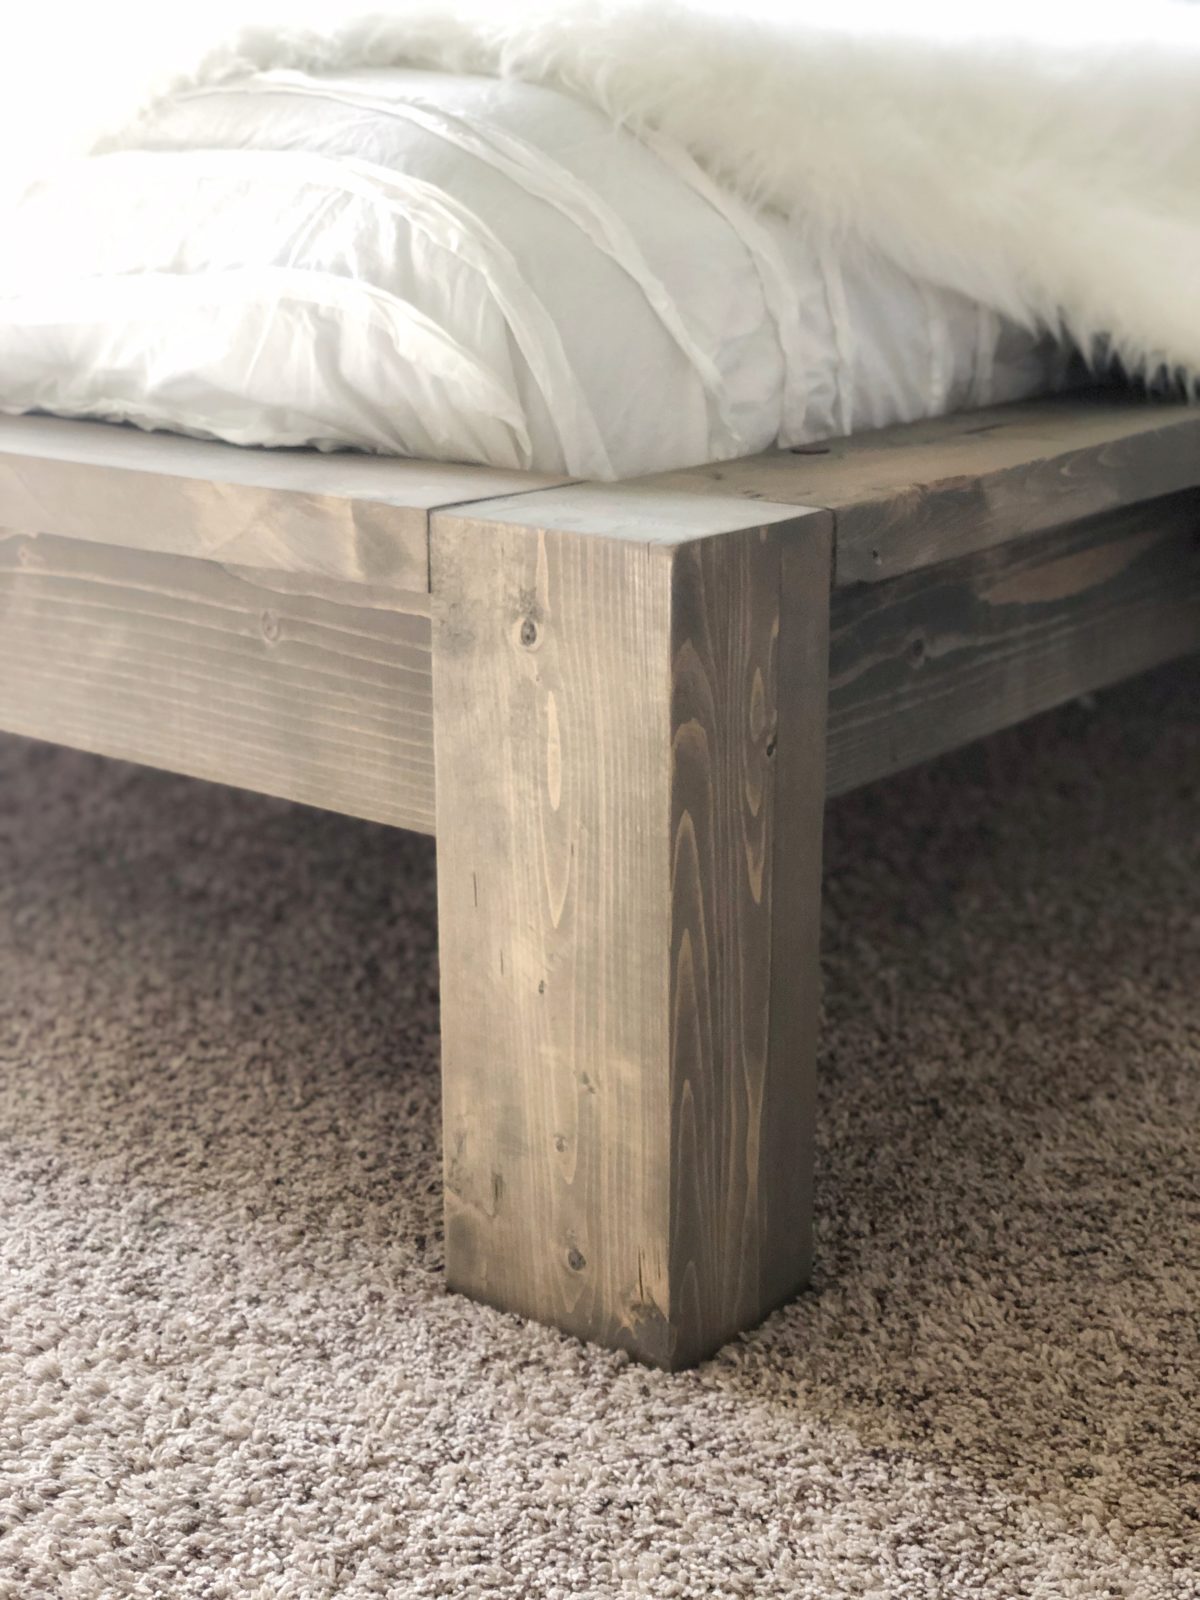
The first step is building your legs. You will build two taller legs that will be a part of your headboard, and two shorter legs that will be a part of the footboard. These are 2×6 boards that we ripped to 5” with the table saw. If you choose to not rip your boards, you need to refigure your measurements as it will change the rest of this plan. We attached each board together using wood glue and clamped them together until the glue dried. Then, sand any rough or uneven edges.
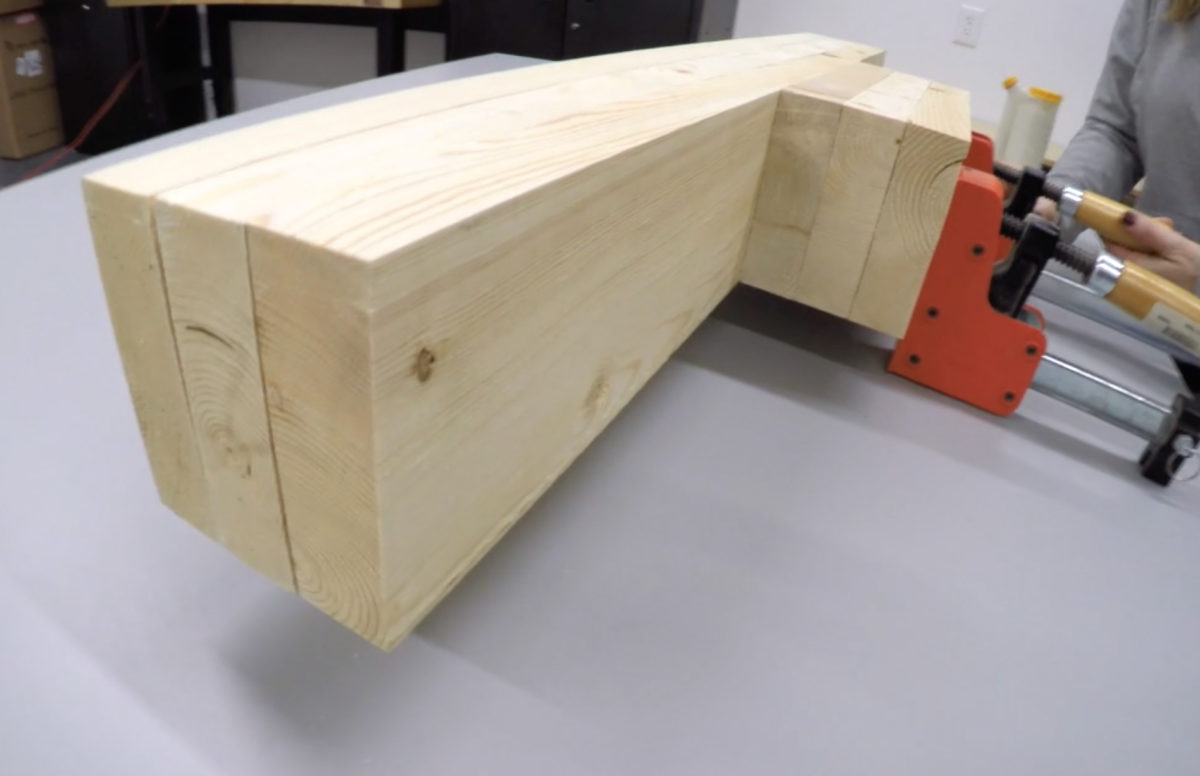
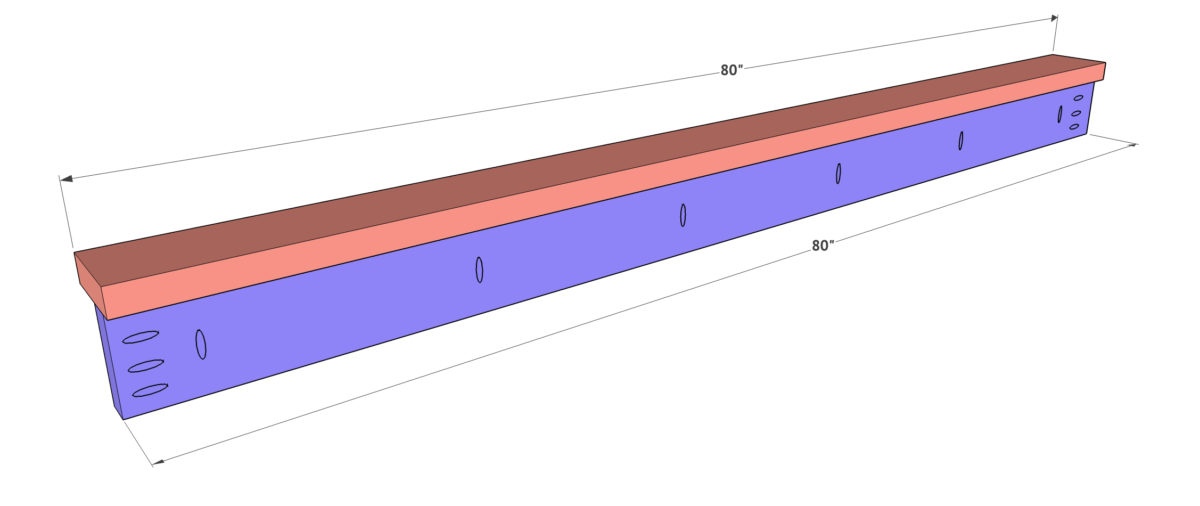
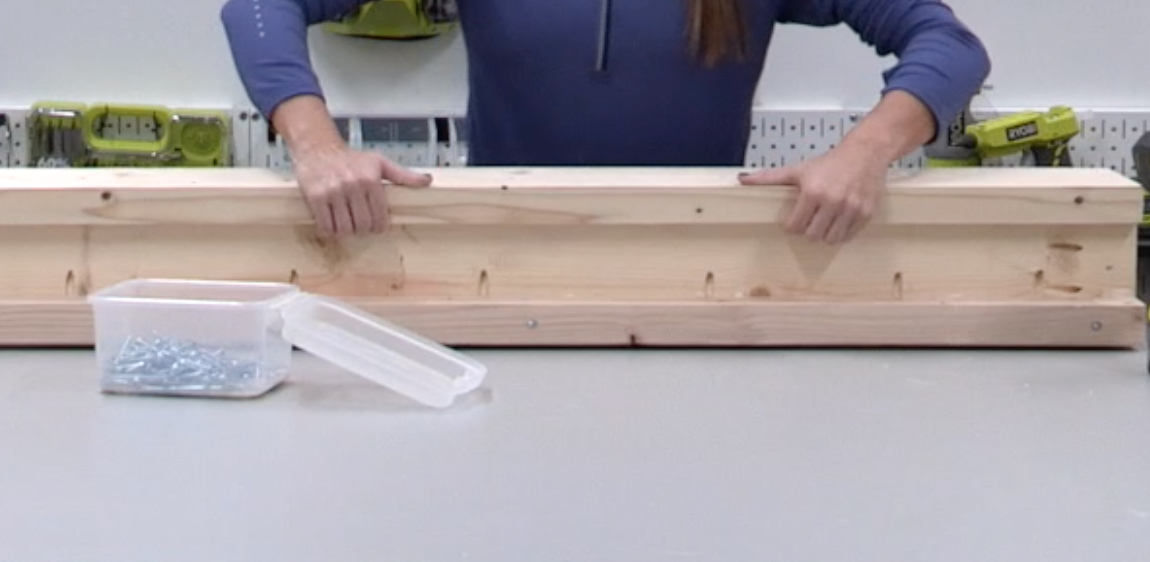
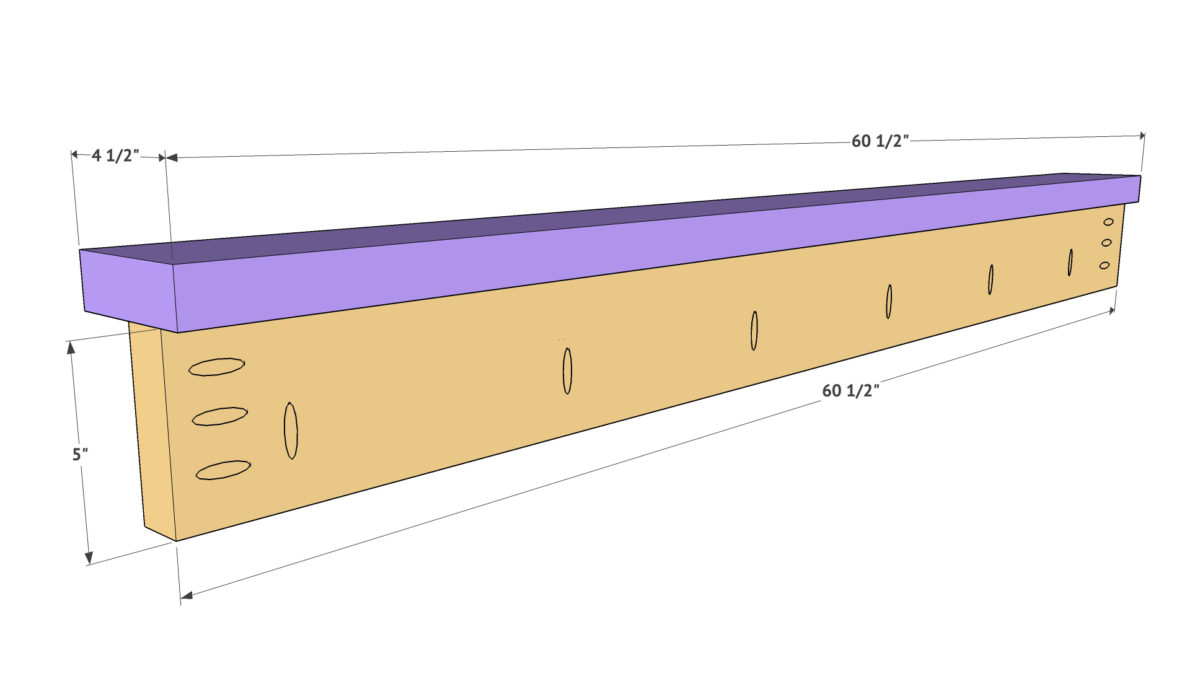
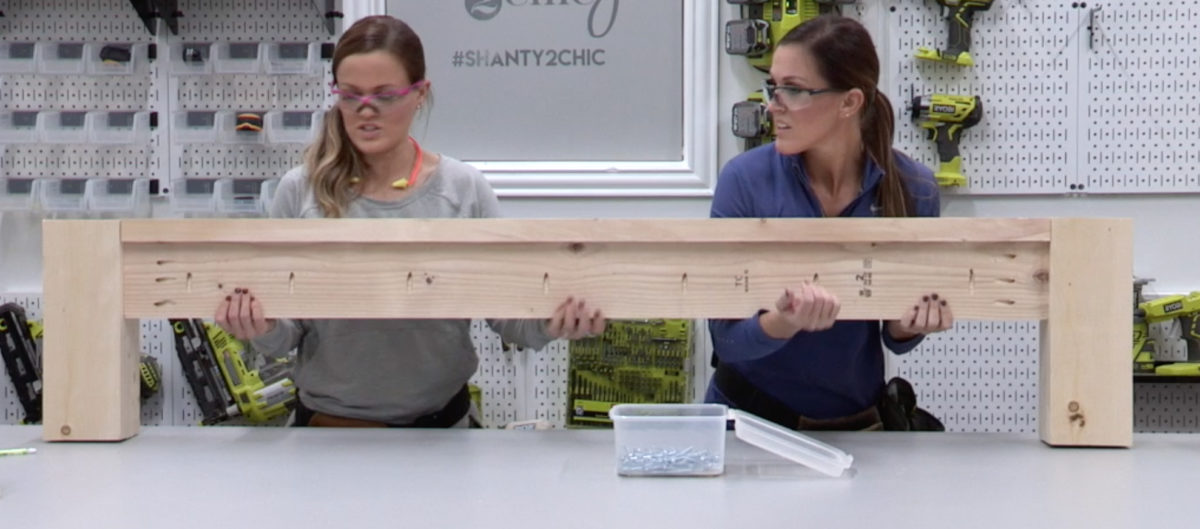
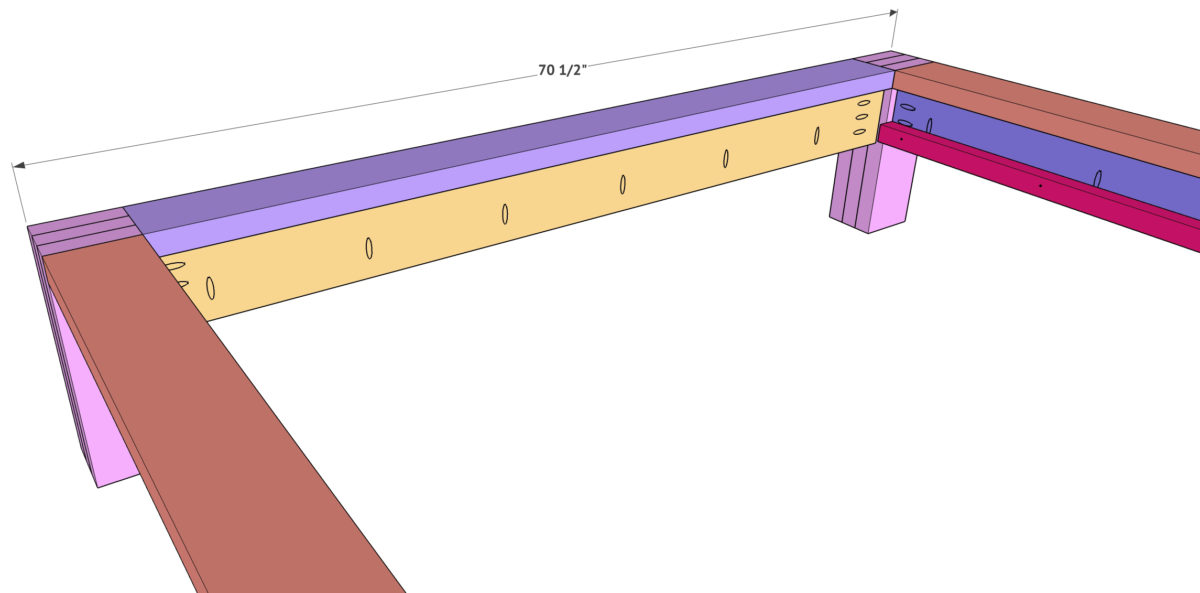
While the legs are drying, you can start building the rest. The side rails are also 2×6 boards that we ripped to 5”. Add 1.5” pocket holes to one side of the vertical board and 1.5” pocket holes on one side of the horizontal board that sits on top of it. Attach these boards together using wood glue and 2.5” pocket hole screws. Notice the alignment of the boards in the picture.

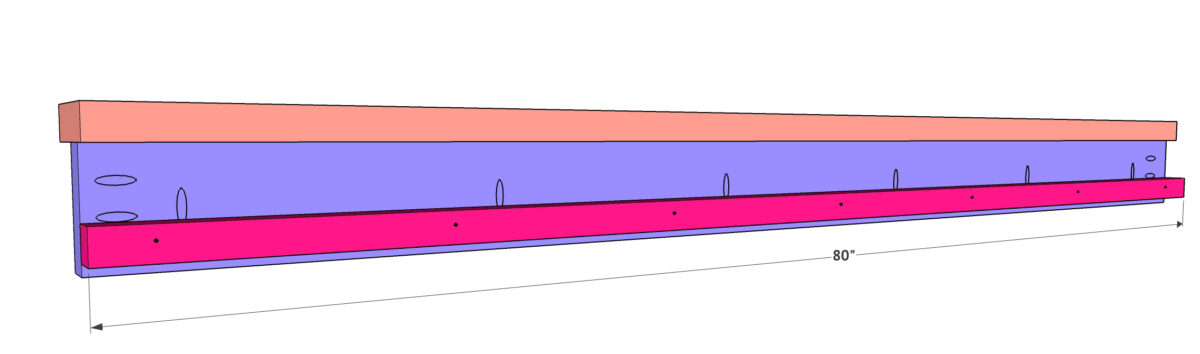
Now add the cleats to both sides. These are 2×2 boards that we attached to each side using wood glue and 3” Spax or wood screws. Notice the alignment in the bottom picture.

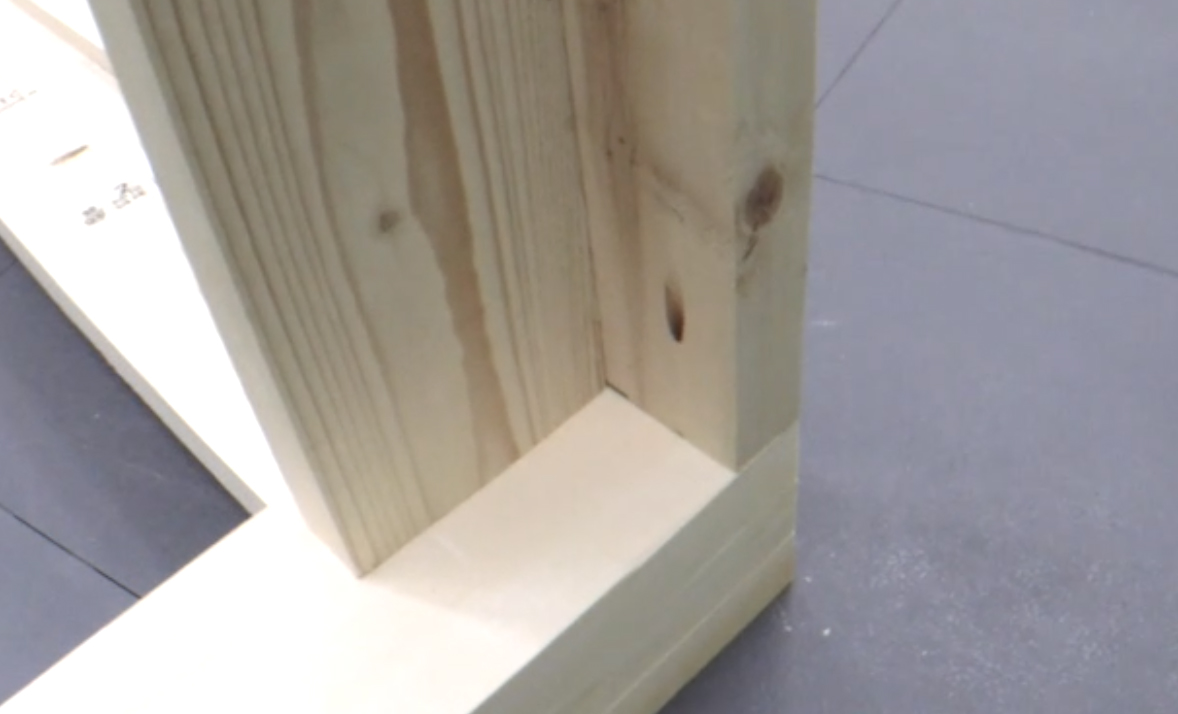
Now build the footboard. The top of this assembly is also a 2×6 board, but we ripped this one to 4.5” so it would line up flush with the legs. Add 1.5” pocket holes to both boards, and attach them using wood glue and 2.5” pocket hole screws.
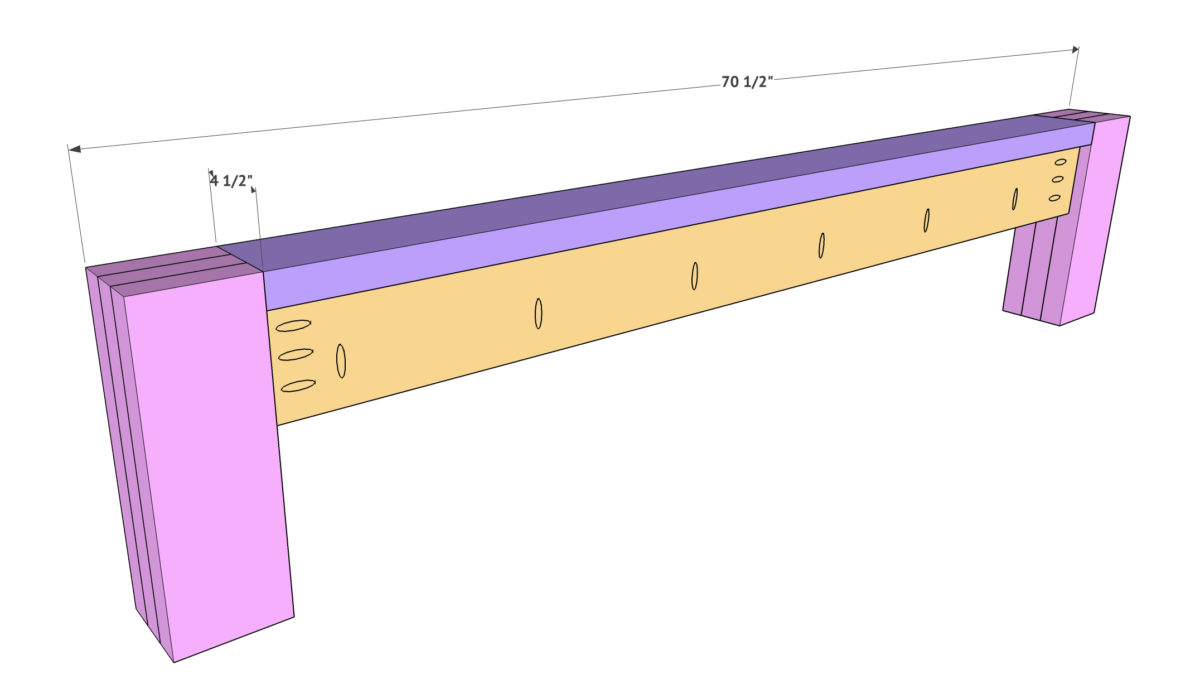
Now attach these boards to the footboard legs we built in the first step. Attach them using 2.5” pocket hole screws through the pocket holes you made and into each leg. You want the top of the slat to sit flush with the top of the feet.
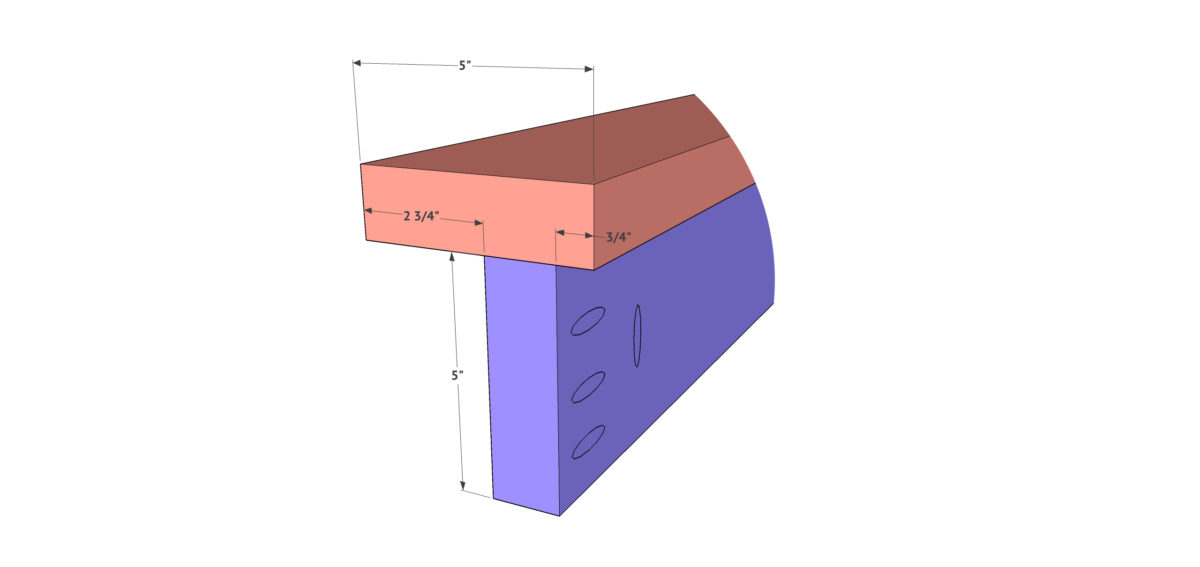
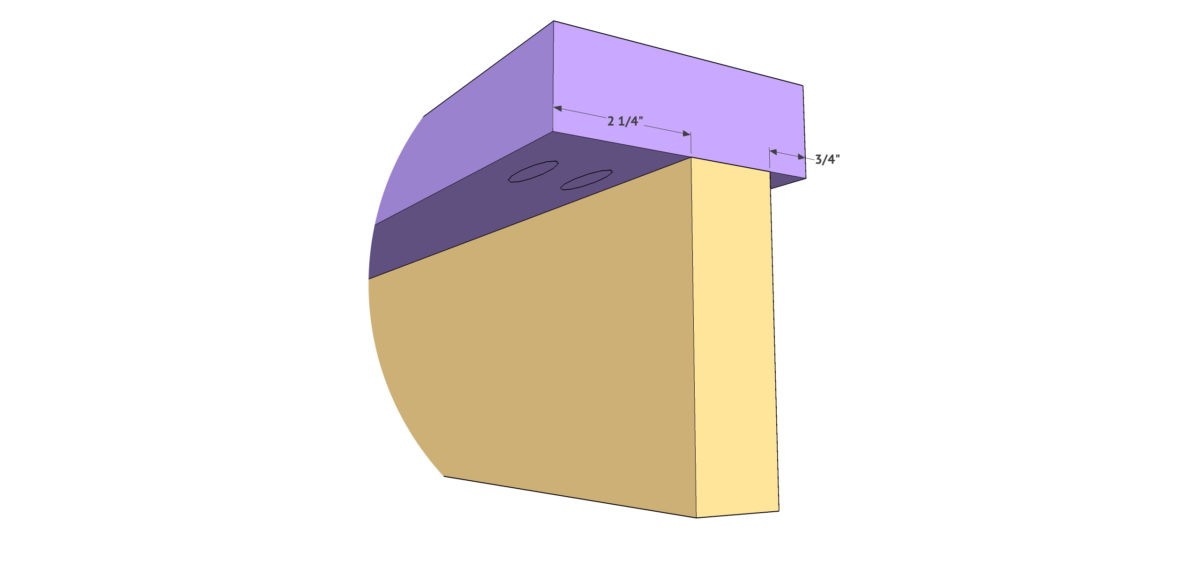
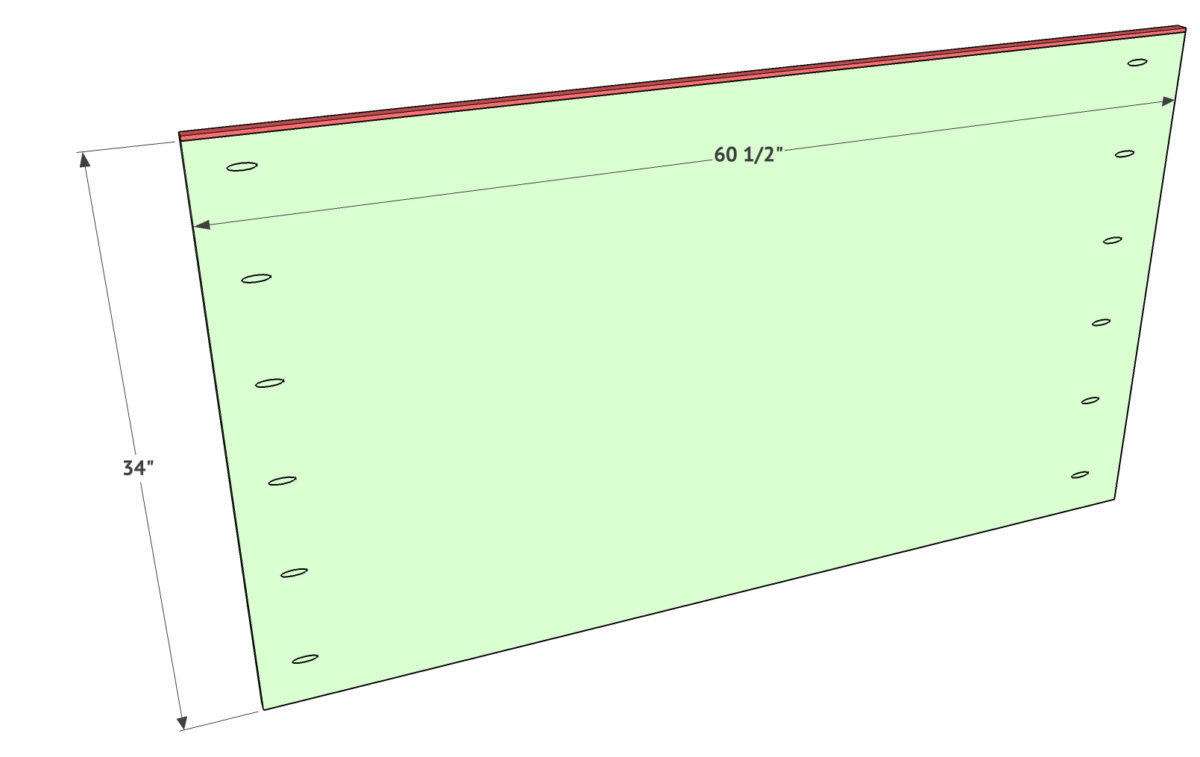
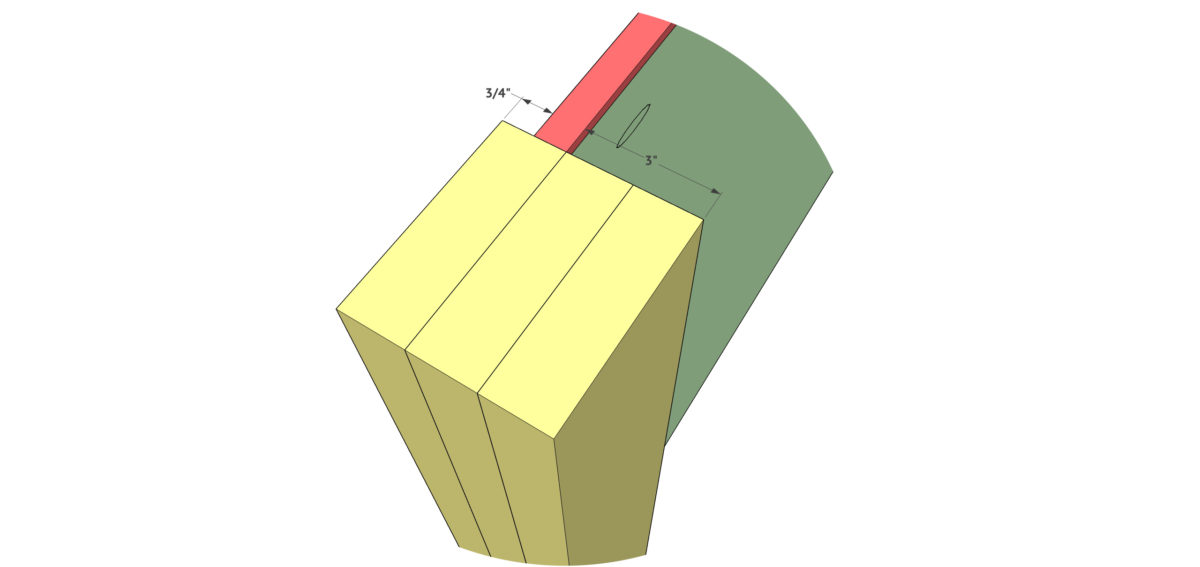
Attach the small trim piece to the top of the headboard panel first. The panel is 3/4” hardwood plywood with 3/4” pocket holes on the sides of the back of the panel. The trim piece is 1/4” thick x 3/4” wide and attach it using wood glue and brad nails.
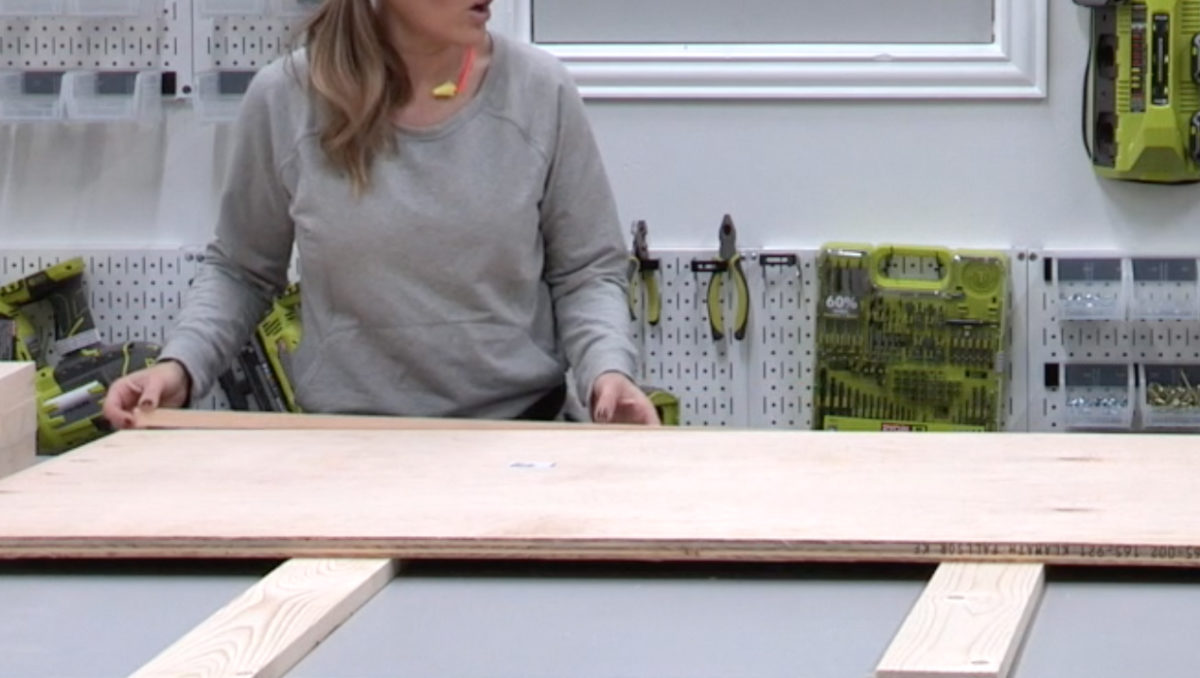
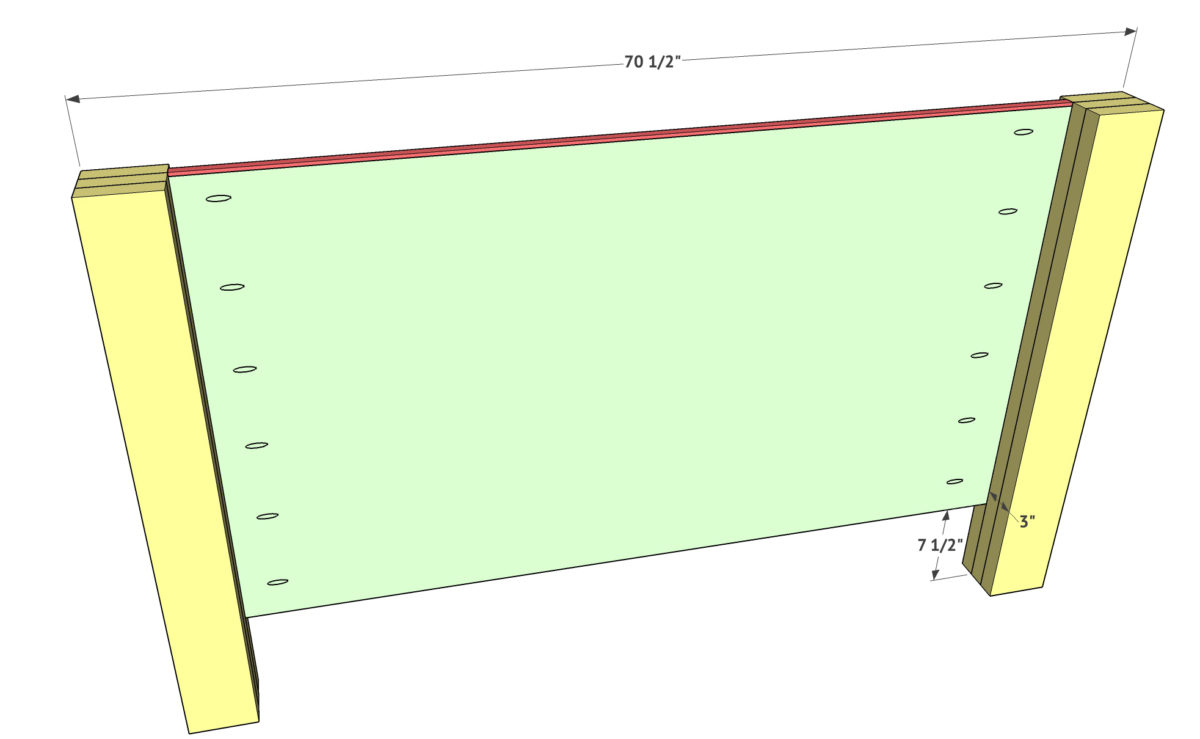
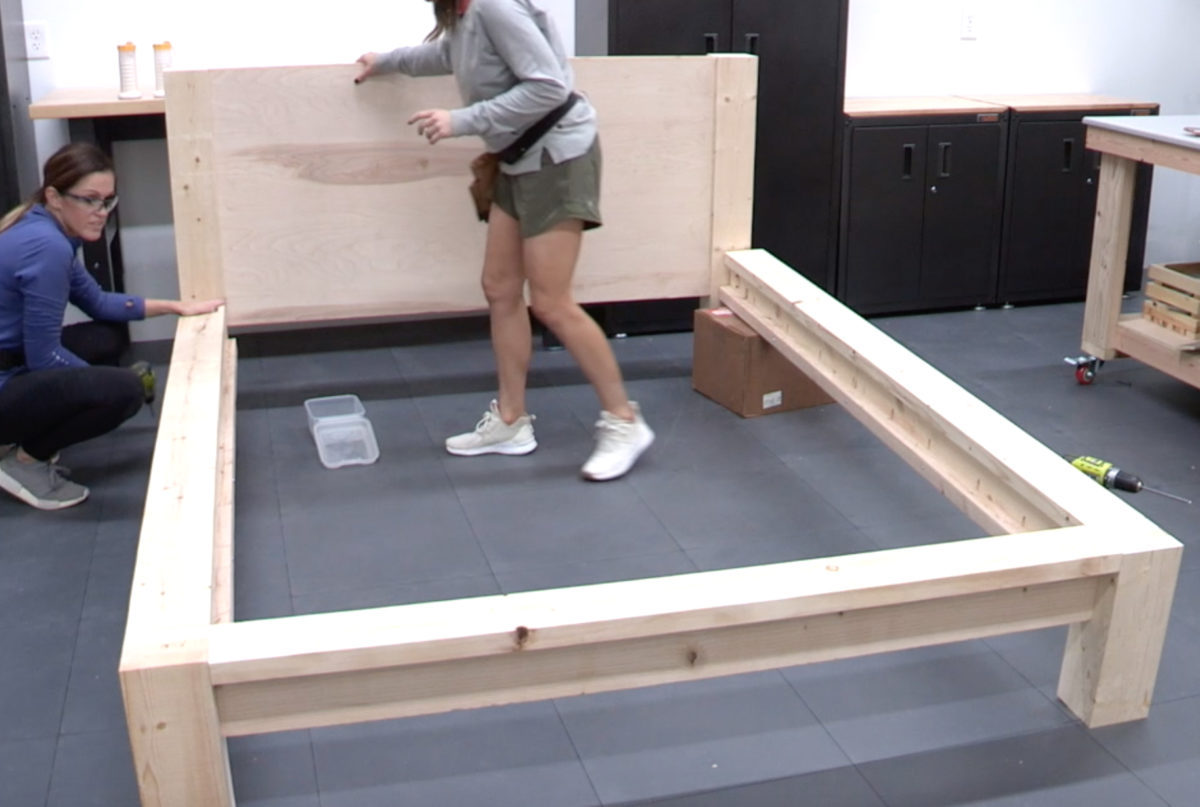
Now attach the headboard panel to the legs using wood glue and 2” pocket hole screws. You want the headboard panel to line up 3/4” from the front of the legs. The top of the trim piece will be flush with the top of the legs.
Now attach the rails to the headboard using 2.5” pocket hole screws through the pocket holes on the rails and into each leg.

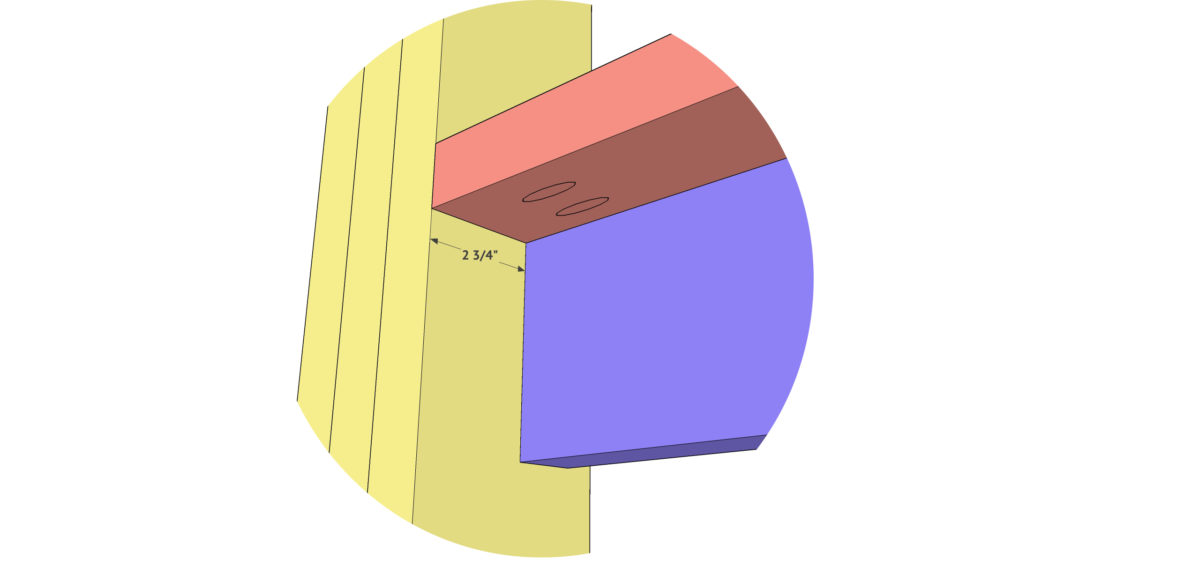

Attach the footboard to both legs using 2.5” pocket hole screws. Make sure the tops and sides are all flush.
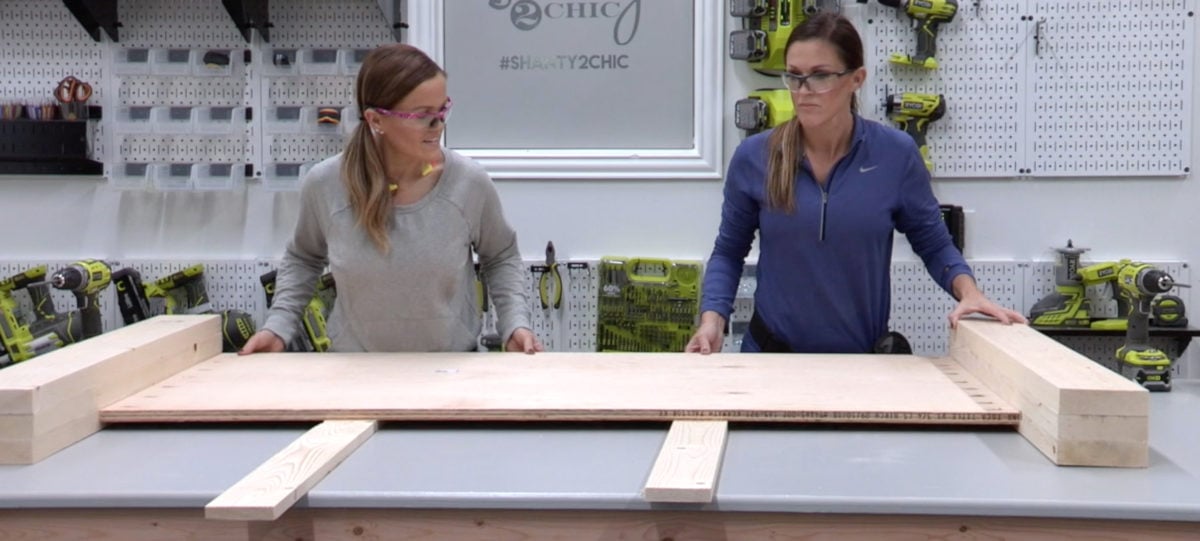
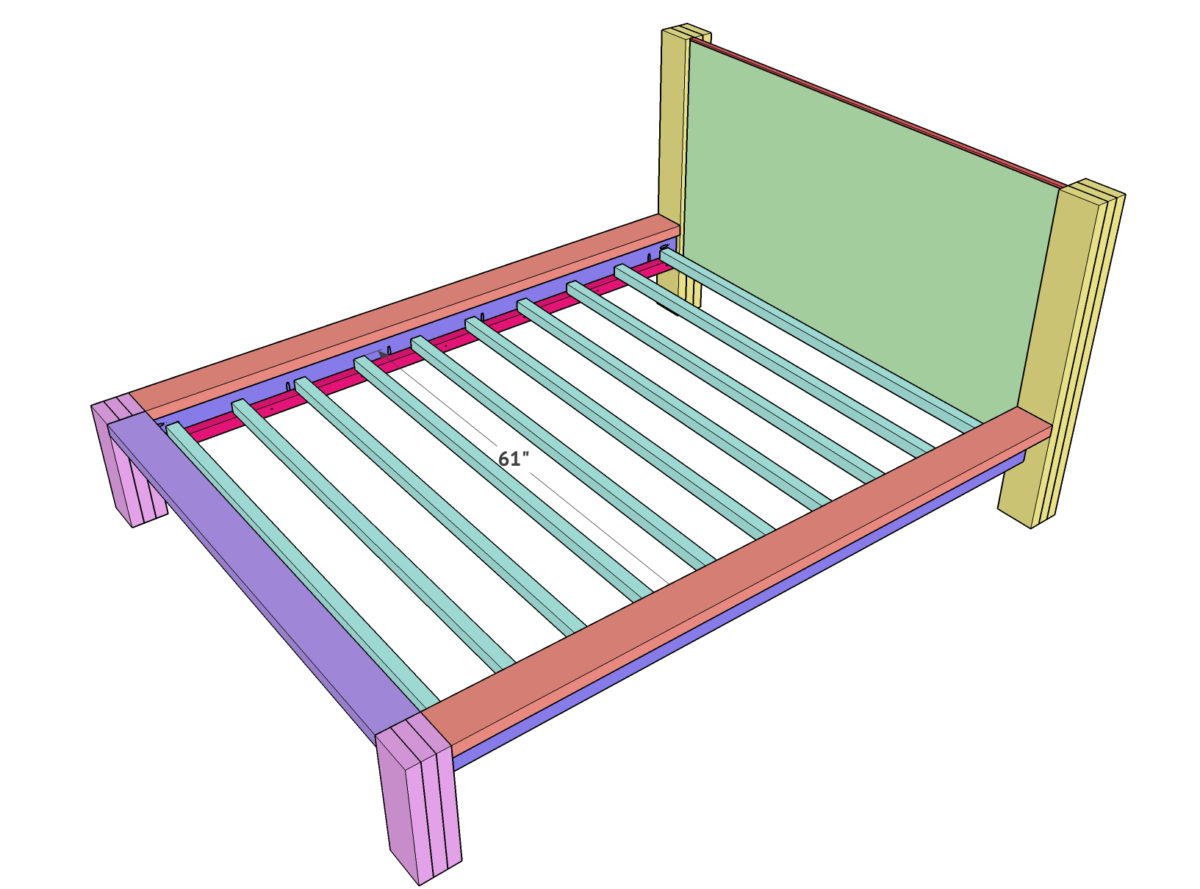
Time for slats! We used 2×2 boards for this part and attached them using wood glue and 3” Spax or wood screws. We suggest not using glue to attach the slats and the runners to both the footboard and headboard so you are able to move your bed around from room to room and disassemble it easily.

Here it is all finished up! I just love this bed so much!


Love this bed so much!!!! is there a way you can give me measurements to make the bed frame fit a cal king mattress?
I have the same letters above the bed and am curious how you hung them? They don’t have a nail hole or anything to easily hang them by. Thanks
Where are these letters from?? I love them!
Anyone know how heavy this is if they built it as a queen?
Couple of adjustments to make:
1. The cut plans call for a 4″ ripped board for the top foot piece. This should be 4 1/2″.
2. 3″ screws will go all the way through the 2×2’s for the cleats and the slats. Use 2 1/2″ screws instead.
I should have read the comments first. I found both of these things out the hard way. 🙁
WHERE DID YOU BUY YOUR GLUE CONTAINER
I think it is a glue bot you can purchase at Amazon, WalMart or home improvement store
I love it! The shape, the color – everything. That “furry” throw is the perfect touch.
Can I have a list of all materials needed to make the queen size bed?
Interested in making this cool bed!
Could you let me know where to purchase the glue applicator bottle you have
Can you give measurements for a full size bed please
This was my first furniture build and it went rather fast. I built it in a day, stained it the next and I really like it. The 2″ slats across it I had to cut at 62″ instead of 61″ it seemed like they were a bit short when placing them and I had the concern about them holding the weight too, but they do hold my hefty 200#’s and there is no box spring with this set-up. If someone wanted a box spring, I would recommend increasing the height of the headboard by the same amount as the box spring to keep it in proportion. I used 3/4″ Knotty Pine Plywood for the headboard, white wood for the lumber and Minwax Classic Grey for stain with 20 minute soak time (mix well and be generous with the stain as white wood tends to still come out with a lot of blonde in it), which gave me a nearly identical color.
As much as I love the rustic look, I need my modern gadgets. So, there is lots of potential to add in hidden gadgets. I am going to make a modification to the bed and will be putting a 2×6 across the top length of the head board to cap it off and am installing 2 recessed USB Electrical outlets and hidden wireless charger. Plugins for my laptop and usb to keep my phone charged regardless of what side I’m sleeping on. The outlets could be used for 2 small lamps on the headboard at each end. (makes for easier reading before sleeping when the light is behind you.)
Amazing blog! These rustic styles are in fashion at the moment and this is another amazing example of DIY done properly. I work with The Handy Squad decorating peoples houses for those looking to sell and there is a demand for a rustic feel to houses these days especially in the city. Keep it up girls! Luke
Hello would like to know how far apart from each other are the pilot holes
What kind of stain did you use for the bed? I love and gonna copy it ??♂️?
Yes what stain!?!
Can you link the wood glue bottle you used? I’ve never seen one like this before. Thanks.
I’d love to know the stain color used! This is amazing as always ?
The way you’re putting up the content. It really amazes me! Diagram representation, photos and video tutorial to make sure we do it properly. Thanks guys.
Is a box spring used on this bed?
What brand/ color paint are you using ?? Its so pretty.
What brand/color paint are the walls???
Is this pictured without a box spring? Just trying to understand dept of the frame. Thanks!
No box spring. The slats act as a box spring.
True, but the mattress better be really thick or the bed is going to sink into the frame. I’d recommend a MINIMUM of a 14 in mattress to look decent if no box spring is used.
What kind of clamps did you use? I can’t find the link for them.
Thank you!!
JO
Same here
Parallel Clamps