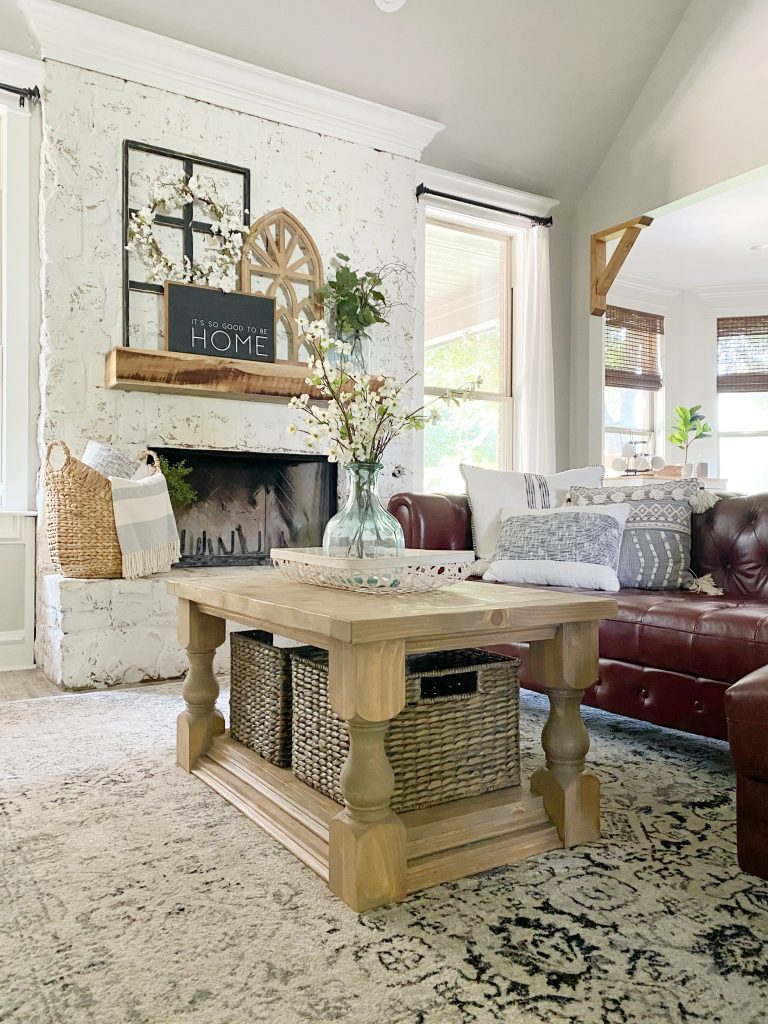
Hey guys! So, I’ve been building furniture for our new home, like crazy and realized that I haven’t done much in the way of our windows! I have done panels for my dining room and living room which you can see HERE but I have neglected the rest. The hardware is usually expensive and my budget only lends to buying fabric for handmade curtains (that I talk Whitney into sewing for me). Well, she’s too busy on her own house right now and I remembered that I wanted to DIY some Wooden Cornices once upon a time so….. Off to the shop I went!
I built these cuties in about 30 minutes and for about $15 each, which allowed me to splurge on curtains!
Here’s how I made them 🙂
DIY Wooden Window Cornice

Everyones windows are a different size so I won’t share my measurements. I measured my window from one end of the trim to the other (if you don’t have trim just measure the width of the window opening). I took that measurement and added 6″. This is the length I cut the 1×10. Then, I cut 2 more 1×10’s at 3.5″. So,…
(the width of your window) + 6″ = length of first 1×10
2 – 1×10 @ 3.5″
*If you don’t have a saw, this handsaw will work great for this project.*
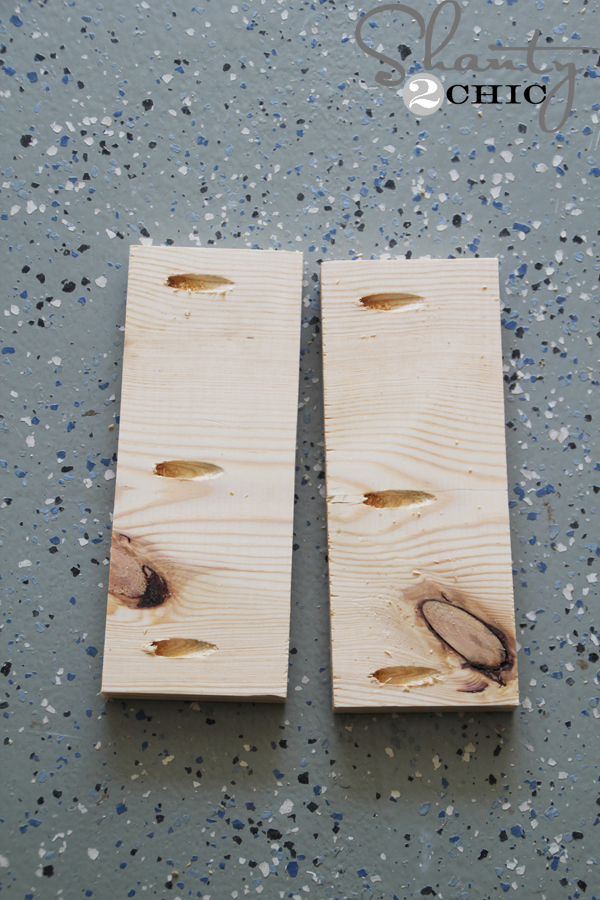
Next, I drilled three 3/4″ pocket holes into one end of each short 1×10’s. If you don’t have a Kreg Jig yet, the R3 in the box below is a great choice for projects like this. I have a K5 but I still use this for certain applications. So, if you like it and decide to upgrade, it won’t be wasted!
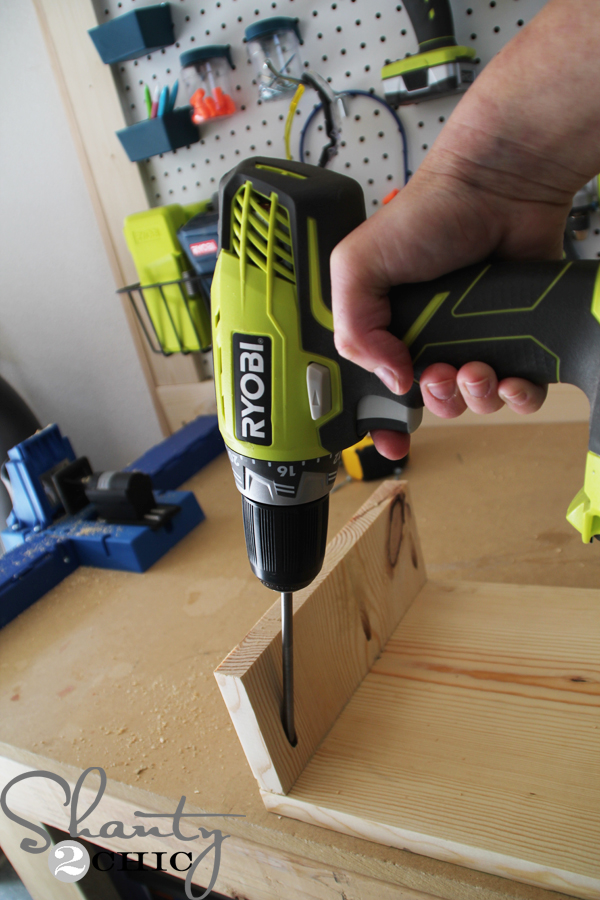
and attached them to the ends of the long 1×10 with 1 1/4″ pocket hole screws.
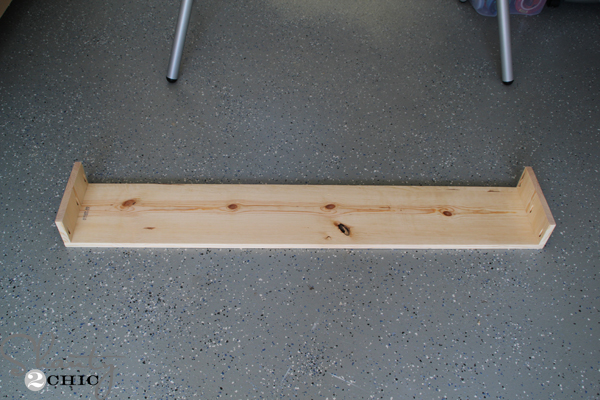
Here it is so far. Now, measure the length between the two short 1×10 pieces
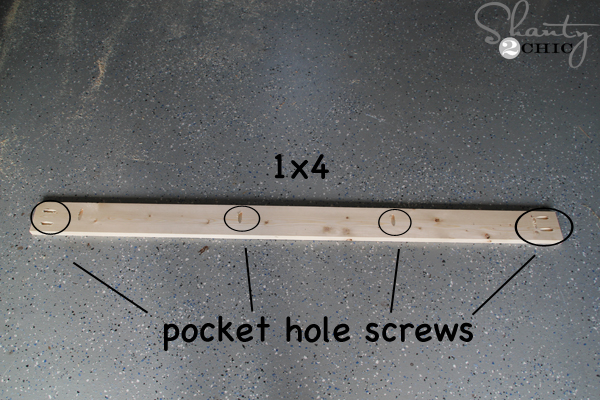
and cut a 1×4 that length (this should be about 1.5″ shorter than the long 1×10). Then I drilled 3/4″ pocket holes on both ends and along one side.
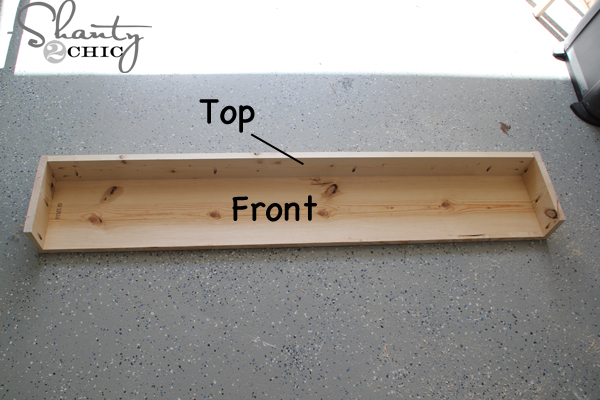
Attach the 1×4 to one end of the cornice with 1 1/4″ pocket hole screws and wood glue. This 1×4 will be the top of the cornice (and will rest on the cleat that we attach to the wall)!
Now for the finish!
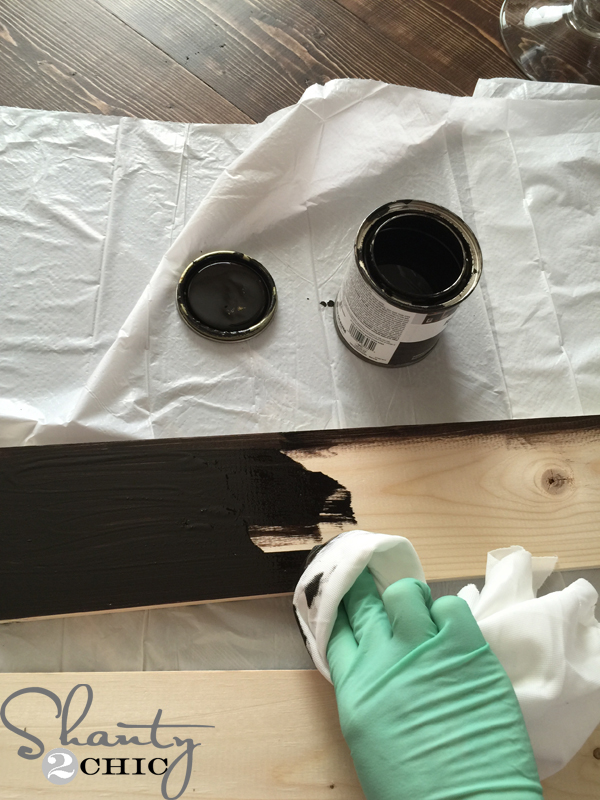
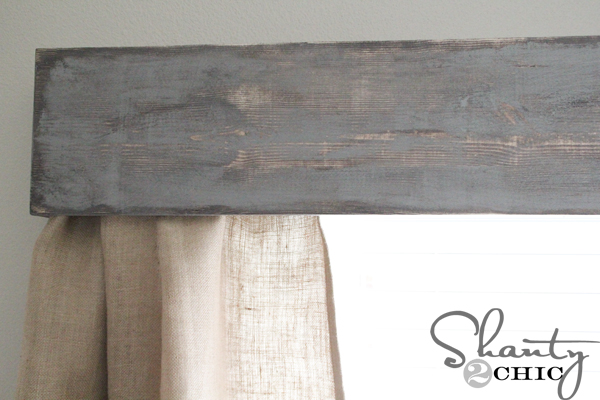
I applied one coat of Rust-Oleum Kona stain over the entire piece.
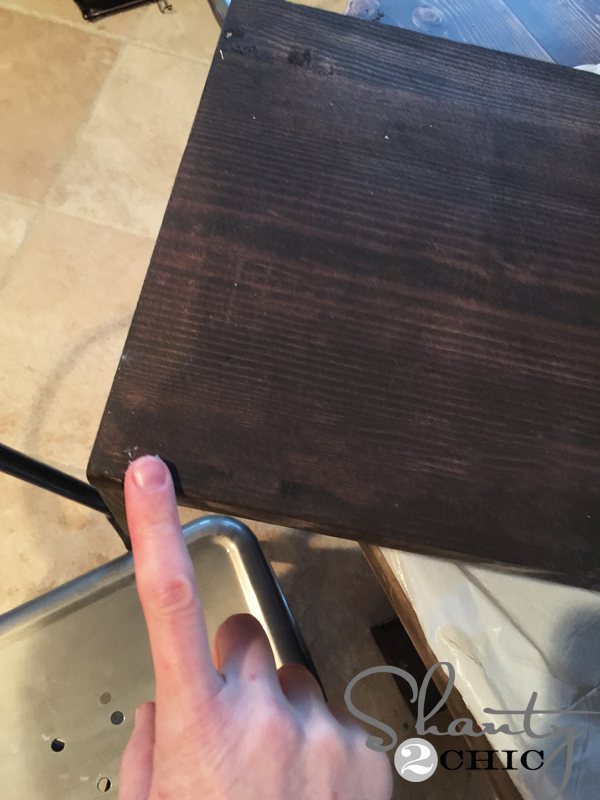
When it was dry, I rubbed a very thin layer of Vaseline all over the edges and a little in spots across the boards.
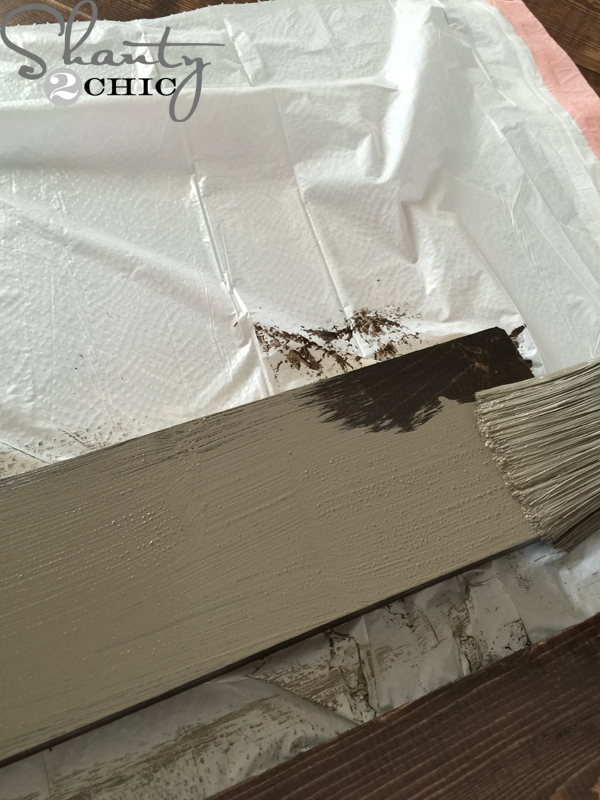
Then, I painted one coat of gray paint all over and let it dry.
While it’s drying, you can hang the curtains 😉
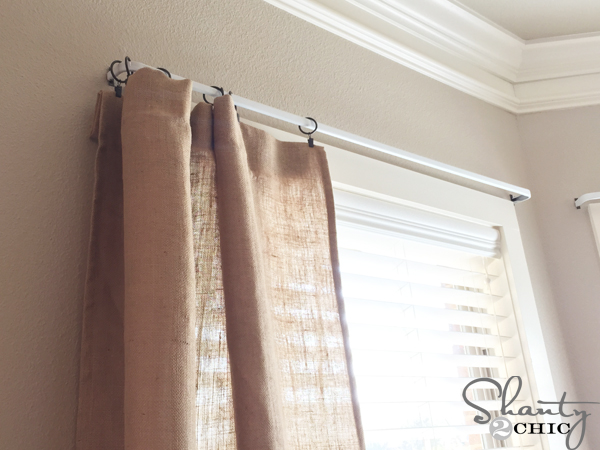
I bought those cheap (and by cheap I mean $1.79 each!) curtain rods at Home Depot but you can get them at Walmart, Target…many places. HERE are the ones I bought.
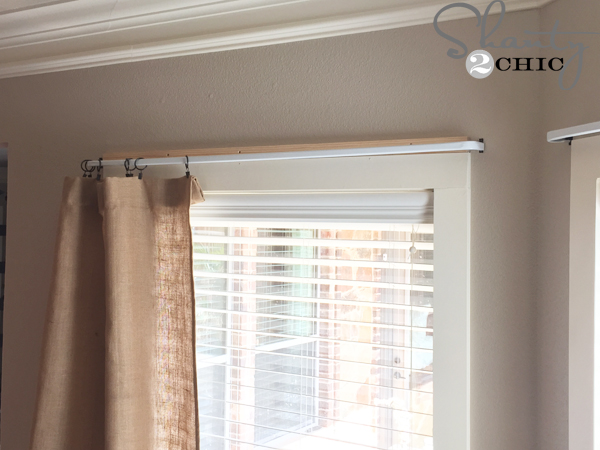
Then, cut a 1×2 the same length as the 1×4 and attach it to the wall, above the window. Use 2 1/2″ wood screws and drive them into the studs. This actually would be easier to do before attaching the curtain rod but I didn’t think enough ahead 😉
That was quick and your paint probably won’t be dry yet so take a rest…you did a great job 😉
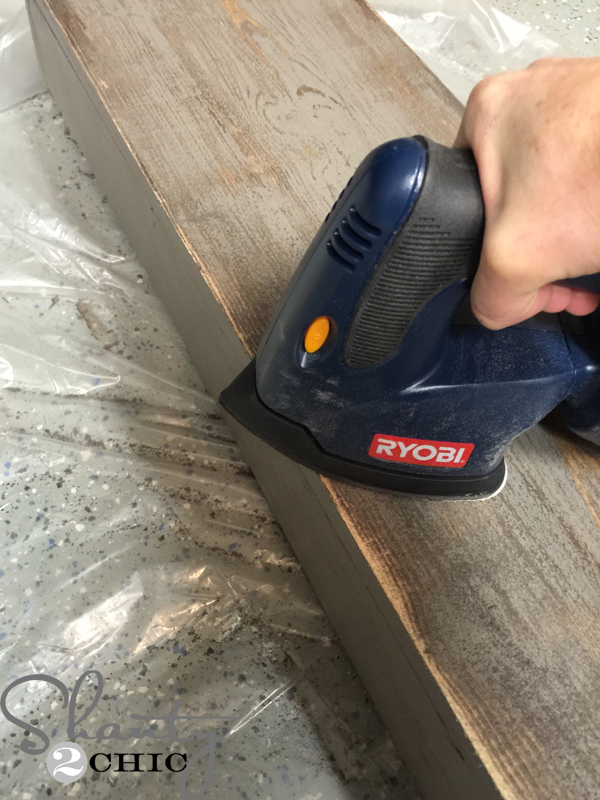
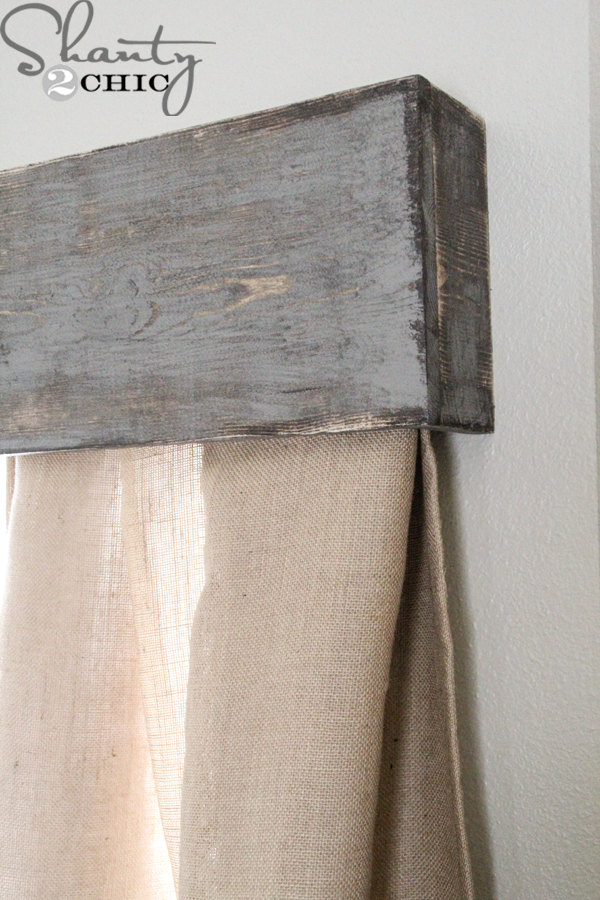
Once the paint was dry, I used my Ryobi Corner Cat Sander, with an 80-grit sanding pad, to distress the entire box. You will see big chunks of paint come off where the Vaseline was – this is great! Then, you will see spots where the bare wood shows too. We love this finishing technique!
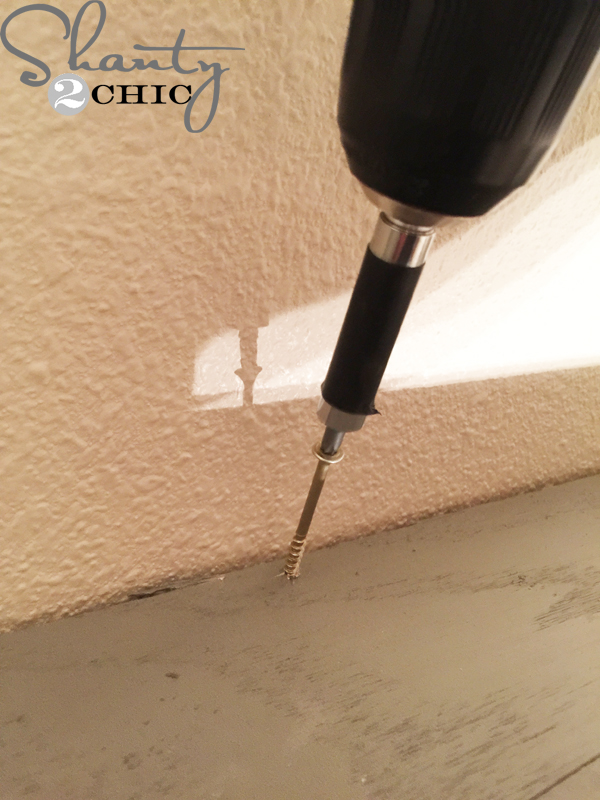
Now, wipe it down and set it on top of the 1×2 cleat. Just attach it with 2 1/2″ wood screws and drill them in at an angle (towards the wall).
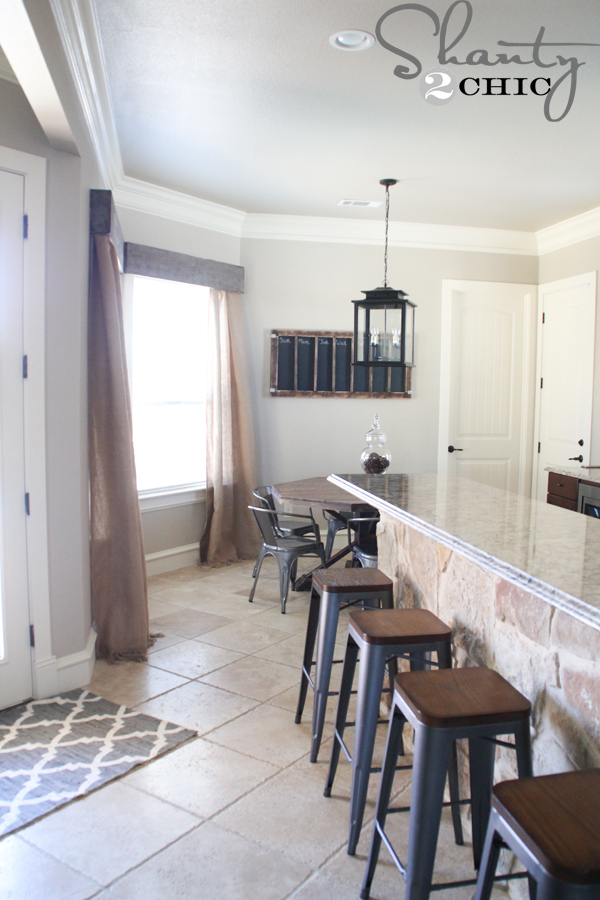
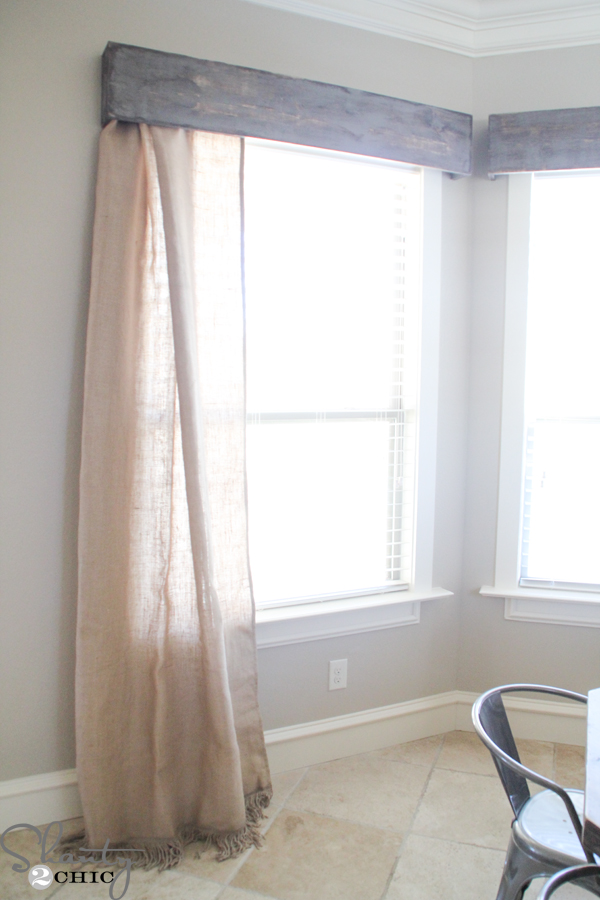
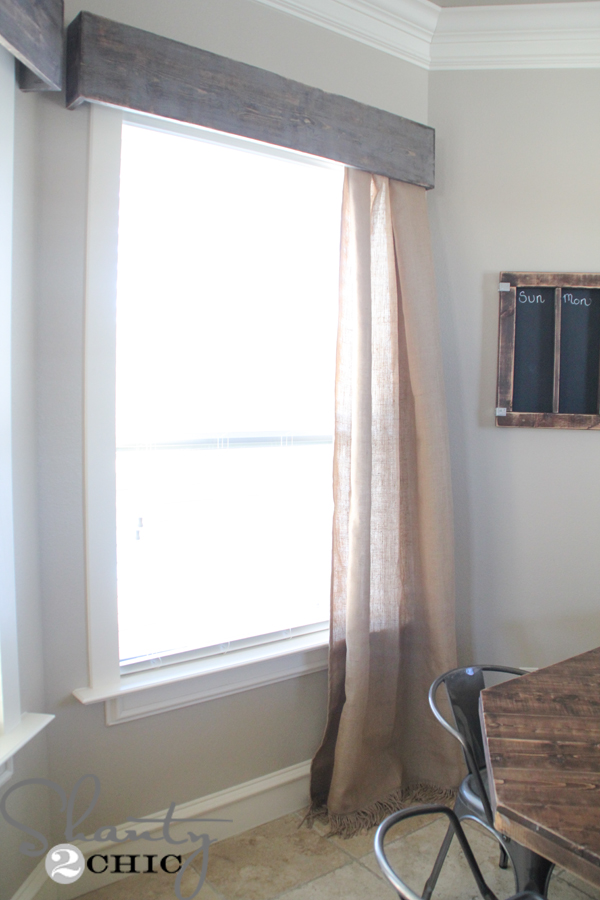
That was IT! Each Wooden Cornice was about $15 and the rods were under $2 each. I scored the burlap curtain from Ballard (HERE). They weren’t super pricey when I compared them to others and I loved the fringe at the bottom (and they are lined – the pic on their site doesn’t look like they are)! And, the best part about the cornices is that if your curtains are a little long, you can fold them up and clip them on the rings and no one will ever know 😉
This was so easy and inexpensive, I wish I had done it sooner…and my brain is spinning with all sorts of modifications to use them in other rooms!
Thanks so much for stopping by!
~Ashley
Info on other items in the pics:
Paint: HERE
Stools: Sam’s ($35 each!)
Rug: Hobby Lobby
Metal Chairs: Target
Table: HERE
Chalkboard Calendar: HERE
Tile: HERE
Chandelier: HERE


So, I literally just made these according to your instructions….I have never made cornices before and was thrilled at how easy it was BUT I’m wondering why we would just put the screws in at an angle when mounting to the wall, when we make such an effort to do the kreg and conceal on the inside of the cornice? I’m a novice so don’t judge me too harshly but I’m confused…wouldn’t we want to do a kreg or concealed type screw when mounting to the wall? Help a girl out here 🙂 thanks
Great wooden valance! How did you attach it to the wall?
Thanks for the tips 😀 it will save me thoughts and time. Are either one of you single
Where did u get the curtain material?
What color gray is on the cornice
Nice movie. However you can make it yourself. Just google woodprix and learn how to do it easily.
Would this work in a metal door? We have a window on our front door and I want to put a box like this on it to cover the blinds.
Hi I was wondering where did you get your rings that clipped onto your curtains
What color Gray did you use; there are some many different variations of gray out there I don’t know which to use that will look the most similar
Did you use oil or latex paint?
Latex
What color gray did you use? I have the hardest time finding a gray that I like!
Hey guys! So, I’ve been building furniture for our new home, like crazy and realized that I haven’t done much in the way of our windows! I have done panels for my dining room and living room which you can see HERE but I have neglected the rest.
Paragraph 2 is missing the HERE link.
What a great way to dress up the window. I like it!